Articles
How To Move Ceiling Light
Modified: October 20, 2024
Learn how to move a ceiling light with our step-by-step articles. Discover helpful tips and guidance for a successful light relocation.
(Many of the links in this article redirect to a specific reviewed product. Your purchase of these products through affiliate links helps to generate commission for Storables.com, at no extra cost. Learn more)
Introduction
Moving a ceiling light can be a practical and aesthetic choice when renovating a room or simply wanting to change the layout. Whether you want to create a better lighting arrangement or update the style of your space, knowing how to move a ceiling light is a valuable skill. This article will guide you through the process, providing step-by-step instructions to ensure a safe and successful relocation.
Before diving into the details, it’s important to note that electrical work should only be performed by those with experience or under the guidance of a professional. Safety should always be the top priority, so if you’re unsure about undertaking this task yourself, it’s best to seek assistance from a licensed electrician.
With that in mind, let’s explore the tools and materials you’ll need to gather before getting started on this project.
Key Takeaways:
- Safety First
When moving a ceiling light, prioritize safety by turning off the power, using the right tools, and following manufacturer’s instructions. If unsure, seek professional assistance to avoid electrical hazards. - Transform Your Space
Moving a ceiling light allows you to update the look and functionality of a room. With careful preparation, proper installation, and attention to detail, you can create a well-illuminated and visually captivating environment.
Tools and Materials Needed
Before you begin moving a ceiling light, it’s essential to have the necessary tools and materials on hand. Here’s a list of what you’ll need:
- Wire cutters
- Screwdriver (flathead and Phillips)
- Electrical tester or voltage detector
- Tape measure
- Pliers
- Ladder or step stool
- Wire connectors
- New ceiling light fixture
The wire cutters will allow you to safely disconnect the wiring from the existing ceiling light fixture. A screwdriver, both flathead and Phillips, will be used to remove screws and disassemble parts. The electrical tester or voltage detector is necessary to ensure the power is turned off before starting any work. A tape measure will help you accurately measure the distance between the current and desired location for the light fixture.
Having a pair of pliers on hand will assist in securely connecting and tightening wires. Additionally, a ladder or step stool may be required to access the ceiling and work comfortably at a higher level.
Lastly, you’ll need wire connectors to join the wires together and a new ceiling light fixture to install in the desired location. Ensure the new fixture matches your style preferences and fits the space appropriately.
With all the necessary tools and materials, you are now ready to proceed to the next step: turning off the power.
Step 1: Turn Off the Power
Safety is of utmost importance when working with electrical fixtures. Before starting any work on the ceiling light, you must first turn off the power to the circuit at the breaker box. This step will help prevent any accidental shocks or electrical hazards.
Follow these guidelines to turn off the power:
- Locate the breaker box in your home. It is typically found in the basement, garage, or utility room.
- Open the breaker box cover by removing the screws or flipping the latch.
- Locate the circuit breaker corresponding to the ceiling light you will be working on. Typically, the breaker is labeled. If not, you may need to manually identify the right breaker by testing the light switch or using a voltage detector.
- Switch the breaker to the “off” position by pushing it firmly in the opposite direction.
- Double-check that the power is turned off by testing the light switch or using a voltage detector. Ensure that there is no live current running to the ceiling light.
It’s important to remember that the power must remain off throughout the entire installation process to avoid any electrical accidents. Take the necessary precautions to communicate with others in your household about the power outage and use caution when working near any exposed wires.
Now that the power is safely turned off, you can proceed to the next step: removing the existing ceiling light fixture.
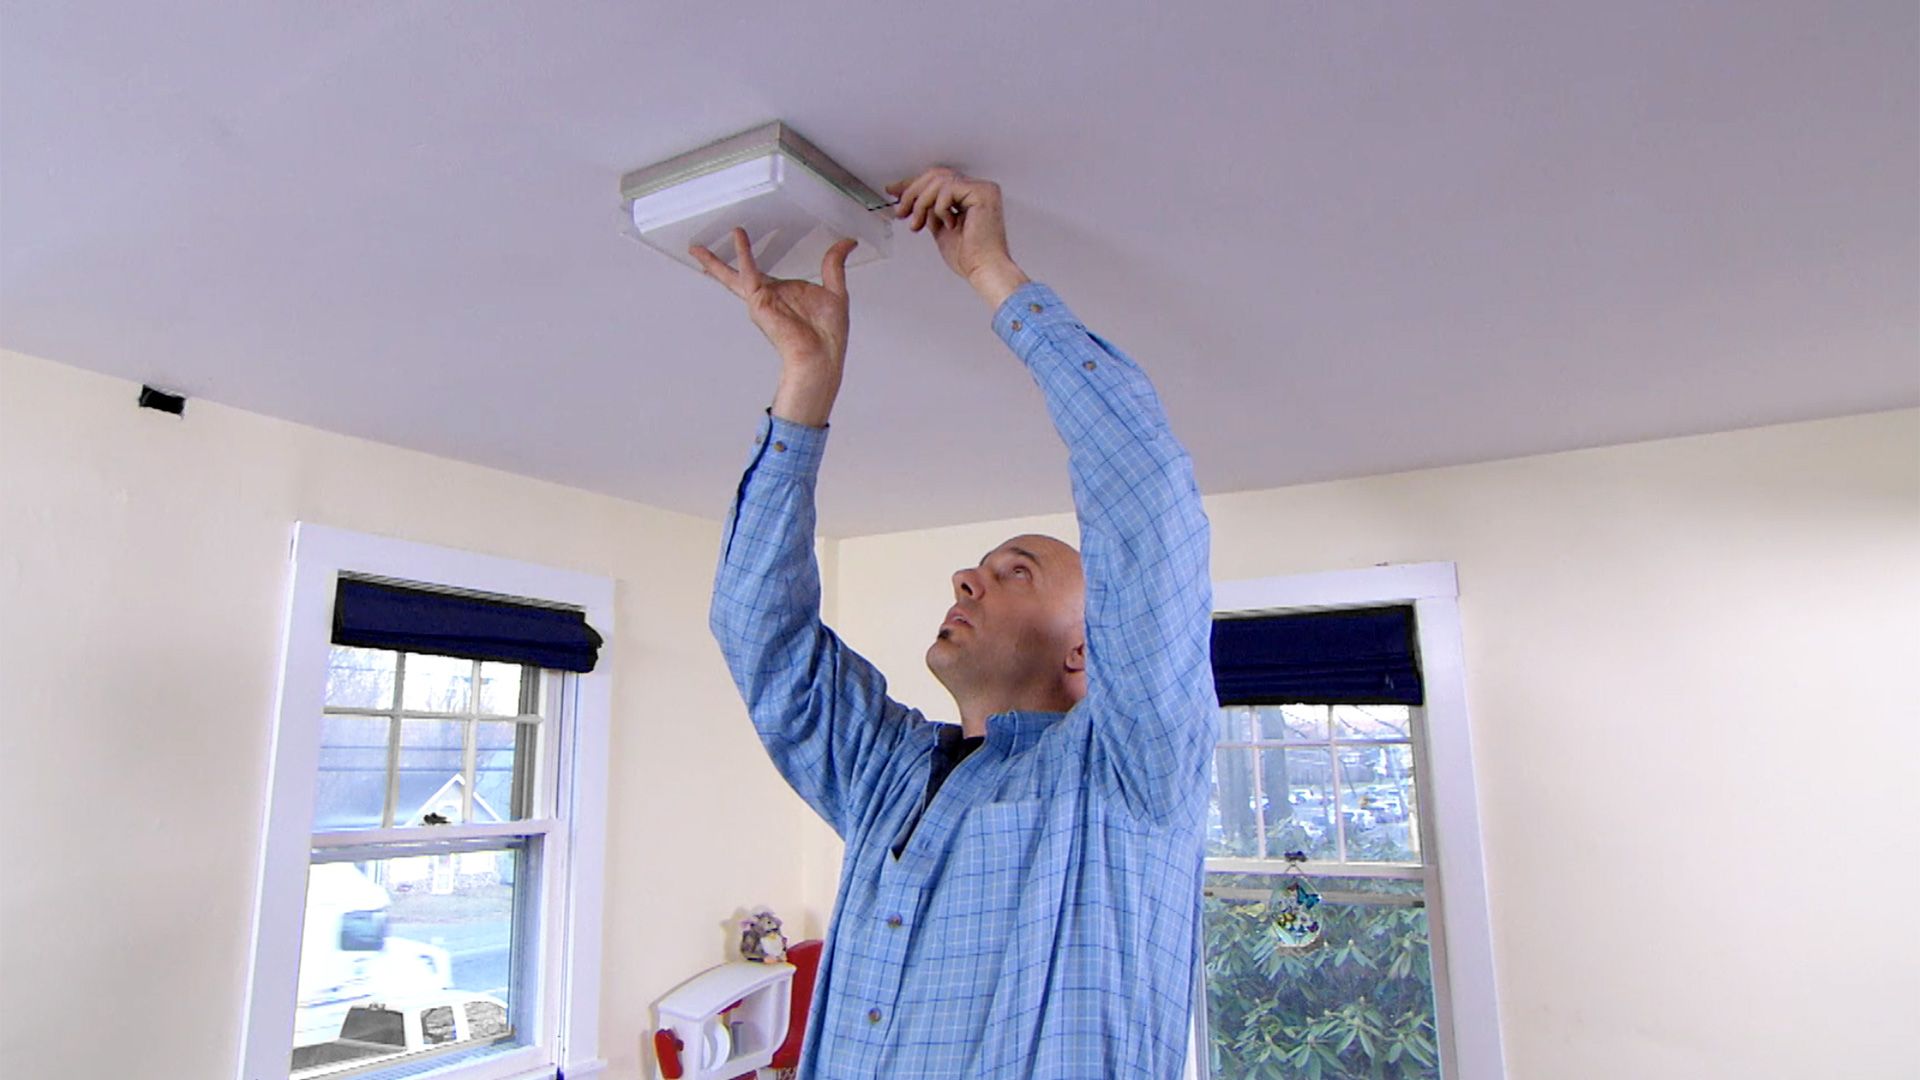
Step 2: Remove the Existing Ceiling Light
With the power turned off, you can now start the process of removing the existing ceiling light fixture. Follow these steps to ensure a smooth removal:
- Begin by removing any decorative coverings, such as glass shades or light bulbs, from the fixture. Set them aside in a safe place.
- Locate and remove the screws or fasteners that secure the fixture to the ceiling. Use a screwdriver appropriate for the type of screws used.
- Gently lower the fixture and disconnect any wiring connections. Be careful not to tug on the wires excessively.
- If there is a ceiling plate covering the electrical box, remove it by loosening the screws holding it in place.
- Once the fixture is completely detached, carefully set it aside. If you plan to reuse it or donate it, be sure to store it in a safe and dry location.
During this process, be mindful of any fragile or delicate components, such as glass shades or decorative elements. Handle them with care to avoid damage or injury.
Inspect the electrical box and wires for any signs of damage or wear. If you notice any issues, it’s advisable to consult a professional electrician before proceeding further.
With the existing ceiling light fixture removed, you are ready to move on to the next step: disconnecting the wiring.
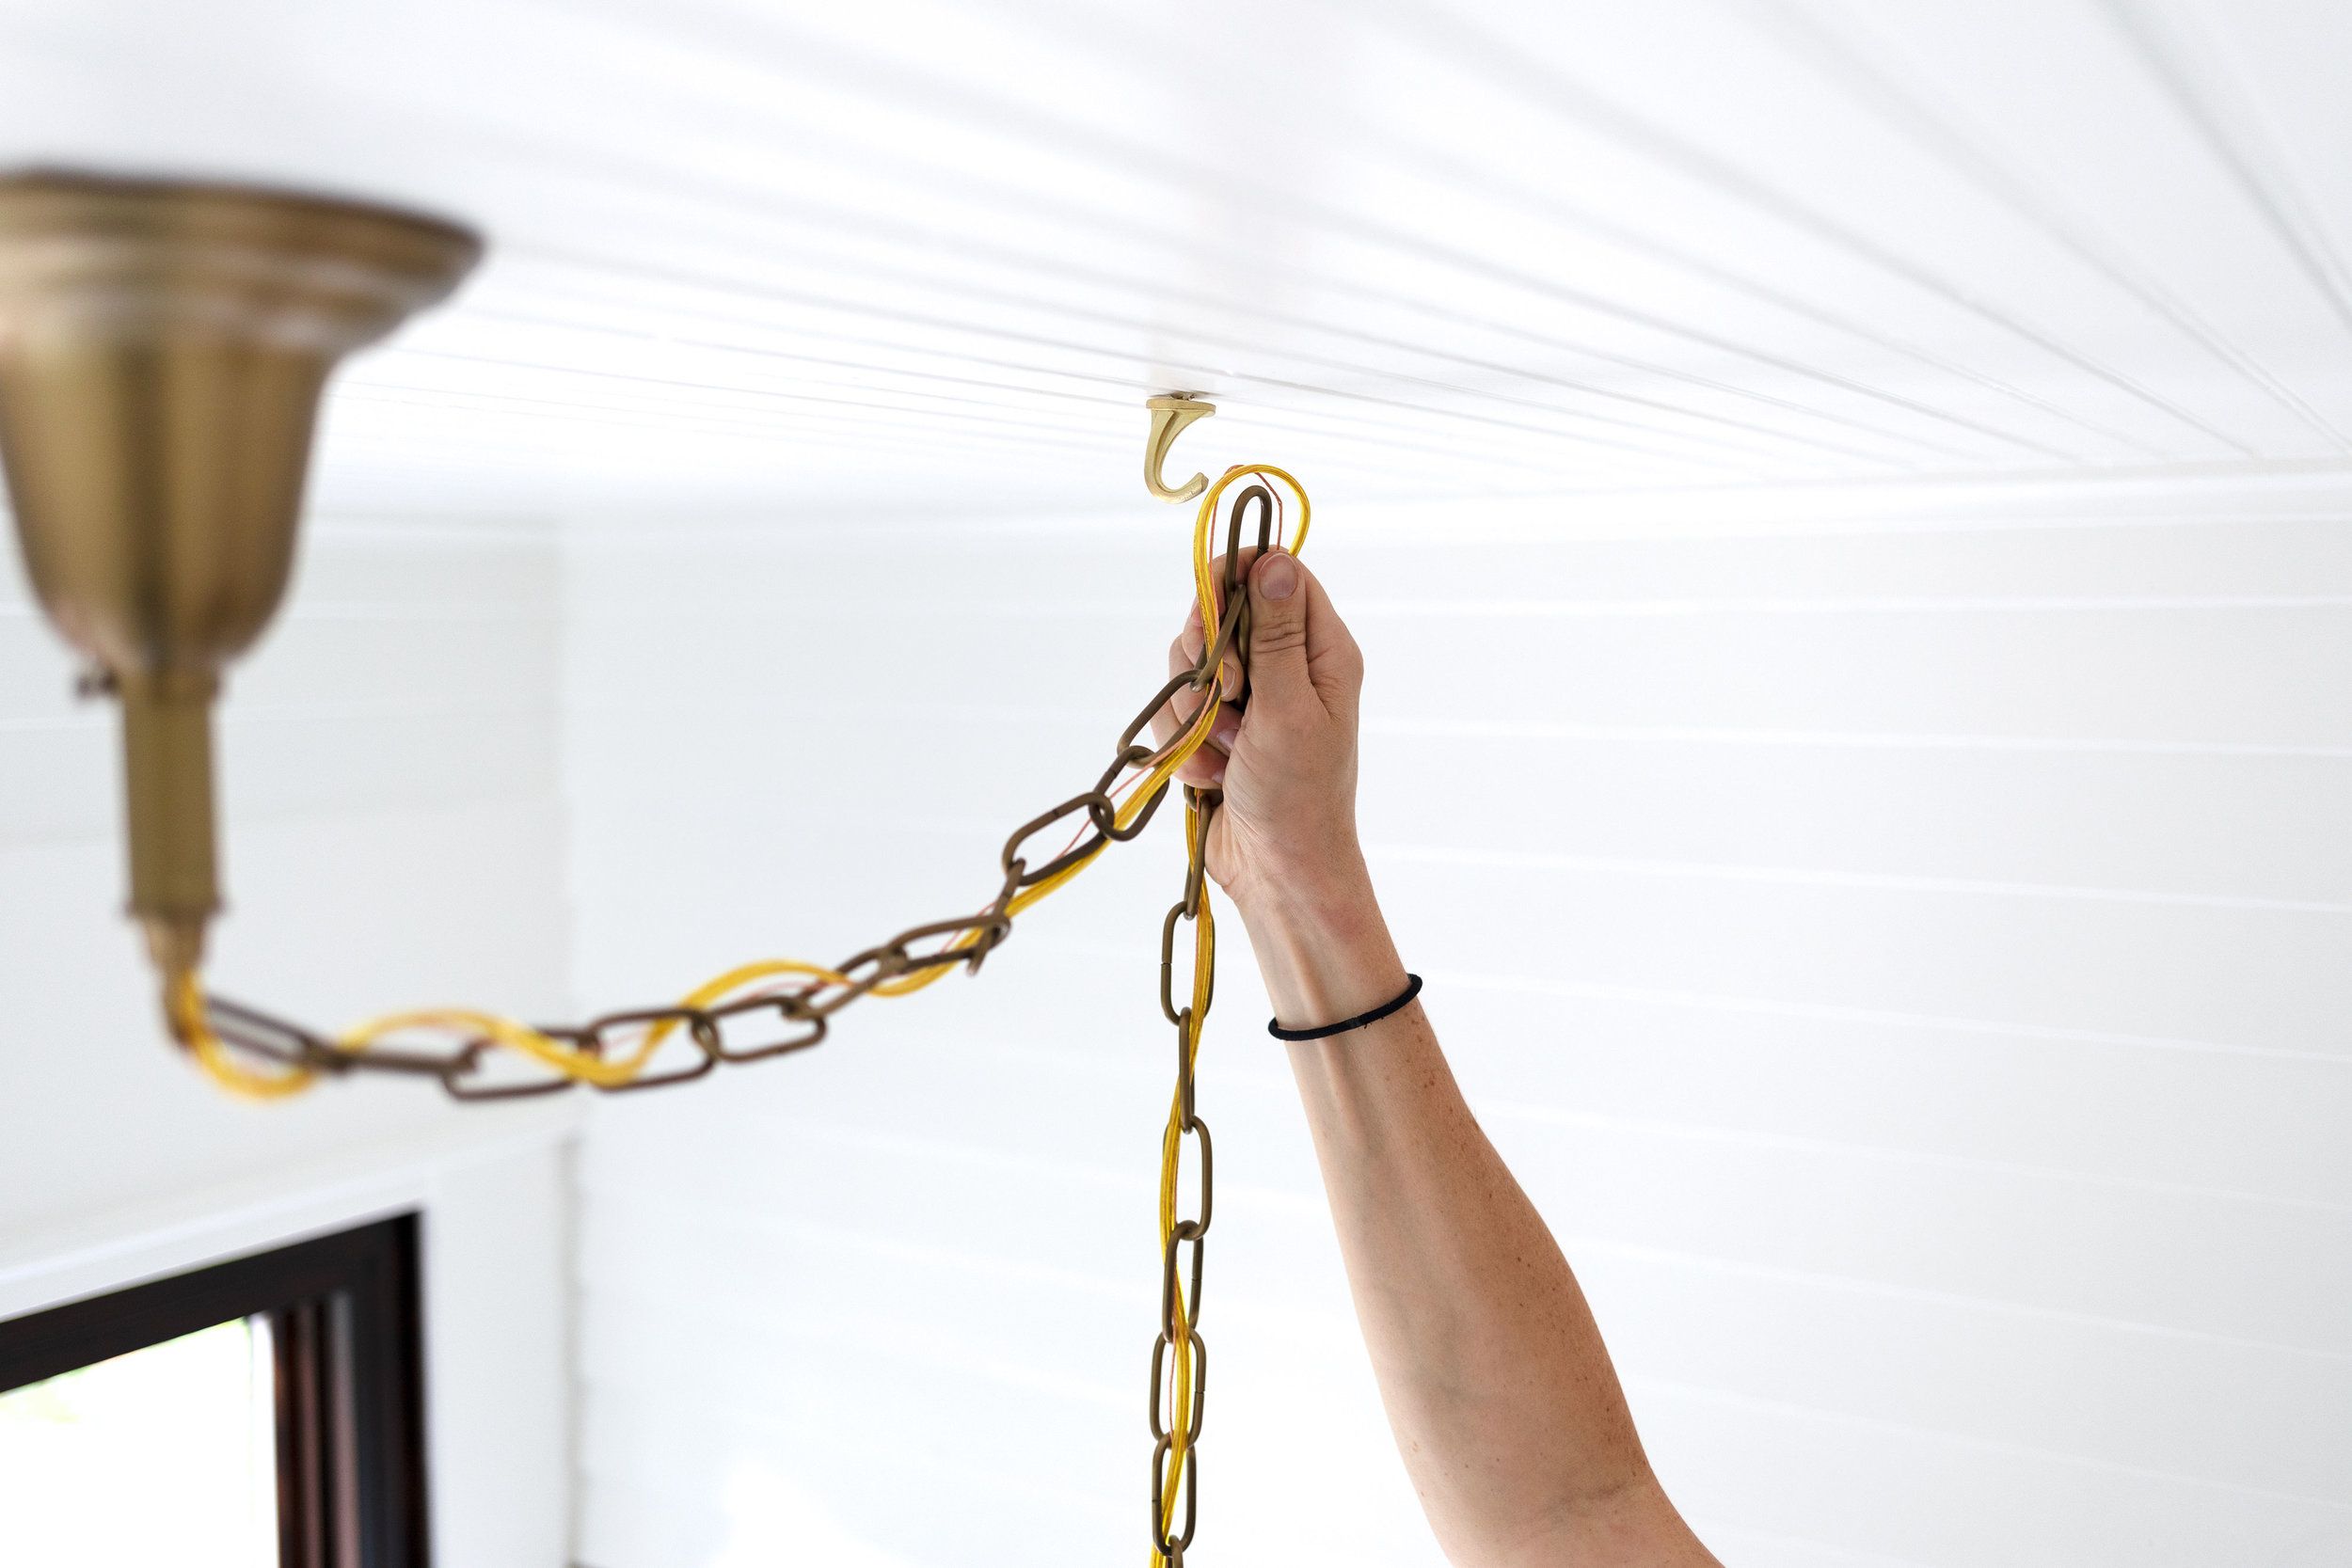
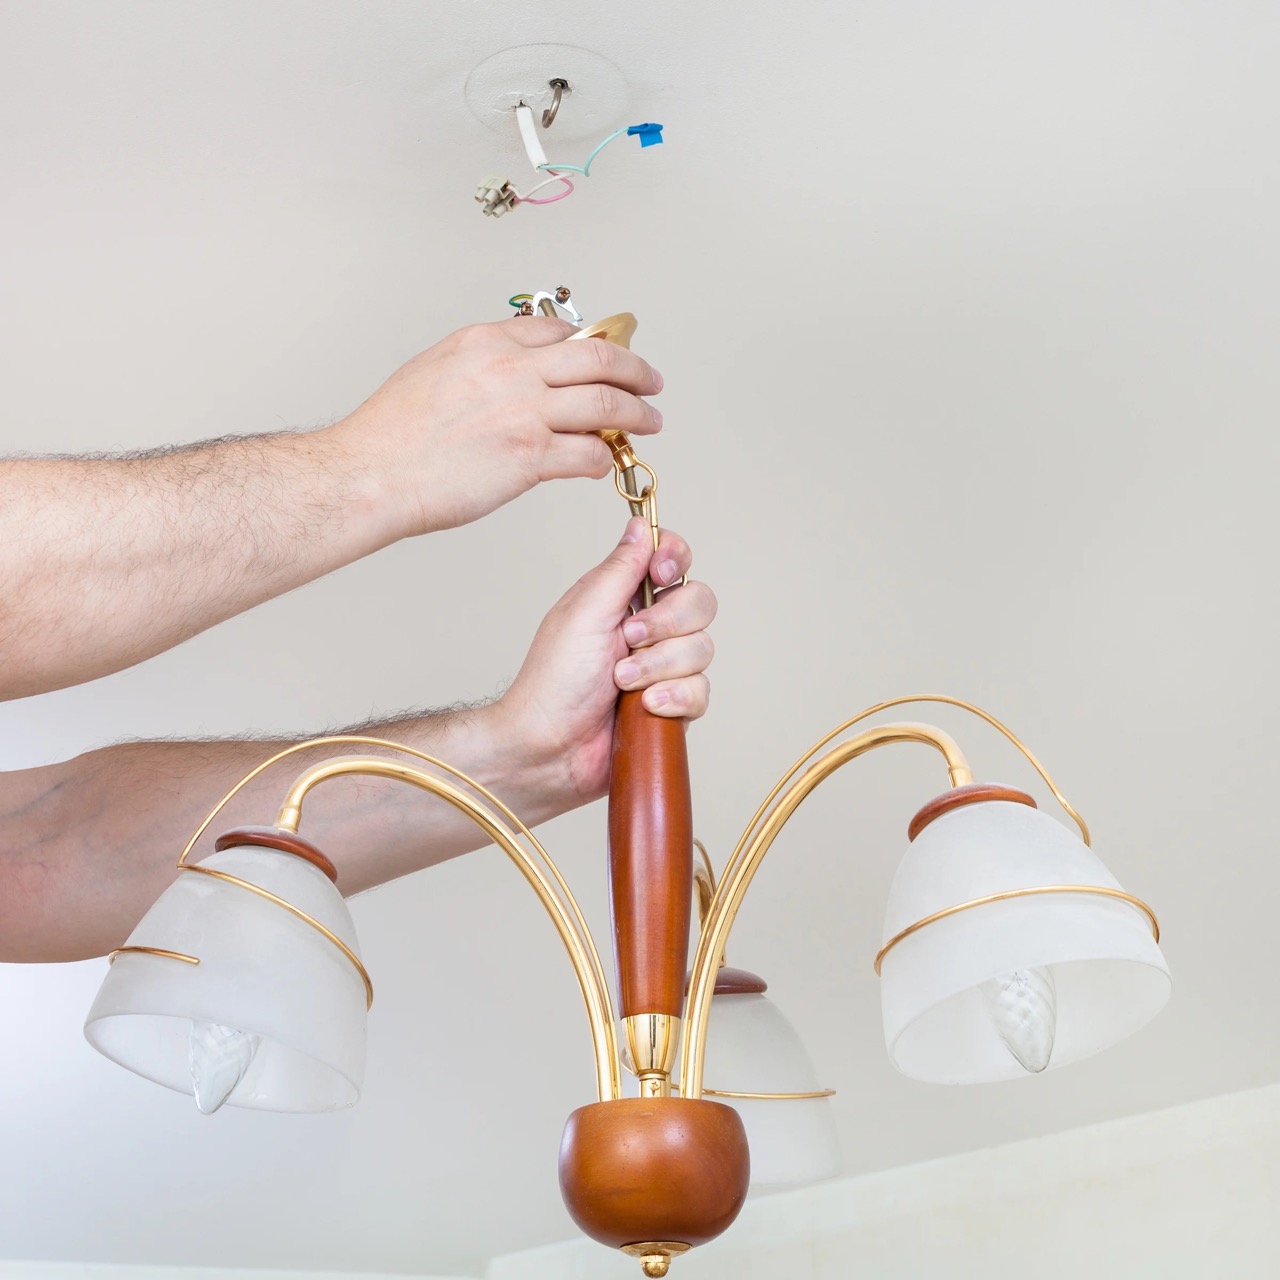
Step 3: Disconnect the Wiring
Now that the existing ceiling light fixture has been removed, it’s time to disconnect the wiring. Careful attention must be paid during this step to ensure a safe disconnection. Follow these steps:
- Using wire cutters, carefully strip back the insulation from the ends of the wires. This will expose the metal wire beneath.
- Identify the different colored wires: black (hot wire), white (neutral wire), and green or copper (ground wire).
- To disconnect the wires, loosen the wire connectors. Twist the connectors counterclockwise until they come off.
- Carefully pull the wires apart, ensuring that they do not touch each other or any metal surfaces.
- If there is a ground wire attached to the fixture, detach it from the grounding screw.
As you handle the wiring, be cautious not to damage the wires. Avoid twisting or bending them excessively, as this can lead to fraying or breakage.
Once the wires are disconnected and separated, double-check that they are not live by using an electrical tester or voltage detector. This additional precaution will help ensure your safety.
With the wiring successfully disconnected, you can now proceed to prepare the new ceiling light fixture for installation.
Read more: What Ceiling Fan Moves The Most Air
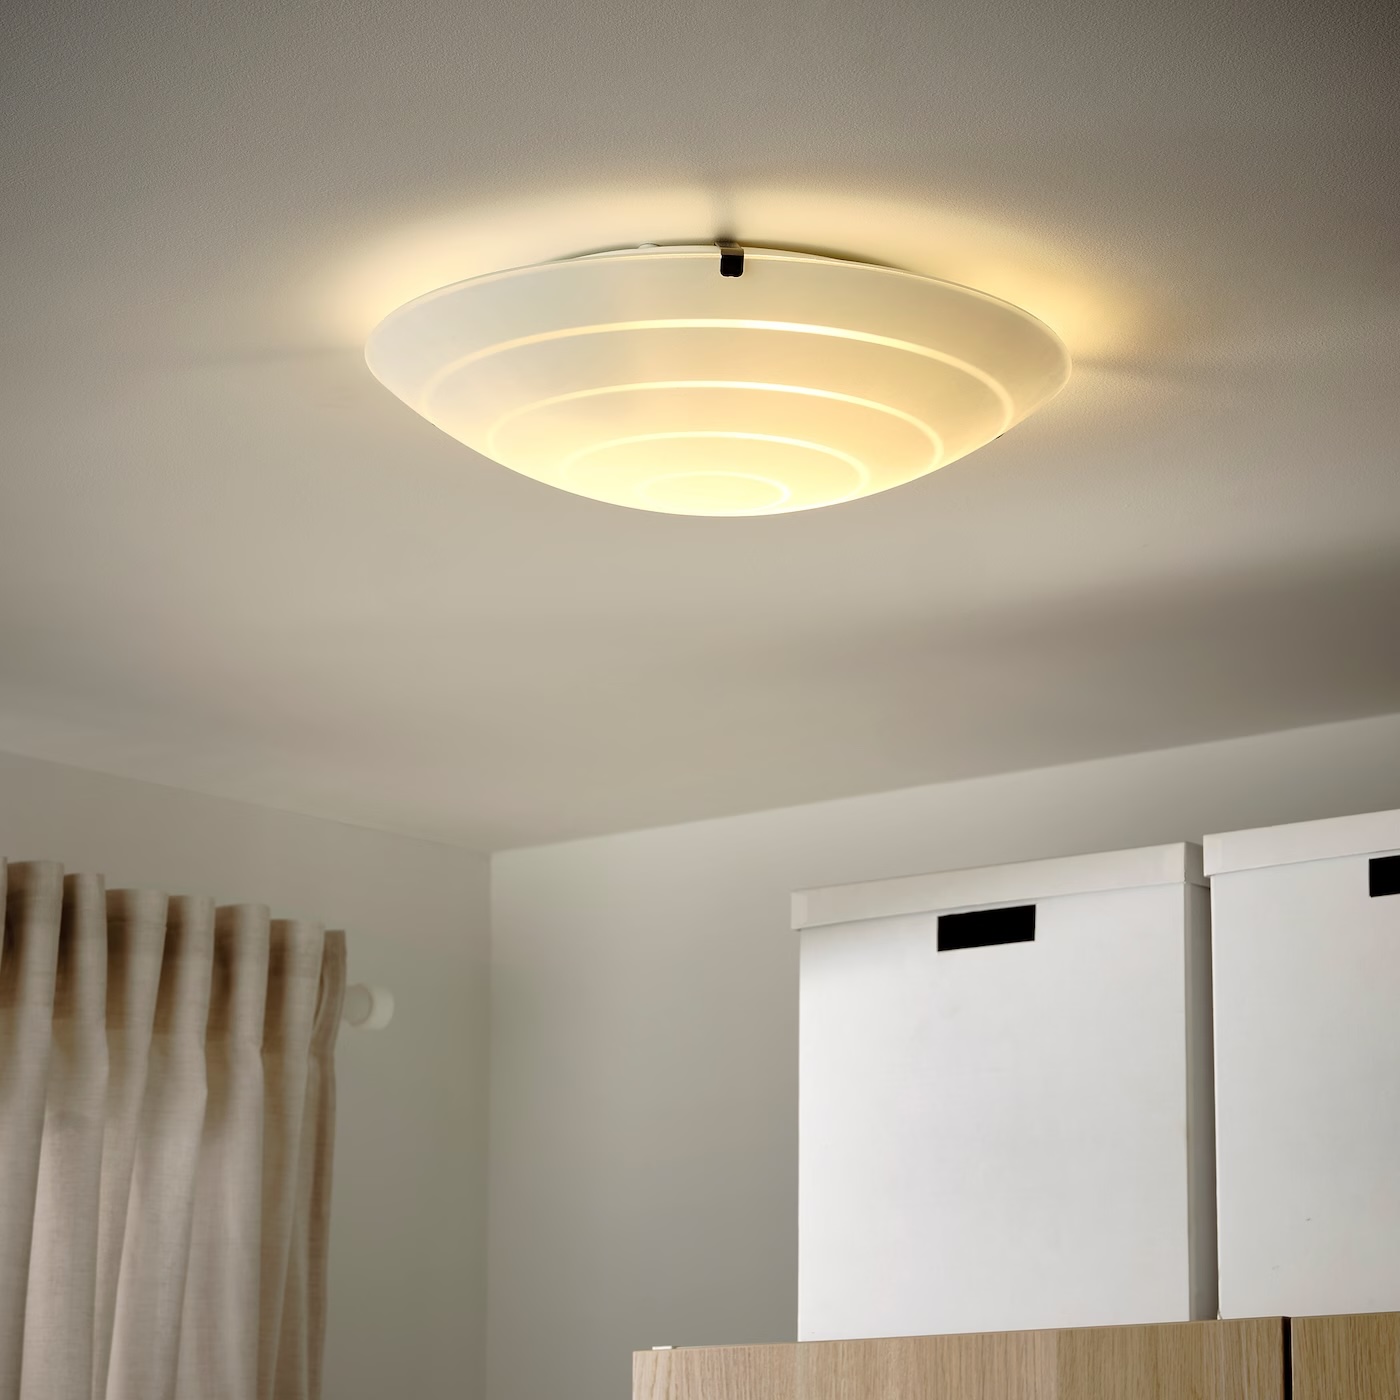
Step 4: Prepare the New Ceiling Light Fixture
Now that the old fixture and wiring are disconnected, it’s time to prepare the new ceiling light fixture for installation. Follow these steps to ensure proper preparation:
- Start by carefully unpacking the new ceiling light fixture and laying out all the components. Take note of any assembly instructions or additional parts that may be included.
- Inspect the fixture for any defects or damage. If you notice any issues, contact the manufacturer for assistance or consider returning it for a replacement.
- If necessary, assemble any components of the fixture according to the manufacturer’s instructions. This may include attaching mounting brackets, attaching decorative elements, or inserting light bulbs.
- Double-check that the dimensions of the new fixture are appropriate for the installation location. Measure the distance between the existing electrical box and the desired position for the new fixture to ensure a proper fit.
- Consider marking the location of the mounting holes on the ceiling to make the installation process easier later on.
During this step, it’s important to follow the manufacturer’s instructions and guidelines for your specific ceiling light fixture. Each fixture may have unique requirements, so take the time to read and understand the instructions thoroughly.
By properly preparing the new ceiling light fixture, you will ensure a smooth installation process and a secure final result. With the preparation complete, you can now move on to connecting the wiring for the new fixture.
Before moving a ceiling light, turn off the power at the circuit breaker to avoid any electrical hazards. Use a ladder and a partner for safety, and carefully disconnect the wiring before removing the light fixture. Keep track of the wires to ensure proper reinstallation.
Step 5: Connect the Wiring for the New Fixture
With the new ceiling light fixture prepared, it’s time to connect the wiring. Follow these steps to ensure a proper and secure connection:
- Start by matching the colored wires of the new fixture to the corresponding wires in the electrical box. Generally, this means connecting black to black (hot), white to white (neutral), and green or copper to ground.
- Hold the ends of the matching wires together and twist a wire connector clockwise onto the exposed ends. Make sure the connection is tight and secure.
- Once the wires are connected, gently push them up into the electrical box, taking care not to pinch or strain them.
- If the new fixture includes a ground wire, connect it to the grounding screw inside the electrical box. This helps ensure that the fixture is properly grounded for safety.
- Double-check that all the wire connections are secure and properly tightened. There should be no exposed wires or loose connections.
It’s crucial to carefully reference the manufacturer’s instructions for your specific fixture during this step. They may provide additional guidance or precautions to consider during the wiring process.
Once the wiring is securely connected, gently push any excess wiring into the electrical box and ensure it is clear of any moving parts or components. This will prevent interference or damage to the wires once the fixture is installed.
With the wiring successfully connected, you can now proceed to the next step: securing the new ceiling light fixture.
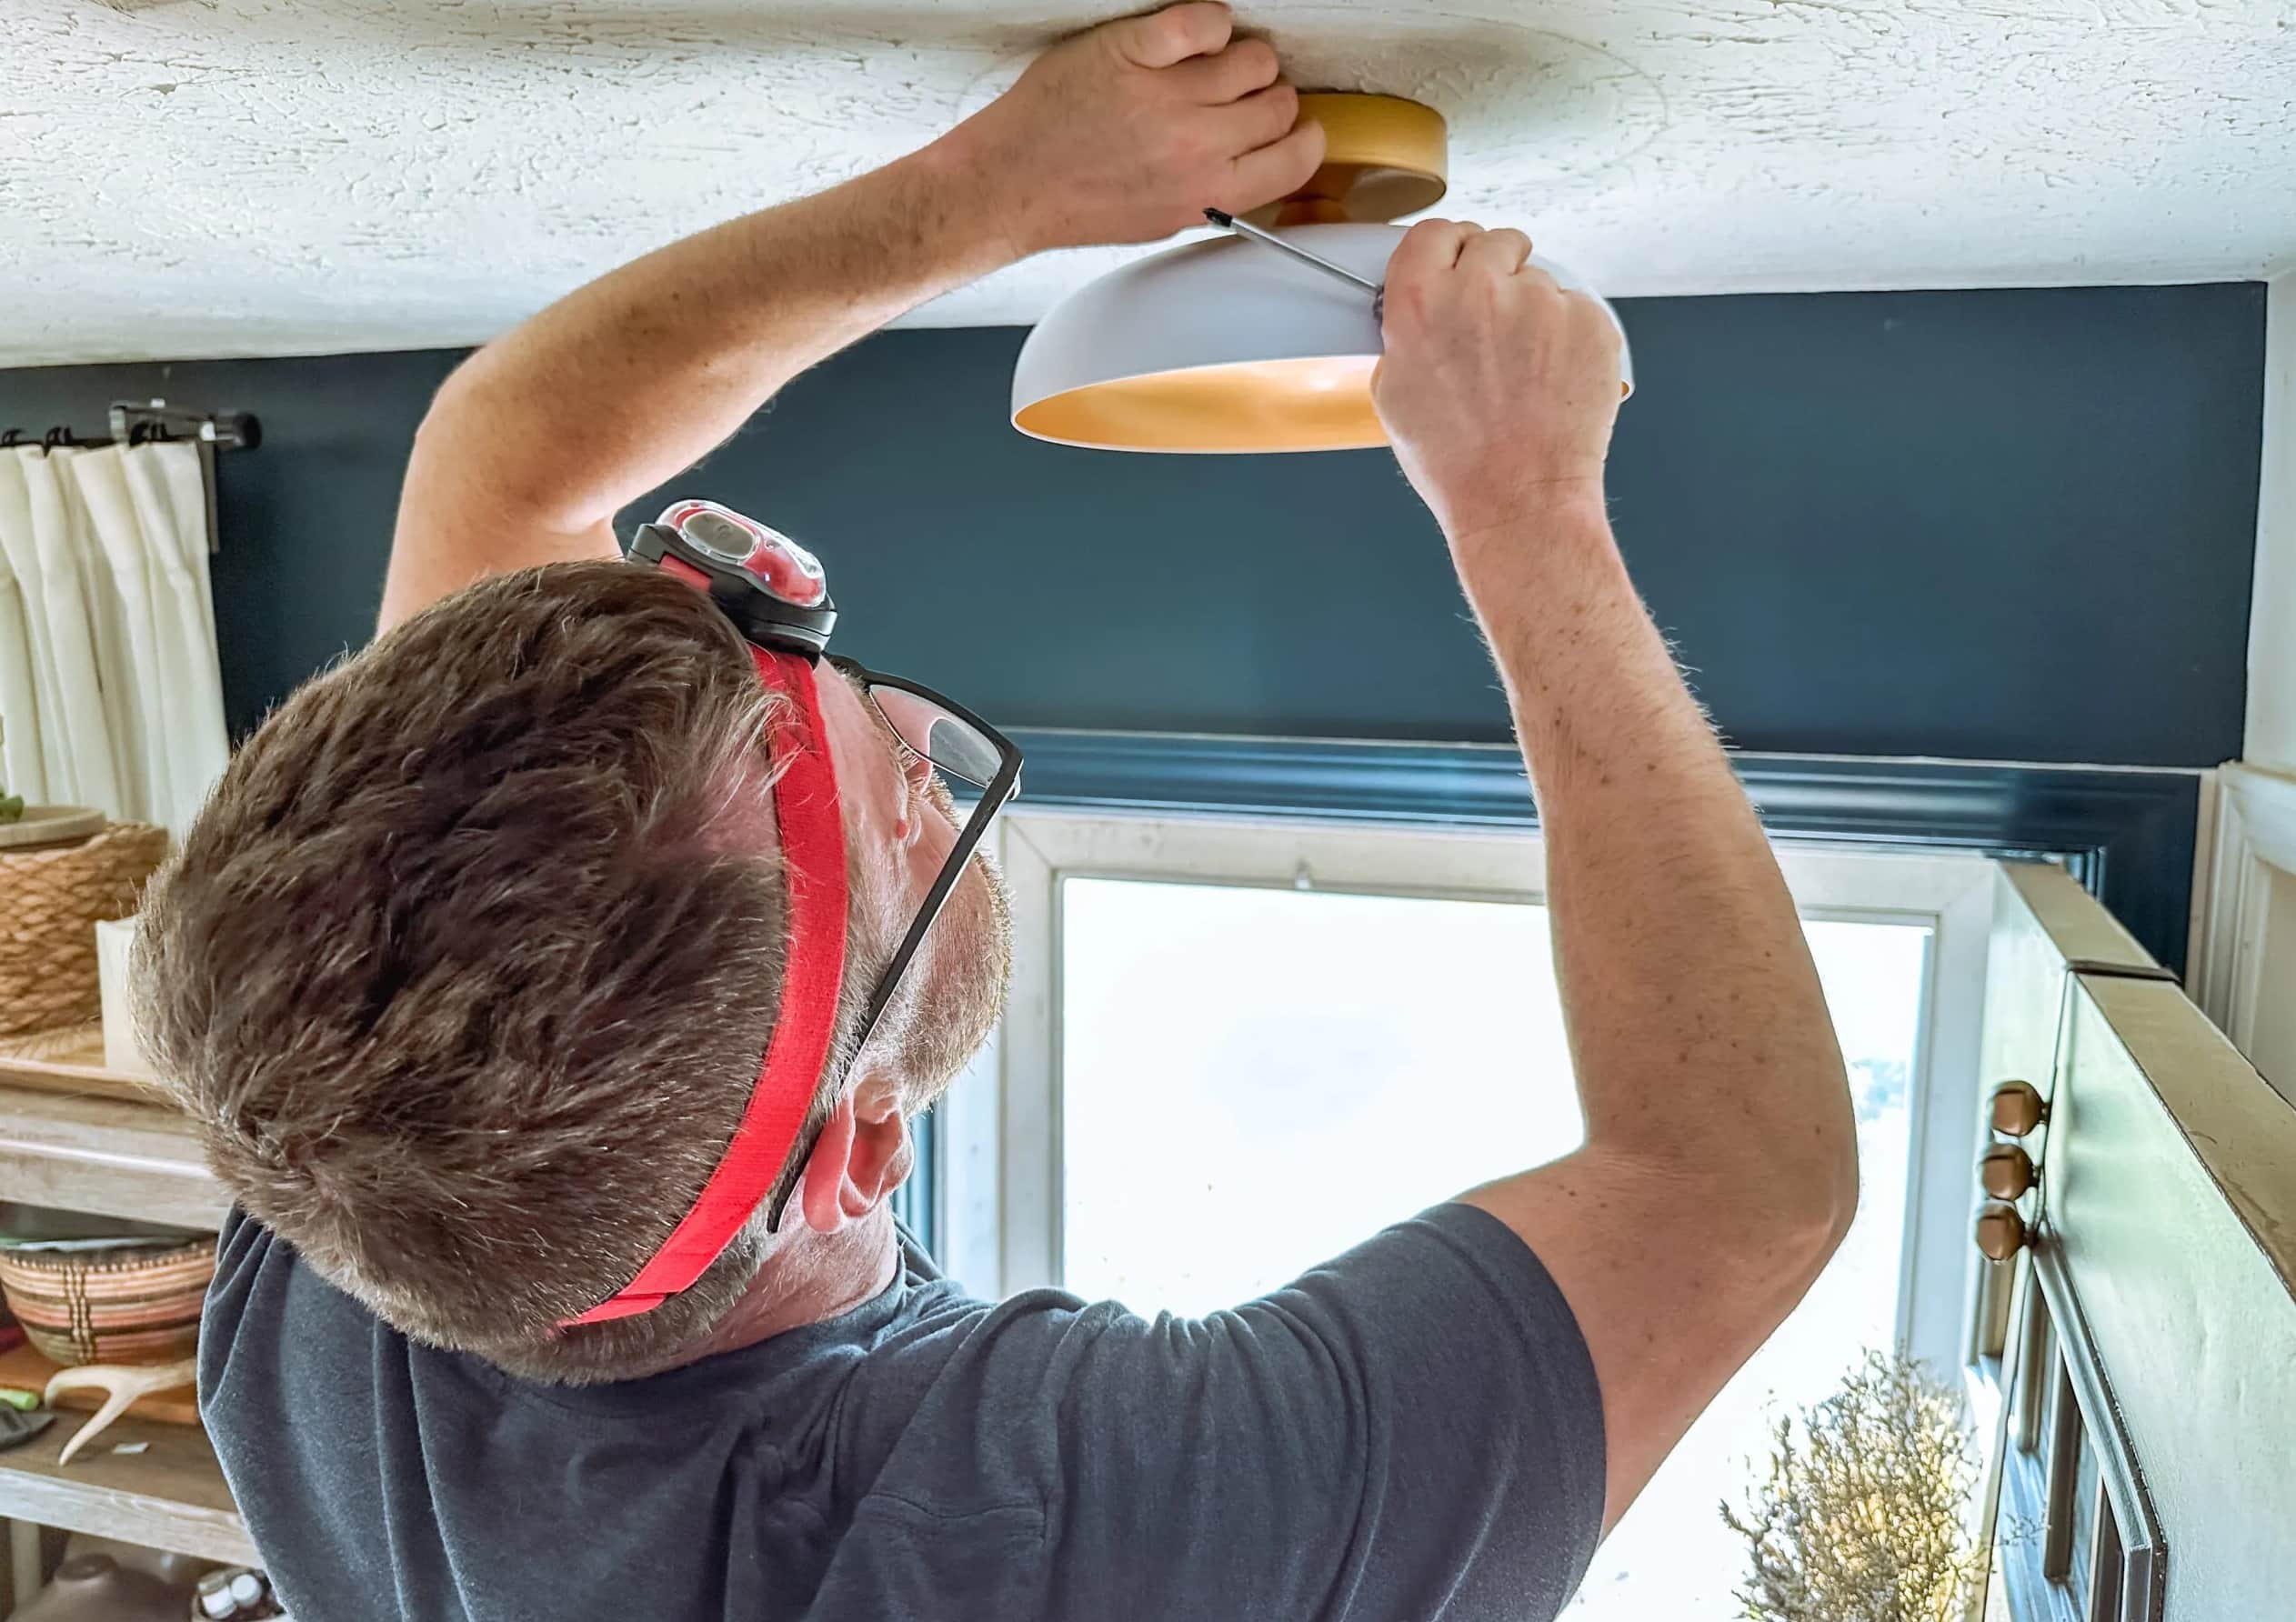
Step 6: Secure the New Ceiling Light
Now that the wiring is properly connected, it’s time to securely mount and install the new ceiling light fixture. Follow these steps to ensure a stable and secure installation:
- Align the mounting holes of the new fixture with the corresponding holes in the electrical box or mounting bracket.
- Insert the screws provided with the fixture through the holes and into the electrical box or bracket. Use a screwdriver to tighten them securely, but be careful not to overtighten and damage the fixture or the mounting surface.
- If the fixture has additional support screws or clips, follow the manufacturer’s instructions to install them for added stability.
- Gently tug on the fixture to ensure it is securely mounted and does not wobble or move excessively.
It’s important to note that the specific mounting process may vary depending on the design and type of fixture you are installing. Some fixtures may require unique installation techniques, such as using specialized brackets or mounting hardware.
Refer to the manufacturer’s instructions for your specific fixture to ensure the proper mounting procedure. If you encounter any difficulties or uncertainties, it may be beneficial to consult a professional electrician for assistance.
Once the new ceiling light fixture is securely mounted, you can proceed to the next step: testing the new light fixture.
Step 7: Test the New Light Fixture
After securely installing the new ceiling light fixture, it’s time to test its functionality and ensure everything is working properly. Follow these steps to test the new light fixture:
- Turn the power back on at the breaker box. Refer to the instructions outlined in Step 1 to safely restore power to the circuit.
- Flip the light switch associated with the new fixture to the “on” position.
- Observe the new light fixture to ensure it illuminates properly. Check for any flickering, dimming, or abnormal behavior.
- If the light is functioning as expected, carefully inspect the area around the fixture to ensure there are no signs of overheating, sparking, or unusual smells. If any irregularities are noticed, turn off the power immediately and consult a professional electrician.
- Test any additional features or functionalities of the new light fixture, such as dimmers or adjustable settings, to ensure they are working correctly.
During the testing phase, it’s crucial to pay attention to the behavior of the new light fixture. Any unexpected issues or malfunctions should be addressed promptly to prevent further complications or hazards.
If the light fixture does not function properly or exhibits any abnormalities, double-check the wiring connections and consult the manufacturer’s instructions for troubleshooting guidance. If necessary, seek assistance from a professional electrician for further inspection and repairs.
Once the new light fixture has been tested and confirmed to be working correctly, you can proceed to the final step: cleaning up and finalizing the installation.
Read more: How To Choose A Ceiling Light
Step 8: Clean up and Finalize
With the new ceiling light fixture successfully installed and tested, it’s time to complete the final steps and ensure a clean and finished appearance. Follow these steps to wrap up the installation:
- Turn off the power at the breaker box once again. This precautionary step ensures your safety while you work on finalizing the installation.
- Remove any protective coverings or tape that were used during the installation process. Take care not to damage the fixture or any surrounding surfaces.
- Inspect the area around the ceiling light fixture for any dust, debris, or loose wires. Use a clean, dry cloth or a vacuum with a soft brush attachment to carefully clean the area.
- If necessary, touch up or paint the surrounding ceiling area to cover any marks or imperfections left from the previous fixture installation. Allow ample time for the paint to dry before touching or reapplying power.
- Double-check that all screws and fasteners used during the installation are tightened securely.
- Once you are satisfied with the cleanliness and final appearance of the installation, restore power to the circuit at the breaker box.
After completing these steps, take a moment to admire your newly installed and operational ceiling light fixture. Enjoy the enhanced lighting and ambiance it brings to the space.
Remember to keep the manufacturer’s instructions and any warranty information in a safe place for future reference. If you encounter any issues or concerns with the new fixture down the line, consult the manufacturer or a professional electrician for assistance.
Congratulations! You have successfully moved a ceiling light and completed the installation process. Your efforts will undoubtedly contribute to the improved functionality and aesthetics of the room.
Finally, please ensure that you properly dispose of any packaging materials and clean up the work area, leaving it clean and organized.
Thank you for following this step-by-step guide. We hope this article has been helpful and that your new ceiling light brings joy and illumination to your space for years to come.
Conclusion
Moving a ceiling light can be a rewarding and transformative project that allows you to update the look and functionality of a room. Throughout this step-by-step guide, we have walked you through the process of moving a ceiling light fixture, providing detailed instructions to help you navigate each stage with confidence.
From turning off the power and removing the existing fixture to disconnecting the wiring, preparing the new fixture, and securing it in place, you have learned the essential steps necessary for a successful installation. We have also emphasized the importance of safety and following manufacturer guidelines to ensure the best possible outcome.
By understanding the tools and materials needed, and taking the time to properly disconnect and reconnect the wiring, you have set a strong foundation for a safe and functional installation. Additionally, testing the new light fixture and completing the final steps of cleaning up and finalizing the installation will leave you with a well-illuminated and aesthetically pleasing space.
Remember, if you ever feel uncertain or uncomfortable performing electrical work, it is always best to consult a professional electrician for assistance. Safety should always be a priority when working with electrical fixtures.
We hope that this guide has provided you with the knowledge and confidence to successfully move a ceiling light. By incorporating your personal style and preferences, you can create a visually captivating and well-lit environment that enhances your home or workspace.
Thank you for joining us on this journey, and we wish you the best of luck in your lighting endeavors!
Frequently Asked Questions about How To Move Ceiling Light
Was this page helpful?
At Storables.com, we guarantee accurate and reliable information. Our content, validated by Expert Board Contributors, is crafted following stringent Editorial Policies. We're committed to providing you with well-researched, expert-backed insights for all your informational needs.


0 thoughts on “How To Move Ceiling Light”