Home>Home Appliances>Lighting Appliances>How To Cover A Ceiling Light Hole
Lighting Appliances
How To Cover A Ceiling Light Hole
Modified: February 18, 2024
Learn how to cover a ceiling light hole with our step-by-step guide. Find solutions for lighting-appliances and improve the look of your ceiling.
(Many of the links in this article redirect to a specific reviewed product. Your purchase of these products through affiliate links helps to generate commission for Storables.com, at no extra cost. Learn more)
Introduction
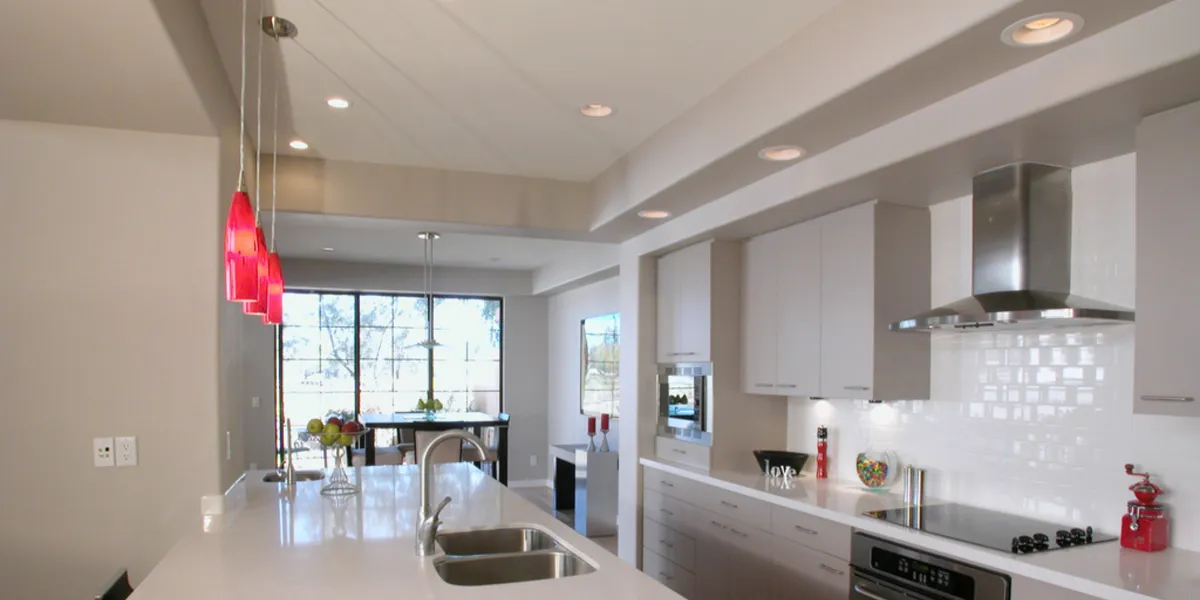
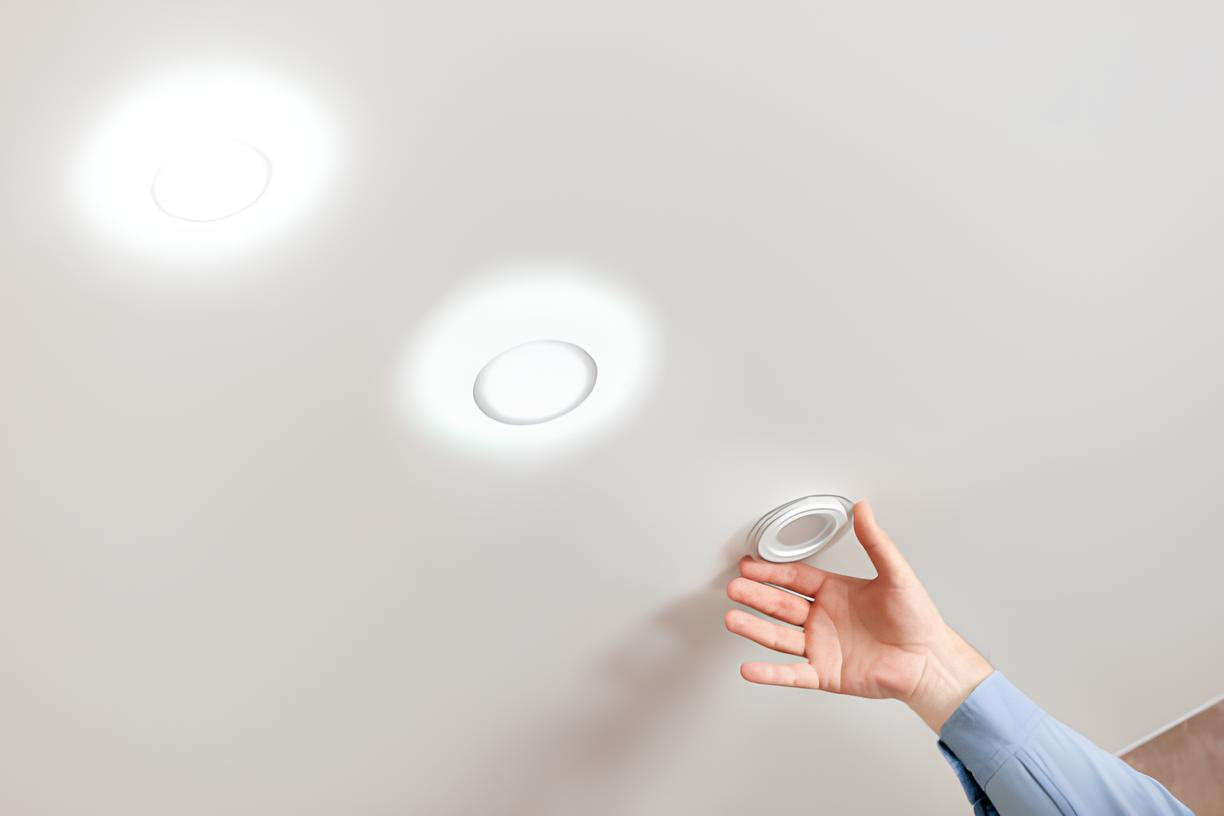
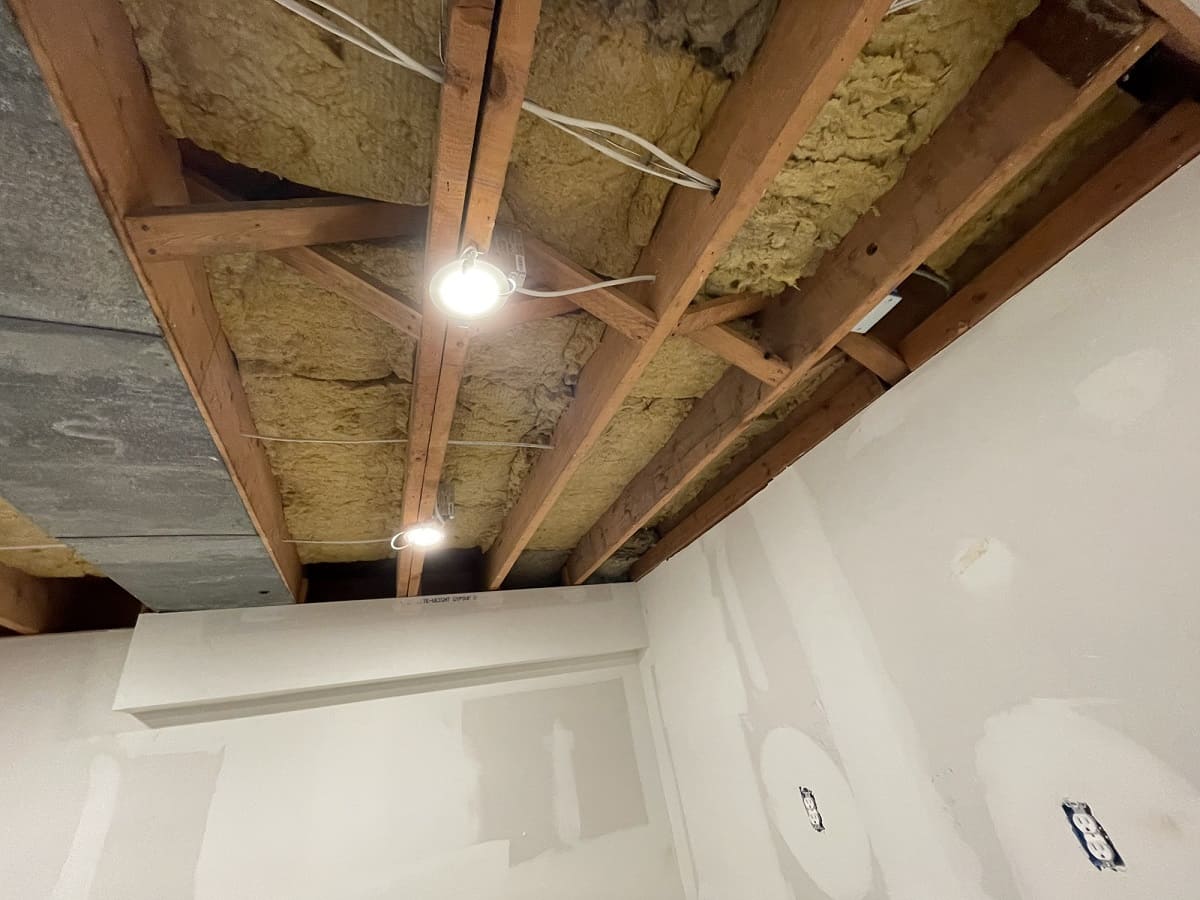
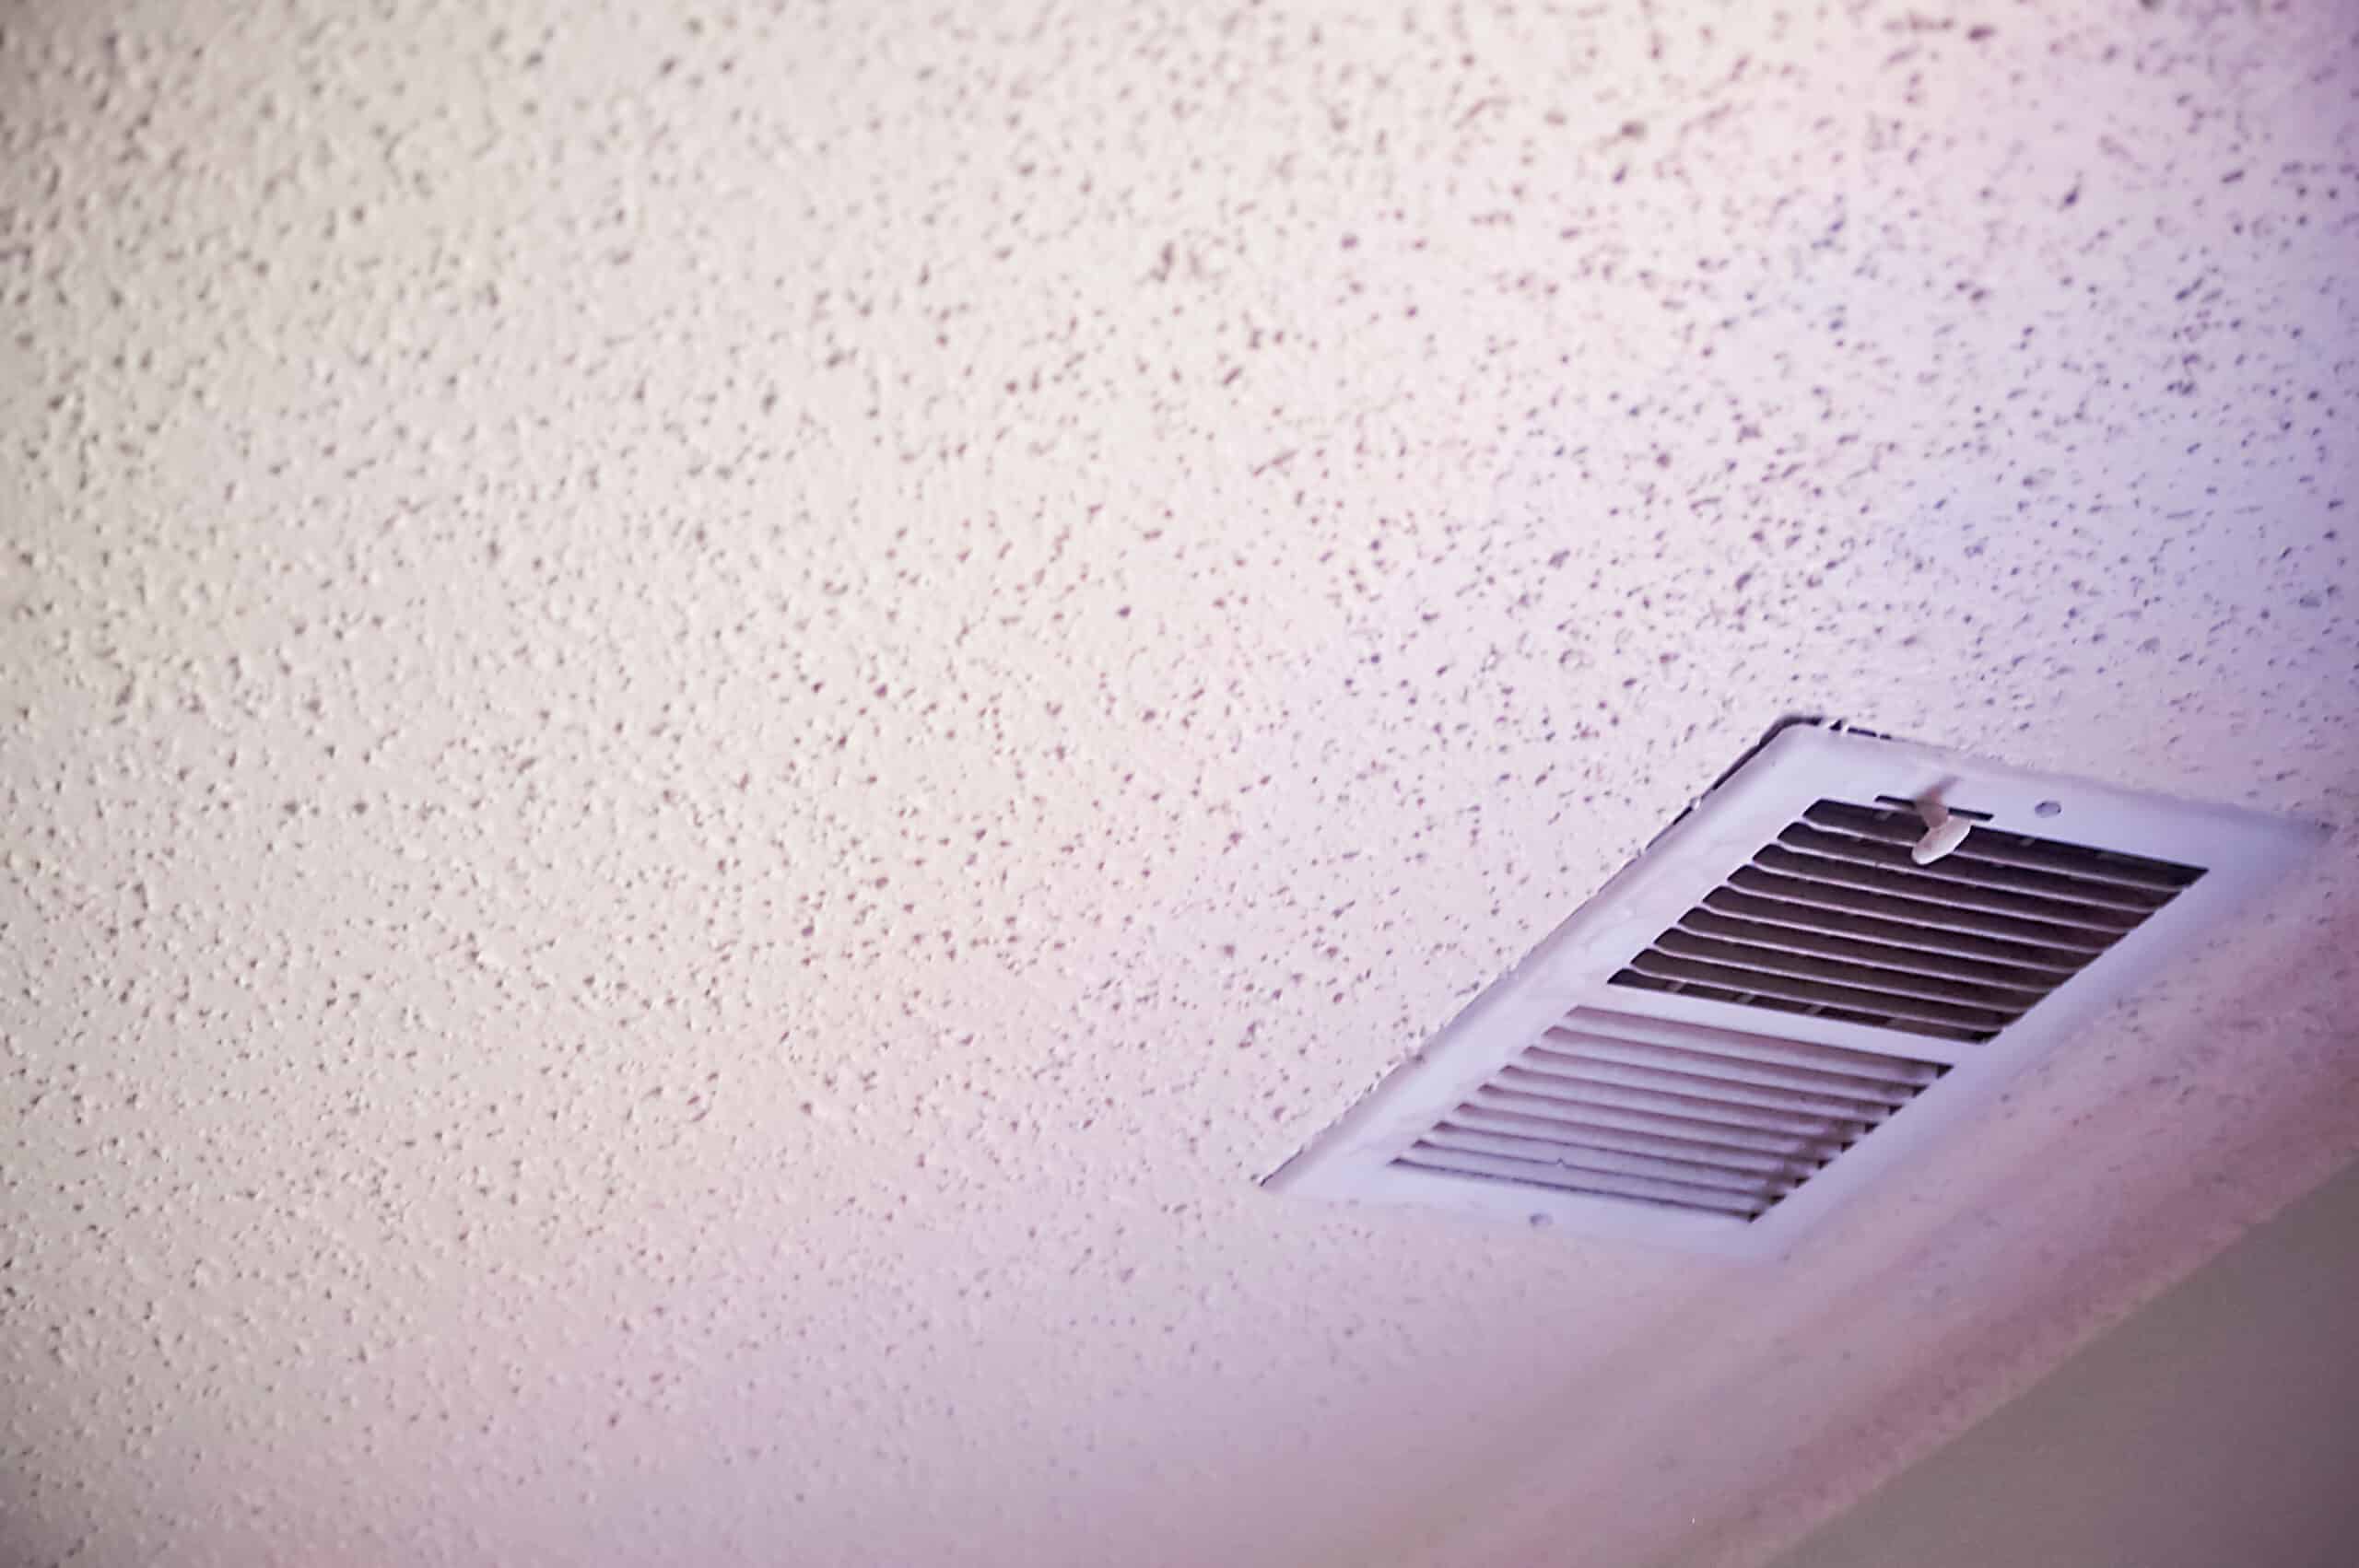
Covering a ceiling light hole is a common task that many homeowners encounter when updating their lighting fixtures or making renovations. Whether you're replacing an old light fixture with a new one or simply removing a ceiling light altogether, it's essential to know how to properly cover the resulting hole in the ceiling. This process not only ensures a seamless and polished look but also prevents drafts and dust from entering your living space.
In this comprehensive guide, we will walk you through the step-by-step process of covering a ceiling light hole with precision and confidence. From gathering the necessary materials to finishing and painting the patch, you'll gain valuable insights into transforming an unsightly hole into a smooth, flawless surface. With the right tools and techniques at your disposal, you can tackle this project with ease and achieve professional-looking results.
Whether you're a seasoned DIY enthusiast or a novice homeowner eager to take on a new challenge, mastering the art of covering a ceiling light hole will empower you to enhance the aesthetics and functionality of your living space. By following the instructions outlined in this guide, you'll be equipped to tackle this task with confidence, knowing that you're creating a finished look that adds value and appeal to your home.
So, let's dive into the process of covering a ceiling light hole and discover the gratifying satisfaction of transforming a seemingly daunting task into a rewarding accomplishment. With each step, you'll gain the knowledge and skills needed to complete this project efficiently and effectively, leaving you with a beautifully restored ceiling that enhances the overall ambiance of your home.
Key Takeaways:
- Transform an unsightly ceiling light hole into a seamless surface by following precise steps, from gathering materials to finishing and painting. Achieve professional results and enhance your home’s ambiance with confidence.
- Master the art of covering a ceiling light hole with meticulous measurements, precise cutting, and expert installation techniques. Elevate your home’s aesthetic appeal and add value with a flawlessly restored ceiling.
Read more: How To Fix A Ceiling Light Hole
Step 1: Gather the necessary materials
Before embarking on the task of covering a ceiling light hole, it's crucial to gather all the essential materials and tools to ensure a smooth and efficient process. Here's a comprehensive list of items you'll need:
Materials:
- Drywall Patch: A piece of drywall that is slightly larger than the hole in the ceiling.
- Drywall Screws: These will be used to secure the drywall patch in place.
- Drywall Joint Compound: Also known as mud, this is used to cover the seams and screws.
- Drywall Tape: Reinforces the seams between the patch and the existing ceiling.
- Primer: A high-quality primer ensures proper adhesion and a smooth finish for the paint.
- Paint: Choose a paint color that matches the ceiling for a seamless look.
- Painter's Tape: Helps protect surrounding areas from paint splatter.
- Sandpaper: Used for smoothing the joint compound and preparing the surface for painting.
Tools:
- Utility Knife: Essential for cutting the drywall patch to the required size.
- Screwdriver: Used to drive the drywall screws into place.
- Drywall Saw: Enables precise cutting of the ceiling drywall to accommodate the patch.
- Putty Knife: For applying the joint compound and smoothing it over the patch.
- Paintbrushes and Rollers: Used for applying the primer and paint to the patched area.
- Measuring Tape: Ensures accurate measurements for cutting the drywall patch.
By ensuring that you have all these materials and tools on hand, you'll be well-prepared to tackle the task of covering a ceiling light hole effectively. With the right resources at your disposal, you can proceed with confidence, knowing that you have everything needed to achieve a professional and polished result.
Step 2: Measure the hole
Accurate measurements are crucial when covering a ceiling light hole to ensure a precise fit for the drywall patch. Before proceeding with any cutting or installation, it's essential to measure the dimensions of the hole with precision. Here's a detailed guide on how to measure the hole effectively:
-
Assess the Size: Begin by assessing the size of the hole in the ceiling. Use a measuring tape to determine the width and length of the hole. Ensure that the measurements are taken from the edges of the hole to accurately gauge the dimensions.
-
Record the Measurements: Once you have the width and length of the hole, record the measurements on a piece of paper or in a note-taking app on your smartphone. It's important to have these measurements readily available as you proceed with the next steps of the process.
-
Check for Irregularities: While measuring the hole, check for any irregularities or obstructions around the perimeter. Ensure that the area surrounding the hole is free from any protruding wires, debris, or structural elements that may impede the installation of the drywall patch.
-
Account for Overlap: When cutting the drywall patch, it's advisable to add a slight overlap beyond the measured dimensions of the hole. This ensures that the patch will adequately cover the hole and provide a seamless surface for further finishing and painting.
-
Double-Check the Measurements: Before proceeding to the next step, double-check the measurements to confirm their accuracy. Accuracy at this stage is crucial to avoid any issues during the installation of the patch.
By meticulously measuring the hole and recording the dimensions accurately, you set the stage for a successful installation of the drywall patch. These precise measurements will serve as a guide as you move forward with cutting the patch and preparing it for seamless integration into the ceiling. With attention to detail and a focus on precision, you can proceed to the next step of the process with confidence, knowing that you have laid the groundwork for a professional and polished outcome.
Read more: How To Cover A Chimney Hole
Step 3: Cut a patch of drywall
Once you have accurately measured the dimensions of the ceiling light hole, the next crucial step is to cut a patch of drywall that perfectly fits the opening. This process requires precision and attention to detail to ensure a seamless integration of the patch into the ceiling. Here's a comprehensive guide on how to cut a patch of drywall effectively:
-
Prepare the Drywall Patch: Using a utility knife, carefully cut a piece of drywall that matches the dimensions of the hole. It's essential to cut the patch slightly larger than the measured dimensions to allow for a precise fit. Ensure that the edges of the patch are smooth and free from any jagged or uneven areas.
-
Mark the Cutting Lines: With the measurements in hand, use a pencil to mark the cutting lines on the drywall patch. Double-check the markings to ensure that they align with the dimensions of the hole. Precision at this stage is crucial to avoid any inaccuracies during the cutting process.
-
Use a Drywall Saw: Employ a drywall saw to cut along the marked lines on the patch. Exercise caution and steady hand movements to achieve clean and precise cuts. It's important to follow the marked lines closely to ensure that the patch fits seamlessly into the hole without any gaps or overlaps.
-
Test the Fit: Once the patch has been cut, carefully test its fit into the ceiling light hole. The patch should fit snugly and align with the surrounding ceiling surface. If adjustments are needed, use the utility knife to trim any excess areas until the patch fits perfectly into the opening.
-
Smooth the Edges: After achieving the perfect fit, use sandpaper to smooth the edges of the patch. This step ensures that the edges are even and free from any roughness, preparing the patch for seamless integration into the ceiling.
By following these detailed steps, you can effectively cut a patch of drywall that aligns precisely with the dimensions of the ceiling light hole. This meticulous approach sets the stage for a seamless installation of the patch, laying the foundation for a professional and polished outcome. With the patch cut to perfection, you are now ready to proceed to the next step of the process with confidence and precision.
Step 4: Install the patch
With the perfectly cut drywall patch in hand, it's time to proceed with the crucial step of installing it to cover the ceiling light hole. This process requires precision and attention to detail to ensure a seamless integration of the patch into the ceiling. Here's a comprehensive guide on how to install the patch effectively:
-
Position the Patch: Begin by carefully positioning the drywall patch over the hole in the ceiling. Ensure that the patch aligns perfectly with the surrounding surface, sitting flush and level with the rest of the ceiling. Take the time to make any necessary adjustments to achieve a precise fit.
-
Secure the Patch: Using drywall screws, secure the patch in place by driving the screws through the patch and into the existing ceiling. Place the screws at regular intervals along the edges of the patch to ensure that it is firmly anchored and does not shift once installed. Exercise caution to avoid over-tightening the screws, which could potentially damage the patch or surrounding drywall.
-
Cover the Seams: Once the patch is securely in place, it's time to cover the seams with drywall joint compound. Using a putty knife, apply a thin layer of joint compound over the seams where the patch meets the existing ceiling. This step is crucial for creating a smooth and seamless transition between the patch and the surrounding surface.
-
Apply Drywall Tape: After applying the joint compound, carefully place drywall tape over the seams, pressing it firmly into the compound. The tape reinforces the seams and prevents cracking, ensuring a durable and long-lasting finish. Smooth out any air bubbles or wrinkles in the tape to achieve a flat surface.
-
Smooth the Surface: Once the joint compound and tape are in place, use the putty knife to apply an additional layer of compound over the tape, smoothing it out to create a seamless surface. It's essential to feather the edges of the compound to blend it with the surrounding ceiling, creating a uniform and polished appearance.
-
Allow for Drying Time: After completing the application of joint compound and tape, allow sufficient time for the compound to dry as per the manufacturer's recommendations. This drying period is essential for achieving a solid and stable foundation for the next step of the process.
By following these detailed steps, you can effectively install the drywall patch to cover the ceiling light hole with precision and confidence. This meticulous approach sets the stage for a seamless integration of the patch into the ceiling, laying the foundation for a professional and polished outcome. With the patch securely installed and the seams expertly covered, you are now ready to proceed to the next step of the process, bringing you closer to achieving a flawlessly restored ceiling.
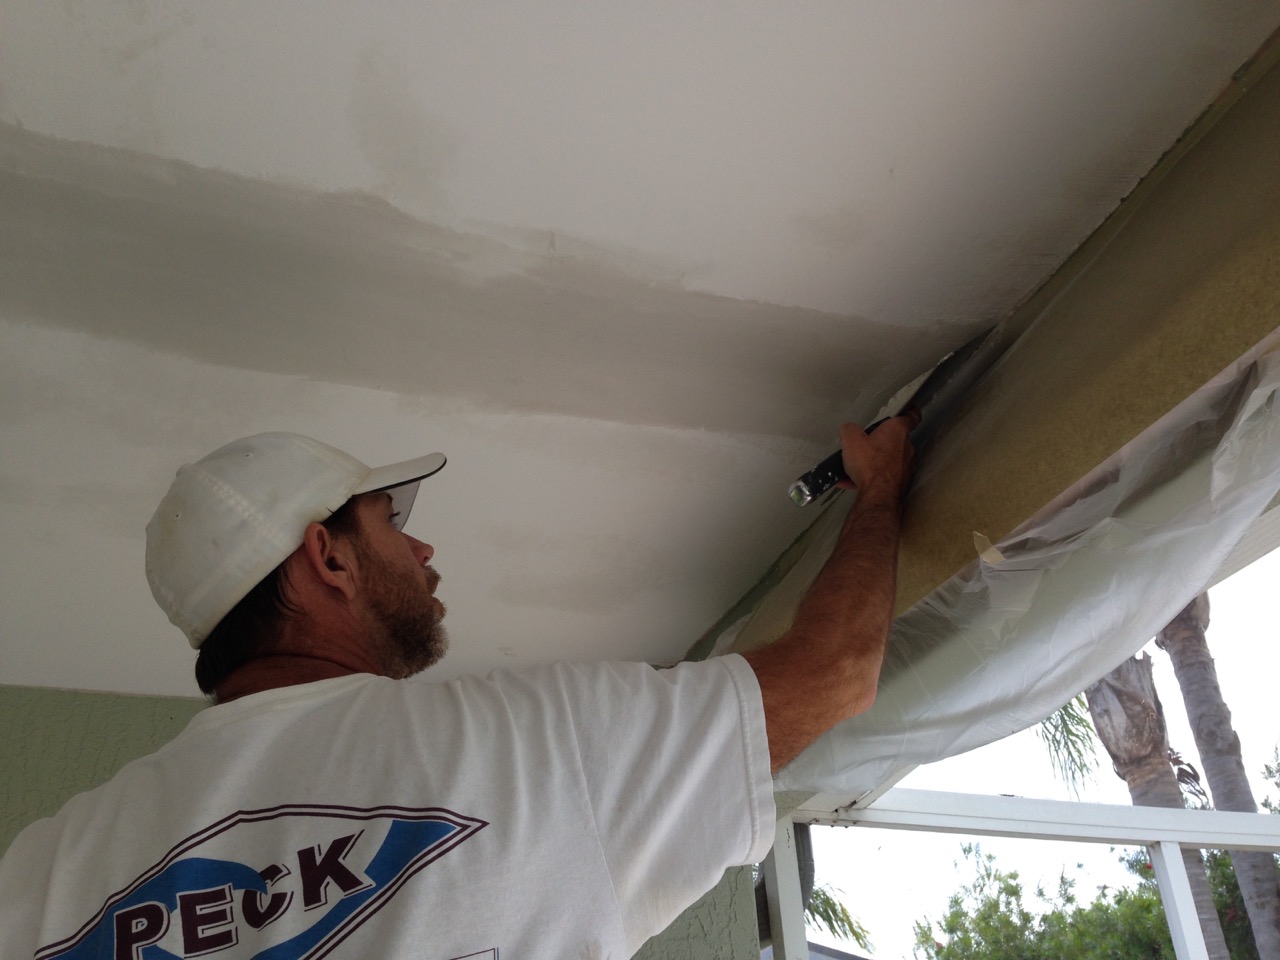
Step 5: Finish and paint the patch
With the drywall patch securely installed and the seams expertly covered, the final step in covering a ceiling light hole involves finishing and painting the patch to seamlessly blend with the surrounding ceiling. This critical phase not only ensures a polished and professional appearance but also contributes to the overall aesthetic appeal of the room. Here's a detailed guide on how to finish and paint the patch effectively:
Smooth the Surface
Before proceeding with painting, it's essential to ensure that the patched area is smooth and free from any imperfections. Use fine-grit sandpaper to gently sand the dried joint compound, feathering the edges to create a seamless transition between the patch and the existing ceiling. This step is crucial for achieving a uniform surface that is ready for the application of primer and paint.
Read more: How To Take Off Light Cover On Ceiling Fan
Apply Primer
Once the patched area is smooth and free from any roughness, apply a high-quality primer to the entire patch and the surrounding ceiling. The primer serves as a crucial preparatory layer, promoting adhesion and ensuring that the paint adheres evenly to the surface. Use a paintbrush or roller to apply the primer, covering the entire patched area and allowing it to dry thoroughly as per the manufacturer's recommendations.
Paint the Patch
After the primer has dried, it's time to paint the patched area to seamlessly blend with the surrounding ceiling. Choose a paint color that matches the existing ceiling, ensuring a cohesive and uniform appearance. Using a paintbrush or roller, apply the paint evenly over the patched area, feathering the edges to seamlessly merge with the surrounding surface. Multiple coats may be necessary to achieve a consistent color and coverage, allowing each coat to dry completely before applying the next.
Blend with Surrounding Ceiling
As you apply the paint, pay close attention to blending the patched area with the surrounding ceiling. Feather the paint along the edges of the patch to create a smooth transition, ensuring that the repaired section seamlessly integrates with the rest of the ceiling. This meticulous approach contributes to a flawless finish, concealing the previous hole and creating a cohesive and visually appealing ceiling surface.
Final Inspection
Once the paint has dried, carefully inspect the patched area to ensure that it seamlessly blends with the surrounding ceiling. Look for any imperfections or inconsistencies, addressing them as needed to achieve a flawless and professional result. By taking the time to conduct a thorough inspection, you can ensure that the finished patch enhances the overall ambiance of the room, leaving behind a seamless and polished ceiling surface.
By following these detailed steps, you can effectively finish and paint the patch covering the ceiling light hole, achieving a seamless and professional result. This meticulous approach sets the stage for a flawlessly restored ceiling, enhancing the aesthetic appeal of the room and leaving you with a sense of accomplishment and satisfaction. With the patch expertly finished and painted, you can admire the seamless integration of the repaired area, knowing that it adds value and visual appeal to your living space.
Conclusion
In conclusion, the process of covering a ceiling light hole is a rewarding endeavor that allows homeowners to restore the aesthetics and functionality of their living spaces with precision and confidence. By following the comprehensive steps outlined in this guide, you have gained valuable insights into transforming an unsightly hole into a seamless and polished surface. From gathering the necessary materials to finishing and painting the patch, each step has equipped you with the knowledge and skills needed to tackle this task effectively.
As you reflect on the journey of covering a ceiling light hole, it's important to recognize the sense of accomplishment that comes with mastering this essential home improvement skill. The meticulous measurements, precise cutting of the drywall patch, and expert installation techniques have empowered you to create a flawlessly restored ceiling, enhancing the overall ambiance of your home.
Furthermore, the attention to detail in finishing and painting the patch has resulted in a seamless integration of the repaired area with the surrounding ceiling, contributing to a cohesive and visually appealing living space. The application of primer and paint, coupled with the careful blending of the patched area, has elevated the overall aesthetic appeal of the room, leaving behind a professional and polished ceiling surface.
As you admire the completed project, take pride in the fact that you have not only covered a ceiling light hole but also added value and visual appeal to your home. The skills and knowledge gained from this experience empower you to take on future home improvement projects with confidence, knowing that you can achieve professional-looking results with precision and attention to detail.
In essence, the process of covering a ceiling light hole serves as a testament to your ability to transform challenges into accomplishments, enhancing the beauty and functionality of your living space. With each step, you have demonstrated a commitment to excellence and a dedication to creating a home environment that reflects your vision and attention to detail.
As you embark on future projects, may the skills and insights gained from this experience continue to inspire and guide you, allowing you to elevate the aesthetics and functionality of your home with confidence and expertise. Remember, the journey of home improvement is a continuous evolution, and with each project, you have the opportunity to create spaces that resonate with beauty, comfort, and a sense of personal pride.
Frequently Asked Questions about How To Cover A Ceiling Light Hole
Was this page helpful?
At Storables.com, we guarantee accurate and reliable information. Our content, validated by Expert Board Contributors, is crafted following stringent Editorial Policies. We're committed to providing you with well-researched, expert-backed insights for all your informational needs.


0 thoughts on “How To Cover A Ceiling Light Hole”