Articles
How To Light A Vaulted Ceiling
Modified: August 17, 2024
Learn how to properly light a vaulted ceiling with our informative articles. Find expert tips and advice to create the perfect lighting for your space.
(Many of the links in this article redirect to a specific reviewed product. Your purchase of these products through affiliate links helps to generate commission for Storables.com, at no extra cost. Learn more)
Introduction
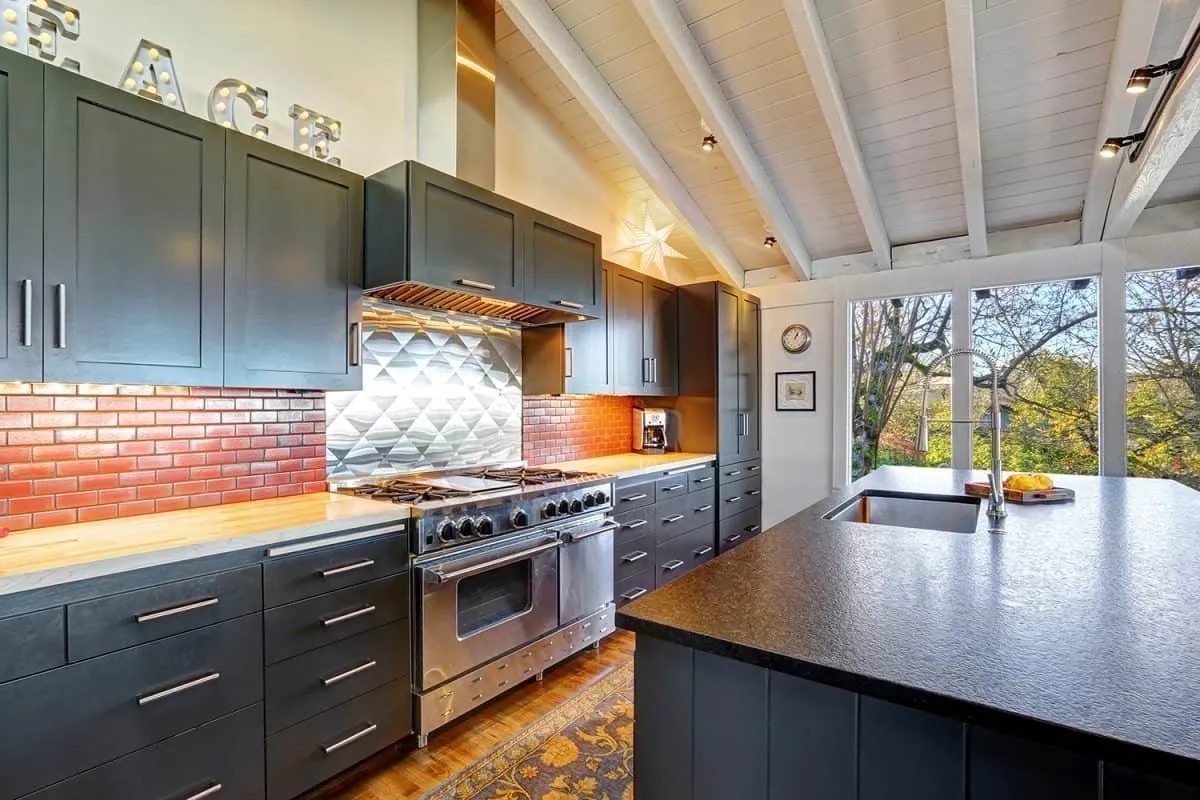
Vaulted ceilings are a stunning architectural feature that can add a sense of spaciousness and grandeur to any home. With their high, sloping design, vaulted ceilings create a unique aesthetic and often become the focal point of a room. However, lighting a vaulted ceiling can present a challenge, as standard lighting fixtures may not provide adequate illumination or accentuate the height and beauty of the space.
In this article, we will guide you through the process of lighting a vaulted ceiling, showcasing various lighting fixtures and installation techniques to help you achieve the desired look and functionality. Whether you want to create a cozy ambiance, highlight architectural details, or brighten up the entire room, we’ve got you covered.
Before diving into the specifics of lighting options, it’s important to have a clear understanding of vaulted ceilings and the factors that need to be considered in order to make informed lighting choices. So, let’s start with a brief overview.
Key Takeaways:
- Lighting a vaulted ceiling requires careful consideration of factors such as ceiling height, architecture, and personal style to make informed lighting choices that enhance the grandeur and ambiance of the space.
- Prioritizing safety during the installation process, including turning off the power, using appropriate wiring, and following manufacturer’s instructions, is crucial for a safe and properly functioning lighting installation.
Read more: What Is A Vaulted Ceiling
Understanding Vaulted Ceilings
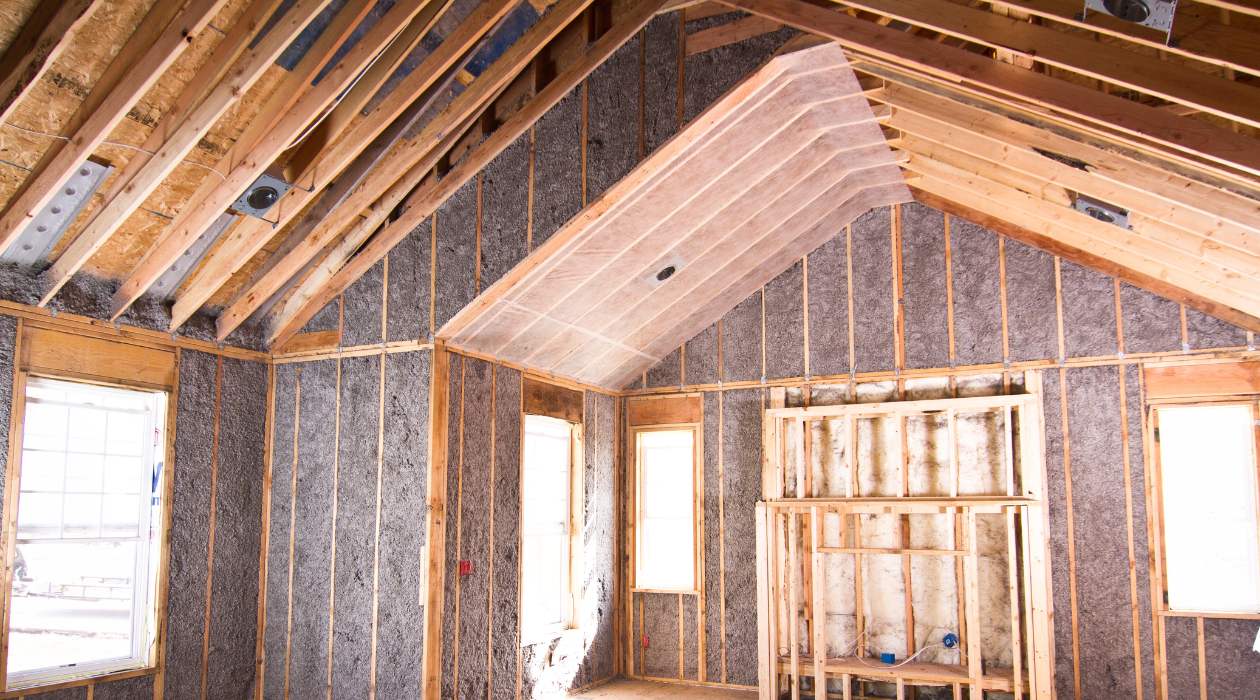
Vaulted ceilings, also known as cathedral ceilings or raised ceilings, are characterized by their upward slope, creating a sense of spaciousness and architectural drama. They can be found in various styles of homes, from traditional to modern, and are often featured in living rooms, bedrooms, or entryways.
The height and angle of a vaulted ceiling can vary, with some ceilings gently sloping upwards, while others have a more dramatic pitch. The slope of the ceiling can have a significant impact on the lighting design, as it determines where the fixtures should be placed and how the light will be distributed throughout the space.
When it comes to lighting a vaulted ceiling, there are a few factors to consider. Let’s take a look at them:
- Ceiling height: The height of your vaulted ceiling will influence the type of lighting fixtures you can choose. If the ceiling is exceptionally high, you may need fixtures that can provide sufficient brightness and coverage.
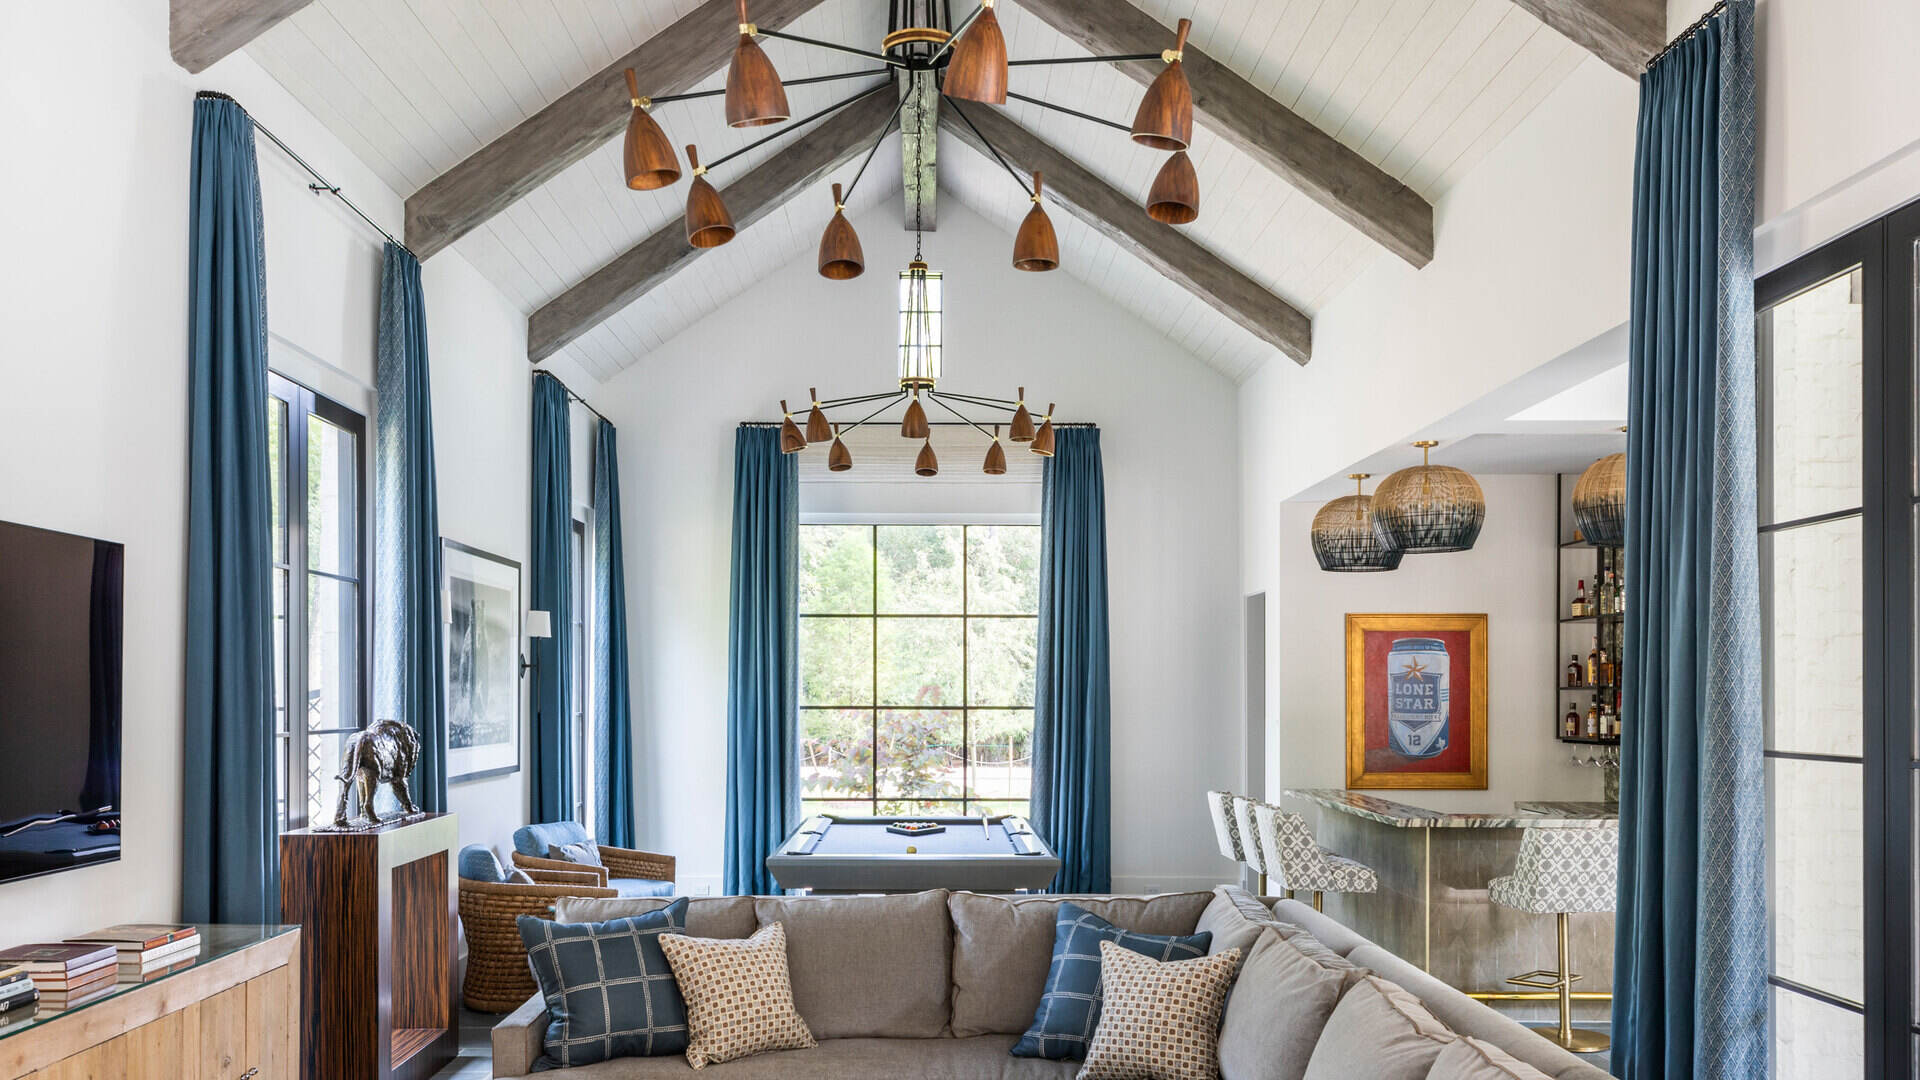
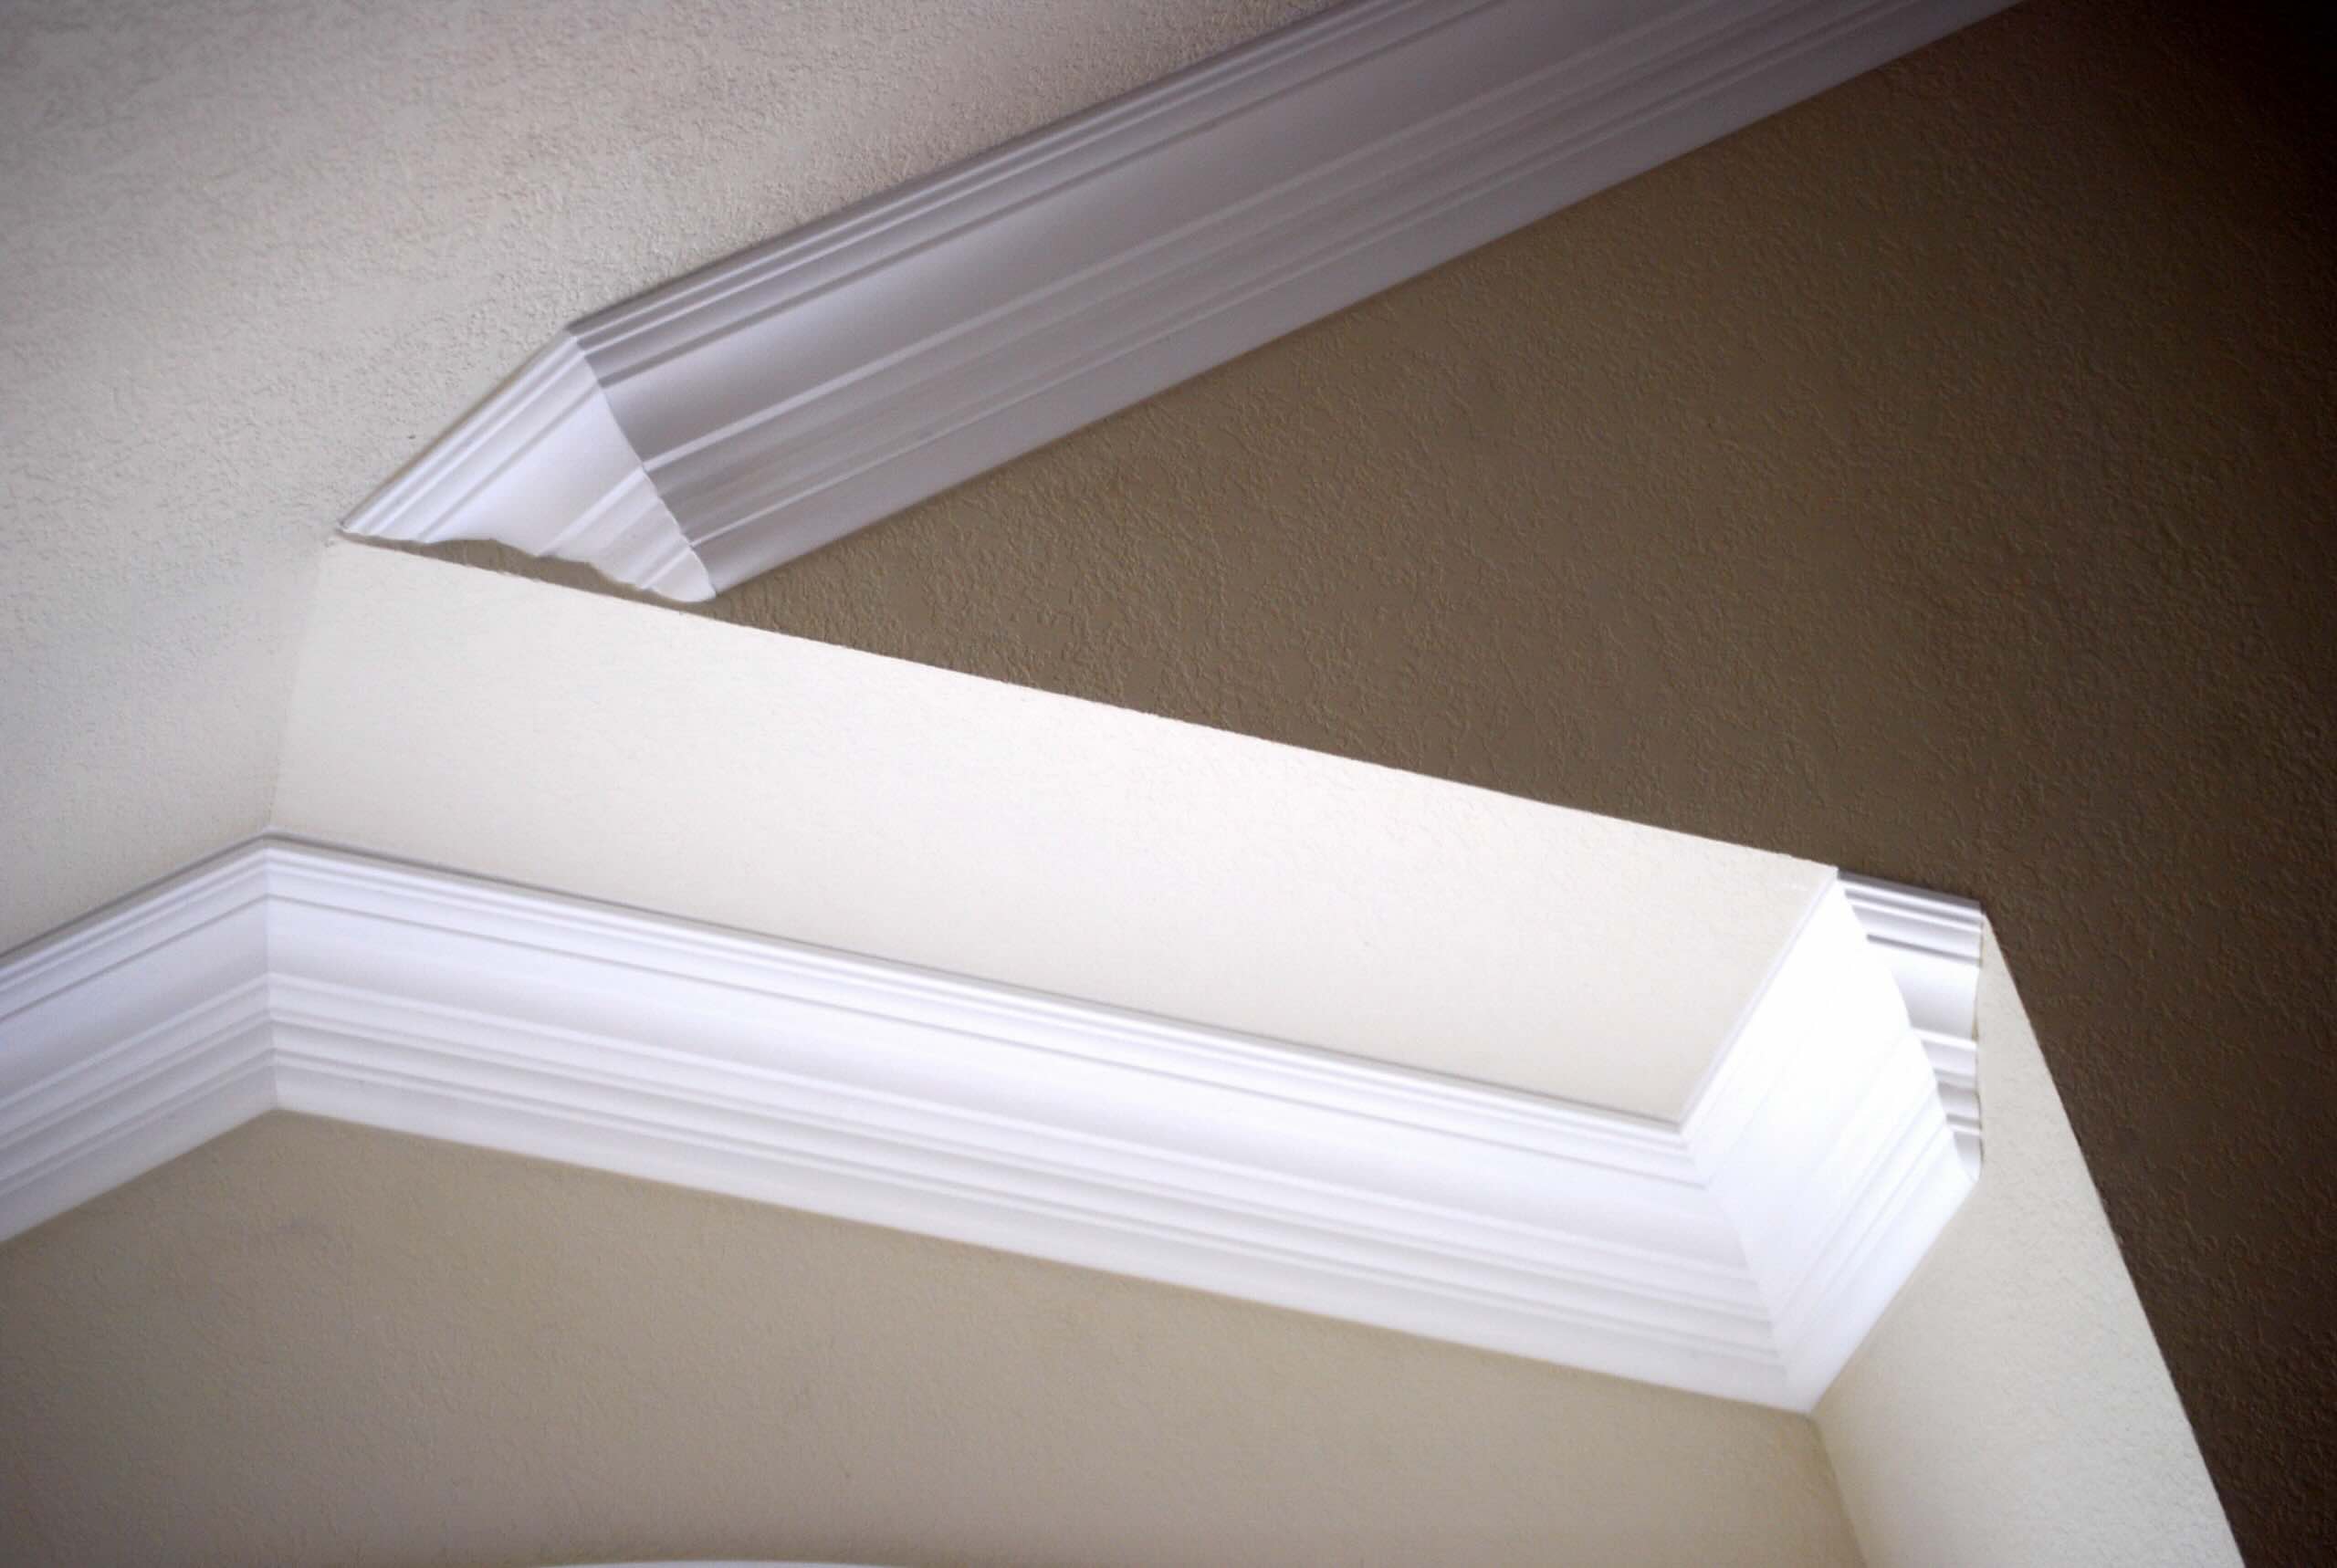
- Architecture and design: Take into account the architectural elements and design features of the ceiling. Do you want to highlight exposed beams, arches, or other details? This will guide your lighting choices and placement.
- Functionality: Determine the purpose of the lighting in the room. Are you looking for ambient lighting to provide overall illumination, task lighting for specific activities, or accent lighting to highlight certain areas or objects?
- Personal style: Consider your personal style preferences and the overall aesthetic of the space. Do you prefer a minimalist look, a modern design, or a more traditional and ornate feel? Your lighting fixtures should complement the style of the room.
- Budget: Establish a budget for your lighting project. This will help you narrow down your options and make informed choices without overspending.
By taking these factors into account, you can select the right lighting fixtures that not only enhance the beauty of your vaulted ceiling but also meet your specific lighting needs.
Factors to Consider
When it comes to lighting a vaulted ceiling, there are several factors to consider in order to achieve optimal illumination and create a visually pleasing space. Let’s explore these factors in more detail:
- Ceiling height: The height of your vaulted ceiling will play a role in determining the type of lighting fixtures you can use. For higher ceilings, you may need fixtures with longer stems or adjustable heights to ensure the light is positioned at an appropriate level.
- Angle of the slope: The angle of the ceiling slope will affect the way light is distributed in the room. Steeper slopes may require different lighting techniques compared to more shallow slopes. Consider the angle when selecting fixtures and plan the placement accordingly.
- Lighting layers: To achieve balanced and functional lighting, it’s important to incorporate multiple layers of light. This includes ambient lighting, which provides overall illumination, task lighting for specific activities, and accent lighting to highlight architectural features or artwork.
- Lighting direction: When lighting a vaulted ceiling, consider whether you want the light to be directed upward to emphasize the height and drama of the space, or downward to provide more focused illumination. This will depend on the overall design and functional requirements of the room.
- Natural light: Take into account the amount of natural light that enters the room through windows or skylights. Natural light can complement the artificial lighting and create a dynamic and inviting atmosphere.
- Dimming capabilities: Installing dimmable lighting fixtures can provide flexibility and allow you to adjust the brightness levels according to different occasions and moods. This is particularly useful in rooms where you want to create a cozy and intimate ambiance.
- Energy efficiency: Consider incorporating energy-efficient lighting options, such as LED bulbs, to reduce energy consumption and lower utility costs. These bulbs also have a longer lifespan, reducing the need for frequent replacements.
By carefully considering these factors, you can make informed decisions about the type of fixtures, their placement, and the overall lighting design for your vaulted ceiling. This will ensure that you achieve the desired aesthetic appeal, functionality, and comfort in your space.
Choosing the Right Lighting Fixtures
When it comes to lighting a vaulted ceiling, selecting the right fixtures is crucial for achieving the desired effect and functionality. Here are some popular lighting options to consider:
- Track Lighting: Track lighting is a versatile and practical option for vaulted ceilings. It consists of a long, adjustable track that can be installed along the slope of the ceiling. The individual light fixtures, known as heads, can be positioned to direct light in specific areas or to highlight architectural features. Track lighting gives you the flexibility to easily adjust the position and angle of each fixture to suit your needs.
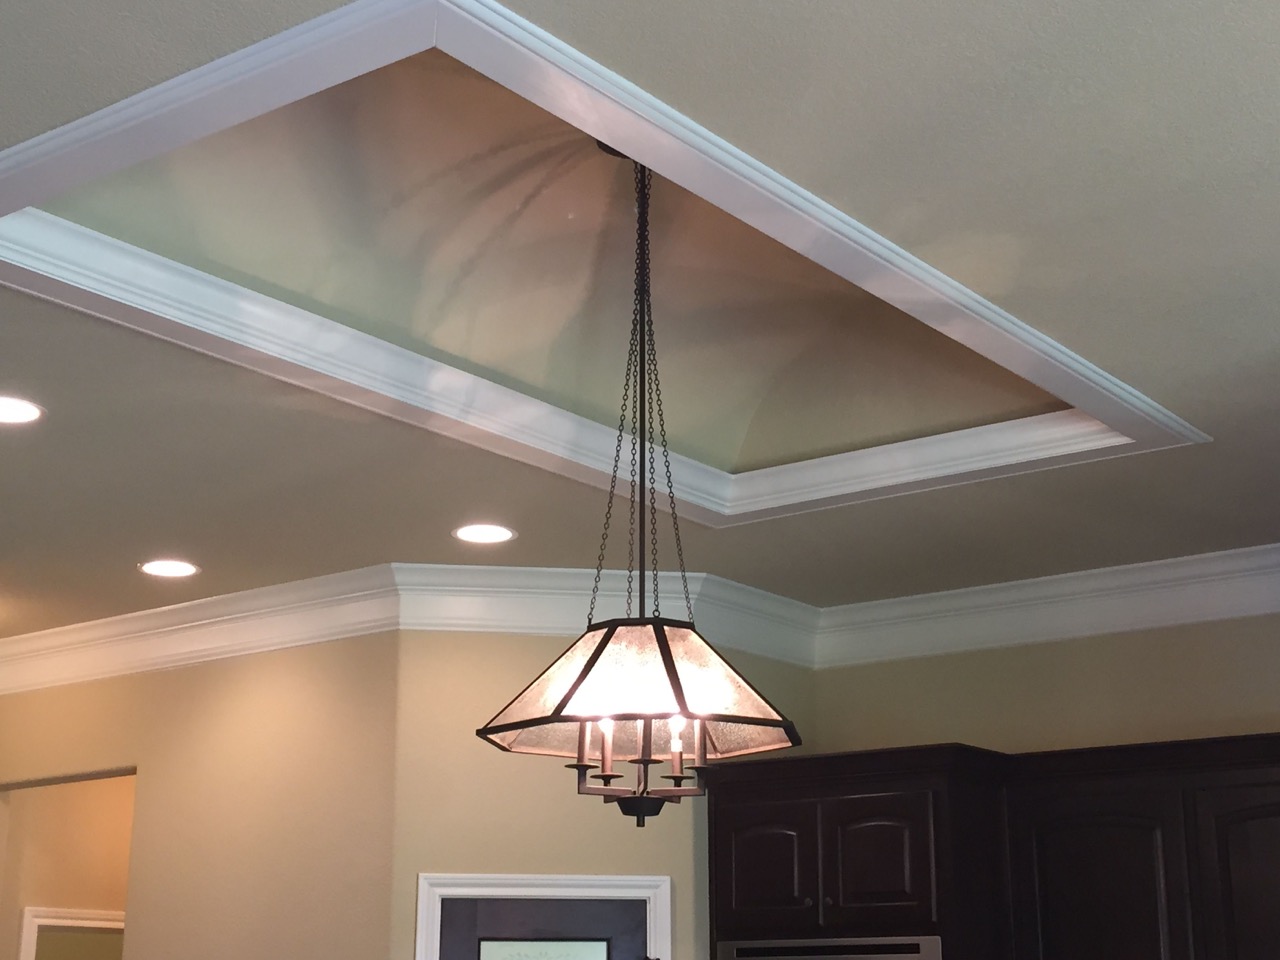
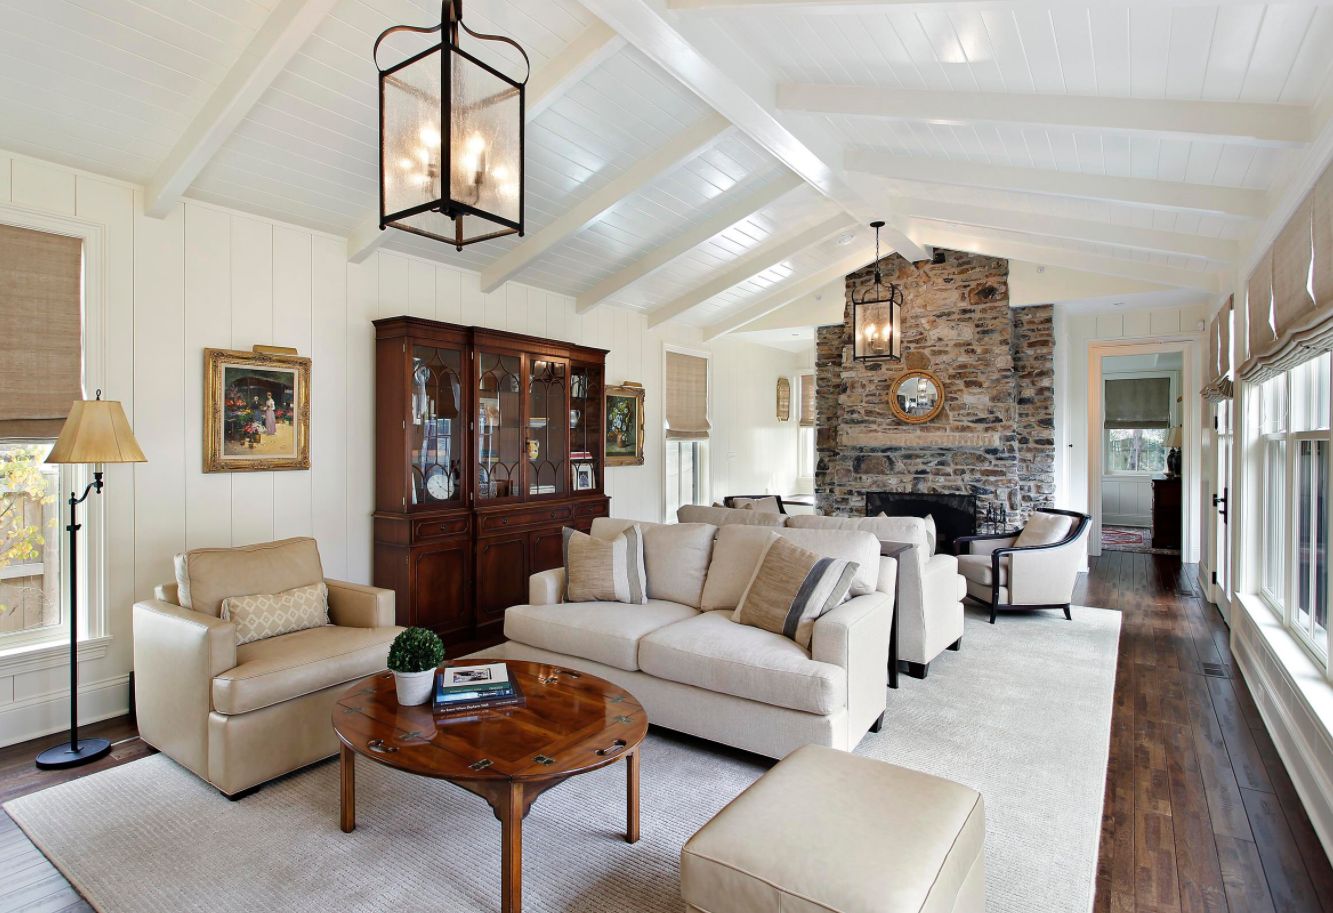
- Pendant Lights: Pendant lights are a stylish and effective option for vaulted ceilings. They hang from the ceiling and provide focused downlighting, making them perfect for task lighting or creating a cozy ambiance. Choose pendant lights with adjustable heights or cords to accommodate the slope of the ceiling and ensure they are positioned at the right height.
- Chandeliers: Chandeliers can be a stunning centerpiece for a room with a vaulted ceiling. They come in various sizes, styles, and materials, allowing you to find the perfect fit for your space. Opt for a chandelier with adjustable chain or rod lengths to ensure it hangs at an appropriate height in relation to the slope of the ceiling. Chandeliers provide both ambient and decorative lighting, adding elegance and charm to the room.
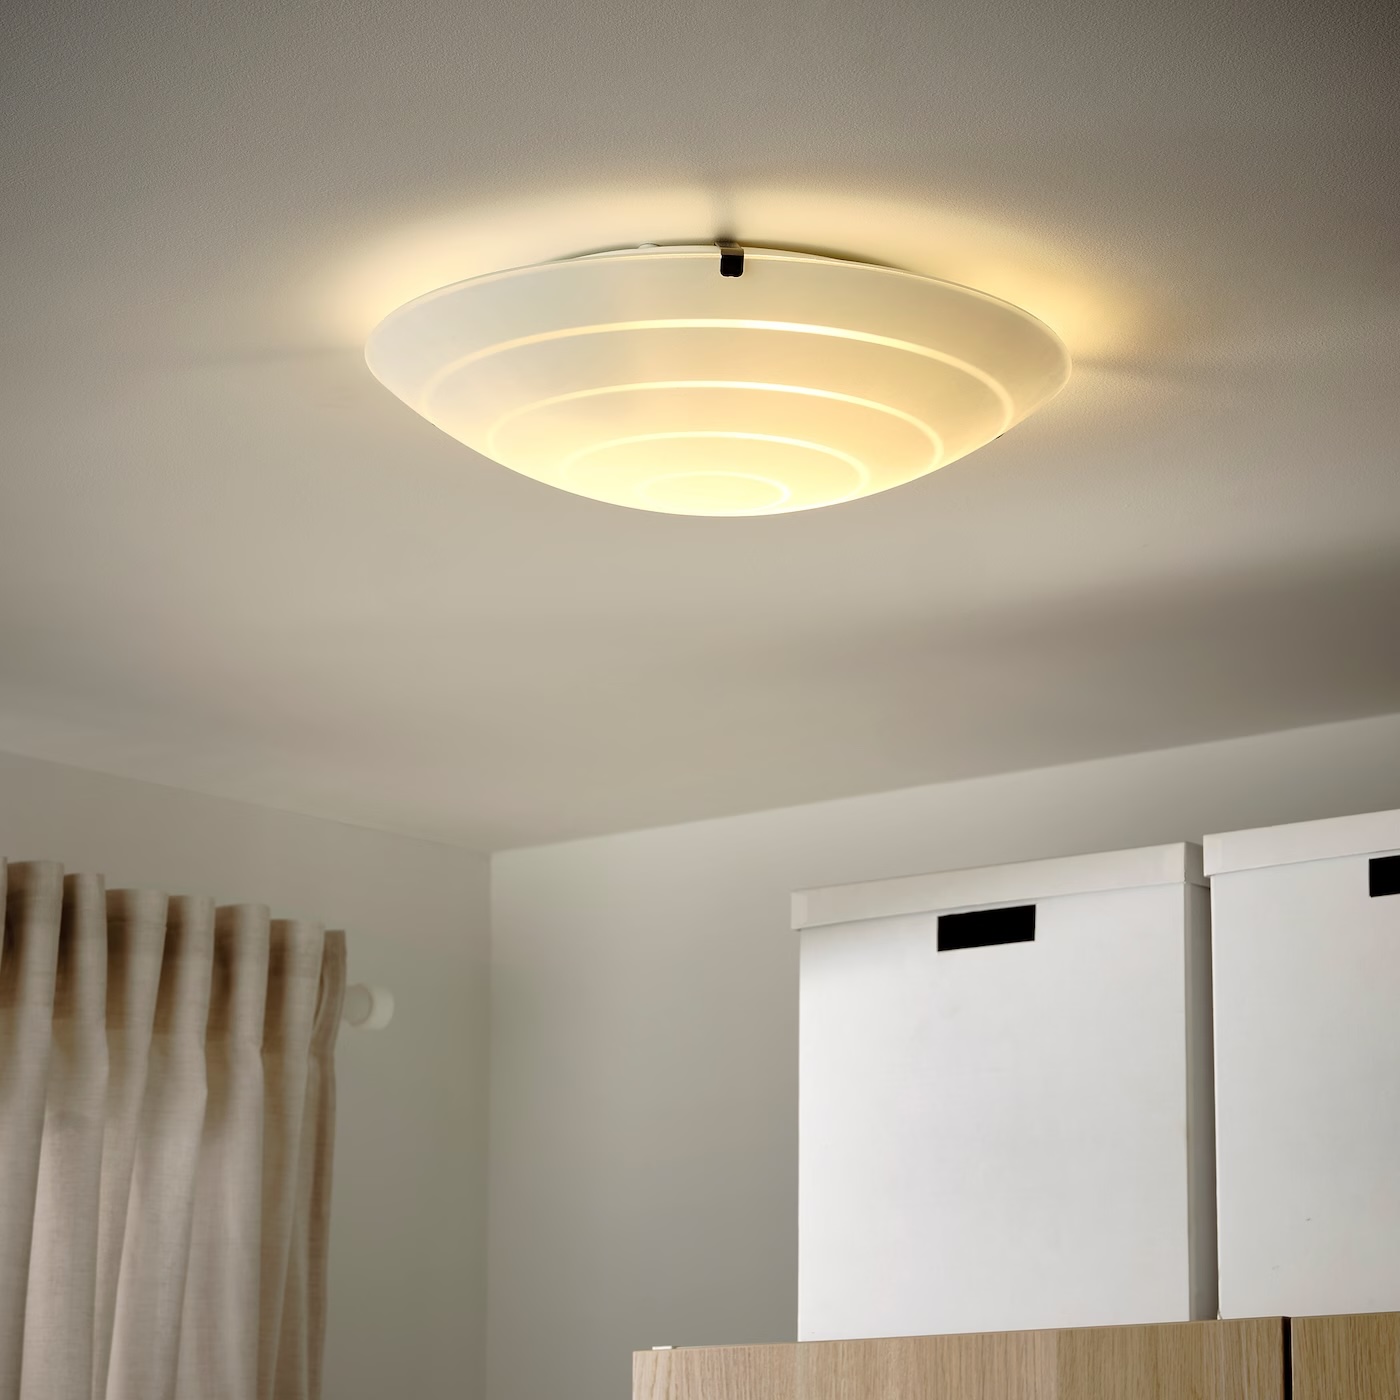
- Recessed Lights: Recessed lights, also known as can lights or downlights, are installed into the ceiling, creating a clean and streamlined look. They are excellent for overall ambient lighting and can be strategically placed to provide even illumination throughout the room. Consider using adjustable recessed lights that can be tilted or rotated to accommodate the sloped ceiling and direct light where you need it most.
- Floor and Table Lamps: While not specifically designed for vaulted ceilings, floor and table lamps can still be used to provide additional lighting and bring a sense of balance to the room. Choose lamps with adjustable heads or shades, allowing you to direct the light upwards to enhance the height of the ceiling or downwards for more focused illumination.
Ultimately, the choice of lighting fixtures will depend on your personal style, the function of the space, and the overall aesthetic you wish to achieve. Don’t be afraid to mix and match different fixtures to create a layered and visually appealing lighting design for your vaulted ceiling.
Installing Track Lighting
Track lighting is a popular option for lighting a vaulted ceiling due to its versatility and adjustability. Here are the steps to install track lighting:
- Plan the layout: Determine where you want to install the track lighting and plan the layout accordingly. Take into account the slope of the ceiling, the desired direction of the light, and any architectural features you want to highlight. Mark the positions for the track and the individual light heads.
- Turn off the power: Before starting any electrical work, make sure to turn off the power at the circuit breaker to ensure your safety.
- Install the mounting brackets: Attach the mounting brackets to the ceiling at the marked locations. Make sure they are securely fastened to provide stability for the track.
- Connect the wiring: Connect the wires from the electrical box to the track using wire nuts. Follow the manufacturer’s instructions for proper wiring techniques and ensure that the connections are secure.
- Attach the track: Position the track onto the mounting brackets and secure it in place. Use screws or clips provided by the manufacturer to ensure a tight fit. Make sure the track is level by using a level tool.
- Adjust the light heads: With the track in place, adjust the position and angle of the individual light heads according to your desired lighting design. Most track lighting systems allow for easy adjustment of the heads along the track.
- Turn on the power and test the lights: Once the installation is complete, turn on the power and test the lights to ensure they are working properly. If any adjustments are needed, make them accordingly.
- Consider adding dimmers: To enhance the versatility and ambiance of your track lighting, consider installing dimmer switches. This will allow you to adjust the brightness levels according to your needs and create different moods in the room.
It is important to note that if you are not confident in your electrical skills, it is recommended to hire a professional electrician to install track lighting for you. They will ensure that the wiring is done correctly and adhere to all electrical safety regulations.
Track lighting provides a flexible and stylish solution for lighting your vaulted ceiling, allowing you to easily adjust the position and direction of the lights to create the desired lighting effect in your space.
Consider using recessed lighting or track lighting to evenly illuminate a vaulted ceiling. Position the fixtures at the peak of the ceiling to create a balanced and well-lit space.
Read more: How Much To Vault A Ceiling
Installing Pendant Lights
Pendant lights are a popular choice for adding style and functionality to a vaulted ceiling. Here’s a step-by-step guide to installing pendant lights:
- Choose the location: Decide where you want to install the pendant lights on your vaulted ceiling. Consider the slope and height of the ceiling, as well as the desired lighting effect and any other decorative elements you want to highlight.
- Measure and mark: Use a tape measure to determine the desired height at which you want to hang the pendant lights. Mark this height on the ceiling using a pencil or masking tape.
- Locate the electrical box: Identify the location of the electrical box on the ceiling. This is where the pendant lights will be connected.
- Turn off the power: Before doing any electrical work, turn off the power to the area where you will be installing the pendant lights. This can be done by flipping the corresponding circuit breaker in your electrical panel.
- Install the mounting bracket or hardware: Depending on the pendant light fixture you have chosen, you may need to install a mounting bracket or other hardware to secure the fixture to the ceiling. Follow the manufacturer’s instructions for installation.
- Wire the pendant light: Carefully follow the wiring instructions specific to your pendant light fixture. Connect the wires from the fixture to the corresponding wires in the electrical box. Use wire nuts to secure the connections and ensure they are properly insulated.
- Mount the pendant light: Once the wiring is complete, mount the pendant light fixture onto the mounting bracket or hardware. Make sure it is secure and level.
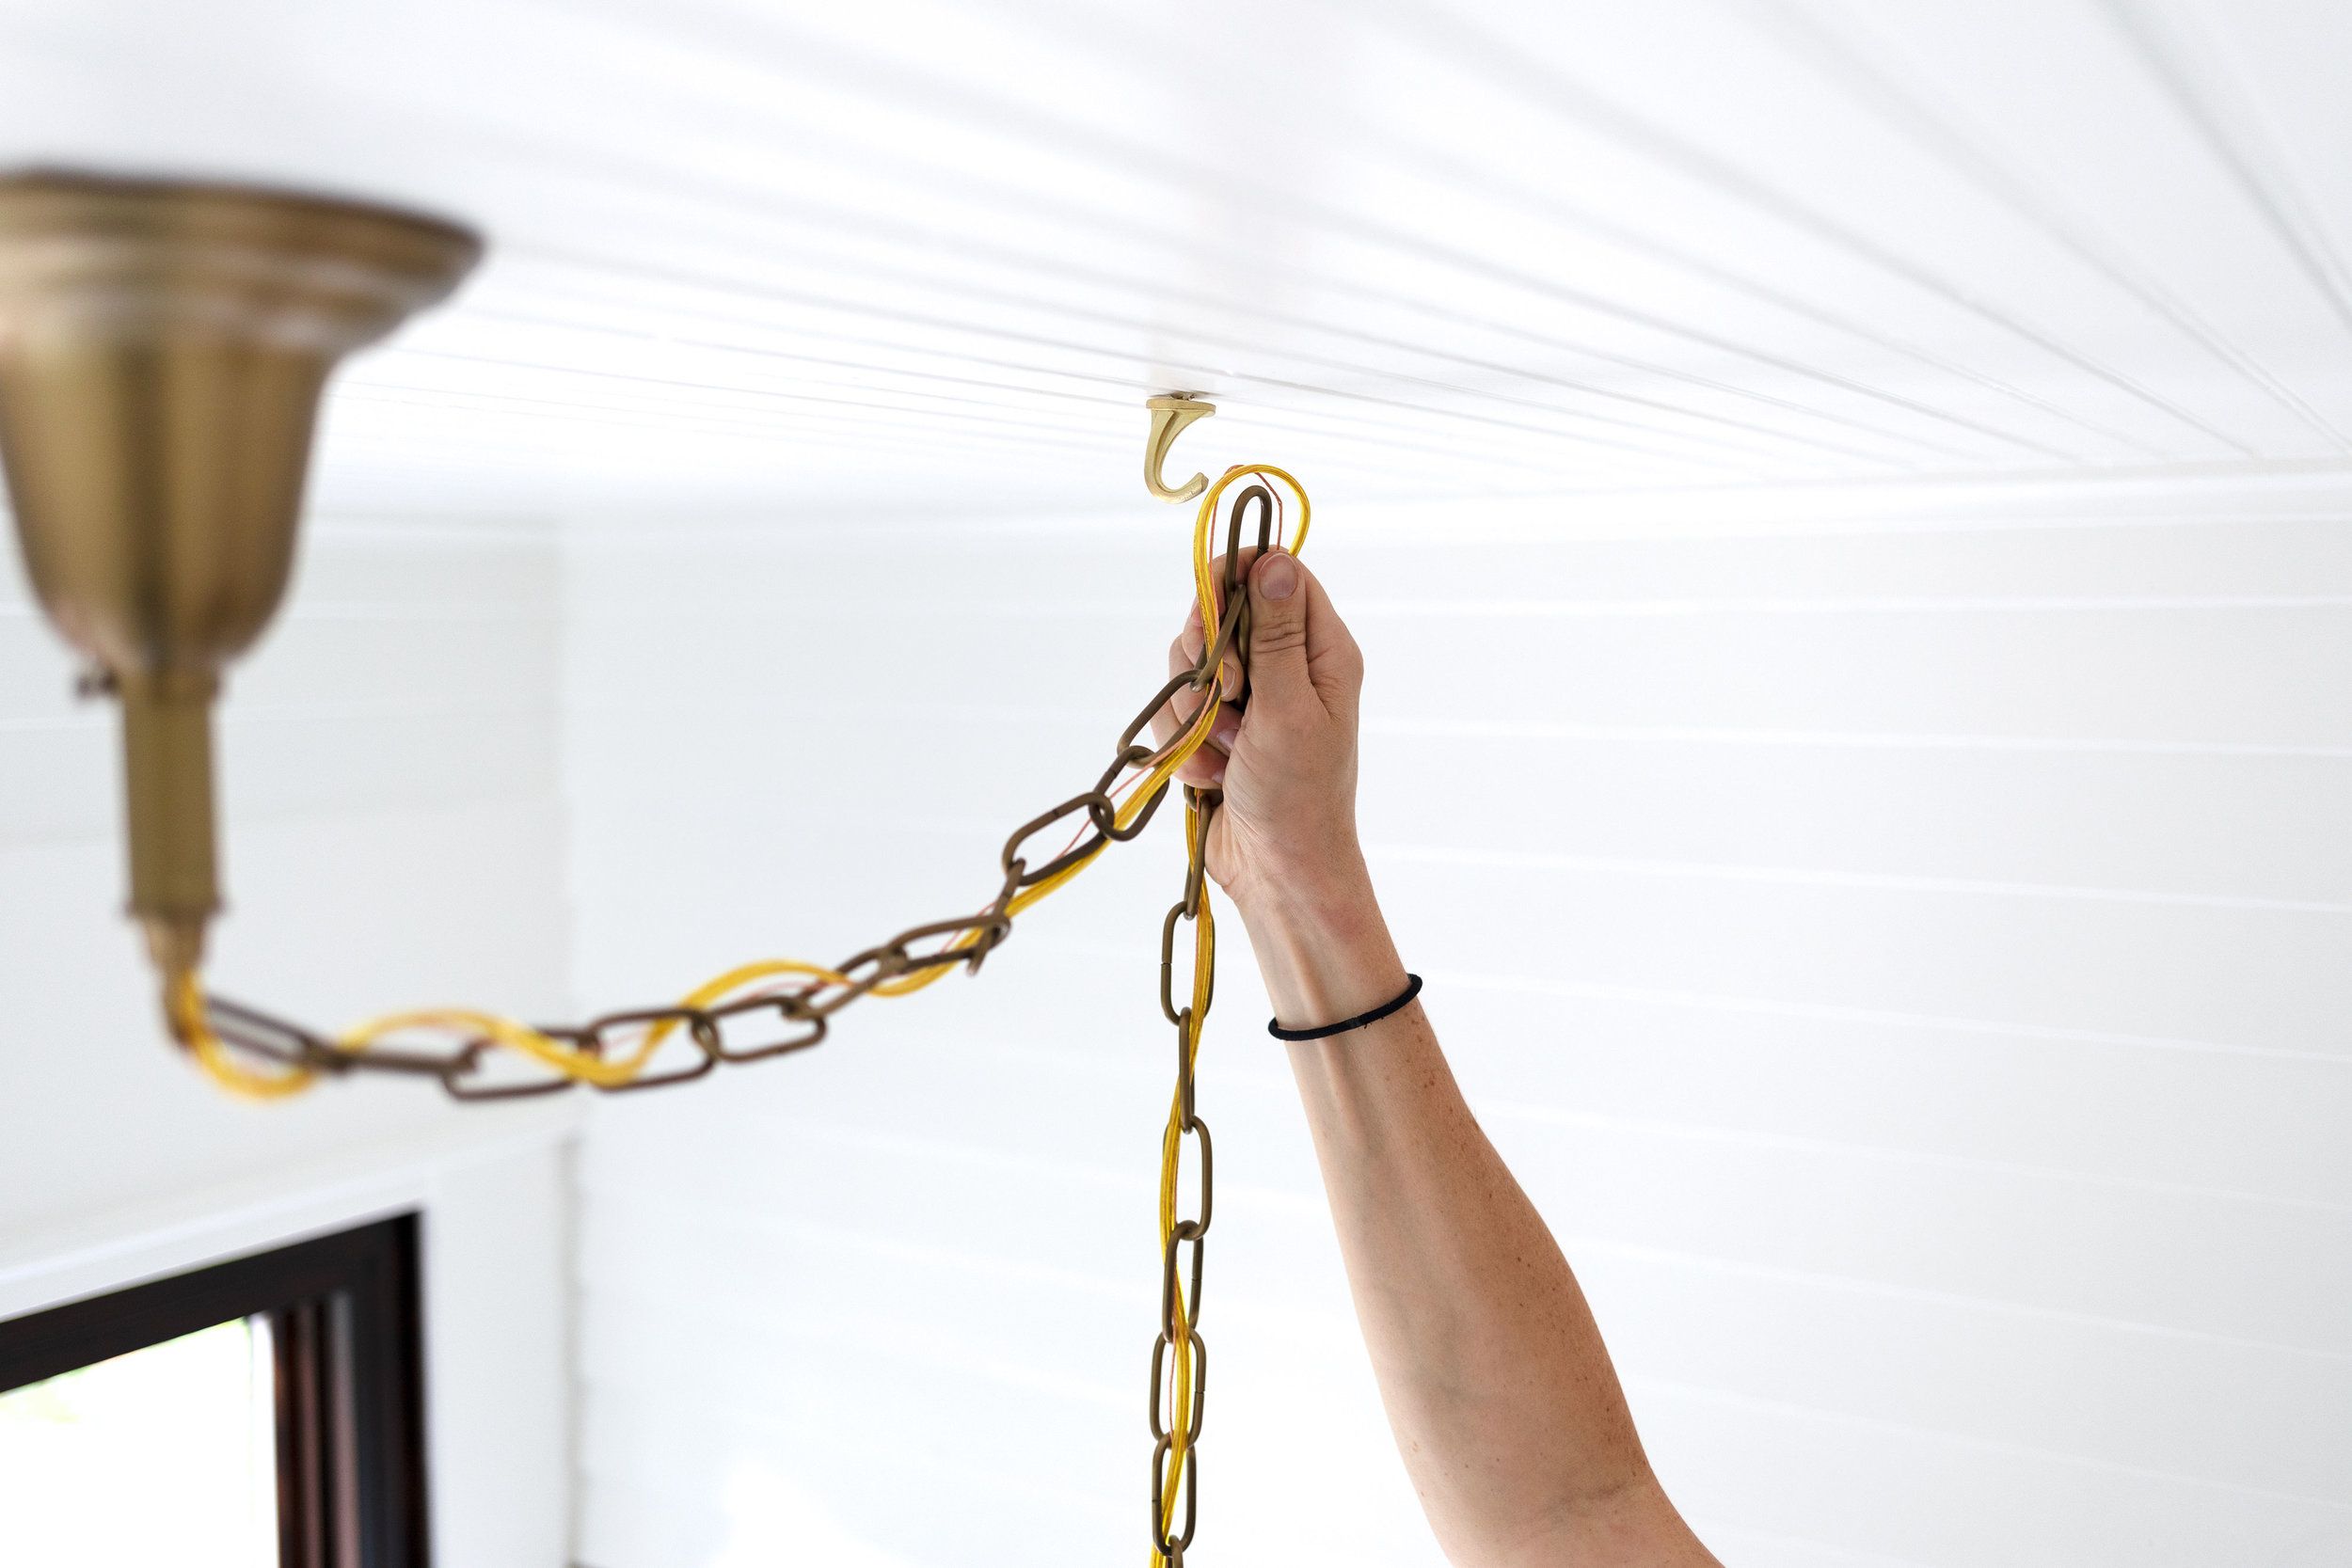
- Adjust the height and position: Adjust the height and position of the pendant light to ensure it is hanging at the desired level and angle. This may involve adjusting the length of the cord or chain that suspends the fixture.
- Turn on the power and test the light: Once the installation is complete, turn on the power and test the pendant light to make sure it is functioning properly. If necessary, adjust the height or angle further to achieve the desired lighting effect.
Remember, if you are unsure about any aspect of installing pendant lights, it is recommended to consult a professional electrician to ensure proper installation and adherence to electrical safety guidelines.
Installing pendant lights can add a touch of elegance and charm to your vaulted ceiling, creating a focal point and providing focused lighting for specific areas or activities.
Installing Chandeliers
Chandeliers are a timeless and elegant lighting option for vaulted ceilings. Here’s a step-by-step guide on how to install a chandelier:
- Select the location: Determine where on your vaulted ceiling you want to install the chandelier. Consider the height and slope of the ceiling, as well as any other design elements or furniture placement in the room.
- Turn off the power: Before starting any electrical work, turn off the power to the area where the chandelier will be installed. This can be done by flipping the corresponding circuit breaker in your electrical panel.
- Attach the mounting bracket: Depending on the type of chandelier you have, you may need to install a mounting bracket. Secure the mounting bracket to the electrical junction box on the ceiling, following the manufacturer’s instructions.
- Connect the wiring: Carefully wire the chandelier according to the manufacturer’s instructions. Connect the black wire of the chandelier to the black wire from the electrical junction box, and the white wire of the chandelier to the white wire from the electrical junction box. Use wire nuts to secure the connections.
- Secure the chandelier: Lift the chandelier up to the mounting bracket and secure it into place. Follow the manufacturer’s instructions for attaching and securing the chandelier, ensuring that it is stable and level.
- Install the bulbs: Insert the appropriate light bulbs into the chandelier sockets. Follow any specifications provided by the manufacturer regarding bulb wattage and type.
- Turn on the power and test the chandelier: Once the chandelier is securely installed and the bulbs are in place, turn on the power and test the chandelier to ensure that it is functioning properly.
- Adjust the length: If necessary, adjust the length of the chandelier chain or rod to achieve the desired height and position. This can help ensure that the chandelier is proportionate to the size of the room and the height of the vaulted ceiling.
- Consider a dimmer: To enhance the ambiance and versatility of your chandelier, consider installing a dimmer switch. This will allow you to adjust the brightness levels and create different moods in the room.
If you are unsure about any aspect of installing a chandelier or if you are not confident in your electrical skills, it is best to hire a professional electrician to ensure a safe and proper installation.
A chandelier can become a stunning centerpiece in a room with a vaulted ceiling, adding a touch of sophistication and grandeur to the space.
Installing Recessed Lights
Recessed lights, also known as can lights or downlights, are a popular choice for lighting vaulted ceilings. Here’s a step-by-step guide on how to install recessed lights:
- Plan the layout: Determine the desired placement and spacing of the recessed lights on your vaulted ceiling. Consider the slope and height of the ceiling, as well as the overall lighting needs of the room.
- Turn off the power: Before starting any electrical work, turn off the power at the circuit breaker for the area where the recessed lights will be installed.
- Mark the locations: Use a pencil or masking tape to mark the locations for the recessed lights on the ceiling. Make sure the markings are aligned and evenly spaced according to your planned layout.
- Cut the holes: Use a drywall saw or a hole saw to carefully cut the holes for the recessed lights. Follow the manufacturer’s instructions for the appropriate hole size based on the chosen recessed light fixtures.
- Connect the wiring: Run electrical wiring from the nearest electrical box to each recessed light location. Consult a professional electrician if you are unsure about the wiring process or if you are not experienced in electrical work.
- Install remodeling or new construction housing: Depending on the type of recessed light fixtures you are using, you may need to install either remodeling or new construction housing. Follow the manufacturer’s instructions for proper installation.
- Secure the light fixture: Attach the recessed light fixture into the hole and secure it in place as instructed by the manufacturer. Make sure the fixture is flush with the ceiling and fits snugly in the hole.
- Wire the light fixture: Connect the wiring of the light fixture to the electrical wiring using wire nuts. Make sure the connections are secure and follow proper wiring techniques.
- Attach the trim: Install the trim of the recessed light fixture according to the instructions provided. The trim will give a finished and polished look to the fixture.
- Turn on the power and test the lights: Once the recessed lights are installed, turn on the power and test each light to ensure they are working properly. Make any necessary adjustments or repairs as needed.
It is recommended to consult a professional electrician if you are not confident in your ability to install recessed lights. They can ensure proper wiring, placement, and adherence to safety regulations.
Recessed lights can provide a clean and modern look to your vaulted ceiling, offering both functional and ambient lighting to the space.
Tips for Wiring and Safety
When it comes to wiring and installing lighting fixtures on a vaulted ceiling, it’s important to prioritize safety. Here are some tips to ensure a safe and well-functioning lighting installation:
- Turn off the power: Before starting any electrical work, turn off the power to the specific circuit where you will be working. This can be done by flipping the corresponding circuit breaker in your electrical panel.
- Use appropriate wiring: Make sure you are using the correct type and gauge of wiring for your lighting installation. Follow electrical codes and guidelines to ensure safe and optimal performance.
- Consult a professional electrician: If you are unsure about any aspect of wiring or if you are not experienced in electrical work, it is best to consult a professional electrician. They have the knowledge and expertise to ensure proper wiring techniques and adherence to safety regulations.
- Follow manufacturer’s instructions: Always follow the manufacturer’s instructions for wiring, installation, and maintenance of the lighting fixtures. This will ensure that you are using the products correctly and safely.
- Protect wiring: Make sure that the electrical wiring is protected and secured properly. Use conduit or cable protectors where necessary to prevent damage and ensure longevity.
- Properly ground the fixtures: Grounding is an important safety measure in electrical installations. Ensure that the lighting fixtures are properly grounded according to the manufacturer’s instructions.
- Use wire connectors: Use wire connectors, also known as wire nuts, to properly connect and secure wires together. This ensures a safe and reliable connection.
- Install junction boxes: Use junction boxes to house the electrical connections for the lighting fixtures. This provides protection and helps organize the wiring.
- Test the installation: Once the wiring is complete and the fixtures are installed, test the lighting installation to ensure that each fixture is working properly. Check for any flickering lights, loose connections, or other signs of malfunction.
- Follow building codes and regulations: Familiarize yourself with the local building codes and regulations regarding electrical installations. Adhere to these guidelines to ensure that your lighting project is compliant and safe.
Remember, if you are unsure about any aspect of wiring or if you are not confident in your electrical skills, it is always best to seek the assistance of a professional electrician. They will ensure that your lighting installation is safe, up to code, and properly functioning.
By following these tips, you can ensure a safe and successful wiring and lighting installation on your vaulted ceiling.
Read more: How To Decorate A Vaulted Ceiling Wall
Conclusion
Illuminating a vaulted ceiling can be a challenging task, but with the right approach and knowledge, you can create a beautiful and functional lighting design to enhance the grandeur and ambiance of your space. Understanding the unique characteristics of vaulted ceilings, considering factors such as ceiling height, architecture, and personal style, is essential in making informed lighting choices.
Choosing the appropriate lighting fixtures for your vaulted ceiling is crucial. Track lighting offers versatility and adjustability, allowing you to highlight specific areas or architectural features. Pendant lights add style and focused lighting, while chandeliers exude elegance and serve as striking centerpieces. Recessed lights provide a modern and sleek option for overall illumination. Mixing and matching different types of fixtures can create a layered lighting design.
During the installation process, it is crucial to prioritize safety. Turning off the power, using appropriate wiring, and following manufacturer’s instructions are key steps. Consulting a professional electrician can ensure a safe and properly functioning lighting installation. Proper wiring and adherence to electrical codes and regulations are essential for long-lasting and reliable results.
In conclusion, lighting a vaulted ceiling requires careful planning, consideration of factors, and the proper selection and installation of lighting fixtures. By incorporating a mix of ambient, task, and accent lighting, you can create a visually appealing and functional space that highlights the beauty of your vaulted ceiling. Prioritizing safety throughout the installation process is of utmost importance, ensuring a safe and enjoyable lighting design for years to come.
Now that you've learned all about lighting up vaulted ceilings, why stop there? Curious about what exactly vaulted ceilings are? Check out our detailed guide on vaulted ceiling. Or maybe you're thinking about sprucing up your bathroom? Dive into our creative ideas for ceiling lighting in bathrooms. Both articles are packed with practical tips and visually appealing suggestions to help transform your spaces beautifully and efficiently.
Frequently Asked Questions about How To Light A Vaulted Ceiling
Was this page helpful?
At Storables.com, we guarantee accurate and reliable information. Our content, validated by Expert Board Contributors, is crafted following stringent Editorial Policies. We're committed to providing you with well-researched, expert-backed insights for all your informational needs.


0 thoughts on “How To Light A Vaulted Ceiling”