Home>Home Appliances>Lighting Appliances>How To Test A Ceiling Light

Lighting Appliances
How To Test A Ceiling Light
Modified: October 20, 2024
Learn how to properly test a ceiling light to ensure it's functioning safely and efficiently. Get expert tips for testing lighting appliances at home.
(Many of the links in this article redirect to a specific reviewed product. Your purchase of these products through affiliate links helps to generate commission for Storables.com, at no extra cost. Learn more)
Introduction
Testing a ceiling light is an essential skill for any homeowner or renter. Whether you're dealing with a flickering light, a fixture that won't turn on, or simply want to ensure the safety of your lighting system, knowing how to test a ceiling light can save you time and money. By following a few simple steps, you can diagnose and potentially resolve issues without the need for professional assistance.
Ceiling lights are a fundamental component of any home's lighting system, providing illumination and ambiance to various living spaces. However, like any electrical appliance, they can experience malfunctions over time. Understanding how to test a ceiling light not only empowers you to troubleshoot common problems but also promotes a safer living environment for you and your family.
In this comprehensive guide, we will walk you through the step-by-step process of testing a ceiling light. From ensuring the power is safely turned off to inspecting the wiring and testing the light bulb, each step is designed to help you identify potential issues and take appropriate action. Additionally, we'll explore the use of a voltage tester and how to check the switch, providing you with a thorough understanding of the testing process.
By the end of this guide, you will have the knowledge and confidence to assess and address ceiling light issues effectively. Whether you're a DIY enthusiast or simply want to be more self-reliant in maintaining your home, mastering the art of testing a ceiling light is a valuable skill that can benefit you for years to come. So, let's dive into the step-by-step process and shed some light on how to test a ceiling light.
Key Takeaways:
- Always turn off the power before testing a ceiling light to stay safe and prevent electrical mishaps. This ensures a controlled environment for inspecting and fixing any issues with the fixture.
- Inspect the wiring, test the light bulb, and use a voltage tester to identify and address potential problems with the ceiling light. Thorough testing and reassembly can restore its functionality and enhance the living space.
Read more: How To Test An Outdoor Light Fixture
Step 1: Turn off the Power
Before beginning any work on the ceiling light, it is crucial to ensure that the power supply to the fixture is completely turned off. This step is essential for your safety and to prevent any electrical mishaps during the testing process.
To turn off the power to the ceiling light, start by locating the circuit breaker or fuse box in your home. These are typically found in the basement, utility room, or a designated electrical panel. Once you have located the circuit breaker, identify the switch that controls the power supply to the specific room or area where the ceiling light is installed.
Carefully switch off the circuit breaker associated with the ceiling light. If your home uses a fuse box, remove the fuse that corresponds to the lighting circuit. It's important to double-check that the power is indeed off before proceeding with any further steps. You can do this by using a non-contact voltage tester, which will indicate whether there is still electrical current running to the fixture.
After confirming that the power is off, it's advisable to place a piece of tape over the circuit breaker or fuse to prevent anyone from accidentally turning it back on while you are working. This simple precaution can provide an additional layer of safety as you proceed with testing the ceiling light.
By taking the time to turn off the power and ensuring that it remains off throughout the testing process, you minimize the risk of electrical shocks or other potential hazards. This initial step sets the foundation for a safe and controlled environment in which to conduct the subsequent tests on the ceiling light.
Remember, safety should always be the top priority when dealing with electrical components. By following this first step and confirming that the power is off, you are taking a proactive approach to safeguarding yourself and others while working on the ceiling light. With the power safely turned off, you can proceed to the next steps with confidence and peace of mind.
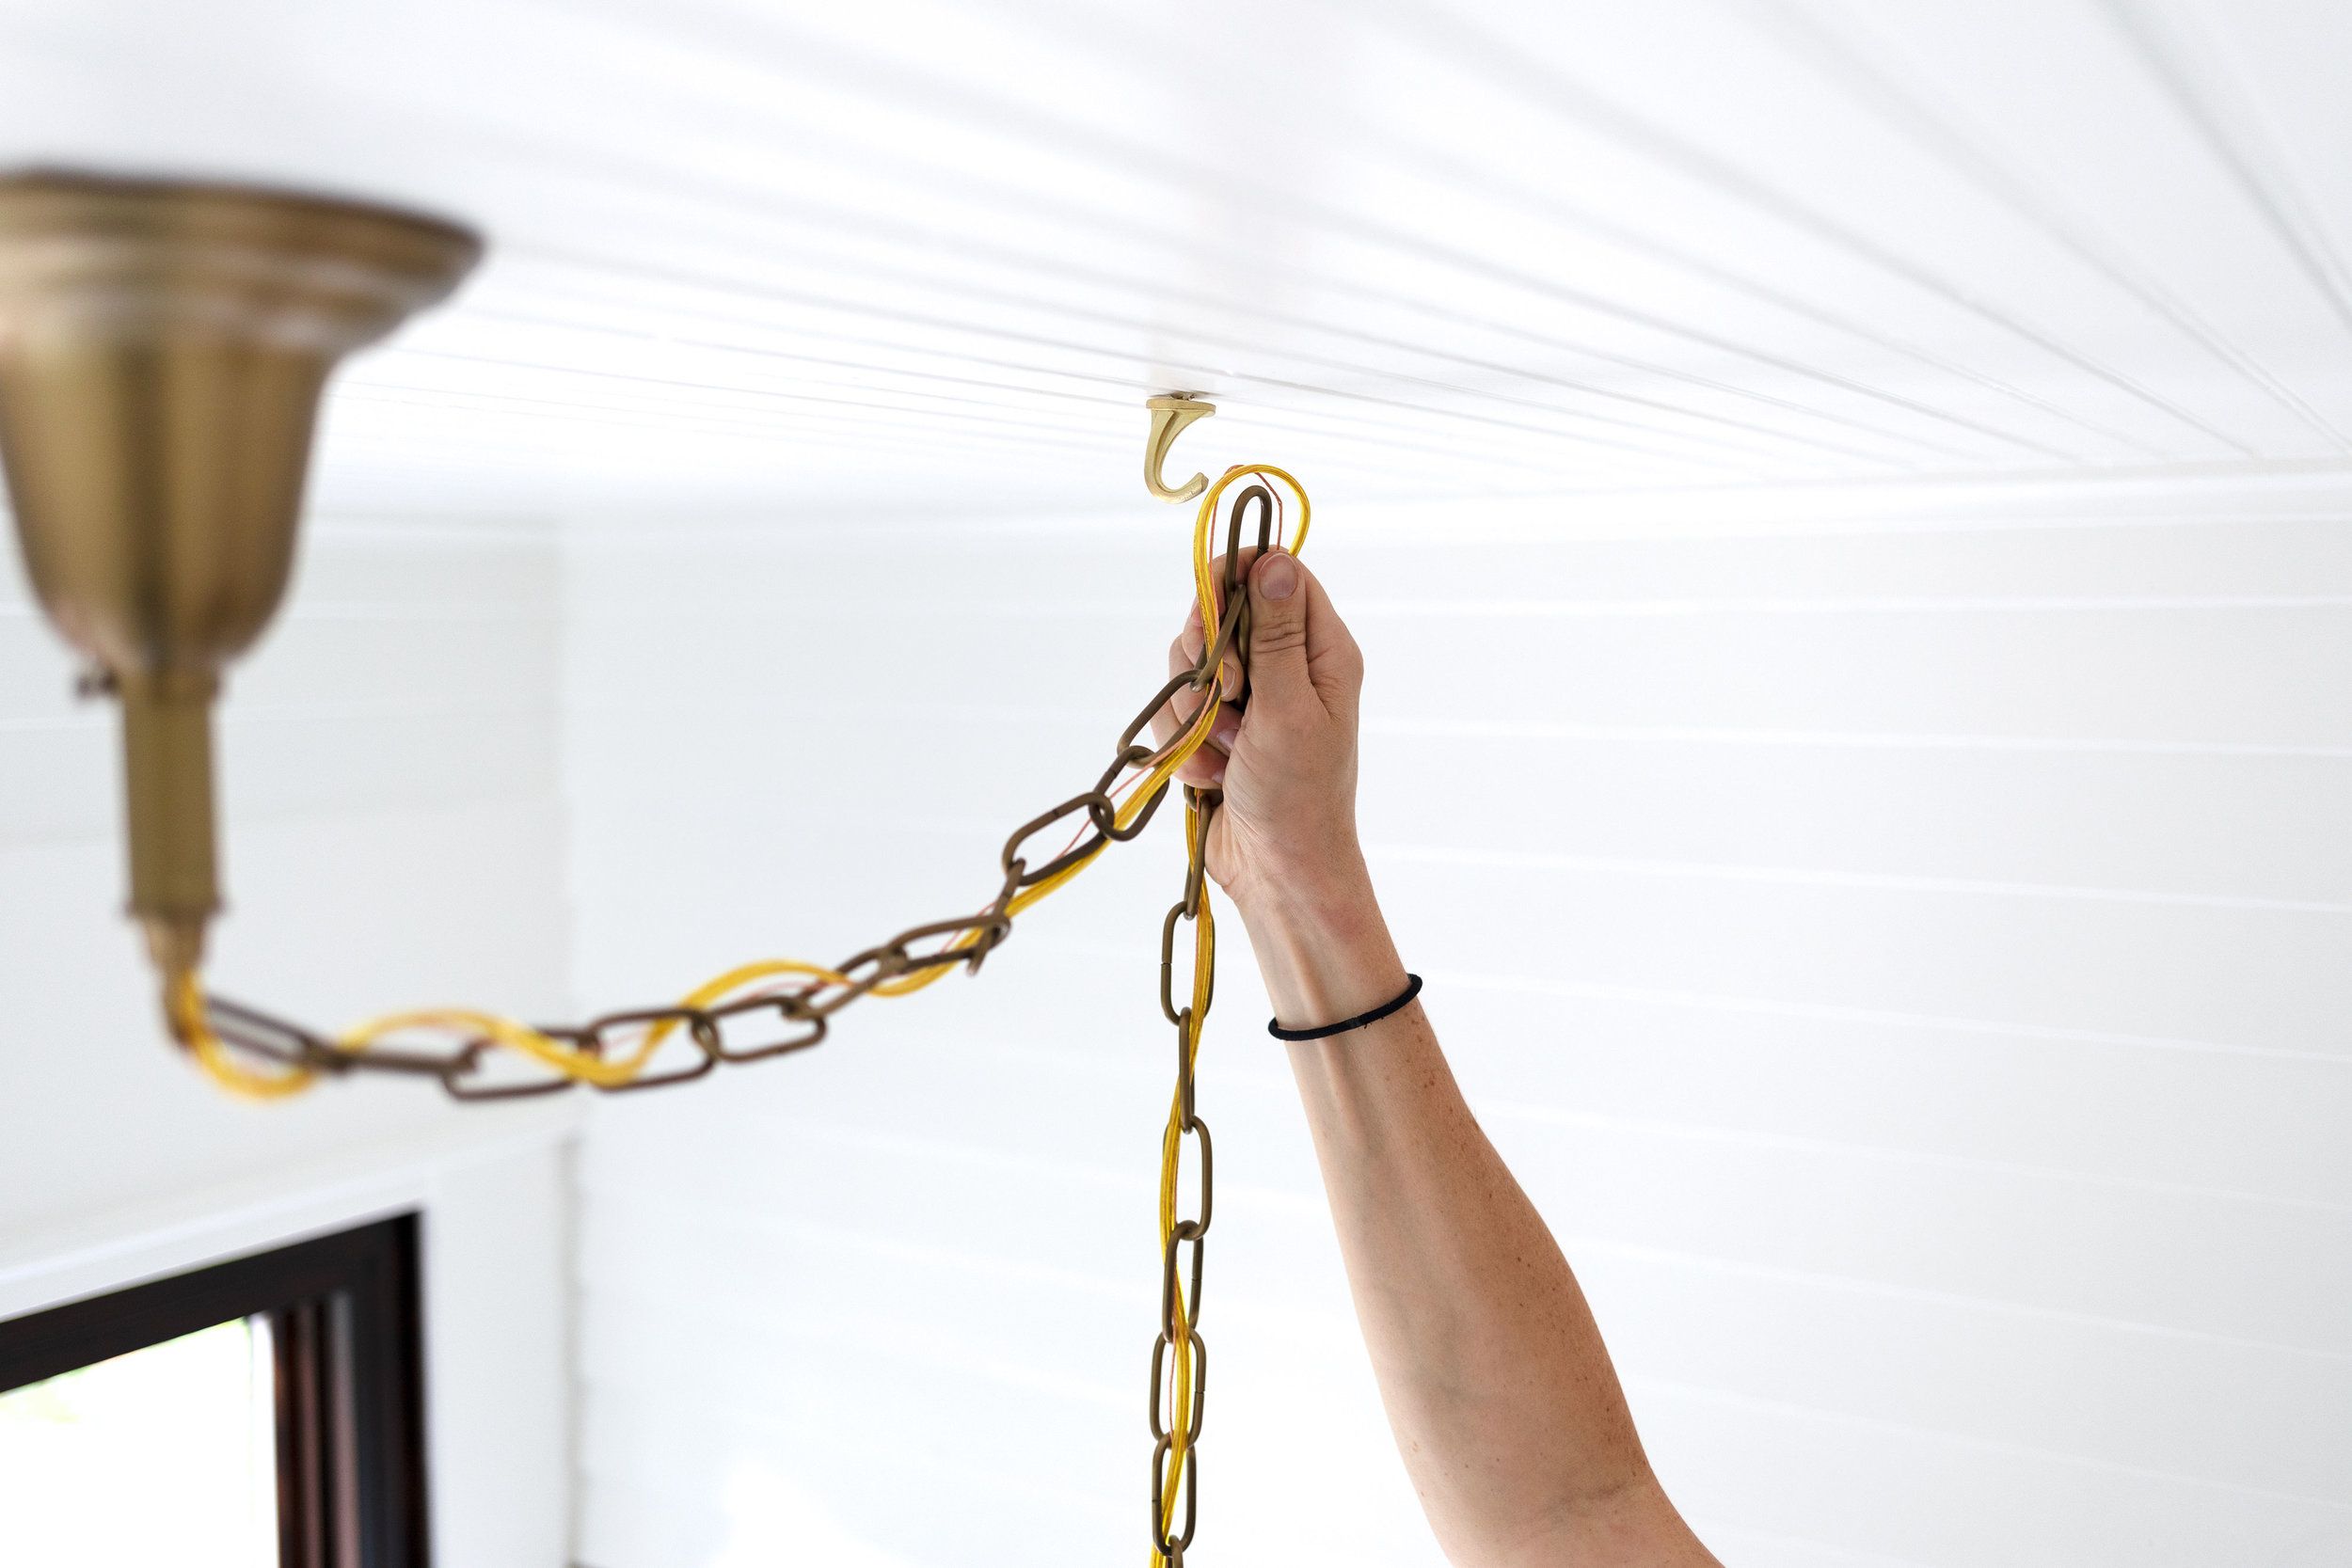
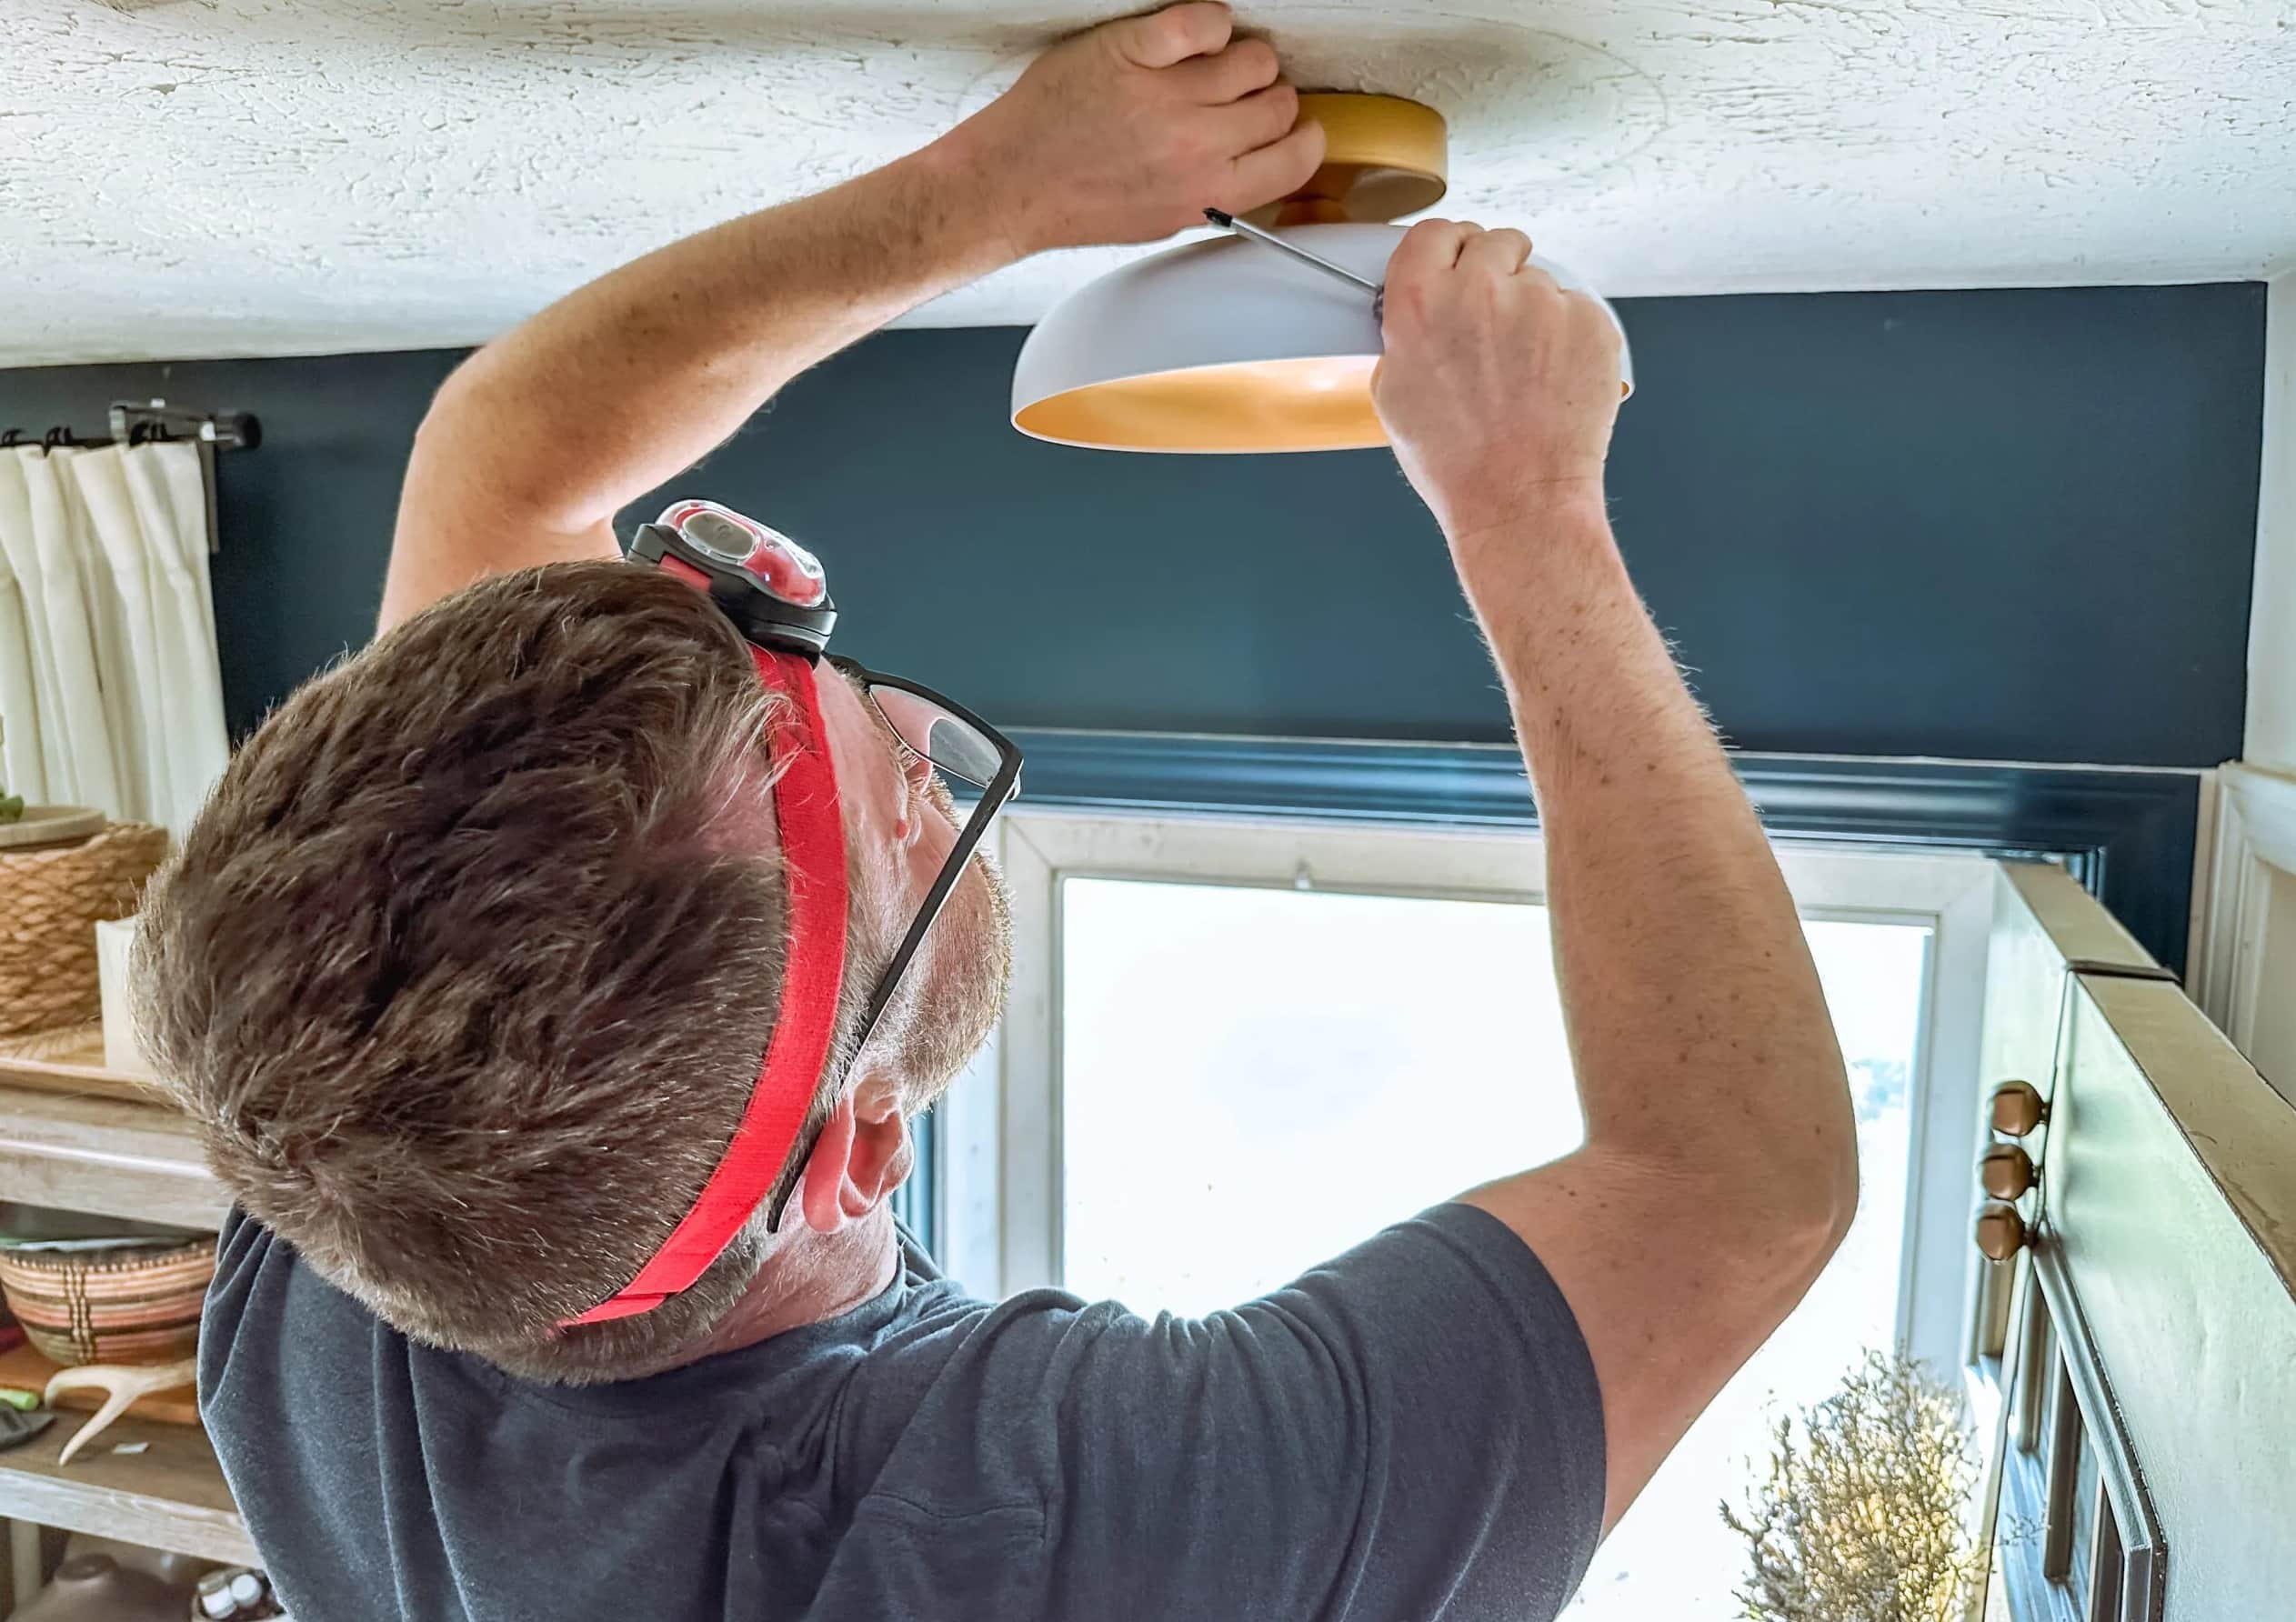
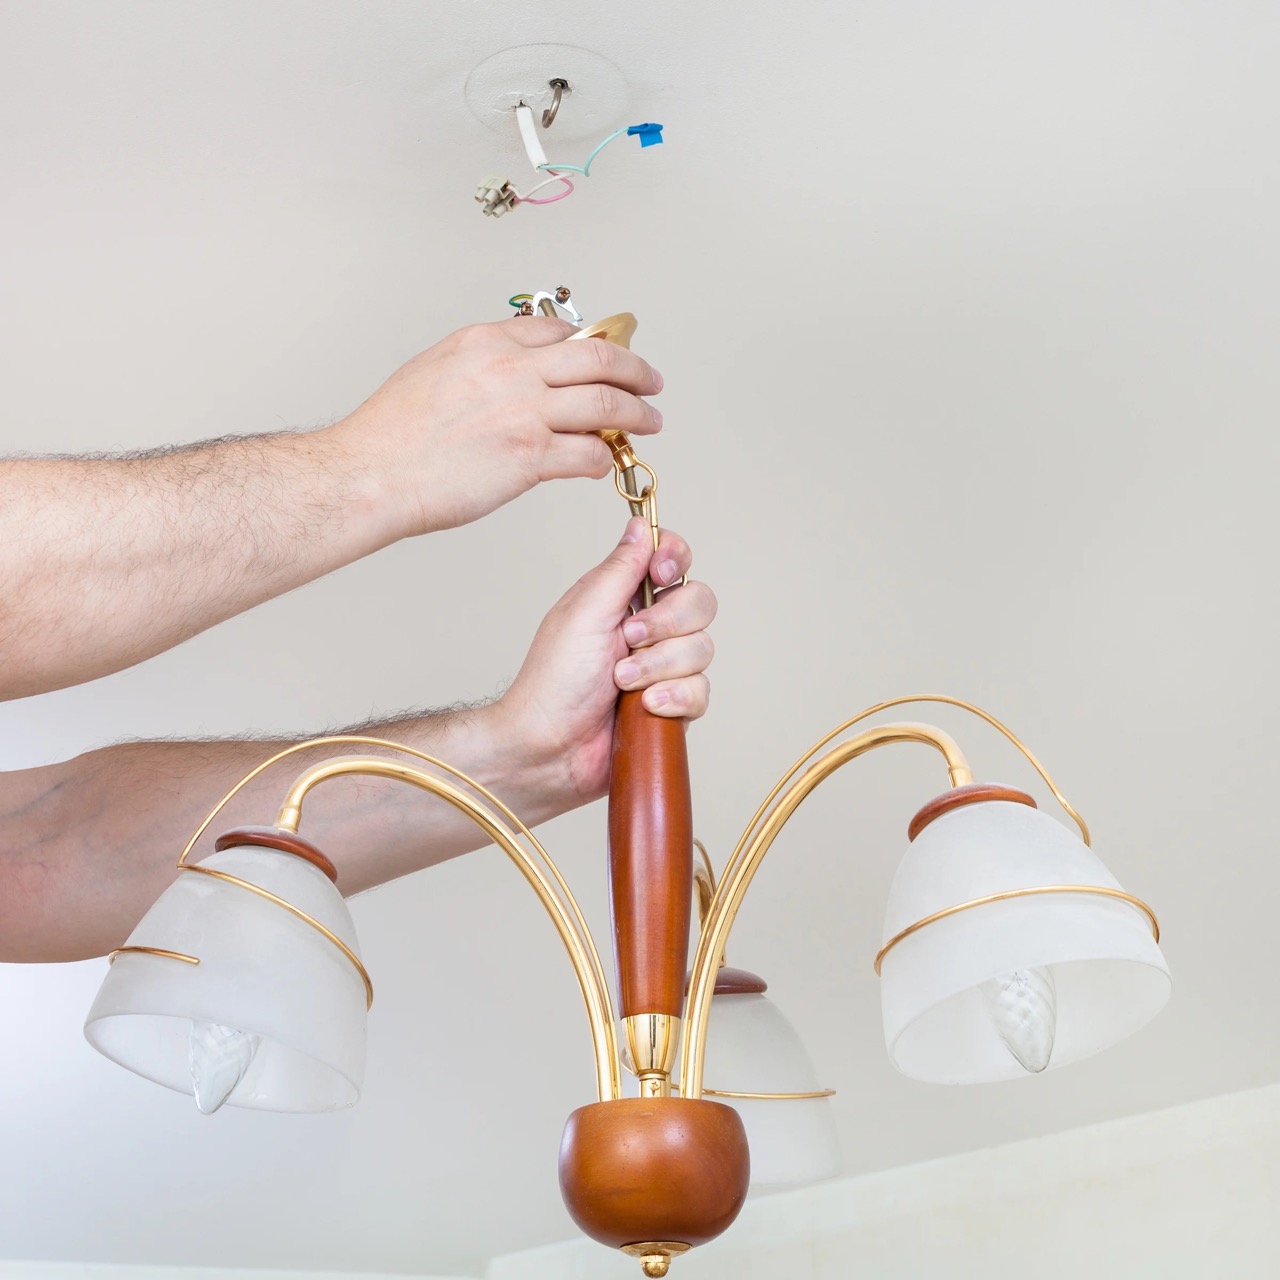
Step 2: Remove the Light Cover
Removing the light cover is the next crucial step in the process of testing a ceiling light. The light cover, also known as the light shade or globe, is the decorative or protective element that encases the light bulb and other internal components of the fixture. By gaining access to the interior of the ceiling light, you can effectively inspect the wiring, connections, and the light bulb itself.
To begin, ensure that you have a stable and secure platform, such as a stepladder, from which to work safely. Position the ladder directly beneath the ceiling light fixture, allowing you to reach the light cover with ease. It's important to maintain a firm grip on the ladder and to avoid overreaching, as this can lead to accidents or injuries.
Once you are in a suitable position, carefully examine the light cover to determine how it is attached to the fixture. Common methods of attachment include screws, decorative knobs, or a twist-lock mechanism. Depending on the design of the fixture, you may need a screwdriver, pliers, or simply your hands to remove the light cover.
If the light cover is secured with screws, use the appropriate screwdriver to loosen and remove them. Place the screws in a safe location, such as a small container or your pocket, to prevent them from getting lost. For fixtures with decorative knobs or a twist-lock mechanism, follow the specific instructions provided by the manufacturer to detach the light cover.
Once the fasteners are removed or released, gently lower the light cover from the fixture. Be mindful of any fragile or delicate components, and handle the cover with care to avoid accidental breakage. In some cases, the light cover may have a snug fit or be held in place by friction, requiring a slight twisting or maneuvering to detach it completely.
With the light cover removed, you now have a clear view of the interior of the ceiling light fixture. Take this opportunity to inspect the condition of the light bulb, the socket, and the wiring. Look for any signs of damage, corrosion, or loose connections, as these issues can contribute to the malfunctioning of the ceiling light.
By successfully removing the light cover, you have overcome a significant hurdle in the testing process. This step not only grants you access to the internal components of the ceiling light but also sets the stage for further examination and testing. With the light cover out of the way, you are now ready to proceed with the next steps in diagnosing and resolving any issues with the ceiling light.
Step 3: Inspect the Wiring
With the light cover removed, the next critical step in testing a ceiling light is to inspect the wiring. The wiring within the fixture plays a pivotal role in delivering electrical current to the light bulb, and any issues or anomalies in the wiring can lead to operational problems or safety hazards. By conducting a thorough inspection of the wiring, you can identify potential issues and take appropriate measures to address them.
Begin by visually examining the wiring within the ceiling light fixture. Look for any signs of fraying, damage, or discoloration along the wires. Pay close attention to the areas where the wires connect to the light socket, as well as any junction points or connectors within the fixture. Additionally, check for loose or disconnected wires, as these can disrupt the flow of electricity to the light bulb.
If the wiring appears to be in good condition, proceed to inspect the wire connections. Ensure that the wires are securely attached to the light socket and any other relevant components within the fixture. Gently tug on the wires to test their stability, taking care not to exert excessive force that could cause further damage.
In the event that you discover damaged or compromised wiring, it is crucial to address the issue promptly. Damaged wiring poses a significant safety risk and can lead to electrical fires or other hazardous situations. If you are comfortable and confident in your abilities, you may consider repairing or replacing the damaged wiring yourself. However, if you are uncertain or uncomfortable with this task, it is advisable to seek the assistance of a qualified electrician to address the wiring issues.
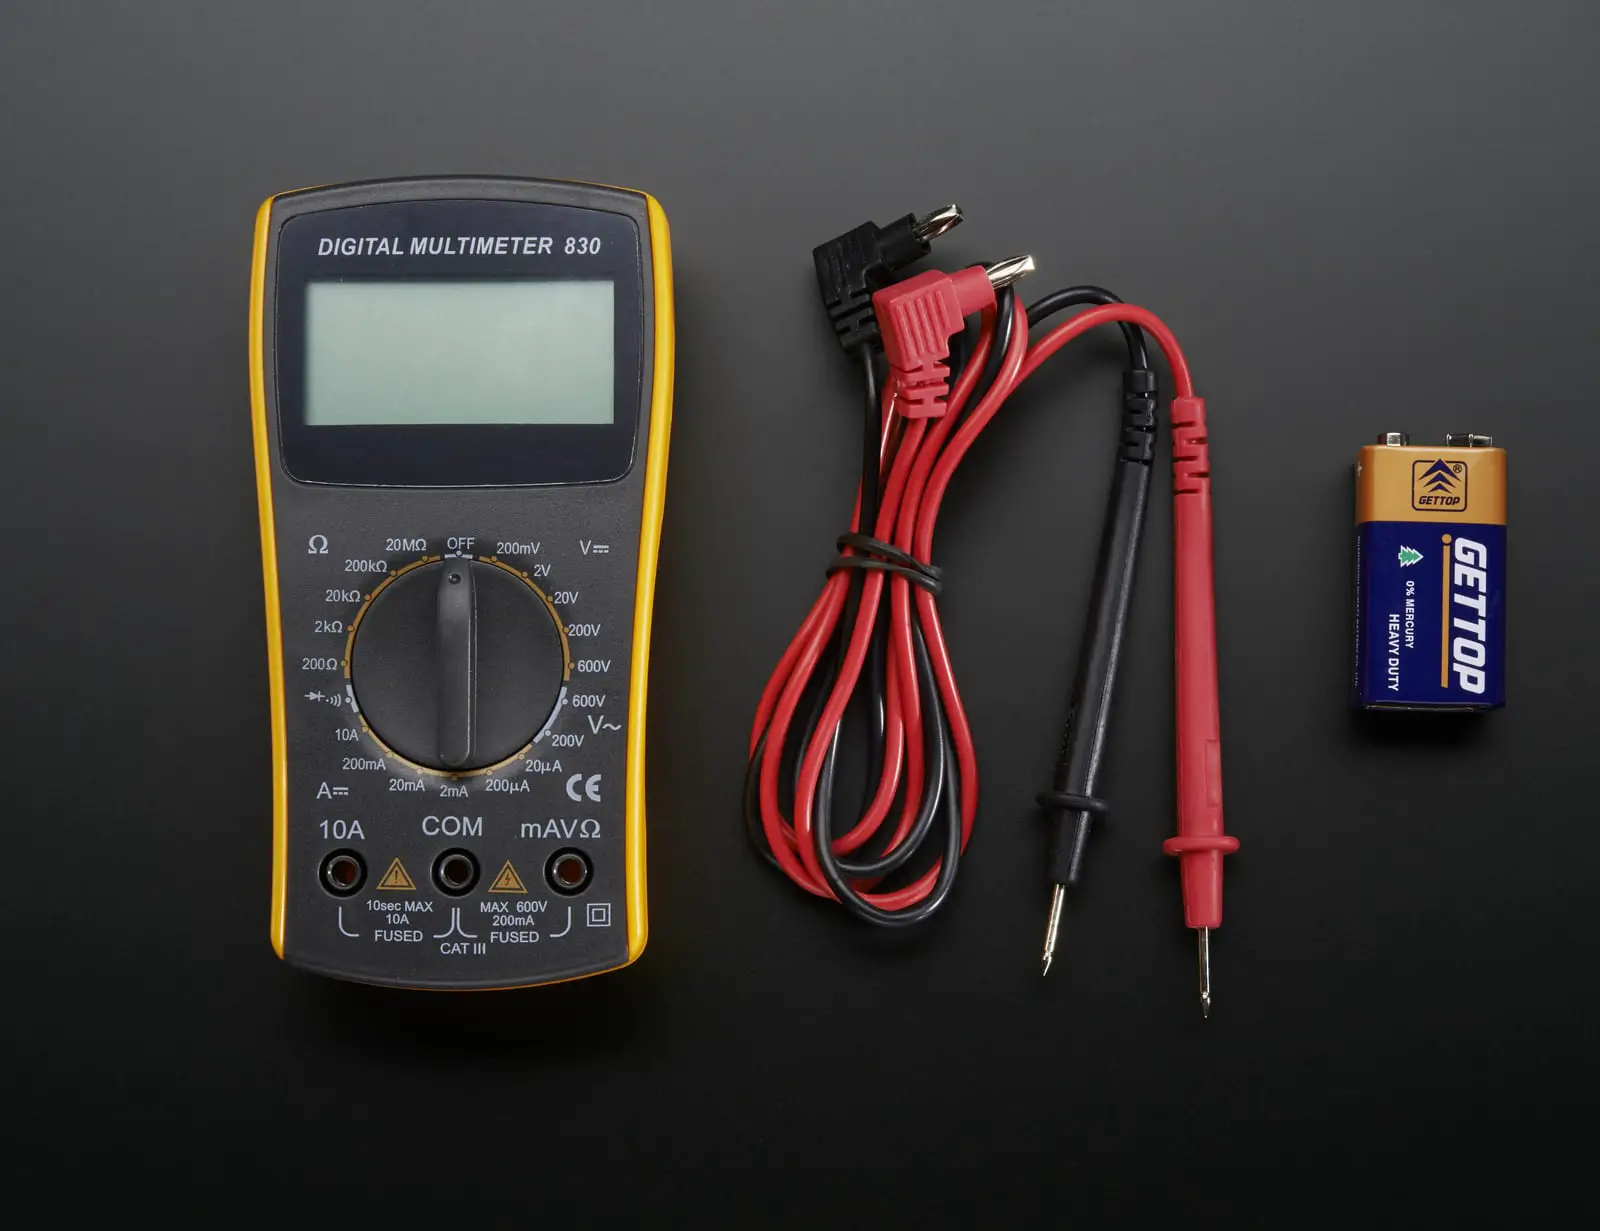
In addition to visual inspection, consider using a multimeter to test the continuity and integrity of the wiring. A multimeter can provide valuable insights into the conductivity of the wires and help identify any breaks or irregularities in the electrical pathways. By carefully testing the wiring with a multimeter, you can gain a more comprehensive understanding of its condition and functionality.
By thoroughly inspecting the wiring within the ceiling light fixture, you are taking proactive steps to ensure the safety and reliability of the lighting system. Identifying and addressing any wiring issues early on can prevent potential hazards and contribute to the optimal performance of the ceiling light. With the wiring inspection complete, you are now equipped with valuable insights to guide the next steps in testing and troubleshooting the ceiling light.
Step 4: Test the Light Bulb
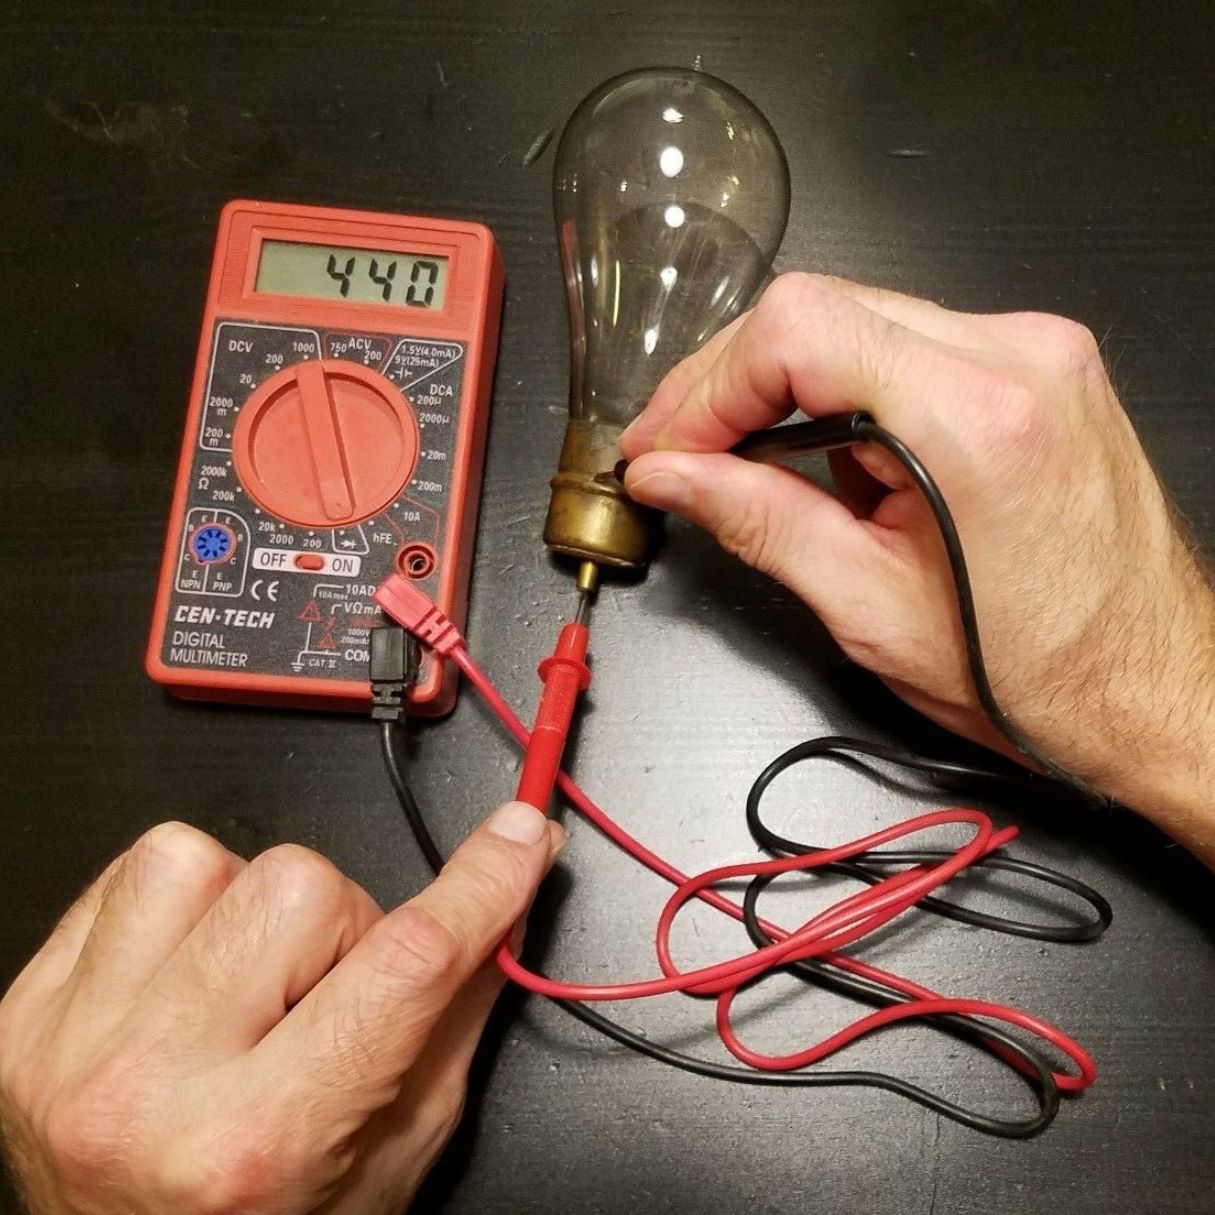
Testing the light bulb is a crucial aspect of diagnosing and resolving issues with a ceiling light. A malfunctioning or faulty light bulb can often be the root cause of lighting problems, including flickering, dimness, or complete failure to illuminate. By systematically testing the light bulb, you can determine its operational status and make informed decisions regarding its replacement or further troubleshooting.
To begin the testing process, carefully remove the light bulb from the socket within the ceiling light fixture. Depending on the type of fixture, the removal may involve a simple unscrewing motion or a gentle twisting action to release the bulb from its socket. Handle the light bulb with care to avoid breakage or damage, and place it on a stable surface for examination.
Start by visually inspecting the light bulb for any visible signs of damage, such as a broken filament, darkened areas, or discoloration. These indicators can point to internal issues that may be affecting the bulb's functionality. Additionally, check for loose connections or corrosion on the base of the bulb, as these can impede the flow of electricity and impact its performance.
If the light bulb appears to be in good condition, you can proceed to test its functionality using a known working socket or a replacement fixture. Placing the light bulb in a different socket can help determine whether the issue lies with the bulb itself or with the original socket and wiring. If the bulb illuminates normally in the alternate socket, it suggests that the original socket or wiring may be the source of the problem.
In the event that the light bulb fails to illuminate in the alternate socket, it is likely that the bulb has reached the end of its operational life and requires replacement. When selecting a replacement bulb, ensure that it is compatible with the fixture and meets the recommended wattage and type specifications. Additionally, consider opting for energy-efficient LED or CFL bulbs, which offer longevity and cost savings compared to traditional incandescent bulbs.
By systematically testing the light bulb and assessing its condition and functionality, you can gain valuable insights into the status of the ceiling light. Whether the issue is attributed to the bulb itself or other components within the fixture, this step provides a clear direction for the next course of action. With the light bulb testing complete, you are now prepared to proceed with further testing and troubleshooting to restore the functionality of the ceiling light.
Before testing a ceiling light, make sure to turn off the power at the circuit breaker to avoid any electrical accidents. Use a voltage tester to ensure the power is off before touching any wires.
Read more: How To Test A Light Socket With Multimeter
Step 5: Use a Voltage Tester
Using a voltage tester is a critical step in the process of testing a ceiling light, as it allows you to assess the presence of electrical current and identify any potential issues with the power supply to the fixture. A voltage tester, also known as a non-contact voltage tester or a voltage detector, is a handheld device designed to detect the presence of alternating current (AC) voltage without the need for direct contact with the electrical conductors.
To begin, ensure that the power to the ceiling light fixture is still turned off to prevent any electrical hazards during the testing process. Once the power is confirmed to be off, retrieve a reliable voltage tester from your toolkit. Voltage testers are readily available at hardware stores and online retailers, and they are relatively easy to use, making them an essential tool for DIY electrical testing.
With the voltage tester in hand, carefully approach the ceiling light fixture and hold the tester near the electrical connections, such as the wires and the light socket. Activate the voltage tester according to the manufacturer's instructions, typically by pressing a button or switching a dial to the appropriate setting. Once activated, the voltage tester emits visual and audible signals to indicate the presence of AC voltage.
As you move the voltage tester closer to the electrical connections within the fixture, observe the indicator lights or display on the tester. If the voltage tester detects the presence of electrical current, it will emit a visual or audible signal, such as a flashing light or a beeping sound. This indication confirms that there is active voltage in the vicinity of the tester.
Conversely, if the voltage tester does not register any voltage, it will remain inactive, without emitting any signals. This absence of voltage detection suggests that the power supply to the ceiling light fixture is effectively turned off, providing a safe environment for further testing and inspection.
By using a voltage tester to assess the presence of electrical current, you can verify that the power supply to the ceiling light is indeed deactivated before proceeding with additional tests or maintenance. This precautionary measure minimizes the risk of electrical shocks or accidents and ensures that you can work on the fixture safely and confidently.
In the event that the voltage tester indicates the presence of active voltage when the power is believed to be off, refrain from further testing and seek professional assistance. This scenario may indicate a wiring or circuitry issue that requires expert evaluation and resolution to prevent potential electrical hazards.
With the use of a voltage tester, you have effectively confirmed the status of the power supply to the ceiling light fixture, laying the groundwork for the subsequent steps in the testing process. This essential tool empowers you to make informed decisions and take appropriate actions to address any electrical concerns related to the ceiling light, promoting a safer and more efficient testing experience.
Step 6: Check the Switch
Checking the switch is a pivotal step in the process of testing a ceiling light, as it directly influences the activation and deactivation of the fixture. The switch, whether it's a traditional toggle switch, a dimmer switch, or a smart switch, serves as the primary control mechanism for the ceiling light, and any issues with its functionality can impact the overall operation of the fixture.
To begin the inspection of the switch, start by locating the switch that controls the ceiling light. This may be a standalone switch on the wall or part of a multi-gang switch panel. Once the switch is identified, visually examine its exterior for any visible signs of damage, wear, or irregularities. Look for cracks, discoloration, or loose components that may indicate a need for repair or replacement.
After visually inspecting the switch, proceed to test its functionality by toggling it on and off. Observe the response of the ceiling light as you manipulate the switch, paying attention to any flickering, intermittent operation, or failure to illuminate. These observations can provide valuable insights into the condition of the switch and its impact on the performance of the ceiling light.
If the switch exhibits erratic behavior or fails to activate the ceiling light consistently, it may indicate a faulty switch that requires attention. In some cases, the switch may be loose or improperly connected, leading to intermittent electrical contact and operational issues. Tightening the switch within the electrical box and ensuring secure connections can help address these issues and restore proper functionality.
In the event that the switch appears to be in good condition and operates smoothly, consider testing it with a multimeter to measure its electrical continuity and performance. A multimeter can provide quantitative data regarding the switch's conductivity and response to electrical input, aiding in the assessment of its overall functionality.
Additionally, if the ceiling light is controlled by a dimmer switch or a smart switch, ensure that these specialized controls are compatible with the fixture and are configured correctly. Dimmer switches, in particular, may require specific adjustments or calibration to accommodate different types of light bulbs and fixtures, and improper settings can lead to erratic behavior or flickering.
By thoroughly checking the switch and assessing its condition and functionality, you can gain valuable insights into its role in the operation of the ceiling light. Whether the issue lies with the switch itself or its interaction with the electrical circuit, this step provides essential information to guide the next course of action in diagnosing and resolving any issues with the ceiling light.
With the switch inspection complete, you are now prepared to proceed with further testing and troubleshooting to restore the functionality of the ceiling light.
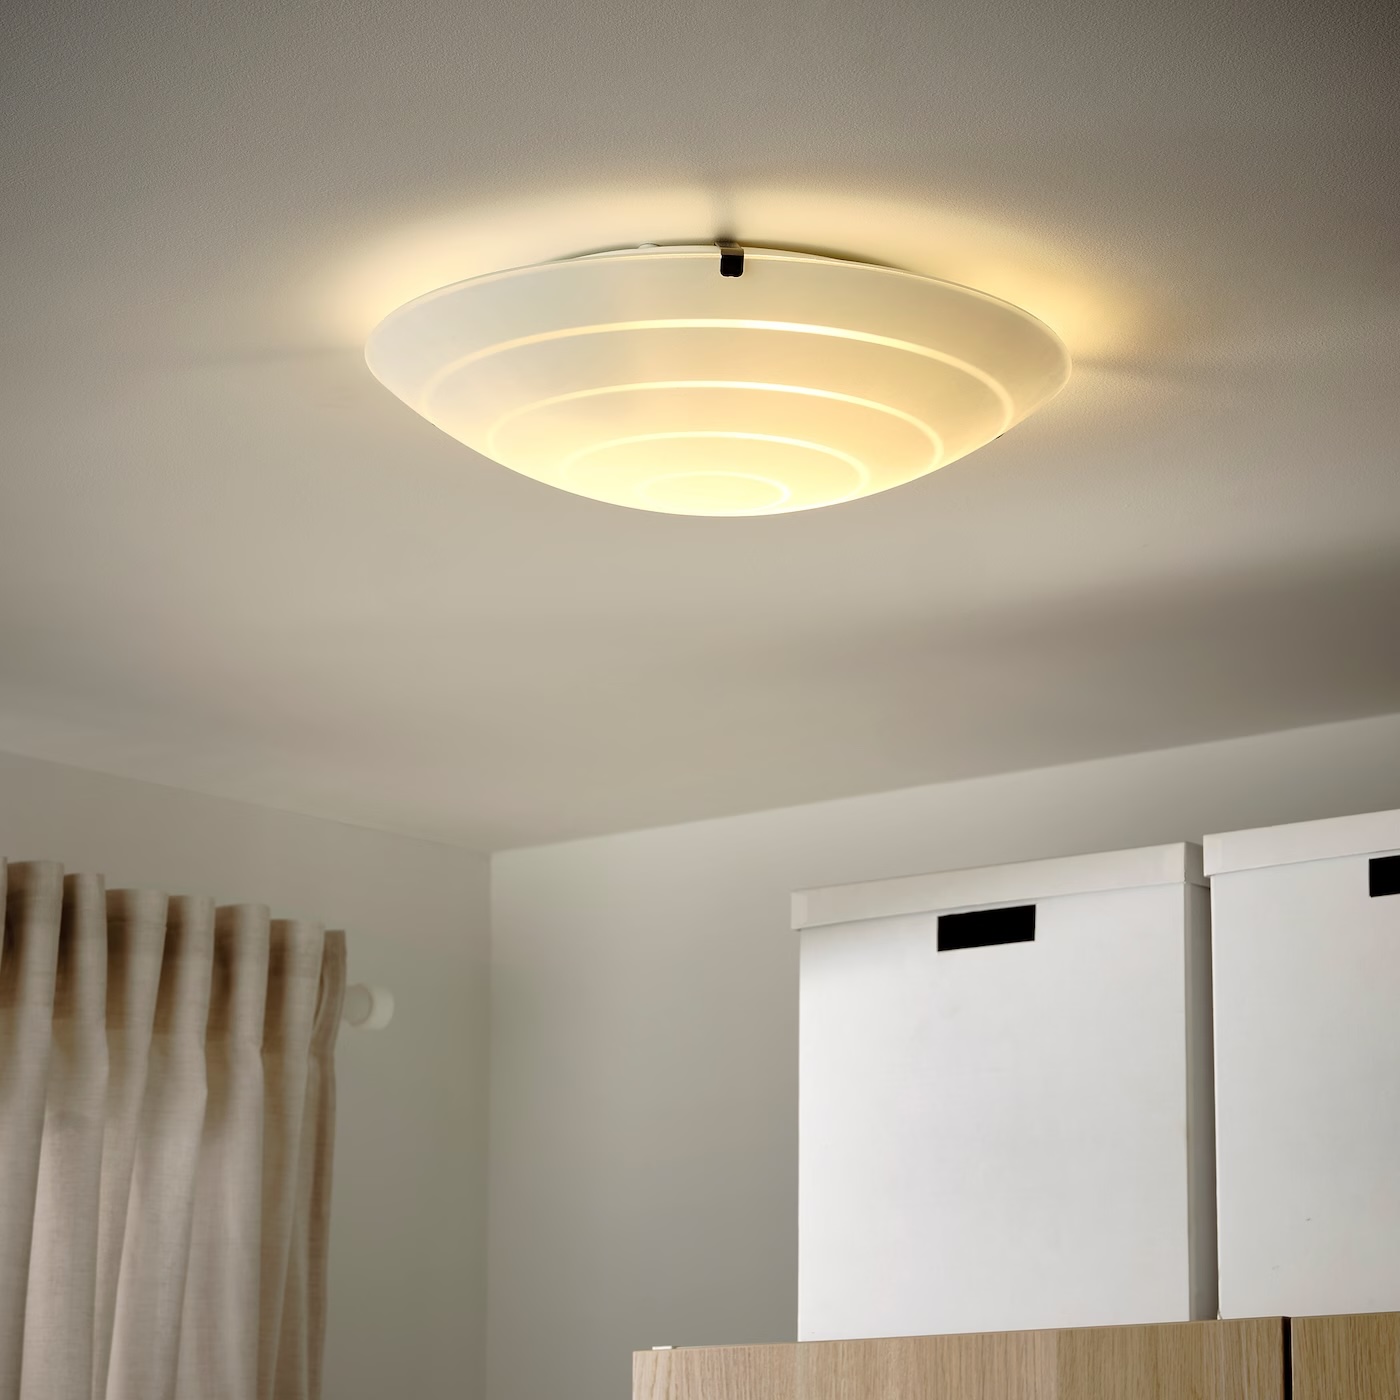
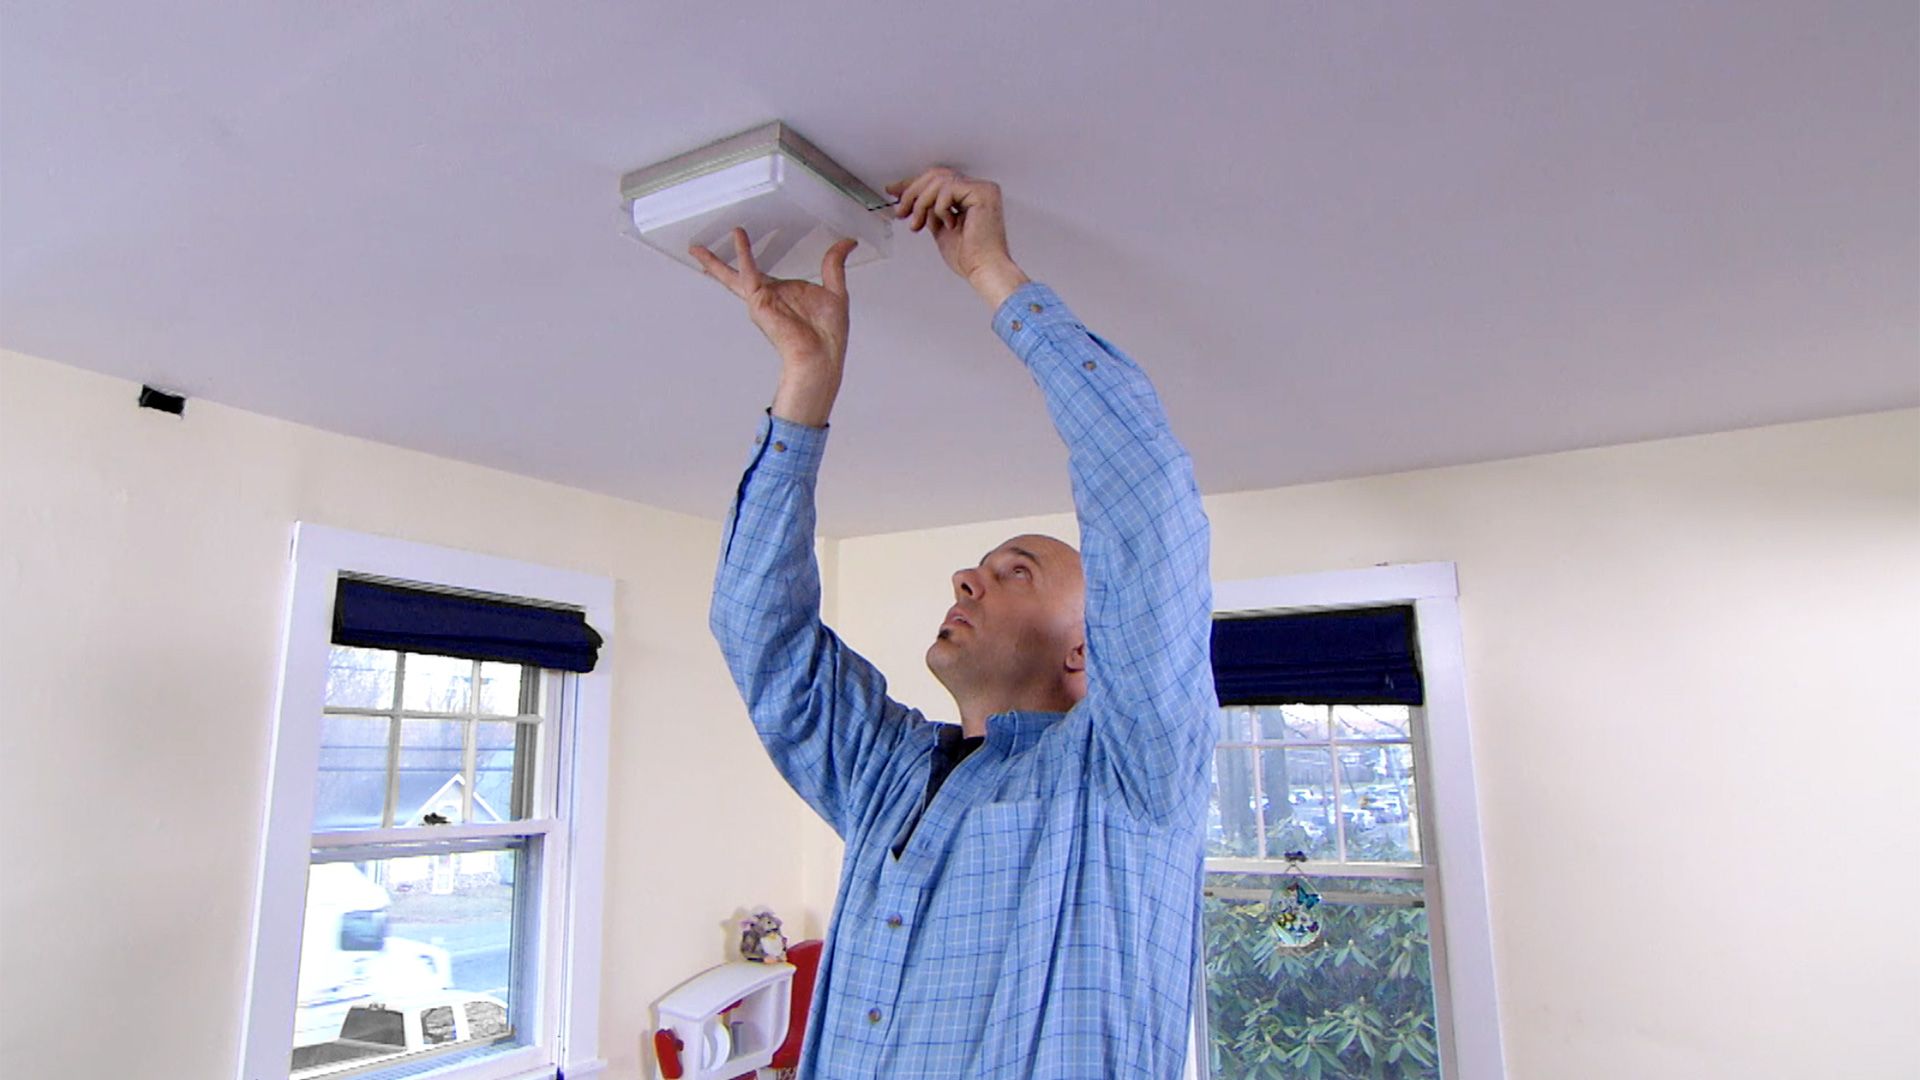
Step 7: Reassemble the Light Fixture
After completing the necessary testing and inspection of the ceiling light, the final step involves reassembling the light fixture to restore its functionality and aesthetic appeal. Reassembly is a critical aspect of the testing process, as it ensures that the internal components are properly secured and protected, and the fixture is ready to resume its role in providing illumination to the space.
To begin the reassembly process, carefully position the light cover or shade over the fixture, aligning it with the corresponding mounting points or fasteners. Depending on the type of fixture, you may need to engage in a twisting motion, secure screws, or reattach decorative knobs to affix the light cover in place. Take care to align the cover evenly and securely to prevent any wobbling or instability once reassembled.
Once the light cover is in position, proceed to secure it according to the manufacturer's specifications. Tighten any screws or fasteners to ensure a snug fit, taking care not to over-tighten and risk damaging the fixture. If the light cover features a twist-lock mechanism, follow the specific instructions provided by the manufacturer to lock it securely in place.
After securing the light cover, take a moment to inspect the overall appearance and stability of the reassembled fixture. Ensure that the cover sits flush against the fixture and that there are no visible gaps or misalignments. This visual inspection not only contributes to the aesthetic appeal of the fixture but also confirms that the internal components are adequately protected.
With the light cover securely reassembled, the final step involves restoring power to the ceiling light. Return to the circuit breaker or fuse box and carefully switch the power supply back on. Once the power is restored, test the ceiling light by toggling the switch to verify that it illuminates properly and operates as expected.
By reassembling the light fixture and restoring power, you have completed the comprehensive process of testing and inspecting the ceiling light. This final step signifies the culmination of your efforts to diagnose and address any issues affecting the fixture, and it marks the successful restoration of its functionality within the living space.
With the light fixture reassembled and operational, you can enjoy the benefits of a well-maintained and fully functional ceiling light, providing illumination and ambiance to the surrounding environment. Your diligent testing and reassembly efforts have contributed to a safer and more efficient lighting system, enhancing the overall comfort and functionality of your living space.
Conclusion
In conclusion, mastering the art of testing a ceiling light is a valuable skill that empowers homeowners and renters to maintain a safe and efficient lighting system within their living spaces. By following the step-by-step process outlined in this guide, individuals can confidently diagnose and address issues affecting their ceiling lights, promoting a safer and more comfortable environment for daily activities and relaxation.
The journey of testing a ceiling light begins with the crucial step of turning off the power to the fixture, ensuring a safe working environment and minimizing the risk of electrical mishaps. With the power safely deactivated, the subsequent steps of removing the light cover, inspecting the wiring, and testing the light bulb provide valuable insights into the condition and functionality of the fixture's internal components.
The use of a voltage tester to verify the absence of electrical current and the thorough inspection of the switch further contribute to a comprehensive testing process, enabling individuals to identify potential issues and take appropriate measures to address them. Whether it's a faulty light bulb, damaged wiring, or a malfunctioning switch, the systematic testing approach outlined in this guide equips individuals with the knowledge and confidence to troubleshoot and resolve ceiling light issues effectively.
The reassembly of the light fixture marks the successful culmination of the testing process, as the restored functionality and aesthetic appeal of the fixture enhance the overall ambiance and functionality of the living space. By diligently following each step and conducting thorough inspections, individuals can enjoy the benefits of a well-maintained and fully functional ceiling light, contributing to a safer and more efficient lighting system.
In essence, the ability to test a ceiling light represents a proactive approach to home maintenance and safety, allowing individuals to take control of their living environment and address potential issues with confidence. Whether it's a flickering light, a non-responsive fixture, or simply a desire to ensure the optimal performance of the lighting system, the knowledge and skills gained from testing a ceiling light are invaluable assets for homeowners and renters alike.
By embracing the principles of safety, thorough inspection, and methodical testing, individuals can navigate the process of testing a ceiling light with confidence and achieve the rewarding outcome of a well-maintained and fully functional lighting fixture.
Frequently Asked Questions about How To Test A Ceiling Light
Was this page helpful?
At Storables.com, we guarantee accurate and reliable information. Our content, validated by Expert Board Contributors, is crafted following stringent Editorial Policies. We're committed to providing you with well-researched, expert-backed insights for all your informational needs.


0 thoughts on “How To Test A Ceiling Light”