Home>Home Appliances>Lighting Appliances>How To Install An LED Ceiling Light

Lighting Appliances
How To Install An LED Ceiling Light
Modified: August 27, 2024
Learn how to easily install an LED ceiling light with our step-by-step guide. Upgrade your lighting appliances and brighten up your space today!
(Many of the links in this article redirect to a specific reviewed product. Your purchase of these products through affiliate links helps to generate commission for Storables.com, at no extra cost. Learn more)
Introduction
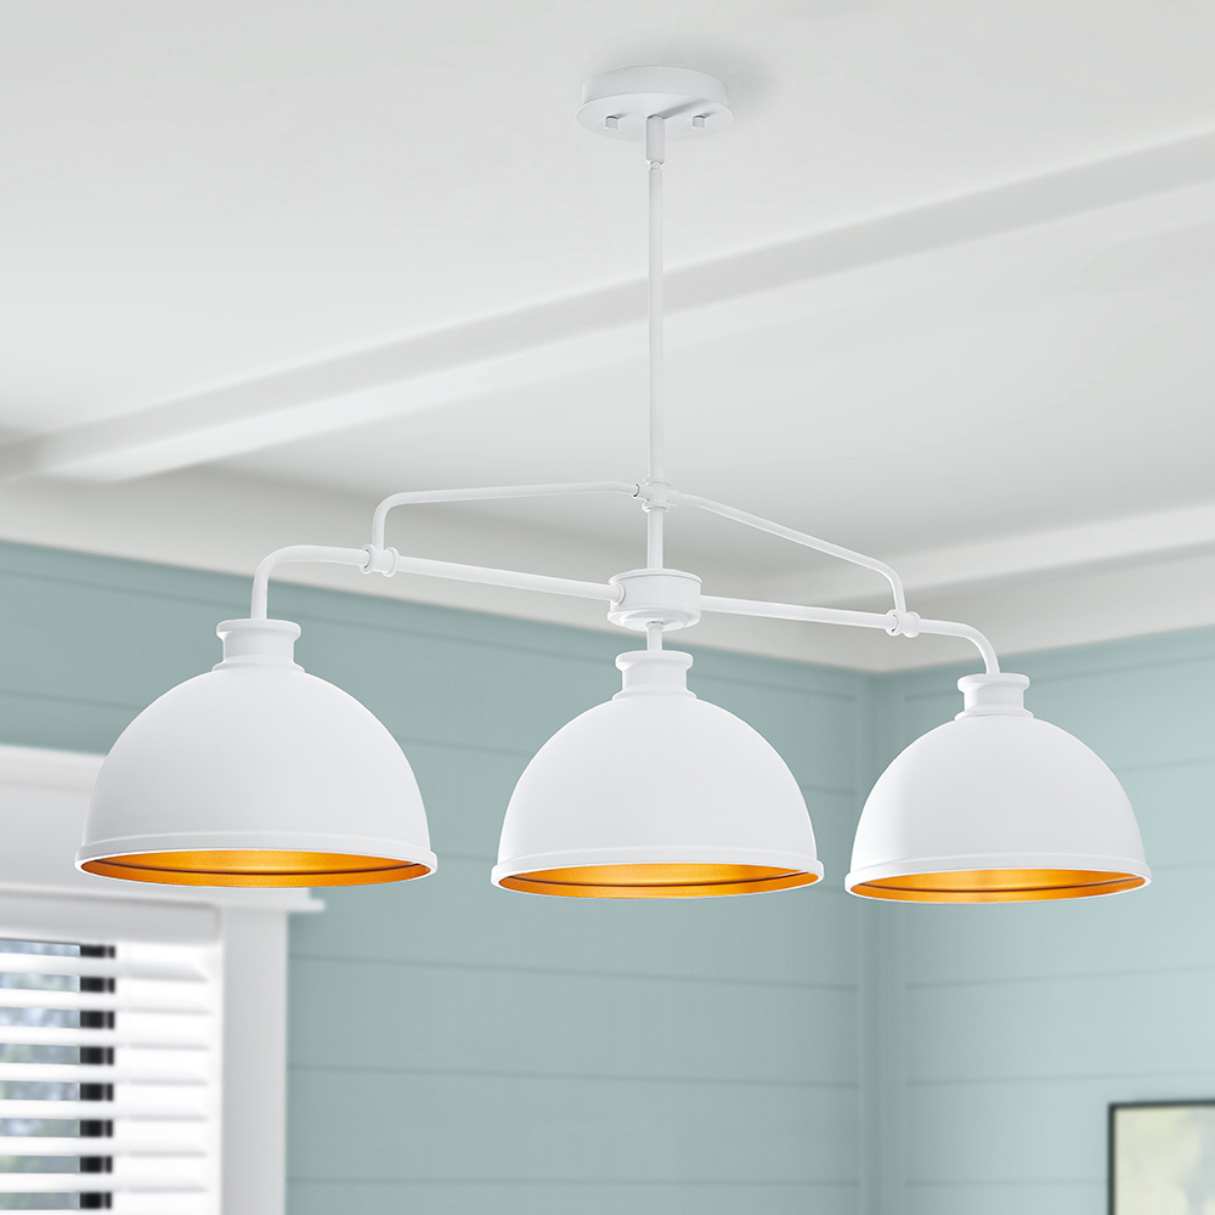
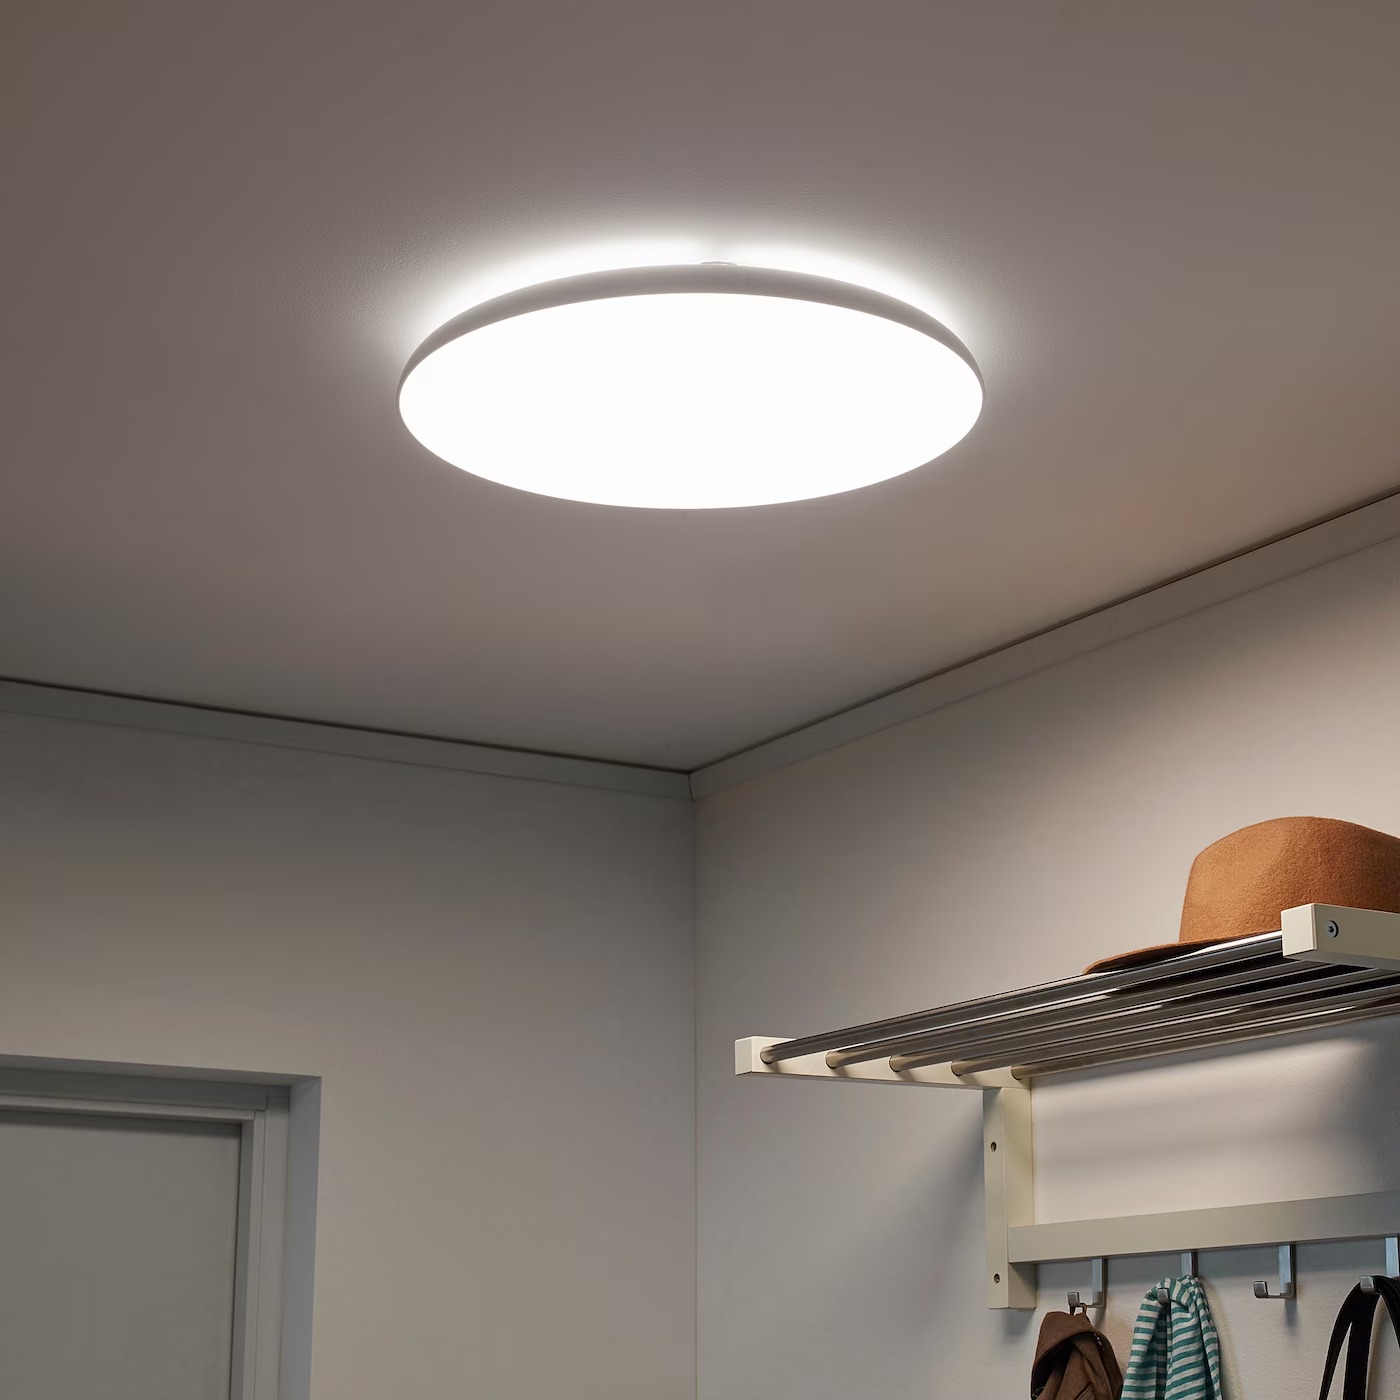
Installing an LED ceiling light can significantly enhance the ambiance and functionality of a room. Whether you're looking to upgrade your lighting for energy efficiency, aesthetic appeal, or both, LED ceiling lights offer a modern and stylish solution. With their long lifespan, low energy consumption, and bright illumination, LED lights have become a popular choice for homeowners and businesses alike.
In this comprehensive guide, we will walk you through the step-by-step process of installing an LED ceiling light. By following these instructions, you can transform the lighting in your space while also gaining the satisfaction of completing a DIY project. Before you begin, it's essential to gather the necessary tools and materials to ensure a smooth installation process.
From turning off the power to connecting the wires and securing the light fixture in place, each step is crucial to achieving a safe and successful installation. Whether you're a seasoned DIY enthusiast or a novice looking to expand your home improvement skills, this guide will provide you with the knowledge and confidence to tackle the task at hand.
By the end of this guide, you'll have a beautifully installed LED ceiling light that not only illuminates your space but also adds a touch of modern elegance. So, let's dive into the process and bring a renewed radiance to your living or working environment with a stunning LED ceiling light installation.
Key Takeaways:
- Installing an LED ceiling light is a DIY project that enhances a room’s ambiance and energy efficiency. From gathering tools to testing the light, each step contributes to a visually captivating and sustainable living environment.
- By following the step-by-step process, you can confidently install an LED ceiling light, transforming the room with modern elegance and functionality. Embrace the journey toward embracing modern lighting technology and enhancing your living space.
Read more: How To Change Light Bulb In The Ceiling
Step 1: Gather the Necessary Tools and Materials
Before embarking on the installation of an LED ceiling light, it's essential to gather all the required tools and materials. Having the right equipment at hand will streamline the installation process and ensure that you can complete the task efficiently and safely. Here's a comprehensive list of the tools and materials you'll need:
Tools:
- Screwdriver Set: A set of screwdrivers, including both flathead and Phillips head, will be essential for removing the existing light fixture and securing the new LED ceiling light in place.
- Wire Strippers: These will be necessary for accurately stripping the insulation from the electrical wires, allowing for proper connections.
- Voltage Tester: A voltage tester is a crucial safety tool that will help you verify that the power is off before beginning the installation.
- Ladder or Step Stool: Depending on the height of your ceiling, a stable ladder or step stool will facilitate safe access to the installation area.
Materials:
- LED Ceiling Light Fixture: Select a high-quality LED ceiling light fixture that suits the size and style of the room. Ensure that it comes with all the necessary components, including the mounting bracket and screws.
- Wire Nuts: These small, insulated connectors are used to secure the electrical connections between the wires from the ceiling and the light fixture.
- Electrical Tape: Electrical tape will be needed to insulate and protect the wire connections.
- Mounting Bracket and Screws: If not included with the LED light fixture, a mounting bracket and screws will be required to secure the light in place.
- Owner's Manual: Always refer to the manufacturer's instructions and safety guidelines provided with the LED light fixture.
By gathering these tools and materials, you'll be well-prepared to proceed with the subsequent steps of the installation process. Ensuring that you have everything you need at the outset will minimize interruptions and allow you to focus on achieving a successful LED ceiling light installation.
Step 2: Turn Off the Power
Before beginning any work on the electrical components of your home, it is absolutely crucial to ensure your safety by turning off the power to the area where you will be installing the LED ceiling light. This step is non-negotiable and must be executed with utmost care and attention to detail.
To turn off the power, locate your electrical panel or circuit breaker box. This is usually found in a garage, utility room, or basement. Once you have located the panel, open the door to reveal the circuit breakers or fuses inside. Most modern homes use circuit breakers, which are switches that can be flipped to cut off the power to specific areas of the house.
Next, identify the circuit that controls the electricity supply to the existing light fixture or the area where you will be installing the LED ceiling light. The circuits should be labeled to indicate which areas of the house they correspond to. If the circuits are not labeled, you may need assistance from a qualified electrician to identify the correct one.
Once you have located the correct circuit, switch it off by flipping the corresponding circuit breaker to the "off" position. For added safety, it is advisable to use a voltage tester to double-check that the power has indeed been cut off. This handheld device can detect the presence of electrical current, allowing you to verify that it is safe to proceed with the installation.
After confirming that the power is off, it is recommended to place a piece of tape over the circuit breaker switch to prevent anyone from accidentally turning it back on while you are working. This simple precaution can provide an extra layer of safety as you proceed with the installation process.
By diligently following these steps to turn off the power, you are taking a critical measure to protect yourself from the risk of electrical shock or injury. This foundational safety procedure sets the stage for the subsequent steps of installing the LED ceiling light, allowing you to work with confidence and peace of mind.
Step 3: Remove the Old Light Fixture
Removing the old light fixture is a pivotal step in the process of installing an LED ceiling light. Whether you're replacing an outdated fixture or upgrading to energy-efficient LED lighting, proper removal of the existing fixture is essential to pave the way for the new installation.
To begin, carefully inspect the old light fixture to identify how it is attached to the ceiling. Most fixtures are secured with screws or a mounting plate. Using a suitable screwdriver, carefully remove any screws that are holding the fixture in place. It's important to provide support for the fixture as you remove the final screws to prevent it from falling.
Once the screws are removed, gently lower the old light fixture from the ceiling. Take care to support its weight and ensure that any electrical wires are not strained or pulled during the process. If the fixture is connected to electrical wiring, it may be necessary to hold it in place while you disconnect the wires.
With the fixture safely removed, carefully disconnect the electrical wires by unscrewing the wire nuts that secure the connections. As you disconnect the wires, it's advisable to use a voltage tester to ensure that the power is still off. This additional safety measure provides peace of mind as you work with the electrical components.
After the wires are disconnected, the old light fixture can be set aside for proper disposal or recycling. It's important to handle the fixture with care, especially if it contains any fragile components or bulbs. If the fixture is no longer functional, consider recycling it in accordance with local regulations to minimize environmental impact.
With the old light fixture successfully removed, you have cleared the way for the next steps in the LED ceiling light installation process. By taking the time to remove the old fixture with care and attention to detail, you are setting the stage for a seamless transition to the installation of your new LED lighting solution.
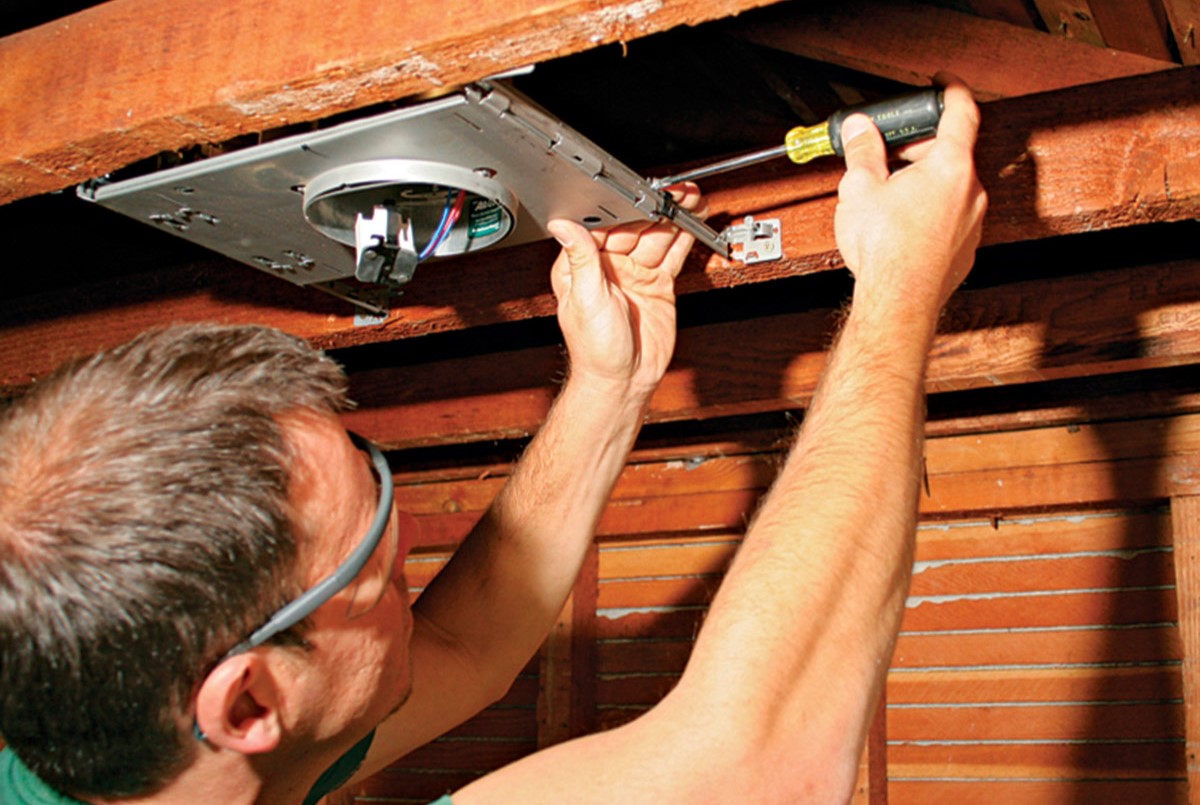
Step 4: Install the Mounting Bracket
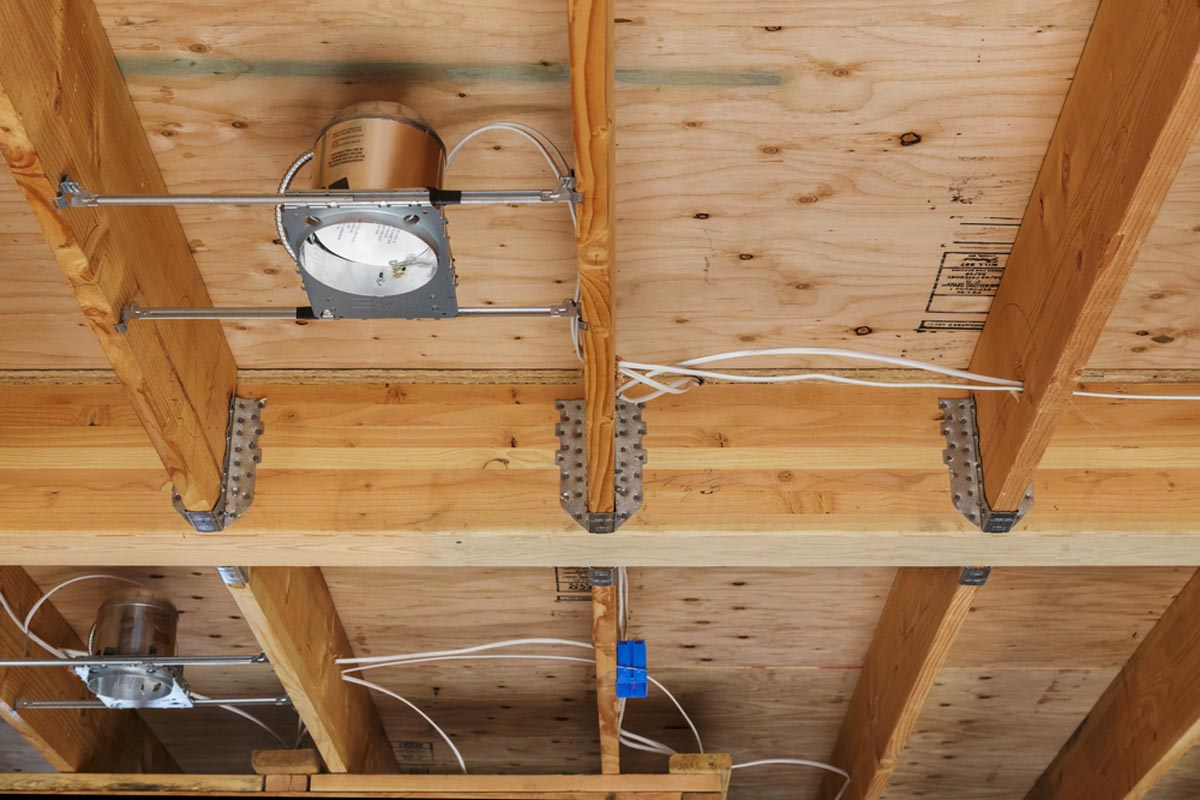
With the old light fixture removed, the next crucial step in installing an LED ceiling light is to secure the mounting bracket to the electrical box in the ceiling. The mounting bracket serves as the foundation for supporting the new light fixture and ensures its stability once installed.
Begin by locating the electrical box in the ceiling where the new LED light will be installed. The electrical box may be recessed into the ceiling or surface-mounted, depending on the construction of your home. Once the electrical box is located, inspect its condition to ensure that it is securely fastened and capable of supporting the weight of the new light fixture.
If the existing mounting bracket is damaged or incompatible with the new LED light fixture, it may need to be replaced. In such cases, carefully remove the old mounting bracket and replace it with the appropriate one that is compatible with the design of the LED light fixture.
When installing the mounting bracket, it's essential to align it with the screw holes in the electrical box and ensure that it is level and firmly secured. Most mounting brackets have adjustable arms or screws that allow for proper alignment and attachment to the electrical box.
Using the provided screws or fasteners, secure the mounting bracket to the electrical box, taking care to tighten the screws evenly to maintain stability. It's important to verify that the mounting bracket is securely attached and does not wobble or shift when pressure is applied.
Once the mounting bracket is installed, double-check its alignment and stability to ensure that it provides a solid base for mounting the new LED ceiling light fixture. The successful installation of the mounting bracket sets the stage for the subsequent steps of connecting the electrical wiring and attaching the LED light fixture.
By meticulously installing the mounting bracket, you are laying the groundwork for a secure and reliable LED ceiling light installation. This foundational step ensures that the new light fixture will be properly supported and positioned, setting the stage for the successful completion of the installation process.
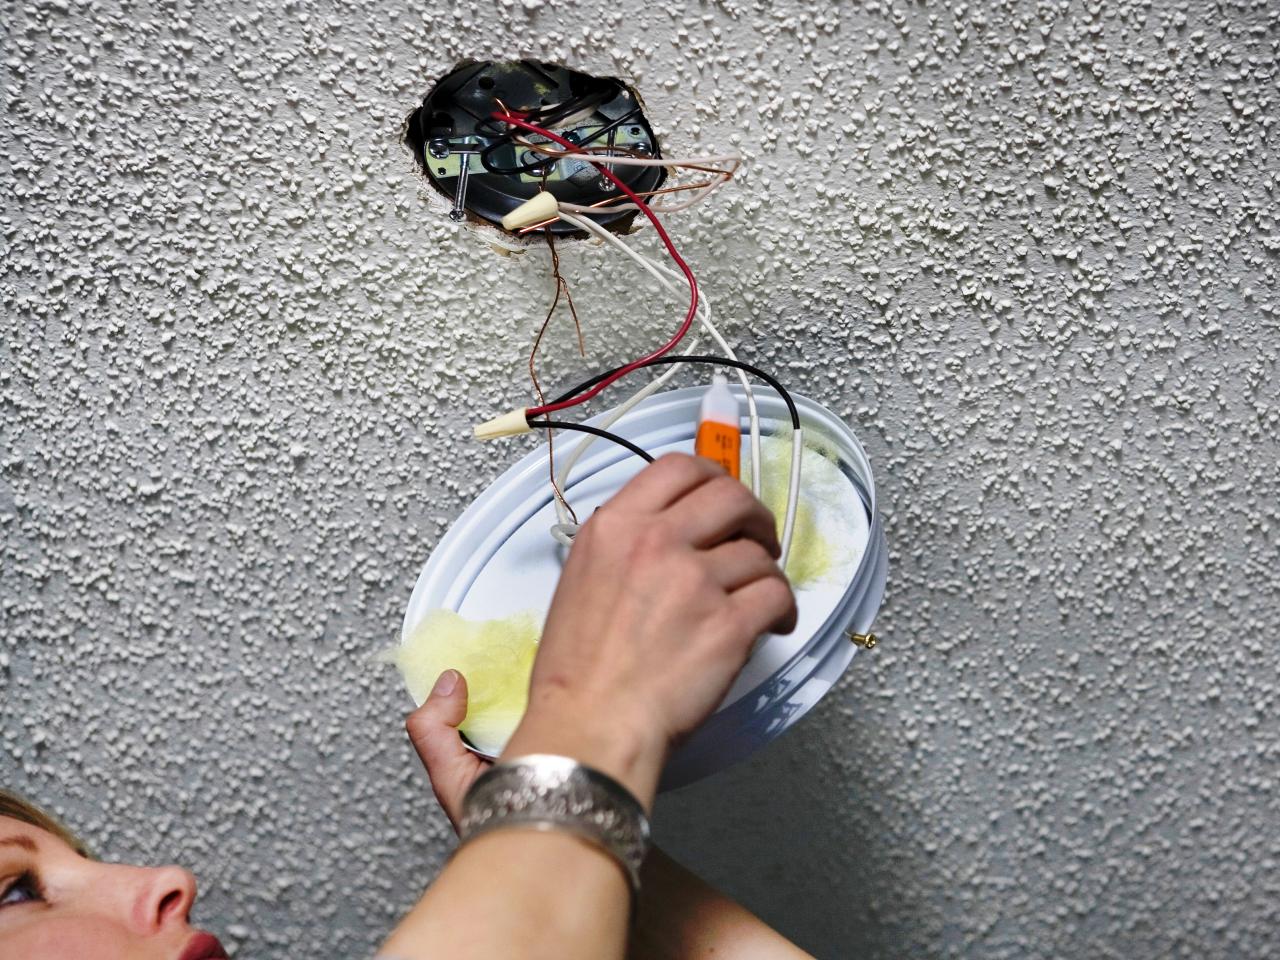
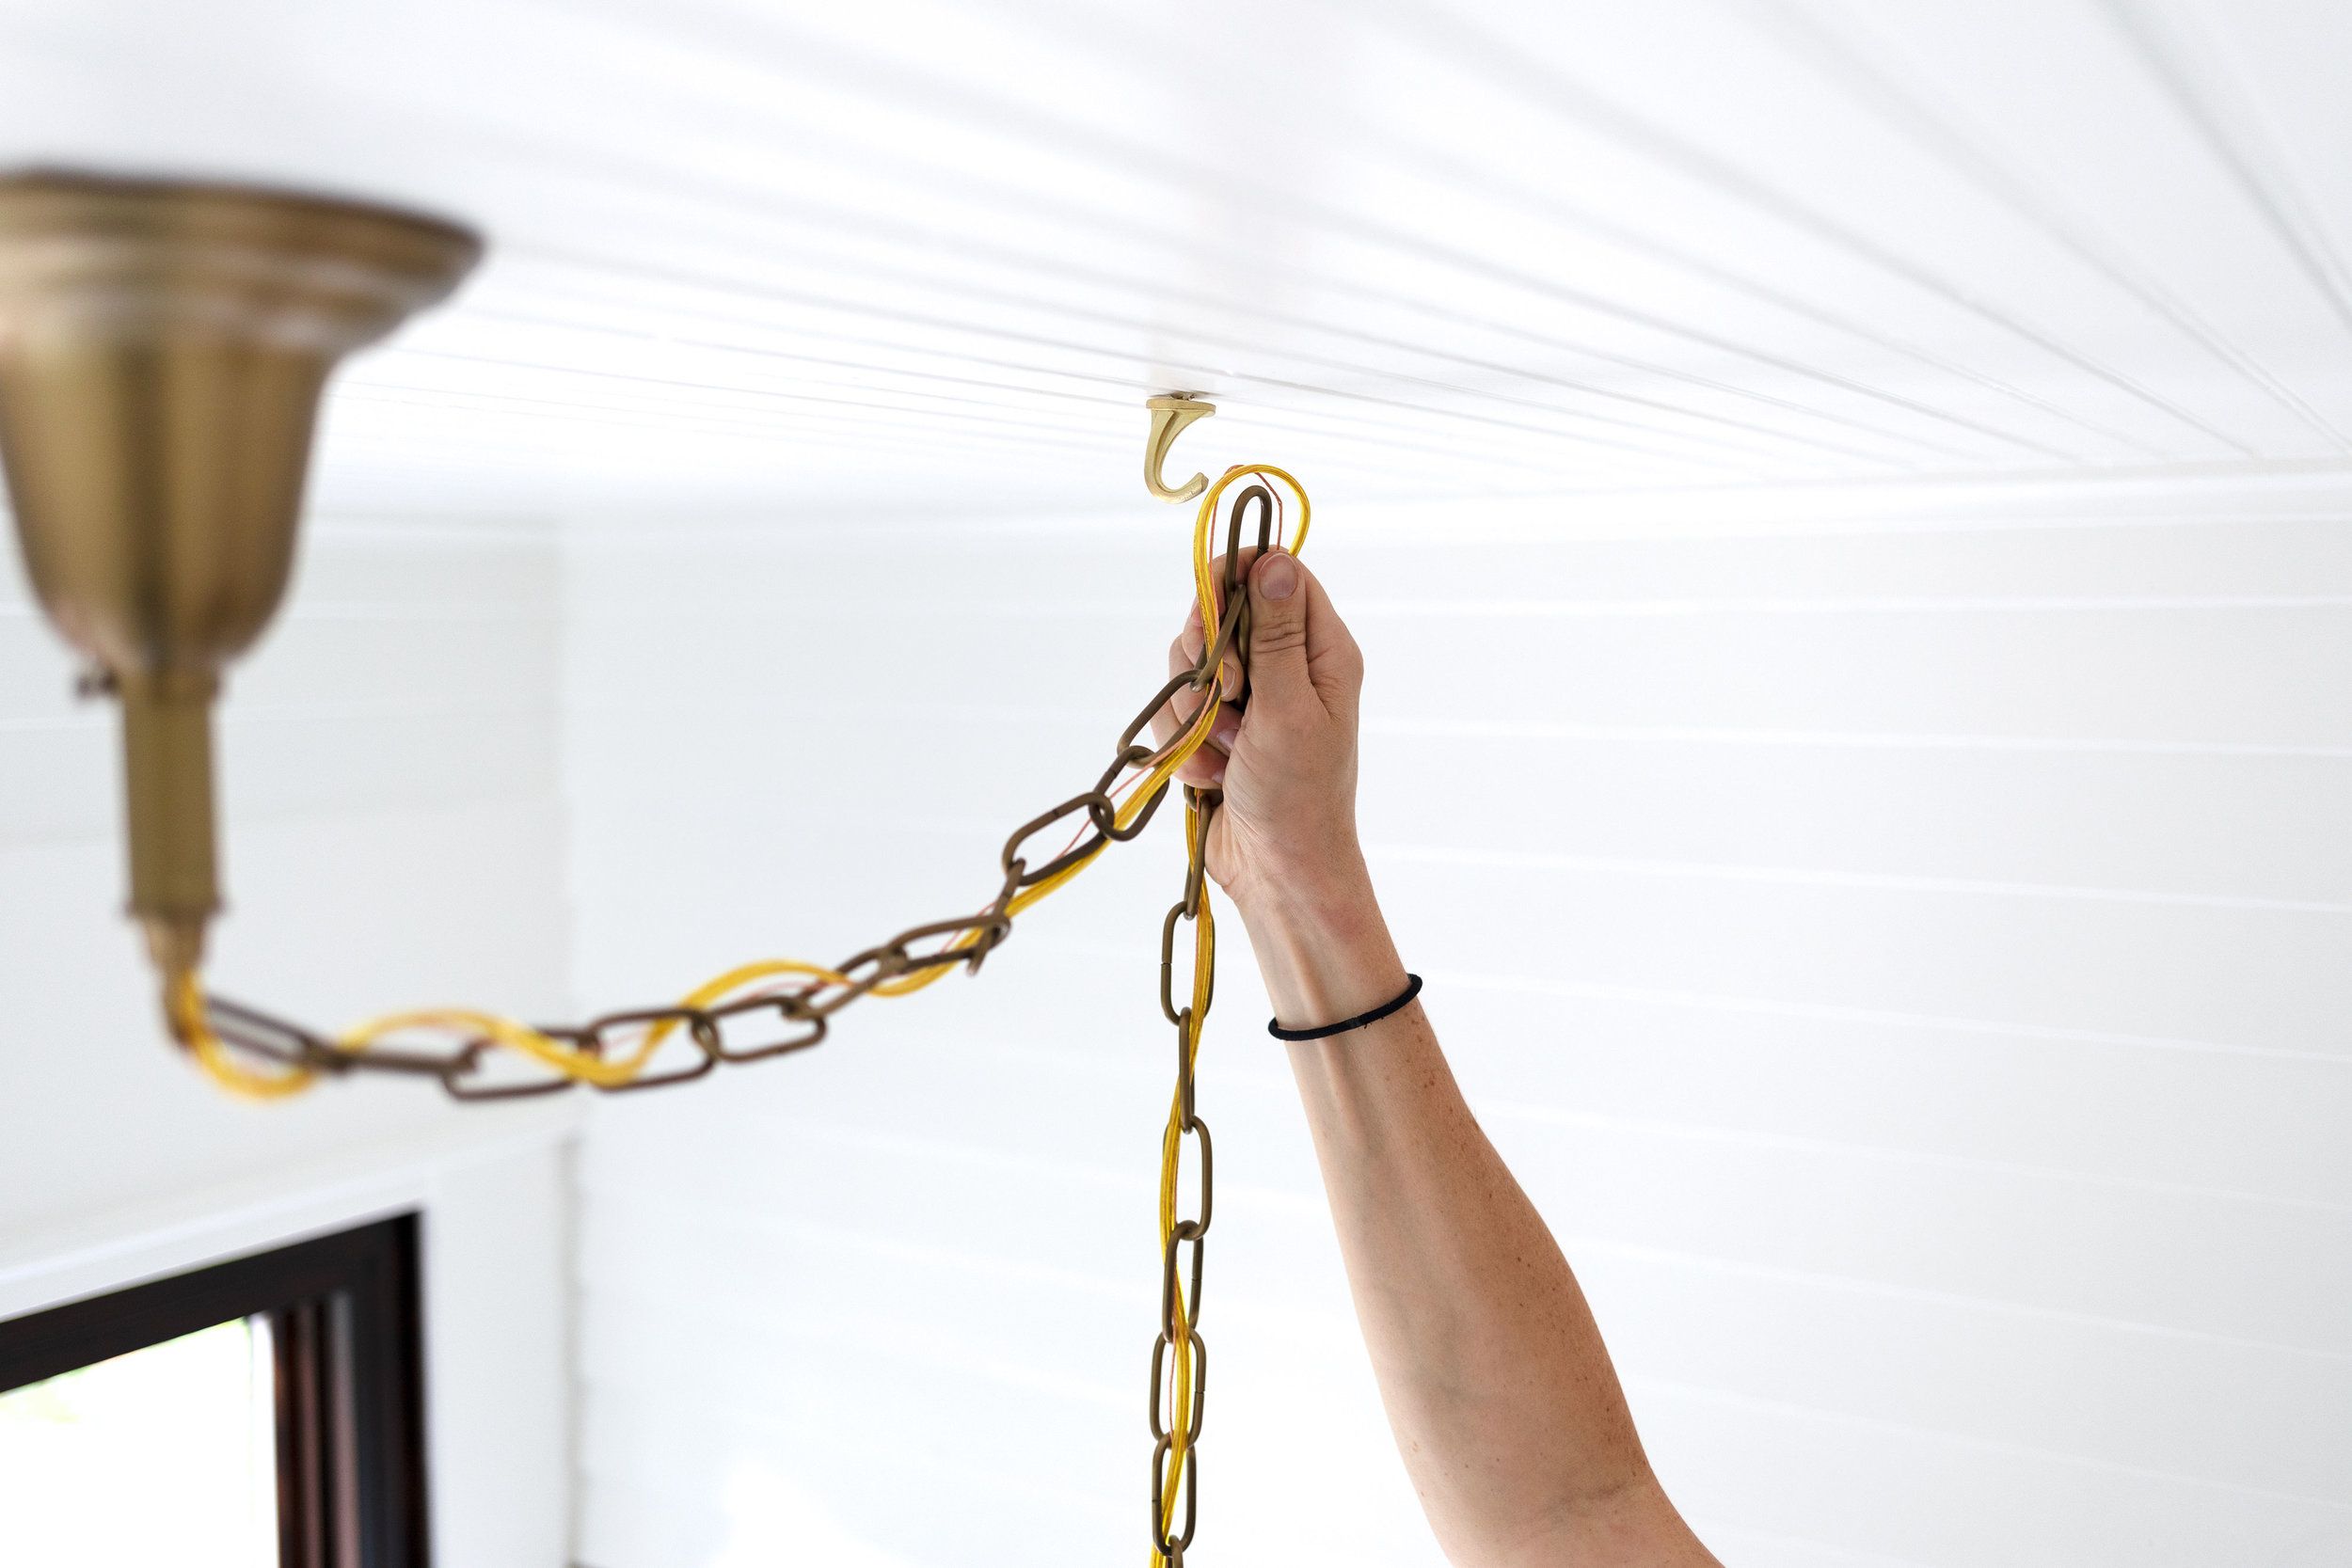
Step 5: Connect the Wires
Connecting the wires is a critical step in the installation of an LED ceiling light, as it establishes the electrical connections necessary for the fixture to function safely and effectively. Properly connecting the wires ensures that the power supply is seamlessly integrated with the new LED light, allowing it to illuminate your space with energy-efficient brilliance.
To begin, carefully examine the electrical wires protruding from the ceiling. Typically, there will be a black (hot) wire, a white (neutral) wire, and a bare copper or green wire (ground). It's essential to verify that the power is still off using a voltage tester before proceeding with the wire connections. This precautionary measure is crucial for ensuring your safety as you work with the electrical components.
Once the power is confirmed to be off, you can proceed to connect the wires from the ceiling to the corresponding wires of the LED light fixture. Most LED light fixtures are designed with color-coded wires or clearly labeled terminals to facilitate the connection process. Match the black wire from the ceiling to the black or hot wire of the LED light, the white wire from the ceiling to the white or neutral wire of the LED light, and the bare copper or green wire from the ceiling to the grounding terminal of the LED light.
To secure the wire connections, use wire nuts to twist and cover the exposed ends of the wires. This creates a safe and insulated connection, preventing any exposed wires and minimizing the risk of electrical hazards. After twisting the wire nuts in place, it's advisable to wrap each connection with electrical tape for added protection and stability.
As you connect the wires, ensure that the connections are snug and secure, with no exposed copper visible outside the wire nuts. Tug gently on each wire to confirm that it is firmly connected and does not come loose. This meticulous attention to detail during the wire connection process is essential for ensuring the long-term safety and functionality of the LED ceiling light.
Once the wire connections are completed and verified, carefully tuck the connected wires into the electrical box in the ceiling. Ensure that the wires are neatly arranged and do not interfere with the placement of the LED light fixture. This step sets the stage for the final phase of attaching the LED light fixture and securing it in place, bringing you one step closer to enjoying the enhanced illumination and energy efficiency of your newly installed LED ceiling light.
Before installing an LED ceiling light, make sure to turn off the power to the existing light fixture at the circuit breaker to avoid any electrical accidents.
Step 6: Attach the LED Light Fixture
With the wiring securely connected and tucked into the electrical box, it's time to attach the LED light fixture to the mounting bracket. This pivotal step brings the installation process closer to its culmination, as the LED light fixture is poised to become the focal point of the room, radiating its energy-efficient illumination.
Begin by carefully lifting the LED light fixture and aligning it with the mounting bracket. Most LED light fixtures feature a simple yet effective installation mechanism, often involving a twist-and-lock or slide-and-secure method. Refer to the manufacturer's instructions to understand the specific attachment process for your LED light fixture.
Once the fixture is aligned with the mounting bracket, follow the prescribed method to secure it in place. This may involve twisting the fixture into position, sliding it onto the bracket, or using screws to fasten it securely. It's essential to ensure that the fixture is firmly attached and does not wobble or shift when pressure is applied.
As you attach the LED light fixture, take care to handle it gently and avoid putting excessive pressure on any delicate components. If the fixture includes a diffuser or decorative elements, ensure that they are properly aligned and seated to achieve a uniform and appealing appearance.
After attaching the LED light fixture, step back and assess its positioning and alignment. Verify that it is level and centered, providing an aesthetically pleasing and balanced presence in the room. This attention to detail ensures that the LED light fixture becomes a seamless and integral part of the room's ambiance.
With the LED light fixture securely attached, take a moment to appreciate the progress made in the installation process. The room is now poised to be transformed by the radiant glow of the energy-efficient LED lighting, bringing a touch of modern elegance and functionality to the space.
The successful attachment of the LED light fixture sets the stage for the final step of securing the fixture in place and testing its illumination. With the fixture in position, the installation process nears its completion, bringing you one step closer to enjoying the enhanced lighting and visual appeal of your newly installed LED ceiling light.
Read more: How To Hide LED Strip Ceiling Lights
Step 7: Secure the Light Fixture in Place
Securing the light fixture in place is a critical step that ensures the stability and longevity of your newly installed LED ceiling light. By meticulously fastening the fixture, you not only enhance its safety but also contribute to the overall aesthetic and functionality of the room.
To begin, carefully inspect the attachment points between the LED light fixture and the mounting bracket. Depending on the design of the fixture, there may be screws, locking mechanisms, or other fastening components that require attention. Ensure that each attachment point is properly engaged and tightened according to the manufacturer's specifications.
Using a screwdriver or the prescribed tool, tighten any screws or fasteners that secure the LED light fixture to the mounting bracket. It's essential to apply firm but controlled pressure to achieve a secure attachment without over-tightening, which could potentially damage the fixture or mounting hardware.
As you secure the light fixture in place, pay close attention to its alignment and orientation. Verify that the fixture is level and centered, providing a visually pleasing and balanced presence in the room. This attention to detail contributes to the overall aesthetic appeal of the installed LED ceiling light.
If the LED light fixture includes a decorative cover or diffuser, ensure that it is properly seated and aligned. Gently press or secure the cover according to the manufacturer's instructions, taking care to avoid applying excessive force that could damage the delicate components.
Once the light fixture is securely fastened and aligned, step back and admire the transformation it brings to the room. The modern elegance and energy-efficient illumination of the LED ceiling light now enhance the ambiance and functionality of the space, creating a welcoming and visually appealing environment.
By meticulously securing the light fixture in place, you have completed a crucial step in the installation process, bringing you one step closer to enjoying the benefits of your newly installed LED ceiling light. With the fixture firmly attached and visually captivating, the installation process nears its completion, marking a significant achievement in your home improvement endeavors.
Step 8: Turn On the Power and Test the Light
With the LED light fixture securely installed and the wiring connections completed, the final step in the installation process is to restore power to the area and test the functionality of the newly installed LED ceiling light. This pivotal step not only verifies the successful completion of the installation but also allows you to bask in the radiant glow of the energy-efficient illumination.
To turn on the power, return to the electrical panel or circuit breaker box where you previously turned off the power. Carefully locate the corresponding circuit breaker that controls the electricity supply to the area where the LED ceiling light was installed. With caution and deliberation, flip the circuit breaker back to the "on" position, restoring power to the room.
As the power is restored, take a moment to anticipate the transformative effect of the LED ceiling light. The room is poised to be bathed in a gentle, yet powerful illumination that not only enhances visibility but also elevates the ambiance with its modern elegance.
Once the power is restored, step back and observe as the LED ceiling light comes to life, casting its radiant glow across the room. Take note of the brightness, color temperature, and overall performance of the light, ensuring that it meets your expectations and enhances the visual appeal of the space.
If the LED light functions as expected, congratulations are in order as you have successfully completed the installation process. Revel in the satisfaction of a job well done, knowing that your efforts have resulted in a significant improvement to the lighting and ambiance of the room.
In the event that the LED light does not illuminate as anticipated, it's essential to retrace your steps and troubleshoot any potential issues. Begin by double-checking the wiring connections, ensuring that they are secure and properly insulated. If the connections are verified, consider consulting the manufacturer's instructions or seeking assistance from a qualified electrician to diagnose and resolve any issues.
By turning on the power and testing the LED ceiling light, you are not only confirming the successful installation but also embracing the transformative impact of modern, energy-efficient lighting. Whether you're illuminating a living space, workspace, or any other area, the installation of an LED ceiling light marks a significant enhancement to the functionality and visual appeal of the room.
Conclusion
In conclusion, the installation of an LED ceiling light represents a significant enhancement to the ambiance, functionality, and energy efficiency of any space. Throughout the step-by-step process, from gathering the necessary tools and materials to turning on the power and testing the light, each stage has contributed to the successful installation of this modern lighting solution.
By embarking on the journey of installing an LED ceiling light, you have not only elevated the visual appeal of the room but also embraced the benefits of energy-efficient illumination. The transition from traditional lighting to LED technology marks a significant step toward reducing energy consumption and contributing to a more sustainable living environment.
As you stand back and admire the newly installed LED ceiling light, take a moment to appreciate the transformative impact it brings to the room. The gentle yet powerful illumination radiates modern elegance, creating a welcoming and visually captivating environment. Whether it's a living room, kitchen, bedroom, or workspace, the LED light serves as a focal point, enhancing the overall ambiance and functionality of the space.
Furthermore, the successful installation of an LED ceiling light represents a testament to your DIY skills and home improvement prowess. By meticulously following the installation process and paying attention to detail, you have not only achieved a visually appealing result but also gained valuable experience in working with electrical components and modern lighting technology.
As you enjoy the benefits of your newly installed LED ceiling light, revel in the knowledge that you have contributed to a more energy-efficient and visually captivating living or working environment. The modern elegance and functionality of LED lighting now illuminate your space, creating a welcoming atmosphere and setting the stage for countless moments of comfort and productivity.
In essence, the installation of an LED ceiling light is more than just a home improvement project; it's a transformative journey toward embracing modern lighting technology and enhancing the quality of your living or working environment. With the successful completion of the installation process, you have not only illuminated the room but also illuminated the path toward a more sustainable and visually captivating future.
Frequently Asked Questions about How To Install An LED Ceiling Light
Was this page helpful?
At Storables.com, we guarantee accurate and reliable information. Our content, validated by Expert Board Contributors, is crafted following stringent Editorial Policies. We're committed to providing you with well-researched, expert-backed insights for all your informational needs.


0 thoughts on “How To Install An LED Ceiling Light”