Home>Home Maintenance>Home Repair: How To Repair Stair Railing Attached To Wall

Home Maintenance
Home Repair: How To Repair Stair Railing Attached To Wall
Modified: March 6, 2024
Learn how to repair and maintain stair railing attached to the wall in your home with our expert DIY techniques and tips. Enhance the safety and aesthetics of your staircase.
(Many of the links in this article redirect to a specific reviewed product. Your purchase of these products through affiliate links helps to generate commission for Storables.com, at no extra cost. Learn more)
Introduction
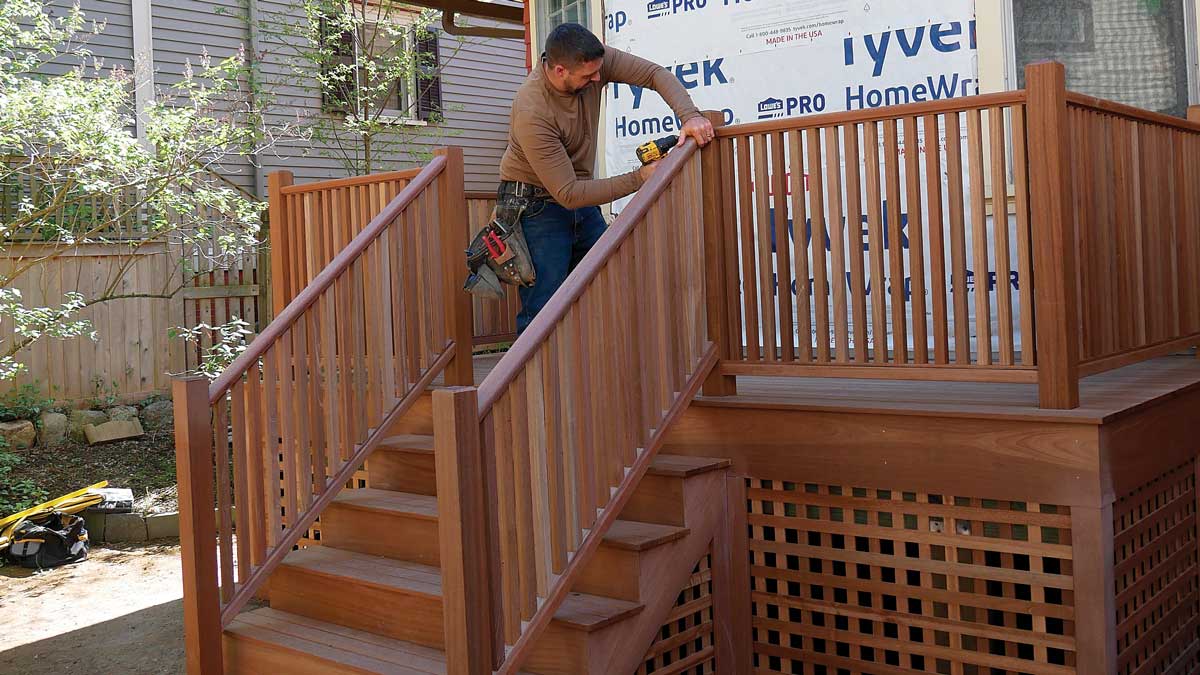
Maintaining a safe and sturdy stair railing is crucial for the overall safety and security of your home. Over time, however, wear and tear can cause the railing attached to the wall to become loose or damaged. This not only compromises the functionality of the railing but also poses a potential hazard for anyone using the stairs.
Repairing a stair railing attached to a wall may seem like a daunting task, but with the right tools, materials, and guidance, it can be a manageable and rewarding DIY project. In this article, we will walk you through the step-by-step process of repairing a stair railing attached to a wall, ensuring a reliable and secure handrail for years to come.
Before diving into the repair process, it’s essential to gather the necessary tools and materials to complete the job efficiently. Ensure you have the following items on hand:
- Drill
- Screwdriver (Phillips and flathead)
- Hammer
- Adjustable wrench
- Pliers
- Safety goggles
- Tape measure
- Pencil or marker
- Level
- Wood screws
- Anchors
- Mounting brackets (if necessary)
- Wood putty (optional)
- Sandpaper (optional)
- Paint or stain (optional)
Having these tools and materials readily available will streamline the repair process and ensure that you can tackle any unexpected issues that might arise during the repair.
Now that you’re equipped with the necessary tools, let’s proceed to the first step: inspection and assessment.
Key Takeaways:
- Repairing a loose or damaged stair railing attached to a wall is a manageable DIY project that requires careful inspection, secure reattachment, and finishing touches for a safe and beautiful home addition.
- By following the step-by-step process and prioritizing safety, you can restore the strength and functionality of your stair railing, ensuring long-term integrity and safety for your family.
Read more: How To Paint Railings On Stairs
Tools and Materials Needed
To successfully repair a stair railing attached to a wall, you will need a set of tools and materials. Here is a comprehensive list of what you will need:
1. Drill: A drill is an essential tool for removing screws and drilling new holes if needed. Make sure you have the appropriate drill bits for your project.
2. Screwdriver (Phillips and flathead): You will need both types of screwdrivers to remove and reattach screws in the mounting brackets.
3. Hammer: A hammer will come in handy for removing any nails or tapping in new ones, if required.
4. Adjustable Wrench: An adjustable wrench will be used to tighten or loosen nuts and bolts.
5. Pliers: Pliers will help you with gripping and holding small parts during the repair process.
6. Safety goggles: Wearing safety goggles is essential to protect your eyes from any flying debris or particles while working.
7. Tape measure: A tape measure will help you accurately measure the length, width, and height of the railing and mounting brackets.
8. Pencil or marker: Use a pencil or marker to mark the positions of the railing and mounting brackets before removing them. This will ensure that you can reinstall them correctly.
9. Level: A level is crucial for checking the alignment and ensuring that the railing is straight and even.
10. Wood screws: You may need new wood screws to secure the railing to the wall or replace any damaged screws.
11. Anchors: If the existing wall anchors are damaged or insufficient, you may need to purchase new ones to provide a secure attachment for the railing.
12. Mounting brackets (if necessary): If the existing mounting brackets are damaged, you may need to replace them. Make sure to choose brackets that are compatible with your railing and wall type.
13. Wood putty (optional): If there are any small holes or cracks in the wood railing, you can use wood putty to fill them in for a smoother finish.
14. Sandpaper (optional): Sandpaper can be used to smooth rough edges or remove any old paint or varnish.
15. Paint or stain (optional): If you want to give your repaired railing a fresh new look, you can choose to paint or stain it.
Having these tools and materials on hand will ensure that you have everything you need to complete the stair railing repair project successfully. Remember to use appropriate safety measures, such as wearing gloves and following manufacturer instructions for any power tools used.
Step 1: Inspection and Assessment
Before you can start repairing the stair railing attached to the wall, it’s important to conduct a thorough inspection and assessment of the existing railing. This step will help you identify any issues or damage that needs to be addressed during the repair process. Here’s how to proceed:
1. Visual Inspection: Begin by visually inspecting the entire length of the railing. Look out for any signs of damage, such as cracks, splits, or loose screws. Pay close attention to the areas where the railing attaches to the wall, as this is where most problems occur.
2. Test the Stability: Gently shake the railing to see if it feels loose or wobbly. If it moves or feels unstable, there may be underlying issues with the mounting brackets or screws.
3. Check the Mounting Brackets: Examine the mounting brackets that connect the railing to the wall. Look for any signs of rust, corrosion, or bent brackets. Inspect the screws or bolts holding the brackets in place to ensure they are tight and secure.
4. Evaluate the Wall Anchors: If the railing is attached to the wall using anchors, inspect them for any visible damage or signs of wear. Loose or damaged anchors may need to be replaced for a secure attachment.
5. Measure the Railing: Use a tape measure to measure the length and height of the railing. This will help you determine if any sections of the railing need to be replaced due to excessive damage.
6. Assess the Wood Condition: If the railing is made of wood, assess the overall condition of the wood. Look for rot, decay, or termite damage. If any portions of the railing show significant damage, you may need to consider replacing those sections.
7. Document the Findings: Take notes or pictures of the areas that require repair or replacement. This documentation will serve as a reference during the repair process.
By conducting a thorough inspection and assessment, you will have a clear understanding of the extent of the damage and the necessary repairs needed for the stair railing attached to the wall. This initial step will help you plan and gather the specific tools and materials required for the repair job.
Step 2: Removing the Damaged Railing
Once you have assessed the condition of the stair railing and identified the areas that require repair, it’s time to remove the damaged railing. Follow these steps to safely remove the railing attached to the wall:
1. Prepare the Work Area: Clear the surrounding area of any obstacles or furniture to create a safe and spacious work zone.
2. Unscrew the Mounting Brackets: Use a screwdriver or drill with a suitable bit to unscrew and remove the screws or bolts securing the mounting brackets to the wall. Take note of the location of each screw, as this will help when reinstalling the railing.
3. Detach the Railing: With the mounting brackets removed, carefully detach the railing from the wall. Check for any additional screws or nails that may be securing the railing in place and remove them as needed. It may be helpful to have an extra set of hands to assist you in holding the railing while you detach it.
4. Inspect the Railing: Once the railing is removed, examine it closely for any damage or signs of wear. Check for cracks, splinters, or areas that may require wood putty to fill in minor imperfections.
5. Clean the Wall: After removing the damaged railing, take the time to clean the wall surface where the mounting brackets were attached. Use a sponge or cloth and mild detergent to remove any dirt, dust, or residue that may have accumulated over time.
6. Patch and Repair: If there are any holes or marks left behind from the removed railing or mounting brackets, patch them with spackle or putty. Smooth the surface with sandpaper once the patch has dried to ensure a seamless finish.
By following these steps, you will effectively remove the damaged stair railing from the wall, allowing you to proceed with the necessary repairs or replacement. Remember to handle the railing with care to prevent any additional damage during the removal process.
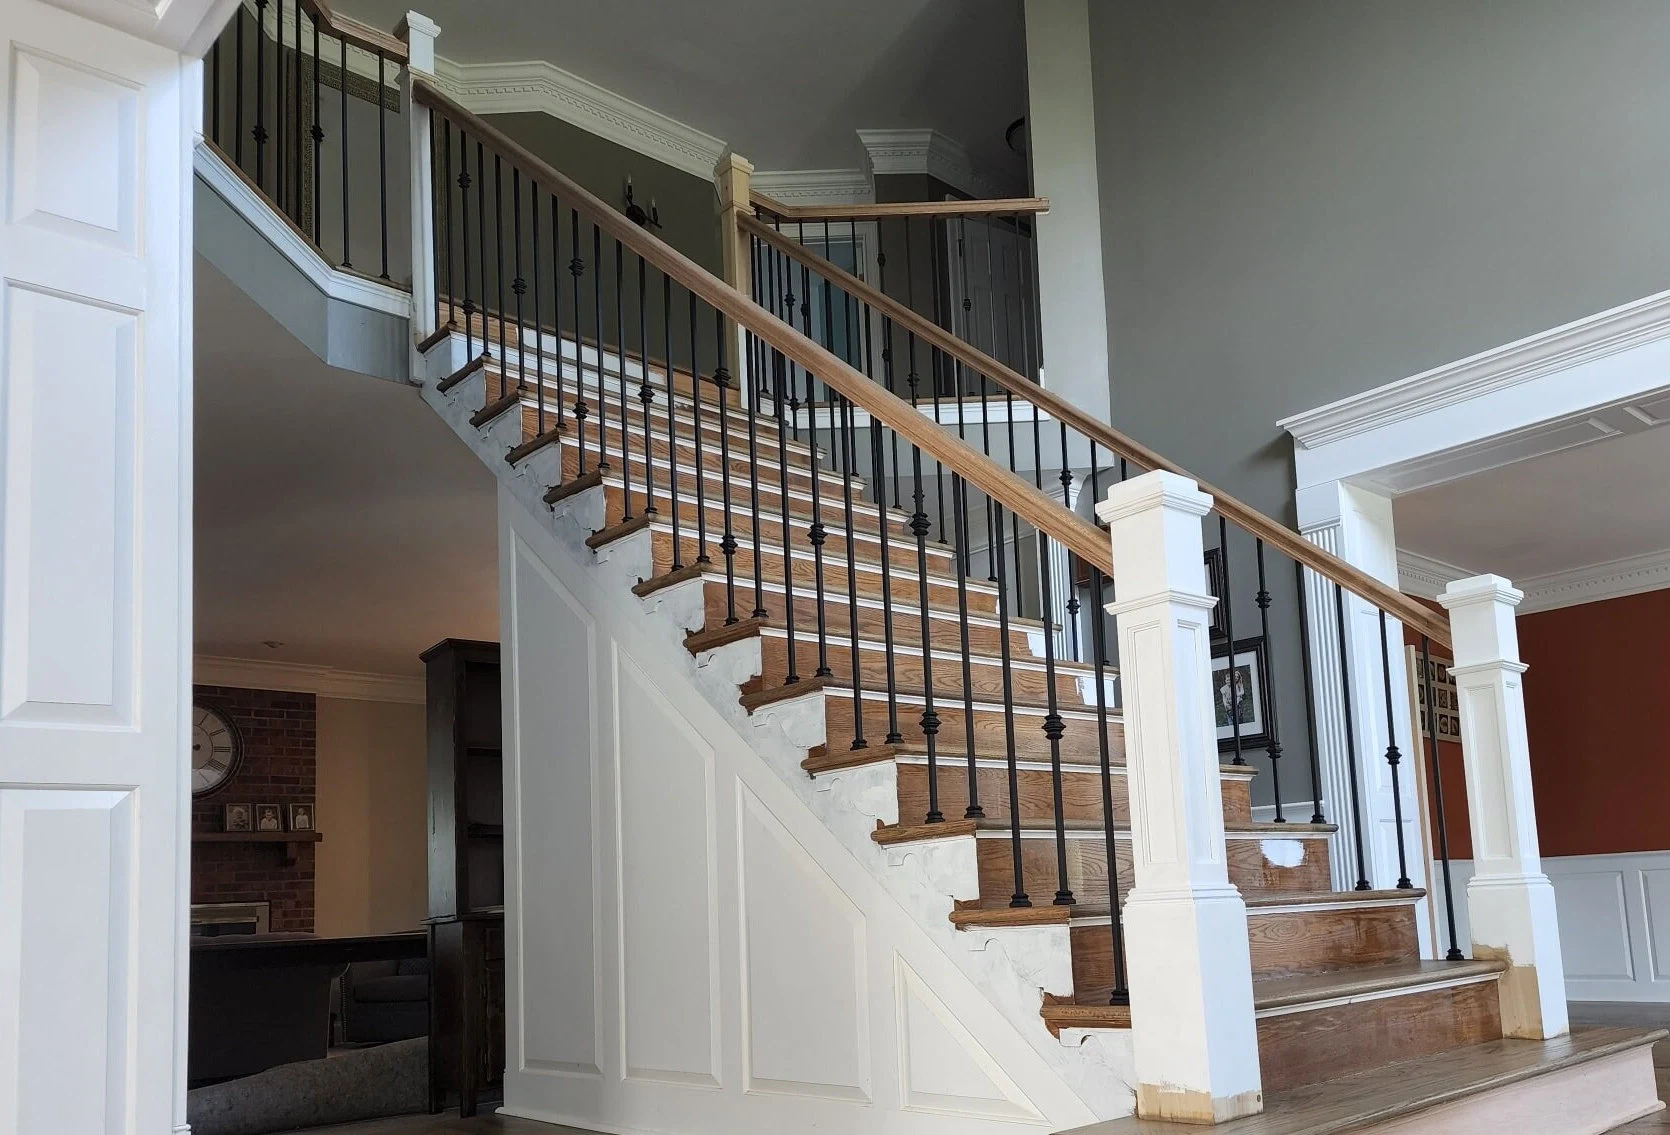
When repairing a stair railing attached to a wall, make sure to use the proper tools and materials, such as a screwdriver, screws, and a level. Check for any loose or damaged parts and secure them tightly to the wall for safety.
Step 3: Repairing or Replacing the Mounting Brackets
Once you have removed the damaged stair railing, it’s time to focus on repairing or replacing the mounting brackets. The mounting brackets play a crucial role in securing the railing to the wall, so it’s important to ensure they are in good condition. Follow these steps to repair or replace the mounting brackets:
1. Assess the Condition: Carefully examine the mounting brackets to determine if they can be repaired or need to be replaced entirely. Look for signs of rust, corrosion, bending, or any other damage that may affect their functionality.
2. Repair Options: If the mounting brackets are in relatively good condition but just need minor repairs, you may be able to fix them instead of replacing them entirely. Use pliers to straighten any bent brackets, tighten loose screws, or replace damaged screws with new ones.
3. Replacement Brackets: If the mounting brackets are beyond repair or if you prefer to replace them for added security, purchase new brackets that are compatible with your railing and wall type. Take note of the dimensions and hole positions of the original brackets to ensure a proper fit when installing the new ones.
4. Pre-drill Holes: If you are installing new mounting brackets, use a drill with an appropriate bit size to pre-drill holes where the brackets will be attached to the wall. This step will prevent the wood from splitting and make the installation easier.
5. Align and Attach: Position the new or repaired mounting brackets on the wall, aligning them with the previously marked positions. Use a level to ensure they are straight and even. Secure the brackets to the wall using screws and a screwdriver or drill.
6. Check Stability: Once the mounting brackets are attached, give them a gentle shake to test their stability. They should feel firmly in place without any noticeable movement. If there is any wobbling or instability, double-check the screws’ tightness and make any necessary adjustments.
7. Repeat for Other Brackets: If your stair railing has multiple mounting brackets, repeat the above steps for each one. Ensure that they are all properly aligned, securely attached, and provide adequate support for the railing.
By repairing or replacing the mounting brackets, you are ensuring the stability and safety of the stair railing attached to the wall. Take the time to thoroughly assess their condition and make the necessary repairs or replacements to create a solid foundation for the railing. This step will set the stage for the successful reattachment of the railing in the next step.
Read more: Where To Buy Railings For Stairs
Step 4: Reattaching the Railing to the Wall
With the mounting brackets repaired or replaced, it’s time to reattach the stair railing to the wall. Follow these steps to ensure a secure and stable connection:
1. Measure and Mark: Use a tape measure to determine the correct height and position for the railing. Mark the desired placement on the wall using a pencil or marker. Take into consideration any local building codes or regulations that may dictate the proper height for the railing.
2. Align the Railing: Hold the railing against the wall, aligning it with the marked positions. Make sure it is level and straight by using a level. Adjust the positioning if needed before proceeding.
3. Pre-drill Holes: Using a drill with an appropriate bit size, pre-drill pilot holes in the railing at the marked positions. These holes will guide the screws or nails and help prevent the wood from splitting.
4. Attach the Railing: With the pilot holes drilled, secure the railing to the wall by driving screws or nails into the holes. Use a screwdriver or hammer, depending on your fastener choice, to ensure a tight connection. Be mindful of the type of material your wall is made of and choose the appropriate hardware accordingly.
5. Check Stability: After attaching the railing, check its stability by giving it a firm shake. It should feel secure and not wobble or move excessively. If there is any instability, double-check the fasteners’ tightness and adjust as needed.
6. Reattach the Mounting Brackets: If you removed the mounting brackets during the repair process, reattach them to the railing using screws or bolts. Ensure they are properly aligned and firmly secured to provide additional support.
7. Test the Railing: Once the railing is reattached, give it a thorough test by applying pressure and leaning on it. It should hold your weight without any movement or signs of weakness. If you notice any issues, such as squeaking or loosening, make the necessary adjustments to reinforce the connection.
By following these steps, you will be able to reattach the stair railing securely to the wall, ensuring its stability and functionality. Take your time to align the railing properly and check for any signs of instability before proceeding to the next step.
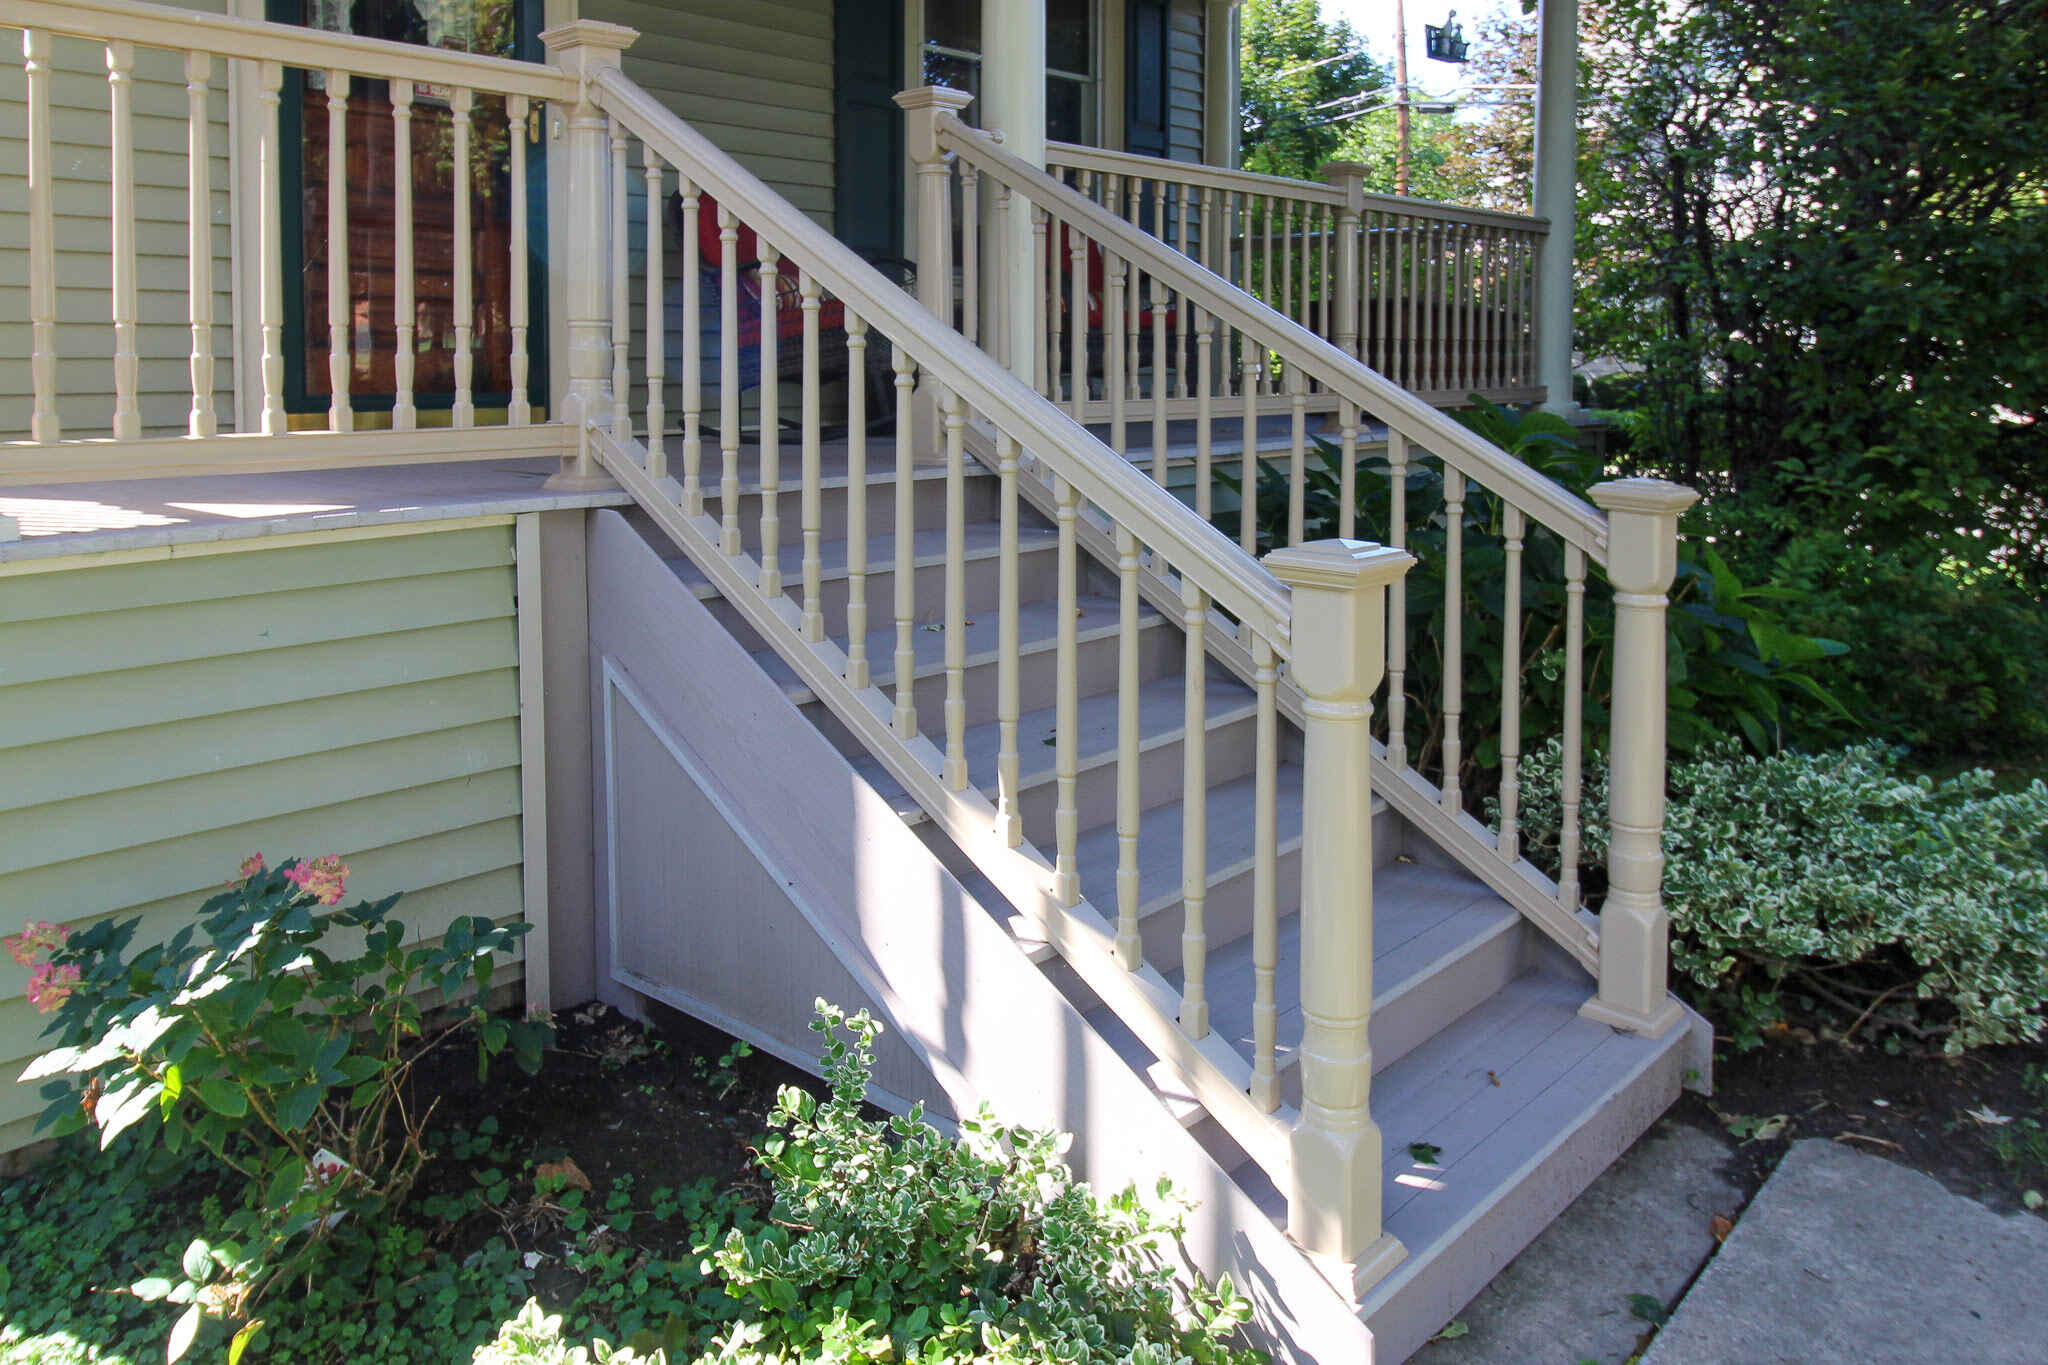
Step 5: Securing and Finishing Touches
After reattaching the stair railing to the wall, it’s time to focus on securing it further and adding the finishing touches. Follow these steps to ensure the railing is secure and complete:
1. Tighten Screws: Go over the railing and mounting brackets to ensure that all screws are tightened securely. Use a screwdriver or drill to tighten any loose screws that may have come loose during the reattachment process.
2. Add Wood Putty: If there are any small holes or cracks in the wood railing or mounting brackets, consider using wood putty to fill them in. Apply the putty using a putty knife and smooth it out to create a seamless surface. Allow it to dry according to the manufacturer’s instructions.
3. Sand and Finish: If desired, you can sand the railing and mounting brackets to create a smoother finish. Use sandpaper to gently sand any rough areas and create a uniform surface. Wipe away the dust with a cloth or vacuum cleaner. Apply paint or stain to match the desired aesthetic, following the manufacturer’s instructions. Allow sufficient drying time before using the railing.
4. Install Rail Caps or Covers: For added protection and a polished appearance, consider installing rail caps or covers on the top of the railing. These accessories not only provide a comfortable grip but also help prevent wear and tear on the railing over time.
5. Install Rubber or Felt Pads: To protect the wall and minimize noise, attach rubber or felt pads to the bottom of the railing where it comes in contact with the wall. This will help prevent any scratching or damage to the wall surface and reduce any rattling or vibrations.
6. Perform a Final Stability Check: Give the railing a final stability check by leaning on it and applying pressure. Ensure that it feels secure and doesn’t wobble or shift. If necessary, make any additional adjustments to the fasteners or supports for improved stability.
With these final steps, you can secure the stair railing to the wall and add those finishing touches that enhance its appearance and functionality. Take the time to ensure that everything is properly secured and that the railing meets your satisfaction before considering the project complete.
Remember, regular maintenance and periodic inspections are essential for keeping your stair railing in optimal condition. Pay attention to any signs of wear or damage and address them promptly to ensure the safety and longevity of your railing.
Conclusion
Repairing a stair railing attached to a wall may seem like a daunting task, but with the right tools, materials, and guidance, it can be a manageable and rewarding DIY project. By following the step-by-step process outlined in this article, you can successfully repair a damaged or loose stair railing, ensuring a safe and secure handrail for your home.
The initial steps of inspection and assessment will help you identify the extent of the damage and plan the necessary repairs. Removing the damaged railing requires careful handling and attention to detail to avoid any additional damage. Repairing or replacing the mounting brackets is crucial to providing a stable connection between the railing and the wall. Reattaching the railing to the wall requires precision and careful alignment to ensure a secure attachment.
Once the railing is securely reattached, securing the fasteners and adding finishing touches will enhance the railing’s stability, appearance, and overall functionality. By following these steps and performing periodic maintenance, you can enjoy a safe and reliable stair railing for years to come.
Remember to prioritize safety throughout the repair process. Wear appropriate protective gear, use caution when working with tools, and follow manufacturer instructions. If you are unsure about any steps or encounter significant damage, it’s always best to consult a professional to ensure the job is done correctly and safely.
A well-maintained and sturdy stair railing not only adds beauty and elegance to your home but also provides essential support and safety for anyone using the stairs. By taking the initiative to repair and maintain your stair railing, you are investing in the long-term integrity of your home and the well-being of your family.
So, roll up your sleeves, gather your tools, and tackle that stair railing repair project with confidence. With a little effort and know-how, you can restore your stair railing’s strength and functionality, ensuring a secure and beautiful addition to your home.
Frequently Asked Questions about Home Repair: How To Repair Stair Railing Attached To Wall
Was this page helpful?
At Storables.com, we guarantee accurate and reliable information. Our content, validated by Expert Board Contributors, is crafted following stringent Editorial Policies. We're committed to providing you with well-researched, expert-backed insights for all your informational needs.