Home>Home Maintenance>Home Repair: How To Repair Stair Railing
Home Maintenance
Home Repair: How To Repair Stair Railing
Modified: May 6, 2024
Learn how to repair your stair railing with our comprehensive guide on home maintenance. Fixing your stairs has never been easier!
(Many of the links in this article redirect to a specific reviewed product. Your purchase of these products through affiliate links helps to generate commission for Storables.com, at no extra cost. Learn more)
Introduction
Welcome to the world of home repair! One area that often requires attention is the stair railing. Over time, stair railings can become loose, damaged, or simply outdated. Repairing or replacing your stair railing not only enhances the safety of your staircase but can also breathe new life into your home’s interior.
In this comprehensive guide, we will take you through the step-by-step process of repairing a stair railing. You’ll learn how to assess the damage, remove the existing railing, and fix loose or damaged balusters, handrails, and spindles. We’ll also cover reinforcing the railing supports, sanding, preparing for finishing, staining or painting the railing, and finally, reinstallation.
But before we jump into the repair process, let’s go over the tools and materials you’ll need to have on hand to get the job done efficiently and effectively.
Key Takeaways:
- Keep your stair railing safe and beautiful by following a step-by-step repair process, including assessing damage, removing the railing, and fixing loose components.
- Prioritize safety and attention to detail when repairing your stair railing, and seek professional assistance if unsure or uncomfortable with any part of the process.
Read more: How To Paint Railings On Stairs
Tools and Materials Needed
Before you start repairing your stair railing, it’s essential to gather all the necessary tools and materials. Having everything ready will save you time and ensure a smooth repair process. Here’s a list of the tools and materials you’ll need:
- Hammer: Used for removing nails and securing the railing.
- Screwdriver: Needed for removing screws and securing the railing.
- Drill: Used for drilling new holes and securing hardware.
- Pliers: Useful for gripping and twisting wire or other fasteners.
- Wrench: Needed to tighten nuts and bolts.
- Level: Used to ensure that the railing is straight and properly aligned.
- Tape Measure: Essential for accurate measurements.
- Sanding Block or Sandpaper: Used for smoothing rough edges.
- Wood Glue: For repairing loose joints or attaching new components.
- Wood Filler: Needed for filling any gaps or holes in the railing.
- Paintbrushes: Used for staining or painting the railing.
- Stain or Paint: Depending on your preference and the railing’s material.
- Protective Gear: Safety glasses, gloves, and a dust mask to protect yourself during the repair process.
In addition to the tools listed above, you may also need specific materials depending on the type of railing you have. For instance, if you have a metal railing, you may need metal-specific paints or finishes. If your railing has ornate designs or intricate patterns, you may require specialized tools for intricate repairs.
It’s important to have all the necessary tools and materials before you start the repair process. This will ensure that you can complete the job without unnecessary interruptions or delays.
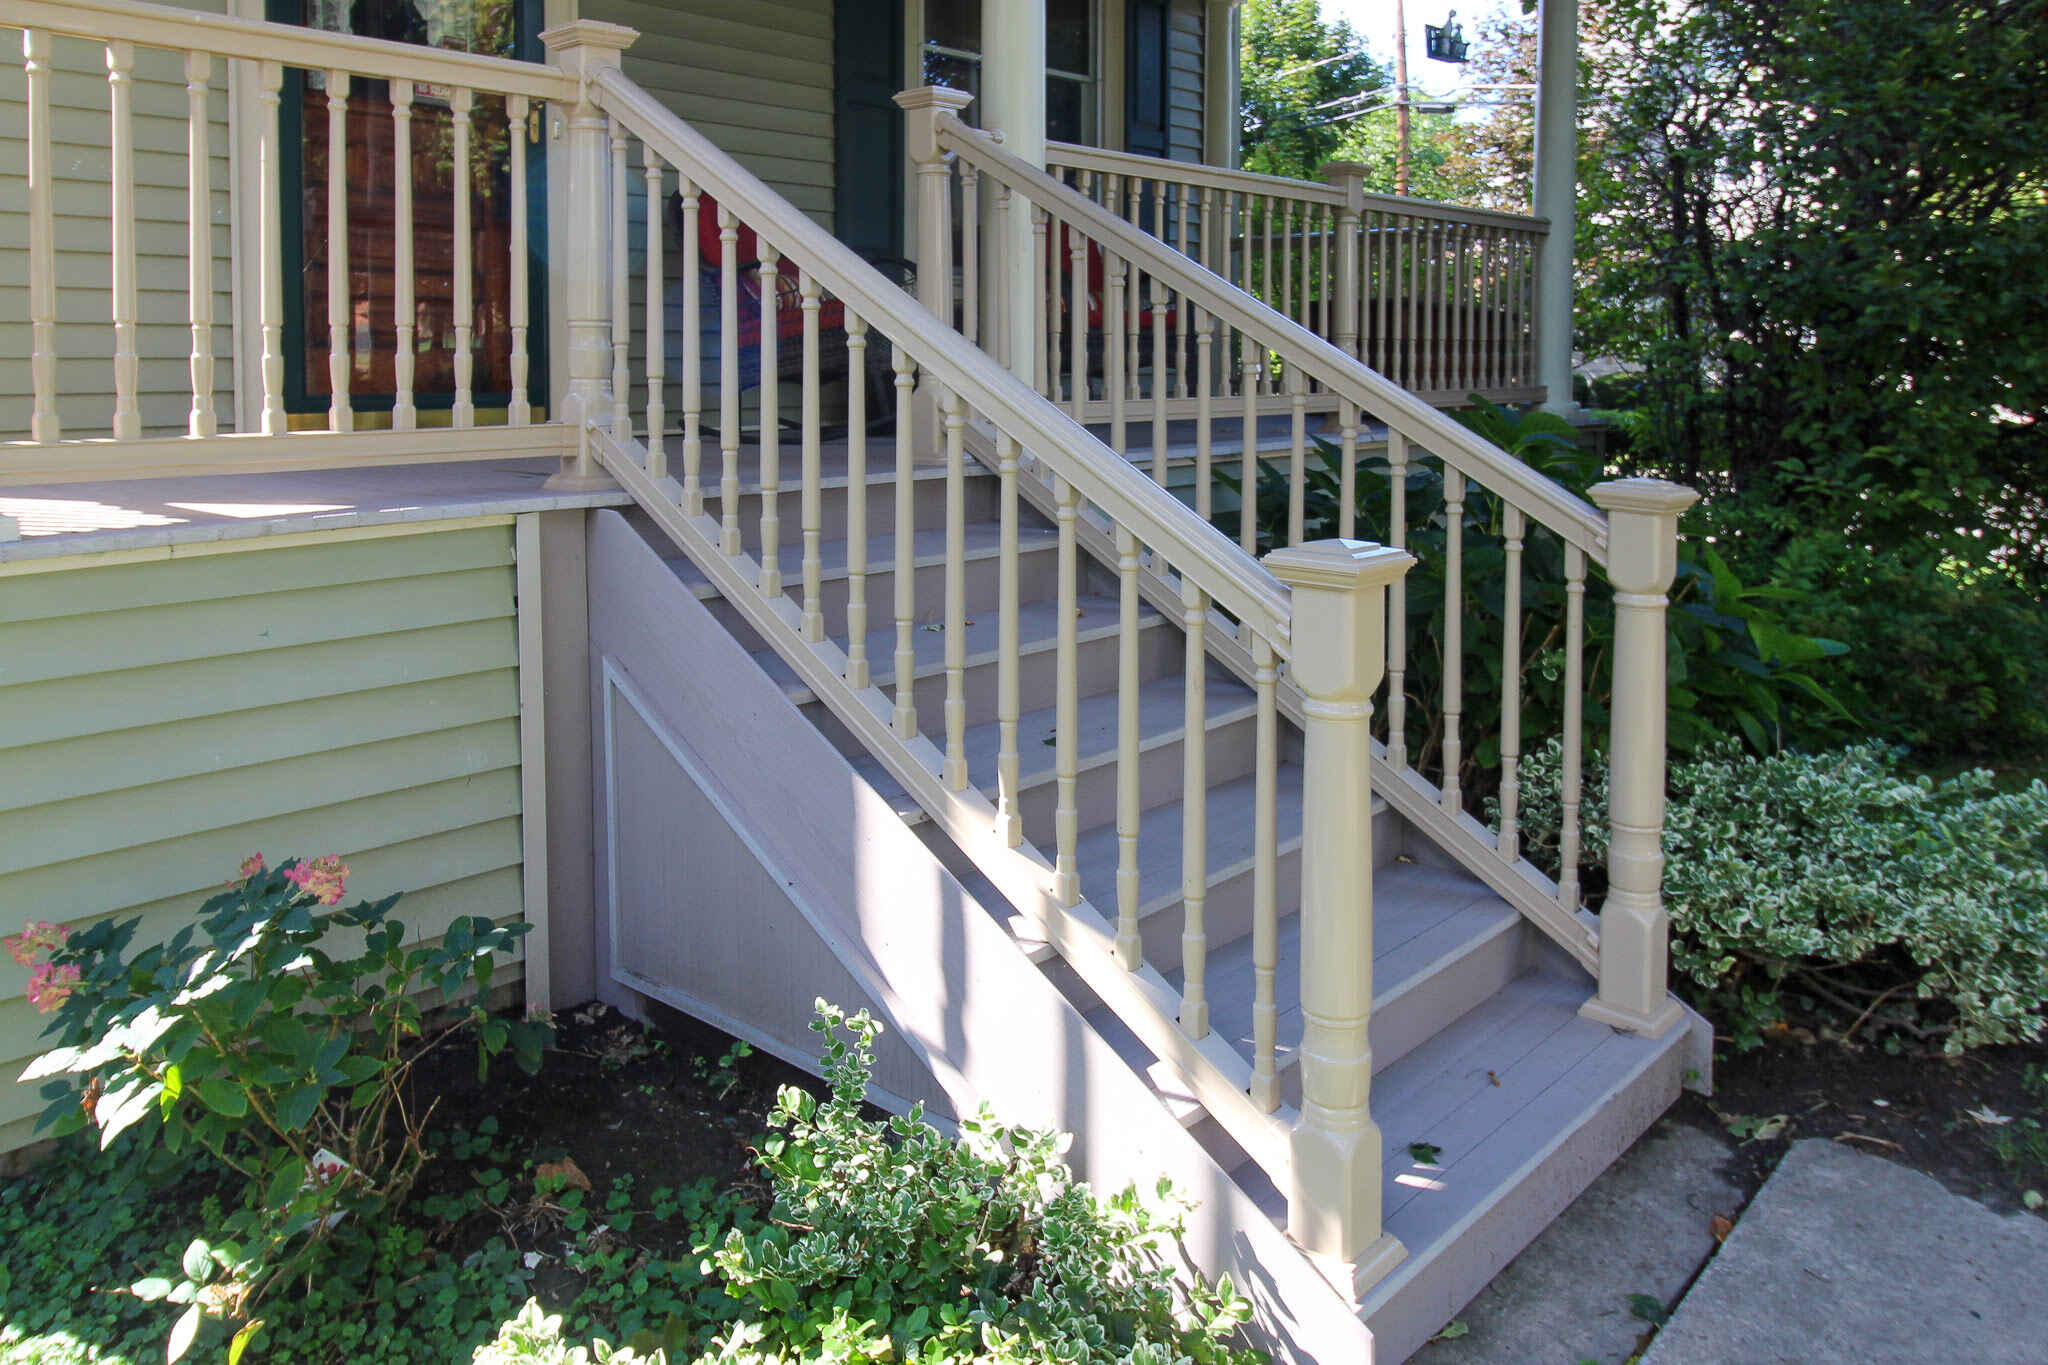
Assessing the Damage
Before diving into the repair process, it’s crucial to assess the extent of the damage to your stair railing. This will help you determine the necessary repairs and understand if any components need to be replaced.
Start by carefully inspecting the entire railing from top to bottom. Look for any signs of looseness, cracks, or damage. Pay close attention to the balusters, handrail, spindles, and support brackets. If you notice any loose or wobbly components, mark them with tape or a marker for easier identification during the repair process.
Next, test the stability of the railing by giving it a gentle shake. If it feels unstable or moves significantly, it indicates a structural issue that needs to be addressed.
If you have a wooden railing, check for signs of rot or moisture damage. Look for discoloration, soft spots, or mold growth. These can be indications of water infiltration, which can weaken the wood and compromise the overall integrity of the railing.
Take measurements of the damaged or worn-out components and record them. This will help you later on when sourcing replacement parts or materials.
Remember, assessing the damage is an essential step in the repair process to ensure that you address all the necessary repairs and keep your stair railing safe and functional. If you have any doubts or concerns about the extent of the damage, it may be wise to consult a professional for further advice.
Removing the Existing Railing
Now that you’ve assessed the damage and identified the areas that need repair, it’s time to remove the existing railing. Removing the railing carefully will allow you to work on each component individually and ensure a smooth repair process. Follow these steps to remove the railing:
- Begin by removing any screws or nails that are securing the railing to the walls or posts. Use a screwdriver or a hammer to loosen and remove the fasteners.
- If your railing has balusters, start by removing them. Use a screwdriver or pliers to loosen any screws or nails attaching them to the handrail or the bottom railing.
- Next, remove the handrail itself. Depending on the construction, it may be attached using screws, nails, or brackets. Carefully remove any fasteners and gently pry the handrail away from the support brackets.
- If your railing has spindles or additional decorative elements, remove them following the same steps as the balusters.
- Once all the components are removed, inspect the railing supports, posts, and brackets. Ensure that they are sturdy and in good condition. If any of these elements show signs of damage or wear, this may be an opportunity to replace or reinforce them.
During the removal process, it’s important to take your time and avoid causing any additional damage to the surrounding area or the railing components that are not being repaired. Keep all the removed pieces organized and labeled to make reinstallation easier.
With the existing railing successfully removed, you are now ready to move on to repairing the individual components. Take the time to clean the area, removing any debris or residue from the old railing, to ensure a clean and smooth surface for the repair work.
Stay tuned for the next step in the process, which will guide you through repairing loose or damaged balusters.
Repairing Loose or Damaged Balusters
One common issue with stair railings is loose or damaged balusters. Balusters are the vertical posts that support the handrail and provide safety and stability. If you notice any wobbly or damaged balusters during the assessment process, follow these steps to repair them:
- Start by removing any screws or nails that are attaching the baluster to the handrail or bottom railing. Use a screwdriver or pliers to carefully loosen and remove the fasteners.
- Inspect the baluster and the holes in the handrail and bottom railing. If the baluster is still in good condition, but the holes are worn or enlarged, you may need to fill them with wood filler or epoxy to create a tighter fit.
- Apply a small amount of wood glue to the holes in the handrail and bottom railing. Insert the baluster back into its original position and press firmly, ensuring a secure bond.
- Use a level to check that the baluster is straight and aligned with the other balusters. Make any necessary adjustments before moving on.
- If the baluster itself is damaged or broken, it may need to be replaced. Measure the length of the existing baluster and source a new one that matches the same dimensions and style.
- Once you have a replacement baluster, follow the same steps as above to install it securely. Remove the damaged baluster, apply wood glue to the holes, insert the new baluster, and check for alignment.
- Allow the wood glue to dry completely before proceeding to the next step.
Repairing loose or damaged balusters will not only improve the stability of your stair railing but also enhance its overall appearance. Take the time to ensure that each baluster is securely fixed and properly aligned, as this will have a significant impact on the functionality and aesthetics of your stair railing.
Next up, we’ll guide you through fixing loose handrails to further strengthen your railing’s stability.
Read more: Where To Buy Railings For Stairs
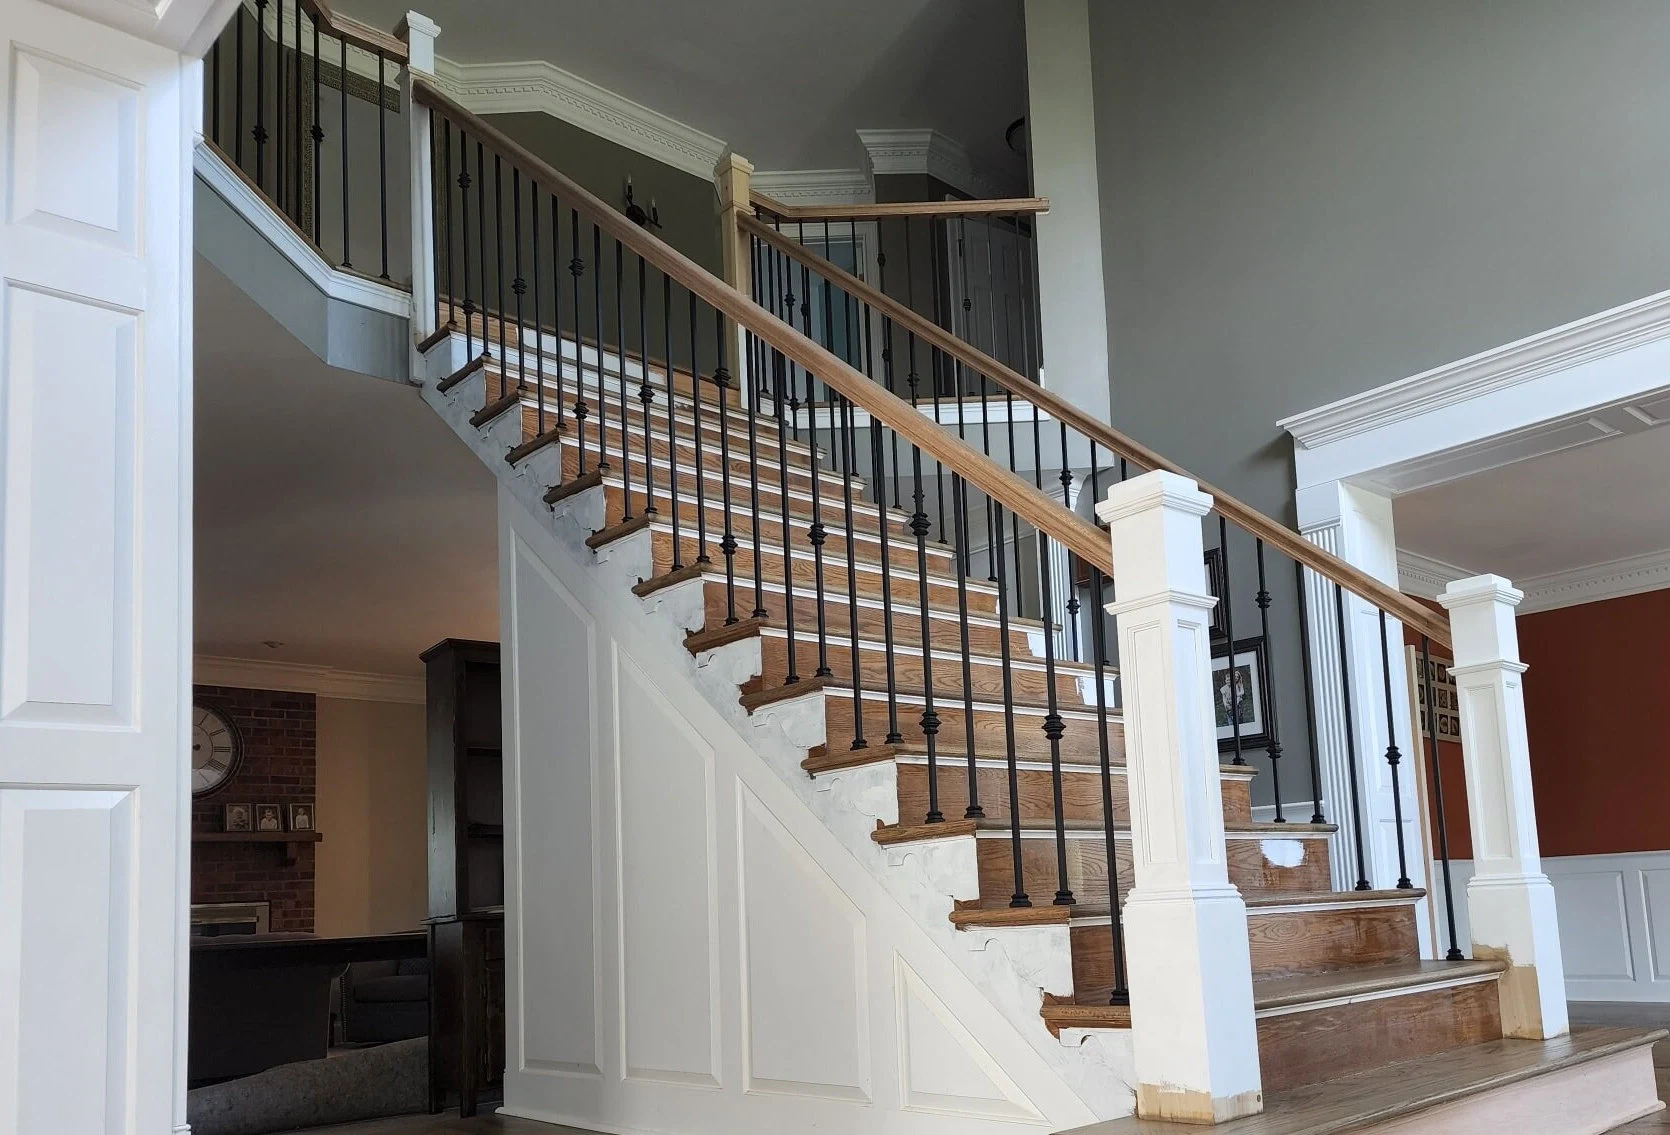
Fixing Loose Handrails
A loose handrail can be a safety hazard, especially if it wobbles or moves when pressure is applied. It’s important to address this issue promptly to ensure the stability of your stair railing. Follow these steps to fix a loose handrail:
- Identify the points of attachment between the handrail and the support brackets or posts. These are typically secured with screws, brackets, or other fasteners.
- Using a screwdriver or drill, carefully remove the screws or fasteners from the attachments. Be sure to keep them organized and accessible for reinstallation.
- Inspect the area where the handrail attaches to the support brackets or posts. Look for any signs of wear, damage, or loose connections.
- If the support brackets or posts are solid and in good condition, you may be able to fix the loose handrail by tightening the existing fasteners. Use a screwdriver or wrench to securely tighten the screws or bolts.
- If the attachments are worn or damaged, they may need to be replaced. Remove the old attachments and replace them with new ones of the same size and style.
- Apply wood glue to the attachment area to ensure a strong bond. Reattach the handrail to the support brackets or posts using the appropriate screws or fasteners.
- Check the handrail for stability by applying gentle pressure and ensuring that it doesn’t move or wobble.
If you have a wooden handrail, it’s a good idea to also inspect it for any signs of damage or wear. If necessary, use wood filler to repair any cracks or holes. Sand the handrail to create a smooth surface and apply a fresh coat of stain or paint to protect and enhance its appearance.
Fixing loose handrails will significantly improve the stability and safety of your stair railing. Take the time to ensure that the attachments are secure and the handrail is firmly in place before moving on to the next step.
Next, we’ll cover the process of replacing broken or cracked spindles to complete the repair of your stair railing.
When repairing a stair railing, make sure to use the correct size and type of screws or nails to secure it properly. This will ensure that the railing is stable and safe for use.
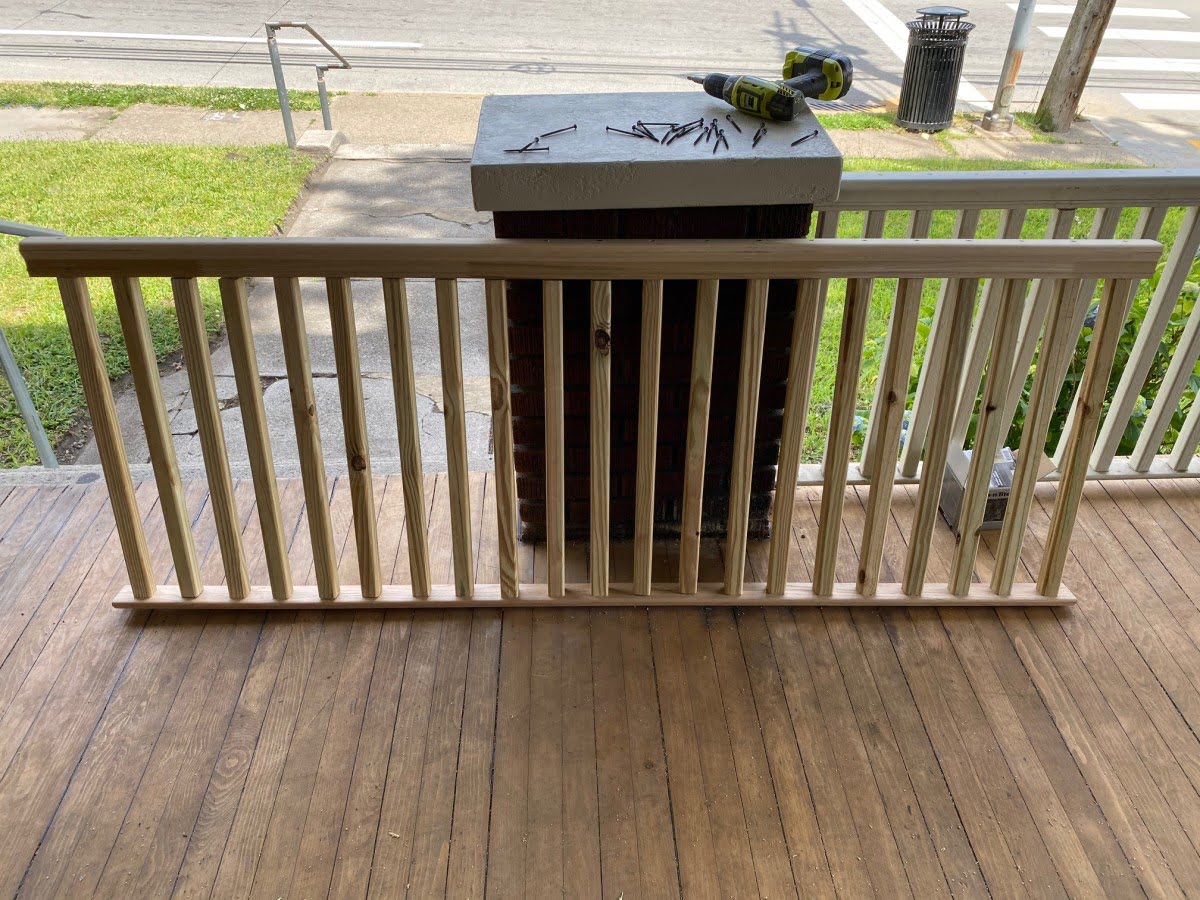
Replacing Broken or Cracked Spindles
Spindles, also known as balusters, are the vertical posts that run between the handrail and the bottom railing. If you have noticed any broken or cracked spindles during the assessment of your stair railing, it’s important to replace them promptly to ensure the structural integrity and safety of your staircase. Follow these steps to replace broken or cracked spindles:
- Start by removing the damaged spindle. Use a screwdriver or pliers to loosen any screws or nails that are attaching it to the handrail or the bottom railing.
- If the damaged spindle is located between two intact spindles, you may need to remove those as well to create the necessary space for replacement.
- Measure the length of the existing spindles and source replacement spindles that match the same dimensions and style.
- If the replacement spindles are slightly longer than needed, use a saw or a spindle trimming tool to carefully trim them to the correct length.
- Apply wood glue to the holes in the handrail and the bottom railing where the spindle will be inserted.
- Insert the replacement spindle into the holes, ensuring a snug fit. Use a level to check for proper alignment.
- Secure the spindle in place by screwing or nailing it to the handrail and the bottom railing.
- If you had to remove additional intact spindles, repeat the process of inserting and securing them as well.
Replacing broken or cracked spindles will not only restore the functionality and safety of your stair railing but also enhance its overall appearance. Take the time to ensure that each replacement spindle is securely fastened and properly aligned with the other spindles.
Once the replacement spindles are in place, you can proceed to reinforce the railing supports to further strengthen your stair railing. Stay tuned for the next step in the repair process!
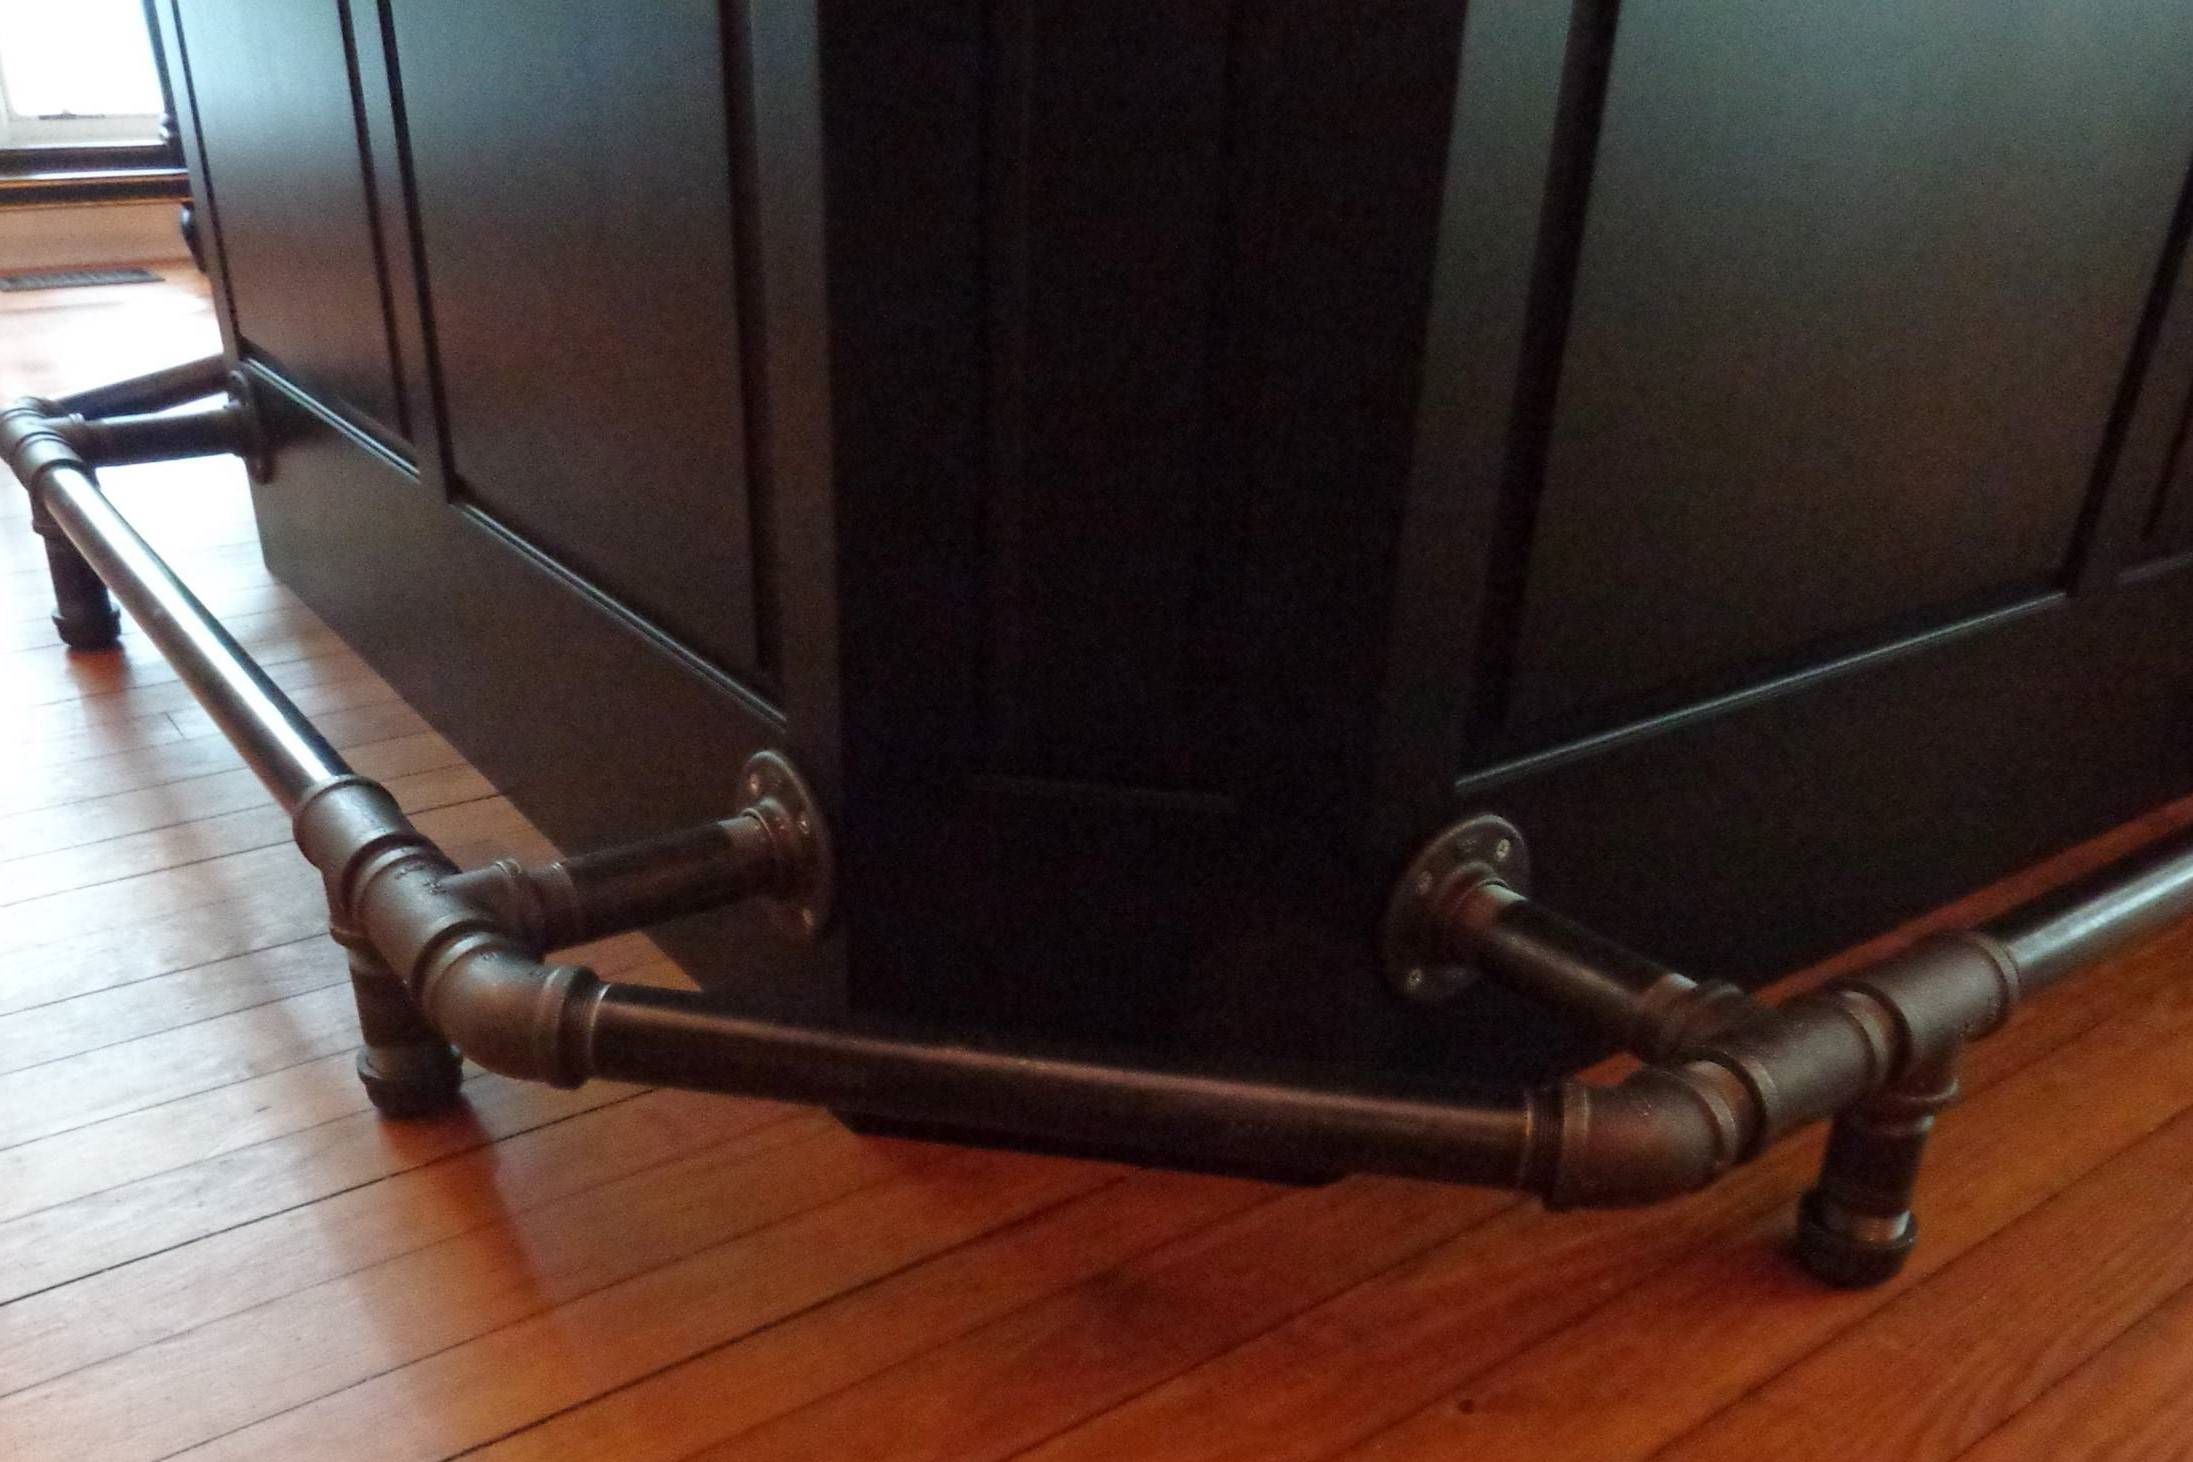
Reinforcing the Railing Supports
The railing supports, including the posts and brackets, play a crucial role in the overall stability of your stair railing. Reinforcing these supports will provide additional strength and ensure the long-term durability of your railing. Follow these steps to reinforce the railing supports:
- Inspect the posts and brackets to identify any signs of wear, damage, or weakness. Look for cracks, loose connections, or any other issues that may compromise the stability of the railing supports.
- If you notice any loose screws or bolts, tighten them using a screwdriver or wrench.
- If the railing supports are wobbly or unstable, you may need to reinforce them with additional hardware. This can include metal brackets, corner braces, or even wooden shims.
- Measure and cut the additional hardware or shims to the appropriate size. Ensure they are long enough to provide adequate support.
- Apply wood glue to the contact areas between the railing supports and the additional hardware or shims.
- Position the additional hardware or shims in the desired locations and securely attach them to the railing supports using screws or nails.
- Test the stability of the railing supports by applying gentle pressure. Make any necessary adjustments or additions to ensure a firm and sturdy connection.
Reinforcing the railing supports will significantly enhance the overall strength and stability of your stair railing. Take the time to inspect and reinforce all the supports along the railing, paying particular attention to any areas that showed signs of weakness during the assessment process.
With the railing supports reinforced, you are now ready to move on to the next step of the repair process: sanding and preparing the railing for finishing. This will ensure a smooth and polished surface before staining or painting your stair railing.
Sanding and Preparing for Finishing
Before applying the final finish to your repaired stair railing, it’s important to properly sand and prepare the surface. Sanding will help smooth out any rough edges, remove old finishes, and create a clean and receptive surface for the stain or paint. Follow these steps to sand and prepare your railing for finishing:
- Start by assembling the necessary tools and materials. You will need sandpaper or a sanding block with various grits (coarse to fine), a tack cloth or a damp cloth, and optionally, a detail sander or an orbital sander for larger areas.
- Begin sanding the railing components, working in the direction of the wood grain. Start with a coarser grit sandpaper to remove any roughness, old finish, or imperfections. Gradually work your way up to a finer grit sandpaper for a smoother finish.
- Focus on areas that may have been repaired or had existing damage, ensuring they are properly smoothed out. Pay attention to the corners, edges, and intricate details if your railing has ornate designs.
- Use a tack cloth or a damp cloth to wipe away any dust, debris, or residue left from the sanding process. This will help ensure a clean surface for the finishing stage.
- If there are any gaps or holes in the railing, use wood filler to fill them in. Follow the instructions on the wood filler product for proper application and drying time.
- Allow the wood filler to dry fully, and then sand it smooth with the rest of the railing surface. Remember to wipe away any dust afterward.
Properly sanding and preparing your stair railing is crucial for achieving a professional-looking finish. Take your time and ensure that all the surfaces are smooth and free of any imperfections. This will not only enhance the overall appearance but also provide a solid foundation for the stain or paint to adhere to.
Next, we’ll cover the process of staining or painting your stair railing to give it a refreshed and polished look.
Read more: What Grit Sandpaper For Stair Railing
Staining or Painting the Railing
Staining or painting your stair railing is the final step in the repair process and will give your railing a fresh and polished look. Depending on your preference and the type of railing, you can choose to stain the wood for a natural and elegant finish or paint it to match your home’s decor. Follow these steps to stain or paint your railing:
- If you choose to stain the railing, start by stirring the stain thoroughly to ensure an even color. If you prefer to paint the railing, choose a high-quality paint suitable for your railing material.
- Begin by applying a small amount of stain or paint to an inconspicuous area of the railing to test the color and coverage. Adjust as needed to achieve the desired result.
- Use a paintbrush or foam brush to apply the stain or paint to the railing. Work in small sections, following the direction of the wood grain.
- Apply an even, thin coat to the entire surface of the railing, ensuring complete coverage. Be careful to avoid drips or excessive build-up of stain or paint.
- If necessary, apply a second coat after the first coat has dried according to the manufacturer’s instructions. This will enhance the color and durability of the finish.
- Allow the stain or paint to dry fully before proceeding with any additional coats or the reinstallation of the railing.
Remember to work in a well-ventilated area and follow appropriate safety precautions when using stain or paint, such as wearing protective gloves, goggles, and a mask if necessary.
Staining or painting your stair railing is an opportunity to enhance its beauty and coordinate it with the overall aesthetic of your home. Choose a color or stain that complements your interior decor and personal style.
With the railing now stained or painted, it’s time to move on to the final step of the repair process: reinstallation.
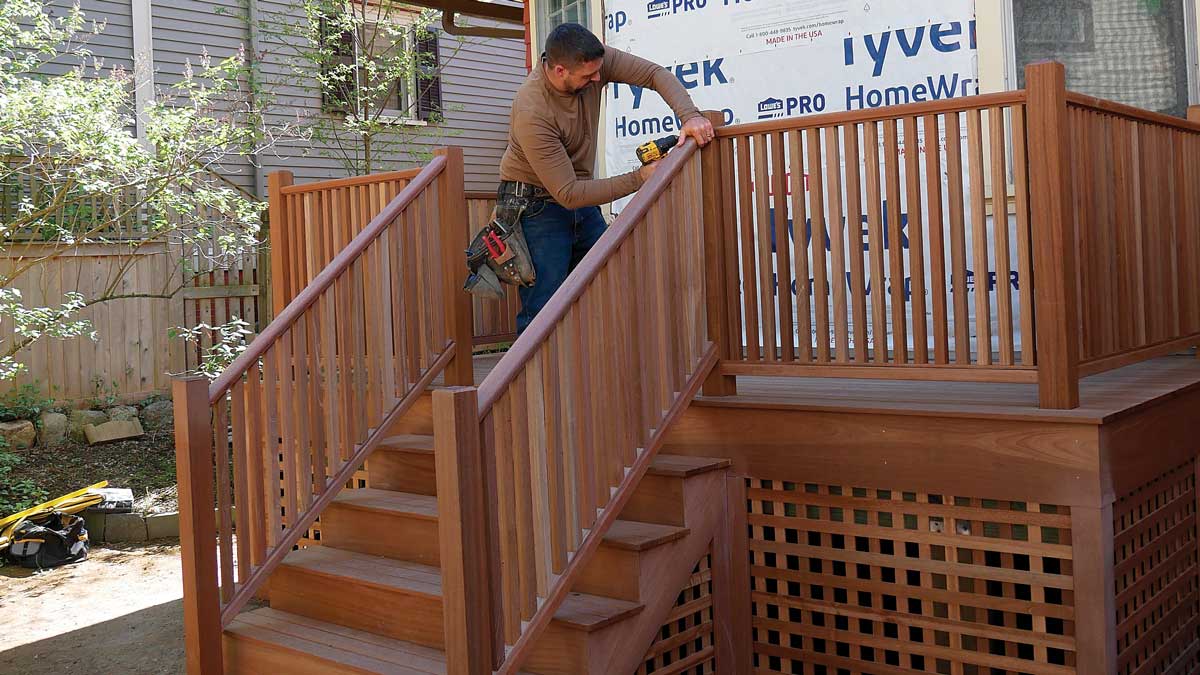
Reinstalling the Railing
After completing all the necessary repairs, sanding, and finishing, it’s time to reinstall your stair railing. Proper installation is crucial for ensuring the stability and safety of your staircase. Follow these steps to reinstall the railing:
- Start by positioning the railing components in their original locations. Begin with the handrail and carefully line it up with the support brackets or posts.
- Using a screwdriver or drill, secure the handrail to the support brackets or posts with the appropriate screws or fasteners. Make sure they are tight but avoid over-tightening, which could damage the wood.
- If you have balusters, insert them into the corresponding holes in the handrail and the bottom railing. Secure them using screws or nails, ensuring they are properly aligned and evenly spaced.
- Double-check the alignment and stability of the railing by giving it a gentle shake. Make any necessary adjustments to ensure a secure and steady railing.
- If you had to remove any additional intact spindles during the repair process, reinsert them and secure them in place following the same method as the balusters.
Once the railing is securely installed, take the time to thoroughly clean the area, removing any dust or debris left from the installation process. This will ensure a clean and tidy final result.
With your stair railing now reinstalled, stand back and admire your work. Not only have you successfully repaired and restored your railing, but you’ve also enhanced the safety and aesthetics of your staircase.
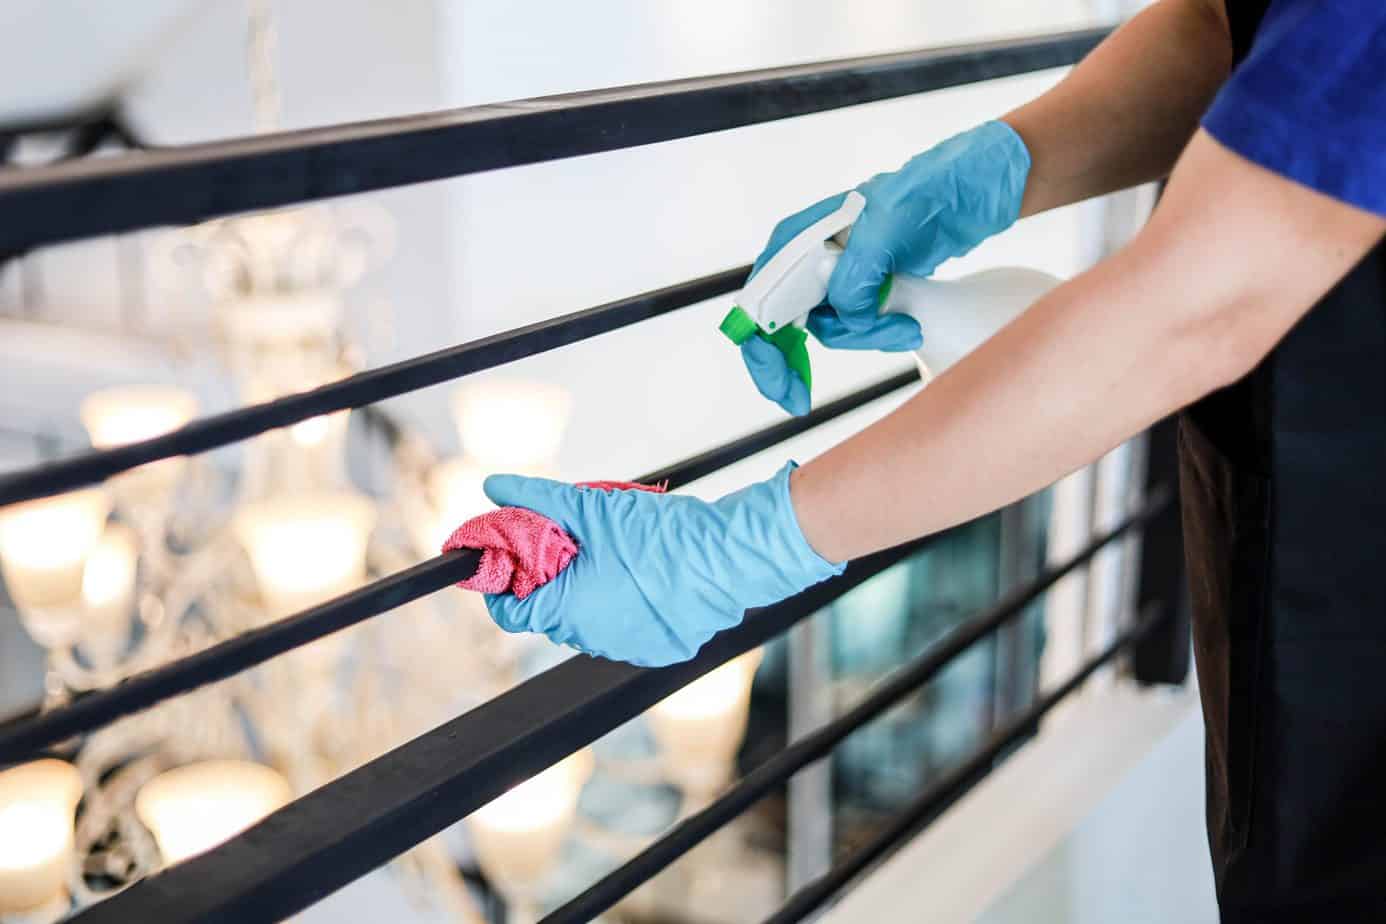
Remember, regular maintenance and inspections are essential to keep your stair railing in optimal condition. Check for any signs of wear or damage periodically and address them promptly to avoid further issues.
Thank you for following this comprehensive guide to repairing and reinstalling your stair railing. We hope it has been helpful and that your staircase now shines with renewed beauty and stability.
If you have any further questions or need additional guidance, don’t hesitate to reach out to a professional for assistance.
Conclusion
Repairing and maintaining your stair railing is an essential part of home maintenance. Not only does it enhance the safety and functionality of your staircase, but it also adds beauty and value to your home. By following the step-by-step process outlined in this guide, you have learned how to assess the damage, remove the existing railing, repair loose or damaged components, reinforce the railing supports, sand and prepare the surface, and finally, stain or paint and reinstall the railing.
Throughout the repair process, it’s important to prioritize safety and attention to detail. Take the time to gather the necessary tools and materials, thoroughly assess the damage, and then proceed with care and precision. Regular inspections and maintenance will help you catch small issues before they become more significant problems.
Remember, seek professional assistance if you are unsure or uncomfortable with any part of the repair process. They can provide expert guidance and ensure that the repair is done correctly and safely.
By investing time and effort into maintaining and repairing your stair railing, you are not only safeguarding the well-being of your family and visitors but also preserving the beauty and functionality of your home. A properly maintained stair railing is not only a practical necessity but also a charming focal point that adds character to your living space.
Thank you for following this comprehensive guide. We hope it has empowered you with the knowledge and skills needed to tackle any stair railing repair project. Now, go forth and transform your staircase into a stunning centerpiece that will leave a lasting impression on anyone who walks through your front door.
Happy repairing!
Now that you've got your stair railing looking as good as new, why not tackle another project? If you're itching to create more with your hands, our guide on the best woodworking techniques will surely feed your craving. Packed with innovative ideas and essential tips, this guide helps you master the craft of woodworking, ensuring every project from small carvings to large furniture pieces turns out spectacularly. So grab your tools and let's get to crafting!
Frequently Asked Questions about Home Repair: How To Repair Stair Railing
Was this page helpful?
At Storables.com, we guarantee accurate and reliable information. Our content, validated by Expert Board Contributors, is crafted following stringent Editorial Policies. We're committed to providing you with well-researched, expert-backed insights for all your informational needs.