Home>Home Maintenance>How To Mount A Window Air Conditioning Unit
Home Maintenance
How To Mount A Window Air Conditioning Unit
Modified: March 6, 2024
Learn how to properly mount a window air conditioning unit with our simple step-by-step guide. Ensure optimal home-maintenance and stay cool all summer long.
(Many of the links in this article redirect to a specific reviewed product. Your purchase of these products through affiliate links helps to generate commission for Storables.com, at no extra cost. Learn more)
Introduction
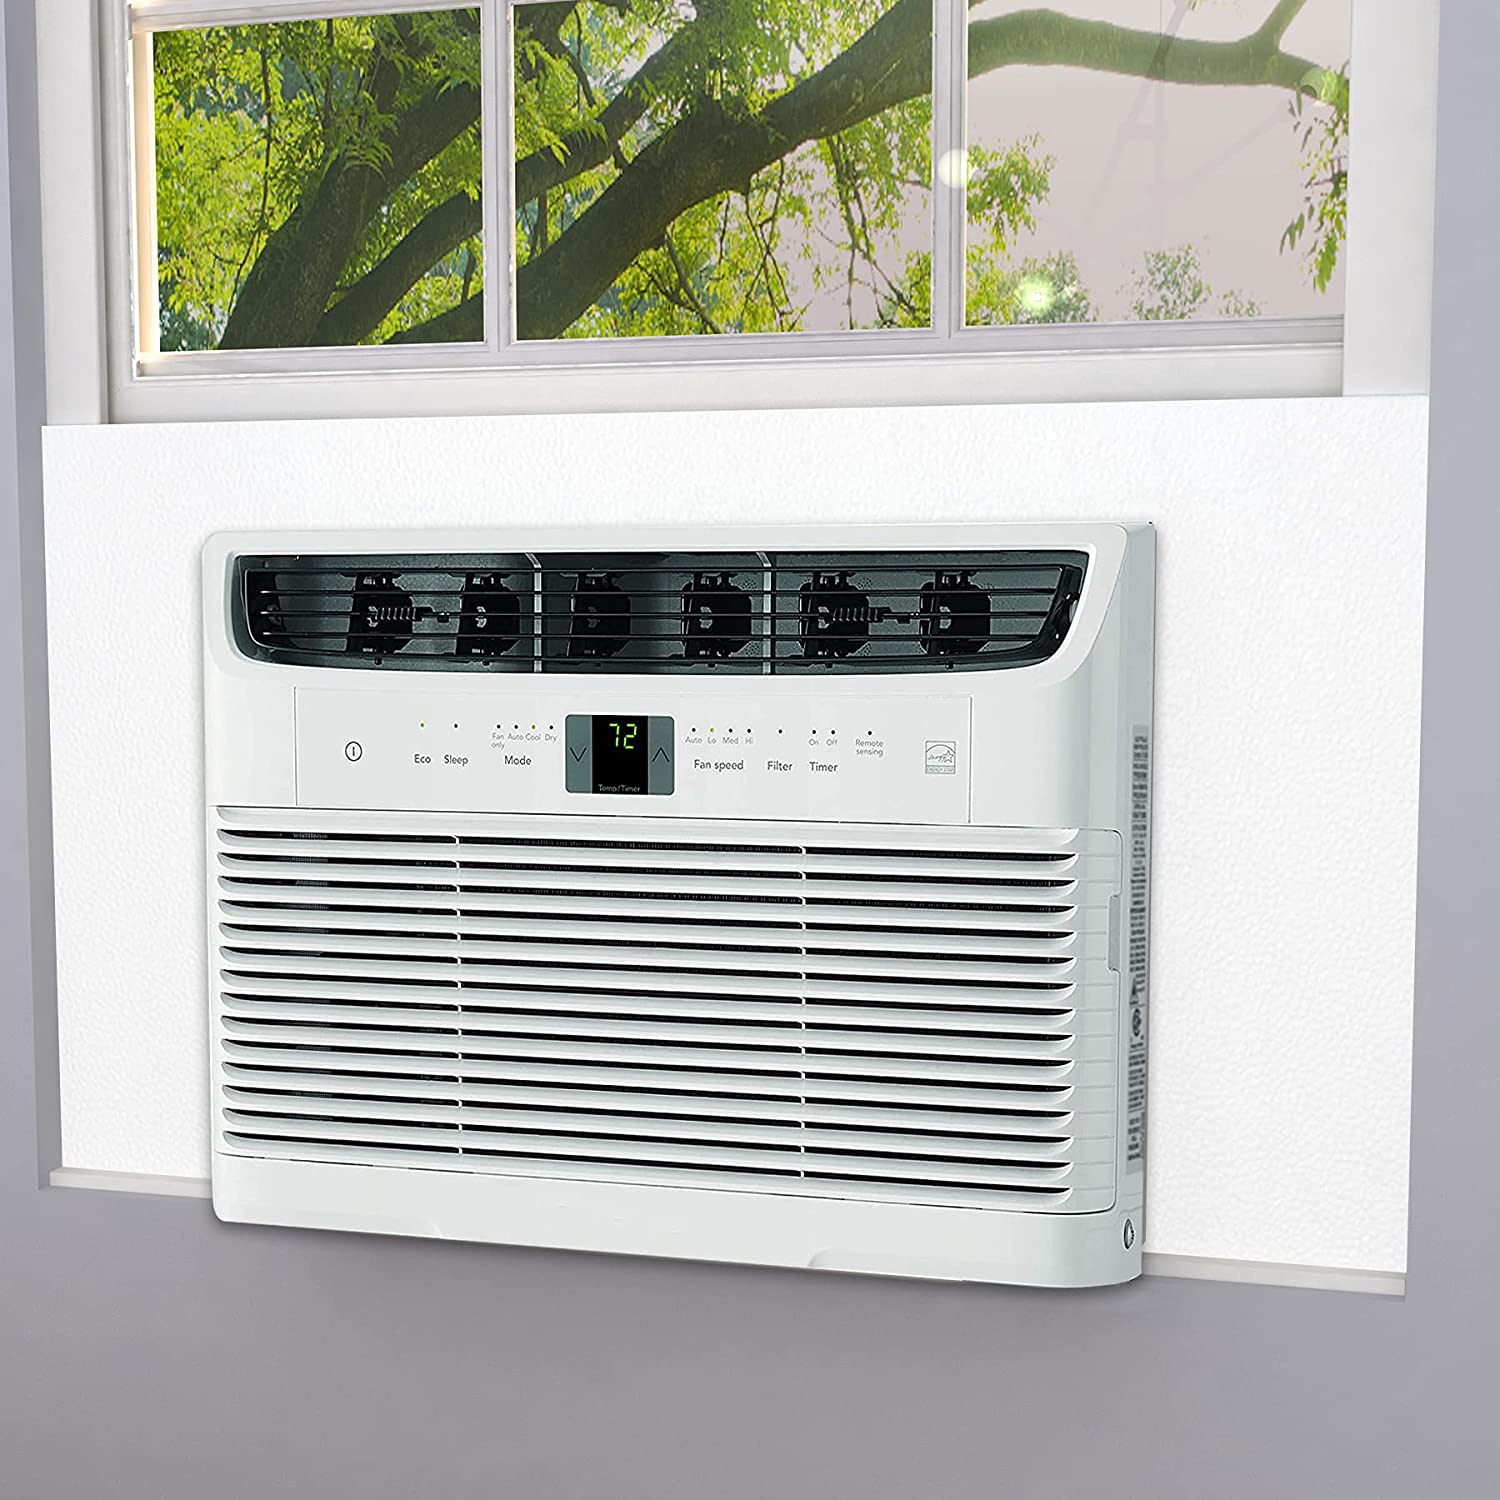
Welcome to our comprehensive guide on how to mount a window air conditioning unit! As the summer heat begins to rise, keeping your home cool and comfortable becomes a top priority. Window air conditioners are a popular and cost-effective solution for cooling individual rooms or small spaces. However, properly installing and mounting an air conditioning unit is crucial to ensure its efficient operation and longevity.
In this article, we will take you through a step-by-step process on how to effectively mount a window air conditioning unit. We will cover everything from gathering the necessary tools and materials, choosing the right location for the unit, preparing the window and sill, installing the side curtains, securing the unit in place, connecting it to power, adjusting the settings, and testing its functionality. By the end of this guide, you’ll have the knowledge and confidence to install your window air conditioner like a pro!
Before we dive into the steps, it’s important to note that the process may vary slightly depending on the specific model of your window air conditioner. Always refer to the manufacturer’s instructions and guidelines for your unit to ensure a safe and proper installation.
Key Takeaways:
- Keep your home cool and comfortable by following these steps to mount a window air conditioning unit. Choose the right location, secure the unit, and seal any gaps for optimal performance.
- Properly installing a window air conditioner ensures energy efficiency and reduces cooling costs. Follow the step-by-step guide and enjoy a cool and comfortable home all summer long!
Step 1: Gather the Necessary Tools and Materials
The first step in mounting a window air conditioning unit is to gather all the necessary tools and materials. By having everything prepared beforehand, you can streamline the installation process and avoid unnecessary delays. Here’s a list of the essential items you’ll need:
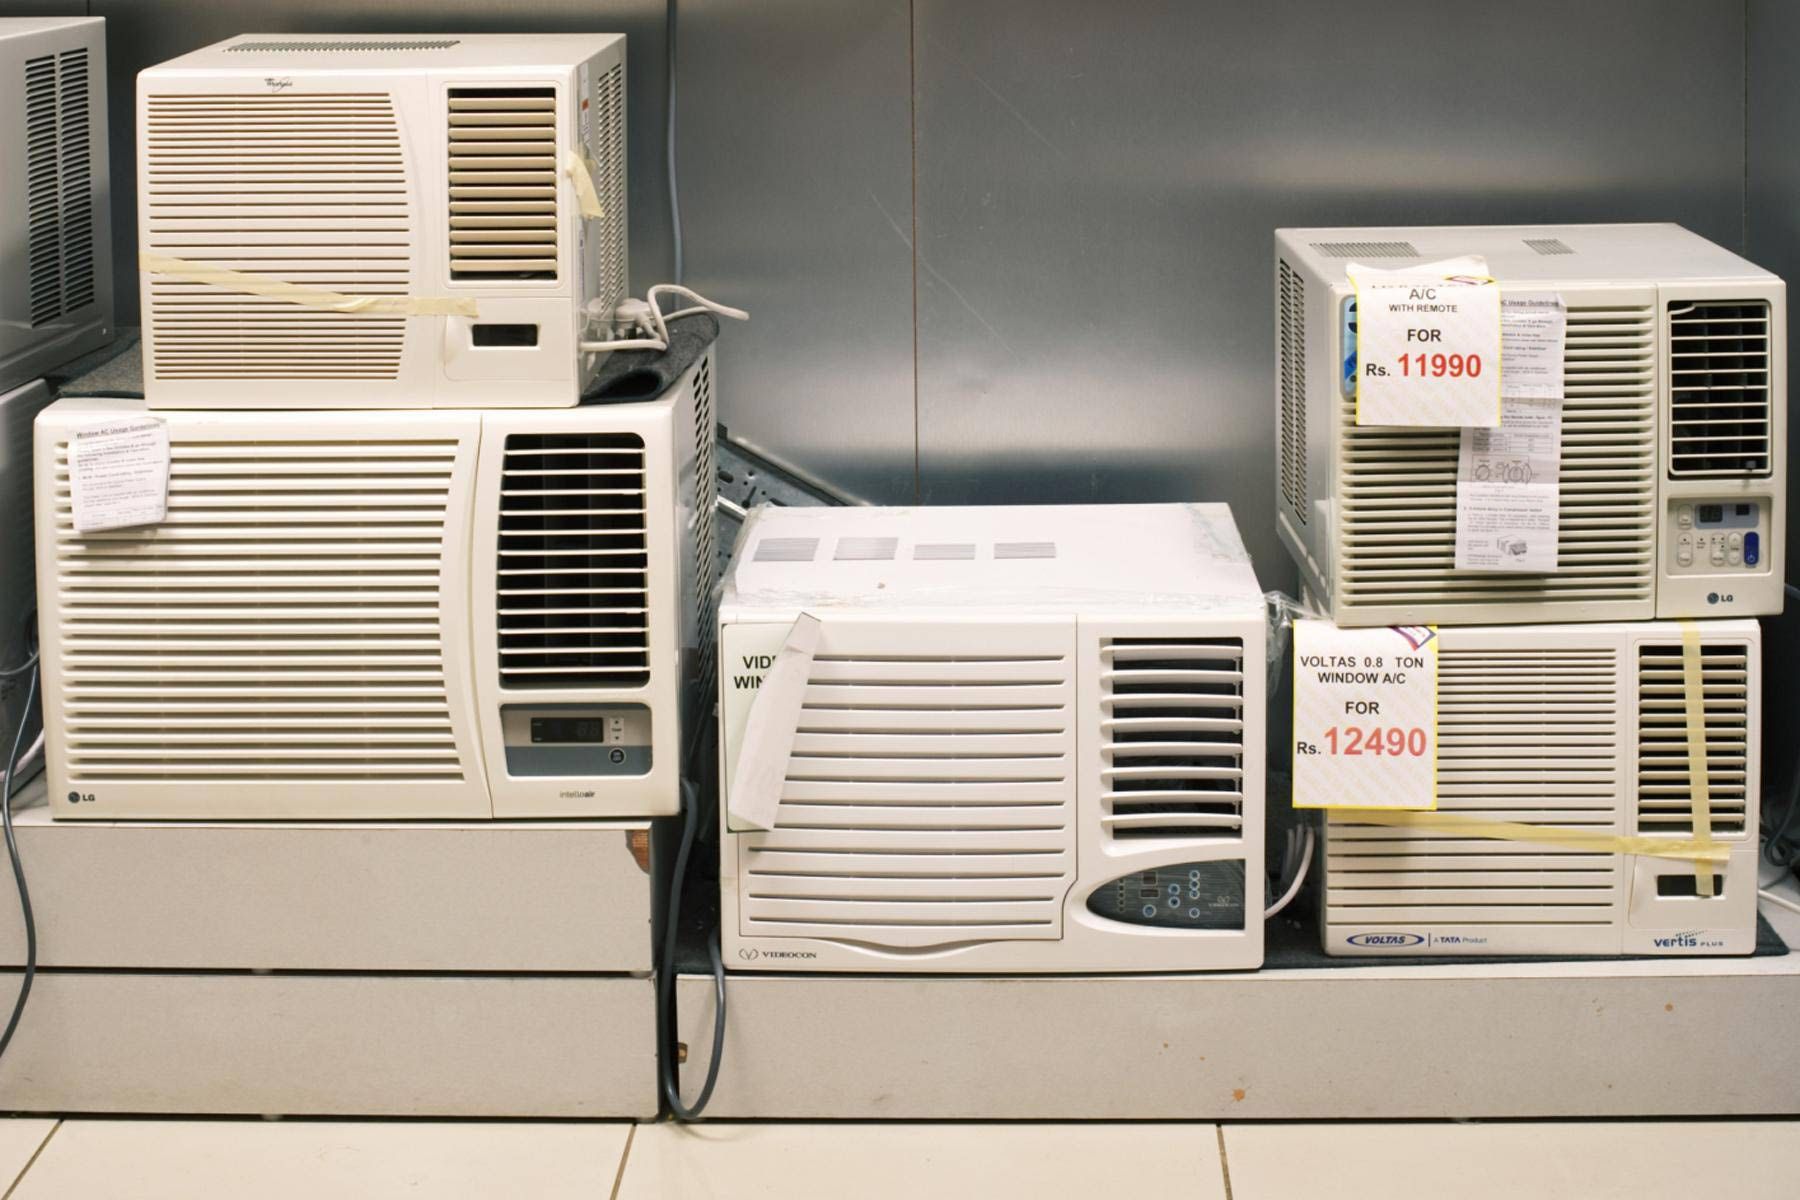
- Window air conditioner: Choose a unit that is suitable for the size of the room or space you want to cool. Make sure it matches the dimensions of the window opening where you plan to install it.
- Measuring tape: Use a measuring tape to accurately measure the size of the window opening and the dimensions of the air conditioner. This will help you determine if the unit will fit properly.
- Screwdriver: A screwdriver will be needed to remove any screws or fasteners on the window frame or sill.
- Level: To ensure a proper installation, use a level to check if the window and air conditioner are both horizontally level. This will prevent any water leakage or uneven cooling.
- Support brackets: Depending on the size and weight of the air conditioner, you may need support brackets to provide extra stability and prevent the unit from tilting or falling out of the window.
- Weatherstripping: Weatherstripping is used to create a tight seal between the window frame and the air conditioner. This helps to prevent hot air from entering your home and keeps cool air from escaping.
- Extension cord: If the power outlet is located far from the window, you may need an extension cord to connect the air conditioner to the electricity supply.
- Protective gloves and goggles: It’s always a good idea to wear protective gloves and goggles when handling the air conditioner to avoid any potential injuries.
Once you have collected all the necessary tools and materials, you’ll be ready to move on to the next step: choosing the right location for your window air conditioner.
Step 2: Choose the Right Location for the Unit
Choosing the correct location to mount your window air conditioning unit is essential for optimal performance and efficiency. Here are some factors to consider when selecting the right spot:
- Window accessibility: Choose a window that is easily accessible and free from obstructions. You’ll need to be able to install the unit and perform regular maintenance tasks, such as cleaning the filter and removing debris.
- Proximity to power source: Ensure that there is a nearby power outlet to connect the air conditioner. Using an extension cord is not recommended, as it can cause safety hazards and affect the unit’s performance.
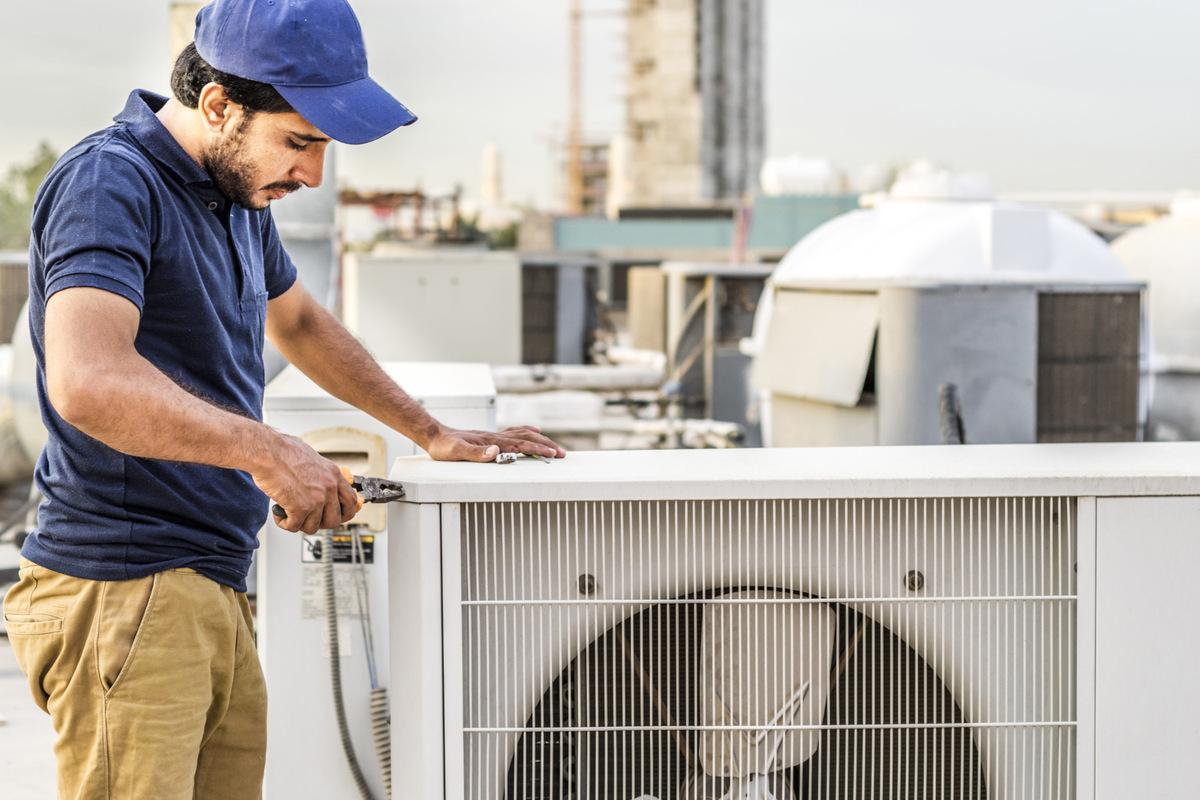
- Adequate support: The window frame and sill should be sturdy enough to support the weight of the air conditioner. If you have an older or weaker window structure, consider using support brackets or consulting a professional to reinforce the installation.
- Proximity to furniture or curtains: Avoid mounting the air conditioner near furniture, curtains, or any other objects that could obstruct the airflow. Keep at least 12-18 inches of clearance around the unit to allow for proper air circulation.
- Window type: Different window styles may require specific installation methods. For example, casement windows typically require a specialized kit to mount the air conditioner securely. Make sure to follow the manufacturer’s instructions or consult a professional if you have any uncertainties.
- Noise consideration: Keep in mind that window air conditioners can generate noise during operation. If possible, choose a location that is away from bedrooms or other areas where excessive noise could be a disturbance.
Once you’ve identified the ideal location, mark the position on the window frame. This will serve as a reference point during the installation process. Take measurements to ensure that the air conditioner will fit properly in the designated space.
Now that you’ve chosen the right location, it’s time to prepare the window and sill for installation, which leads us to the next step.
Step 3: Prepare the Window and Sill
Before installing the window air conditioning unit, it’s important to properly prepare the window and sill to ensure a secure and efficient installation. Follow these steps to get the window ready:
- Clean the window: Start by cleaning the window thoroughly. Remove any dirt, dust, or debris from the window frame, sash, and sill. This will help create a clean surface for the air conditioner to rest against and prevent any obstructions.
- Inspect the window: Check the window for any damages or cracks. Make sure the window is in good condition and can support the weight of the air conditioner without any issues. Repair or reinforce any weakened areas before proceeding.
- Remove the window screen: If your window has a removable screen, take it out before installing the air conditioner. The screen can obstruct the proper fit of the unit and hinder airflow.
- Adjust the window sash: Depending on your window type, you may need to adjust the sash to accommodate the air conditioner. Some windows have multiple sash positions to allow for different thicknesses. Follow the manufacturer’s instructions or consult a professional if you are unsure how to do this.
- Seal any gaps: Inspect the window frame for any gaps or openings. Use weatherstripping or foam adhesive strips to seal any drafts and ensure a tight seal. This will help prevent hot air from entering your home and cool air from escaping.
- Apply window insulation film (optional): If you want to increase energy efficiency and reduce drafts, you can apply window insulation film to the glass. This film creates an additional barrier against heat loss and can improve the overall performance of your air conditioner.
By properly preparing the window and sill, you will create a stable and secure foundation for your air conditioning unit. This will help prevent any air leaks, improve energy efficiency, and ensure the unit operates at its best. With the window ready, it’s time to move on to the next step: installing the side curtains.
Step 4: Install the Side Curtains
Installing side curtains for your window air conditioning unit is an important step to ensure proper insulation and prevent drafts. The side curtains help seal any gaps between the air conditioner and the window frame, improving energy efficiency and reducing noise. Follow these steps to install the side curtains:
- Remove the side extension panels: Most window air conditioners come with side extension panels that can be adjusted to fit the width of your window. Start by removing these panels from the unit.
- Measure the width: Use a measuring tape to measure the width of the window opening. This will help you determine the correct size for the side curtains.
- Trim the side curtains: If the side curtains are too long for your window, use scissors or a utility knife to trim them to the appropriate size. Make sure to follow the manufacturer’s guidelines on cutting the curtains.
- Attach the side curtains: Slide the trimmed side curtains into the designated slots on the air conditioner. Ensure that they fit securely and reach the outer edges of the window opening.
- Secure the side curtains: Once the side curtains are in place, use screws or clips (provided with the air conditioner) to secure them to the window frame. Make sure they are tightly fastened to create a snug seal.
- Check for any gaps: Inspect the side curtains to ensure there are no gaps or openings. If you notice any, adjust or tighten the screws/clips accordingly to eliminate any drafts.
Properly installed side curtains help keep the cool air inside your home and block hot air from infiltrating. They also serve as a barrier against insects and outdoor elements. Once the side curtains are securely in place, you are now ready to move on to the next step: lifting and placing the air conditioning unit into the window.
Read more: Why Is My Window AC Not Blowing Cold Air
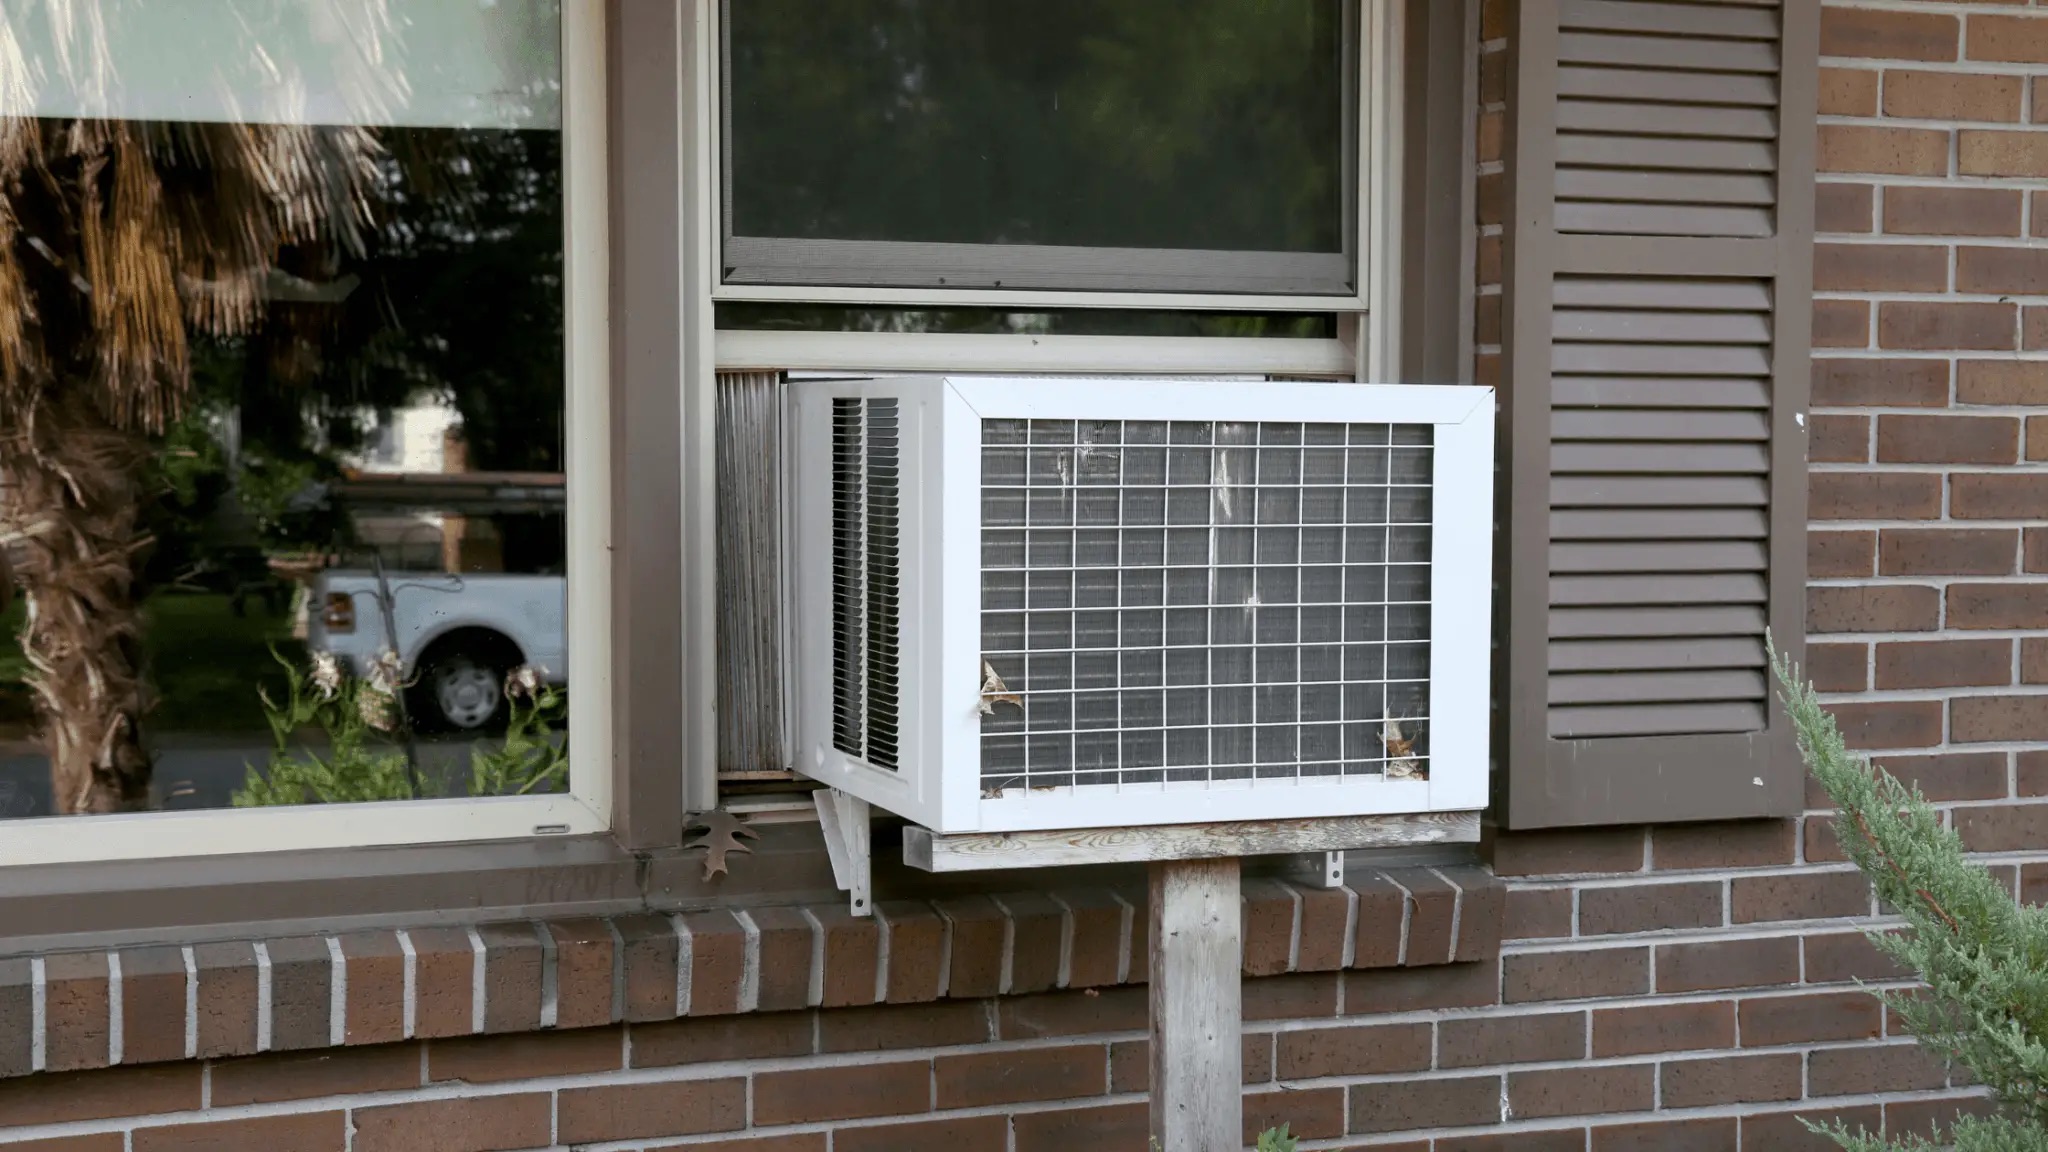
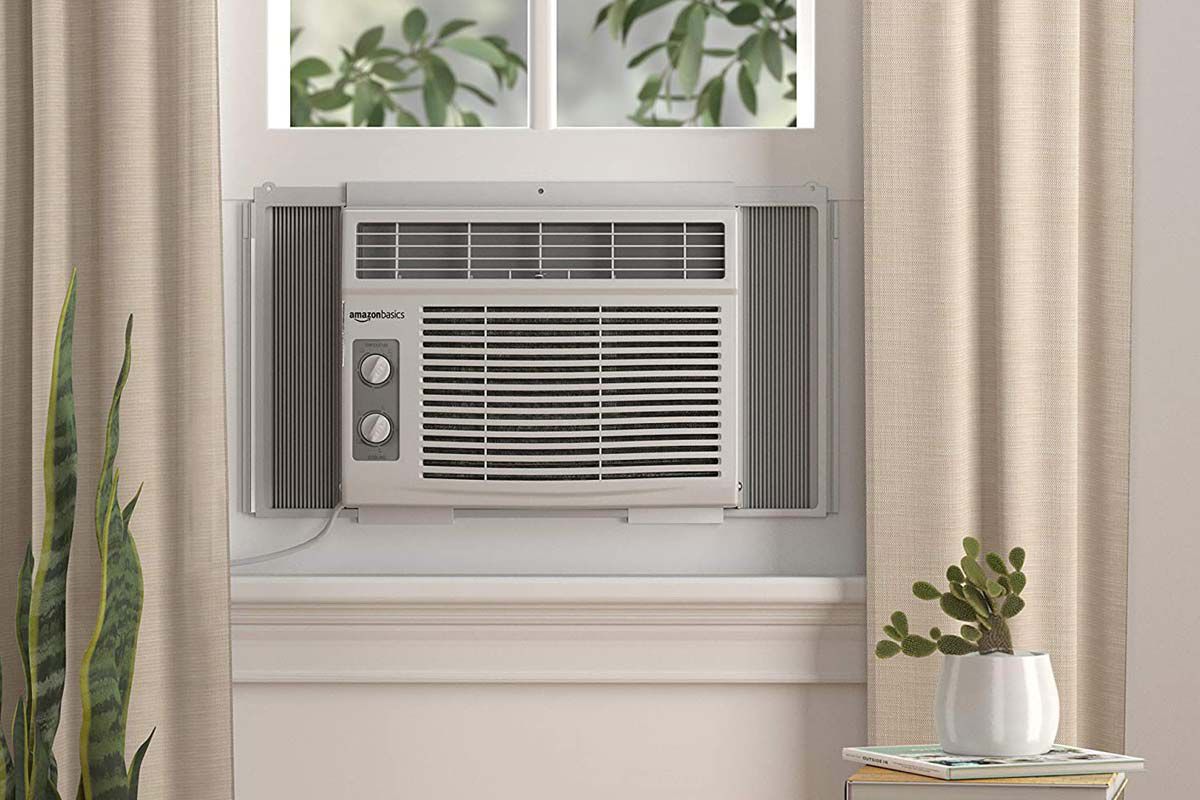
Step 5: Lift and Place the Air Conditioning Unit into the Window
Now that the window and side curtains are prepared, it’s time to lift and position the air conditioning unit into the window opening. Follow these steps to ensure a safe and successful installation:
- Enlist the help of a partner: Window air conditioning units can be heavy and awkward to handle, so it’s recommended to have a partner assist you with the lifting and positioning.
- Open the window: Fully open the window to its maximum height, ensuring there is enough space for the air conditioner to fit through.
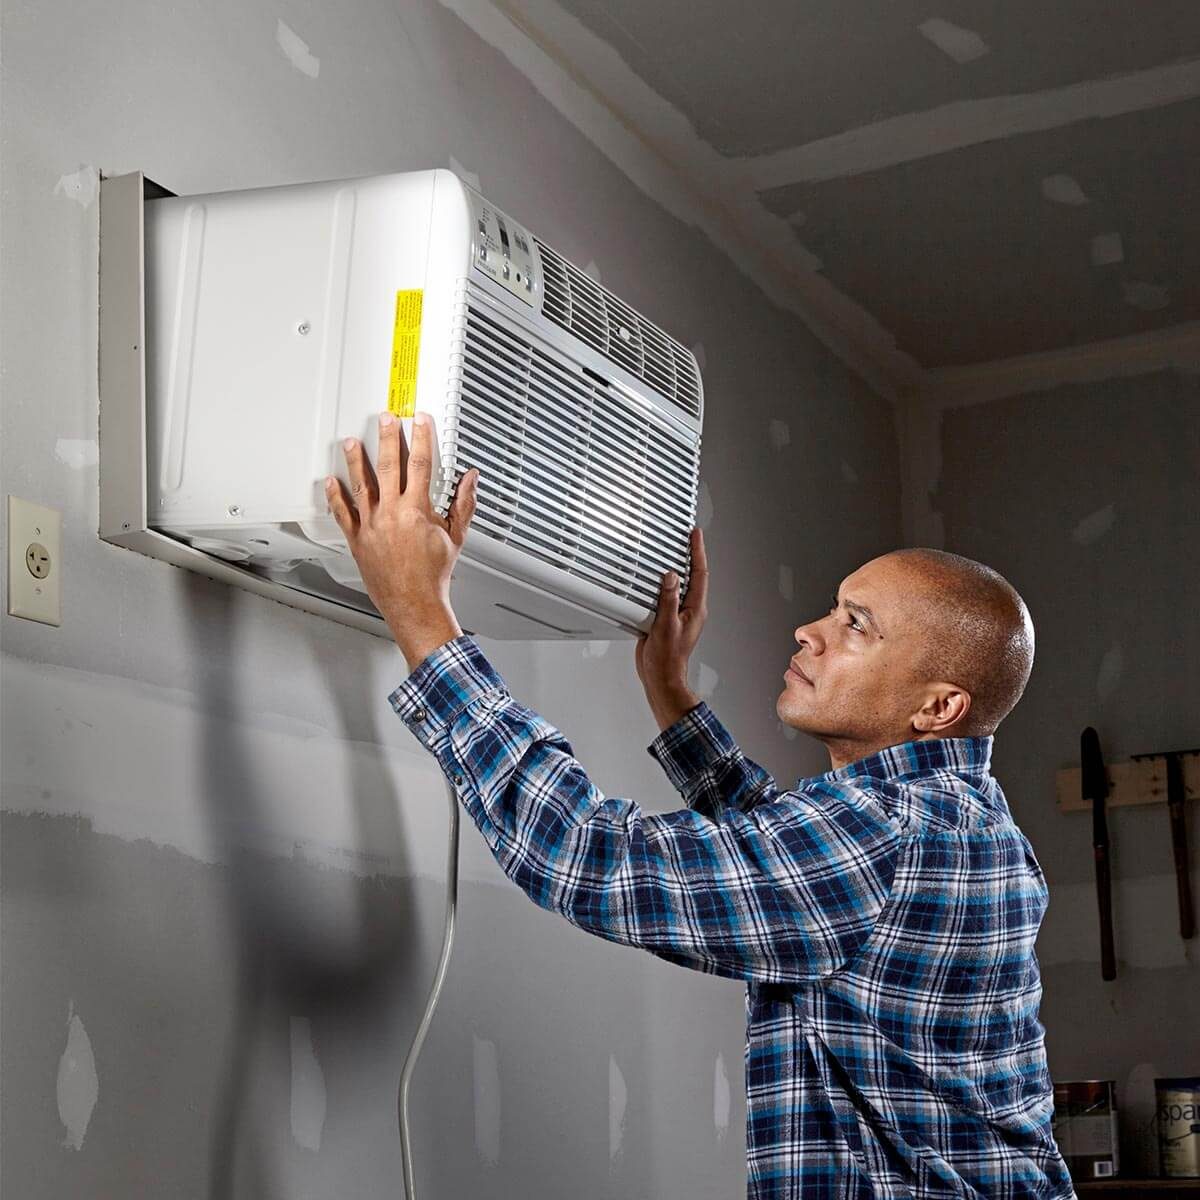
- Lift the air conditioner: Carefully lift the air conditioning unit, keeping it level and aligned with the center of the window opening. Hold it by the edges or designated lifting handles to ensure a secure grip.
- Guide the unit into the window: With your partner’s assistance, guide the air conditioner into the window opening, making sure it is centered and level. Take your time to ensure smooth and precise placement.
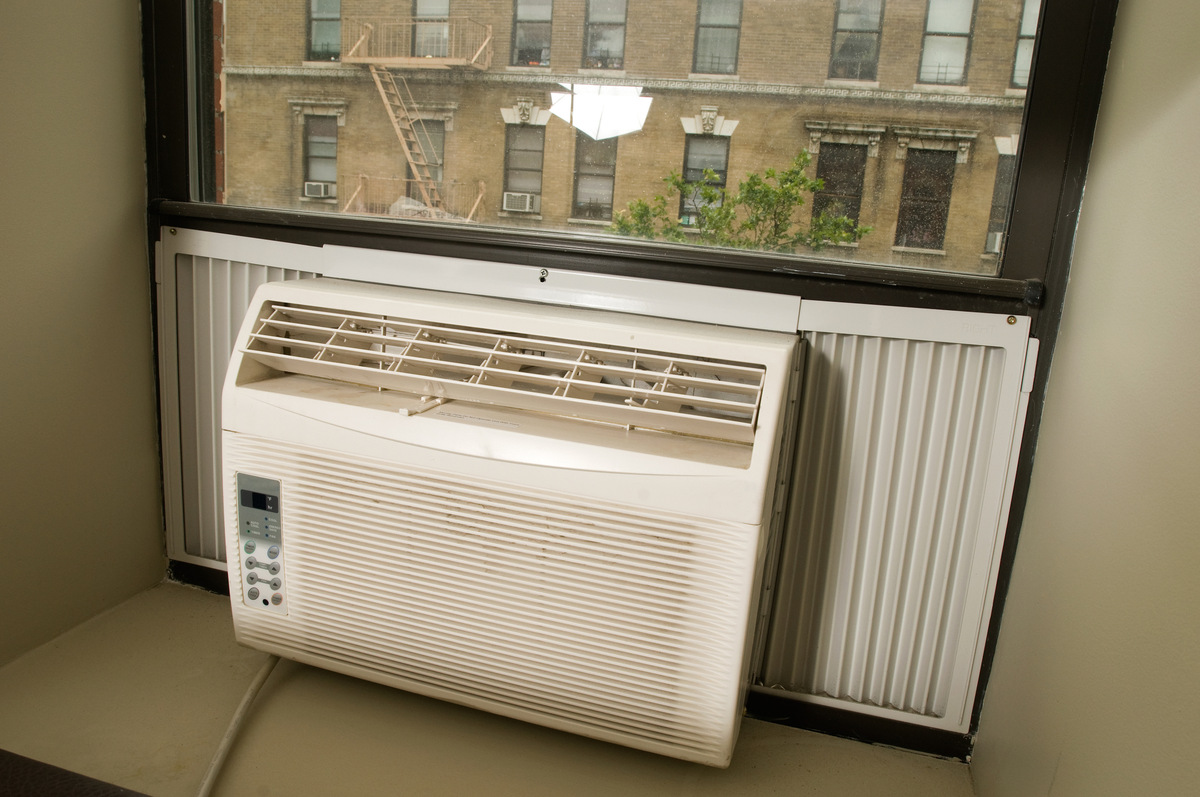
- Rest the bottom of the unit on the window sill: Once the unit is in position, gently place the bottom edge of the air conditioner on the window sill. Make sure it is securely resting and fully supported.
- Check for proper alignment: Use a level to check if the air conditioner is horizontally level within the window opening. This is important to prevent any water leakage and ensure optimal performance.
If the air conditioner is too heavy or cumbersome to manage, consider using a suitable lifting device or consulting a professional for assistance. Safety should always be a priority when handling heavy objects.
Once the air conditioning unit is properly positioned in the window, you are ready to move on to the next step: securing the unit in place.
Make sure to properly support the unit with brackets or a mounting kit to prevent it from falling. Follow the manufacturer’s instructions for installation to ensure it is secure and safe.
Step 6: Secure the Unit in Place
Now that the air conditioning unit is positioned in the window, it’s crucial to secure it in place to ensure stability and prevent any accidental falls or movements. Follow these steps to properly secure the unit:
- Extend the side curtains: If the side curtains have adjustable extensions, extend them fully until they reach the sides of the window frame. This will help provide additional support and stability.
- Attach support brackets (if necessary): Depending on the weight and size of your air conditioner, you may need to use support brackets to provide extra stability. Follow the manufacturer’s instructions to attach the brackets securely to the exterior wall or window frame.
- Screw the unit into the window frame: Using the provided screws or brackets, fasten the air conditioning unit to the window frame. Typically, there are pre-drilled holes on the top or sides of the unit for this purpose. Make sure the screws are tight enough to secure the unit, but be cautious not to over-tighten and damage the frame or the unit.
- Check for any gaps: Inspect around the unit to ensure there are no gaps between the air conditioner and the window frame. Use weatherstripping or foam adhesive strips to seal any openings, as this will improve efficiency and prevent air leaks.
- Test the stability: Gently shake the air conditioning unit to check for any excessive movements or looseness. If the unit feels unstable, reposition it and make any necessary adjustments to ensure a secure fit.
Securing the air conditioning unit is crucial for safety and proper functioning. A securely mounted unit will minimize vibrations, reduce noise, and prevent any potential damage to the window frame or unit itself. Once the unit is securely in place, you are ready to move on to the next step: connecting it to power.
Step 7: Connect the Unit to Power
With the air conditioning unit securely mounted in the window, it’s time to connect it to a power source. Follow these steps to ensure a safe and proper connection:
- Locate the power cord: Find the power cord that is attached to the air conditioning unit. Make sure it is free from any obstructions or tangles.
- Plug into a dedicated outlet: Locate a nearby electrical outlet that is dedicated for the use of the air conditioner. Avoid using extension cords or sharing the outlet with other high-powered devices, as this may cause overloading and increase the risk of electrical hazards.
- Inspect the power cord: Take a moment to inspect the power cord for any signs of damage, such as frayed wires or exposed insulation. If you notice any issues, do not attempt to plug it in and contact a professional for assistance.
- Insert the plug: Insert the power plug of the air conditioner into the electrical outlet. Ensure it is fully inserted and secure.
- Check for power supply: Once the plug is connected, check if the air conditioner receives power by looking for any lights or indicators on the unit. This will confirm that it is properly connected and ready to be operated.
It is important to follow all safety guidelines and manufacturer’s instructions when connecting the air conditioning unit to power. If you have any concerns or uncertainties, it is always recommended to consult a professional electrician to ensure a safe and compliant installation.
With the air conditioner now connected to power, you are ready to move on to the next step: adjusting the settings and testing the unit’s functionality.
Step 8: Adjust the Settings and Test the Unit
Now that your window air conditioning unit is connected to power, it’s time to adjust the settings and test its functionality. Follow these steps to ensure the unit is operating efficiently:
- Select the desired temperature: Use the control panel on the air conditioner to choose the desired temperature for your room. Set it to a comfortable level that suits your preference.
- Choose the cooling mode: Most air conditioners offer different modes, such as cool, fan, or energy-saving. Select the cooling mode to make sure the unit is actively cooling the room.
- Set the fan speed: Adjust the fan speed according to your needs. Higher fan speeds will circulate the air faster, while lower speeds may be more suitable for maintaining a consistent temperature.
- Check the directional vents: Ensure that the directional vents on the air conditioner are properly adjusted to direct the airflow where it is needed most. This will help distribute the cool air evenly across the room.
- Monitor for any unusual sounds or odors: As the air conditioner begins to operate, listen for any strange noises or detect any unusual odors. Unusual sounds or foul smells may indicate a problem with the unit that requires further investigation or professional assistance.
- Observe the cooling performance: Allow the air conditioner to run for a while and observe if the room temperature starts to drop. Check if the unit is effectively cooling the space and maintaining the desired temperature.
- Make necessary adjustments: If you find that the cooling performance is not satisfactory or the air conditioner is not operating as expected, refer to the user manual for troubleshooting tips. Make any necessary adjustments or contact the manufacturer or a professional for assistance, if needed.
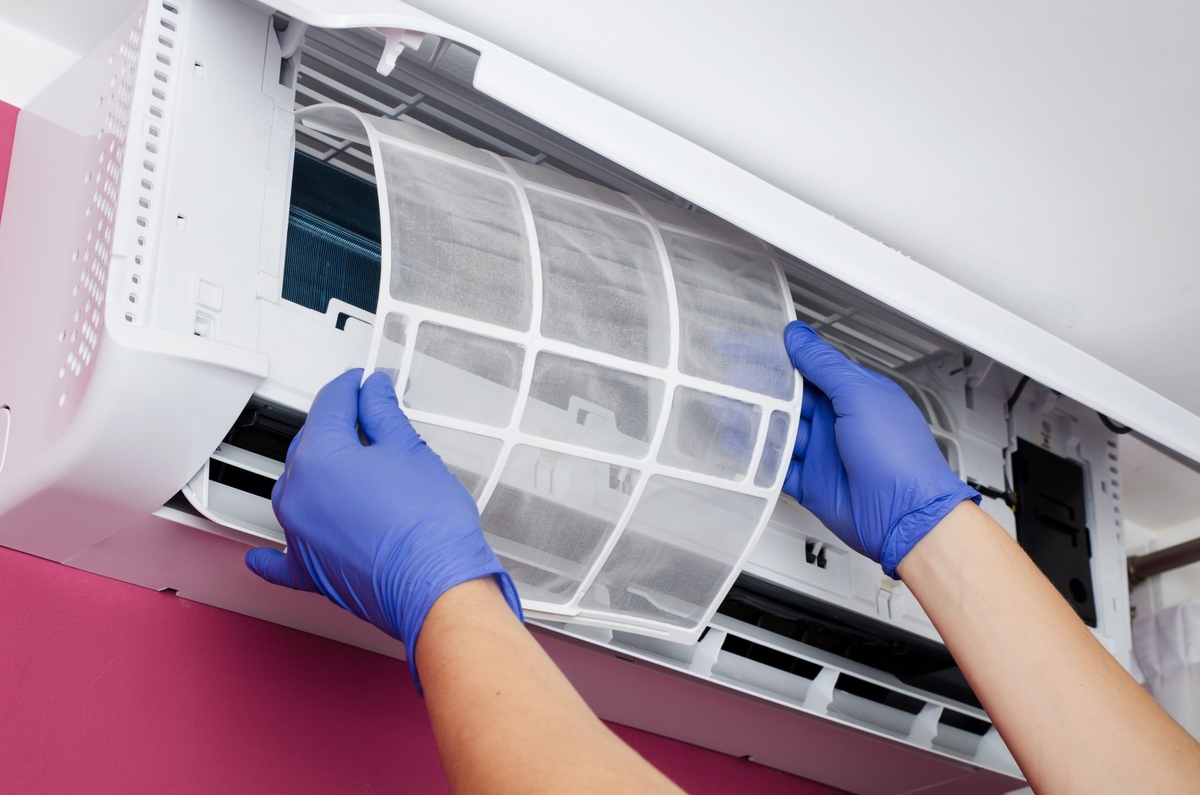
It is important to regularly clean and maintain your air conditioning unit to ensure optimal performance. Refer to the manufacturer’s instructions for proper maintenance guidelines, including cleaning the filter, removing debris, and scheduling regular servicing if required.
Once you are satisfied with the air conditioner’s performance and it is effectively cooling your space, congratulations! You have successfully installed, adjusted, and tested your window air conditioning unit. Keep in mind to regularly monitor its operation and address any issues promptly to ensure a comfortable and efficient cooling experience.
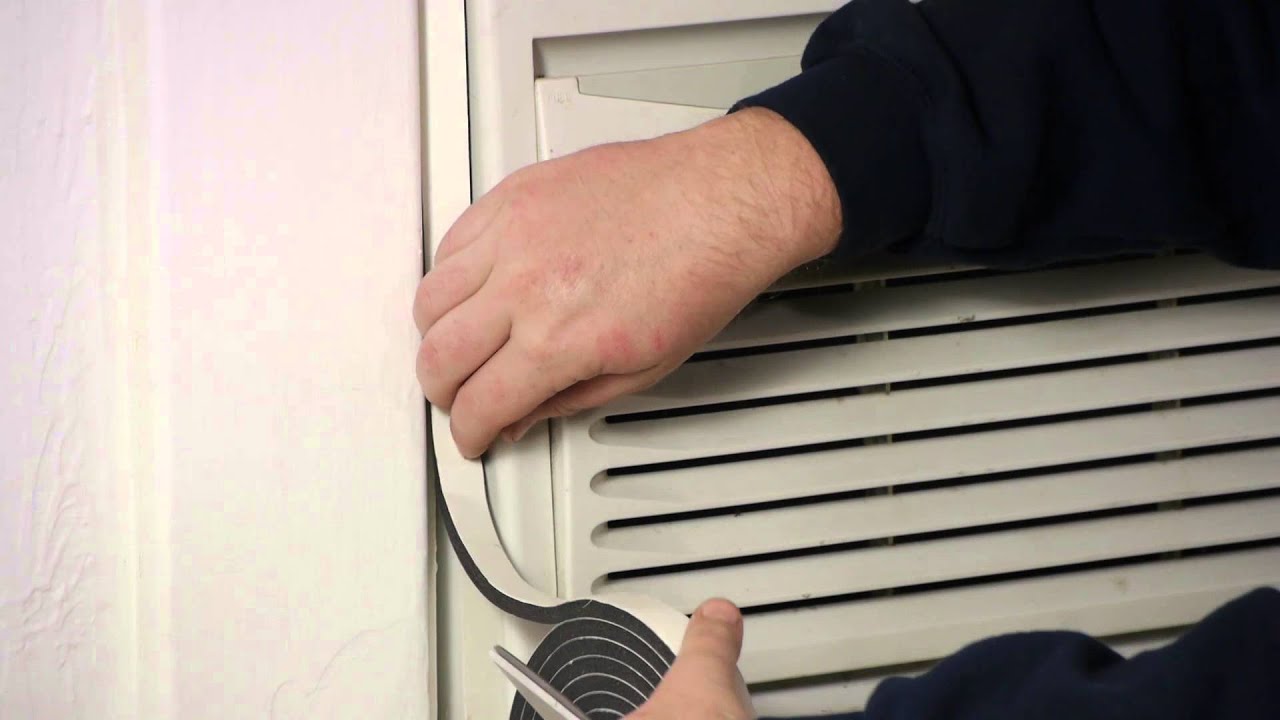
Step 9: Seal Any Gaps Around the Unit
After installing the window air conditioning unit, it’s important to check for any gaps or openings around the unit and seal them properly. This will help maintain energy efficiency, prevent drafts, and keep unwanted pests or insects out. Follow these steps to seal any gaps effectively:
- Inspect for gaps: Carefully examine the area around the air conditioner, both inside and outside, for any visible gaps or openings. Pay close attention to the window frame, the sides of the unit, and the area where the unit meets the window sill.
- Use weatherstripping: Weatherstripping is an effective solution to seal small gaps around the air conditioner. Measure the length needed and cut the weatherstripping accordingly. Then apply it along the gaps, using adhesive backing or screws, depending on the type of weatherstripping used.
- Apply foam sealant: For larger gaps or irregular shapes, foam sealant is a great option. It expands to fill gaps, creating a tight seal. Apply the foam sealant carefully and allow it to dry completely before moving on.
- Check the exterior: If there are any gaps or openings on the exterior of the window, such as between the unit and the window frame, you can use silicone caulk to seal them. Fill in the gaps with a bead of caulk and smooth it out with a caulk smoothing tool or your finger.
- Ensure a proper seal: Once you have applied weatherstripping or foam sealant, close the window and check for any air leaks. You can use a candle or a smoke stick near the sealed areas to see if there are any noticeable air movements. If you detect any, go back and reinforce the sealing as needed.
Sealing any gaps around the unit is essential to prevent air leakage, maintain energy efficiency, and improve the overall performance of your air conditioning system. By taking the time to properly seal these gaps, you will create a more comfortable living environment and minimize energy waste.
With the gaps sealed, your window air conditioning unit is now ready to provide efficient and effective cooling for your space. Remember to regularly inspect the seal and reseal any gaps if necessary. Enjoy the cool and comfortable atmosphere in your home!
Conclusion
Congratulations! You have successfully learned how to mount a window air conditioning unit. By following the step-by-step guide in this article, you have gained the knowledge and skills to install an air conditioner effectively and ensure its optimal performance. Let’s recap the key points:
- Gather all necessary tools and materials before starting the installation process.
- Choose the right location for the unit, considering accessibility, proximity to power, window type, and noise considerations.
- Prepare the window and sill by cleaning them, inspecting for damage, removing window screens, adjusting the window sash, and sealing any gaps.
- Install the side curtains to provide insulation and prevent drafts.
- Lift and place the air conditioning unit into the window opening, ensuring it is level and centered.
- Secure the unit in place by attaching support brackets (if necessary) and screwing it into the window frame.
- Connect the unit to a dedicated power outlet, ensuring the power cord is in good condition and securely plugged in.
- Adjust the settings on the air conditioner, such as temperature, fan speed, and directional vents, and observe its cooling performance.
- Seal any gaps around the unit with weatherstripping, foam sealant, or silicone caulk to improve energy efficiency and prevent air leaks.
Remember, safety should always be a priority during installation. If you encounter any difficulties or uncertainties, it is advisable to consult the manufacturer’s instructions or seek assistance from a professional.
Properly installing and mounting a window air conditioning unit not only helps to keep your home cool and comfortable during the hot summer months but also increases energy efficiency and reduces cooling costs. Regular maintenance, such as cleaning the filter and checking for any debris, will ensure the unit’s longevity and efficient operation.
We hope this comprehensive guide has been helpful to you. Now, go ahead and enjoy the benefits of your newly mounted window air conditioner! Stay cool!
Frequently Asked Questions about How To Mount A Window Air Conditioning Unit
Was this page helpful?
At Storables.com, we guarantee accurate and reliable information. Our content, validated by Expert Board Contributors, is crafted following stringent Editorial Policies. We're committed to providing you with well-researched, expert-backed insights for all your informational needs.