Home>Home Maintenance>How To Extend A Dryer Vent
Home Maintenance
How To Extend A Dryer Vent
Modified: October 28, 2024
Learn how to extend a dryer vent for proper home maintenance. Increase safety and efficiency with this step-by-step guide.
(Many of the links in this article redirect to a specific reviewed product. Your purchase of these products through affiliate links helps to generate commission for Storables.com, at no extra cost. Learn more)
Introduction
Having a properly functioning dryer vent is essential for efficient and safe operation of your dryer. However, there may be instances when you find that the existing dryer vent is not long enough to reach an exterior wall or a venting location. In such cases, it becomes necessary to extend the dryer vent to ensure that lint and moisture are expelled outside your home effectively.
In this article, we will guide you through the process of extending a dryer vent, step by step. By following these instructions, you will be able to successfully extend your dryer vent and maintain optimal performance of your dryer.
Key Takeaways:
- Extend your dryer vent by assessing, measuring, and purchasing the right kit. Follow safety precautions, secure connections, and test ventilation for optimal dryer performance.
- With the right tools and steps, extending your dryer vent is achievable. Ensure proper airflow, prevent blockages, and maintain a safe and efficient dryer system.
Read more: How To Vent A Dryer
Tools and Materials Needed
Before you begin extending your dryer vent, make sure you have the following tools and materials handy:
- Tape Measure: This will help you accurately measure the distance you need to extend the vent.
- Hacksaw or Tin Snips: You will need one of these tools to cut the existing vent or extension tubing, if necessary.
- Screwdriver: A screwdriver will be used to secure the connections and remove any screws holding the vent in place.
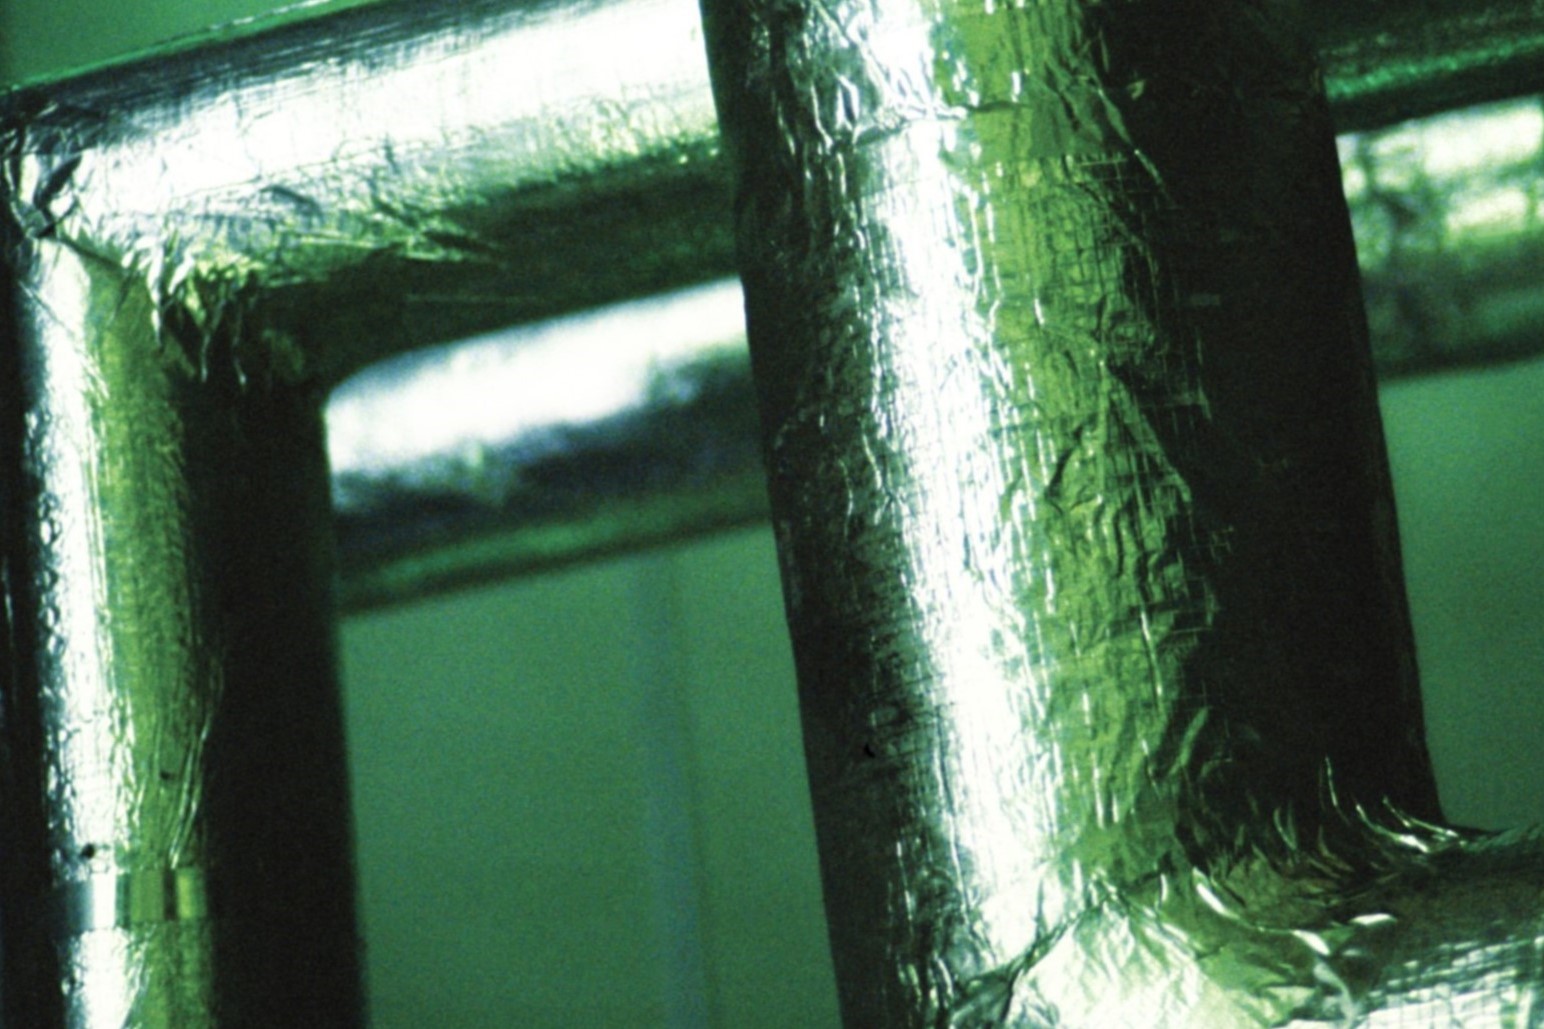
- Extension Vent Kit: This kit typically includes a length of flexible aluminum foil duct, clamps, and sometimes additional components like elbows or couplings.
- Duct Tape or Foil Tape: You may need tape to secure the connections between the existing vent and the extension tubing.
- Protective Gloves: It’s always a good idea to protect your hands while handling tools and sharp edges.
- Eye Protection: Safety goggles or glasses can help prevent any debris from getting into your eyes.
These tools and materials will ensure that you have everything you need to successfully extend your dryer vent. Make sure to gather them before starting the project to avoid any interruptions or delays.
Step 1: Assessing the Current Dryer Vent Setup
Before you begin extending your dryer vent, it’s important to assess the current setup to determine the best approach for the extension. Here’s what you need to do:
- Inspect the existing vent: Take a close look at the current dryer vent to understand its layout and configuration. Note the type of vent (rigid metal or flexible foil) and the location of the exit point.
- Measure the distance: Use a tape measure to measure the distance between the dryer and the desired venting location. This will help you determine the length of the extension needed.
- Check for obstacles: Look for any obstacles such as walls or cabinets that may hinder the installation of the extension. You may need to make adjustments or choose an alternative venting location if necessary.
- Consider airflow requirements: Ensure that the extension will not impede the airflow from the dryer. It’s important to maintain proper ventilation to prevent lint buildup and optimize dryer performance.
By thoroughly assessing the current dryer vent setup, you will have a clear understanding of the steps needed to extend the vent. This will help you plan and execute the extension efficiently and effectively.
Step 2: Determining the Desired Extension Length
Once you have assessed the current dryer vent setup, the next step is to determine the desired length of the vent extension. Here’s how to do it:
- Measure the distance: Use a tape measure to accurately measure the distance between the existing vent and the desired venting location. Make sure to measure from the back of the dryer to the exit point.
- Add extra length: It’s advisable to add a few extra feet to the measured distance to allow for flexibility during installation. This will ensure that you have enough tubing to easily connect the extension to the existing vent.
- Consider obstructions: Take into account any obstacles that may require additional length in the extension, such as tight corners or bends.
By determining the desired extension length, you will have a clear idea of how much extension tubing you need to purchase for the project. This step is crucial in ensuring that you have enough tubing for a seamless connection between the existing vent and the venting location.
Step 3: Purchasing the Necessary Extension Vent Kit
Once you have determined the desired extension length for your dryer vent, it’s time to purchase the necessary extension vent kit. Here’s what you need to consider:
- Choose the right size: Measure the diameter of your existing dryer vent to ensure that you purchase an extension kit with matching dimensions. Common sizes include 4 inches and 6 inches.
- Consider the type of venting: Decide whether you need a rigid metal vent or a flexible foil vent based on your dryer’s requirements and the layout of your venting system.
- Check for additional components: Some extension vent kits include additional components such as elbows or couplings. Assess your setup to determine if any of these components are necessary.
- Read customer reviews: Before making a purchase, take the time to read customer reviews of the extension vent kit you are considering. Look for positive feedback regarding durability, ease of installation, and overall performance.
- Compare prices: Shop around and compare prices from different retailers to ensure you are getting the best deal on the extension vent kit.
By purchasing the right extension vent kit, you will have all the necessary components to successfully extend your dryer vent. Take the time to research and select a kit that suits your specific requirements to ensure a smooth and hassle-free installation process.
Read more: How To Replace Dryer Vent
Step 4: Preparing for the Extension
Before you begin the actual installation process, it’s important to properly prepare for the extension of your dryer vent. Here’s what you need to do:
- Gather the necessary tools and materials: Ensure that you have all the tools and materials mentioned earlier in this article. Having everything within reach will help streamline the installation process.
- Clear the area around the dryer: Move any obstacles or clutter that may hinder access to the dryer and the existing vent. Make sure there is ample working space to complete the extension.
- Take safety precautions: Put on protective gloves and safety goggles to protect yourself from sharp edges and debris.
- Turn off the dryer: Before proceeding with the extension, disconnect the dryer from the power source to ensure safety during the installation process.
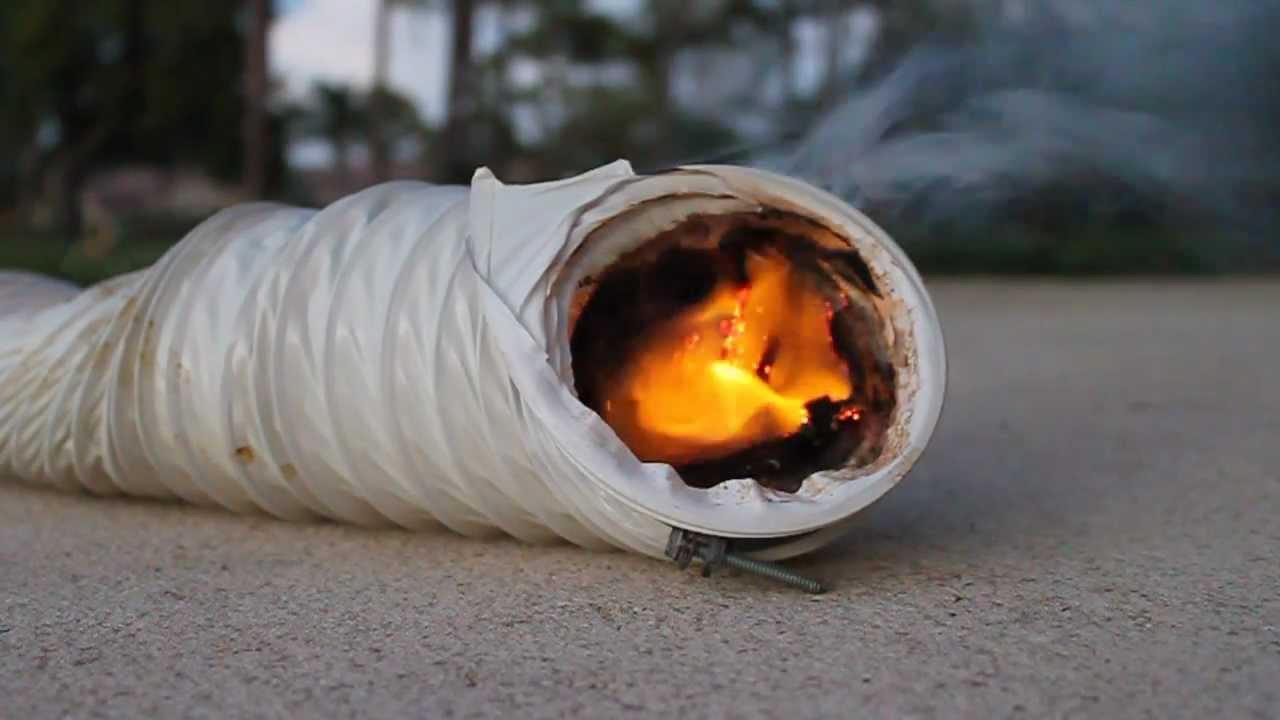
- Clean the existing vent: Take this opportunity to clean the existing vent and remove any lint or debris that may have accumulated. This will help improve the efficiency of your dryer and reduce the risk of vent blockages.
By properly preparing for the extension, you will set the stage for a smooth and efficient installation process. Taking the time to gather the necessary tools, clear the workspace, and ensure your safety will help ensure a successful outcome.
Consider using a dryer vent extension kit to safely and effectively extend your dryer vent. Make sure to follow the manufacturer’s instructions and use proper materials for the extension. Regularly clean and maintain the vent to prevent clogs and fire hazards.
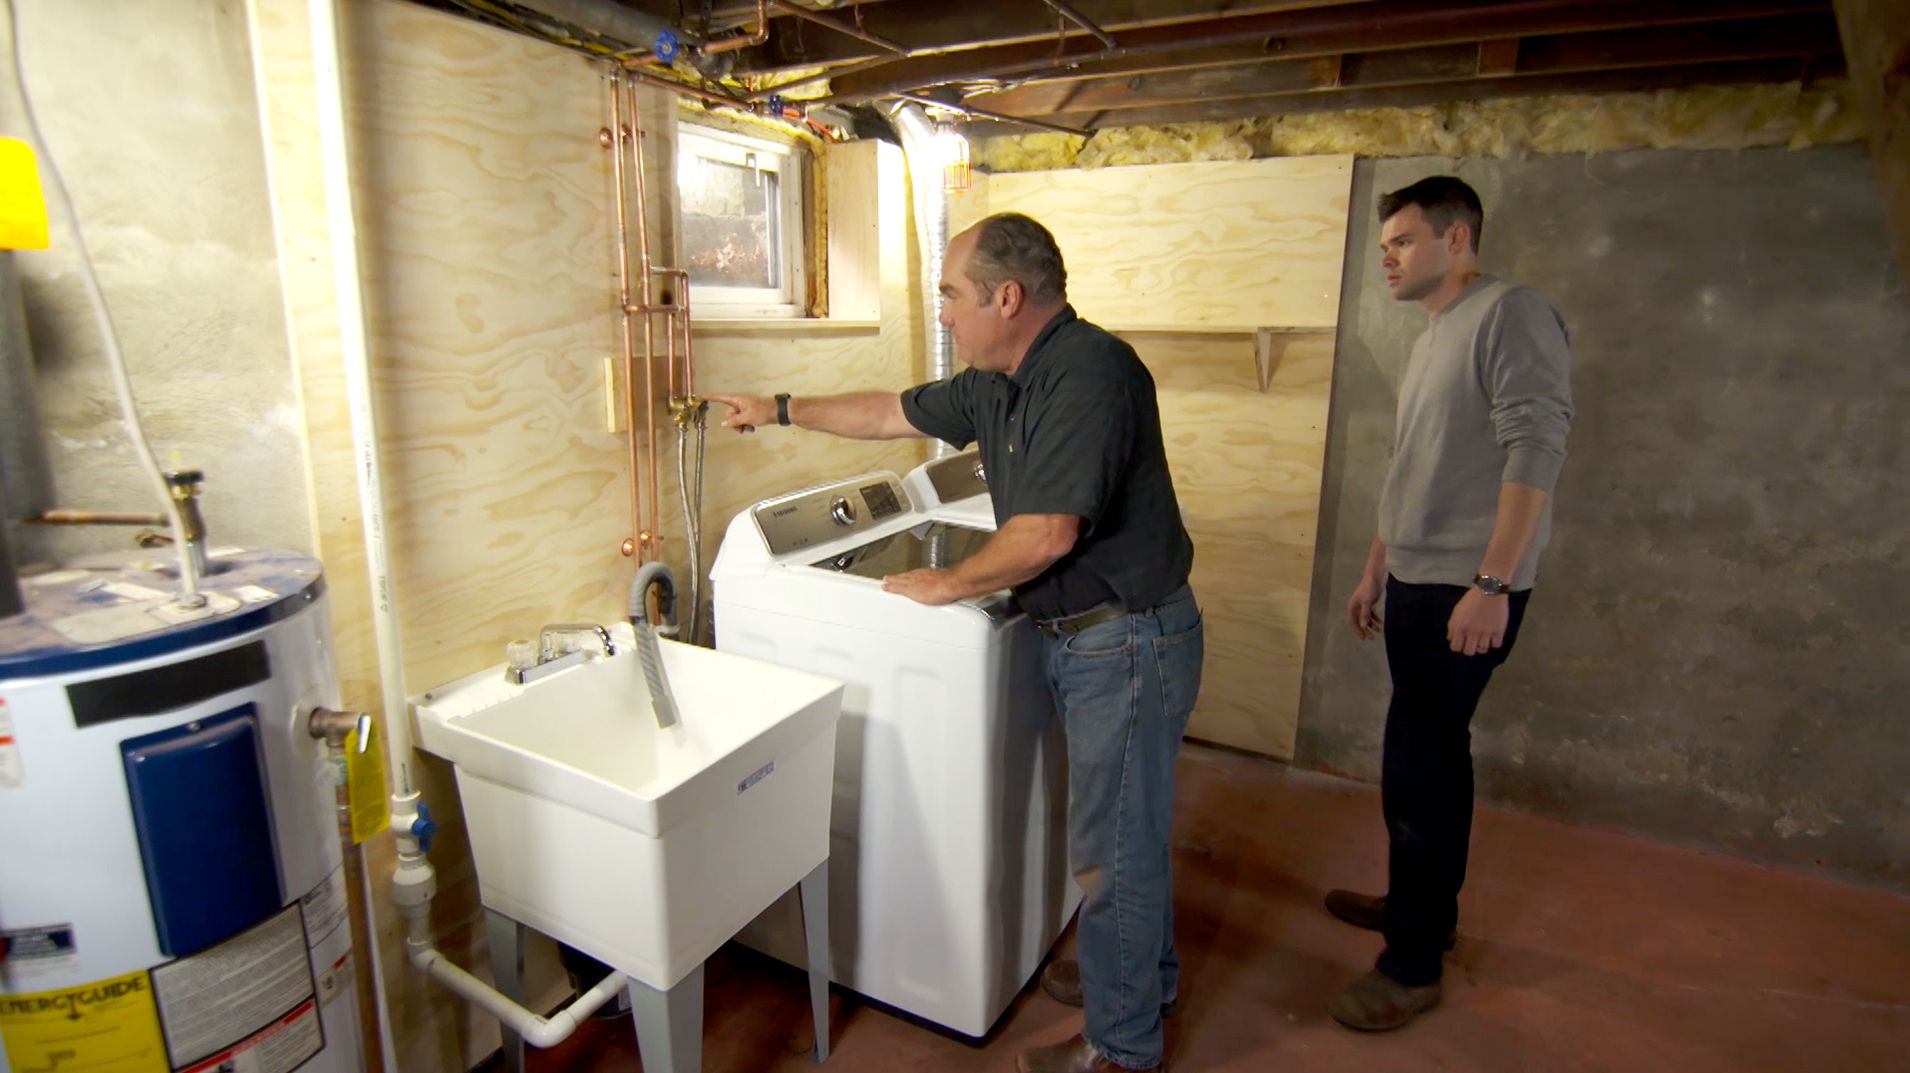
Step 5: Disconnecting the Dryer and Removing the Existing Vent
In order to extend your dryer vent, you will first need to disconnect the dryer and remove the existing vent. Follow these steps:
- Turn off the dryer: Make sure the dryer is completely turned off and unplugged from the power source.
- Pull the dryer away from the wall: Carefully move the dryer away from the wall to create enough space to access the vent connection.
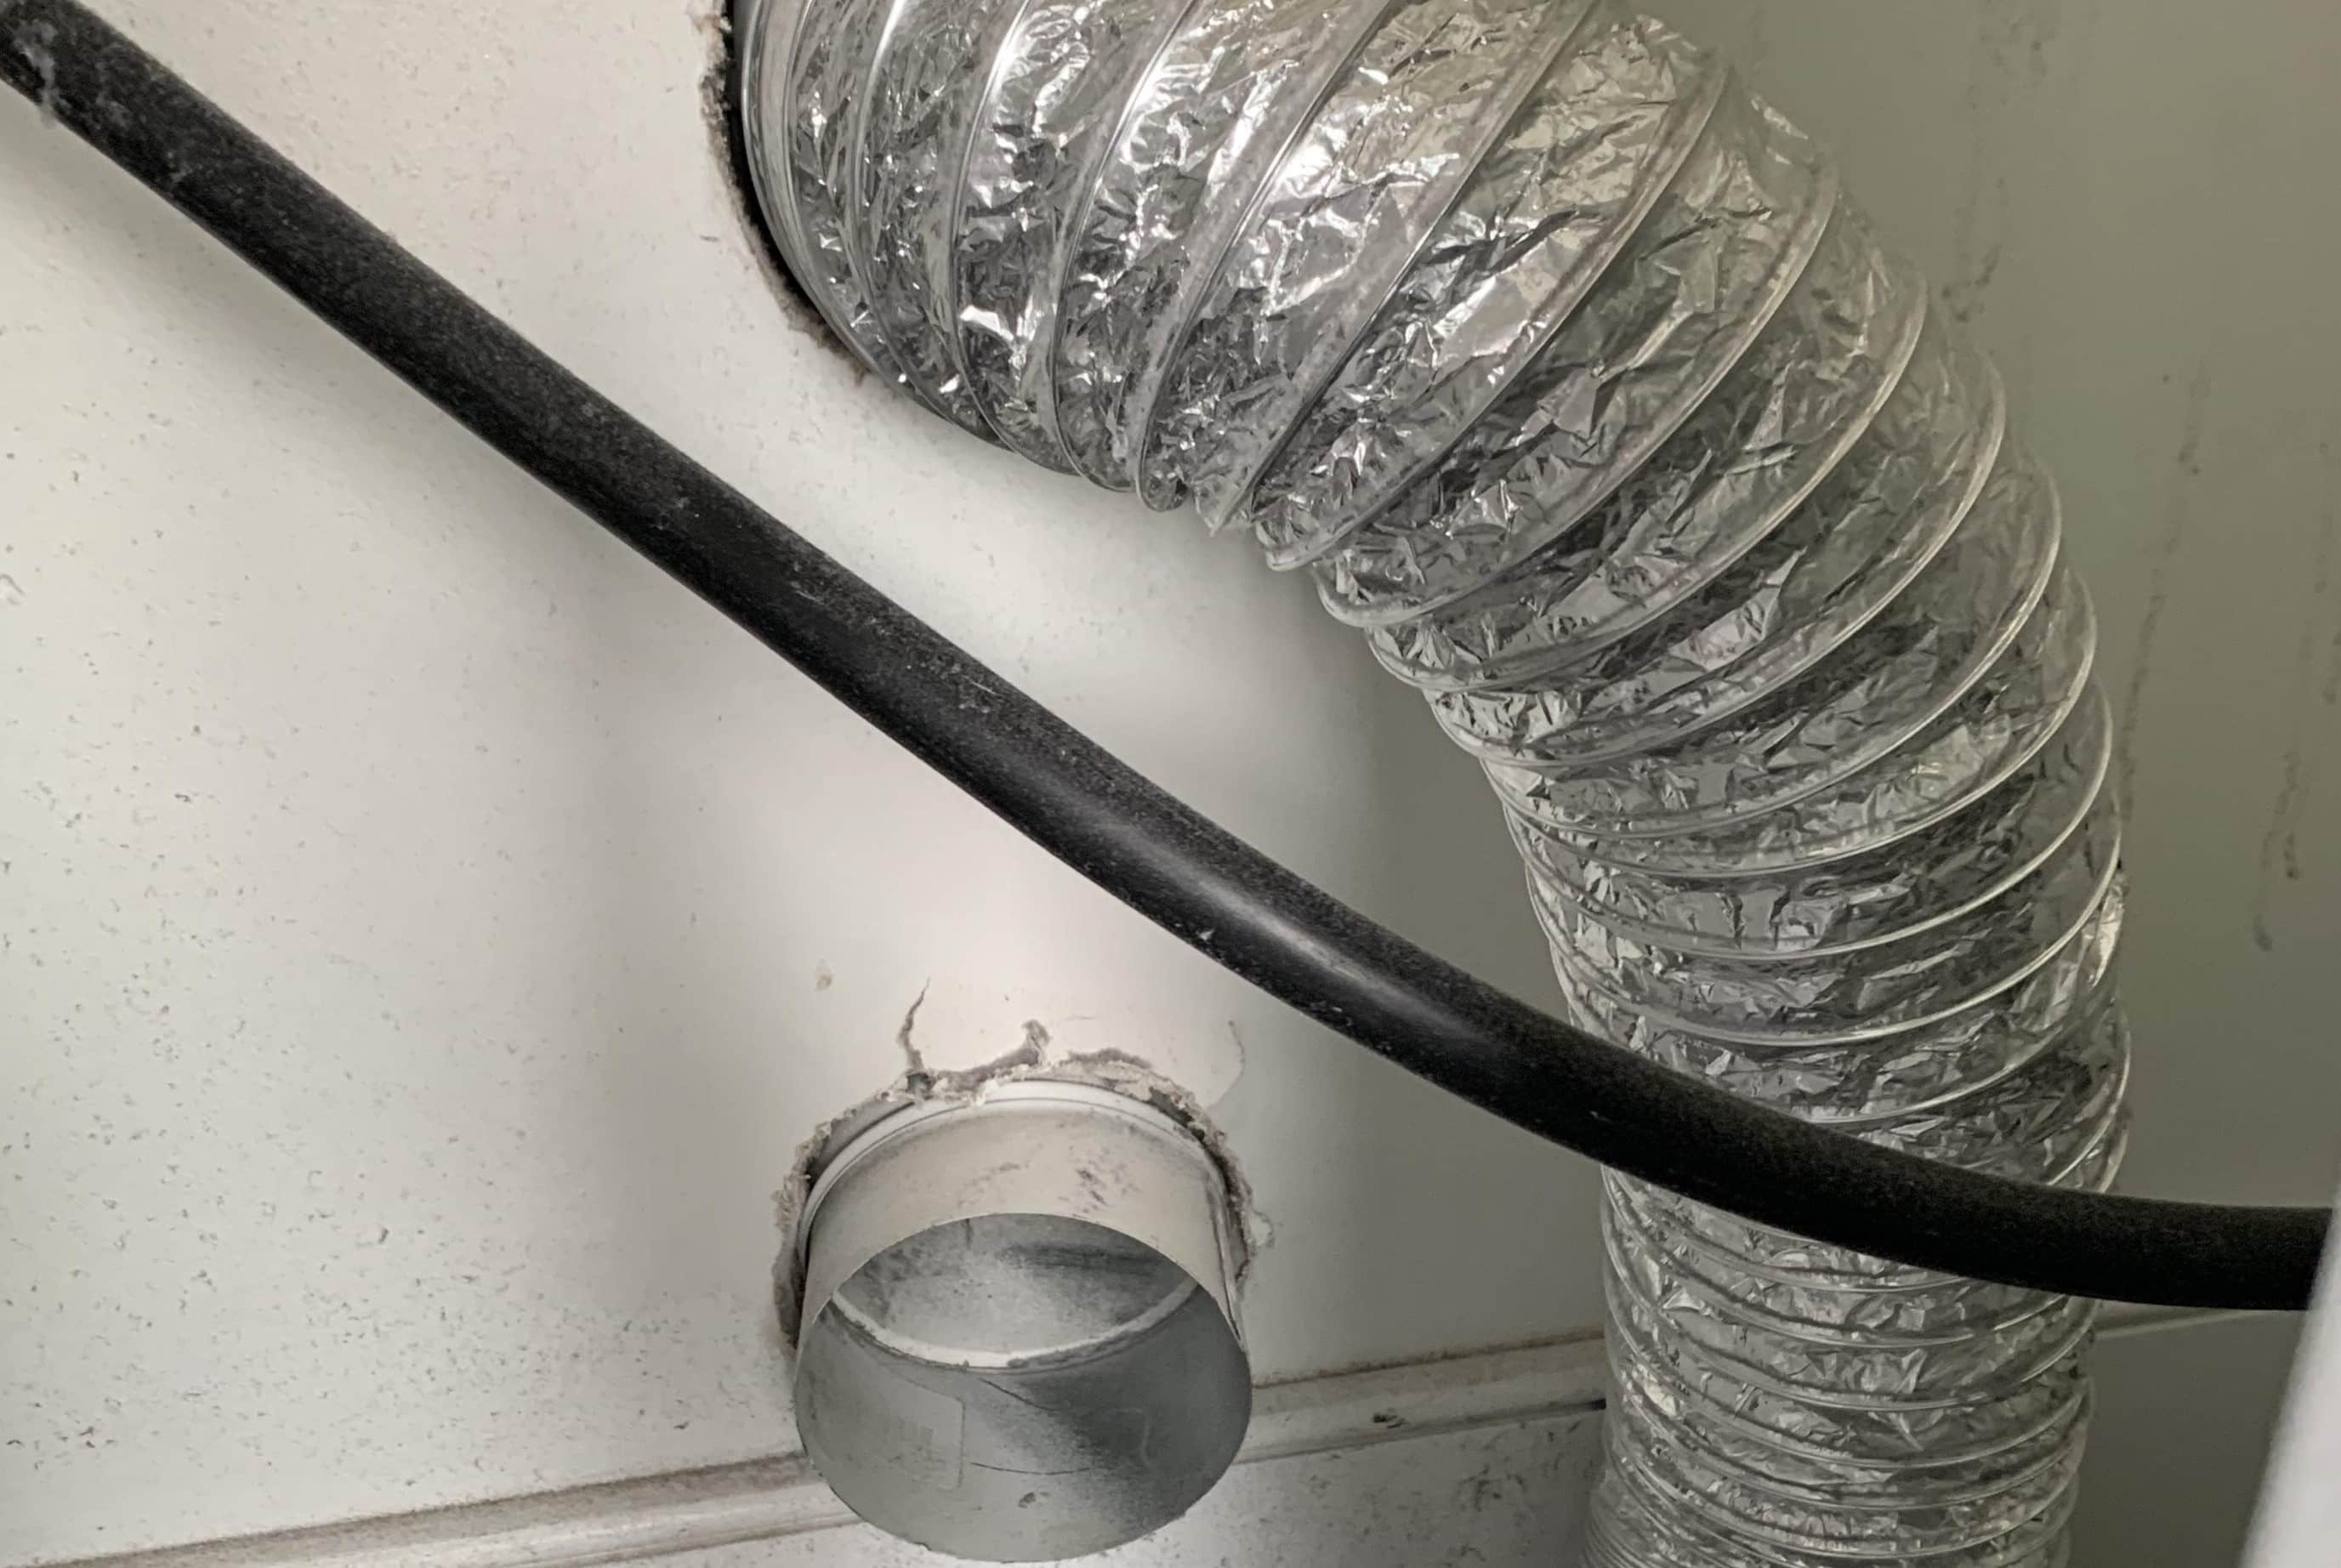
- Loosen the clamp: Use a screwdriver to loosen the clamp that secures the existing vent to the back of the dryer. Once loosened, slide the clamp down the vent tubing.
- Disconnect the vent: Gently pull the vent tubing away from the dryer to disconnect it. Be cautious not to damage the vent or any surrounding components.
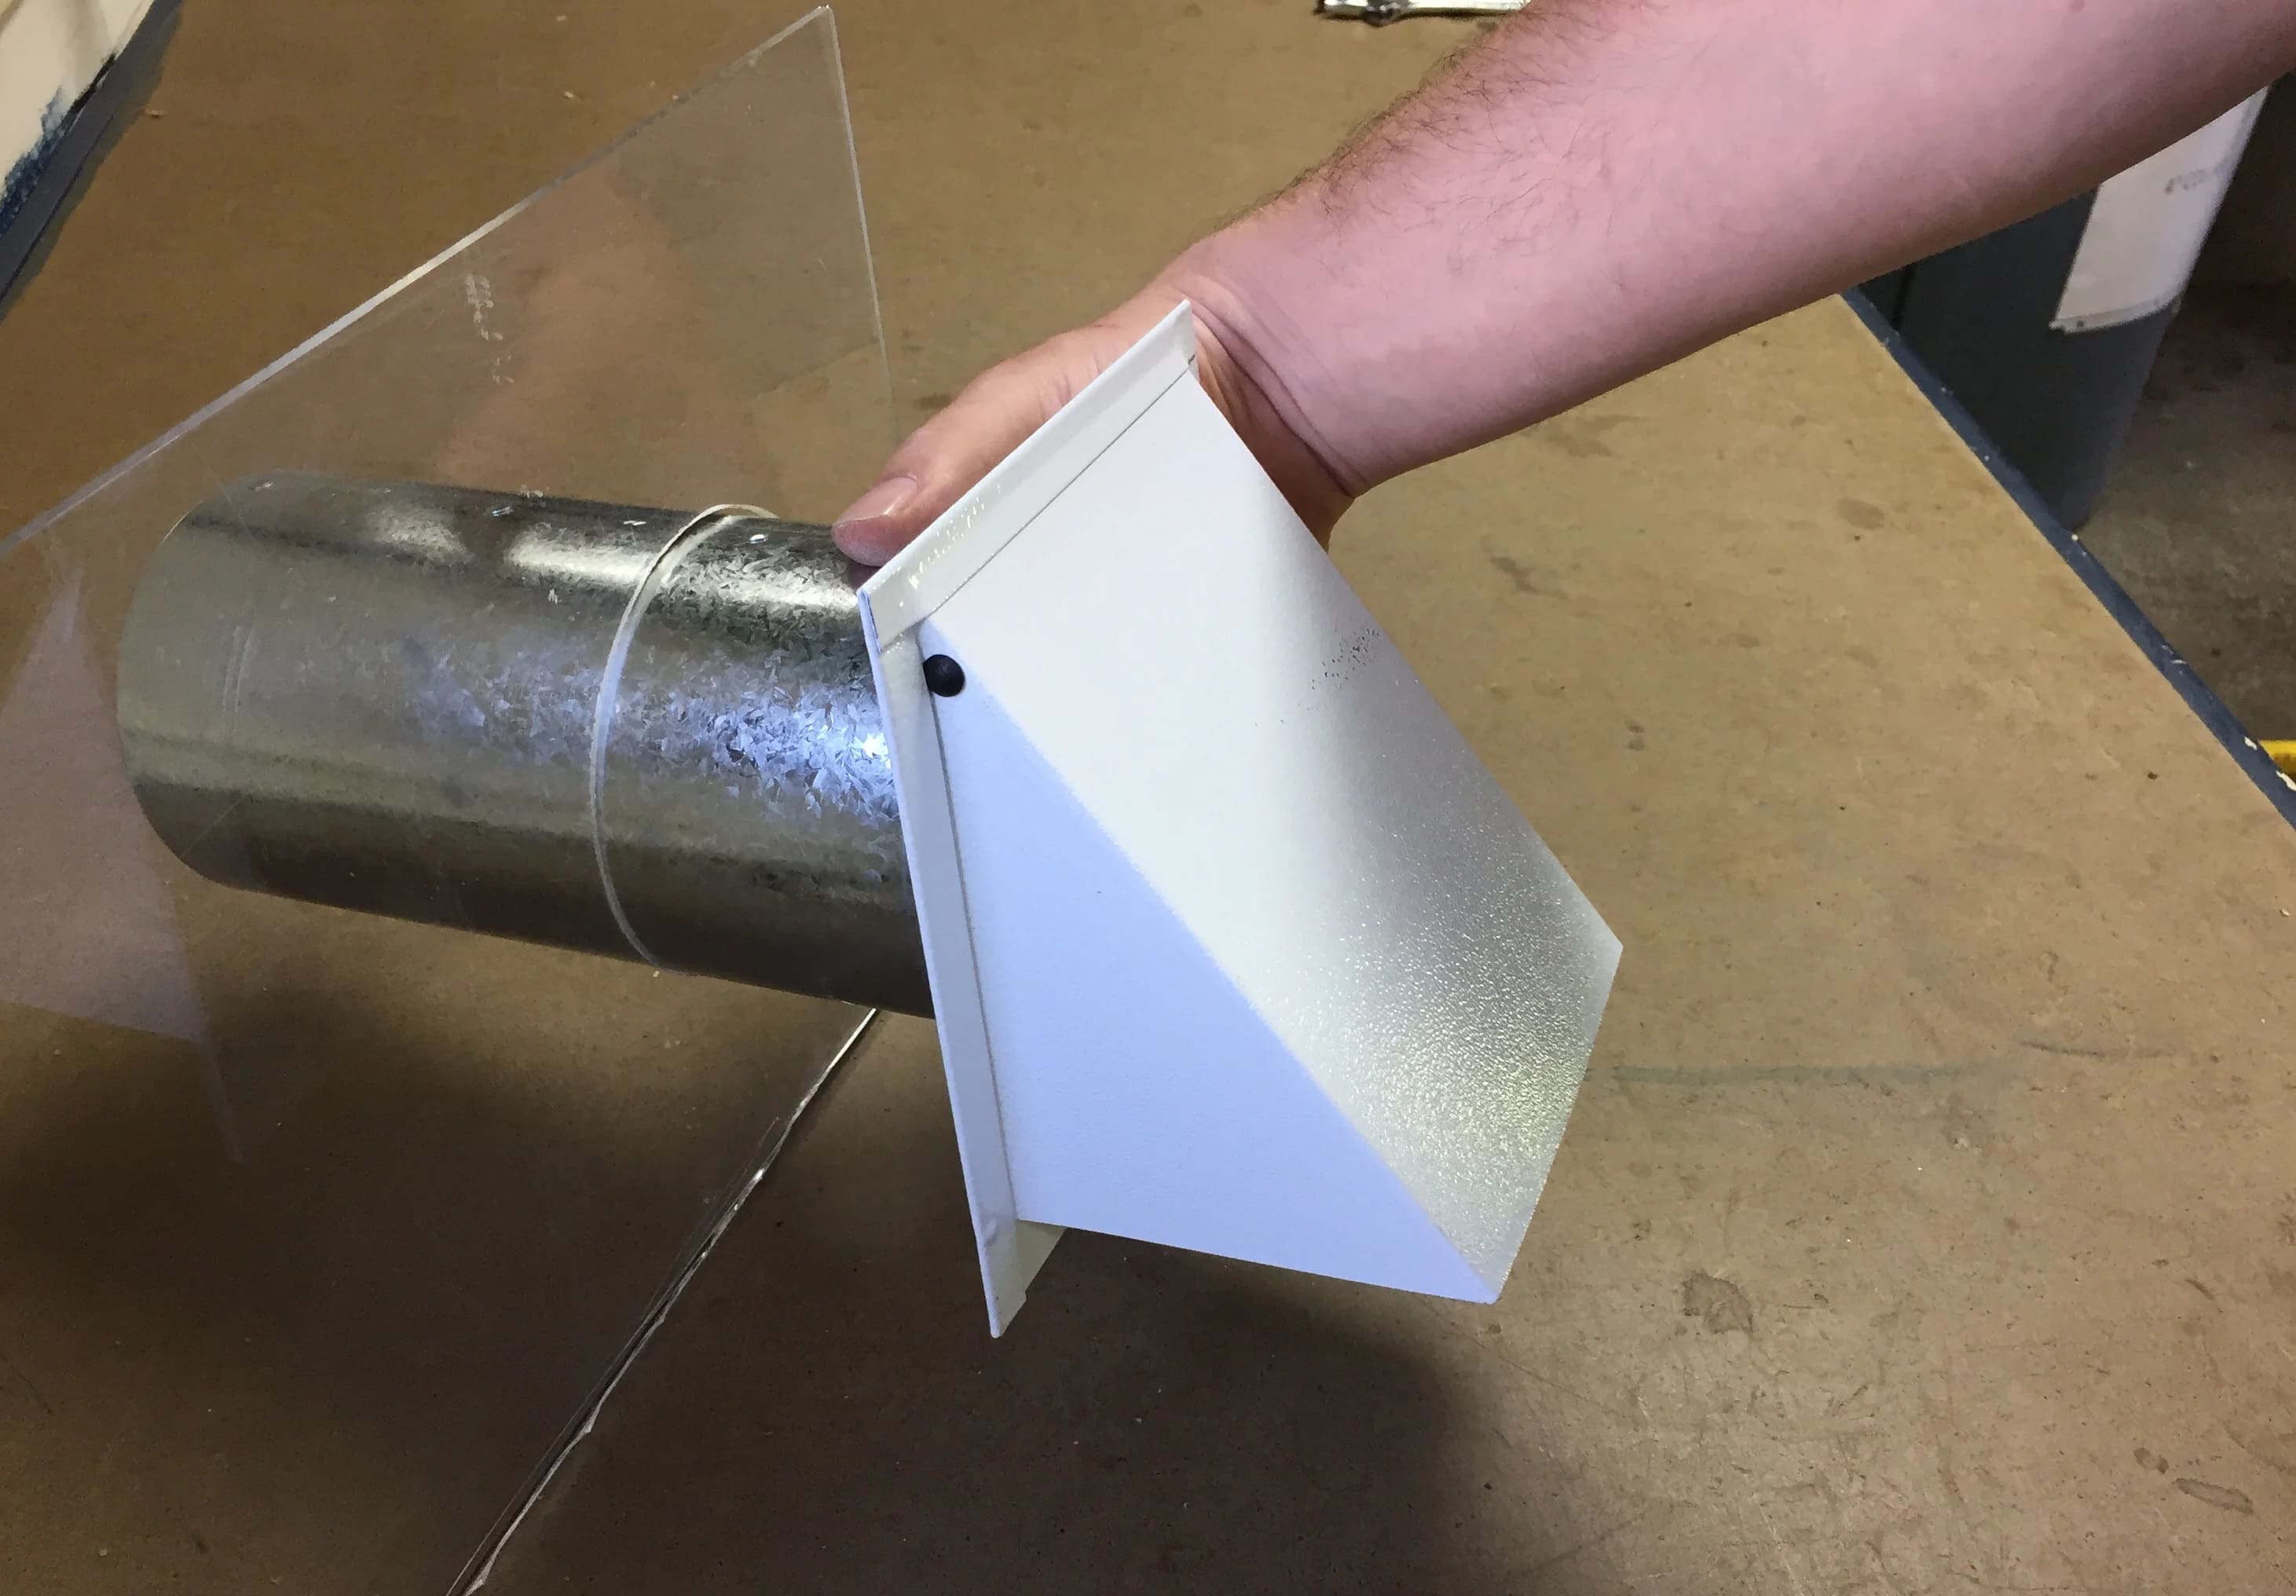
- Remove the existing vent from the wall: Locate the vent where it exits the wall or floor and remove any screws or fasteners that are securing it in place. Pull the vent out of the wall, taking care not to damage the wall or the vent itself.
- Inspect for obstructions: Take a moment to inspect the area where the vent was connected for any obstructions or blockages. Clear away any debris to ensure proper airflow.
By following these steps, you will be able to disconnect the dryer from the existing vent and remove the vent from the wall. This will allow you to proceed with the extension of your dryer vent.
Step 6: Installing the Extension Vent Kit
Now that you have disconnected the dryer and removed the existing vent, you are ready to install the extension vent kit. Follow these steps:
- Prepare the extension tubing: If necessary, use a hacksaw or tin snips to cut the extension tubing to the desired length. Make sure the cut is clean and remove any sharp edges.
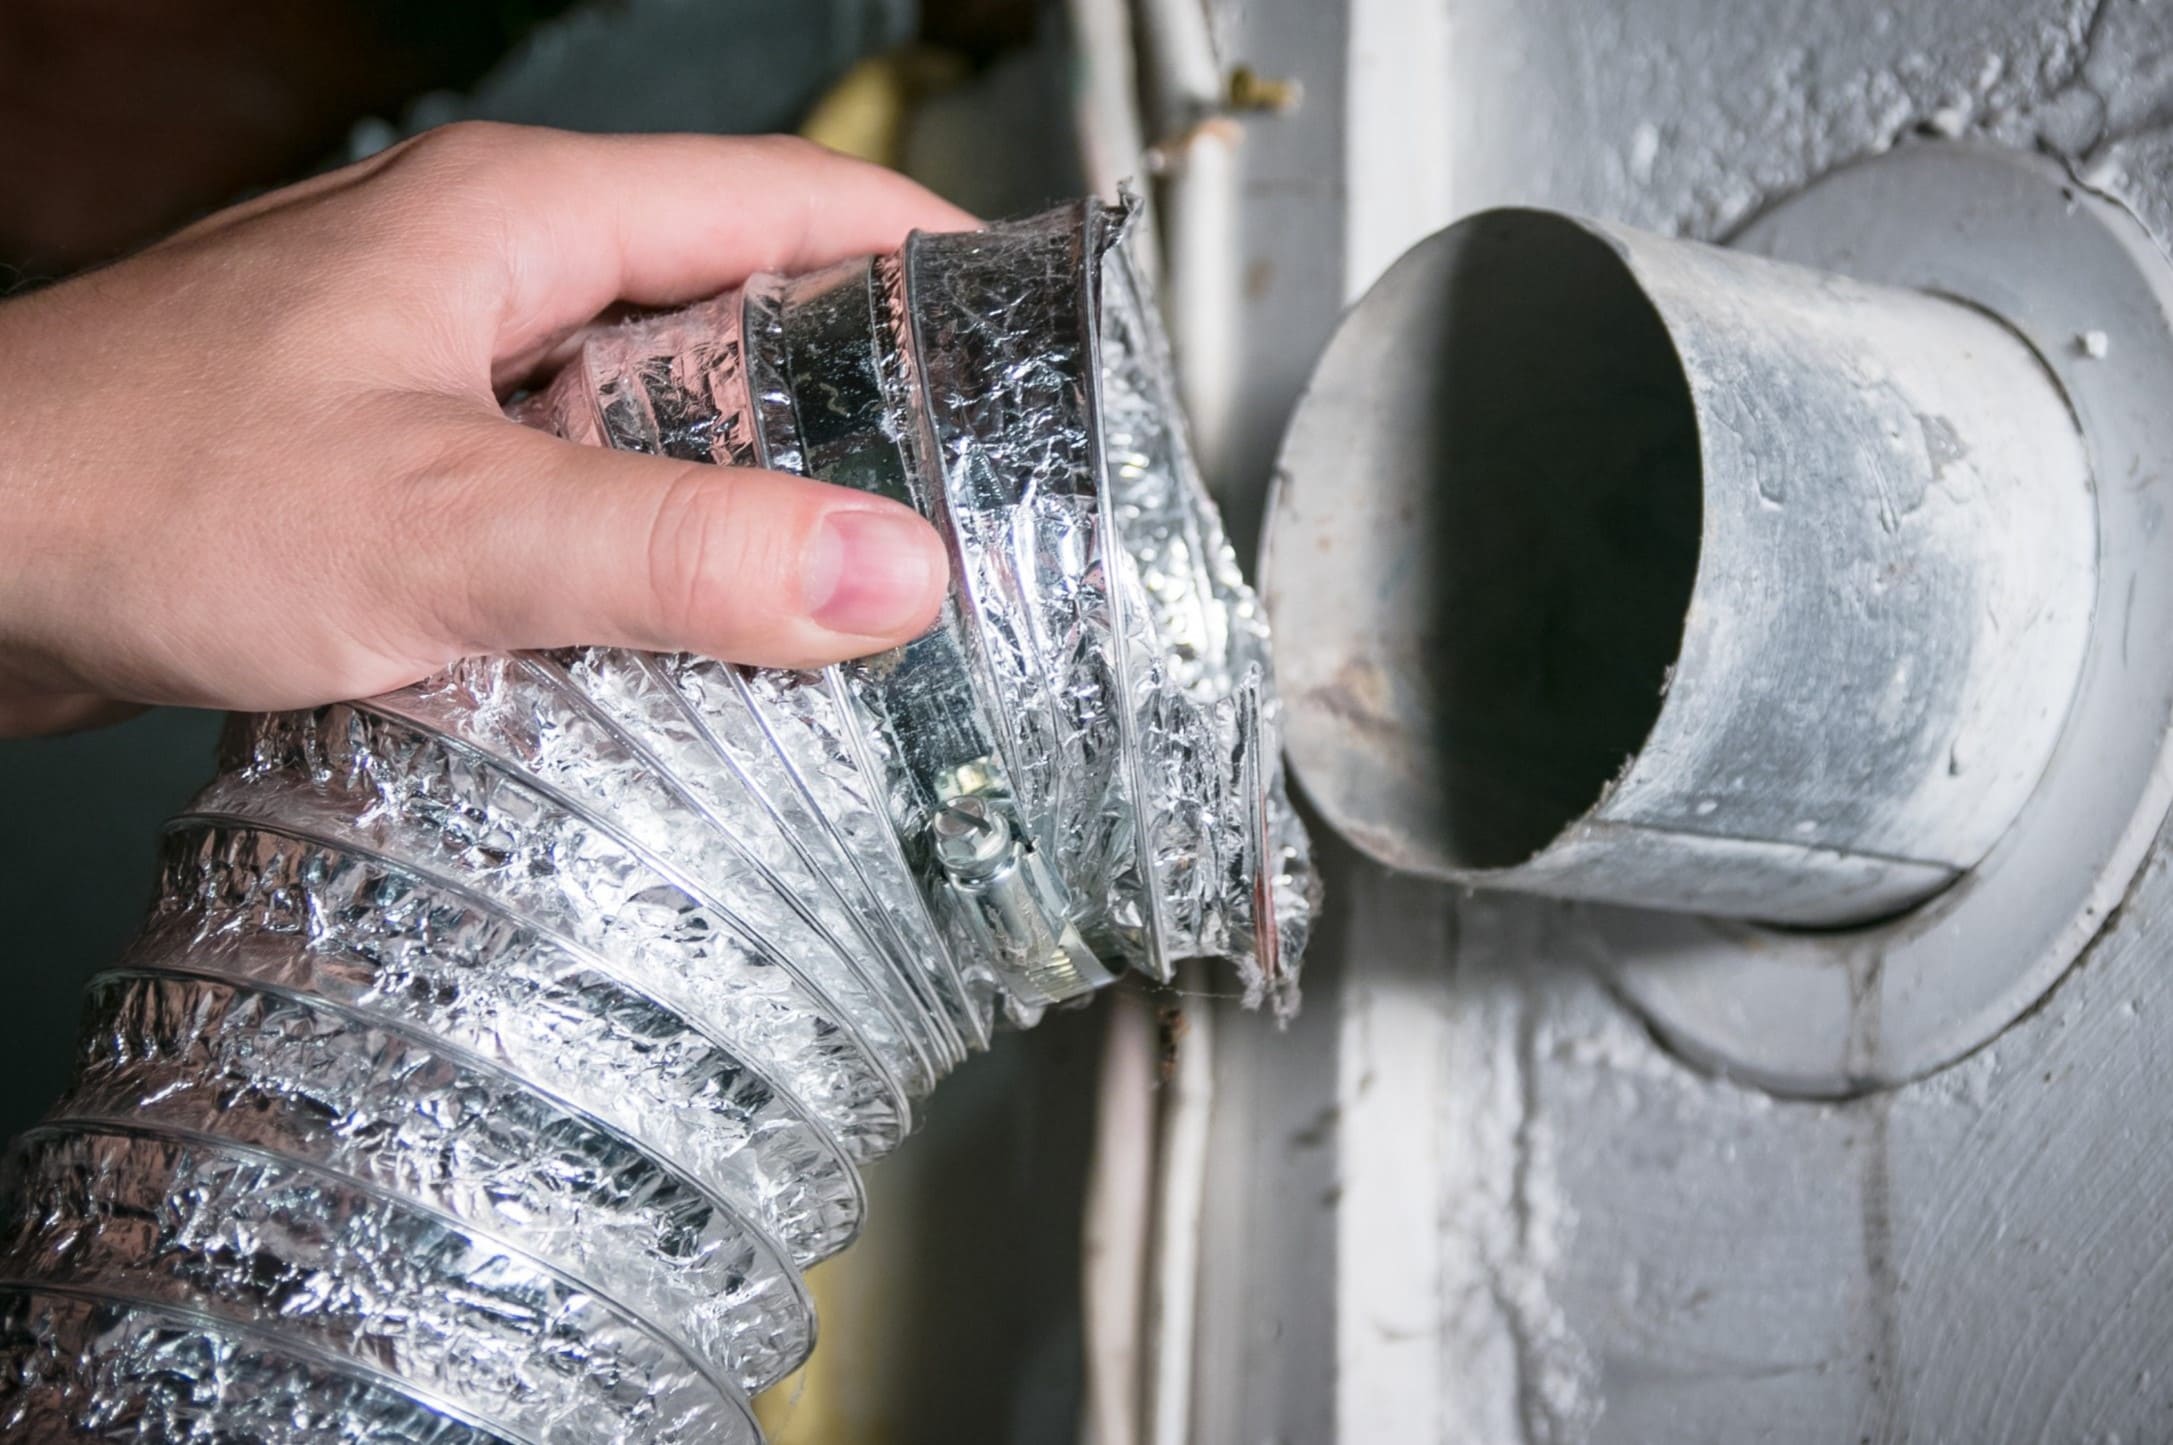
- Attach the extension tubing: Insert one end of the extension tubing into the opening of the existing vent. If using a flexible foil duct, slide the adjustable clamp over the tubing and tighten it securely. For rigid metal duct, use foil tape or a coupling to secure the connection.
- Position the extension tubing: Carefully route the extension tubing to the desired venting location, taking into account any obstacles or obstructions. Avoid sharp bends or excessive stretching of the tubing, as this can impede airflow.
- Secure the tubing: If needed, use clamps or foil tape to secure the extension tubing at both the existing vent and the venting location. Make sure the connections are tight and sealed to prevent air leaks.
- Ensure proper alignment: Double-check that the extension tubing is aligned in a straight path from the existing vent to the venting location. This will ensure smooth airflow and prevent lint buildup.
By following these steps, you will be able to successfully install the extension vent kit. Take your time to ensure that all connections are secure and properly aligned to maximize the efficiency and effectiveness of your dryer vent.
Step 7: Securing the Connections
After installing the extension vent kit, it’s crucial to secure the connections to ensure proper airflow and prevent leaks. Follow these steps to secure the connections:
- Inspect the connections: Carefully examine the connections between the extension tubing and the existing vent as well as the venting location. Look for any gaps, loose fittings, or signs of air leakage.
- Use foil tape: If you notice any gaps or loose fittings, use foil tape to seal the connections. Wrap the tape around the connection point, ensuring a tight seal. Press down firmly on the tape to secure it in place.
- Check for any loose clamps: If you used adjustable clamps to secure the connections, make sure they are tightened properly. Use a screwdriver to tighten the clamps if necessary, ensuring a firm grip on the tubing.
- Test the connections: Once the connections are secured, give them a gentle tug to ensure they are held firmly in place. The connections should not move or come apart easily.
Securing the connections is crucial to maintain the integrity and effectiveness of your extended dryer vent. By taking the time to inspect and secure the connections, you can prevent air leaks and ensure that the venting system functions optimally.
Read more: How To Reroute A Dryer Vent
Step 8: Reconnecting the Dryer and Testing the Ventilation
With the connections secured, it’s time to reconnect the dryer and test the ventilation of your newly extended dryer vent. Follow these steps:
- Position the dryer: Carefully move the dryer back into its original position, ensuring that it is close enough to the wall for the vent tubing to reach the existing vent.
- Attach the dryer vent: Insert the end of the extension tubing into the opening at the back of the dryer. Secure it tightly using a clamp or screwdriver, depending on the type of connection.
- Plug in the dryer: Connect the dryer to the power source and turn it on. Make sure that it is functioning properly and producing heat as expected.
- Test the ventilation: Run the dryer for a few minutes and check the venting location outside your home. Feel the airflow and ensure that it is strong and consistent. There should be no blockages or reduced airflow.
- Check for leaks: Inspect all the connections along the venting system, both inside and outside the house, to ensure there are no air leaks. If any leaks are present, tighten the connections or reseal them with foil tape.
By reconnecting the dryer and testing the ventilation, you can ensure that the extended dryer vent is functioning properly. This step is essential to verify that the venting system is efficient, free of blockages, and provides adequate airflow for your dryer.
Conclusion
Extending a dryer vent may seem like a daunting task, but with the right tools and knowledge, it can be accomplished easily. By following the step-by-step guide outlined in this article, you can successfully extend your dryer vent and ensure optimal performance of your dryer.
Remember to carefully assess the current dryer vent setup, determine the desired extension length, and purchase the necessary extension vent kit. Proper preparation is important to ensure a smooth installation process. Be sure to disconnect the dryer and remove the existing vent before installing the extension. Secure the connections and test the ventilation to ensure that the extended vent is working effectively.
A well-functioning dryer vent is crucial for maintaining the efficiency of your dryer and preventing potential hazards such as lint buildup or overheating. Regularly inspect and clean your dryer vent system to avoid blockages and improve its lifespan.
By taking the time to extend your dryer vent, you can ensure that lint and moisture are properly expelled outside your home, minimizing the risk of fire and prolonging the life of your dryer. If you are unsure about any steps or encounter any difficulties, consider consulting a professional for guidance.
With the information provided in this article, you now have the knowledge and confidence to extend your dryer vent effectively. Enjoy the benefits of a properly functioning ventilation system and keep your laundry routine running smoothly.
Frequently Asked Questions about How To Extend A Dryer Vent
Was this page helpful?
At Storables.com, we guarantee accurate and reliable information. Our content, validated by Expert Board Contributors, is crafted following stringent Editorial Policies. We're committed to providing you with well-researched, expert-backed insights for all your informational needs.