Home>Home Maintenance>How To Seal A Dryer Vent
Home Maintenance
How To Seal A Dryer Vent
Modified: August 28, 2024
Learn how to properly seal your dryer vent and protect your home with this step-by-step guide on home maintenance.
(Many of the links in this article redirect to a specific reviewed product. Your purchase of these products through affiliate links helps to generate commission for Storables.com, at no extra cost. Learn more)
Introduction
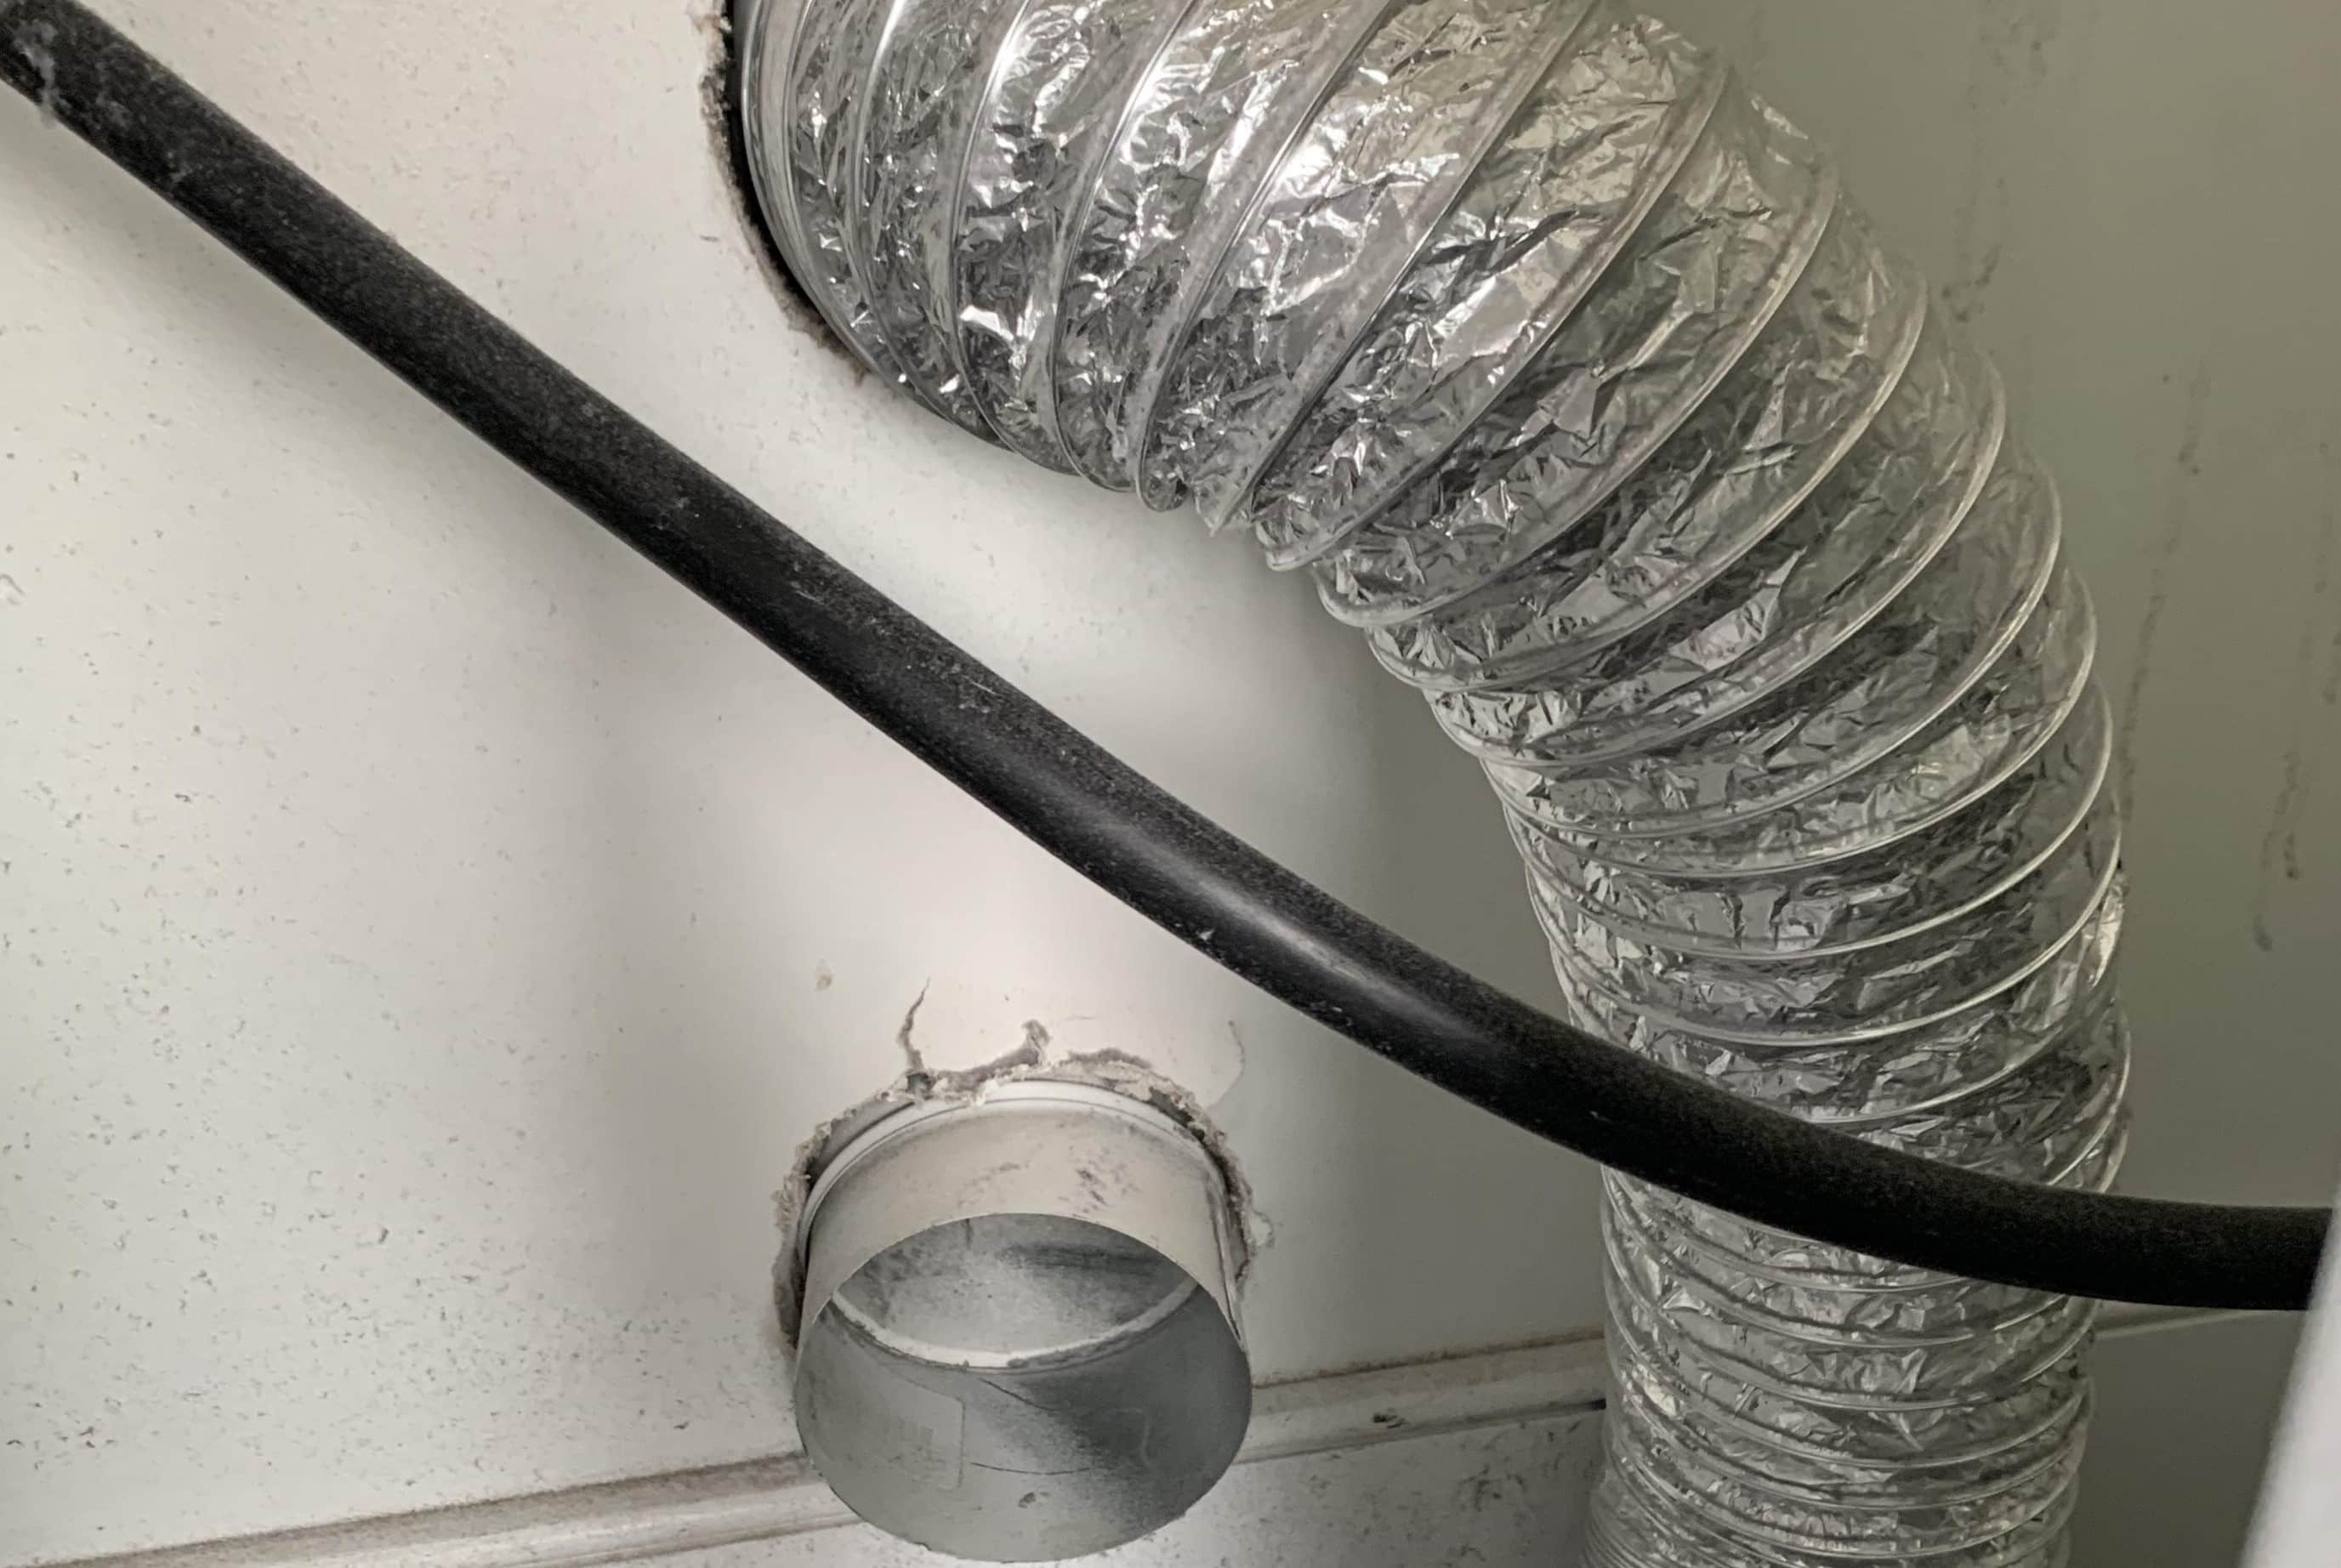
Maintaining a properly sealed dryer vent is essential for the efficient operation of your dryer and the overall safety of your home. A poorly sealed vent can lead to energy wastage, decreased drying performance, and potential fire hazards. By properly sealing your dryer vent, you can prevent air leaks, keep out pests, and promote better airflow.
In this guide, we will take you through a step-by-step process on how to seal a dryer vent effectively. Whether you are a seasoned DIY enthusiast or new to home maintenance, this article will provide you with the necessary knowledge and tools to get the job done right.
Before we dive into the steps, it’s important to understand why proper vent sealing is crucial. When a dryer vent is not properly sealed, it can allow hot air to escape from your home, leading to energy inefficiency and increased utility costs. Additionally, an unsealed vent can also allow cold air, moisture, and even pests to enter your home, causing potential damage and health concerns.
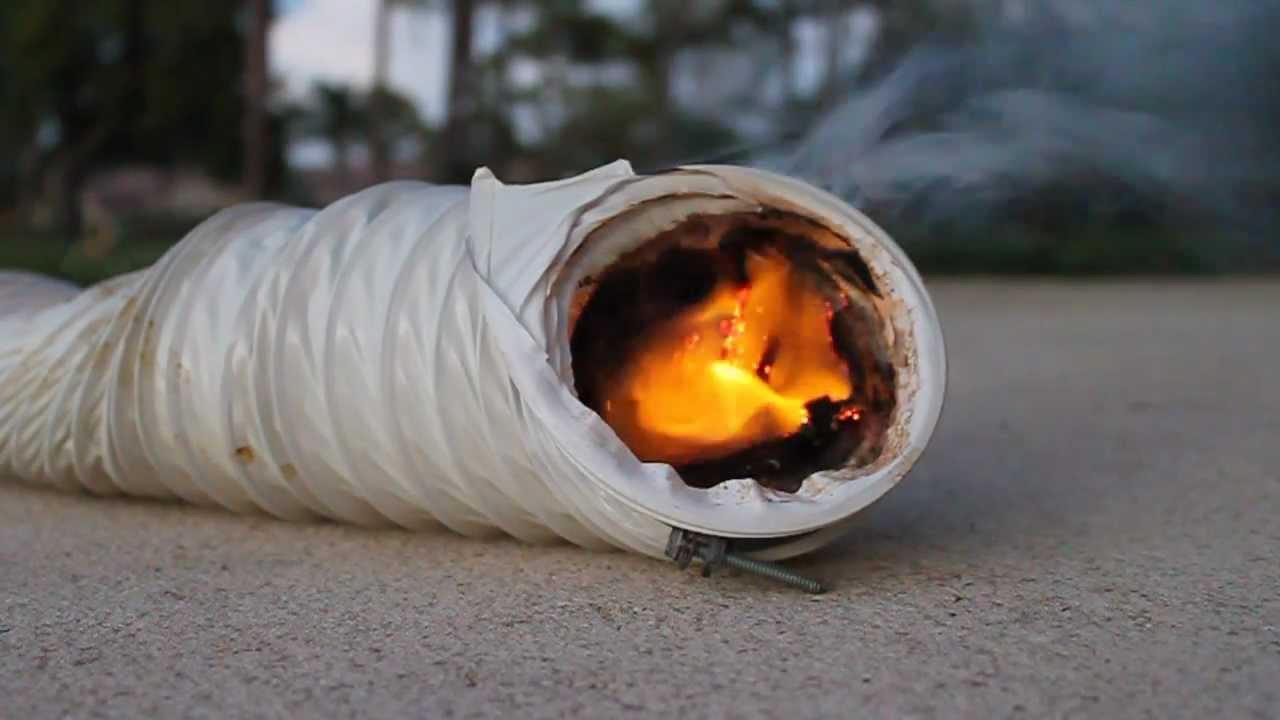
Furthermore, a poorly sealed dryer vent can hinder airflow, which can result in longer drying times and the accumulation of lint within the vent and ductwork. This lint buildup not only reduces the performance of your dryer but also increases the risk of a dryer fire. According to the U.S. Fire Administration, dryer-related fires account for an estimated 2,900 residential fires and $35 million in property loss each year.
Now that you understand the importance of sealing your dryer vent let’s move on to the step-by-step process to help you get started. By following these steps, you will be able to ensure a properly sealed dryer vent, improve energy efficiency, and enhance the longevity of your dryer.
Key Takeaways:
- Properly sealing your dryer vent is crucial for energy efficiency, preventing fire hazards, and keeping pests out. Follow the step-by-step guide to ensure a safe and efficient home environment.
- Regular maintenance and inspection of your dryer vent are essential for optimal performance. By following the sealing process, you can enjoy a well-sealed dryer vent that promotes energy efficiency and reduces hazards.
Read more: How To Vent A Dryer
Step 1: Gather necessary tools and materials
Before you begin sealing your dryer vent, gather all the necessary tools and materials. Having everything prepared ahead of time will make the process smoother and more efficient. Here’s a list of what you’ll need:
- All-purpose cleaner
- Lint brush or vacuum cleaner with a brush attachment
- Dryer vent cleaning kit (optional, but recommended for thorough cleaning)
- Measuring tape
- Sealing material (foil tape or silicone caulk)
- Screwdriver or drill (depending on the type of vent cover)
- New vent cover (optional)
All-purpose cleaner will come in handy for cleaning the vent cover and surrounding area. A lint brush or vacuum cleaner with a brush attachment will help you remove any lint or debris from the vent. A dryer vent cleaning kit is optional but highly recommended, as it provides specialized tools for more thorough cleaning of the vent and duct.
You’ll also need a measuring tape to ensure proper sizing and cutting of the sealing material. Foil tape or silicone caulk can be used to seal the vent opening, depending on your preference and the type of vent. A screwdriver or drill will be necessary if you need to remove and reattach the vent cover. Lastly, if your current vent cover is damaged or in poor condition, consider purchasing a new one for optimal sealing and aesthetics.
Once you have gathered all the tools and materials, you’re ready to move on to the next step: turning off the dryer and unplugging it.
Step 2: Turn off the dryer and unplug it
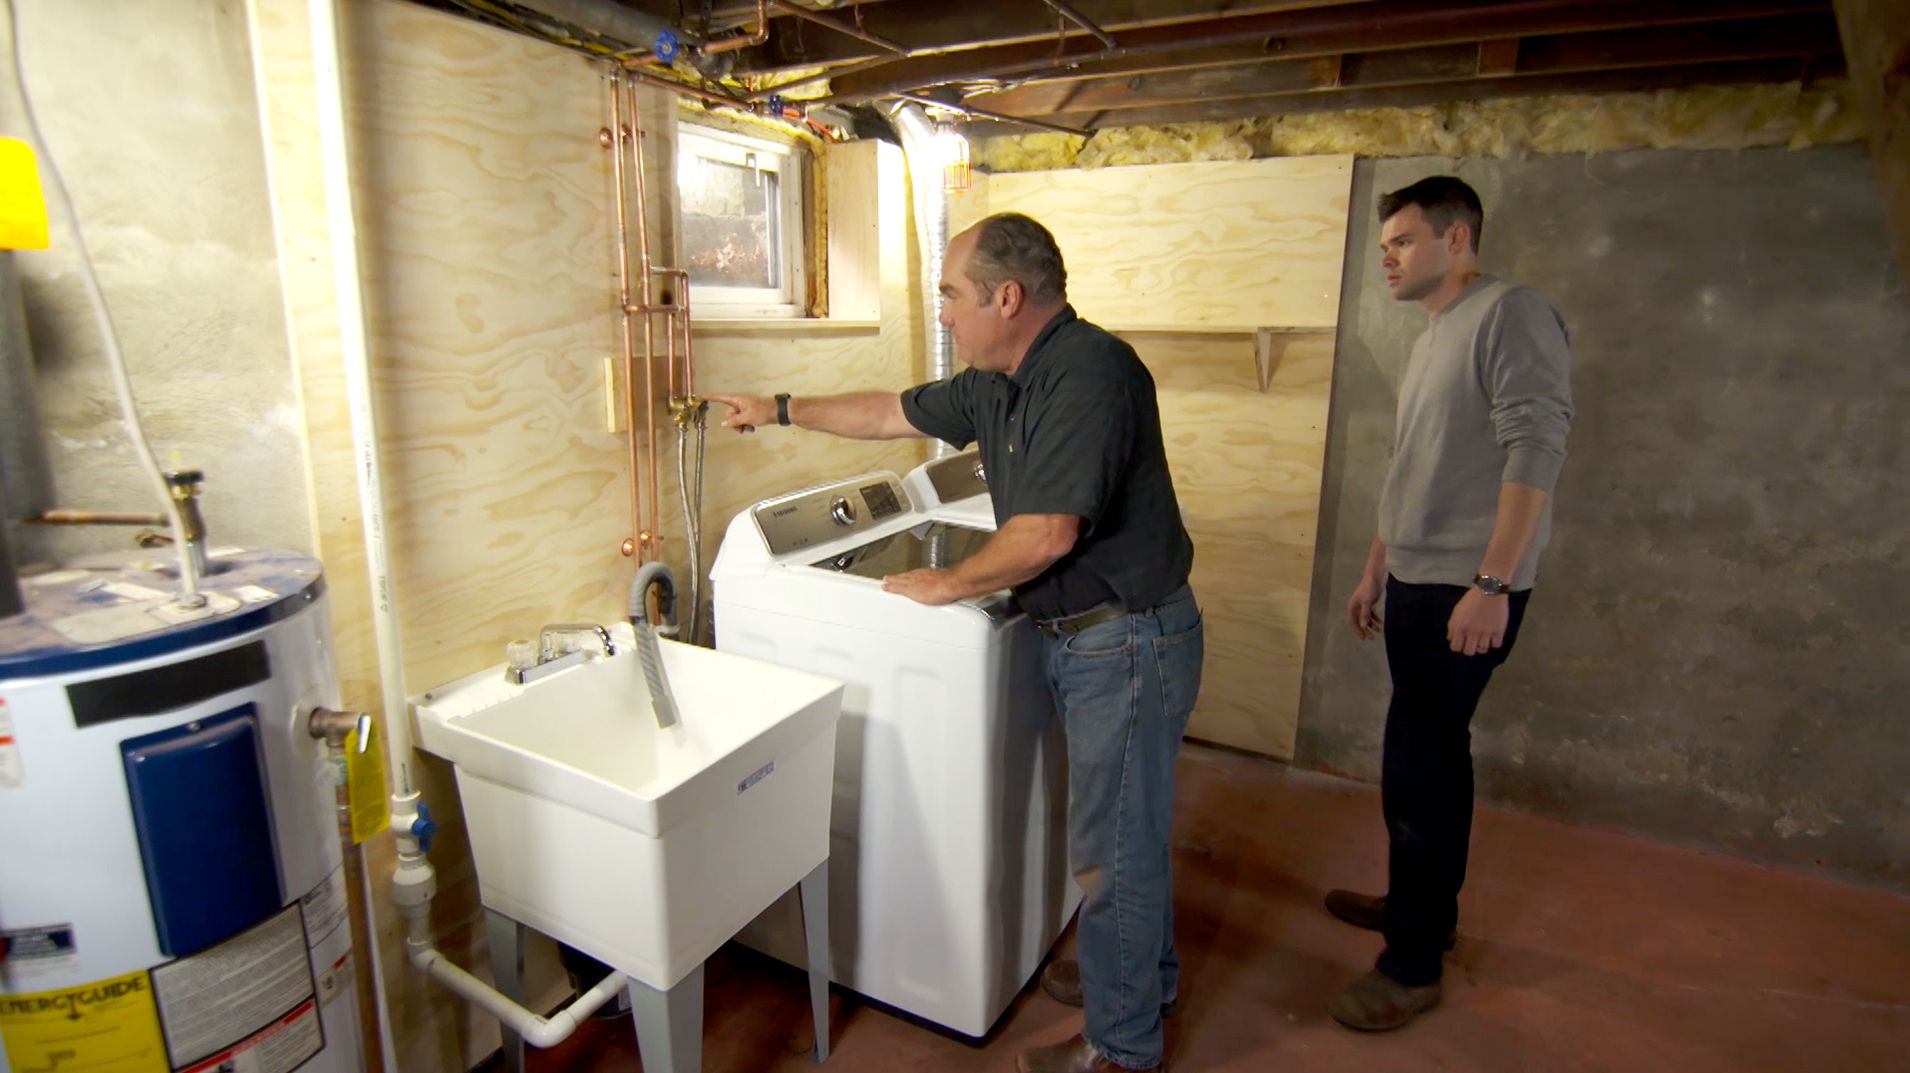
Before you start working on sealing the dryer vent, it is essential to ensure your safety by turning off the dryer and unplugging it. This step will prevent any accidental injuries or damage to the appliance as you proceed with the sealing process. Here’s how to do it:
- Locate the power cord of your dryer, typically located at the back of the appliance. Follow the cord to the wall outlet.
- Gently unplug the cord from the outlet, ensuring a secure disconnection.
- Once unplugged, turn off the dryer by locating the power switch or knob and switching it to the “Off” position.
Taking the time to turn off and unplug the dryer is a crucial safety measure to prevent any electrocution or accidental startup during the sealing process. It is also recommended to wait for a few minutes before proceeding to ensure that any residual electrical charge in the appliance dissipates.
While the dryer is unplugged and turned off, it’s also an excellent opportunity to clean the dryer vent. Lint buildup can restrict airflow and increase the risk of fire, so take this time to remove any lint from the dryer vent and duct. You can use a lint brush or a vacuum cleaner with a brush attachment to thoroughly clean the area.
Once you have turned off the dryer, unplugged it, and cleaned the vent, you are ready to move on to the next step: removing the existing vent cover.
Step 3: Remove the existing vent cover
To properly seal your dryer vent, you need to start by removing the existing vent cover. This step allows you to access the vent opening and clean the area more effectively. Here’s how to remove the vent cover:
- Inspect the vent cover to determine the type of fasteners holding it in place. It could be screws, clips, or a latch mechanism.
- Using the appropriate tool (screwdriver, pliers, etc.), remove the fasteners and set them aside in a safe place. Be careful not to lose them.
- Gently pull or slide the vent cover away from the wall or duct to detach it from the vent opening.
- Inspect the vent cover for any signs of damage or wear. If it’s in good condition, you can reuse it. However, if it’s damaged or deteriorated, consider replacing it with a new vent cover for improved sealing and airflow.
Removing the vent cover gives you access to the vent opening, allowing you to inspect and clean it. Take a moment to inspect the opening and surrounding area for any debris, lint, or obstructions. Use a lint brush or vacuum cleaner to remove any accumulation, ensuring a clear and clean vent opening.
If you’re replacing the vent cover, take note of its dimensions and any specific installation instructions. This will help you ensure a proper fit and easy installation later on.
Now that the existing vent cover is removed and the opening is clean, you can move on to Step 4: cleaning the dryer vent and duct.
Step 4: Clean the dryer vent and duct
Cleaning the dryer vent and duct is an essential step in maintaining proper airflow and preventing lint buildup, which can hinder the performance of your dryer and pose a fire hazard. Here’s how to clean the dryer vent and duct effectively:
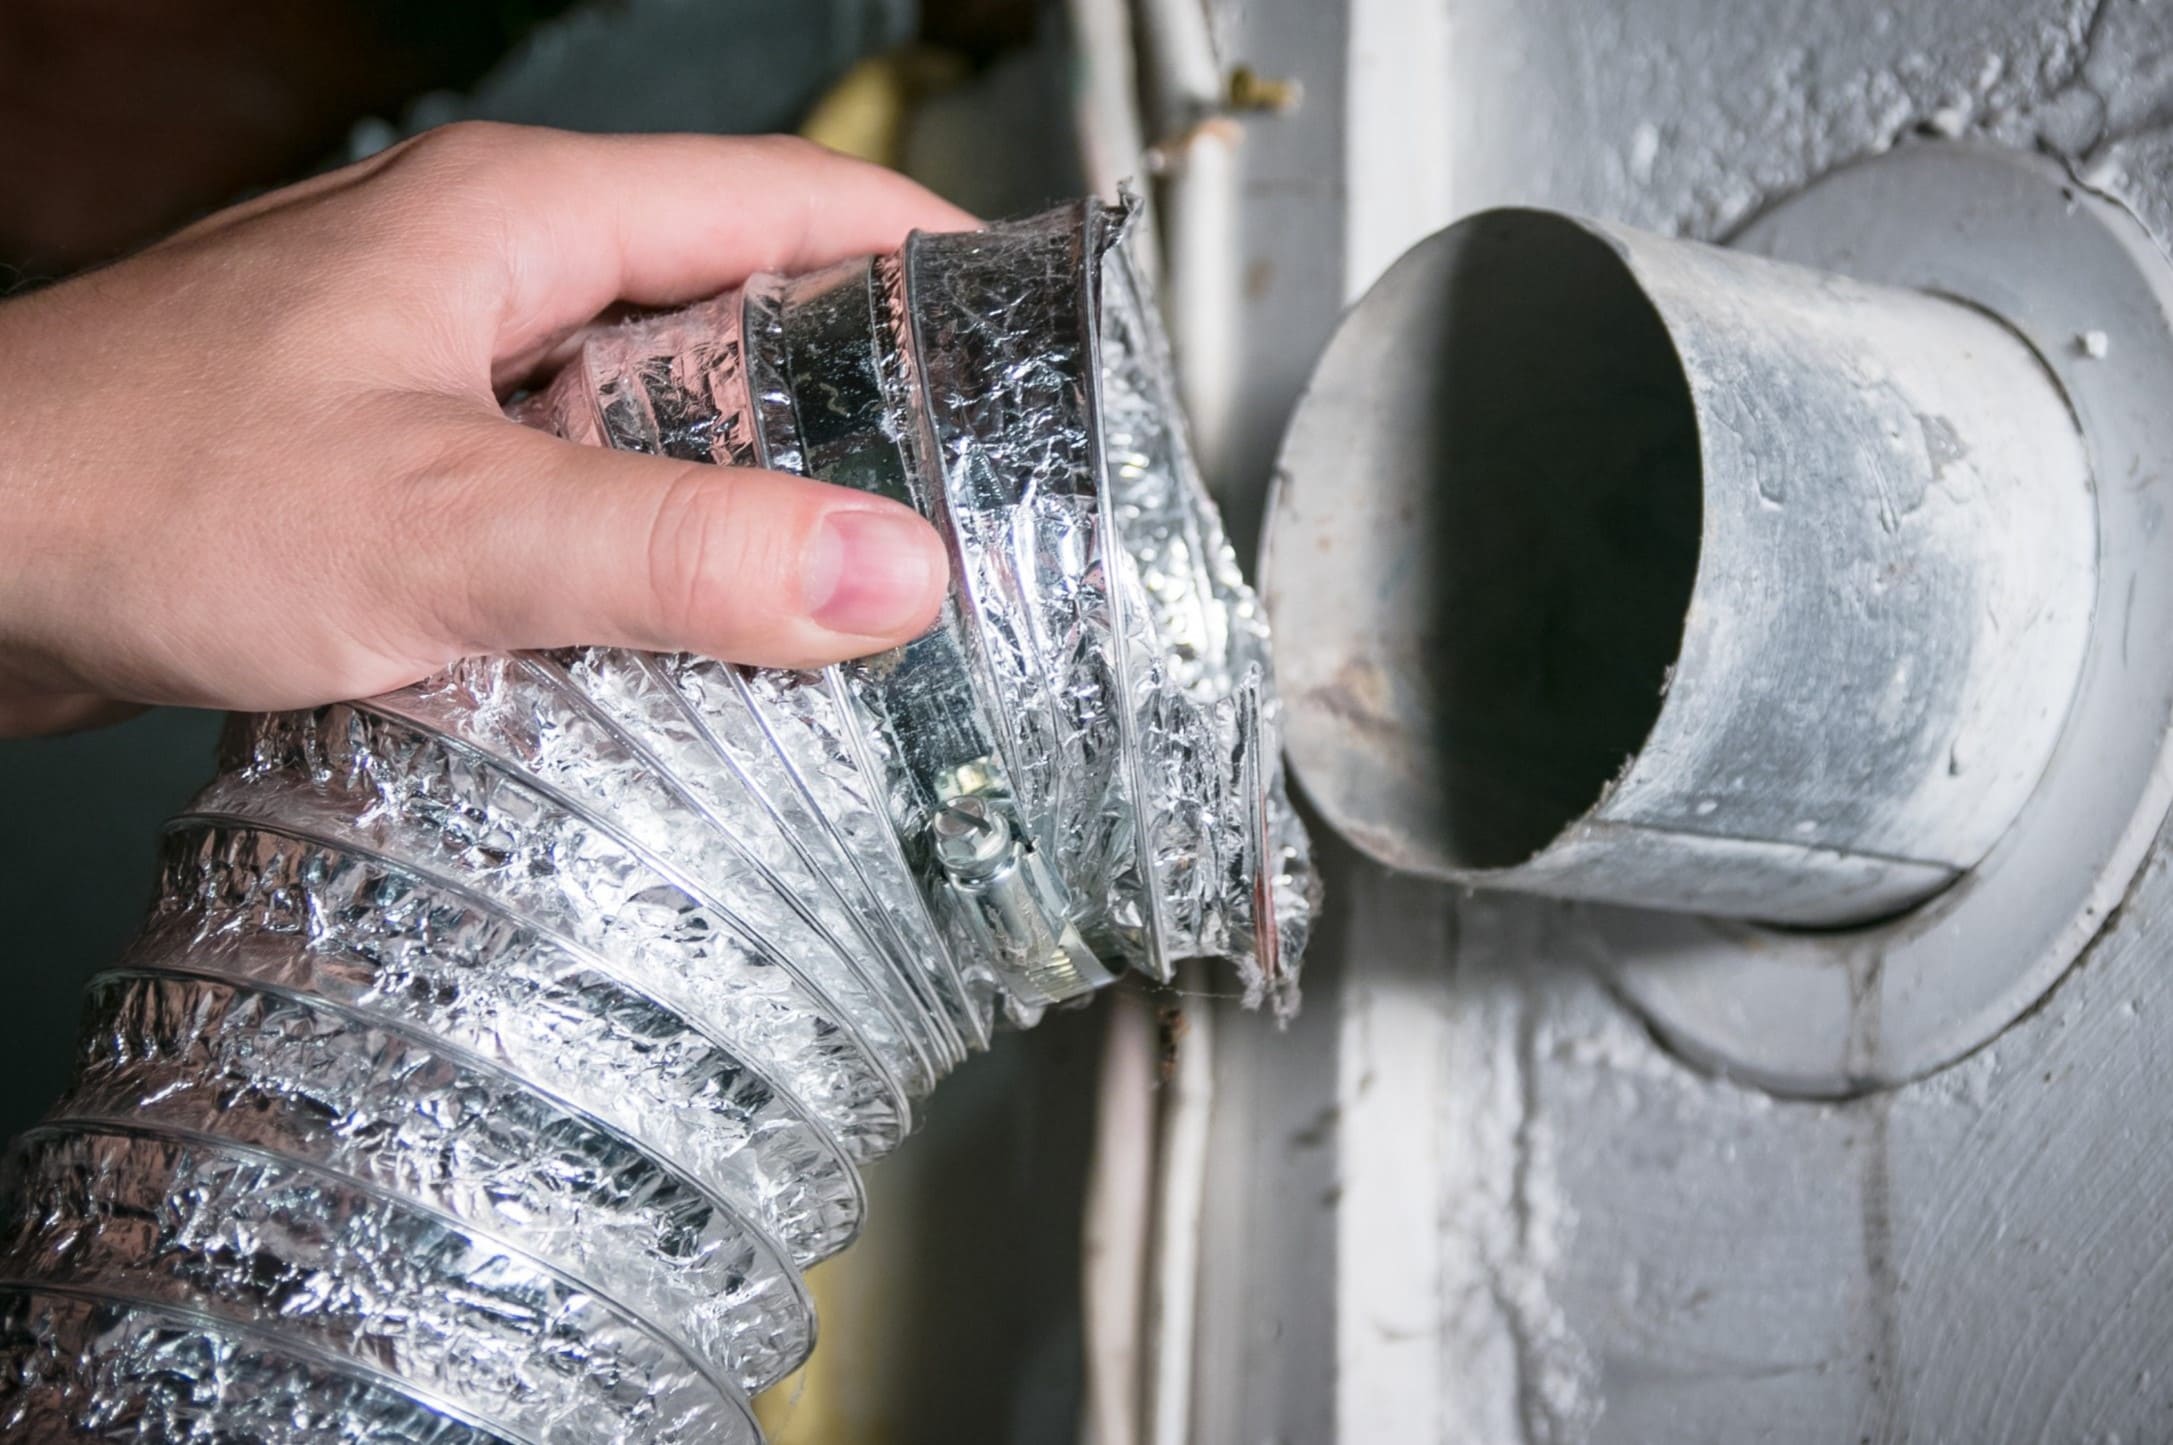
- Start by disconnecting the dryer vent from the back of the dryer. This may require removing any clamps or fasteners holding it in place.
- Once the vent is disconnected, use a lint brush or a vacuum cleaner with a brush attachment to remove lint and debris from both ends of the vent.”
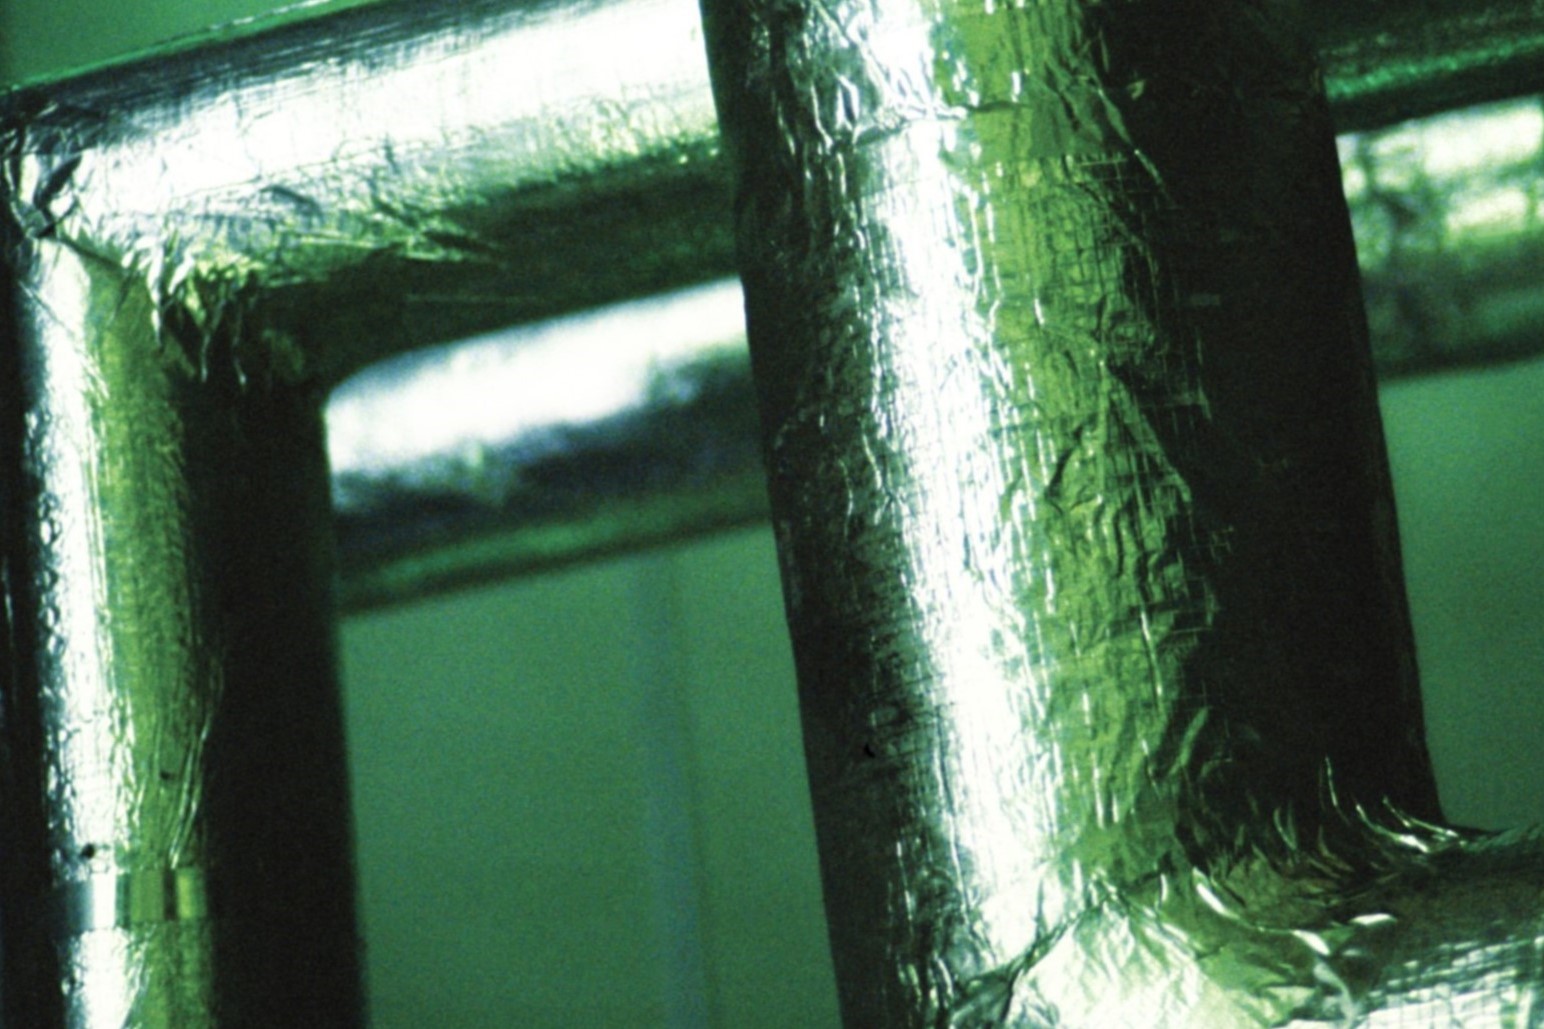
Use foil tape or duct sealant to seal the joints and connections of your dryer vent. This will prevent air leaks and improve the efficiency of your dryer.
Read more: How To Replace Dryer Vent
Step 5: Measure and cut the sealing material
In this step, you will measure the dimensions of the dryer vent opening and cut the sealing material to the appropriate size. This material will create a tight seal, preventing any air leaks or pests from entering the ductwork. Follow these steps to measure and cut the sealing material:
- Measure the length and width of the dryer vent opening using a measuring tape. Ensure that you take accurate measurements to create an exact fit.
- Transfer these measurements onto the sealing material of your choice. If you are using foil tape, unroll it and use a pair of scissors to cut it to the measured size. If you are using silicone caulk, apply a thin, even line around the vent opening.
- If you are using foil tape, make sure to cut a second piece of the same size. This will ensure that you have enough material to completely cover the opening.
If you are using foil tape, it is recommended to cut the sealing material with a slight overlap to ensure a secure and airtight seal. This will compensate for any irregularities or variations in the vent opening. If you are using silicone caulk, make sure to apply it smoothly and evenly around the entire opening, ensuring full coverage.
Cutting the sealing material to the correct size is crucial for achieving an effective seal. Take your time to measure accurately and cut the material precisely to ensure a snug fit.
Now that you have measured and cut the sealing material, you’re ready to move on to Step 6: attaching the sealing material to the vent opening.
Step 6: Attach the sealing material to the vent opening
Now that you have the sealing material cut to the appropriate size, it’s time to attach it to the vent opening. This step will ensure a tight seal and prevent any air leaks or pests from entering the ductwork. Follow these steps to attach the sealing material securely:
- If you are using foil tape, remove the backing to expose the adhesive side.
- Carefully position the sealing material over the vent opening, ensuring that it covers the entire area.
- Press down firmly on the tape to adhere it to the opening, starting from one end and working your way to the other.
- If you are using silicone caulk, carefully apply the caulk around the vent opening, ensuring that it forms a complete and even seal.
- Smooth out any wrinkles or air bubbles in the tape or caulk to ensure a secure bond.
Note that when using foil tape, it’s important to overlap the edges slightly to create a stronger seal. Make sure that the entire vent opening is covered by the sealing material. If you are using silicone caulk, ensure that it is applied evenly and without gaps.
Take your time during this step to ensure that the sealing material is securely attached. A proper seal will not only prevent air leaks and pests but also improve the efficiency and safety of your dryer.
With the sealing material securely attached, you’re ready to move on to Step 7: reattaching the vent cover.
Step 7: Reattach the vent cover
In this step, you will reattach the vent cover to complete the sealing process. The vent cover not only provides a finished look but also helps to keep out debris, pests, and inclement weather. Follow these steps to properly reattach the vent cover:
- Inspect the vent cover for any signs of damage or wear. If it is in good condition, proceed with reattaching it. However, if it is damaged or deteriorated, replace it with a new vent cover for optimal sealing and aesthetics.
- Align the vent cover with the vent opening, ensuring that any screw holes or fasteners line up properly.
- Using a screwdriver or a drill, secure the vent cover in place by reinstalling the screws or fasteners. Make sure they are tightened securely but not overly tightened, as this could damage the vent cover or the surrounding wall.
- If your vent cover uses clips or a latch mechanism, follow the manufacturer’s instructions to reattach it securely.
When reattaching the vent cover, it’s important to ensure a snug fit and a secure attachment. This will prevent any air leaks and keep the vent cover in place, even during strong winds or heavy rains. Additionally, for vent covers with louvers, make sure the louvers move freely and are not obstructed by the sealing material.
Once the vent cover is reattached securely, take a moment to inspect it and the surrounding area. Ensure that there are no gaps or openings for air to escape. If you notice any areas that require additional sealing, address them before proceeding to the final step.
With the vent cover securely in place, you’re ready to move on to Step 8: testing for proper sealing.
Step 8: Test for proper sealing
After completing the sealing process, it’s important to test for proper sealing to ensure that your efforts have been successful. This step will help you identify any potential issues or areas that may require further attention. Follow these steps to test for proper sealing:
- Turn on the dryer and let it run for a few minutes.
- While the dryer is running, carefully inspect the vent cover and its surrounding area for any signs of air leakage. Pay close attention to the edges of the vent cover and the sealing material.
- Feel around the vent cover for any drafts or airflow. If you detect any air movement, it indicates that there may be a gap or opening that needs to be addressed.
- If necessary, make any adjustments or apply additional sealing material to areas where air leakage is detected. Ensure that all gaps or openings are properly sealed.
Testing for proper sealing is essential to ensure that your dryer vent is effectively sealed. By addressing any air leakage issues promptly, you can prevent energy waste, maintain dryer efficiency, and reduce the risk of lint buildup and fire hazards.
Once you have tested and confirmed that there are no air leaks or drafts, you can consider the sealing process complete. Congratulations! You have successfully sealed your dryer vent and created a more energy-efficient and safe home environment.
Remember, regular maintenance and inspection of your dryer vent are essential to ensure ongoing proper performance. It is recommended to clean the dryer vent and duct regularly, typically every six months, to prevent lint buildup and ensure optimal airflow.
By following these steps and implementing proper sealing techniques, you can enjoy a well-sealed dryer vent that promotes energy efficiency, reduces hazards, and extends the lifespan of your dryer.
Read more: How To Reroute A Dryer Vent
Conclusion
Sealing your dryer vent is an important home maintenance task that should not be overlooked. By properly sealing the vent, you can improve energy efficiency, prevent air leaks, and reduce the risk of lint buildup and potential fire hazards. Throughout this guide, we have provided you with a step-by-step process to help you seal your dryer vent effectively.
We started by emphasizing the importance of proper vent sealing and the potential risks associated with a poorly sealed vent. We then walked you through the necessary tools and materials for this project, such as all-purpose cleaner, a lint brush, sealing material, and a screwdriver or drill for the vent cover. Gathering these items ahead of time will ensure a smooth and efficient sealing process.
We outlined each step, from turning off and unplugging the dryer to removing the existing vent cover, cleaning the dryer vent and duct, measuring and cutting the sealing material, attaching it to the vent opening, reattaching the vent cover, and finally, testing for proper sealing. By following these steps carefully, you can achieve a well-sealed dryer vent that promotes optimal dryer performance and energy efficiency.
Remember, regular maintenance and cleaning of your dryer vent are essential to ensure ongoing efficiency and safety. It is recommended to inspect and clean the vent and duct every six months to remove lint and debris. Additionally, keep an eye out for signs of air leaks or damage to the vent cover, as these may require immediate attention and repair.
By sealing your dryer vent properly, you are not only protecting your investment in the dryer but also ensuring the safety and well-being of your home and family. A well-functioning and properly sealed dryer vent will not only save you energy and money but also provide peace of mind.
So, take the time to seal your dryer vent and enjoy the benefits of improved efficiency, reduced fire risks, and a longer-lasting dryer. Your efforts will be rewarded with a more sustainable and safer home environment.
Frequently Asked Questions about How To Seal A Dryer Vent
Why is it important to seal a dryer vent?It’s important to seal a dryer vent to prevent outside air, pests, and debris from entering your home. This can improve energy efficiency, reduce the risk of fire, and keep your dryer working properly.What materials do I need to seal a dryer vent?You’ll need foil duct tape or metal foil tape, a screwdriver, and possibly a new vent cover if the old one is damaged or not sealing properly.How do I know if my dryer vent needs to be sealed?You can check for drafts around the vent, listen for any unusual sounds while the dryer is running, or inspect the vent cover for any signs of damage or wear.Can I seal a dryer vent myself or do I need to hire a professional?Sealing a dryer vent is a relatively simple DIY task that most homeowners can do themselves. However, if you’re uncomfortable working with your dryer or if you have an older home with a more complex vent system, it may be best to hire a professional.How often should I check and reseal my dryer vent?It’s a good idea to check your dryer vent for any signs of wear or damage at least once a year. If you notice any issues, such as gaps or tears in the vent, it’s important to reseal it as soon as possible to prevent any problems.
Was this page helpful?
At Storables.com, we guarantee accurate and reliable information. Our content, validated by Expert Board Contributors, is crafted following stringent Editorial Policies. We're committed to providing you with well-researched, expert-backed insights for all your informational needs.