Articles
How To Vent A Dryer In A Basement
Modified: February 26, 2024
Learn how to properly vent a dryer in a basement with our informative articles. Start reducing humidity and preventing mold growth today!
(Many of the links in this article redirect to a specific reviewed product. Your purchase of these products through affiliate links helps to generate commission for Storables.com, at no extra cost. Learn more)
Introduction
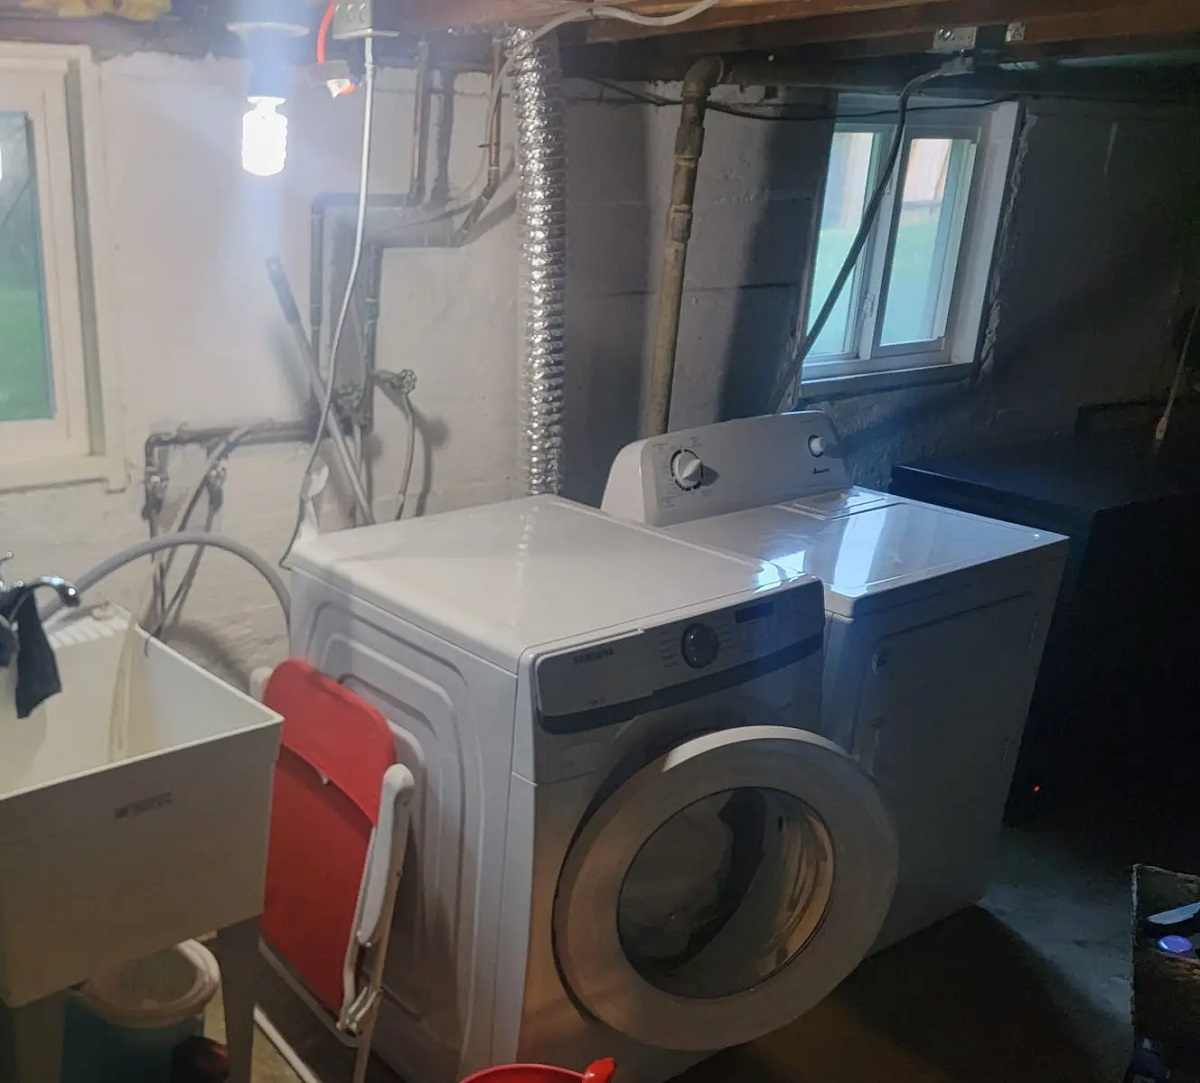
When it comes to drying your clothes efficiently, a properly vented dryer is essential. This is especially important when your dryer is located in the basement, as the lack of ventilation can lead to a buildup of heat, moisture, and even potential fire hazards. To ensure the safety and efficiency of your dryer, it is crucial to properly vent it in your basement.
Venting a dryer in a basement may seem like a daunting task, but with the right tools and knowledge, it can be done easily and effectively. In this article, we will guide you through the step-by-step process of venting your dryer in a basement, ensuring that you have all the information needed to complete the task successfully.
Before we dive into the steps, it is important to understand the benefits of venting your dryer properly. One of the key advantages is the removal of excess heat and moisture from the dryer. When a dryer is not vented properly, the heat and moisture can be trapped in the basement, leading to not only discomfort but also potential damage to walls, flooring, and even electronic equipment in the vicinity. Additionally, proper ventilation helps prevent the growth of mold and mildew, which can thrive in damp environments.
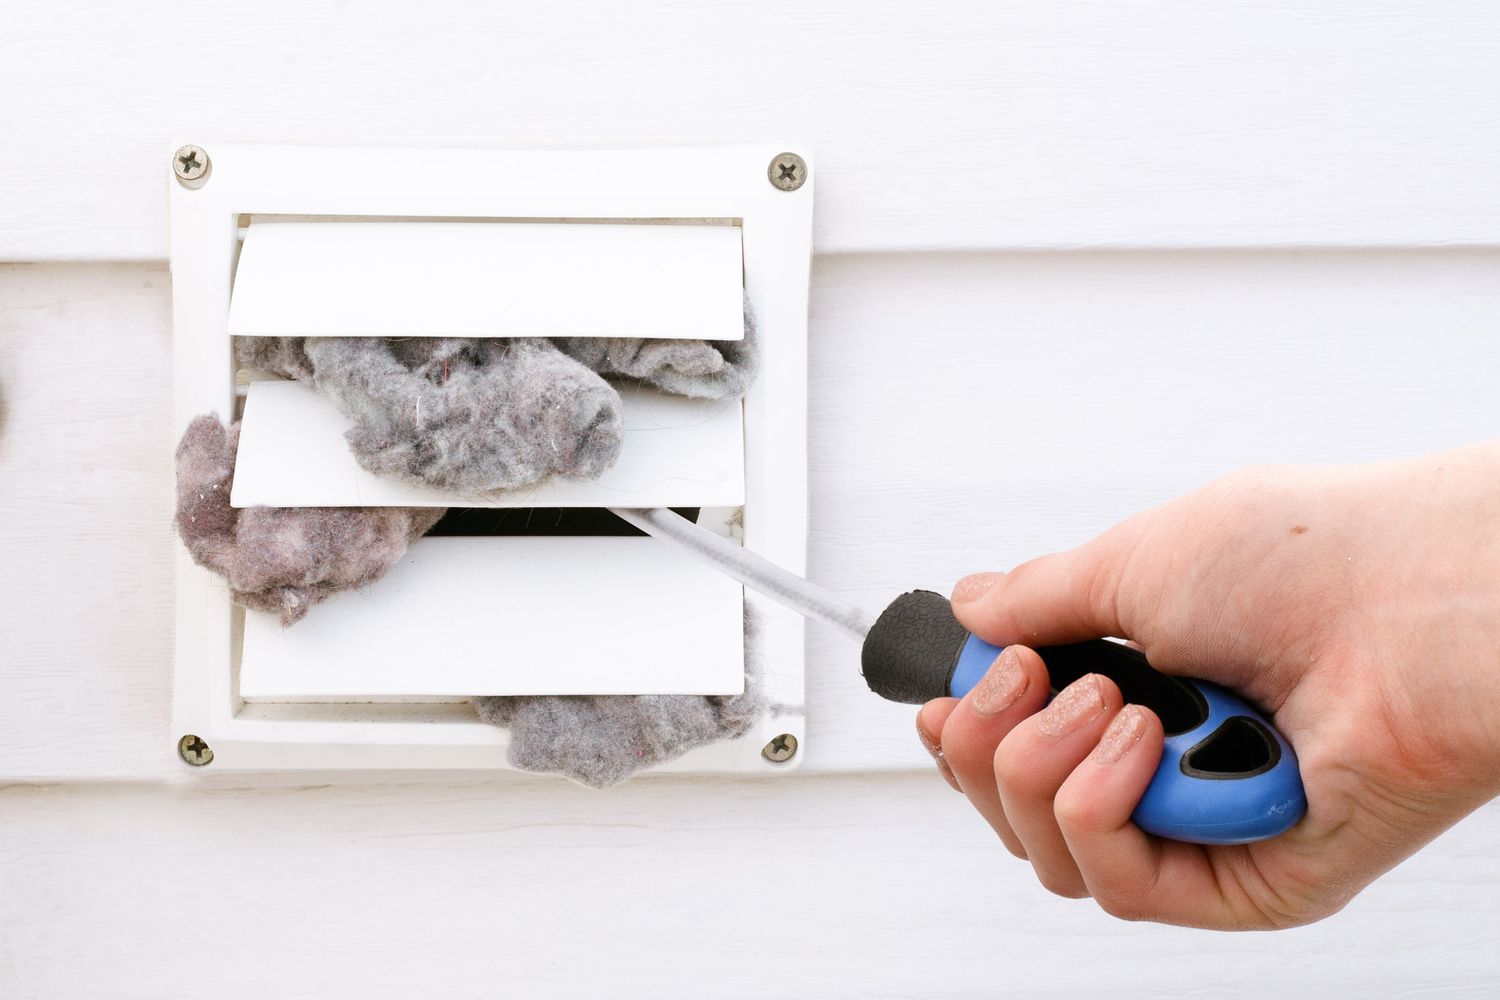
Proper ventilation also plays a significant role in preventing fire hazards. Lint, a common byproduct of drying clothes, can accumulate inside the dryer and venting system. When the vent is clogged, it restricts the airflow and increases the risk of lint buildup. This highly flammable material can potentially ignite, causing a fire hazard. By ensuring proper ventilation, you greatly reduce the risk of such a dangerous situation.
Now that you understand the importance of venting a dryer in a basement, let’s delve into the step-by-step process to accomplish this task. By following these instructions, you will be able to efficiently vent your dryer, ensuring optimal drying performance and safety in your basement.
Key Takeaways:
- Properly venting a dryer in the basement is crucial for efficient drying, preventing fire hazards, and maintaining a safe environment free from moisture and mold.
- By following the step-by-step process and testing the dryer ventilation, you can confidently and effectively vent your dryer in the basement, ensuring optimal performance and safety.
Read more: How To Vent A Dryer In The Basement
Step 1: Determine the Ideal Location for the Dryer
Before you begin venting your dryer in the basement, it is important to determine the ideal location for the appliance. Ideally, you want to place the dryer against an exterior wall to minimize the length of the ductwork needed. This will help to maintain proper airflow and increase energy efficiency.
Take into consideration the layout of your basement and choose a location that is easily accessible. Ensure there is enough clearance around the dryer for easy maintenance and operation. Keep in mind that the dryer should be positioned away from any flammable materials to minimize the risk of fire.
Once you have identified the location, measure the distance between the dryer and the exterior wall. It’s important to know the exact length so that you can properly plan the ventilation route and determine the amount of ductwork you will need.
If your dryer is already in place and you are looking to vent it in the basement, you may need to relocate the appliance to the desired location. This may involve disconnecting and reattaching the necessary electrical and gas connections. If you are not comfortable doing this, it is recommended to seek the assistance of a professional.
Remember, choosing the right location for your dryer is crucial for efficient and safe operation. Take the time to carefully consider the placement before moving forward with the venting process.
Step 2: Gather the Necessary Tools and Materials
Before you begin venting your dryer in the basement, it’s important to gather all the necessary tools and materials. Having everything prepared in advance will help streamline the process and ensure you have everything you need at hand.
Here are the tools and materials you will need:
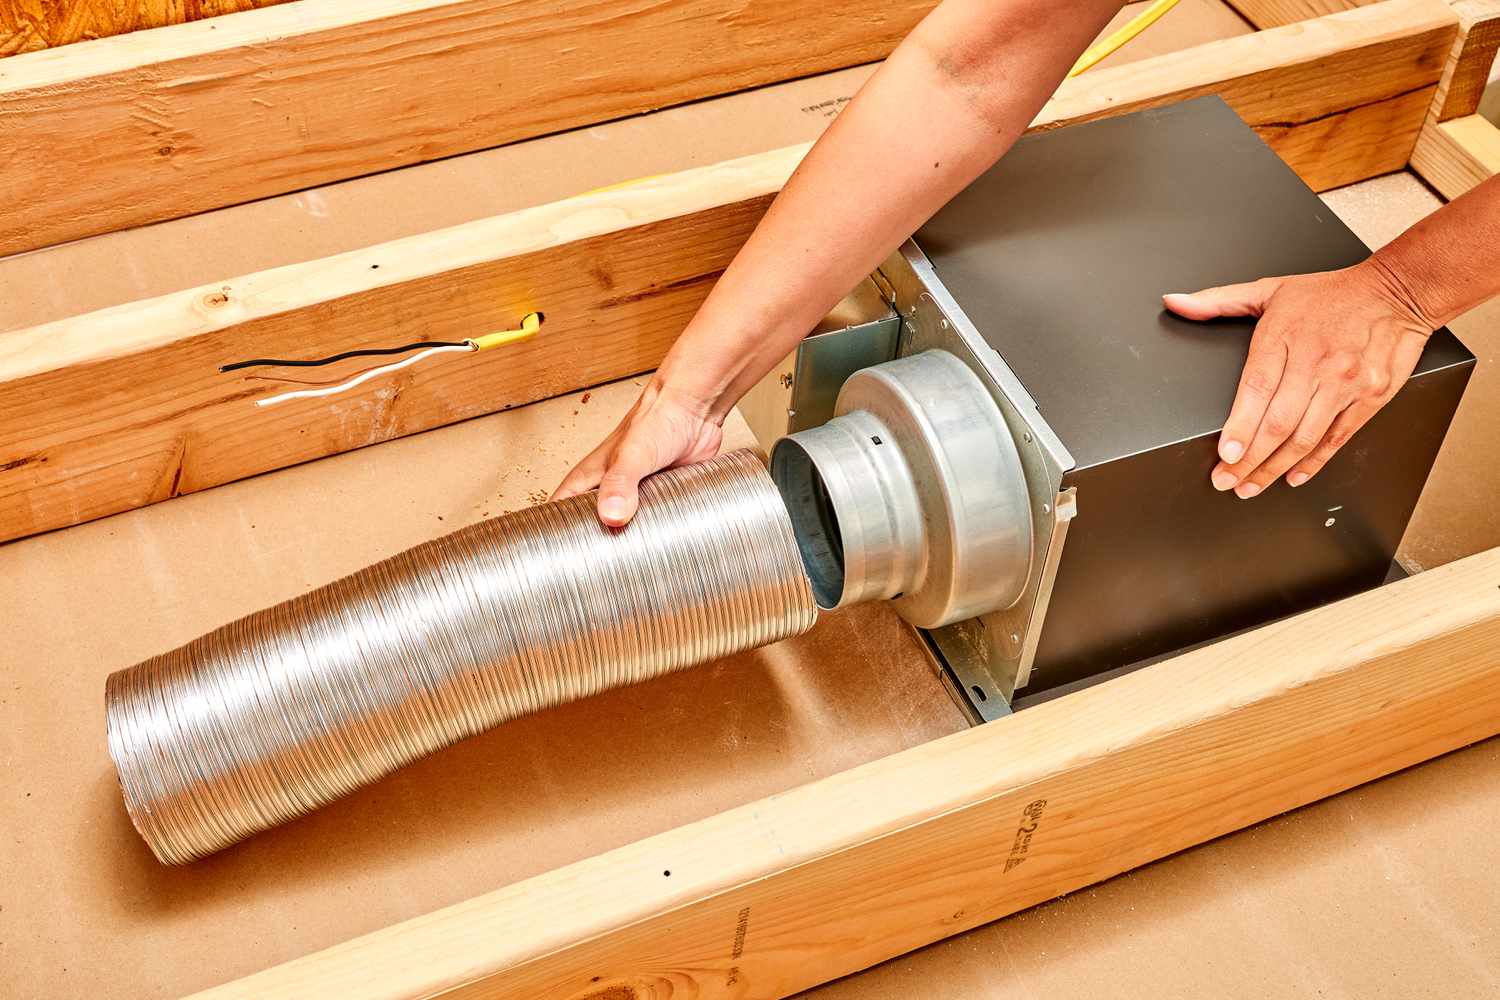
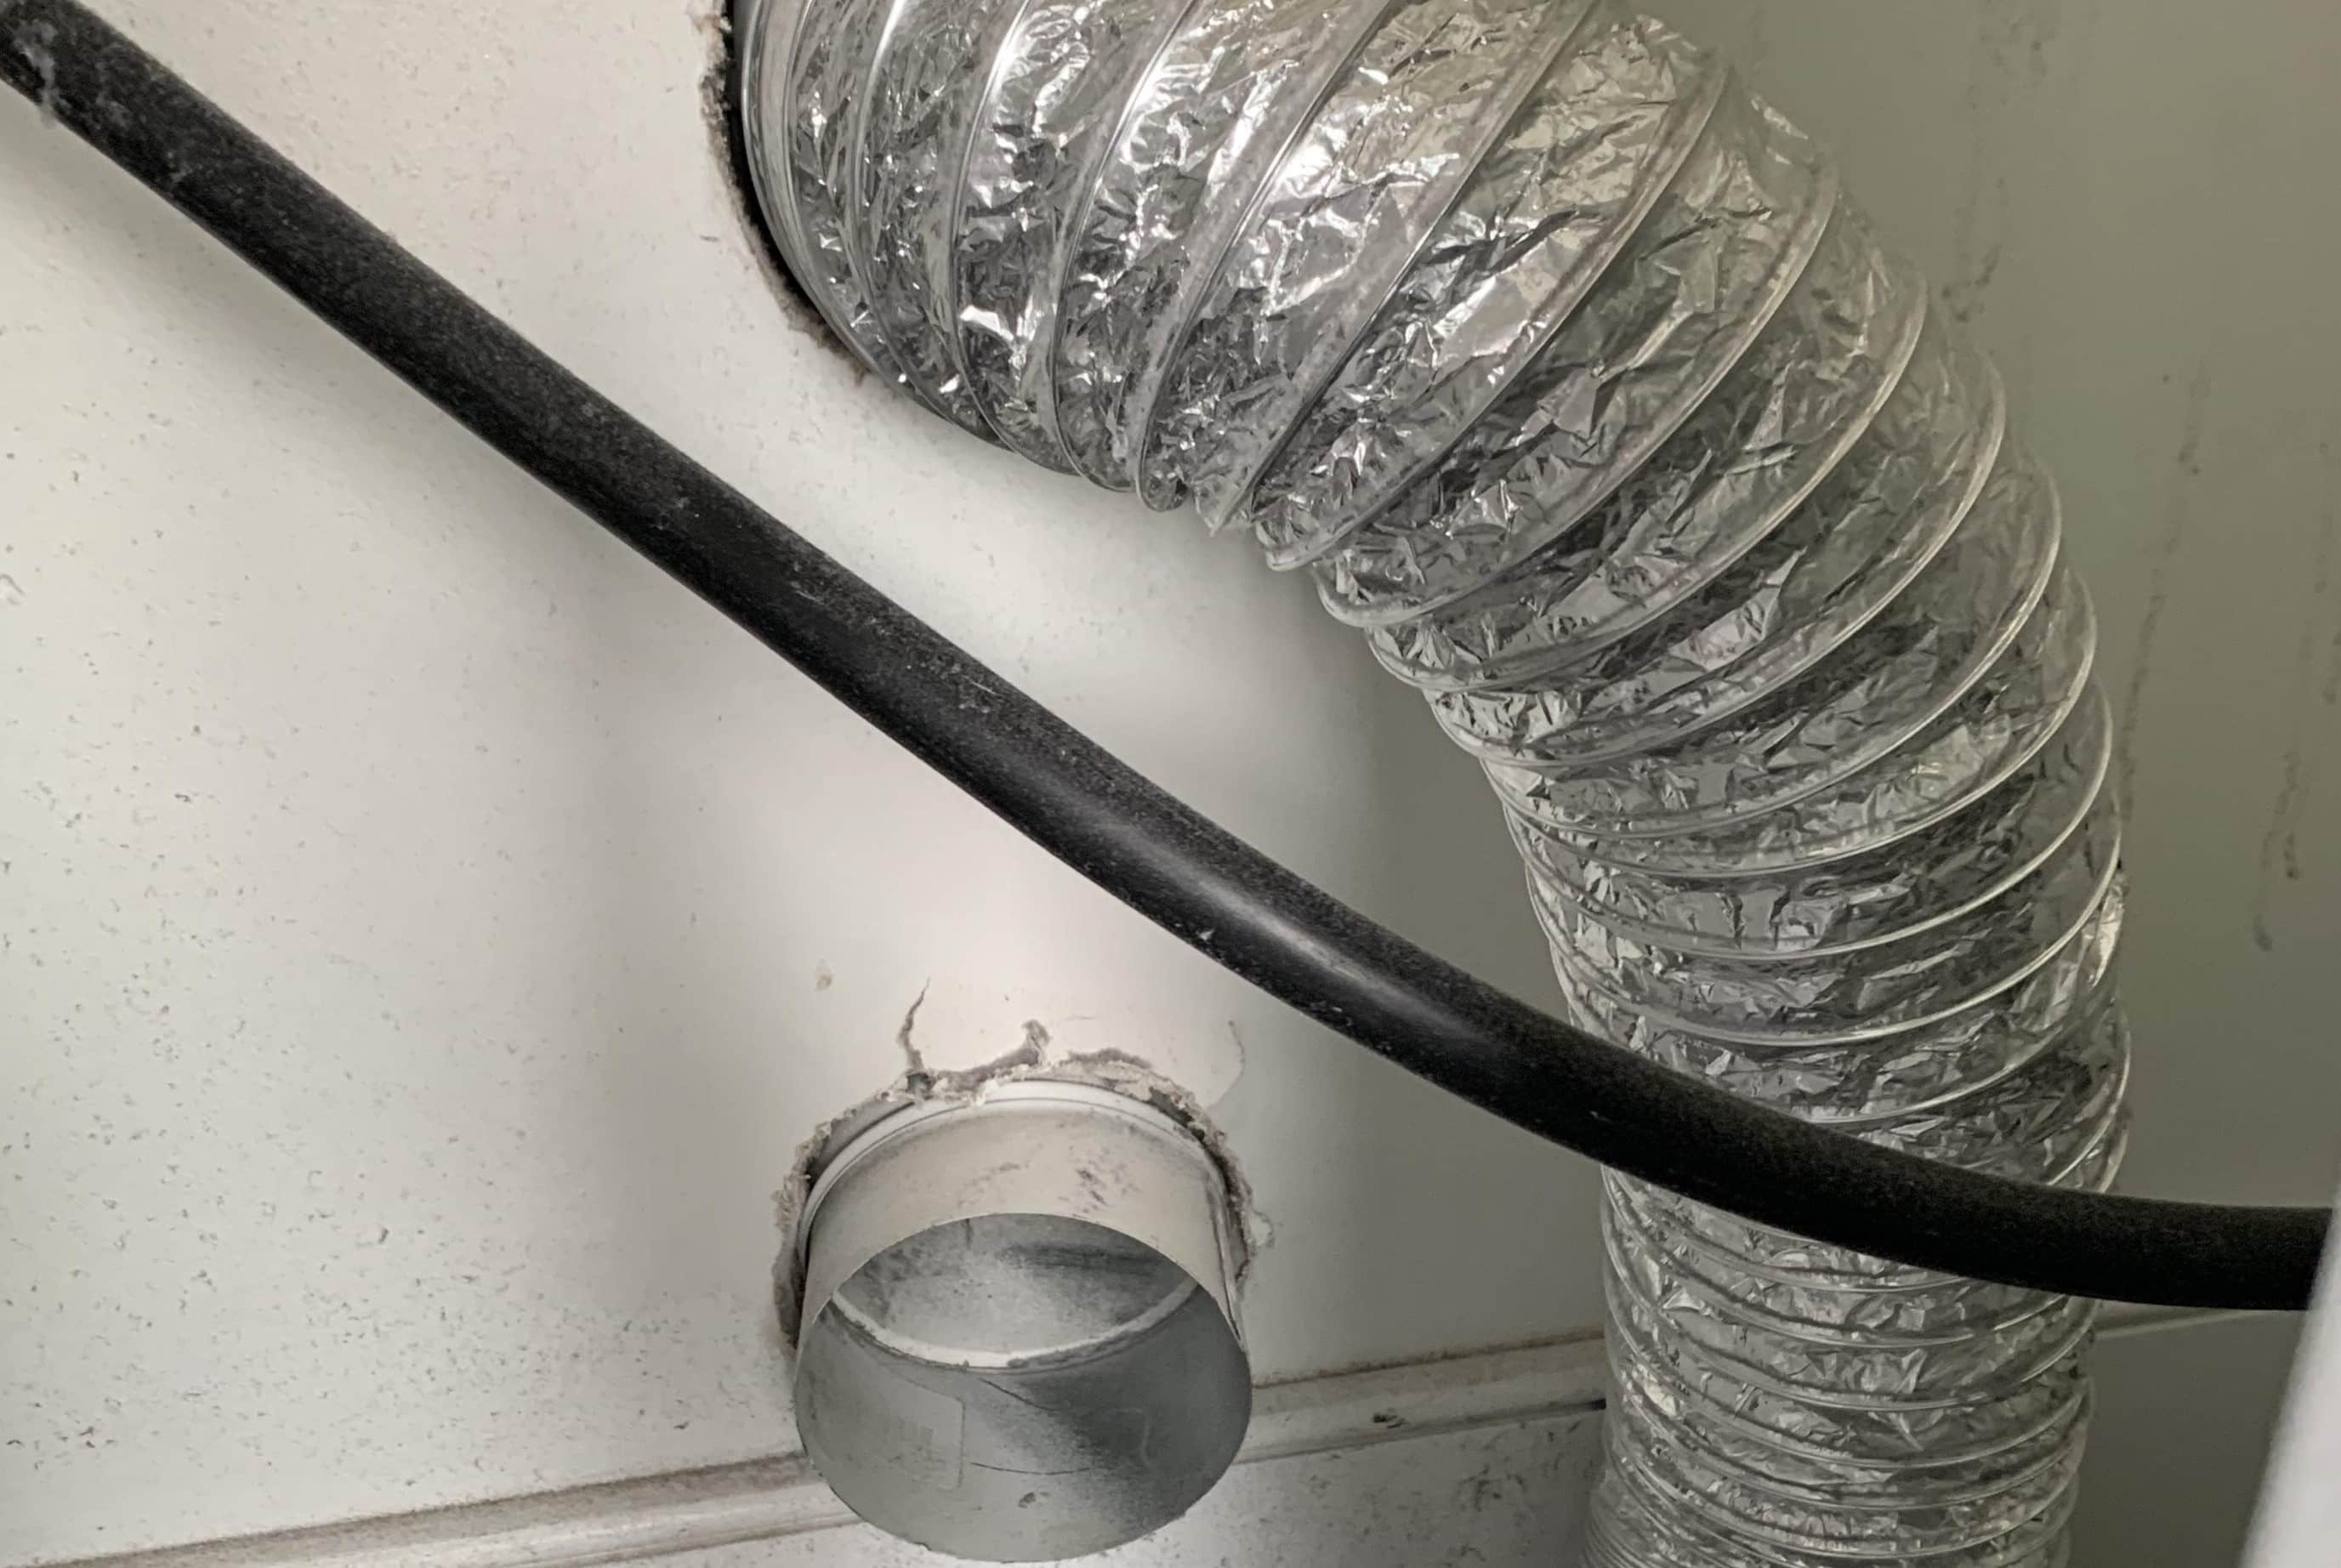
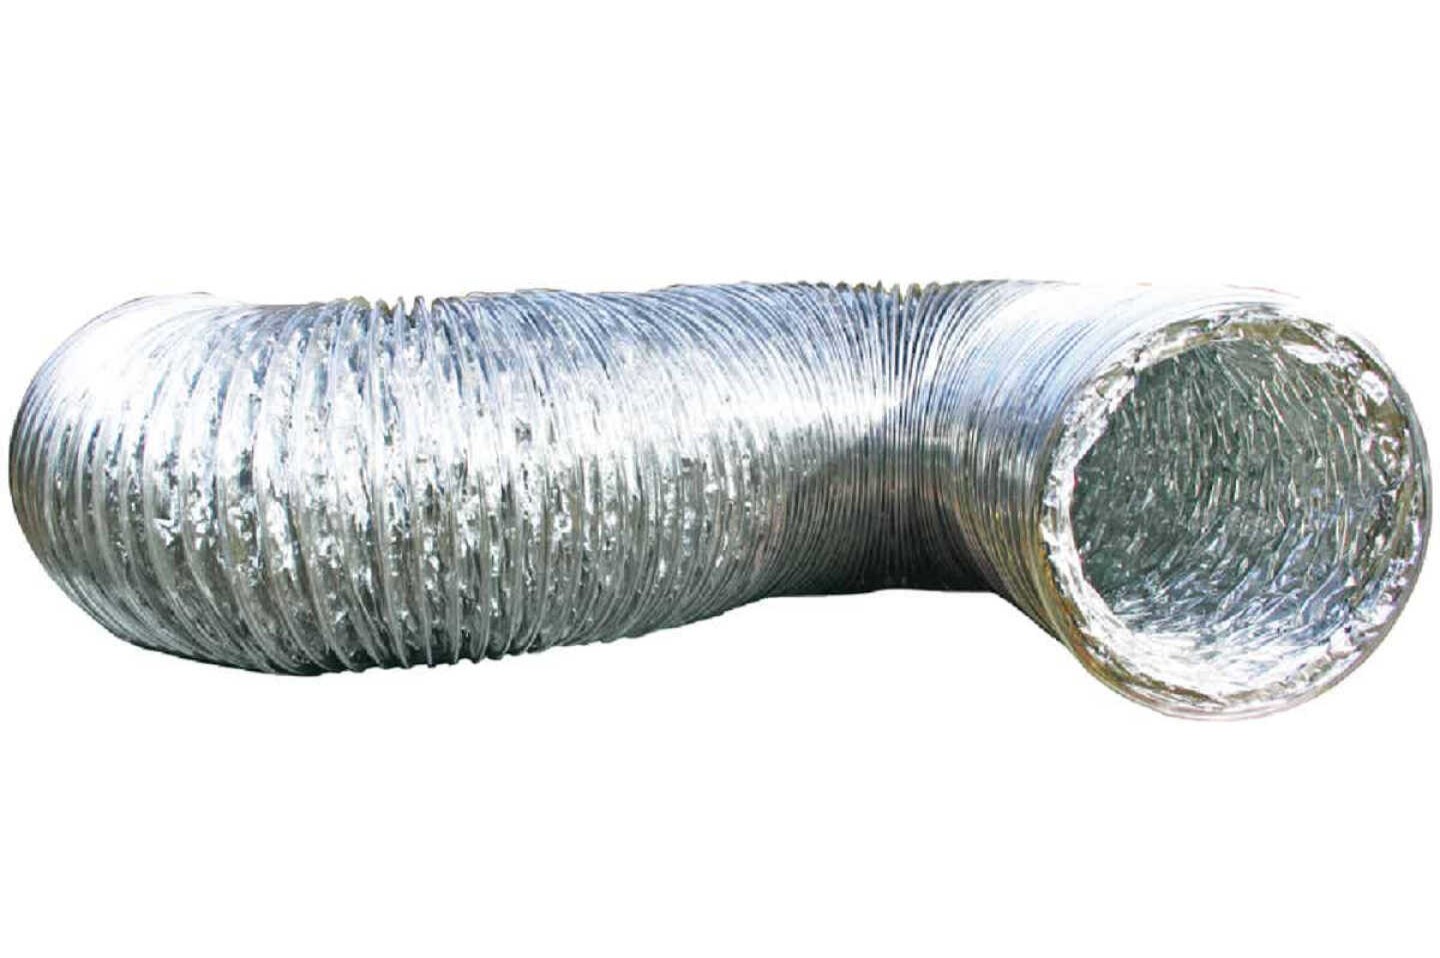
- Ductwork: You will need flexible aluminum ductwork to connect the dryer to the vent cover on the exterior wall. Ensure the ductwork is the appropriate length for your dryer’s location.
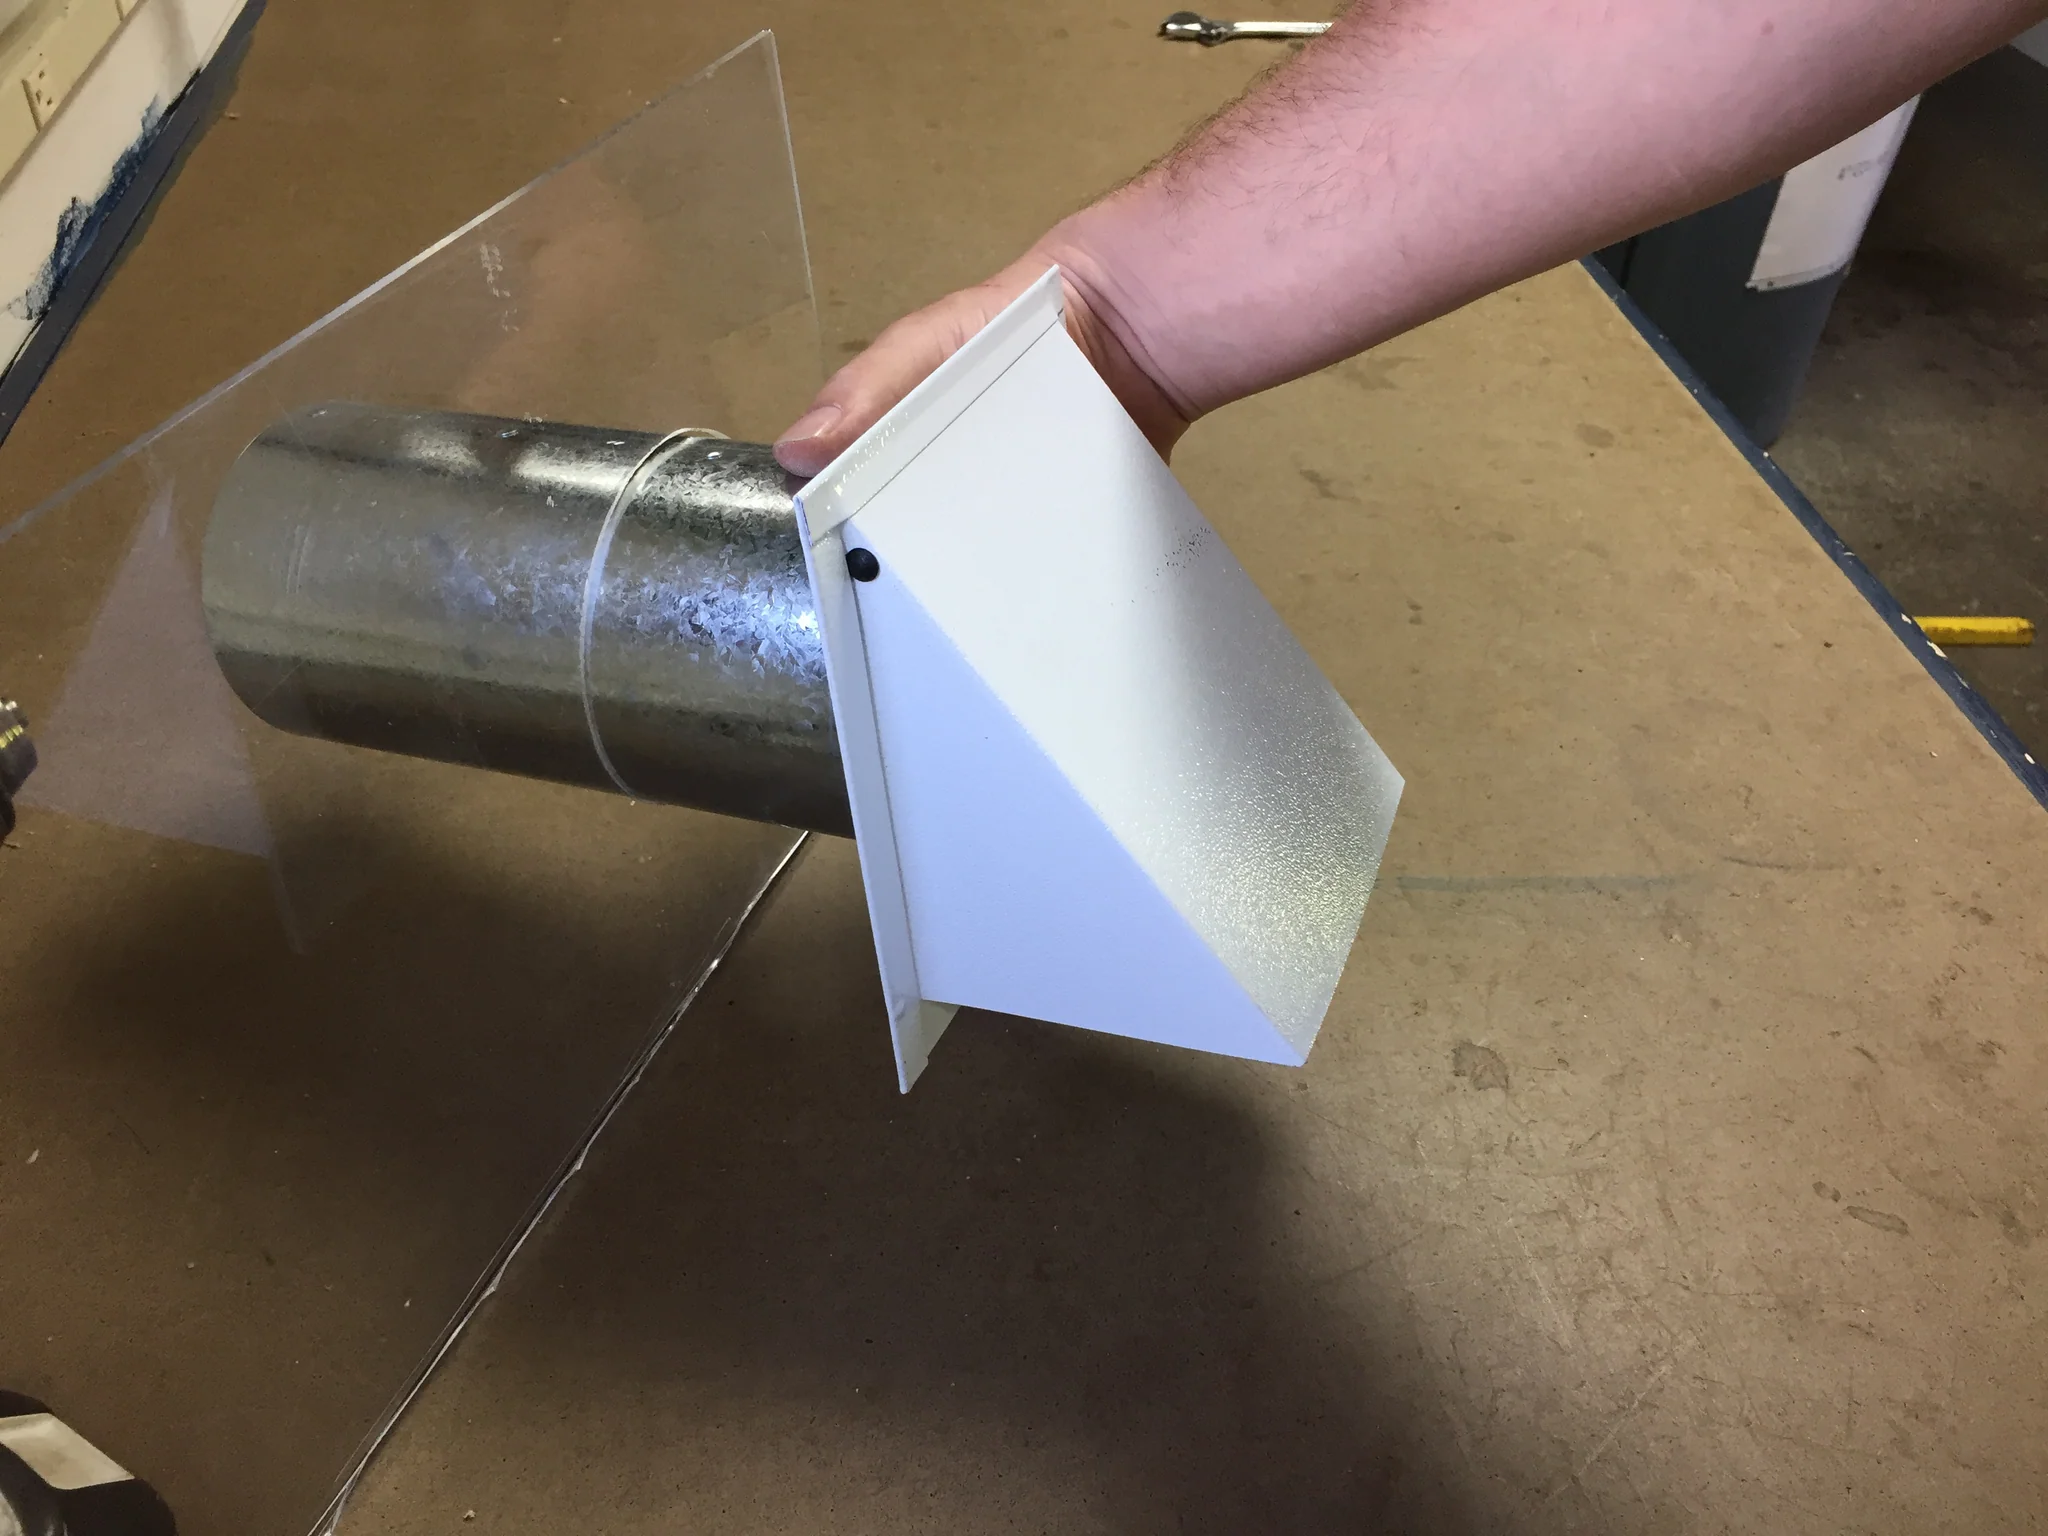
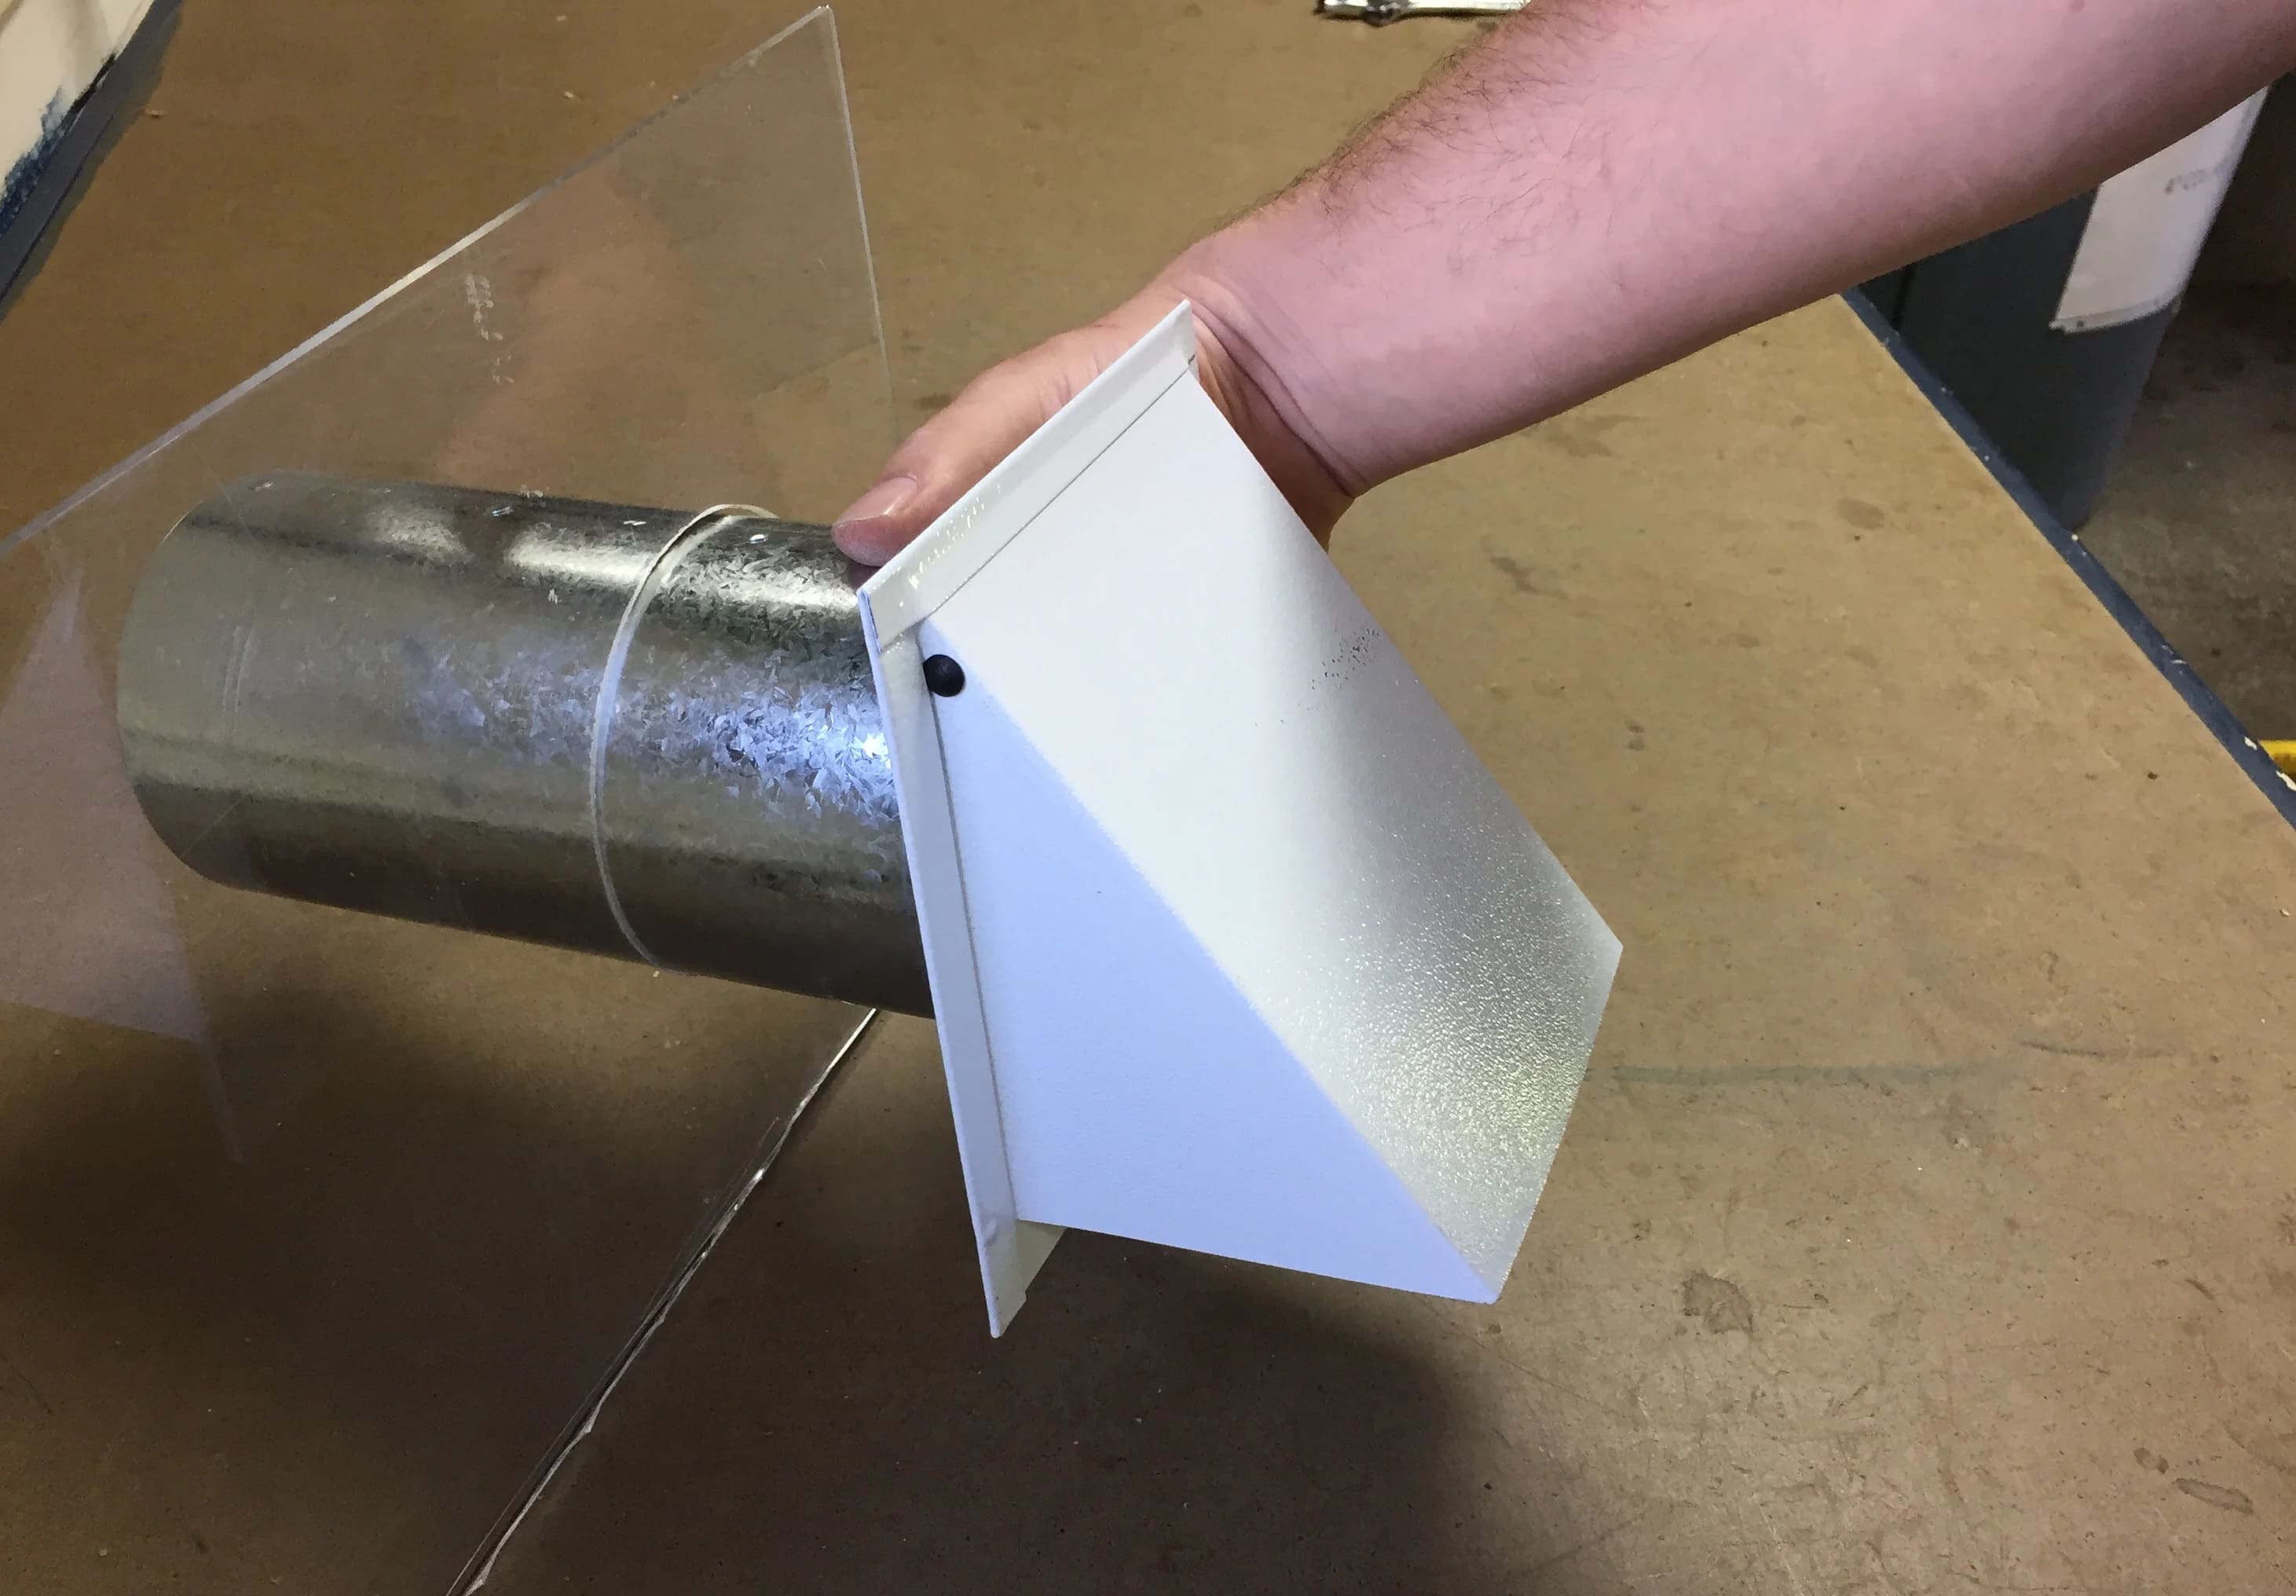
- Vent Cover: Choose a vent cover with a damper to prevent backdraft and critters from entering the vent. Make sure it is compatible with the size of your ductwork.
- Screwdriver or Drill: You will need a screwdriver or drill to secure the vent cover to the exterior wall.
- Duct Tape or Metal Clamps: Use duct tape or metal clamps to secure the ductwork connections. Ensure a tight and secure fit to prevent air leaks.
- Level: Use a level to ensure that the dryer and vent cover are properly aligned and installed correctly.
- Utility Knife or Tin Snips: You may need a utility knife or tin snips to cut the ductwork to the appropriate length. Be cautious and use protective gloves when handling sharp tools.
- Measuring Tape: Use a measuring tape to accurately measure the distance between the dryer and the exterior wall, as well as the required length of the ductwork.
- Pencil or Marker: Use a pencil or marker to mark the areas where you will be making cuts or attaching the vent cover.
- Safety Equipment: It is always recommended to wear safety goggles and gloves when working with tools and materials to protect yourself from any potential hazards.
Ensure that you have all the necessary tools and materials before proceeding with the venting process. This will save you time and ensure that you can complete the project smoothly without any interruptions.
Step 3: Plan the Ventilation Route
Planning the ventilation route is an important step in venting your dryer in the basement. This involves determining the most efficient and practical path for the ductwork to connect the dryer to the exterior wall vent cover.
Start by measuring the distance from the dryer to the exterior wall. This will help you determine the length of ductwork needed. It’s important to choose the shortest and most straight route possible, as this will help maintain good airflow and improve dryer performance.
Take into consideration any obstacles or obstructions that may be in the way, such as support beams, pipes, or walls. It’s best to avoid sharp bends or tight corners, as they can restrict the airflow and increase the risk of lint buildup. If you encounter any obstacles, you may need to make adjustments or consider rerouting the ductwork to ensure a smooth and efficient airflow path.
Once you have determined the ideal route, mark the areas on the walls or ceiling where you will be making cuts or attaching the ductwork. Use a pencil or marker to clearly mark these locations as a reference during the installation process.
It’s also important to take into account the necessary clearance between the ductwork and any combustible materials. The recommended distance is usually around 1 inch to prevent the risk of fire. Ensure that there are no flammable materials in the vicinity of the ductwork to ensure safe operation.
Before proceeding with the installation, double-check your ventilation route plan to ensure that it is practical and will provide optimal airflow for the dryer. Making necessary adjustments at this stage will save you time and effort during the actual installation process.
Step 4: Install the Vent Cover on the Exterior Wall
Once you have planned the ventilation route, it’s time to install the vent cover on the exterior wall. The vent cover serves as the exit point for the dryer exhaust and prevents debris, pests, and other elements from entering the ductwork.
Here’s how to install the vent cover:
- Locate the Position: Identify the exact spot on the exterior wall where you want to place the vent cover. Ensure that it is aligned with the ventilation route you planned in the previous step.
- Mark the Holes: Using a pencil or marker, mark the holes on the wall that correspond to the screw or mounting points on the vent cover. Make sure to take into account the size of the vent cover and the mounting hardware.
- Drill the Holes: Using a drill with the appropriate size bit, carefully drill holes at the marked points. Be mindful of the wall material and adjust the drill speed accordingly to avoid damaging the wall.
- Attach the Vent Cover: Align the vent cover with the drilled holes and secure it in place using screws or mounting hardware. Make sure the vent cover is tightly fitted against the wall to prevent any air leaks.
- Check for Level: Use a level to ensure that the vent cover is installed horizontally and not tilted. Adjust as necessary to achieve a level position.
- Seal the Edges: Apply caulk or weather-stripping around the edges of the vent cover to create a tight seal and prevent air leakage. This will help improve energy efficiency and keep pests and moisture out.
Once you’ve completed these steps, you have successfully installed the vent cover on the exterior wall. This is an important component of the dryer ventilation system, as it allows the dryer exhaust to safely exit your home. Now you can move on to the next steps of connecting the ductwork and securing it in place.
Make sure to use a rigid metal vent pipe to vent your dryer in the basement, as it is more durable and less likely to trap lint compared to flexible plastic or foil ducts.
Read more: How To Vent A Basement Bathroom
Step 5: Install the Flexible Ductwork
With the vent cover securely installed, it’s time to connect the flexible ductwork to create the pathway for the dryer exhaust. The ductwork should be made of flexible aluminum, as it is durable and allows for easy installation and maneuverability.
Here’s how to install the flexible ductwork:
- Measure and Cut: Measure the required length of ductwork from the dryer to the vent cover location. Use a utility knife or tin snips to cut the ductwork to the appropriate length. Make sure to cut the ductwork straight and avoid any jagged edges.
- Attach to Dryer Outlet: Connect one end of the ductwork to the dryer outlet, ensuring a secure fit. You can use duct tape or metal clamps to secure the connection. If using duct tape, make sure it is wrapped tightly around the connection to prevent air leaks.
- Thread the Ductwork Through the Pathway: From the dryer, carefully thread the ductwork through the predetermined ventilation route, ensuring it is free from any sharp bends or obstructions. Gently push the ductwork through the designated areas, taking care not to damage the duct or the surrounding walls.
- Attach to the Vent Cover: Once the ductwork reaches the exterior wall, attach the other end to the vent cover. Again, use duct tape or metal clamps to secure the connection and ensure a tight fit. Double-check that the vent cover is aligned properly with the ductwork.
- Secure the Ductwork: Along the ventilation route, use straps or hangers to secure the ductwork to the wall or ceiling. This will help keep the ductwork in place and prevent sagging or dislodging over time. Make sure the straps are not tightly wrapped around the ductwork, as this can restrict airflow.
Remember to avoid any sharp bends or kinks in the ductwork, as they can hinder efficient airflow and increase the risk of lint buildup. Aim for a straight and smooth pathway from the dryer to the vent cover for optimal performance.
Once you have installed the flexible ductwork, make sure all connections are secure and there are no gaps or loose fittings. This will ensure proper ventilation for your dryer and prevent any issues down the line. You are now ready to move on to the next step of connecting the ductwork to the dryer itself.
Step 6: Connect the Ductwork to the Dryer
In this step, you will connect the ductwork to the dryer to establish the final link in the ventilation system. This connection ensures that the dryer’s exhaust is properly directed through the ductwork and out of your basement.
Follow these steps to connect the ductwork to the dryer:
- Locate the Dryer Exhaust Outlet: Find the exhaust outlet on the back of your dryer. It is usually located at the bottom or the back panel of the appliance. Remove any existing covering or cap from the outlet.
- Attach the Ductwork: Slide one end of the flexible ductwork over the dryer exhaust outlet. Ensure a secure fit by using duct tape or metal clamps to hold the connection in place. If using duct tape, wrap it tightly around the connection to prevent any air leaks.
- Secure the Connection: Check that the ductwork is properly aligned and securely attached to the dryer. Ensure there are no gaps or loose fittings that could disrupt the airflow. Tighten any clamps or reapply duct tape if necessary.
- Avoid Sharp Bends: Make sure the ductwork follows a smooth and straight path from the dryer to the vent cover. Avoid sharp bends or kinks that could restrict the airflow or promote lint buildup.
Once you have connected the ductwork to the dryer, double-check all connections and fittings to ensure they are secure and airtight. It’s vital to have a tight connection to prevent any air leakage or lint accumulation, which could lead to decreased efficiency or a potential fire hazard.
At this point, you are almost finished with the ventilation installation. The dryer is now connected to the ductwork, and the exhaust will be properly directed out of your basement through the vent cover. However, there are a few more steps to complete before testing the dryer’s ventilation.
Step 7: Secure the Ductwork and Insulate if Necessary
Now that the ductwork is properly connected, it’s important to secure it in place and consider insulation if needed. Securing the ductwork prevents any potential movement or sagging, ensuring optimal airflow and preventing damage to the system.
Here are the steps to secure the ductwork and insulate if necessary:
- Use Straps or Hangers: Along the ventilation route, use straps or hangers to secure the ductwork to the wall or ceiling. Make sure the straps are not too tight to avoid crushing the ductwork but are snug enough to hold it in place. Proper support prevents sagging and ensures a steady flow of air.
- Inspect for Air Leaks: Check the ductwork for any potential air leaks. Air leaks can reduce the efficiency of the ventilation system and may lead to the accumulation of moisture or lint. Seal any gaps or holes with duct tape or foil tape to create an airtight connection.
- Consider Insulation: Depending on your climate and the location of the ductwork, you may need to insulate it to prevent condensation and keep the air at the desired temperature. Insulating the ductwork can help to minimize energy loss and maintain efficient airflow. Use duct insulation sleeves or wrap the ductwork with insulation material, ensuring proper coverage.
- Follow Manufacturer’s Guidelines: If you choose to insulate the ductwork, make sure to follow the manufacturer’s guidelines and use the appropriate insulation materials and techniques. Improper insulation can cause issues with ventilation and lead to decreased performance.
- Check Clearance from Obstacles: Ensure that the ductwork has proper clearance from any potential obstructions, such as pipes, wires, or other structures. This clearance allows for safe and unobstructed airflow.
By securing the ductwork and insulating if necessary, you are taking additional steps to ensure the longevity and efficiency of your dryer ventilation system. Properly supported ductwork and insulation help to maintain optimal airflow, reduce the risk of lint accumulation, and prevent any potential condensation issues.
Now that you have secured the ductwork and addressed any insulation needs, your dryer ventilation system is in its final stages of completion. The next step involves testing the dryer vent to ensure it is functioning properly before regular use.
Step 8: Test the Dryer Ventilation
Testing the dryer ventilation is the final step in the process of venting your dryer in the basement. This step ensures that the airflow is working properly and that any potential issues are addressed before regular use of the dryer.
Follow these steps to test the dryer ventilation:
- Turn on the Dryer: Plug in the dryer and turn it on to the appropriate settings.
- Observe the Ventilation: Stand near the vent cover on the exterior wall and observe the airflow. You should feel a steady flow of warm air exiting the vent. If the airflow is weak or nonexistent, there may be an obstruction or a problem with the ductwork. It is advisable to double-check all connections and clear any potential blockages.
- Check for Air Leaks: Inspect the ductwork connections, both at the dryer and at the vent cover, for any signs of air leaks. Feel for any air escaping or use a damp hand to detect any drafts. If air leaks are present, reinforce the connections with additional duct tape or tighten any clamps as needed.
- Listen for Unusual Noises: During the testing process, listen for any unusual noises coming from the dryer or the ventilation system. Noises like rattling or excessive vibration may indicate a loose connection or a problem with the ductwork. Address any issues promptly to ensure proper functioning.
If everything seems to be working correctly during the test, congratulations! You have successfully vented your dryer in the basement. You can now use your dryer with confidence, knowing that the ventilation system is properly installed and functioning effectively. Make sure to clean the lint trap regularly and have your dryer and ventilation system inspected periodically to ensure optimal performance and safety.
However, if you notice any issues during the test, such as weak airflow or excessive noise, it is recommended to double-check the installation and potentially seek professional assistance. Proper airflow in the ventilation system is vital for the safe and efficient operation of the dryer, so it’s important to address any concerns that arise during the testing process.
By following these steps and testing the dryer ventilation, you have taken essential measures to ensure the proper function and safety of your dryer in the basement. Regular maintenance and monitoring of the ventilation system will help prolong the life of your dryer and provide you with efficient and trouble-free drying of your clothes for years to come.
Read more: How To Close Vents In Basement
Conclusion
Venting a dryer in a basement can seem like a complex task, but with the right tools, knowledge, and careful planning, it can be accomplished successfully. Proper dryer ventilation in the basement is crucial for not only efficient drying but also for maintaining a safe environment free from moisture, mold, and fire hazards.
In this article, we have outlined the step-by-step process of venting a dryer in a basement, from determining the ideal location to testing the ventilation system. We emphasized the importance of proper placement, gathering the necessary tools and materials, and planning the ventilation route to ensure optimal airflow and efficiency.
We discussed the installation of the vent cover on the exterior wall, connecting the flexible ductwork, securing the ductwork, and the option of insulating if necessary. These steps are essential for creating a well-functioning and safe dryer ventilation system in your basement.
Finally, we highlighted the importance of testing the dryer ventilation to ensure proper airflow and address any potential issues before regular use. We discussed checking for air leaks, listening for unusual noises, and observing the airflow for a seamless and efficient operation.
By following these steps and taking the necessary precautions, you can confidently and effectively vent your dryer in your basement. Proper dryer ventilation not only improves drying efficiency and prevents mold and fire hazards but also extends the lifespan of your dryer.
Remember, regular maintenance and inspections are crucial to ensure the continued performance and safety of your dryer and ventilation system. Clean the lint trap regularly, periodically inspect the ductwork for any potential obstructions, and seek professional assistance if needed.
With a properly vented dryer in your basement, you can enjoy dry, fresh, and clean clothes while maintaining a safe and comfortable environment. Take the time to follow these steps and set up your dryer ventilation correctly to enjoy worry-free laundry days for years to come.
Frequently Asked Questions about How To Vent A Dryer In A Basement
Was this page helpful?
At Storables.com, we guarantee accurate and reliable information. Our content, validated by Expert Board Contributors, is crafted following stringent Editorial Policies. We're committed to providing you with well-researched, expert-backed insights for all your informational needs.


0 thoughts on “How To Vent A Dryer In A Basement”