Home>Home Maintenance>How To Have Your Gas Cut Off For A Home Repair
Home Maintenance
How To Have Your Gas Cut Off For A Home Repair
Modified: August 25, 2024
Learn how to temporarily cut off the gas supply for home repairs with our step-by-step guide. Ensure safety during your home maintenance.
(Many of the links in this article redirect to a specific reviewed product. Your purchase of these products through affiliate links helps to generate commission for Storables.com, at no extra cost. Learn more)
Introduction
When it comes to home maintenance, there may be instances where you need to shut off the gas supply to your home in order to conduct repairs or address potential safety concerns. Gas leaks can be hazardous, and it’s crucial to know how to safely turn off the gas in such situations. In this article, we’ll provide you with some valuable tips and guidance on how to have your gas cut off for a home repair.
Note: Before proceeding with any gas-related tasks, it’s important to prioritize your safety. If you suspect a gas leak, evacuate the premises immediately and contact your gas provider or emergency services for assistance.
Now, let’s dive into some important steps and considerations when it comes to shutting off the gas supply for home repairs.
Key Takeaways:
- Safety first! Familiarize yourself with the gas shut-off valve, use caution, and inform others before turning off the gas for home repairs. Regular maintenance is key to a safe gas supply.
- Follow proper steps to safely turn off, assess, repair, and turn on the gas supply. If unsure, seek professional help for a smooth and safe repair process.
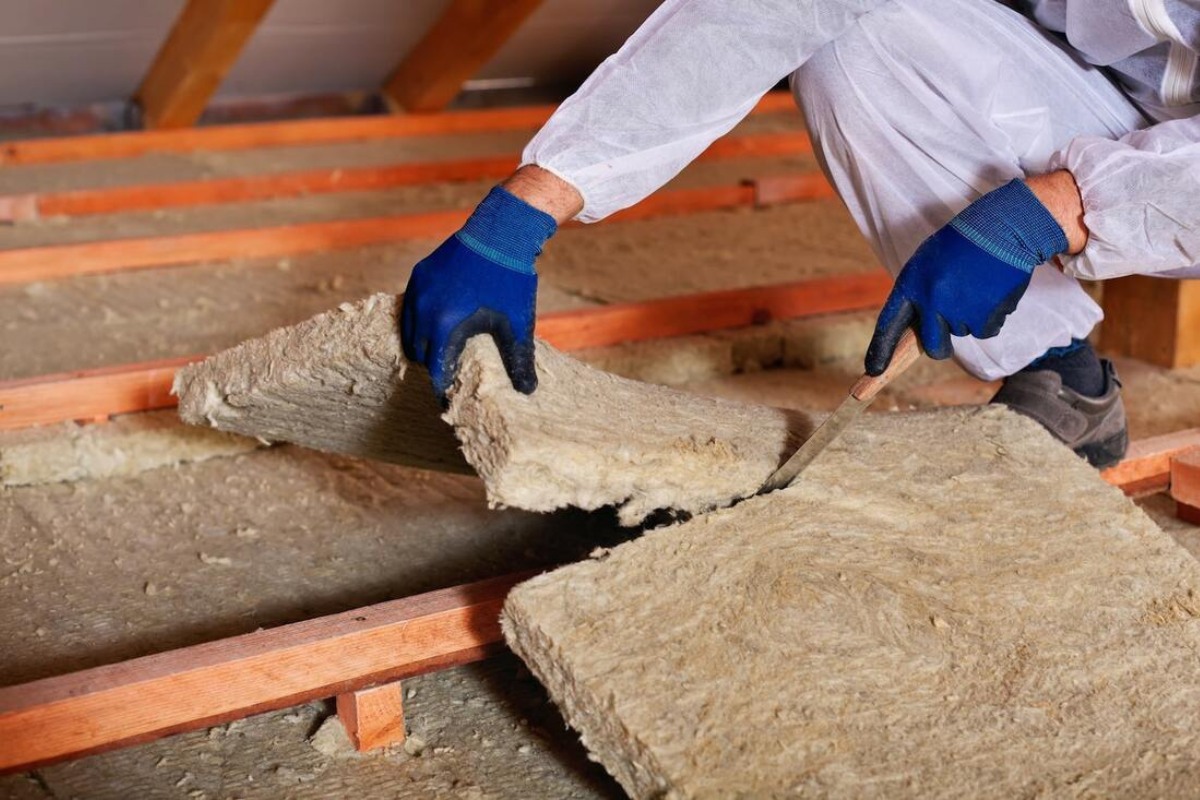
Read more: How Long Does Spray Foam Insulation Off Gas
Tips for Shutting Off the Gas Supply
Before you begin the process of shutting off the gas supply for a home repair, it’s important to keep a few key tips in mind to ensure your safety and the effectiveness of the task:
- Familiarize Yourself with the Location: Take some time to locate the main gas shut-off valve in your home. This valve is typically found near the gas meter or where the gas line enters your property. It’s important to know its exact location in case of emergencies or repairs.
- Use Caution: When working with gas, always take proper precautions. Make sure to turn off any open flames, electrical equipment, or other potential sources of ignition before commencing the shut-off process. Additionally, do not use any electrical devices or switches while the gas is turned off.
- Keep Tools Handy: Have the necessary tools ready, such as an adjustable wrench or pliers, to smoothly operate the gas shut-off valve.
- Inform Others: If you live with family or have roommates, make sure to inform them about the gas shut-off process and its location. This will help ensure everyone’s safety in case of an emergency.
- Consider Professional Help: If you’re unsure about the process or uncomfortable working with gas, it’s always best to seek professional assistance. Contact a licensed plumber or gas technician to handle the task for you.
- Regular Maintenance: In order to maintain the safety and efficiency of your gas supply, it’s crucial to schedule regular maintenance checks. This will help identify and address any potential issues before they become major problems.
By keeping these tips in mind, you’ll be well-prepared and confident when it comes to shutting off the gas supply for your home repair needs.
Step 1: Locate the Gas Shut-Off Valve
The first step in shutting off the gas supply for a home repair is to locate the main gas shut-off valve. This valve is typically found near the gas meter or where the gas line enters your property. Here’s how you can locate it:
- Check the Exterior: Start by inspecting the exterior of your property. Look for a metal pipe sticking out of the ground, which indicates the presence of a gas meter. The shut-off valve is usually located nearby.
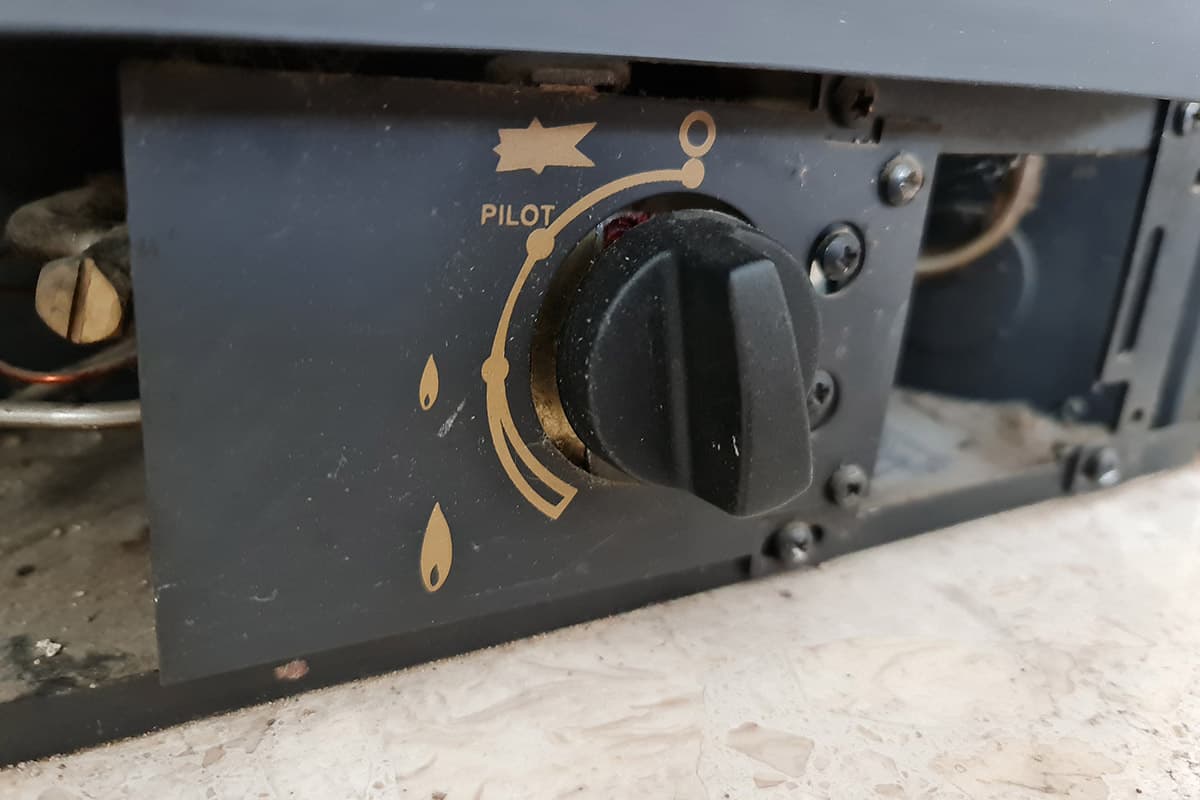
- Inspect the Basement or Crawlspace: If you have a basement or crawlspace, check for a gas line leading into your home. Follow the line until you reach a shut-off valve. It is usually a yellow handle or lever.
- Look in the Utility Room or Garage: In some homes, the gas shut-off valve may be located in a utility room or garage. It can be attached to the wall or floor near the gas meter. Look for a valve with a handle or lever.
- Consult the Owner’s Manual: If you’re still unable to locate the gas shut-off valve, refer to the owner’s manual of your home or contact the gas company for guidance. They can provide specific instructions or send a technician to assist you.
Once you’ve located the gas shut-off valve, take a moment to familiarize yourself with its operation. Note the position of the valve and ensure that it can be easily turned on and off. This will come in handy during emergencies or future home repairs.
Remember, each home may have a slightly different setup, so it’s important to locate and understand your specific gas shut-off valve’s location and operation.
Step 2: Turn off the Gas Supply
After locating the gas shut-off valve, the next step is to turn off the gas supply. It’s important to follow proper procedures to ensure the safe and effective shutdown of the gas. Here’s how you can do it:
- Prepare the Tools: Before starting, make sure you have an adjustable wrench or pliers handy to operate the gas shut-off valve.
- Position the Wrench: Place the wrench or pliers around the valve’s handle or lever. Ensure a firm grip to prevent slipping during the turning process.
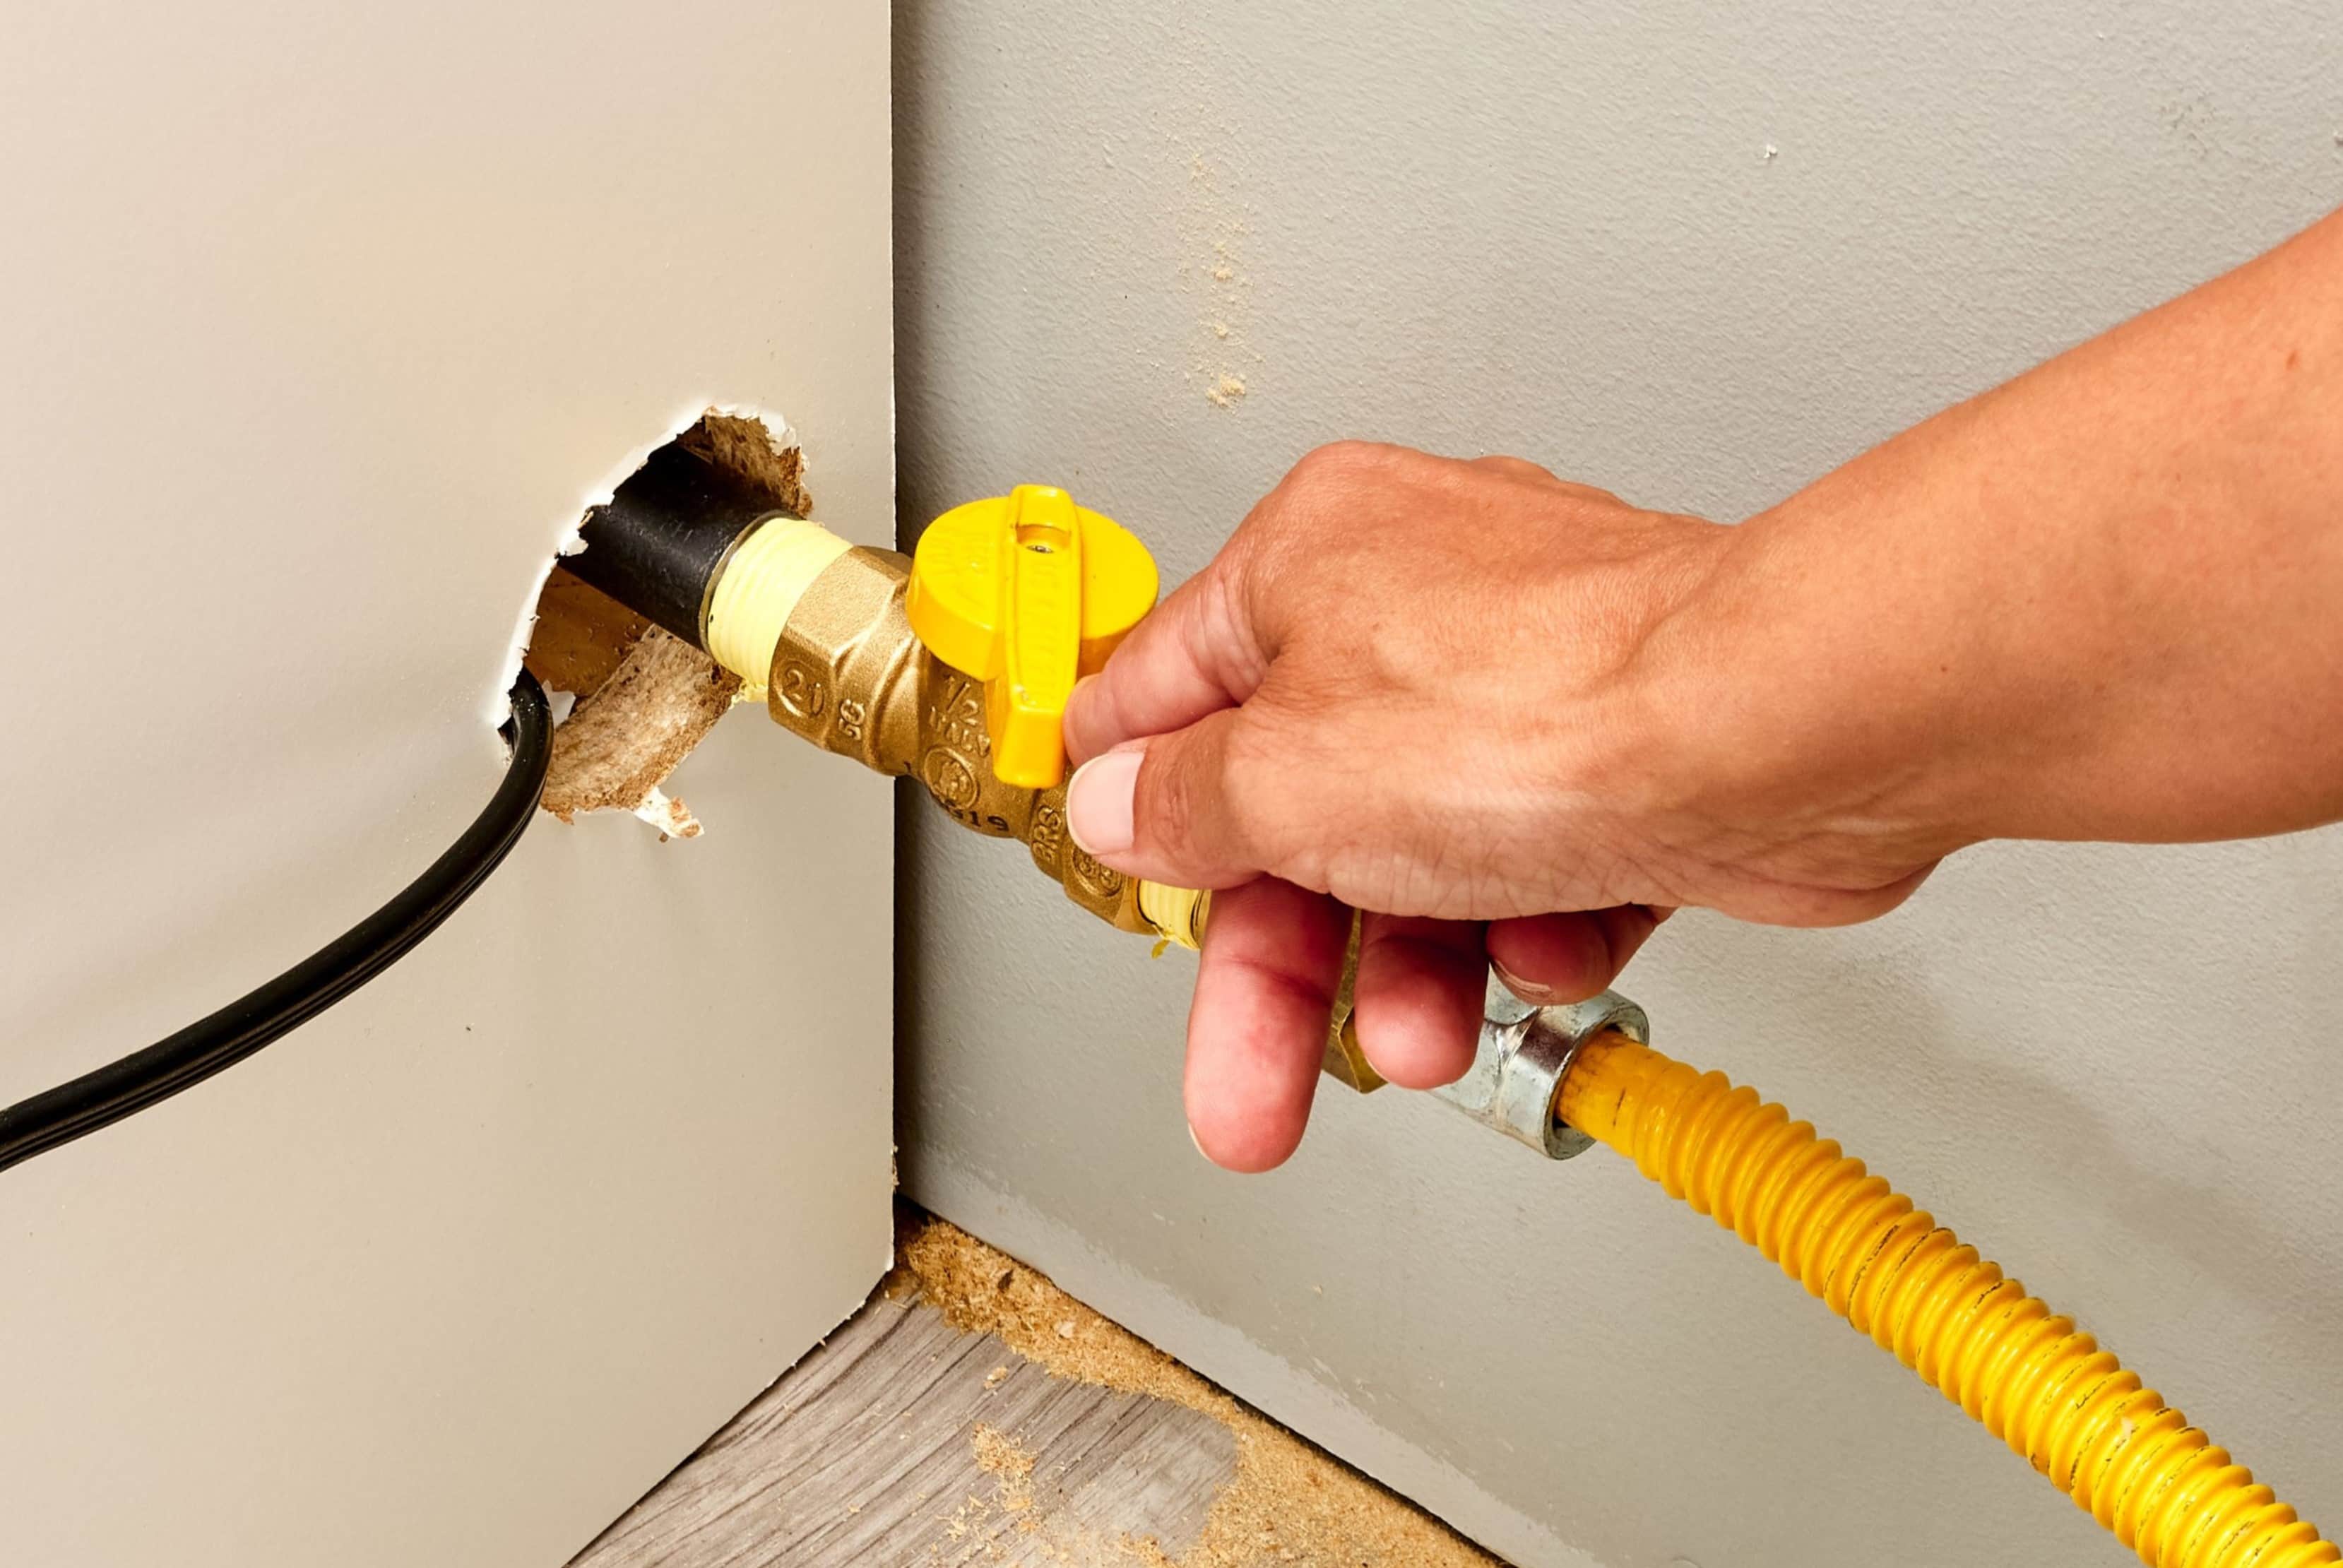
- Turn the Valve: Slowly rotate the valve handle or lever in a clockwise direction (to the right) until it stops. This will shut off the gas supply.
- Double-Check: Once the valve is fully closed, double-check to make sure it’s in the off position. This will help prevent any accidental gas leaks during your repair or maintenance tasks.
- Smell for Gas: As an additional safety measure, take a moment to smell for any gas odors in the vicinity. Although the gas supply is shut off, it’s essential to ensure that there are no lingering smells that could indicate a leak.
It’s worth mentioning that some gas shut-off valves may have a pink or yellow tag attached to them. This tag indicates that the valve should only be operated by authorized personnel. If you see such a tag, contact a professional to shut off the gas supply for you.
By following these steps, you can confidently and safely turn off the gas supply for your home repair or maintenance tasks. Remember to take your time and exercise caution throughout the process.
Before starting any home repair that requires the gas to be cut off, locate the main gas shut-off valve in your home. It’s usually located near the gas meter. Turn the valve clockwise to shut off the gas supply before beginning the repair.
Step 3: Assessing the Repair Situation
After successfully turning off the gas supply, it’s time to assess the repair situation. Taking the time to thoroughly evaluate the issue will help you determine the necessary steps and materials needed to complete the repair. Here’s how you can effectively assess the repair situation:
- Inspect the Problem Area: Begin by visually examining the area that requires repair. Look for any signs of damage, leaks, or faulty components. Take note of any specific issues or areas that require attention.
- Gather the Required Tools and Materials: Based on your assessment, gather the necessary tools and materials needed for the repair. This may include replacement parts, sealants, adhesives, or other specialized equipment.
- Assess the Complexity of the Repair: Consider the complexity of the repair and determine if you have the necessary skills and expertise to handle it on your own. If the repair seems beyond your capabilities, it’s wise to seek professional assistance to ensure it’s done correctly.
- Estimate the Time and Resources: Think about the amount of time and resources required to complete the repair. Assess whether you have sufficient time and availability to complete the task or if it requires scheduling or assistance from others.
- Plan for Safety Measures: Evaluate if the repair involves any potential safety hazards and plan accordingly. Ensure you have the necessary safety equipment, such as gloves, goggles, or respirators, to protect yourself during the repair process.
By thoroughly assessing the repair situation, you can determine the best course of action and approach the repair with confidence. Remember to prioritize safety and seek professional help if needed.
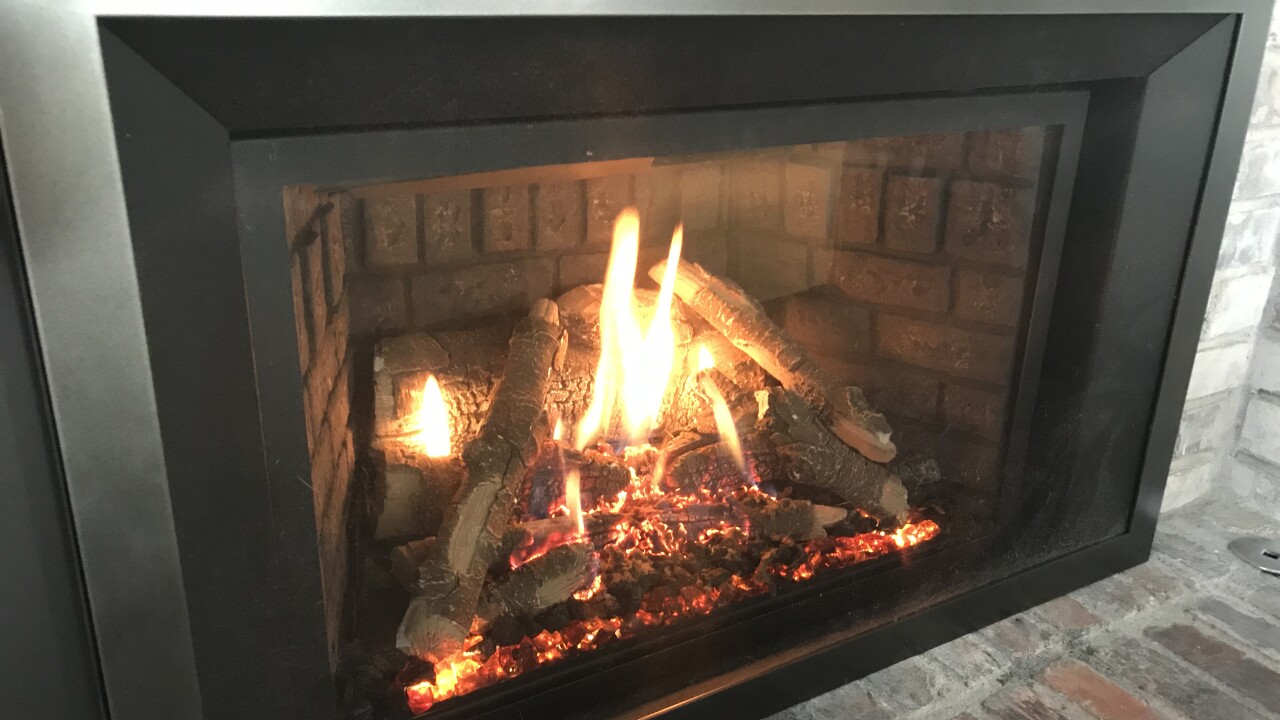
Read more: How To Turn Off The Gas To Fireplace
Step 4: Conducting the Home Repair
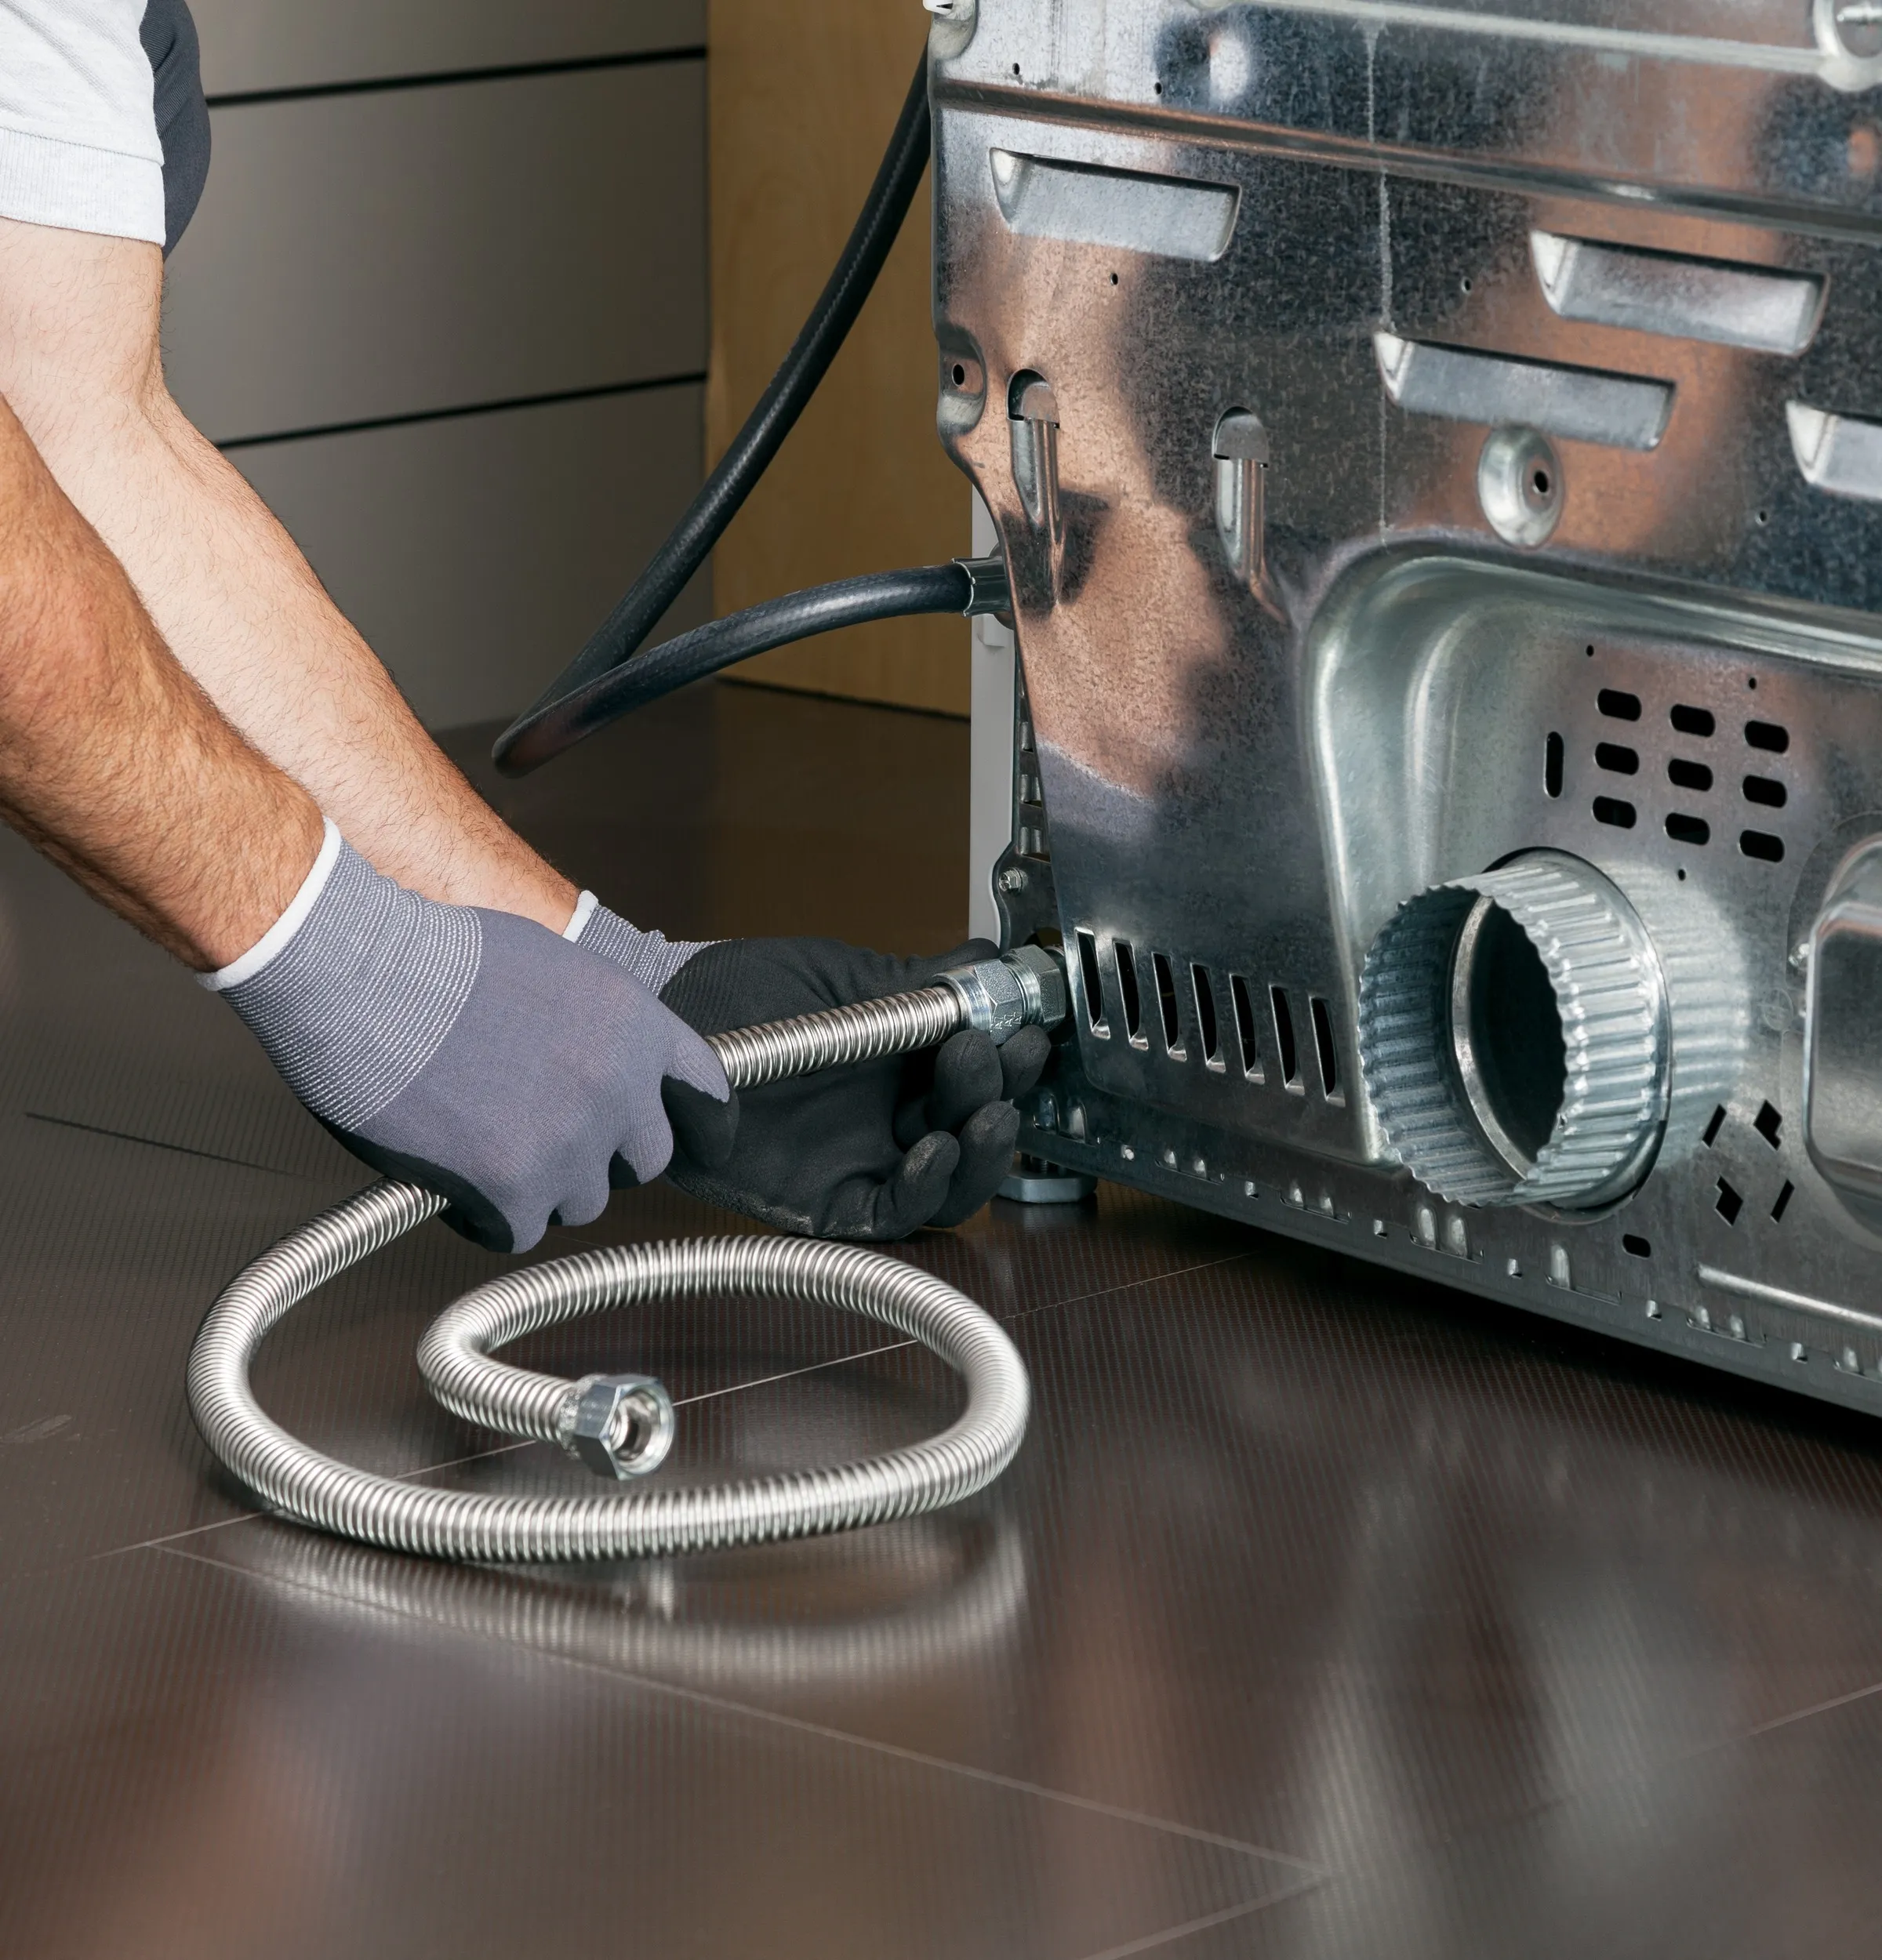
With the repair situation properly assessed, it’s time to move on to conducting the home repair. Whether you’re fixing a faulty gas appliance or repairing a gas line, following proper procedures is essential. Here’s how you can conduct the repair:
- Refer to Manufacturer’s Instructions: Before starting the repair, consult the manufacturer’s instructions or user manual for the specific appliance or component. This will provide you with valuable guidance on how to safely and correctly perform the repair.
- Follow Safety Precautions: Always prioritize safety during the repair process. Ensure you have adequate ventilation, use the appropriate safety equipment, and follow recommended precautions for working with gas, such as keeping flammable materials away and avoiding open flames.
- Use the Correct Tools and Materials: Make sure you have the necessary tools and materials ready for the repair. This may include wrenches, connectors, sealants, or replacement parts. Using the correct tools and materials will ensure the repair is done effectively.
- Work Methodically: Approach the repair in a systematic manner. Follow the step-by-step instructions provided in the manufacturer’s guide or repair manual. Take your time to ensure precision and accuracy in each step.
- Test for Leaks: Once the repair is complete, test for gas leaks before restoring the gas supply. Apply a diluted soap solution to the repaired area and check for any bubbles. If bubbles form, there may be a leak. In such cases, it’s best to contact a professional for further assistance.
- Dispose of Waste Properly: Dispose of any waste materials, such as old components or packaging, in accordance with local regulations. Follow proper disposal methods to ensure the environment and community are not negatively impacted.
Throughout the repair process, stay cautious and attentive. If at any point you encounter difficulties or feel unsure, consider seeking expert help to avoid further complications or safety hazards.
Remember, gas repairs can be intricate and potentially dangerous, so it’s crucial to approach them with care and precision.
Step 5: Turning On the Gas Supply
After successfully completing the home repair and ensuring there are no gas leaks, it’s time to turn on the gas supply and restore normal operation. Follow these steps to safely and effectively turn on the gas:
- Ensure the Repair is Complete: Before turning on the gas supply, double-check that the repair is fully completed and all components are securely in place. Take a moment to review your work and ensure everything is properly connected.
- Locate the Gas Shut-Off Valve: Remember the location of the gas shut-off valve that you previously turned off. Locate it once again and familiarize yourself with its position. Ensure that the valve handle or lever is in the closed/off position.
- Use the Proper Tool: Get an adjustable wrench or pliers ready to operate the gas shut-off valve.
- Open the Valve: Slowly turn the gas shut-off valve handle or lever counterclockwise (to the left) to the fully open/on position. This will allow the gas supply to flow into your home.
- Test for Gas Leaks: After turning on the gas supply, it’s essential to test for any potential gas leaks. Follow the previously mentioned method of applying a diluted soap solution to the connections and checking for bubble formation. If you detect any leaks, close the gas valve immediately, ventilate the area, and seek professional assistance.
- Ensure Proper Ventilation: To maintain a safe environment, ensure that your home has adequate ventilation to allow any accumulated gas to dissipate. Open windows or doors if necessary.
Turning on the gas supply should be done with caution and a vigilant approach. Take your time, be aware of your surroundings, and ensure everything is functioning properly before proceeding with any gas-powered appliances or equipment.
If you encounter any issues or notice anything unusual after turning on the gas supply, it’s important to address it promptly. Contact a professional for further assistance to ensure the safety and integrity of your gas system.
Conclusion
Knowing how to have your gas cut off for a home repair is an essential skill for homeowners. It allows you to address maintenance issues, conduct repairs, and ensure the safety of your household. By following the proper steps and precautions, you can successfully shut off the gas supply, assess the repair situation, conduct the necessary repairs, and safely restore the gas supply.
Throughout this article, we’ve provided you with valuable tips and step-by-step instructions to guide you through the process. Remember to prioritize your safety at all times and seek professional assistance if you feel uncertain or uncomfortable performing the tasks on your own.
Locating the gas shut-off valve, turning off the gas supply, assessing the repair situation, conducting the home repair, and finally, turning on the gas supply are the key steps to successfully completing a gas-related repair. By understanding these steps and following them carefully, you can ensure a smooth and effective repair process.
Regular maintenance and a proactive approach to home repairs will help you maintain the safety and efficiency of your gas supply. If you’re ever unsure or hesitant about any gas-related task, don’t hesitate to consult a licensed professional. They have the expertise and experience to handle complex repairs and ensure your safety.
Being knowledgeable about shutting off the gas supply for home repairs not only empowers you to address maintenance issues promptly but also provides peace of mind that you can handle unexpected situations safely. With the right information and preparation, you can confidently tackle gas-related repairs and keep your home in top condition.
Frequently Asked Questions about How To Have Your Gas Cut Off For A Home Repair
Was this page helpful?
At Storables.com, we guarantee accurate and reliable information. Our content, validated by Expert Board Contributors, is crafted following stringent Editorial Policies. We're committed to providing you with well-researched, expert-backed insights for all your informational needs.