Home>Home Maintenance>How To Install A Ventilation System


Home Maintenance
How To Install A Ventilation System
Modified: August 27, 2024
Learn how to install a ventilation system in your home for optimal air circulation and improve indoor air quality. Our step-by-step guide makes home maintenance easy and efficient.
(Many of the links in this article redirect to a specific reviewed product. Your purchase of these products through affiliate links helps to generate commission for Storables.com, at no extra cost. Learn more)
Introduction
Proper ventilation is essential for maintaining a healthy and comfortable home. A well-designed ventilation system helps remove pollutants, moisture, and stale air while promoting fresh air circulation. It not only improves indoor air quality but also prevents issues like mold, mildew, and excessive humidity.
If you’re looking to install a ventilation system in your home, this comprehensive guide will walk you through the process step by step. From determining your ventilation system requirements to installing the ductwork and fans, we’ve got you covered. So grab your tools and let’s get started!
Before we dive into the installation process, it’s important to note that there are different types of ventilation systems available, such as exhaust-only systems, supply-only systems, and balanced systems. The type of system you choose will depend on your specific needs and the layout of your home. It’s a good idea to consult with a professional or do thorough research to determine the best option for you.
Now, let’s jump right into the first step: determining your ventilation system requirements.
Key Takeaways:
- Proper ventilation is crucial for a healthy home. Follow the 9 steps to install a ventilation system, ensuring improved air quality and a comfortable living environment.
- Choose the right ventilation system, gather tools, plan the layout, and test the system for optimal performance. Enjoy a healthier home with improved air circulation.
Read more: How To Install ZLINE Range Hood
Step 1: Determine the Ventilation System Requirements
The first step in installing a ventilation system is to assess your specific requirements. Consider the size of your home, the number of rooms, and the occupants’ activities. You’ll need to determine the air exchange rate necessary to maintain optimal indoor air quality.
Start by calculating the total volume of your home. Measure the length, width, and height of each room, and multiply them to obtain the volume. Sum up the volumes of all the rooms to get the total volume of your home. This will help you determine the airflow capacity required for the ventilation system.
Next, consider any specific areas in your home that may require additional ventilation. For example, bathrooms and kitchens tend to accumulate excess moisture and odors. Ensuring proper ventilation in these areas is crucial to prevent mold growth and maintain a fresh environment.
It’s also important to take into account any existing ventilation systems in your home. If you have a ventilation system already installed, assess its efficiency and whether it meets your current needs. You may need to upgrade or modify it to ensure optimal performance.
Lastly, consider any special requirements or concerns you may have, such as allergies or asthma. Certain ventilation systems offer features like air filtration and humidity control, which can help address these specific needs.
Once you’ve gathered all this information, you’ll have a clearer understanding of your ventilation system requirements. This will guide you in selecting the appropriate type and capacity of ventilation system for your home.
With your requirements in hand, it’s time to move on to the next step: choosing the right ventilation system.
Step 2: Choose the Right Ventilation System
Choosing the right ventilation system is crucial for ensuring optimal air quality and comfort in your home. With a variety of options available, it’s important to assess your needs and consider key factors before making a decision.
1. Determine the type of ventilation system: As mentioned earlier, there are different types of ventilation systems, including exhaust-only, supply-only, and balanced systems. Consider the pros and cons of each type to determine which one suits your needs best.
2. Evaluate the airflow capacity: Based on the requirements determined in the previous step, calculate the airflow capacity needed for your home. This will help you choose a ventilation system that can adequately handle the air exchange rate.
3. Understand ventilation system components: Familiarize yourself with the different components of a ventilation system, such as fans, ductwork, filters, and control systems. Each component plays a crucial role in the system’s performance, so it’s important to choose high-quality and energy-efficient options.
4. Consider energy efficiency: Look for ventilation systems that are energy-efficient, as they can help reduce energy consumption and save on utility bills. Look for systems with high energy ratings and consider features like variable speed fans and timers to optimize efficiency.
5. Assess noise levels: Some ventilation systems can produce noise during operation, which can be disruptive in living areas. Consider noise levels when choosing a system, especially if you have noise-sensitive occupants or if the system will be installed in a commonly used space.
6. Consult professionals: If you’re unsure about the best type or size of ventilation system for your home, it’s always best to consult with professionals. They can assess your specific needs, recommend suitable options, and ensure proper installation.
Once you’ve carefully evaluated these factors and narrowed down your options, you can choose the right ventilation system for your home. With the selection complete, it’s time to move on to the next step: gathering the necessary tools and materials.
Step 3: Gather the Necessary Tools and Materials
Before you can begin the installation process, it’s important to gather all the necessary tools and materials. Having everything on hand will ensure a smooth and efficient installation of your ventilation system. Here’s a list of essential items you’ll need:
- Ventilation system components: Depending on the type of system you chose, you may need ventilation fans, ductwork, vents, air filters, and control systems. Ensure you have the required components based on your ventilation system specifications.
- Measuring tools: A measuring tape, level, and stud finder will come in handy during the installation process. These tools will help you accurately measure and position the ventilation system components.
- Cutting tools: You’ll need a quality pair of tin snips or a hacksaw to cut the ductwork to the desired lengths. Also, consider having a utility knife for any necessary trimming of materials during the installation.
- Fasteners and sealants: Depending on the type of ductwork and mounting requirements, you may need screws, brackets, zip ties, or clamps to secure the ventilation system components. Additionally, having duct tape or foil tape on hand will help seal any gaps or joints.
- Electrical tools: If your ventilation system requires electrical connections, ensure you have wire cutters, wire strippers, and electrical tape. If you’re not experienced with electrical work, it’s best to consult a professional for assistance.
- Safety equipment: During the installation process, it’s important to prioritize safety. Have protective gloves, safety glasses, and a dust mask to protect yourself from any potential hazards, such as dust, sharp edges, or insulation materials.
- Additional tools: Depending on the specific requirements of your installation, you may need additional tools like a screwdriver, pliers, wrenches, or a drill. Assess your ventilation system’s installation instructions to determine any specific tools needed.
Remember to review the installation instructions provided by the manufacturer of your ventilation system. They may include specific tools or materials that are necessary for your particular system.
With all the tools and materials gathered and on hand, you’re ready to move on to the next step: planning the ventilation system installation.
Step 4: Plan the Ventilation System Installation
Proper planning is crucial for a successful ventilation system installation. Taking the time to carefully plan the layout and placement of the components will ensure optimal performance and efficiency. Here are some key steps to consider when planning your installation:
- Map out the airflow: Start by identifying the areas where you want the fresh air intake and the areas where you want the stale air to be exhausted. This will help you determine the best placement for the ventilation fans and the route of the ductwork.
- Identify obstruction points: Take note of any potential obstructions in your home that may hinder the installation process, such as structural elements, plumbing pipes, or electrical wiring. Plan the ductwork around these obstructions to ensure a smooth and functional installation.
- Determine duct sizes: Calculate the required duct sizes based on your ventilation system’s specifications and the airflow capacity needed. Ensure that the duct sizes are appropriate for the volume of air being moved to optimize the system’s performance.
- Consider noise reduction: If noise is a concern, plan for ways to minimize it. This can include selecting fans specifically designed for low noise levels, using insulated ductwork, or incorporating soundproofing measures in the installation.
- Map the electrical connections: If your ventilation system requires electrical connections, plan the routes for wiring and ensure that you have access to power sources. Take into account any electrical codes and safety considerations during this phase.
- Double-check clearances: Ensure that there is enough clearance around the ventilation fans and ductwork to avoid any potential obstructions. Clearances are essential for proper airflow and maintenance access in the future.
- Sketch out the layout: Use graph paper or a computer program to create a detailed layout of the ventilation system. Include measurements, positions of components, and any necessary notes to guide you during the installation process.
Remember to consult the installation instructions provided by the manufacturer of your ventilation system. They may contain specific guidelines or requirements that should be taken into consideration during the planning phase.
Once you’ve planned the installation layout, you’re now ready to move on to the next step: installing the ductwork.
Read more: How To Install Island Range Hood
Step 5: Install the Ductwork
Installing the ductwork is a crucial step in setting up your ventilation system. The ductwork is responsible for carrying air throughout your home, ensuring proper airflow and distribution. Here’s a step-by-step guide to help you install the ductwork:
- Measure and mark: Using your layout plan as a guide, measure the required lengths of ductwork for each section. Mark these measurements on the ductwork using a marker or pencil.
- Cut the ductwork: Using tin snips or a hacksaw, carefully cut the ductwork to the desired lengths. Ensure clean and precise cuts to maintain the integrity of the ducts.
- Connect the duct sections: Attach the sections of ductwork together using screws or clamps to secure them in place. Make sure the connections are tight and properly sealed to prevent air leaks.
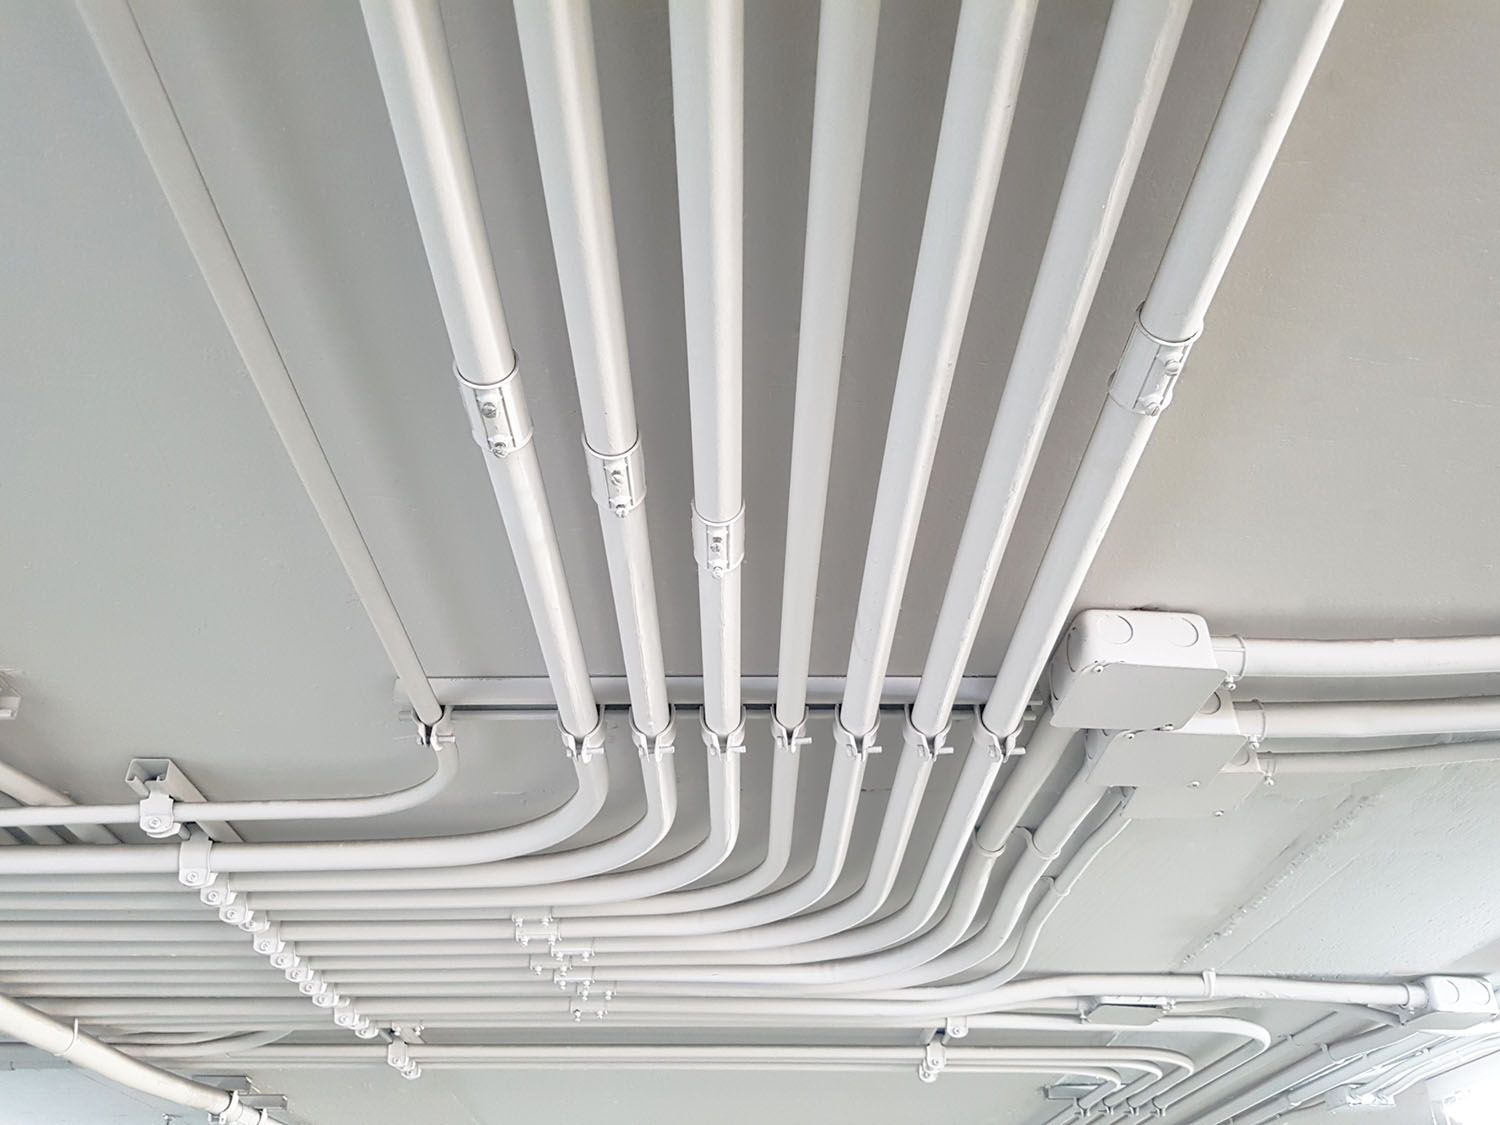
- Position the ductwork: Install the ductwork according to your layout plan, ensuring that it follows the designated airflow path. Use supports like brackets or straps to hold the ducts in place and prevent sagging.
- Seal the joints: Use duct tape or foil tape to seal any joints or connections in the ductwork. This will help minimize air leakage and ensure efficient airflow.
- Insulate the ductwork (if necessary): Depending on the location of the ductwork, you may need to insulate it to prevent condensation or heat loss. Insulation sleeves or wraps can be used to wrap the ducts and maintain temperature control.
- Secure the ductwork: Once the ductwork is installed, ensure that it is securely fastened and properly supported. This will help prevent movement and ensure stable airflow throughout the system.
- Check for leaks: After the ductwork installation is complete, perform a thorough inspection to check for any air leaks or loose connections. Use smoke or a fog machine near the joints and connections to identify any leaks and seal them accordingly.
Remember to refer to the manufacturer’s instructions for specific guidelines on installing the ductwork. Proper installation of the ductwork is essential for the overall performance of your ventilation system.
With the ductwork successfully installed, it’s time to move on to the next step: mounting the ventilation fans.
Make sure to properly size your ventilation system based on the square footage of the area you want to ventilate. This will ensure that the system can effectively remove stale air and moisture.
Step 6: Mount the Ventilation Fans
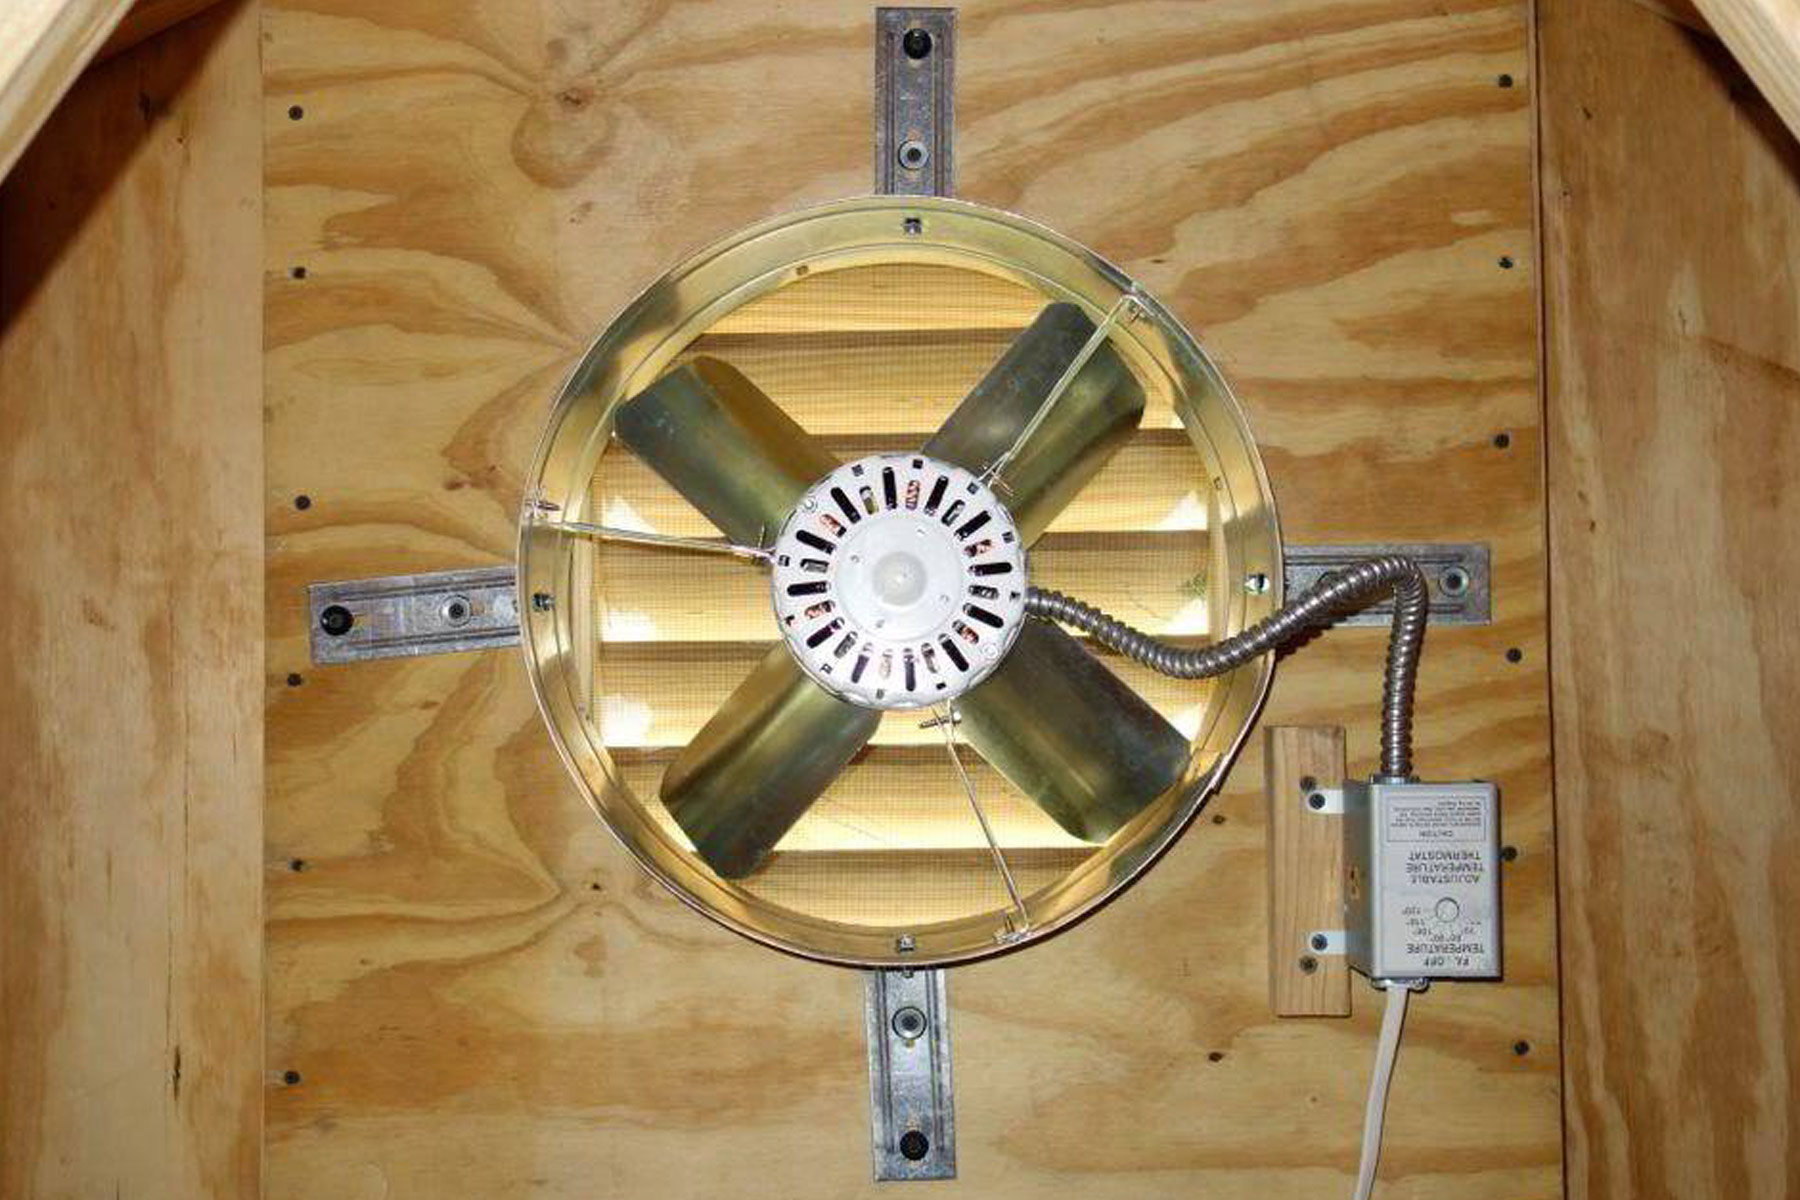
Mounting the ventilation fans is a crucial step in the installation process. The fans are responsible for pulling in fresh air and exhausting stale air, ensuring proper air circulation and ventilation. Here’s a step-by-step guide to help you mount the ventilation fans:
- Determine the fan locations: Refer to your layout plan and identify the optimal locations for mounting the ventilation fans. Consider factors such as the type of ventilation system, airflow requirements, and any specific areas that require additional ventilation.
- Prepare the mounting area: Ensure that the mounting area is clean and free from any obstructions. Use a stud finder to locate the studs in the wall or ceiling where the fans will be mounted for proper support.
- Mark the mounting points: Use a pencil or marker to mark the exact locations where the fans will be mounted. Double-check the measurements and alignment to ensure accuracy.
- Install mounting brackets or channels: Depending on the type of fan, you may need to install mounting brackets or channels. Follow the manufacturer’s instructions for proper installation and secure them in place.
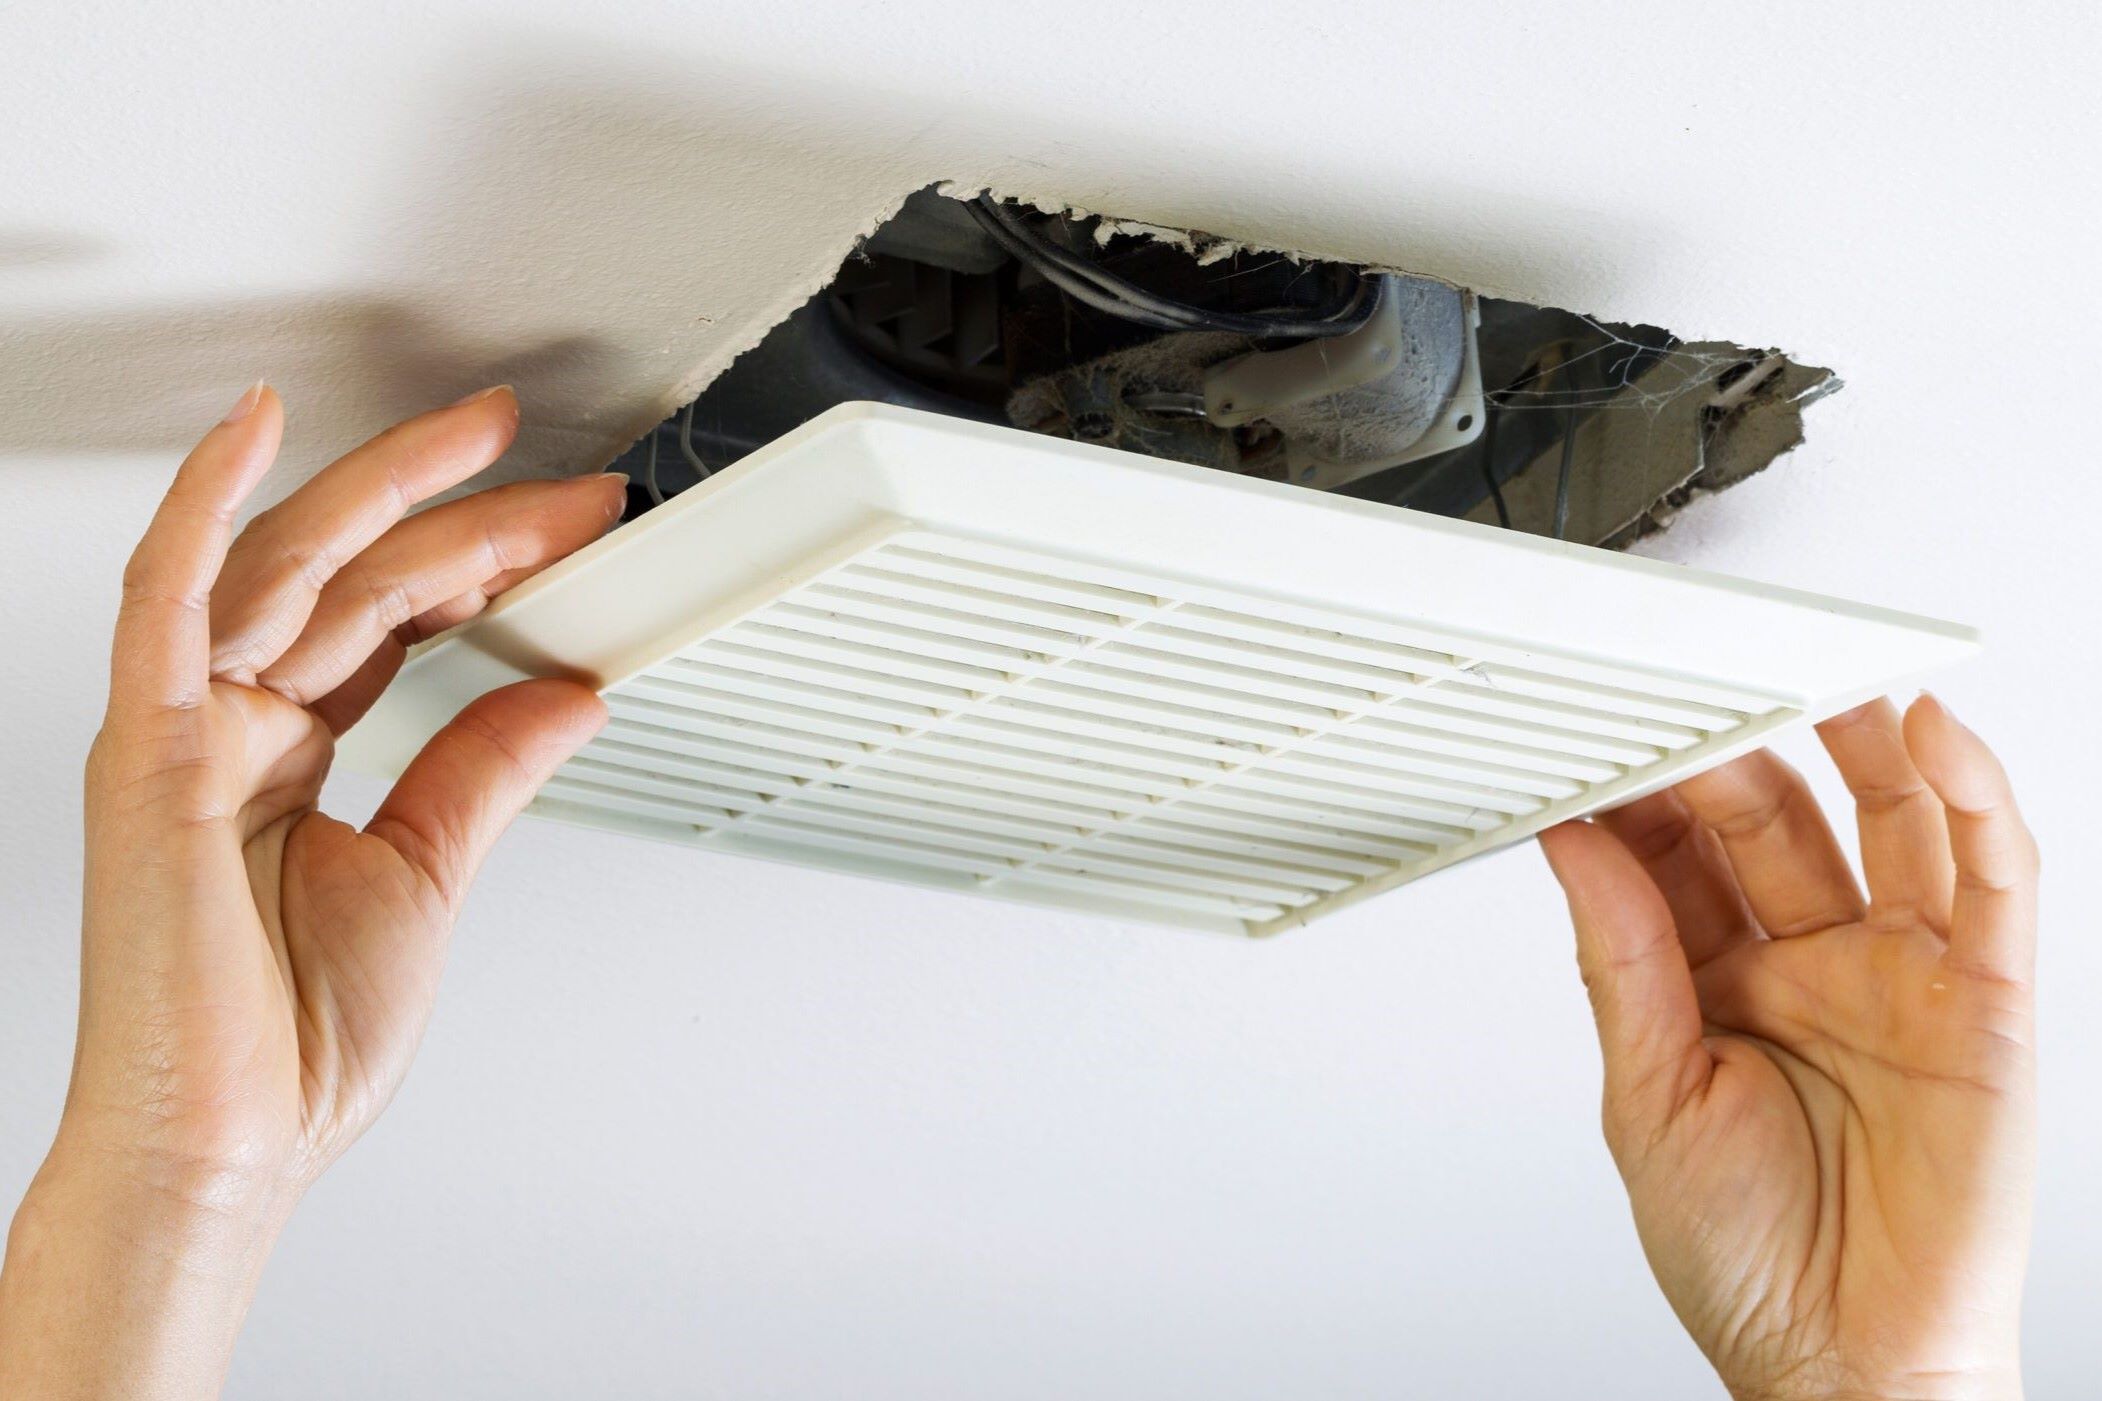
- Mount the fans: Place the ventilation fans onto the mounting brackets or channels and secure them in place using screws or clamps provided by the manufacturer. Ensure that the fans are level and securely attached.
- Connect the ductwork: Depending on your ventilation system design, connect the appropriate ductwork to the fans. Secure the ducts using clamps or screws to ensure a tight and sealed connection.
- Connect the electrical wiring: If your ventilation fans require electrical connections, follow the manufacturer’s instructions for wiring. Be sure to turn off the power supply before making any connections and consult a qualified electrician if needed.
- Perform a visual inspection: Once the fans are securely mounted and all connections are made, perform a visual inspection to ensure everything is in place and properly aligned. Check for any loose screws or connections and tighten them if necessary.
Always refer to the specific instructions provided by the manufacturer of your ventilation fans for proper installation techniques and safety precautions. Following the manufacturer’s guidelines will help ensure optimal performance and longevity of the fans.
With the ventilation fans successfully mounted, it’s time to move on to the next step: connecting the ductwork and fans.
Step 7: Connect the Ductwork and Fans
Connecting the ductwork and fans is a critical step in completing the ventilation system installation. Properly connecting these components ensures a seamless airflow path throughout your home. Follow these steps to connect the ductwork and fans effectively:
- Prepare the ends of the ducts: Trim any excess duct material and ensure that the ends are clean and free from debris. Smooth out any rough edges to create a clean surface for connection.
- Attach the ductwork to the fans: Depending on the type of ventilation system you have, there may be different connection methods. Follow the manufacturer’s instructions and connect the ducts to the fans using appropriate clamps, connectors, or adhesive tapes.
- Ensure a secure and airtight connection: Tighten the clamps or fasteners to secure the ducts to the fans. Check for any gaps or leaks and seal them using duct tape, foil tape, or duct mastic. A proper and airtight connection is essential for efficient airflow and maximum system performance.
- Double-check alignment and positioning: Verify that the ductwork and fans are aligned correctly to maintain a smooth airflow path. Adjust the positioning if necessary, ensuring that there are no restrictions or blockages along the path.
- Insulate the connections (if needed): Depending on the location and climate, insulating the ductwork connections can help prevent condensation and maintain desired temperatures. Use insulation sleeves or wraps specifically designed for this purpose.
- Perform a visual inspection and airflow test: Before sealing up any access points, visually inspect the connections for any loose parts or gaps. Once satisfied, turn on the ventilation system and conduct an airflow test to ensure that air is flowing smoothly through the ductwork and fans.
Remember to carefully follow the manufacturer’s instructions for connecting the ductwork and fans. Each ventilation system may have specific requirements, and adhering to these guidelines will ensure optimal functionality and performance.
With the ductwork and fans successfully connected, you’re one step closer to completing your ventilation system installation. The next step is to install the ventilation control system.
Step 8: Install the Ventilation Control System
Installing the ventilation control system is an essential part of setting up your ventilation system. The control system allows you to regulate and monitor the airflow, ensuring optimal performance and comfort. Follow these steps to install the ventilation control system:
- Choose the control system: Select the appropriate control system for your ventilation system. It can range from simple manual switches to more advanced programmable thermostats or smart home devices. Consider your needs, preferences, and the features offered by the control system.
- Determine the control system’s location: Find a suitable location to mount the control system. It should be easily accessible and ideally placed in a centralized area, such as a hallway or utility room.
- Cut the opening (if required): If your control system requires a wall-mounted installation, use a utility knife or appropriate cutting tool to create a clean and precise opening in the wall. Take measurements and follow the manufacturer’s specifications for the dimensions.
- Mount the control system: Attach the control system to the designated location using the provided mounting brackets or screws. Ensure that it is securely fastened and level.
- Connect the wiring: Follow the manufacturer’s instructions to connect the control system to the ventilation fans and any sensors or switches. If you are unsure about wiring procedures, consult a qualified electrician for assistance.
- Test the control system: Power on the ventilation system and test the control system to ensure that it accurately regulates the fans’ operation. Verify that the control system is responding correctly and that you can control the airflow as desired.
- Set the desired settings: Once the control system is functioning correctly, configure the settings according to your preferences. This could include setting the desired ventilation schedule, adjusting fan speed levels, or programming temperature thresholds.
- Perform a final inspection: Double-check all connections, wiring, and settings before closing up any access points or covering the control system. Ensure that everything is in place, functioning properly, and meets safety standards.
It’s important to closely follow the manufacturer’s instructions for your specific control system and ventilation system. This will ensure proper installation and operation of the control system, allowing you to effectively manage and optimize your ventilation system’s performance.
With the ventilation control system successfully installed, you’re almost done with the installation process. The final step is to test and adjust the ventilation system.
Read more: How To Install Broan Range Hood
Step 9: Test and Adjust the Ventilation System
Testing and adjusting your ventilation system is the final step to ensure that it is functioning properly and efficiently. This step allows you to fine-tune the system and make any necessary adjustments. Follow these steps to test and adjust your ventilation system:
- Power on the system: Turn on the ventilation system and ensure that all components are running as expected. Listen for any unusual noises or vibrations that may indicate issues with the fans or ductwork.
- Check airflow and ventilation: Test the airflow in each room to verify that the ventilation system is adequately distributing fresh air and removing stale air. Ensure that the airflow is evenly balanced and that there are no areas with poor ventilation.
- Monitor indoor air quality: Use an indoor air quality monitor to assess the air quality in different areas of your home. This will help you determine if the ventilation system is effectively removing pollutants and maintaining a healthy indoor environment.
- Assess humidity levels: Measure the humidity levels in your home using a hygrometer. Verify that the ventilation system is adequately controlling humidity and preventing excessive moisture buildup.
- Monitor fan operation: Observe the ventilation fans during operation to ensure they are running smoothly and at the desired speed. If applicable, make adjustments to fan speed or settings to optimize performance.
- Test control system functionality: Use the control system to adjust the ventilation settings and verify that it accurately controls the operation of the fans. Test different settings such as fan speed, scheduling, and any other integrated features.
- Make necessary adjustments: Based on your observations and test results, make any necessary adjustments to the ventilation system. This could include balancing airflow, improving ventilation in specific areas, or modifying control system settings.
- Consult professionals if needed: If you encounter persistent issues or are unsure about certain aspects of the ventilation system, consider consulting with professionals. They can provide guidance and expertise to help optimize your system’s performance.
- Regular maintenance: Establish a regular maintenance schedule for your ventilation system. This may include cleaning or replacing air filters, inspecting ductwork for leaks, and ensuring proper fan operation. Sticking to a maintenance routine will help prolong the lifespan and efficiency of your system.
By thoroughly testing and adjusting your ventilation system, you can ensure that it is functioning optimally and providing the desired air quality and comfort in your home. Regular monitoring and maintenance will help sustain efficient performance over time.
Congratulations! With the completion of these steps, you have successfully installed and tested your ventilation system. Enjoy the benefits of improved indoor air quality and a healthier living environment!
Conclusion
Installing a ventilation system is an important step towards maintaining a healthy and comfortable home environment. By following the nine steps outlined in this guide, you can successfully set up a ventilation system that improves indoor air quality, removes pollutants, and promotes fresh air circulation.
Throughout the installation process, it is crucial to determine your ventilation system requirements, choose the right system that suits your needs, gather the necessary tools and materials, plan the installation layout, install the ductwork, mount the ventilation fans, connect the ductwork and fans, install the ventilation control system, and finally, test and adjust the system to ensure optimal performance.
Remember to refer to the manufacturer’s instructions and consult with professionals when needed to ensure proper installation and address any specific concerns or requirements you may have. Your ventilation system should be tailored to your home’s unique characteristics and the needs of its occupants.
Additionally, regular maintenance and monitoring of your ventilation system are crucial to ensure long-term efficiency and performance. Keep track of the system’s functionality, monitor air quality, and carry out routine inspections to detect and address any issues promptly.
By installing a ventilation system and maintaining its proper function, you can enjoy numerous benefits, including improved indoor air quality, reduced moisture levels, and a more comfortable living space. A well-ventilated home is essential for optimizing the health and well-being of you and your loved ones.
Now that you have the knowledge and guidance on how to install a ventilation system, take the necessary steps to create a healthier and more comfortable home environment. Breathe in the fresh air and enjoy the benefits of a well-ventilated space!
Frequently Asked Questions about How To Install A Ventilation System
Was this page helpful?
At Storables.com, we guarantee accurate and reliable information. Our content, validated by Expert Board Contributors, is crafted following stringent Editorial Policies. We're committed to providing you with well-researched, expert-backed insights for all your informational needs.



0 thoughts on “How To Install A Ventilation System”