Home>Articles>How To Measure Windows For Outside Mount Blinds
Articles
How To Measure Windows For Outside Mount Blinds
Modified: January 5, 2024
Learn how to measure your windows for outside mount blinds with our informative articles. Achieve a perfect fit and enhance your home's aesthetic appeal.
(Many of the links in this article redirect to a specific reviewed product. Your purchase of these products through affiliate links helps to generate commission for Storables.com, at no extra cost. Learn more)
Introduction
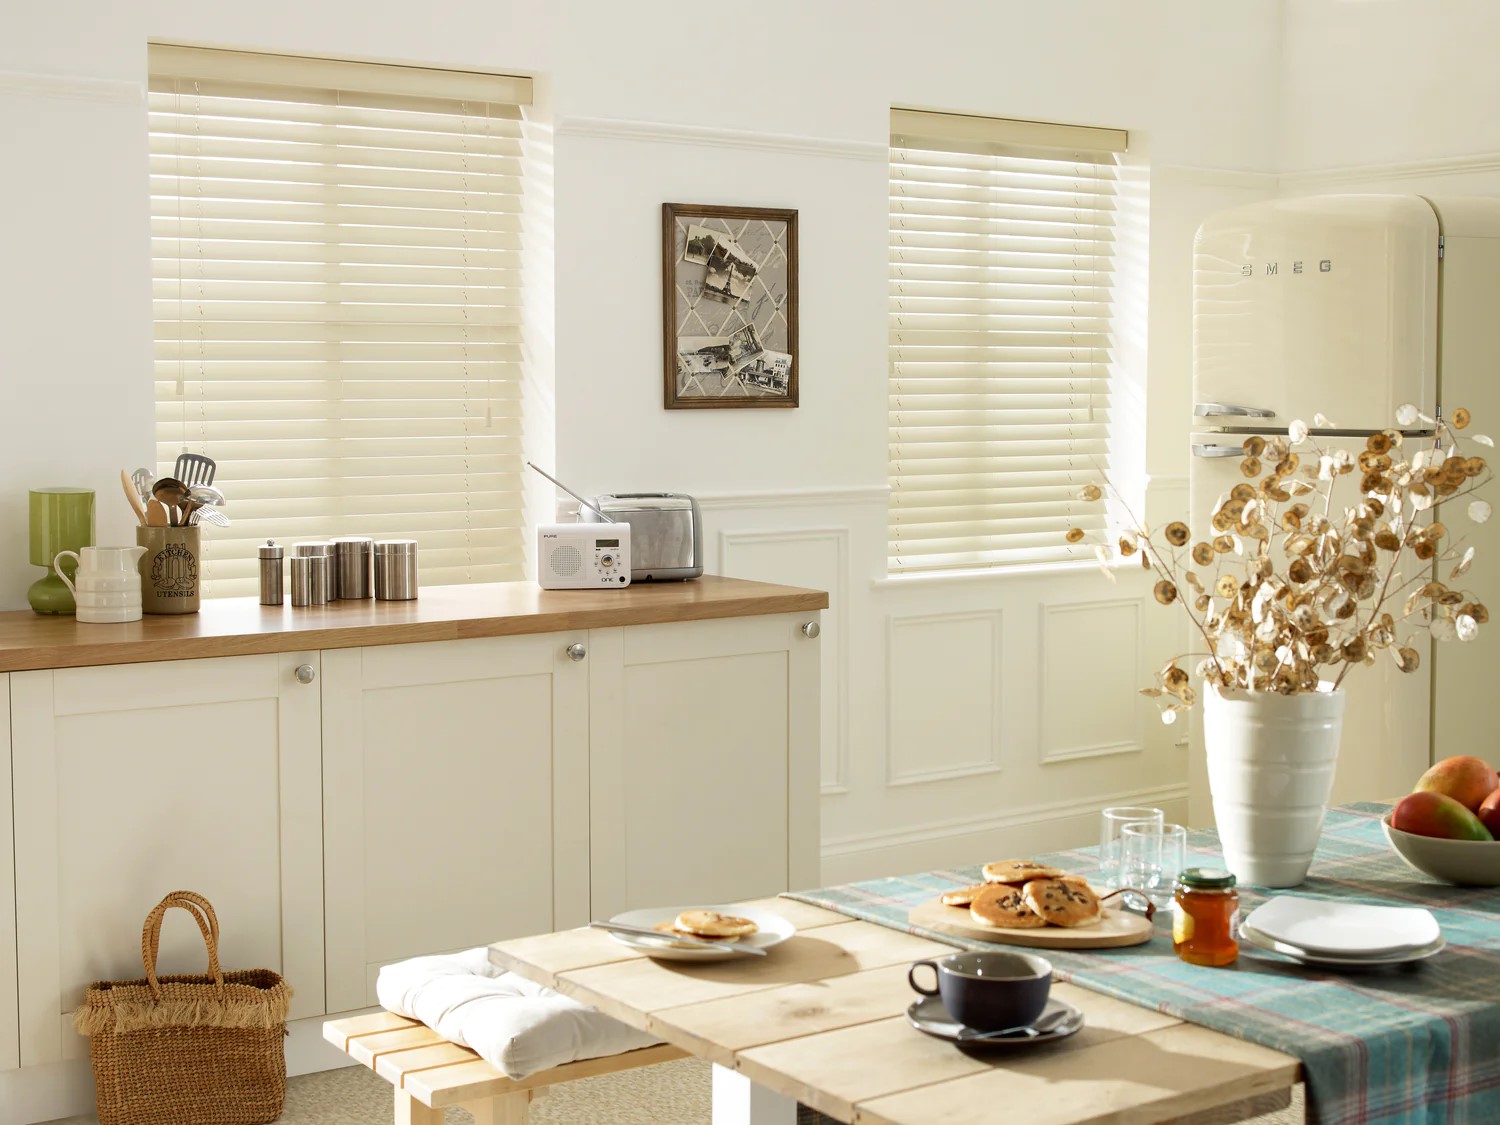
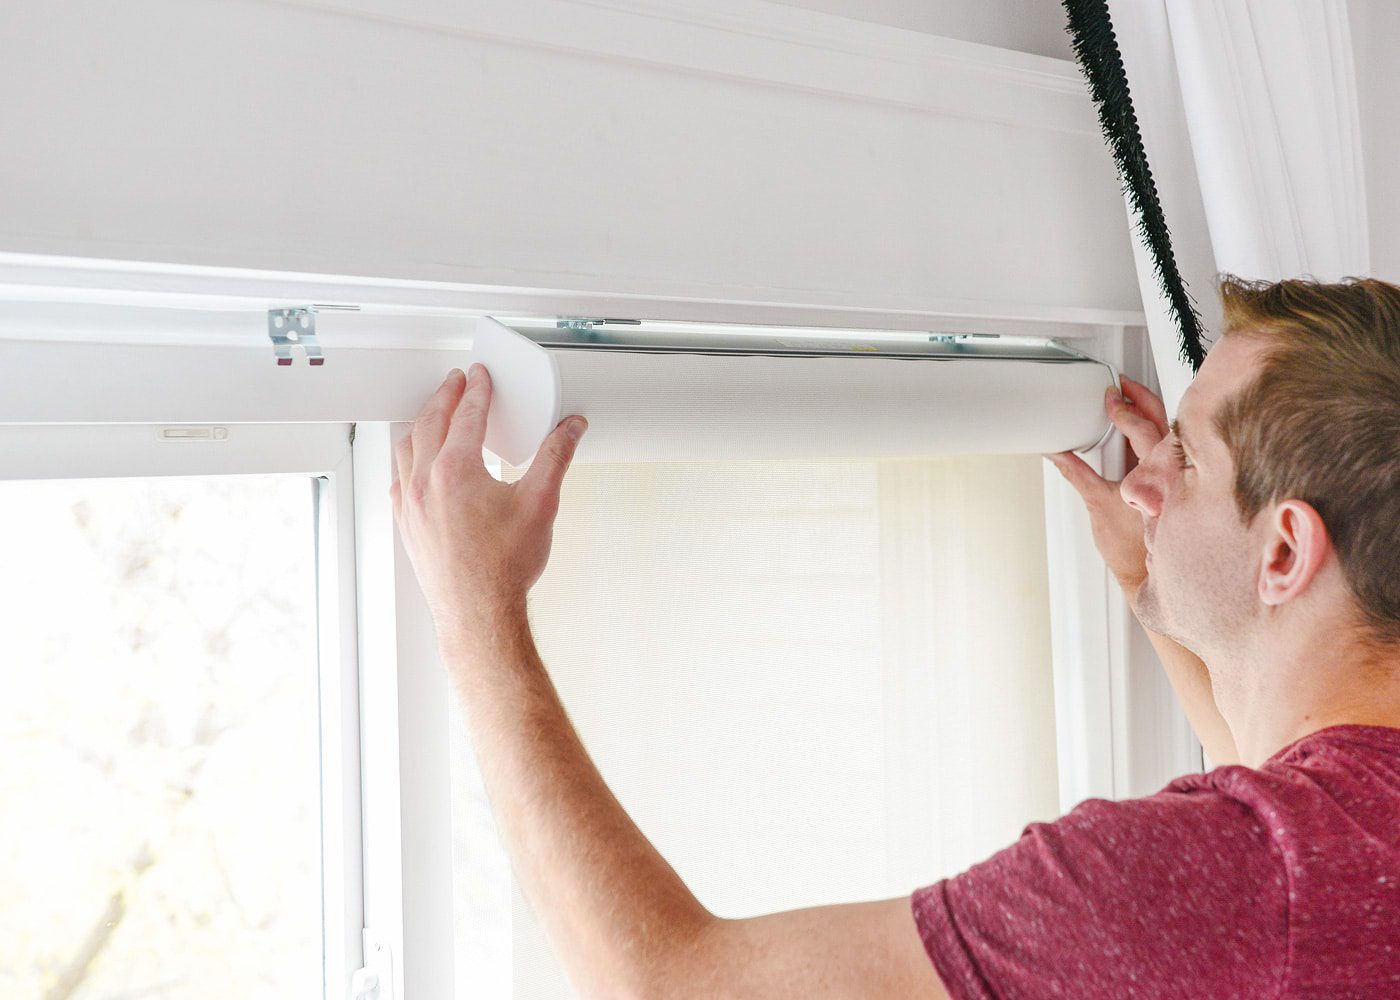
Choosing the right window coverings can greatly contribute to the overall look and feel of any room. One popular option is outside mount blinds, which are mounted above the window frame and offer a clean and streamlined appearance. However, to ensure a perfect fit, it is crucial to measure the windows accurately before ordering your blinds.
In this article, we will guide you through the process of measuring windows for outside mount blinds. By following these simple steps, you can ensure that your blinds will fit snugly and enhance the aesthetic appeal of your space. So, let’s get started!
Key Takeaways:
- Accurate measurements are essential for ordering outside mount blinds. Consider overlapping allowances and bracket placement to ensure a perfect fit and enhance the aesthetic appeal of your space.
- Choosing the right blind size and type based on accurate measurements is crucial for optimal light control and privacy. Double-check your measurements before ordering to avoid any mistakes.
Tools and Materials Needed
Before you begin measuring your windows for outside mount blinds, it’s essential to gather all the necessary tools and materials. Here’s a list of what you’ll need:
- Tape measure
- Pencil or pen
- Notepad or paper
- Step ladder (if needed)
Having these tools on hand will make the measuring process much more straightforward and efficient. Now, let’s move on to the step-by-step instructions for measuring your windows.
Step 1: Gathering Measurements
Before you start measuring your windows, it’s important to determine whether you want your outside-mount blinds to fit within the window frame or extend beyond it. This decision will impact the measurements you take.
If you want your blinds to fit within the window frame, measure the width and height inside the frame. Alternatively, if you want your blinds to extend beyond the frame for maximum coverage and light blockage, measure the width and height of the entire window opening.
Make sure to measure each window individually, as windows may vary in size even within the same room. Additionally, consider factors such as obstructions, molding, or other elements that may affect the placement of the blinds.
Now that you’re ready to measure your windows, grab your tape measure, notepad, and pencil. Proceed to the window you wish to measure, and let’s move on to the next step.
Step 2: Measuring the Window Width
Measuring the width of your window accurately is crucial to ensure a proper fit for your outside mount blinds. Follow these steps to get an accurate measurement:
- Start by locating the left edge of the window frame.
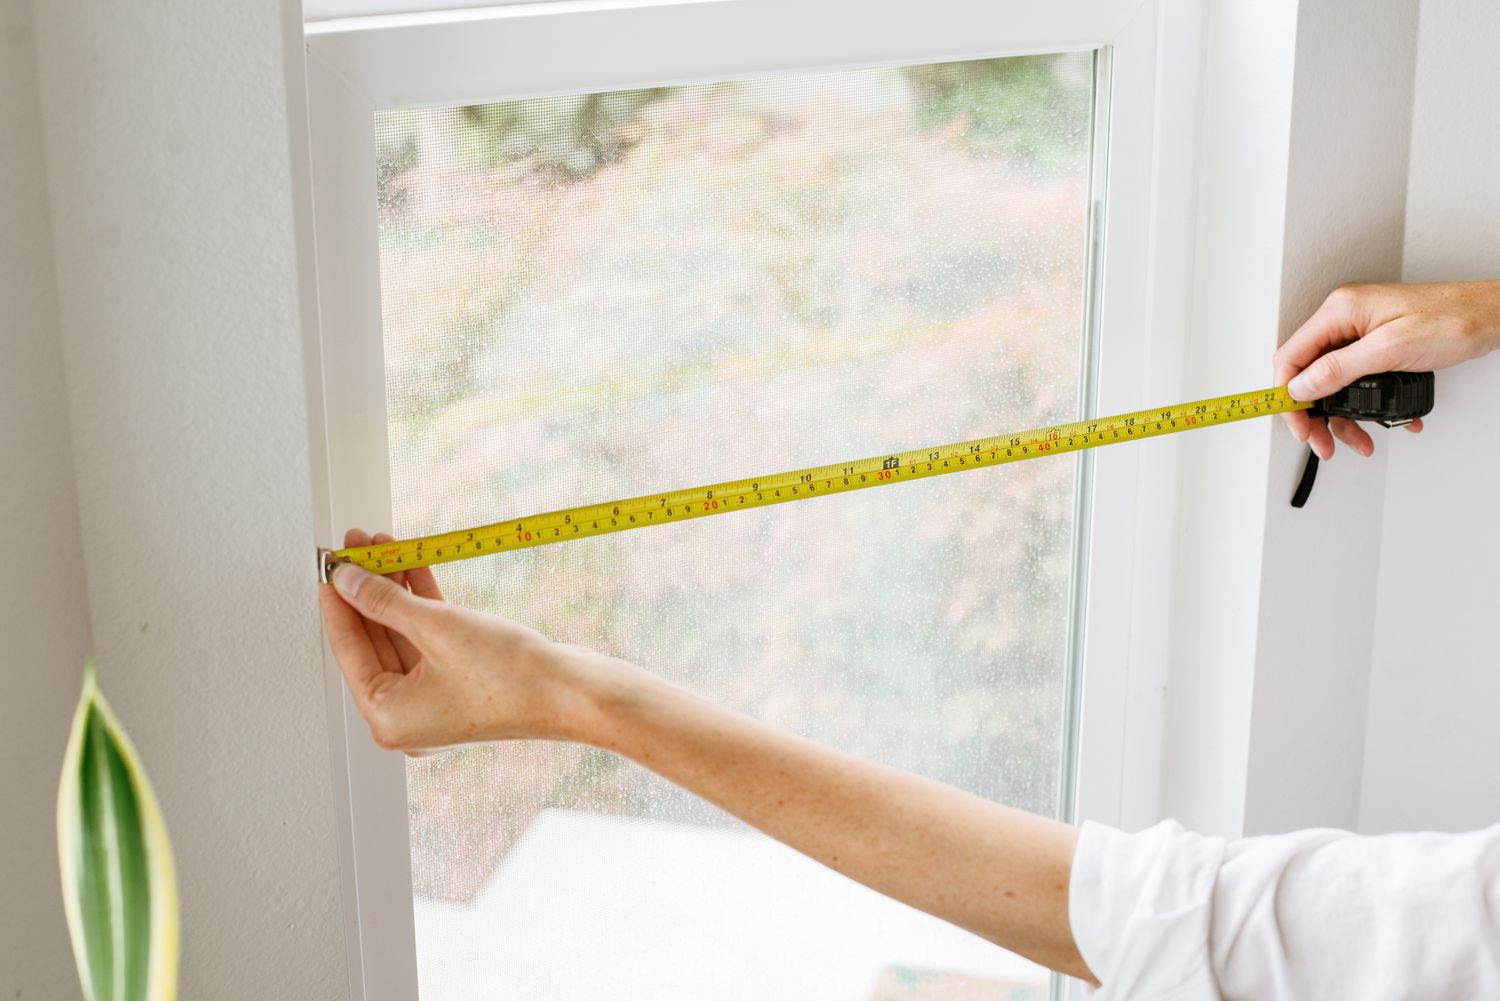
- Using your tape measure, measure from the left edge of the frame to the right edge. Be sure to measure at the top, middle, and bottom of the window to account for any irregularities.
- Write down the largest measurement you obtained. This will be your window width measurement.
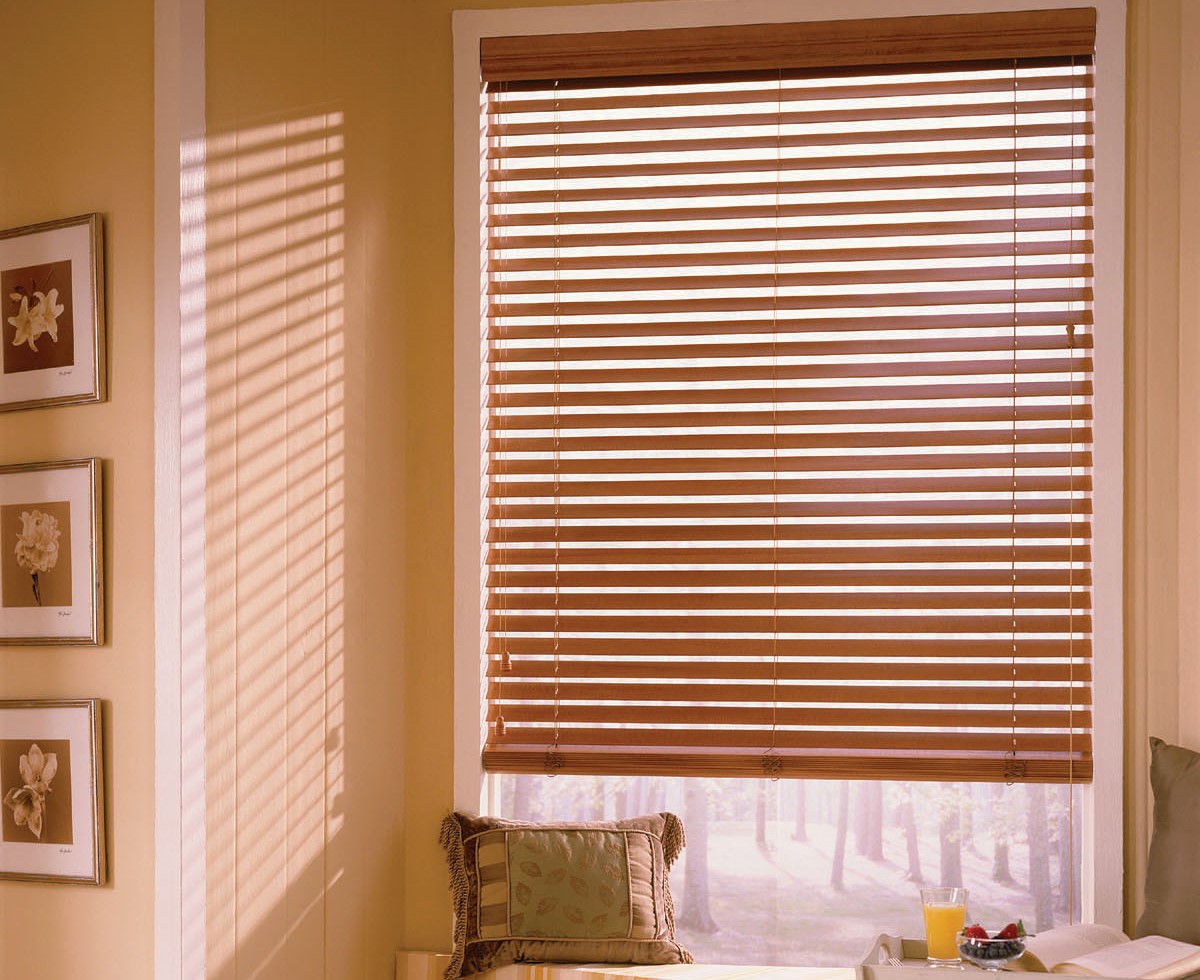
It’s important to note that for outside mount blinds, you have the flexibility to choose how much overlap you want on each side of the window. Typically, a 2-4 inch overlap on each side is recommended for optimal light control and privacy.
Once you have determined your desired overlap amount, add it to the window width measurement. This will give you the final width measurement you need to order your outside mount blinds. Write down this measurement to ensure accuracy when placing your order.
Repeat this process for each window, as measurements may vary from one window to another. Additionally, double-check your measurements to ensure accuracy before proceeding to the next step.
Step 3: Measuring the Window Height
Now that you have measured the width of your window, it’s time to measure the height. Follow these steps to get an accurate measurement:
- Locate the top edge of the window frame.
- Using your tape measure, measure from the top edge of the frame to the bottom edge. Again, measure at multiple points along the height of the window to account for any variations.
- Write down the largest measurement you obtained. This will be your window height measurement.
When measuring the height, it’s important to consider any obstructions at the top or bottom of the window, such as trim, molding, or handles. Ensure that your blinds will have sufficient clearance to operate smoothly without any obstructions in their path.
Similar to the window width measurement, you need to account for the desired overlap at the top and bottom. Typically, a 2-4 inch overlap is recommended.
Add the overlap amount to the window height measurement to obtain the final height measurement for your outside mount blinds. Write down this measurement to ensure accuracy when placing your order.
Remember to repeat this process for each window, as measurements may vary. Double-check your measurements to ensure accuracy before proceeding to the next step.
Step 4: Determining the Blind Size
Now that you have obtained the width and height measurements for your windows, it’s time to determine the size of the blinds you need.
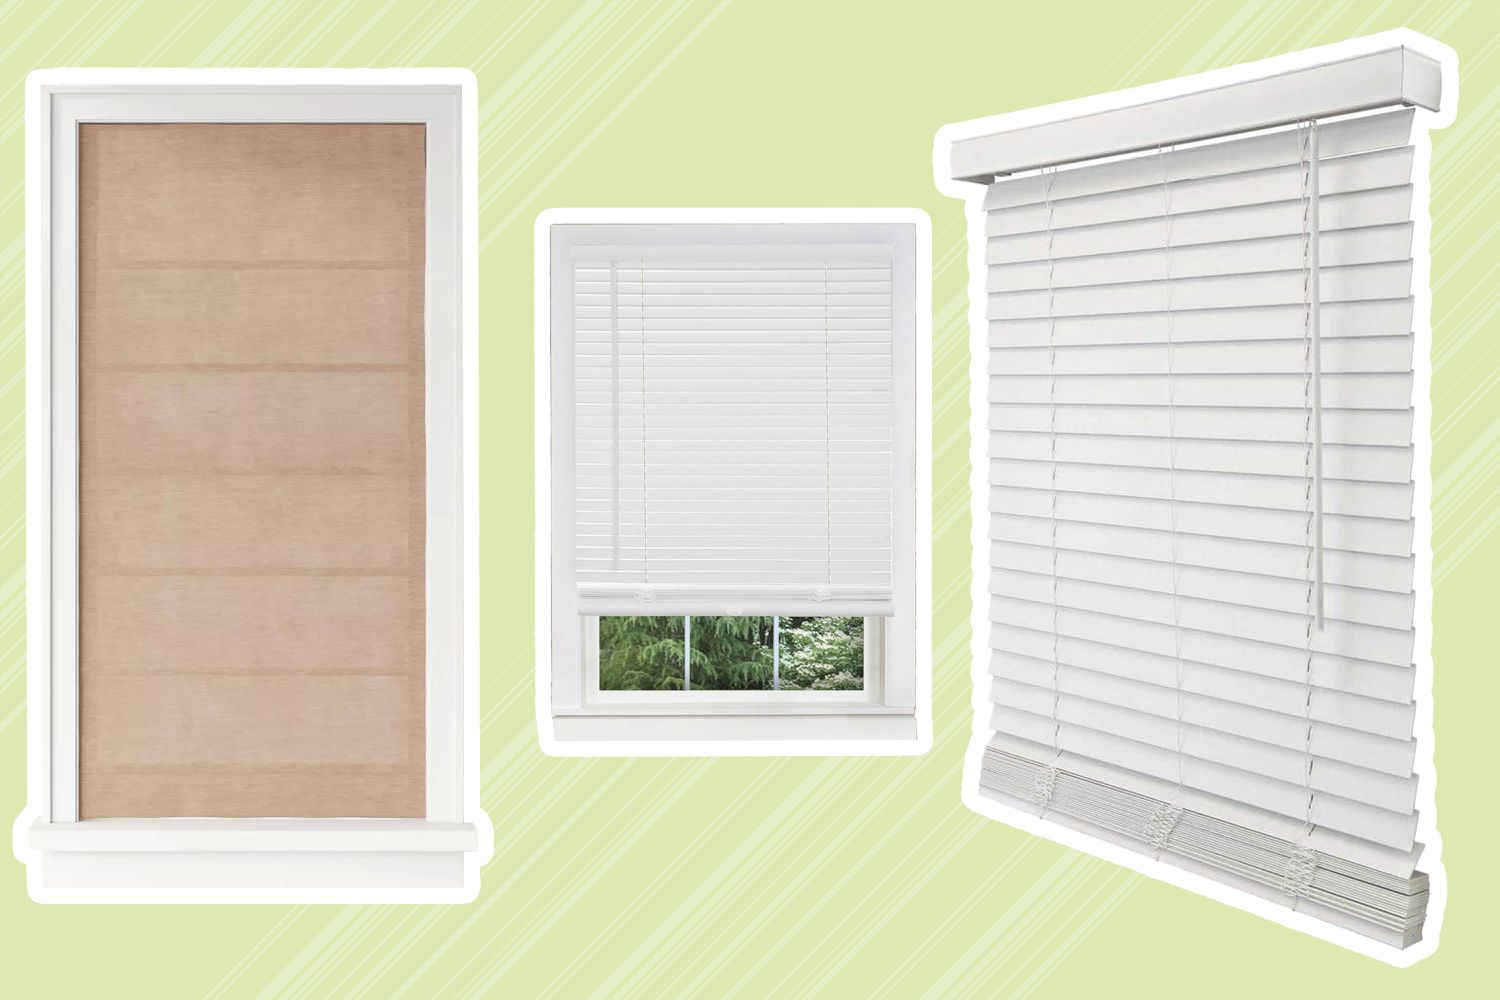
To determine the blind size, you need to consider both the window size and the type of blinds you prefer. Some blinds, such as roller blinds or cellular shades, have a smaller stack height when fully raised, while others, like vertical blinds or roman shades, may require extra space.
It’s essential to choose blinds that will fit comfortably within your window space and provide the desired functionality. Many blind manufacturers provide size guidelines based on window measurements, so be sure to consult their recommendations or contact their customer service for assistance.
Keep in mind that blinds are typically ordered in whole number increments. If you find that your window measurements fall between standard sizes, it’s best to round up to the nearest whole number for both width and height.
Once you have determined the appropriate blind size based on your window measurements and the type of blinds you prefer, make a note of this size for each window. This will simplify the ordering process and help ensure you receive the correct blinds.
Now that you know the blind size, it’s time to move on to the next step: adding overlapping allowances.
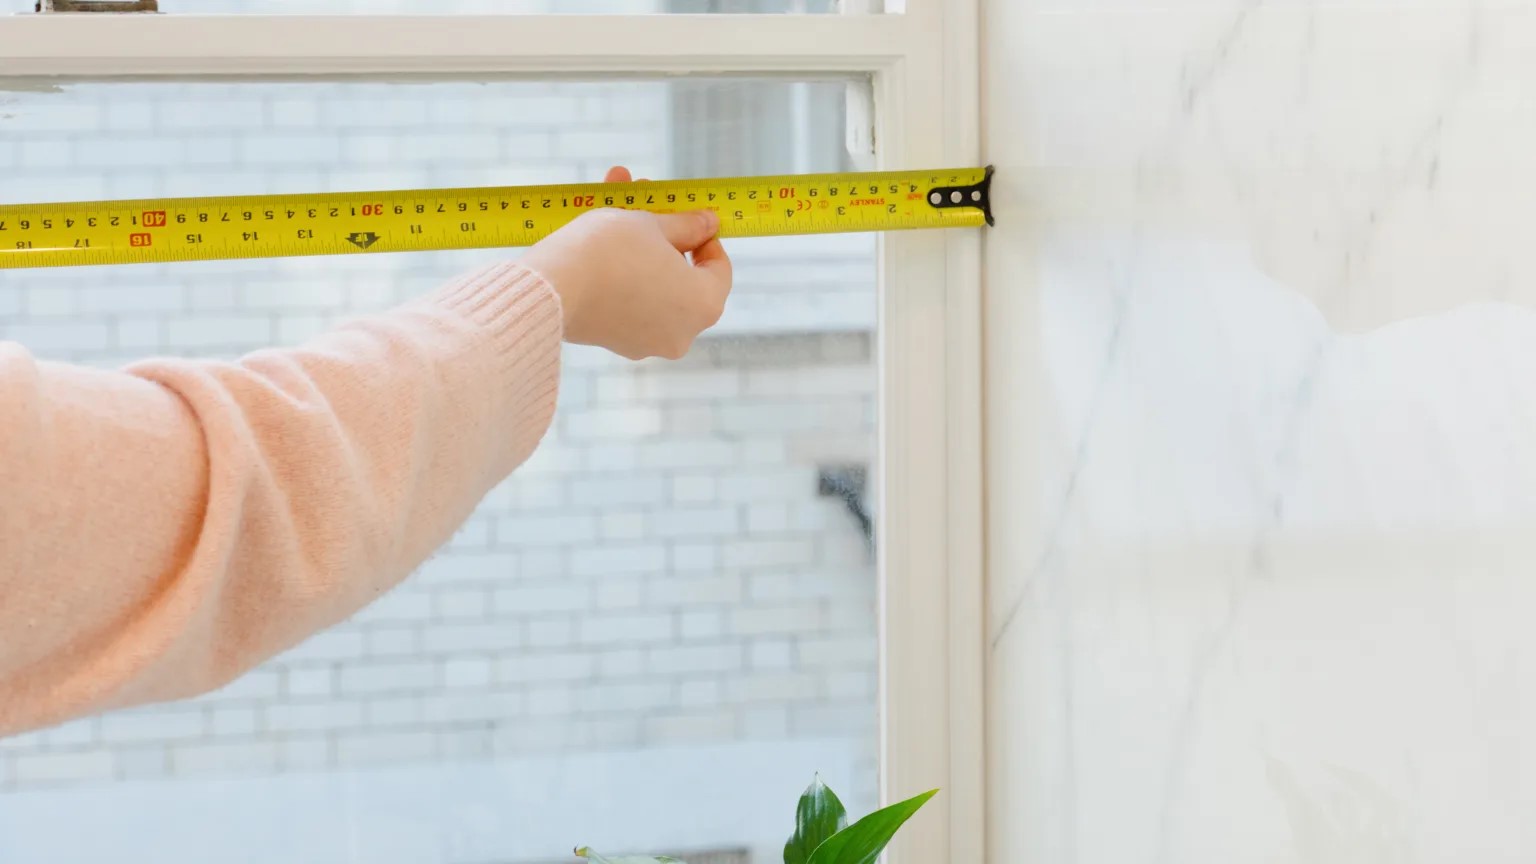
When measuring for outside mount blinds, always measure the width at the top, middle, and bottom of the window to account for any variations. This will ensure a proper fit for your blinds.
Step 5: Adding Overlapping Allowances
Adding overlapping allowances is an important step to ensure proper coverage and functionality of your outside mount blinds. The overlapping allowance refers to the additional width and height that you add to your window measurements to account for the blinds’ mounting brackets.
Typically, a 1-2 inch overlapping allowance is recommended on each side of the window for proper light control and privacy. This allowance ensures that the blinds will fully cover the window opening without any gaps.
To add the overlapping allowance, simply take your window width measurement and add the desired amount on each side. For example, if your window width measurement is 40 inches and you want a 2 inch overlapping allowance, your final width measurement for ordering the blinds would be 44 inches.
Similarly, for the height measurement, add the overlapping allowance to both the top and bottom of the window. For instance, if your window height measurement is 50 inches and you want a 1 inch overlapping allowance on each side, your final height measurement for ordering the blinds would be 52 inches.
Remember to apply the overlapping allowances consistently to all your window measurements.
By adding the overlapping allowances, you can ensure that your outside mount blinds will fully cover the window opening when installed and provide the desired level of privacy and light control.
Now that you have added the overlapping allowances, it’s time to mark the mounting bracket placement on your windows. Let’s move on to the next step.
Step 6: Marking the Mounting Bracket Placement
Once you have determined the final measurements for your outside mount blinds, it’s time to mark the placement of the mounting brackets on your windows. Proper bracket placement is crucial for ensuring that the blinds are securely installed and function correctly.
Here’s how you can mark the mounting bracket placement:
- Using your pencil or pen, mark a small dot on the top corners of the window frame where the blinds will be mounted.
- Measure and mark the distance from the top of the window frame to the top of the mounting bracket. It’s important to follow the manufacturer’s guidelines for proper bracket placement.
- Repeat this process for the bottom corners of the window frame.
These markings will serve as a guide when installing the blinds, ensuring that the brackets are positioned correctly. Double-check your markings to ensure accuracy before proceeding.
If you have multiple windows, repeat this process for each window, as the bracket placement may vary.
Once you have marked the mounting bracket placement, it’s time to double-check your measurements before ordering your outside mount blinds.
Step 7: Double-Checking Measurements
Before placing your order for outside mount blinds, it’s crucial to double-check all your measurements to ensure accuracy. This step will help you avoid any mistakes and ensure that your blinds fit perfectly when they arrive.
Here’s how you can double-check your measurements:
- Review your recorded measurements for each window, including the width, height, and any overlapping allowances.
- Compare these measurements with your initial measurements to ensure consistency.
- Verify that you have added the correct overlapping allowances to each measurement.
- Double-check the placement of the mounting bracket markings on each window to ensure accuracy.
If any discrepancies or inconsistencies are found, take the time to remeasure the windows to ensure accuracy. It’s better to take the necessary precautions now to prevent any issues with the blinds’ fit later on.
By double-checking your measurements, you can have peace of mind knowing that you have accurately measured your windows and are ready to order your outside mount blinds.
With your measurements double-checked and confirmed, it’s time to move on to the final step: ordering the blinds.
Step 8: Ordering the Blinds
Now that you have completed all the necessary measurements and double-checked for accuracy, it’s time to order your outside mount blinds.
When ordering the blinds, there are a few key factors to consider:
- Blind Type: Choose the specific type of blinds that best suits your needs and preferences, such as roller blinds, roman shades, or vertical blinds.
- Material and Color: Select the material and color that align with your décor and personal style. Consider factors like light filtering or room darkening properties, as well as the durability and maintenance requirements of the material.
- Size: Use the final measurements you obtained in the previous steps, including the width and height with the overlapping allowances, to specify the size of the blinds.
- Features: Decide on any additional features you may want, such as cordless or motorized operation, valances, or control options.
It’s important to order your blinds from a reputable manufacturer or retailer and provide them with accurate measurements to ensure a perfect fit. Many companies offer online ordering, where you can input your measurements and customize your blinds according to your preferences.
Before finalizing your order, carefully review all the details, including the measurements, blind type, color, and any additional features. If you have any doubts or questions, don’t hesitate to contact the manufacturer or retailer for assistance.
Once you have placed your order, eagerly anticipate the arrival of your new blinds. With proper measurements in hand, you can be confident in knowing that they will fit your windows seamlessly and enhance the aesthetic appeal of your space.
Congratulations! You have successfully measured your windows for outside mount blinds and ordered the perfect blinds for your home.
Conclusion
Measuring windows for outside mount blinds may seem like a daunting task, but with the right approach, it can be a straightforward process. By following the step-by-step instructions outlined in this article, you can ensure accurate measurements and order blinds that fit perfectly.
Remember to gather all the necessary tools and materials before you begin measuring. Take the time to measure each window individually, considering any obstructions or irregularities that may affect the placement of the blinds.
Start by measuring the width and height of the window, adding overlapping allowances for optimal coverage. Mark the placement of the mounting brackets on the windows and double-check your measurements for accuracy.
Once you have confirmed your measurements, you can confidently proceed to order the blinds of your choice. Consider factors like blind type, material, color, and any additional features that align with your preferences and needs.
By taking the time to measure your windows accurately and order the right blinds, you can transform the look and feel of your space while enjoying the practical benefits of light control and privacy.
So go ahead, measure your windows with confidence, and elevate the aesthetics of your home with perfectly fitted outside mount blinds!
Frequently Asked Questions about How To Measure Windows For Outside Mount Blinds
Was this page helpful?
At Storables.com, we guarantee accurate and reliable information. Our content, validated by Expert Board Contributors, is crafted following stringent Editorial Policies. We're committed to providing you with well-researched, expert-backed insights for all your informational needs.