Home>Home Maintenance>How To Seal A Window Air Conditioner


Home Maintenance
How To Seal A Window Air Conditioner
Modified: March 7, 2024
Learn how to seal a window air conditioner for efficient cooling and increased home maintenance. Expert tips and step-by-step guide.
(Many of the links in this article redirect to a specific reviewed product. Your purchase of these products through affiliate links helps to generate commission for Storables.com, at no extra cost. Learn more)
Introduction
Welcome to our comprehensive guide on how to seal a window air conditioner! Window air conditioners are a popular cooling solution for many homeowners, as they are efficient, affordable, and easy to install. However, if not properly sealed, they can lead to drafts, energy inefficiency, and even potential water damage. By taking the time to seal your window air conditioner correctly, you can ensure that it operates at its maximum efficiency and keeps your home cool and comfortable.
In this guide, we will walk you through the step-by-step process of sealing your window air conditioner. We will discuss the materials you will need, as well as provide detailed instructions on how to clean the window frame, install a window seal kit, attach the window panel, seal the edges, and test for air leaks. Whether you are a seasoned DIY enthusiast or a beginner, this guide will provide you with all the information you need to seal your window air conditioner effectively.
Before we begin, it is important to note that each window air conditioner might have specific installation instructions provided by the manufacturer. We recommend consulting the user manual or contacting the manufacturer for any specific guidelines or recommendations. Now, let’s dive into the step-by-step process of sealing your window air conditioner!
Key Takeaways:
- Keep your window air conditioner efficient and your home comfortable by following these steps to seal it properly. It’s an easy DIY project that can save you money on energy bills and prevent drafts.
- Make sure to clean the window frame, install a window seal kit, attach the window panel, seal the edges, and test for air leaks to ensure your window air conditioner operates at its best. Regular maintenance will keep it running efficiently for years to come.
Read more: What Is A Window Air Conditioner
Materials Needed
Before you start sealing your window air conditioner, make sure you have the following materials ready:
- A window seal kit: This kit usually includes foam tape, adhesive strips, and a window panel. You can find these kits at most home improvement stores or online.
- A measuring tape: This will help you accurately measure the dimensions of the window and ensure a proper fit for the seal kit.
- A utility knife: You will need this to cut the foam tape to the correct size.
- A cleaning solution: Use a gentle cleaning solution or soap and water to clean the window frame before installation.
- A rag or paper towels: These will be used to wipe down the window frame during the cleaning process.
- A screwdriver or drill: Depending on the type of window panel, you may need a screwdriver or drill to secure it in place.
- A level: This will help you ensure that the window panel is installed straight and level.
- A caulking gun and silicone caulk: These will be used to seal any gaps or air leaks around the edges of the window frame.
Having these materials on hand will make the sealing process much smoother and efficient. Take the time to gather all the necessary tools and double-check that you have everything before you begin.
Now that you have all the materials ready, let’s move on to the step-by-step process of sealing your window air conditioner.
Step 1: Clean the Window Frame
The first step in sealing your window air conditioner is to clean the window frame. Over time, dust, dirt, and debris can accumulate on the window frame, preventing a proper seal. Here’s how to clean the window frame:
- Remove any curtains, blinds, or window treatments from the window.
- Use a gentle cleaning solution or soap and water to dampen a rag or sponge.
- Gently wipe down the window frame, paying close attention to the areas where the seal kit will be attached.
- If there are any stubborn stains or residue, you can use a mild abrasive cleaner or vinegar solution to remove them.
- Once you have cleaned the window frame, use a dry rag or paper towels to wipe away any moisture. Make sure the surface is completely dry before proceeding.
Cleaning the window frame ensures that the seal kit adheres properly and provides an airtight seal. It also removes any dust or dirt that could potentially affect the performance and longevity of the seal.
Once you have thoroughly cleaned the window frame, you are ready to move on to the next step: installing the window seal kit.
Step 2: Install Window Seal Kit
Now that the window frame is clean, it’s time to install the window seal kit. The seal kit is designed to create a tight seal around the window, preventing air leaks and improving energy efficiency. Follow these steps to install the window seal kit:
- Measure the dimensions of your window using a measuring tape. Take note of the width and height as you will need these measurements when cutting the foam tape.
- Start with the foam tape included in the seal kit. Cut the foam tape to fit the width and height of your window. Use a utility knife to make clean, straight cuts.
- Peel off the backing of the foam tape and carefully press it onto the window frame. Make sure to align the foam tape along the edges of the window to ensure a secure seal.
- Once the foam tape is applied, take the adhesive strips provided in the seal kit and attach them to the foam tape. These strips will provide additional reinforcement for the seal.
- Make sure the adhesive strips are firmly pressed onto the foam tape and the window frame. Smooth out any wrinkles or bubbles to ensure a flat and even surface.
Installing the window seal kit is a critical step in preventing air leaks and improving the efficiency of your window air conditioner. Take your time to measure accurately and adhere the foam tape and adhesive strips firmly to create a secure seal.
Now that the window seal kit is installed, let’s move on to the next step: attaching the window panel.
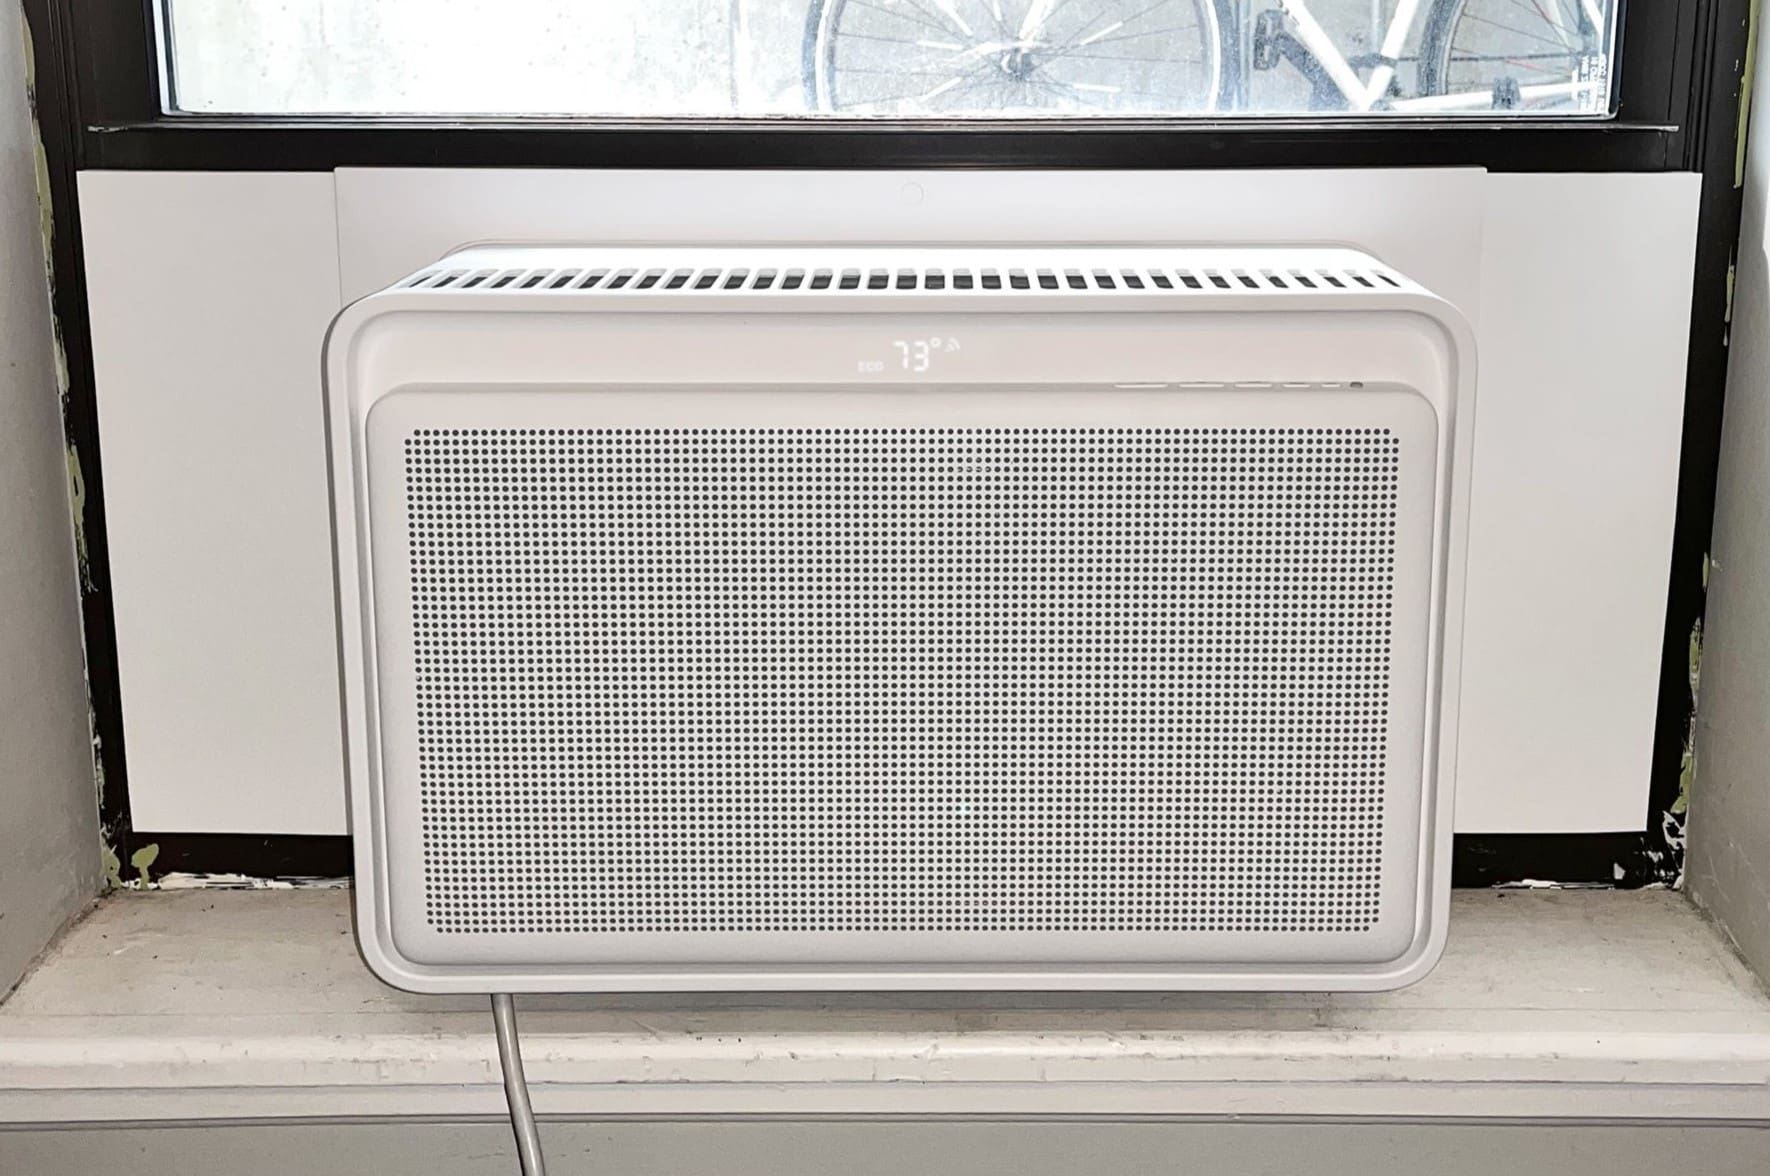
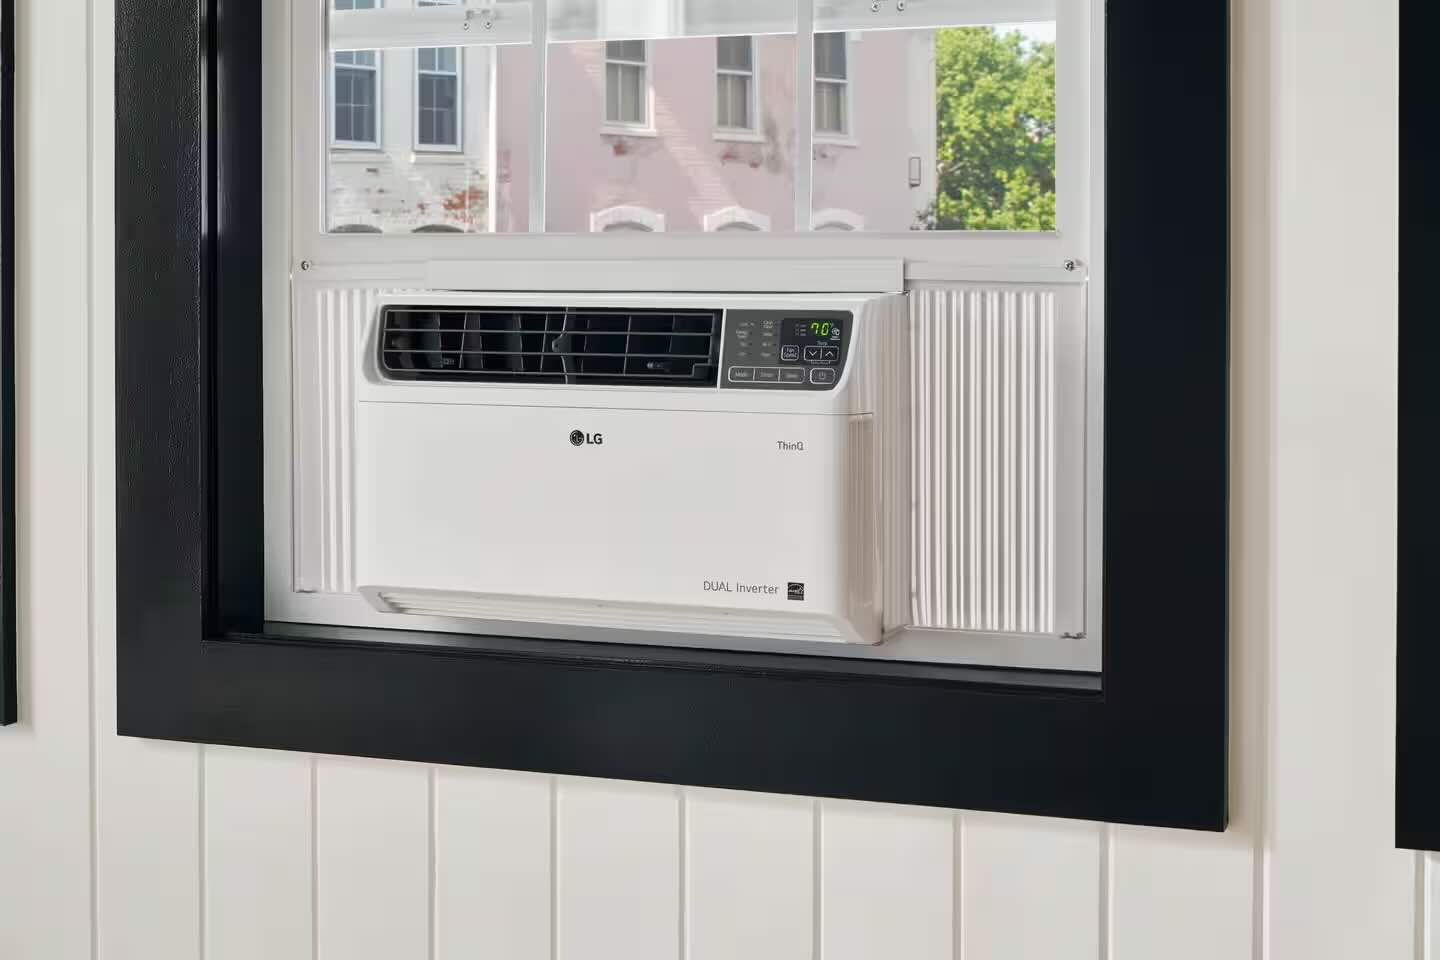
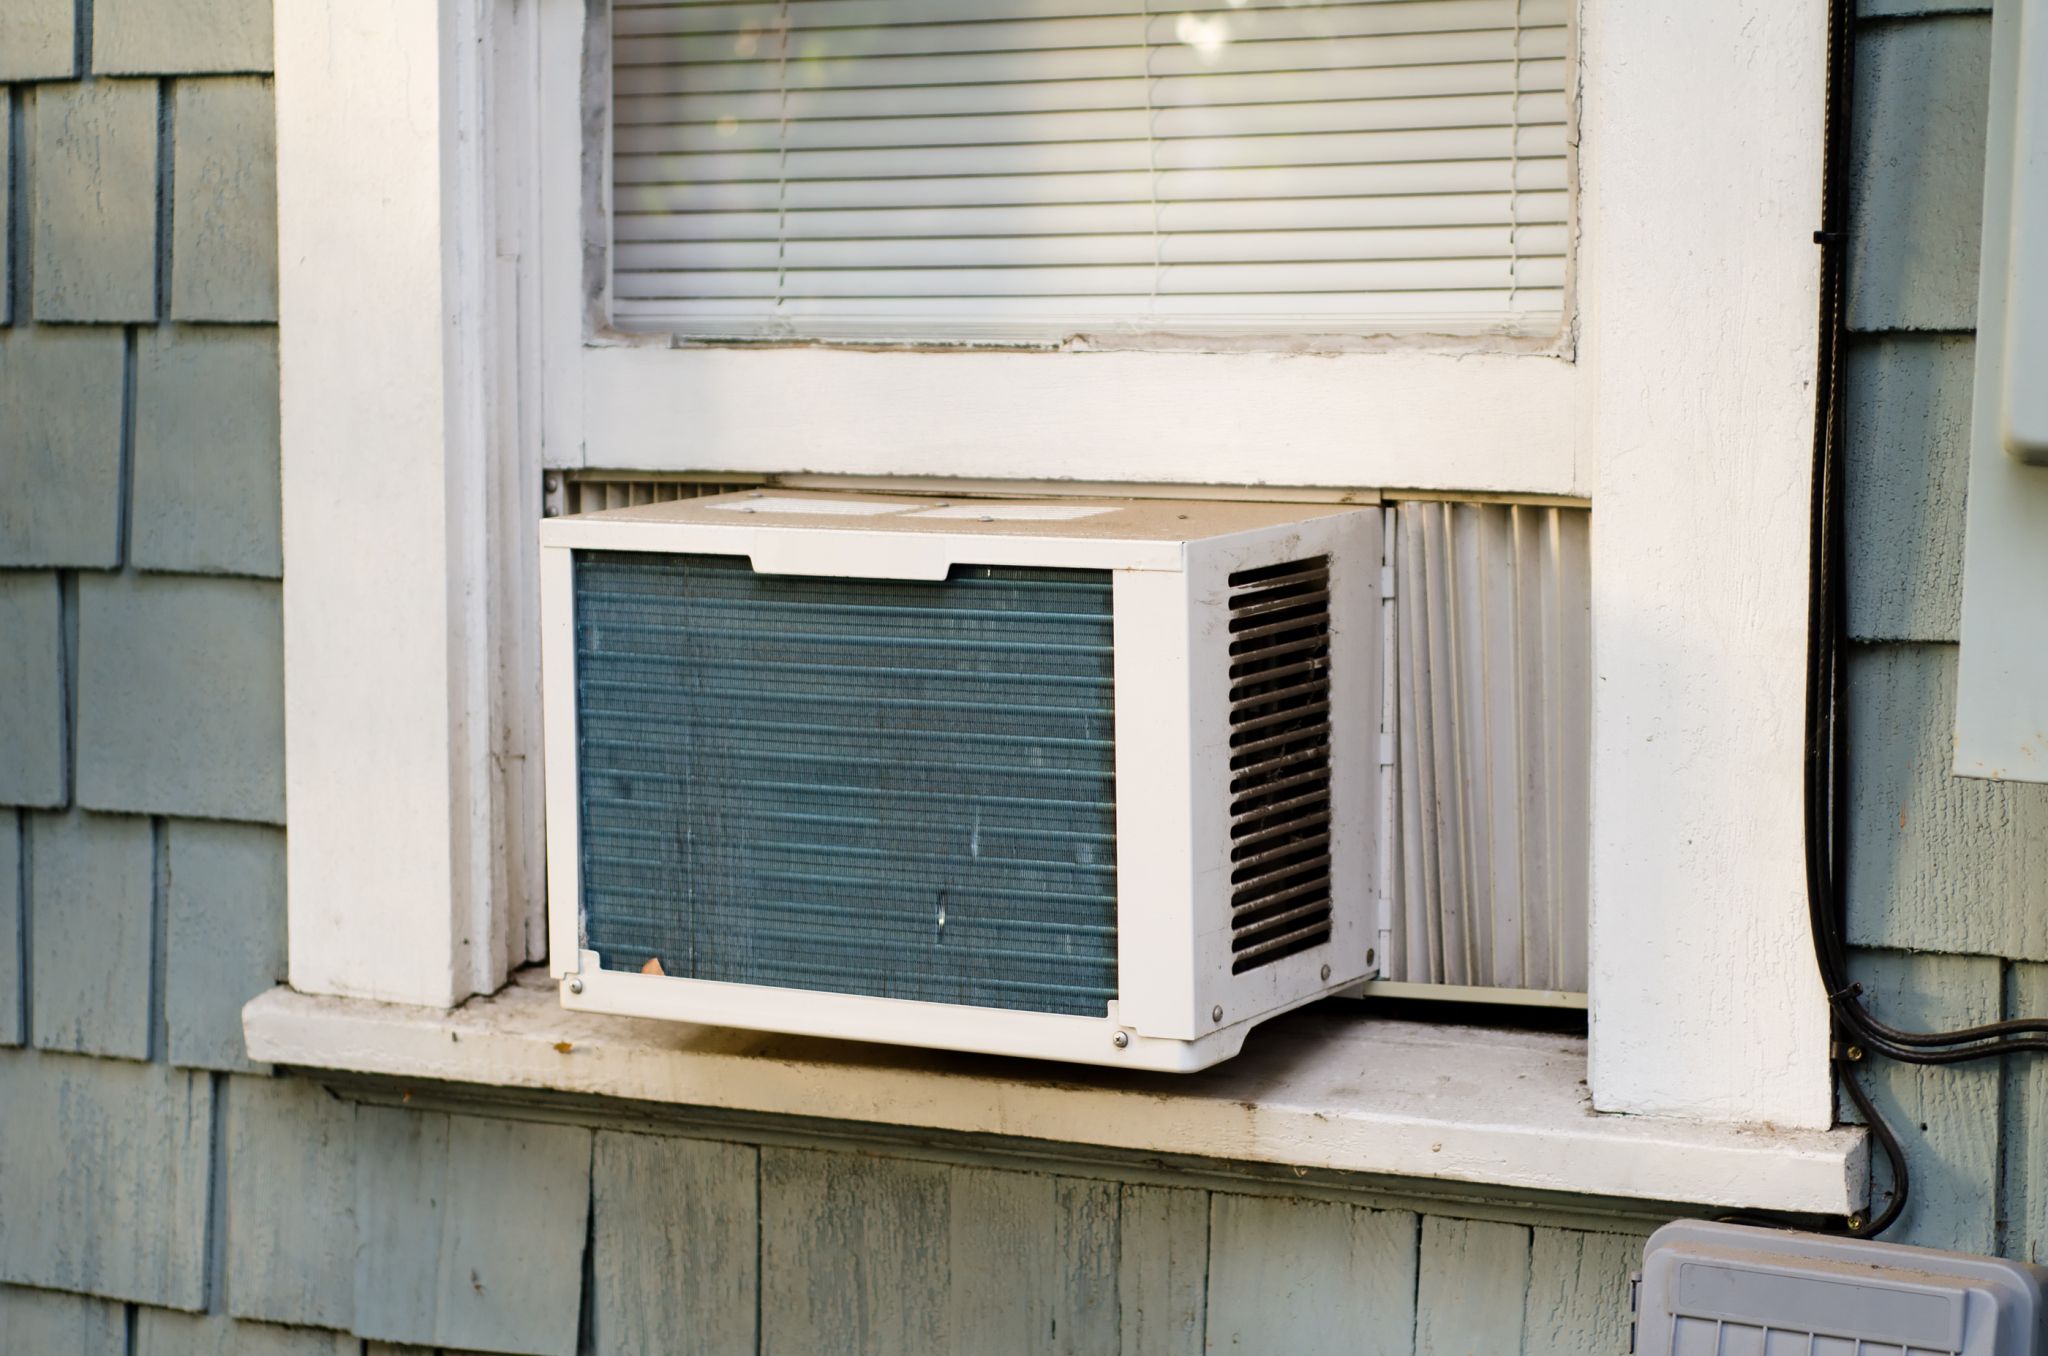
Use weatherstripping or foam insulation to seal gaps around the window air conditioner. This will prevent hot air from entering and improve energy efficiency.
Step 3: Attach the Window Panel
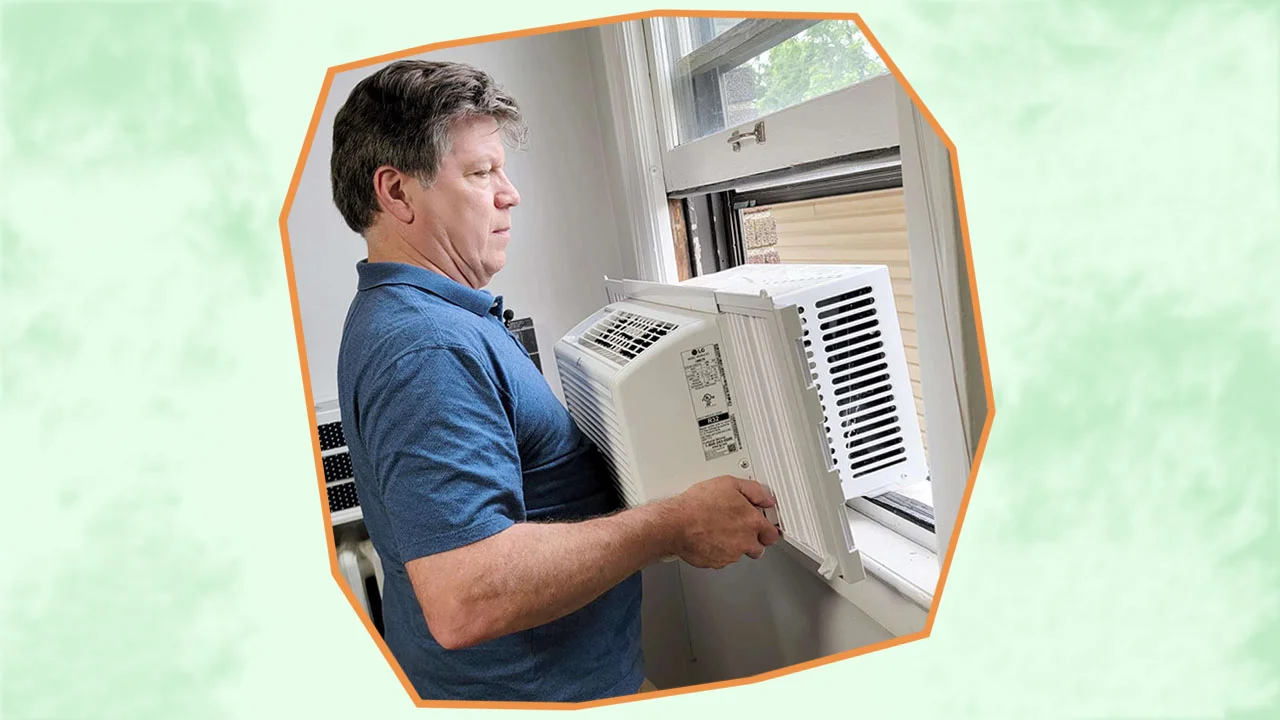
Once the window seal kit is in place, it’s time to attach the window panel. The window panel provides added support and stability to the air conditioner unit, ensuring that it stays securely in place. Follow these steps to attach the window panel:
- Locate the window panel included in the window seal kit. This panel is typically made of sturdy material, such as aluminum or plastic.
- Hold the window panel up to the top of the window frame, aligning it with the foam tape and adhesive strips.
- Slide the window panel down so that it fits snugly into the window frame. Ensure that it is centered and level by using a level to check for any tilting or misalignment.
- Depending on the type of window panel, you may need to secure it in place using screws or bolts. Refer to the manufacturer’s instructions for the specific method of attachment.
- Tighten the screws or bolts securely to keep the window panel in place. Make sure not to overtighten, as it could damage the window frame.
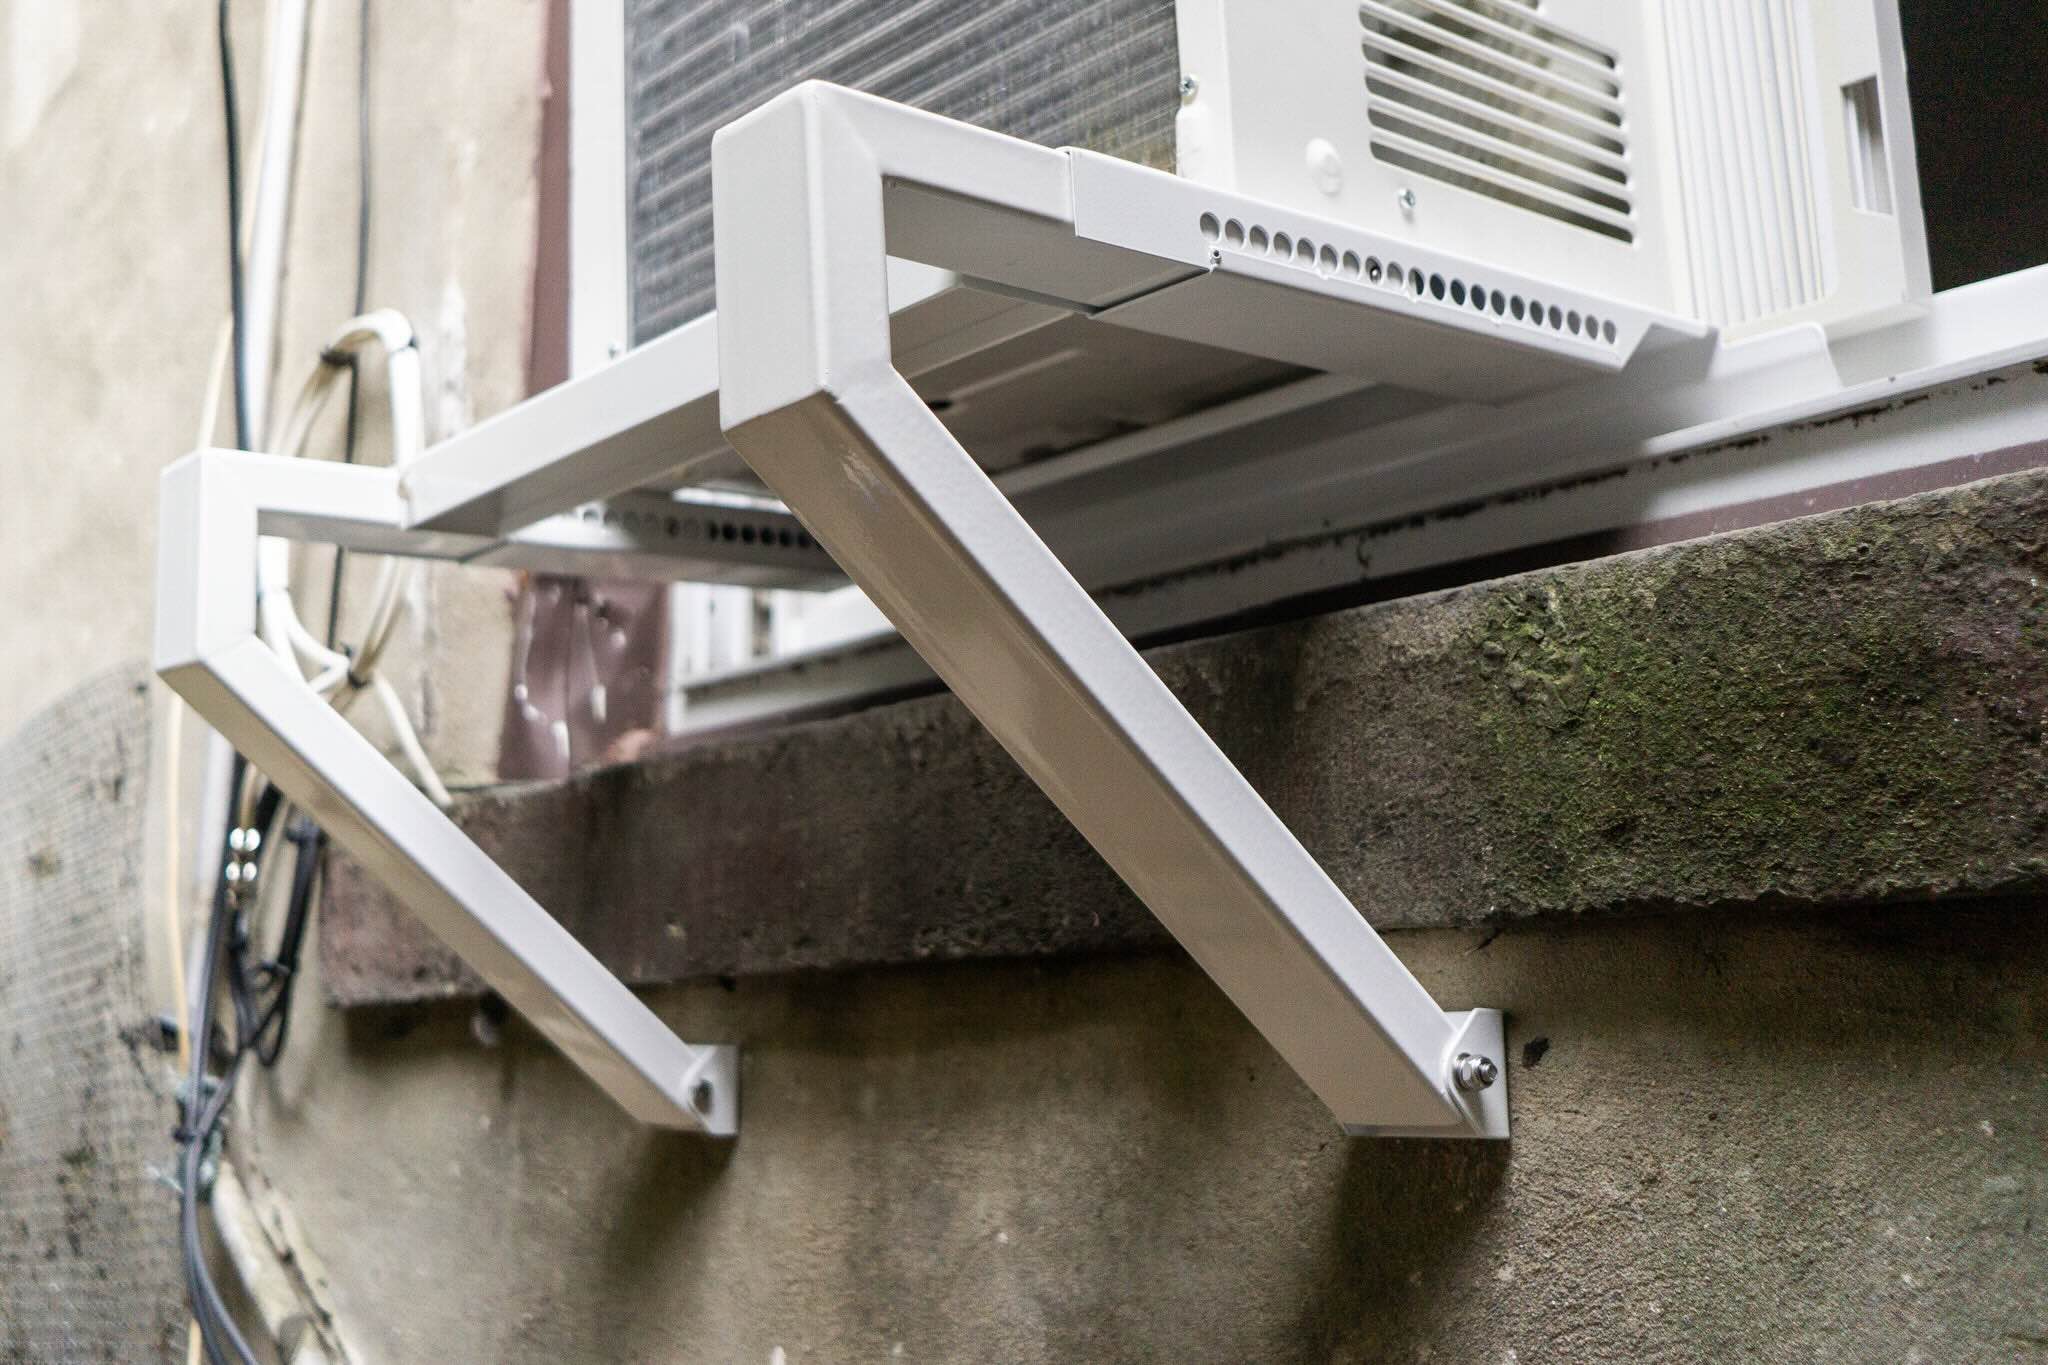
Attaching the window panel is essential for the stability and security of the window air conditioner unit. It prevents the unit from shifting or falling out of the window, providing peace of mind and ensuring the safety of both the unit and those in the vicinity.
Once the window panel is securely attached, we can move on to the final step: sealing the edges for maximum efficiency.
Step 4: Seal the Edges
Now that the window panel is in place, it’s important to seal the edges to prevent any air leaks or drafts from entering your home. Sealing the edges will ensure maximum efficiency and help maintain a comfortable indoor temperature. Follow these steps to seal the edges:
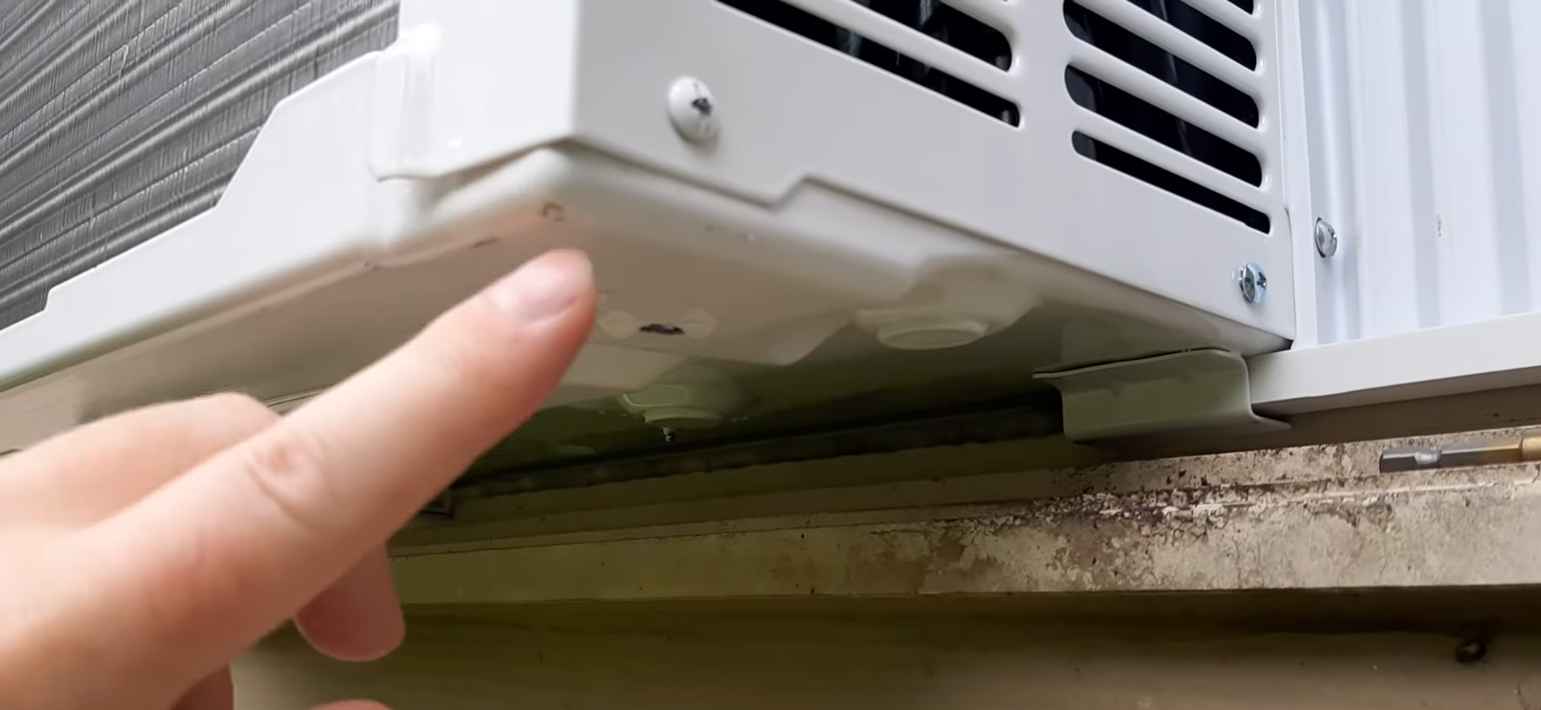
- Inspect the edges around the window panel and window frame for any gaps or openings.
- Using a caulking gun, apply a generous amount of silicone caulk along the edges where the window panel meets the window frame. Make sure to fill any gaps or cracks completely.
- Smooth out the caulk using your finger or a caulk smoothing tool to create a neat and even seal.
- Allow the caulk to dry according to the manufacturer’s instructions before testing for air leaks.
Sealing the edges is crucial for preventing air infiltration and maintaining optimal energy efficiency. The silicone caulk creates a barrier that blocks any air leaks, ensuring that your window air conditioner operates at its best.
Once the caulk is dry and the edges are sealed, we can move on to the final step: testing for air leaks.
Step 5: Test for Air Leaks
After completing the sealing process, it’s important to test for any remaining air leaks. This will ensure that your window air conditioner is effectively sealed and operating efficiently. Here’s how to test for air leaks:
- Turn on your window air conditioner and set it to a desired temperature.
- Carefully inspect the area around the window to identify any noticeable drafts or air leaks.
- Hold a lit candle or a thin strip of tissue paper near the edges of the window panel and frame.
- Observe the flame or tissue paper to see if it flickers or moves, indicating an air leak. Take note of any areas where you notice movement.
- If you detect any air leaks, use additional silicone caulk to seal the gaps or apply weather stripping for a more secure seal.
- Re-test for air leaks using the candle or tissue paper method to ensure all gaps have been properly sealed.
Testing for air leaks is an important step to verify the effectiveness of the sealing process. By identifying and sealing any remaining gaps, you can maximize energy efficiency and prevent any potential drafts from affecting the performance of your window air conditioner.
Congratulations! You have successfully sealed your window air conditioner, ensuring optimal performance and maximum energy efficiency. Enjoy your cool and comfortable living space!
This concludes our comprehensive guide on how to seal a window air conditioner. We hope you found this information helpful and that you were able to follow the steps easily. Remember, the proper sealing of your window air conditioner is essential for maintaining a comfortable indoor environment and saving on energy costs.
Conclusion
Sealing your window air conditioner is a necessary step to ensure energy efficiency, prevent air leaks, and maintain optimal comfort in your home. By following the step-by-step guide outlined above, you can effectively seal your window air conditioner and enjoy the benefits of a properly functioning cooling system.
Remember, cleaning the window frame, installing the window seal kit, attaching the window panel, sealing the edges, and testing for air leaks are all crucial steps in the sealing process. Taking the time to properly seal your window air conditioner will not only enhance its performance but also save you money on energy bills by preventing drafts and air leakage.
Throughout the sealing process, be sure to use the recommended materials and follow any specific guidelines provided by the manufacturer. This will help ensure that the seal is tight and secure, giving you peace of mind that your window air conditioner is operating at its best.
Regular maintenance and inspection of your window air conditioner will also help to identify and address any future seal or performance issues. By keeping your unit in good condition, you can prolong its lifespan and enjoy efficient cooling for years to come.
We hope this comprehensive guide has equipped you with the knowledge and confidence to successfully seal your window air conditioner. Remember, proper sealing leads to improved energy efficiency, enhanced indoor comfort, and cost savings. Stay cool and comfortable all summer long!
Frequently Asked Questions about How To Seal A Window Air Conditioner
Was this page helpful?
At Storables.com, we guarantee accurate and reliable information. Our content, validated by Expert Board Contributors, is crafted following stringent Editorial Policies. We're committed to providing you with well-researched, expert-backed insights for all your informational needs.
