Home>Home Security and Surveillance>How To Connect Wireless Security Camera To Android Phone
Home Security and Surveillance
How To Connect Wireless Security Camera To Android Phone
Modified: October 18, 2024
Learn how to easily connect your wireless security camera to your Android phone for home security and surveillance.
(Many of the links in this article redirect to a specific reviewed product. Your purchase of these products through affiliate links helps to generate commission for Storables.com, at no extra cost. Learn more)
Introduction
Welcome to the digital age, where technology has made our homes safer than ever before. With the advancements in wireless security cameras and smartphones, you can now easily connect your wireless security camera to your Android phone for enhanced home surveillance.
Gone are the days of complicated wiring and technical expertise. Today, all you need is a compatible wireless security camera, a dedicated app on your Android phone, and a stable Wi-Fi network to connect them effortlessly. In this article, we will guide you through the step-by-step process of connecting a wireless security camera to your Android phone.
But before we dive into the technicalities, let’s take a moment to understand the significance of home security and the benefits of having a wireless security camera system.
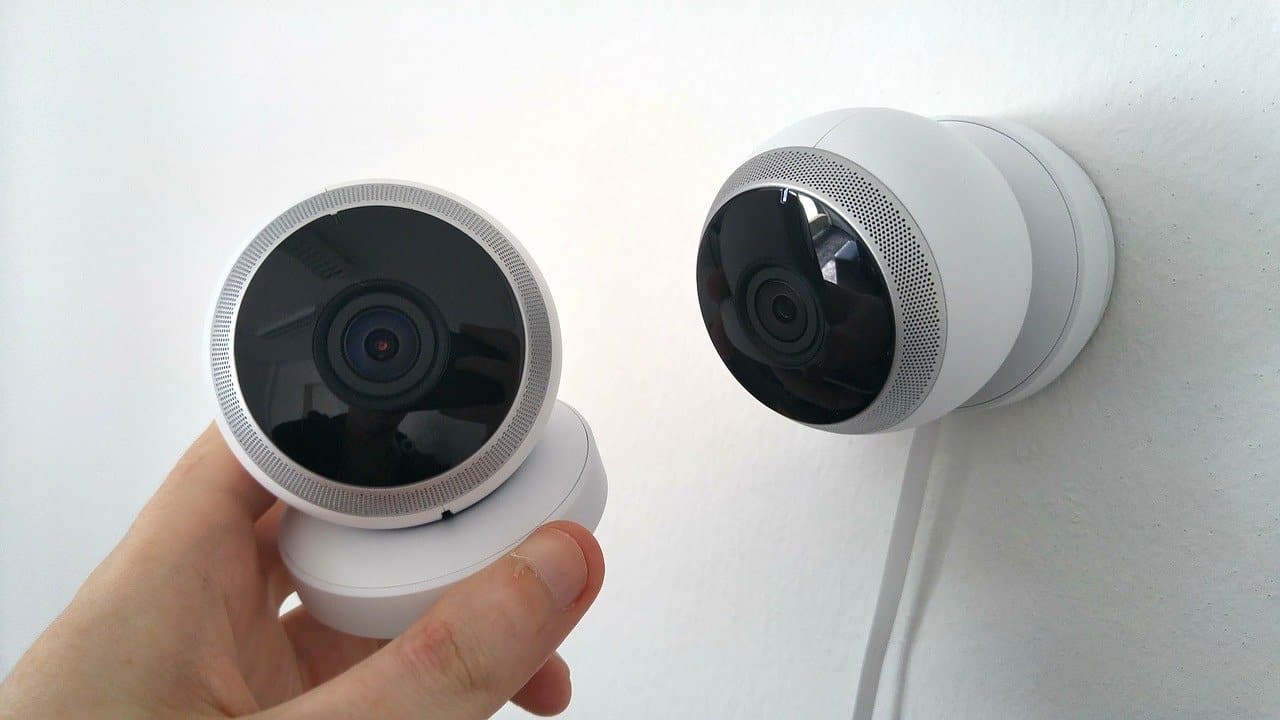
Ensuring the safety and security of our homes and loved ones is paramount. With the rise in burglary and crime rates, it has become essential to have a reliable and efficient home security system in place. A wireless security camera provides you with the peace of mind that comes from knowing your home is under constant surveillance.
With a wireless security camera connected to your Android phone, you can monitor your home in real-time, receive instant alerts for any suspicious activities, and even remotely control and adjust the camera settings.
Moreover, wireless security cameras offer flexibility in terms of installation. Unlike traditional wired cameras, these wireless devices can be placed anywhere in your home, both indoors and outdoors, without the hassle of drilling holes and running cables.
Now that we understand the importance of home security and the benefits of wireless security cameras, let’s proceed with the step-by-step process of connecting your wireless security camera to your Android phone. So, grab your Android phone, and let’s get started!
Key Takeaways:
- Easily connect your wireless security camera to your Android phone for enhanced home surveillance. No more complicated wiring – just follow the step-by-step guide and gain peace of mind knowing your home is under constant surveillance.
- Select a compatible wireless security camera, install the dedicated app on your Android phone, and connect to your home Wi-Fi network. Pair the camera with your phone and take control of your home security from anywhere.
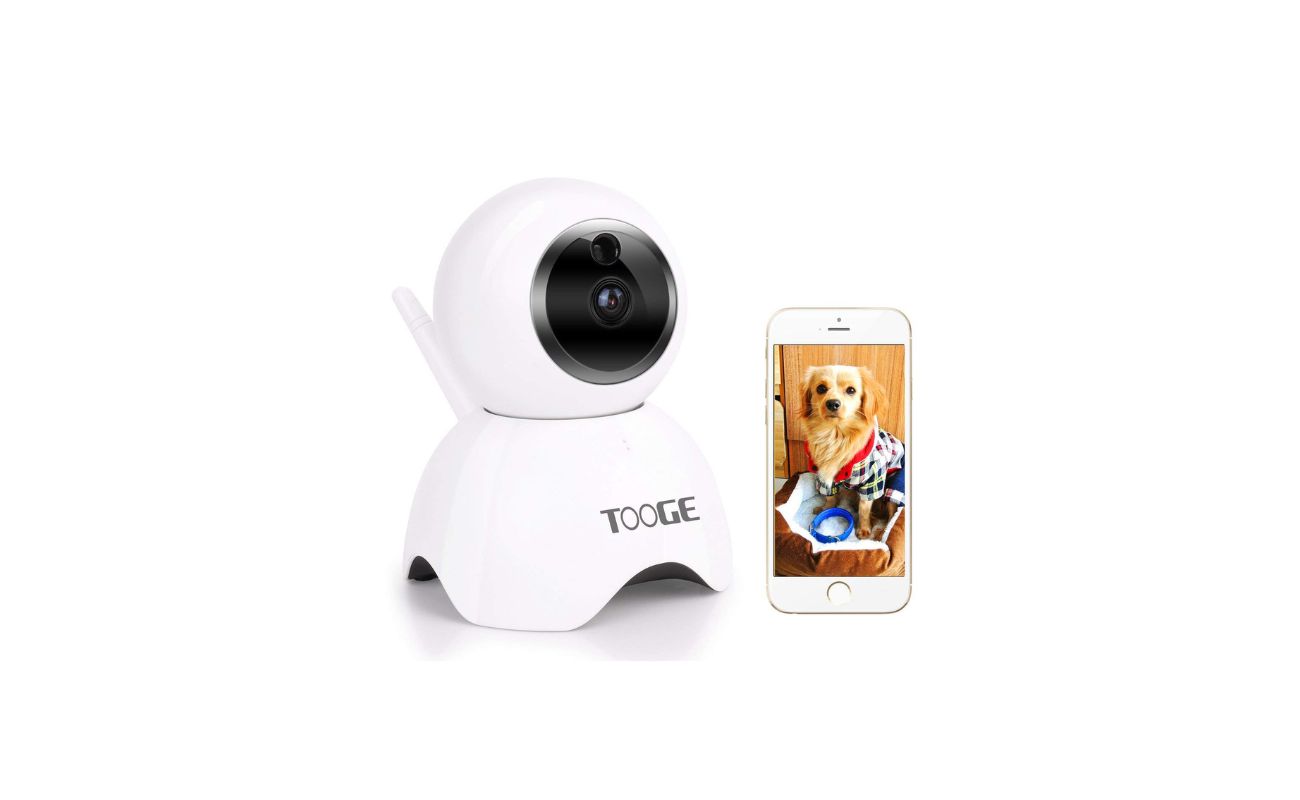
Step 1: Selecting a compatible wireless security camera
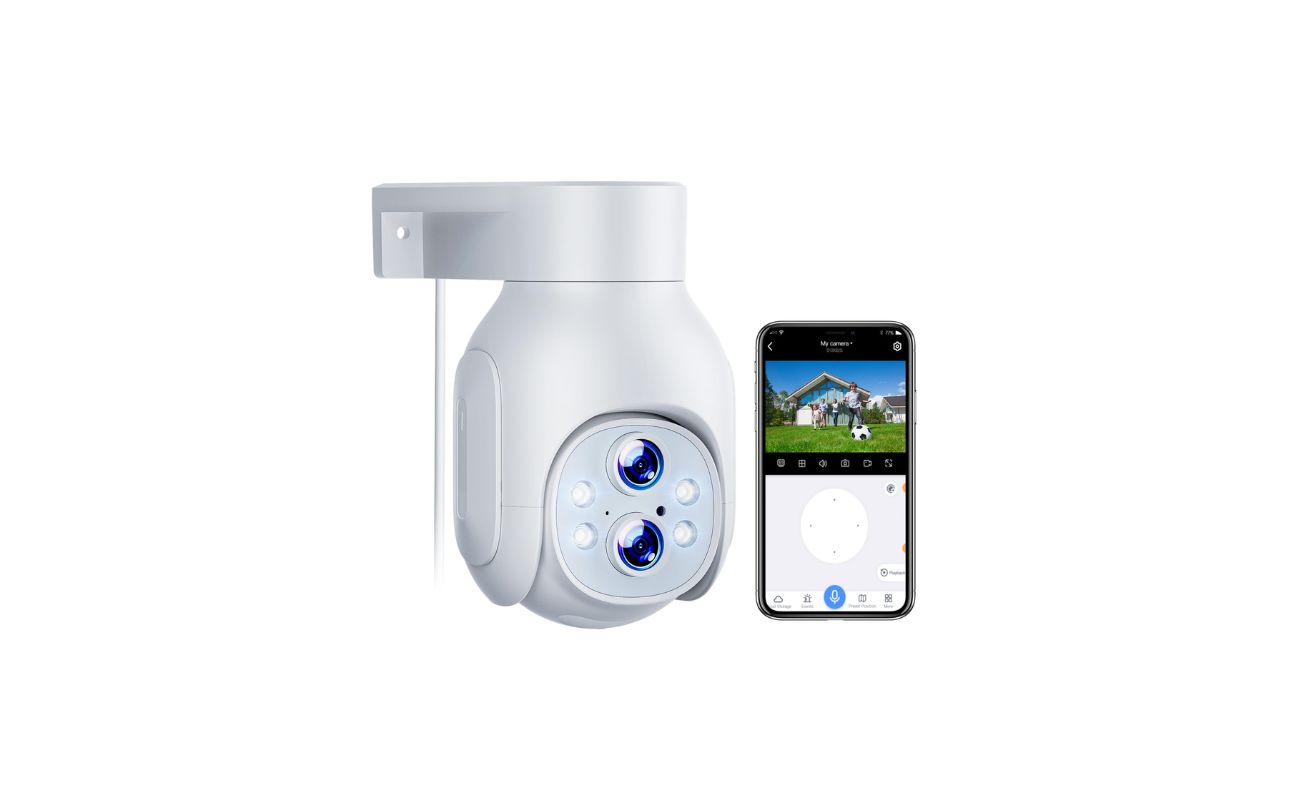
Before you can connect your wireless security camera to your Android phone, it is crucial to select a camera that is compatible with both your phone and your home security needs. There are several factors to consider when choosing a wireless security camera:
- Camera Resolution: Look for a camera with high-resolution capabilities, such as 1080p or even 4K, for clear and detailed footage.
- Night Vision: Opt for a camera with built-in infrared LEDs for superior night vision capabilities. This will ensure that your camera can capture clear footage even in low-light or dark conditions.
- Field of View: Consider the camera’s field of view to ensure it covers the desired area. A wider field of view allows for greater coverage and reduces the number of cameras needed.
- Motion Detection: Look for a camera with reliable motion detection capabilities. This will enable the camera to detect any movement and send you alerts on your Android phone.
- Two-Way Audio: If you want the ability to communicate through the camera, select a model with two-way audio functionality. This allows you to hear what’s happening and speak through the camera’s built-in speakers.
- Storage Options: Consider whether the camera offers local or cloud storage options for storing the recorded footage. Cloud storage provides the added advantage of accessing recordings from anywhere with an internet connection.
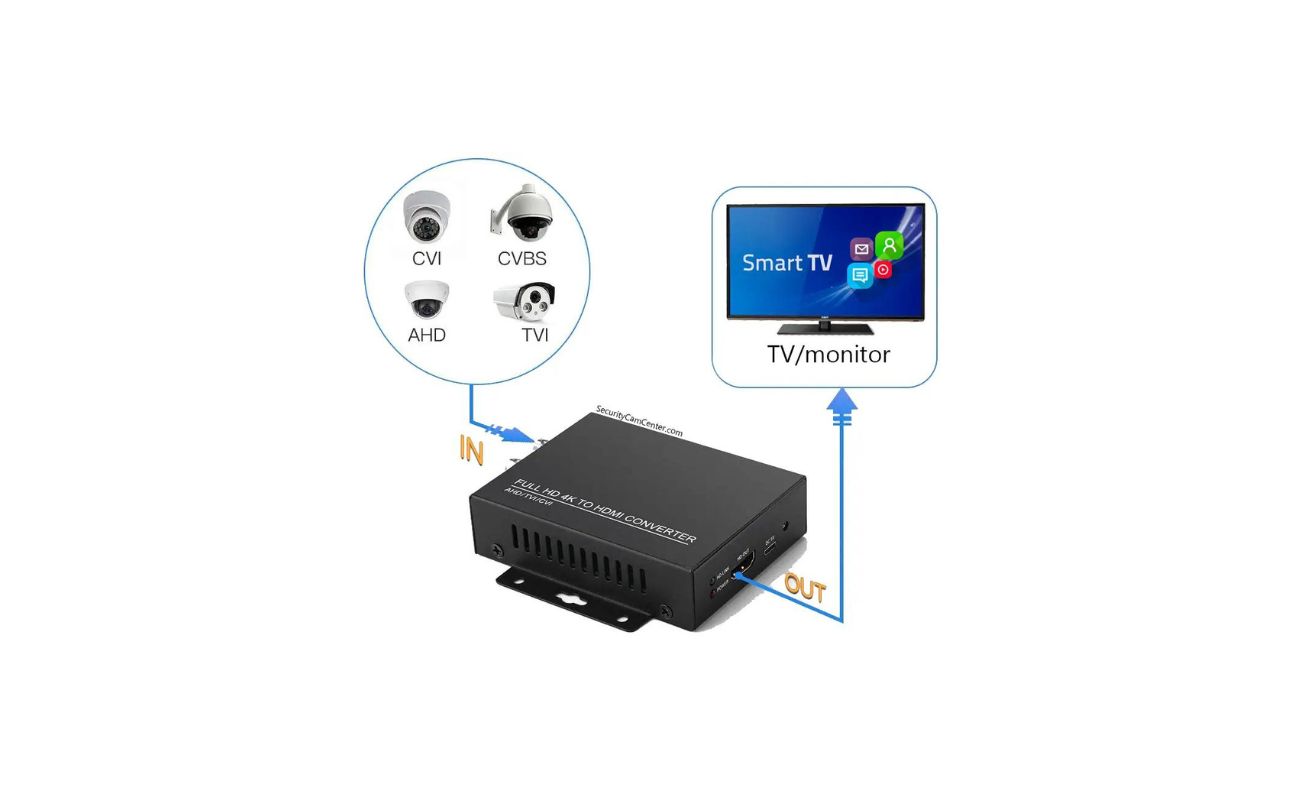
- Integration with Android: Ensure that the camera is compatible with Android devices and has a dedicated app available on the Google Play Store.
Take your time to research and compare different wireless security camera models to find the one that best suits your needs and budget. Reading customer reviews and checking for certifications and warranties can also help you make an informed decision.
Once you have selected a compatible wireless security camera, you are ready to move on to the next step: installing the security camera app on your Android phone.
Step 2: Installing the security camera app on your Android phone
Now that you have chosen a compatible wireless security camera, the next step is to install the corresponding security camera app on your Android phone. The app allows you to easily connect, control, and view the camera’s live feed from your phone.
Follow these steps to install the security camera app:
- Open the Google Play Store on your Android phone. It’s the icon with a multicolored triangle on your home screen or app drawer.
- In the Play Store, tap on the search bar at the top and type in the name of the security camera brand or model. Alternatively, you can search for “security camera app” to explore different options.
- From the search results, select the desired security camera app. Look for an app that matches your camera brand or has good reviews and ratings.
- Tap on the “Install” button to begin the installation process. Wait for the app to download and install on your Android phone. This may take a few moments, depending on your internet connection speed.
- Once the installation is complete, tap on the “Open” button or locate the app on your home screen or app drawer to launch it.
After installing the security camera app, you are now ready to proceed to the next step: connecting the security camera to your home Wi-Fi network.
Please note that the exact steps and interface may vary slightly depending on the brand and model of your security camera and the associated app. Refer to the manufacturer’s instructions or the app’s user manual for any specific setup instructions.
Step 3: Connecting the security camera to your home Wi-Fi network
Now that you have installed the security camera app on your Android phone, it’s time to connect the wireless security camera to your home Wi-Fi network. This step ensures that the camera can communicate with your phone and transmit the live feed over the internet.
Follow these steps to connect the security camera to your Wi-Fi network:
- Launch the security camera app on your Android phone.
- Within the app, navigate to the settings or setup section. Look for an option to connect or set up a new camera.
- Follow the on-screen instructions provided by the app to put your wireless security camera into setup mode. This typically involves pressing a reset or setup button on the camera or using a QR code on the camera to initiate the setup process.
- Once the camera is in setup mode, the app will scan for available Wi-Fi networks. Select your home Wi-Fi network from the list.
- Enter the password for your Wi-Fi network when prompted. Make sure to enter it correctly to ensure a successful connection.
- Wait for the camera to establish a connection with your Wi-Fi network. This process may take a few seconds to a couple of minutes.
- Once the connection is established, you will receive a confirmation message on the app indicating that the camera is successfully connected to your Wi-Fi network.
It’s important to note that during this process, your Android phone needs to be connected to the same Wi-Fi network that you want to connect the security camera to. This ensures that the setup process can be completed smoothly.
Congratulations! You have successfully connected your wireless security camera to your home Wi-Fi network. Now, let’s move on to the next step: pairing the security camera with your Android phone.
Make sure your wireless security camera is connected to the same Wi-Fi network as your Android phone. Then, download the camera’s app from the Google Play Store and follow the instructions to connect it to your phone.
Step 4: Pairing the security camera with your Android phone
With your wireless security camera successfully connected to your home Wi-Fi network, it’s time to pair the camera with your Android phone. This step allows your phone to communicate with the camera and access its live feed and settings through the security camera app.
Follow these steps to pair the security camera with your Android phone:
- Ensure that both your wireless security camera and your Android phone are connected to the same Wi-Fi network.
- Open the security camera app on your Android phone.
- Navigate to the settings or devices section within the app. Look for an option to pair or add a new camera.
- Select the option to pair a new camera.
- The app will now search for available cameras on your Wi-Fi network. Wait for the app to detect your connected wireless security camera.
- Once the camera is detected, select it from the list shown on your Android phone’s screen.
- Follow the on-screen instructions provided by the app to complete the pairing process. This may involve entering a unique pairing code or scanning a QR code displayed on your camera.
- Wait for the pairing process to complete. Once the camera is successfully paired with your Android phone, you will receive a confirmation message on the app.
After completing these steps, your wireless security camera is now paired with your Android phone. This means you can now access the live feed, control camera settings, and receive alerts directly on your phone through the security camera app.
It’s important to note that the pairing process may vary depending on the brand and model of your security camera and the associated app. Refer to the manufacturer’s instructions or the app’s user manual for any specific pairing instructions.
Now that the camera is paired with your Android phone, let’s move on to the final step: accessing and controlling the security camera from your Android phone.
Read more: How To Connect Wireless Security Cameras?
Step 5: Accessing and Controlling the Security Camera from Your Android Phone
Now that you have successfully paired your wireless security camera with your Android phone, it’s time to access and control the camera’s features and functions directly from your phone. This step allows you to monitor your home in real-time, adjust camera settings, and receive alerts and notifications.
Follow these steps to access and control the security camera from your Android phone:
- Launch the security camera app on your Android phone.
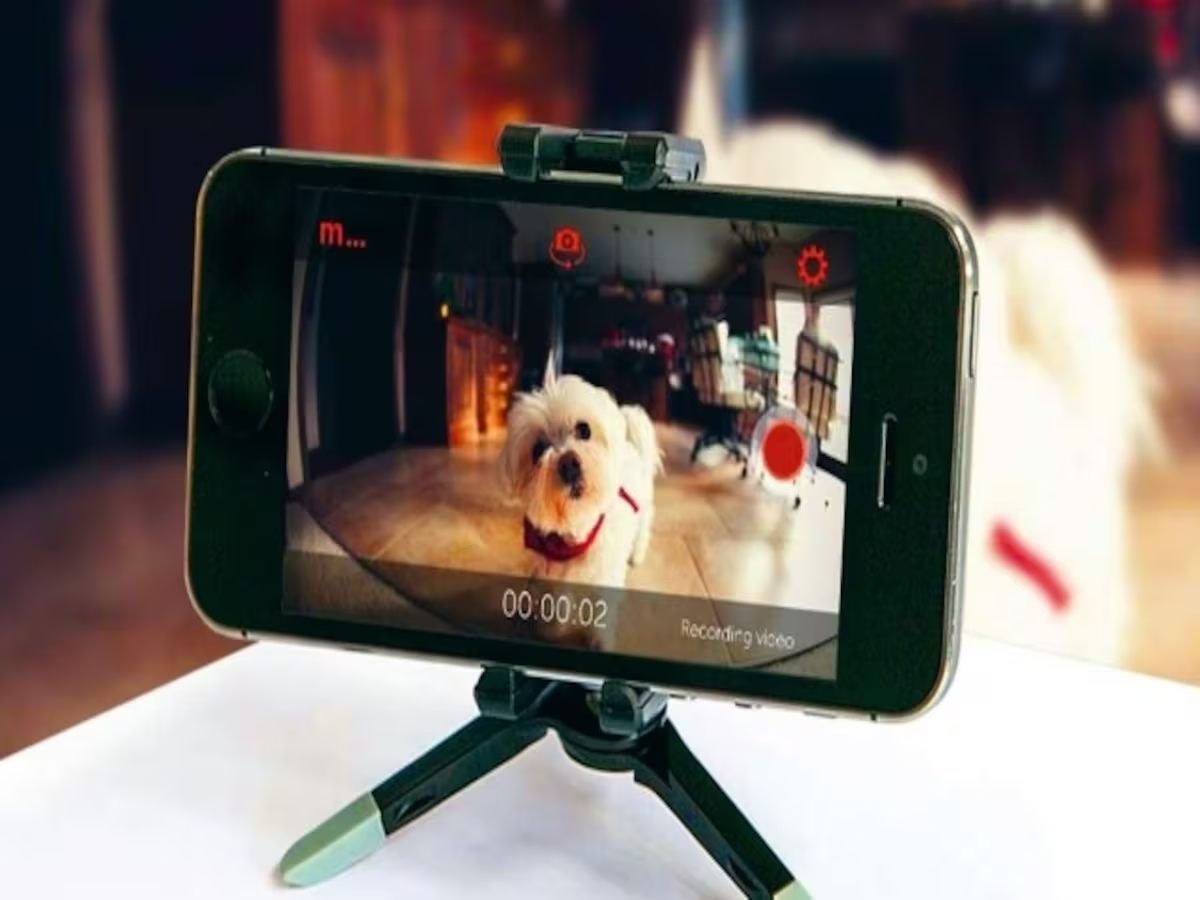
- Once the app is open, you should see the live feed from your wireless security camera. This feed allows you to see what the camera is capturing in real-time.
- Use the app’s interface to navigate through different camera views or angles, depending on the camera’s capabilities. This may include zooming in or out, panning, or tilting the camera.
- If your security camera supports two-way audio, you can use the app to listen to audio captured by the camera’s microphone and speak through your phone’s microphone to communicate with individuals near the camera.
- Explore the app’s settings section to customize camera settings according to your preferences. This may include adjusting motion detection sensitivity, enabling or disabling night vision, setting up alert notifications, and managing storage options.
- Set up alerts and notifications to receive instant updates on your Android phone whenever the camera detects motion or any other defined event. This will help you stay informed about any potential security breaches.
- Use the app to review recorded footage, whether stored locally on the camera or in the cloud if available. This allows you to access and playback previously recorded video clips or snapshots, depending on the camera’s capabilities.
By accessing and controlling the security camera from your Android phone, you have the power to monitor your home’s security from anywhere with an internet connection. Whether you are at work, traveling, or simply away from home, you can keep an eye on things and ensure the safety of your loved ones and property.
Remember to regularly check for software updates for both the security camera app and your Android phone. These updates often include bug fixes, performance improvements, and new features that enhance your overall experience.
Congratulations! You have successfully learned how to access and control your wireless security camera from your Android phone. Enjoy the peace of mind that comes with having a reliable and convenient home surveillance solution at your fingertips.
Now that you have completed all the steps, you are well-equipped to connect your wireless security camera to your Android phone and enhance your home security. Stay vigilant, be proactive, and ensure the safety of your home and loved ones!
Conclusion
Home security is of utmost importance in today’s world, and connecting a wireless security camera to your Android phone offers an effective and convenient solution. By following the step-by-step guide outlined in this article, you can easily set up your wireless security camera system and gain peace of mind knowing that your home is under constant surveillance.
From selecting a compatible wireless security camera to installing the dedicated app on your Android phone, connecting to your home Wi-Fi network, and pairing the camera with your phone, each step plays a crucial role in ensuring a seamless and secure connection.
Once all the connections are established, you can access and control the security camera’s live feed, adjust settings, receive alerts, and review recorded footage directly from your Android phone. This level of convenience and accessibility allows you to monitor your home from anywhere, giving you the ability to respond promptly in case of any security concerns.
Remember to choose a wireless security camera that meets your specific requirements in terms of resolution, night vision, field of view, motion detection, storage options, and compatibility with Android devices. Researching and comparing different models can help you find the best fit for your needs and budget.
Regularly update your security camera app and Android phone to ensure optimal performance and take advantage of new features and improvements. Additionally, consider enhancing the security of your Wi-Fi network by using a strong password and enabling encryption protocols.
With the right wireless security camera and your Android phone acting as a control hub, you can have peace of mind knowing that your home will be protected around the clock. So, take the necessary steps to connect your wireless security camera to your Android phone and take control of your home security today.
Stay vigilant, be proactive, and prioritize the safety of your home and loved ones. With proper surveillance and effective security measures in place, you can enjoy the comfort and peace of mind you deserve.
Frequently Asked Questions about How To Connect Wireless Security Camera To Android Phone
Was this page helpful?
At Storables.com, we guarantee accurate and reliable information. Our content, validated by Expert Board Contributors, is crafted following stringent Editorial Policies. We're committed to providing you with well-researched, expert-backed insights for all your informational needs.