Home>Furniture & Design>Outdoor Furniture>How To Install Blink Outdoor Floodlight Camera
Outdoor Furniture
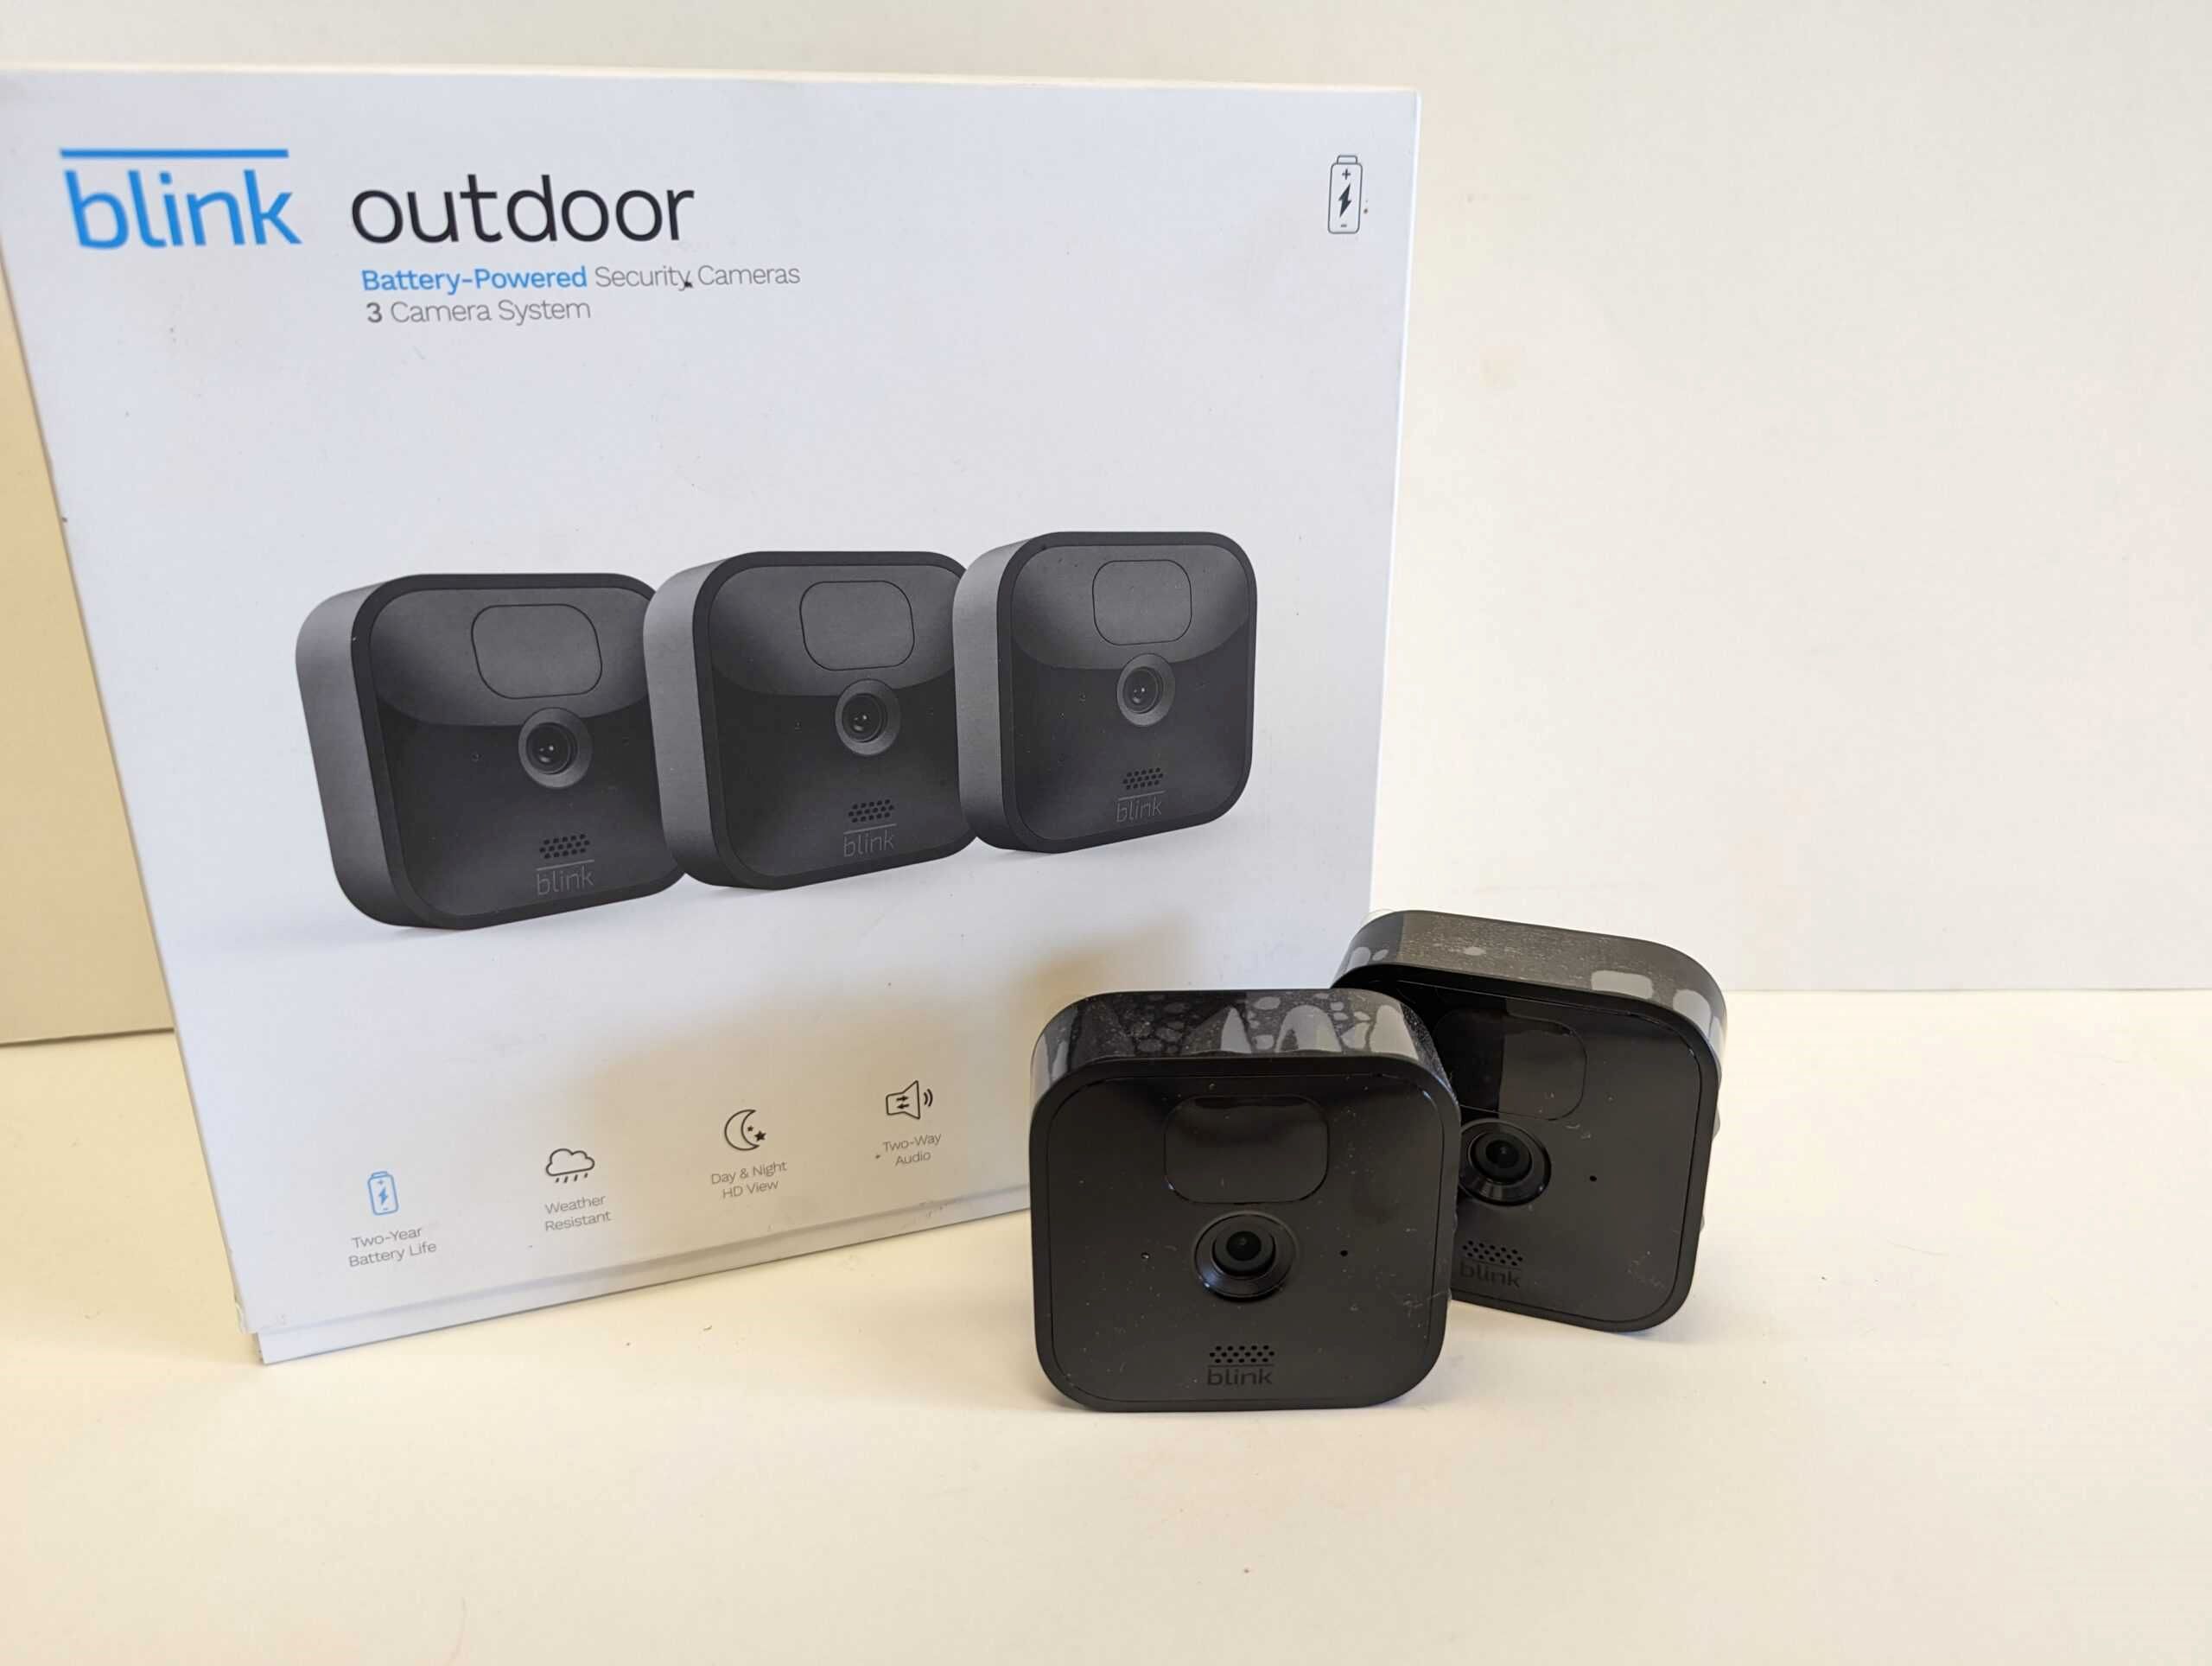
How To Install Blink Outdoor Floodlight Camera
Modified: August 16, 2024
Learn how to install the Blink Outdoor Floodlight Camera and enhance your outdoor furniture and design with this easy step-by-step guide. Ensure your outdoor space is secure and stylish.
(Many of the links in this article redirect to a specific reviewed product. Your purchase of these products through affiliate links helps to generate commission for Storables.com, at no extra cost. Learn more)
Introduction
Welcome to the world of advanced home security with the Blink Outdoor Floodlight Camera! This innovative device combines the convenience of a wireless outdoor camera with the powerful illumination of a floodlight, providing comprehensive protection for your property. In this guide, we will walk you through the process of installing and setting up your Blink Outdoor Floodlight Camera, ensuring that you can enjoy peace of mind and enhanced security in no time.
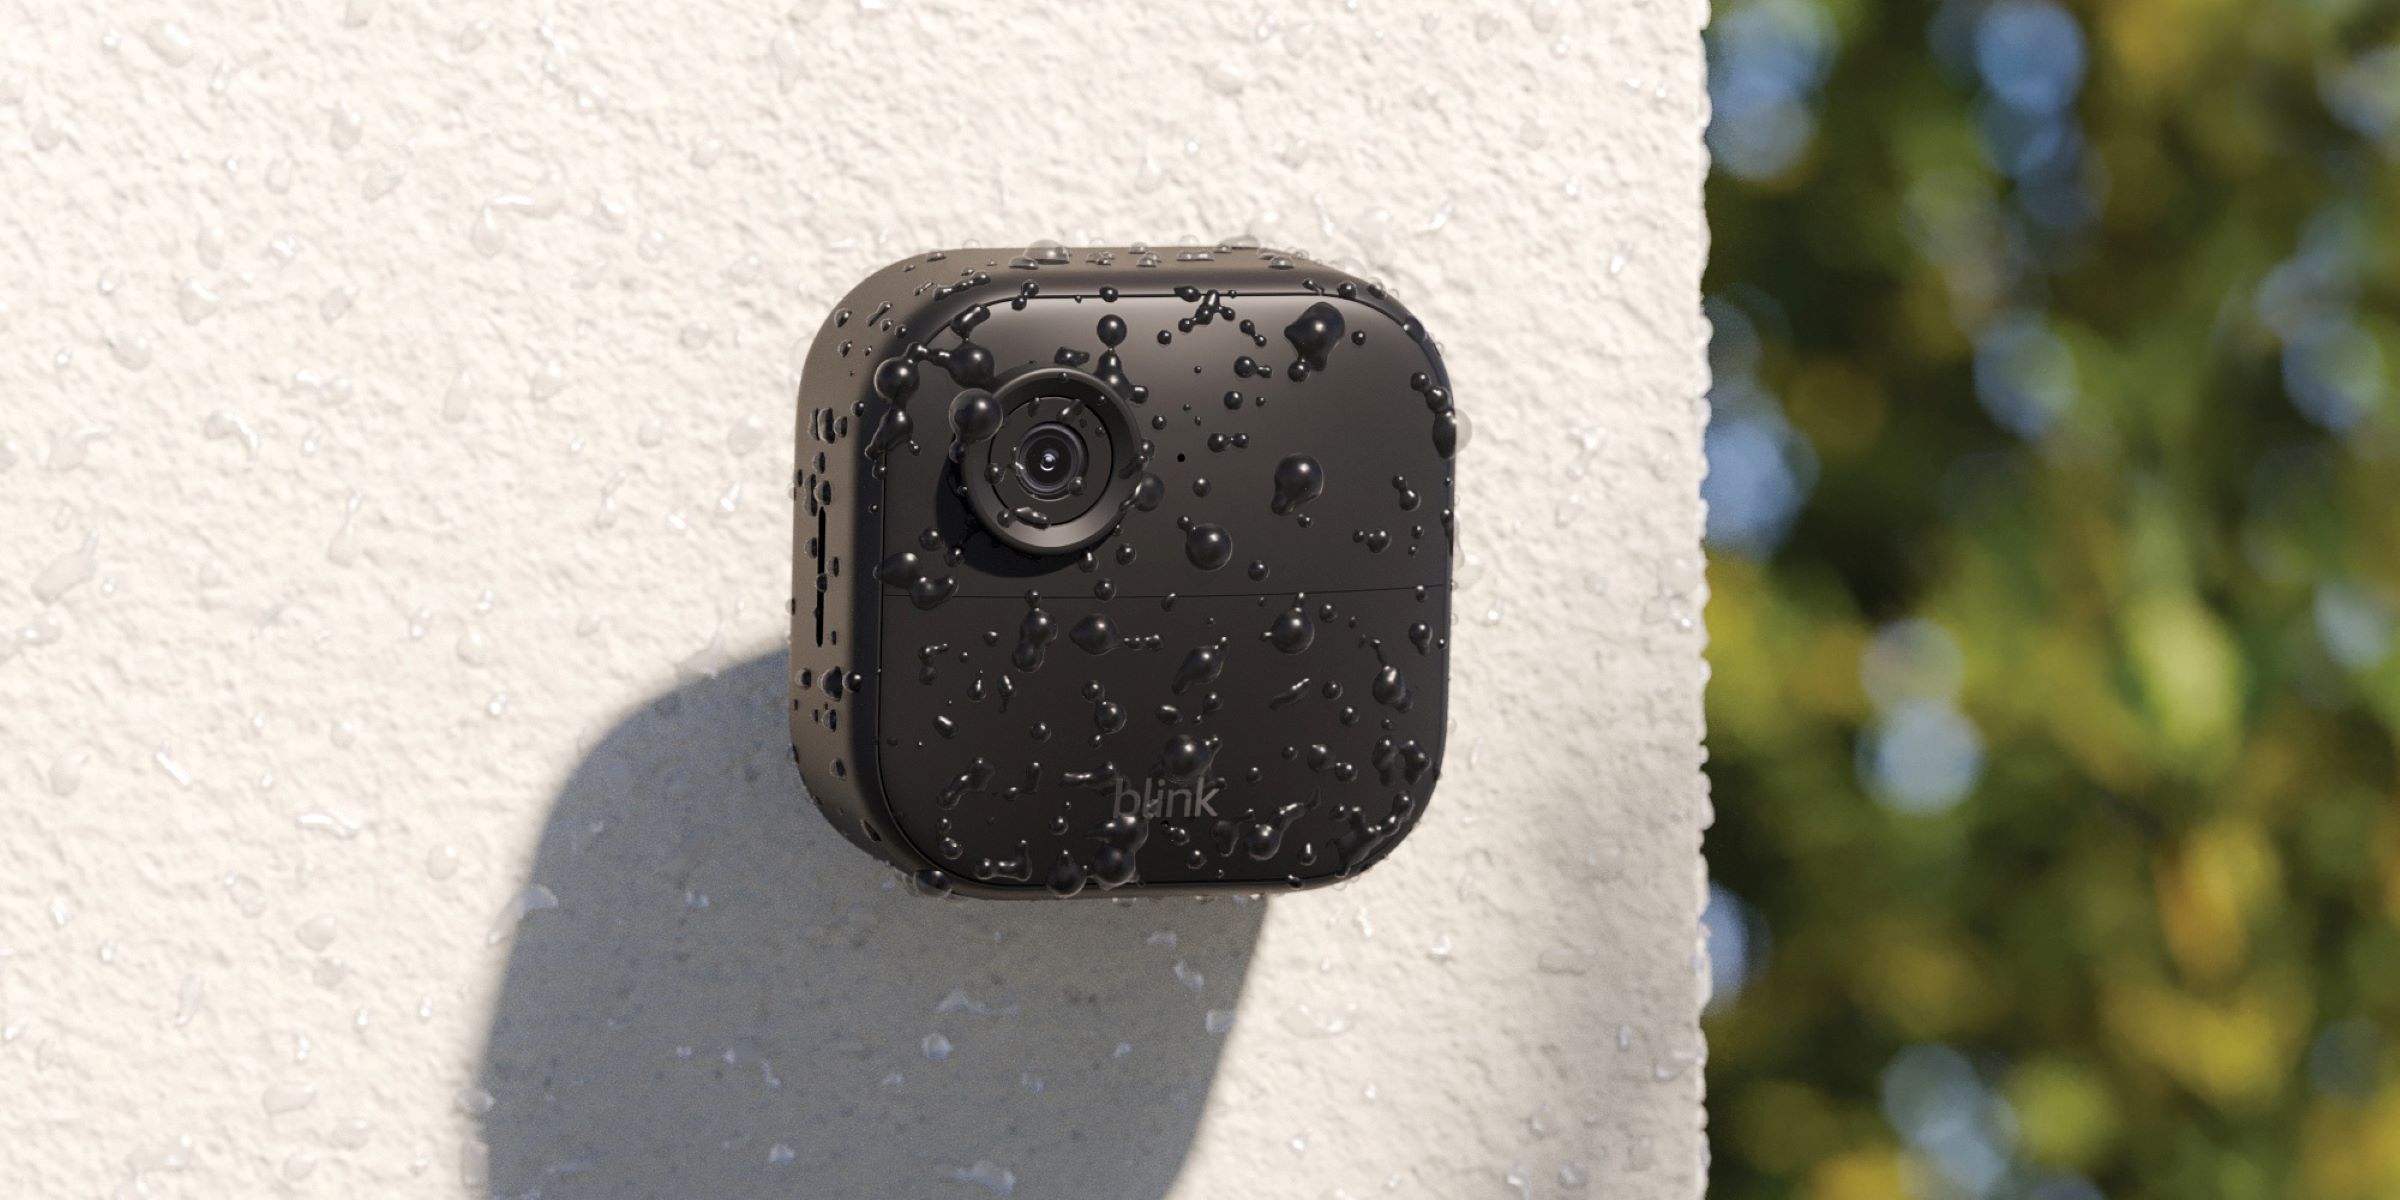
The Blink Outdoor Floodlight Camera is designed to seamlessly integrate into your home environment, offering robust weather resistance and high-quality video monitoring. Whether you are a seasoned DIY enthusiast or a first-time user, the installation process is straightforward and user-friendly, allowing you to take control of your home security with ease.
By following the step-by-step instructions in this guide, you will gain a deeper understanding of how to unbox, mount, connect, and set up your Blink Outdoor Floodlight Camera. Additionally, we will cover essential tips for testing the functionality of the floodlight camera, ensuring that it operates flawlessly to safeguard your home and loved ones.
As we embark on this installation journey, keep in mind that the Blink Outdoor Floodlight Camera represents a significant advancement in home security technology. With its intuitive features and robust construction, this device offers a comprehensive solution for monitoring and illuminating your outdoor spaces, enhancing the overall safety and security of your property.
So, without further ado, let's dive into the exciting process of installing and setting up your Blink Outdoor Floodlight Camera. Get ready to elevate your home security to new heights and embrace the convenience of modern surveillance technology.
Key Takeaways:
- Installing the Blink Outdoor Floodlight Camera is a breeze! Just unbox, mount, connect to power, set up with the app, and test its features for enhanced home security and peace of mind.
- The Blink Outdoor Floodlight Camera offers advanced surveillance and powerful illumination. With easy installation and comprehensive testing, it’s a reliable asset for safeguarding your outdoor spaces.
Step 1: Unboxing the Blink Outdoor Floodlight Camera
Before you begin the installation process, it’s essential to unbox your Blink Outdoor Floodlight Camera and familiarize yourself with its components. The contents of the package are designed to provide you with everything you need to set up the floodlight camera efficiently. Here’s a comprehensive overview of what you can expect to find inside the box:
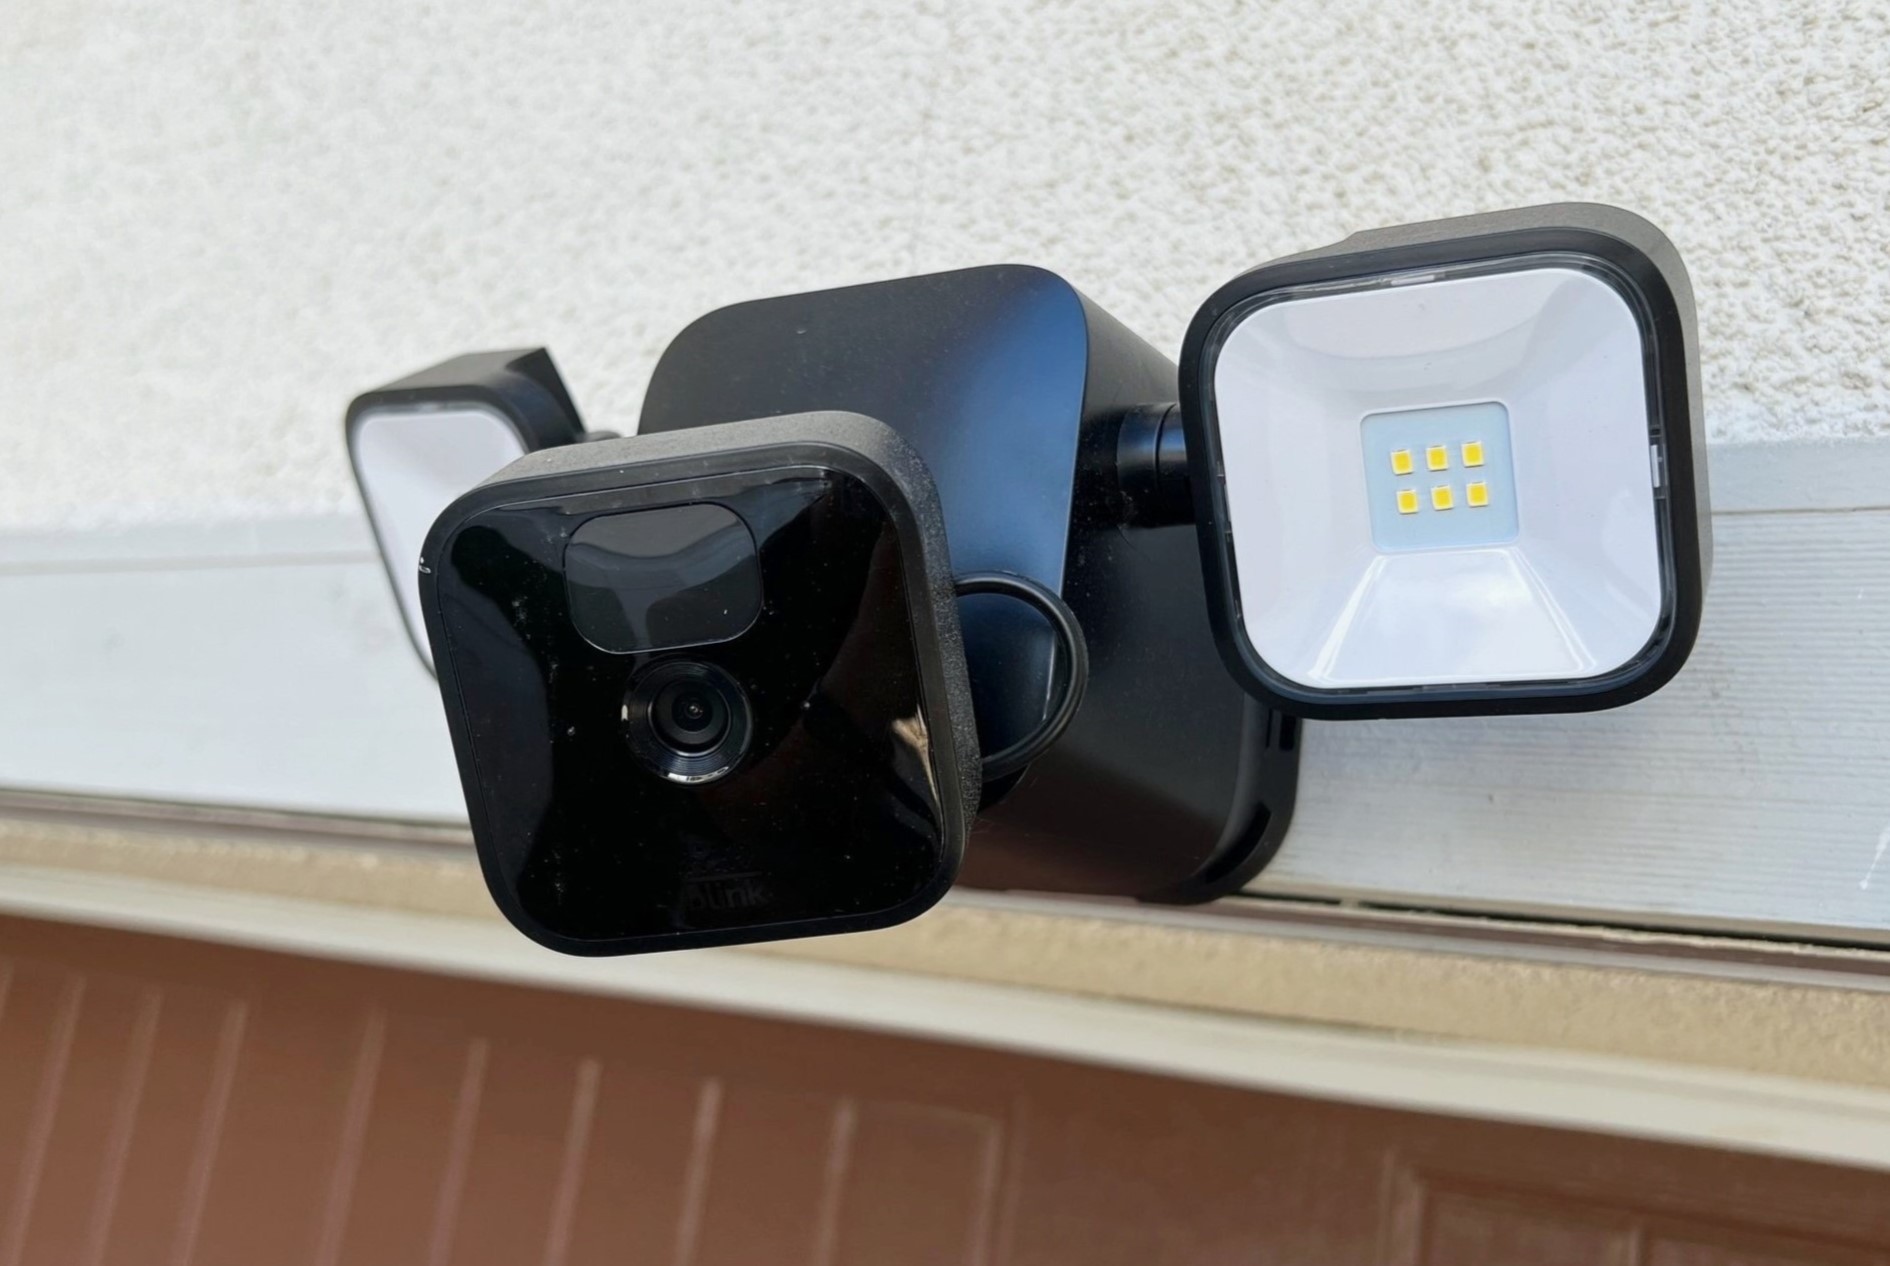
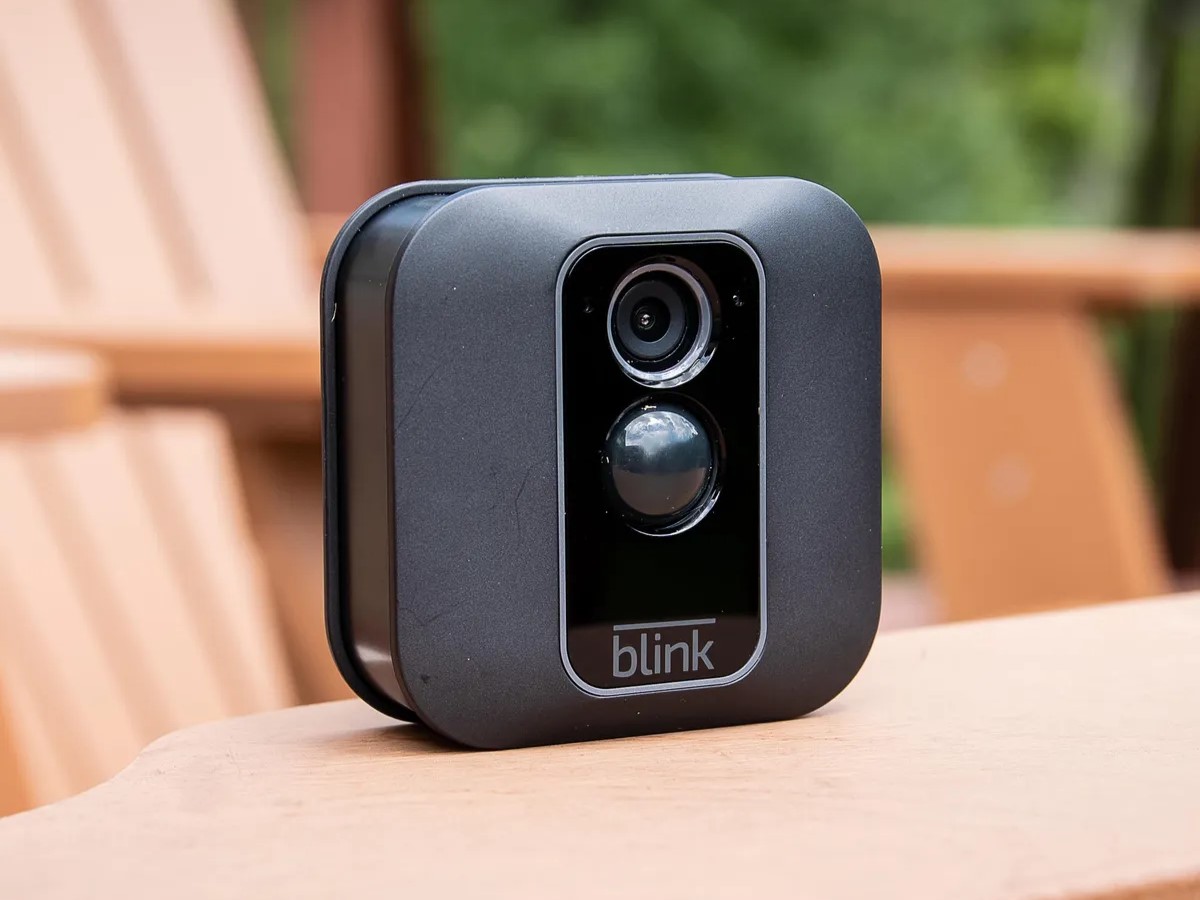
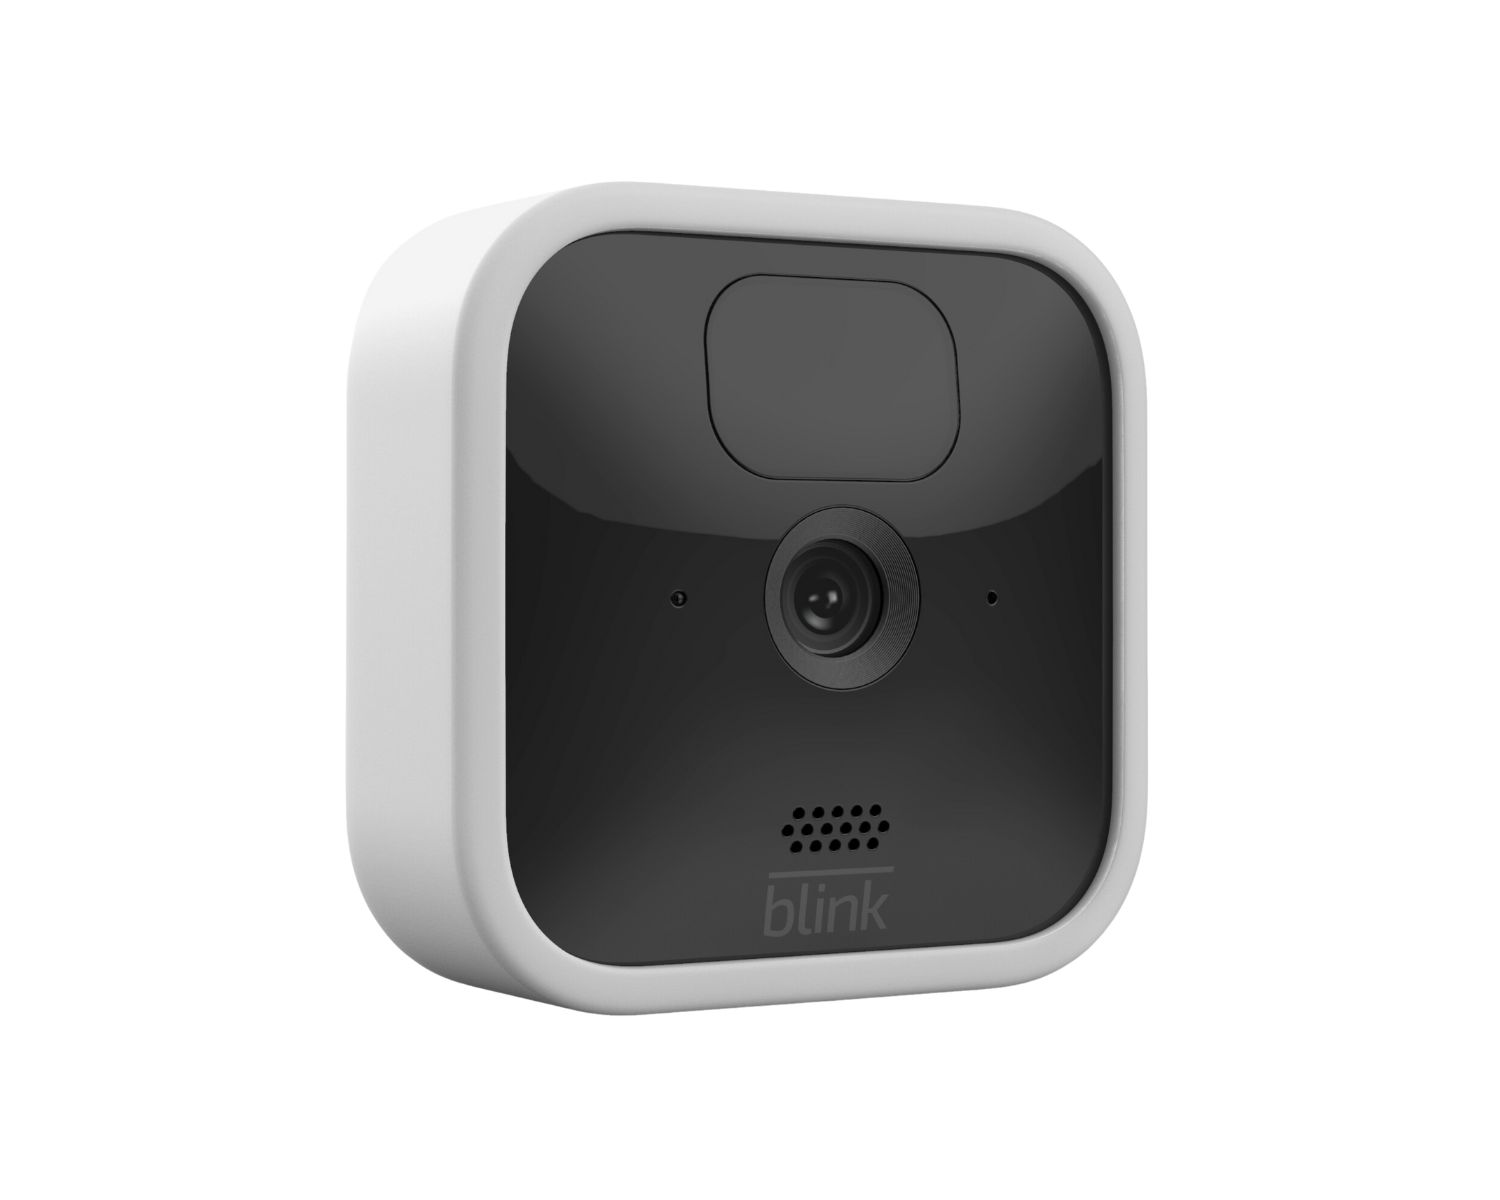
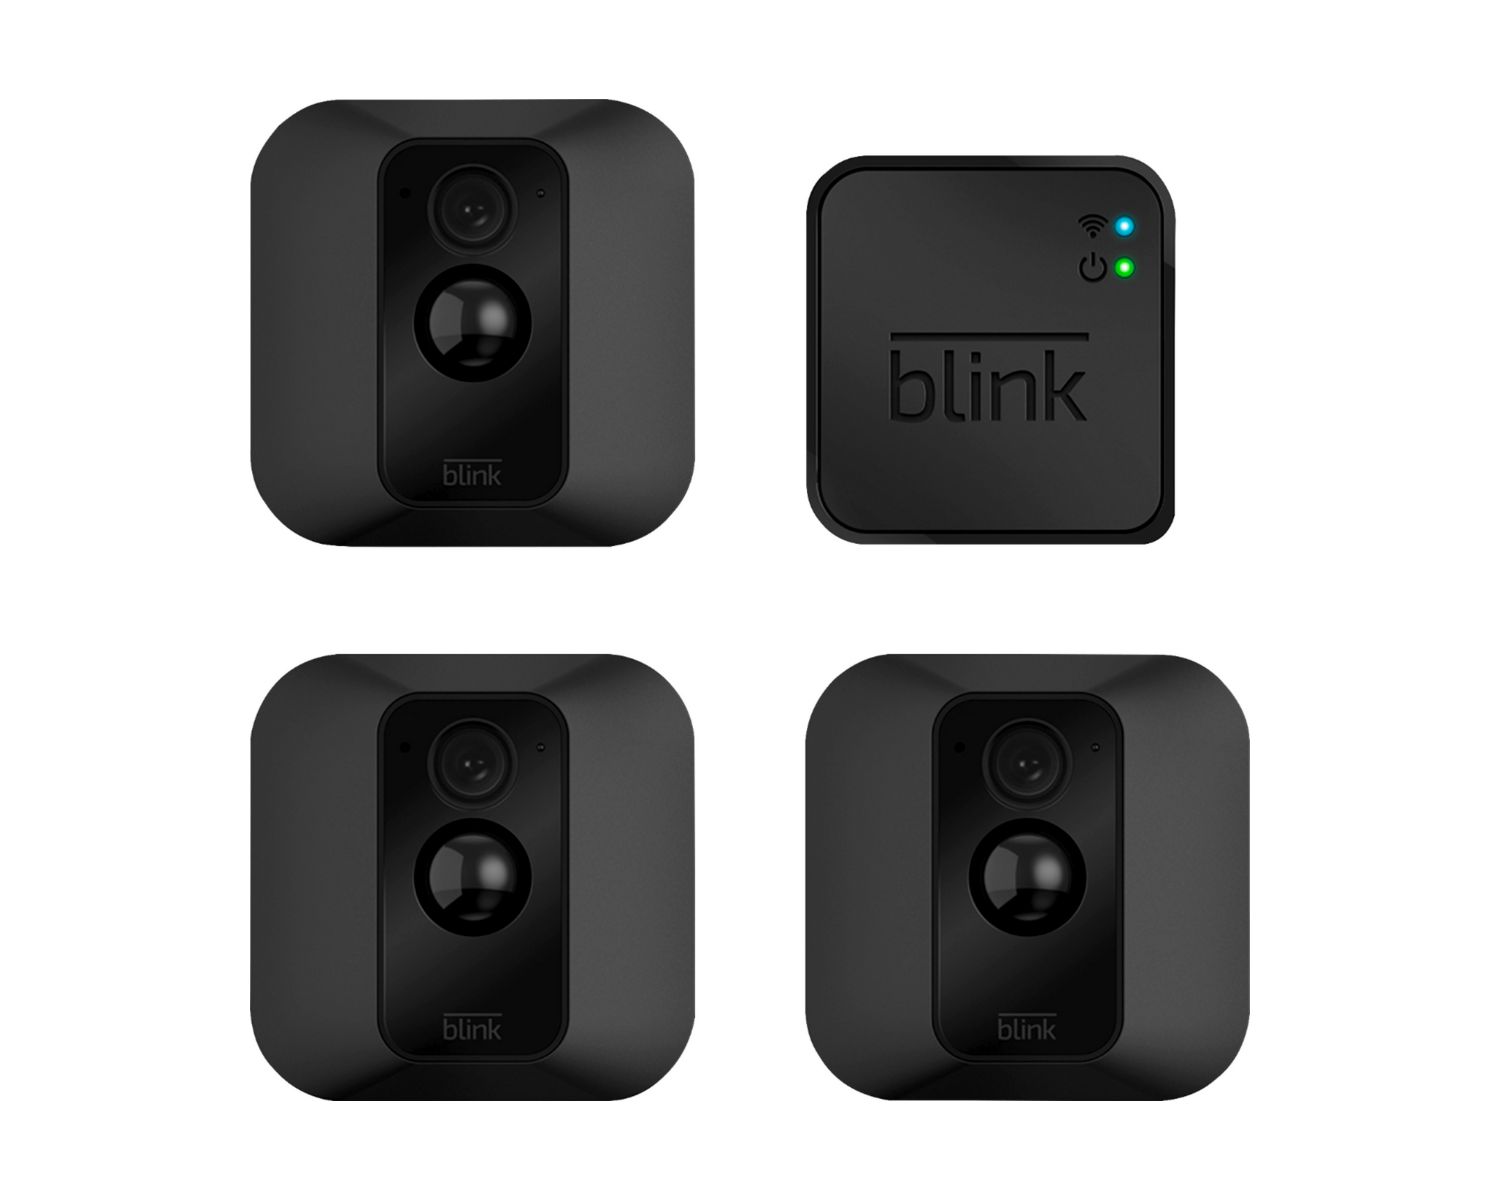
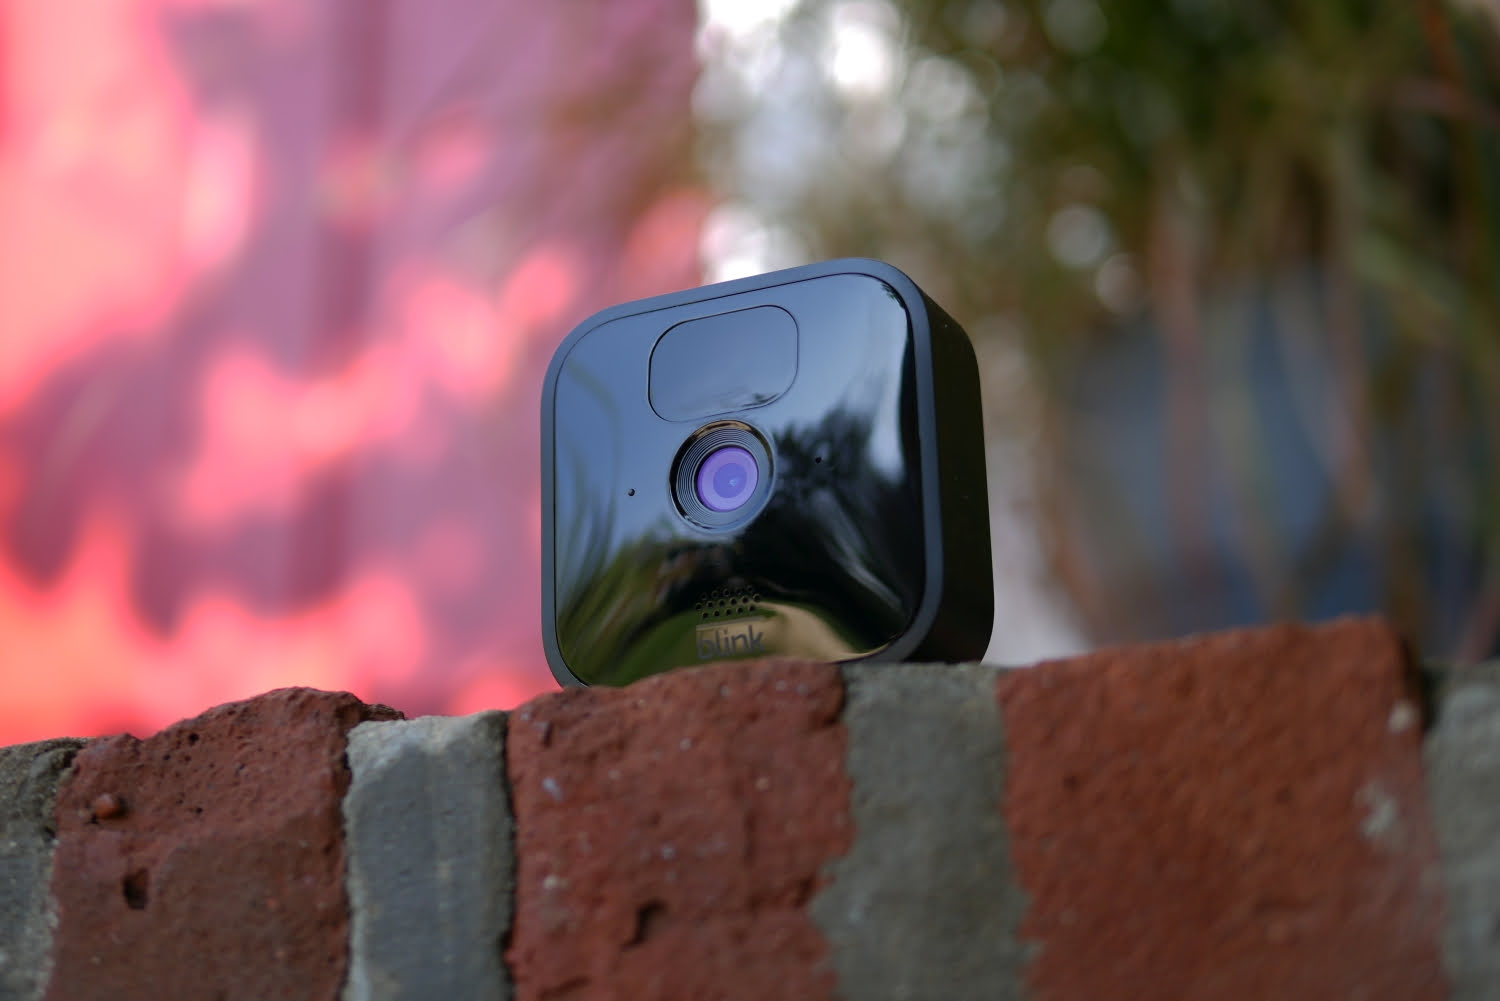
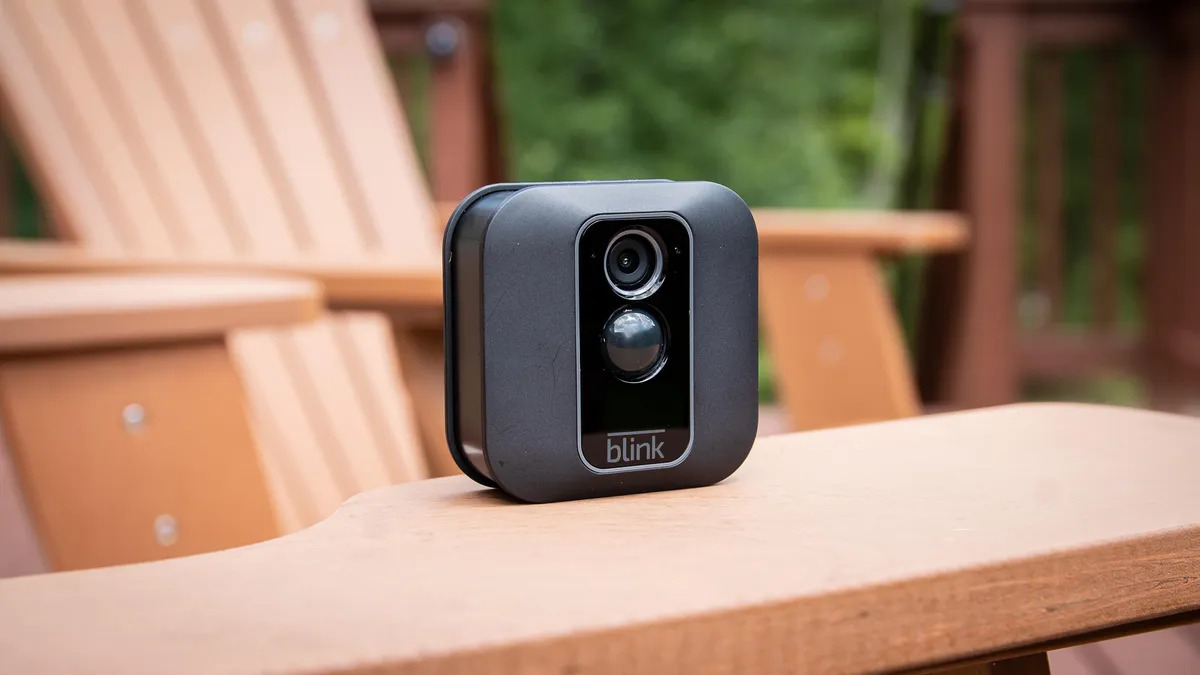
- Blink Outdoor Floodlight Camera: The central component of the package, the floodlight camera features a sleek and durable design, equipped with advanced motion detection and high-definition video recording capabilities.
- Mounting Hardware: You will discover a range of mounting hardware, including screws, anchors, and brackets, designed to facilitate the secure installation of the floodlight camera in your desired outdoor location.
- Power Adapter and Cable: The package includes a power adapter and cable, allowing you to connect the floodlight camera to a reliable power source for continuous operation.
- Quick Start Guide: A user-friendly quick start guide is provided to offer clear and concise instructions for setting up and configuring the Blink Outdoor Floodlight Camera.
As you unbox the components, take a moment to inspect each item carefully, ensuring that all the essential parts are present and in good condition. If you notice any discrepancies or damage, it’s advisable to contact the manufacturer or retailer promptly to address the issue and obtain replacement components if necessary.
By thoroughly examining the contents of the package, you can prepare yourself for a smooth and efficient installation process, setting the stage for seamless integration of the Blink Outdoor Floodlight Camera into your home security system. With the unboxing process complete, you’re ready to move on to the next step: mounting the floodlight camera in your desired outdoor location.
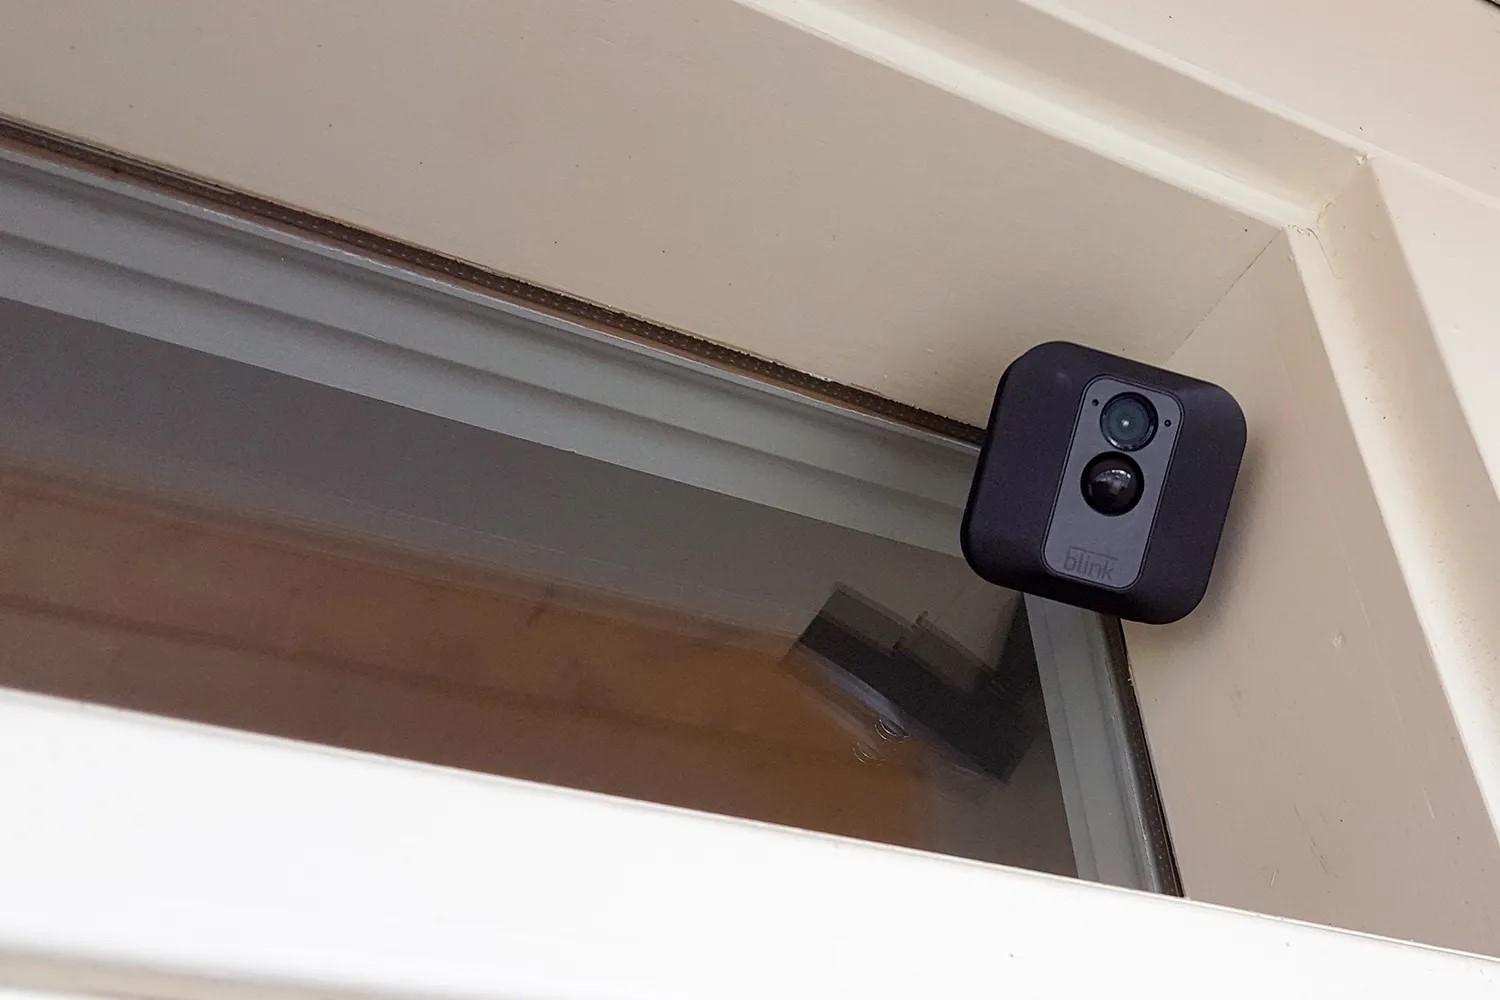
Step 2: Mounting the Floodlight Camera
Mounting the Blink Outdoor Floodlight Camera is a crucial step in the installation process, as it determines the positioning and stability of the device in your outdoor environment. Before you begin, carefully consider the optimal location for the floodlight camera, taking into account factors such as coverage area, accessibility, and potential obstructions. Here’s a detailed guide to help you mount the floodlight camera with precision and efficiency:
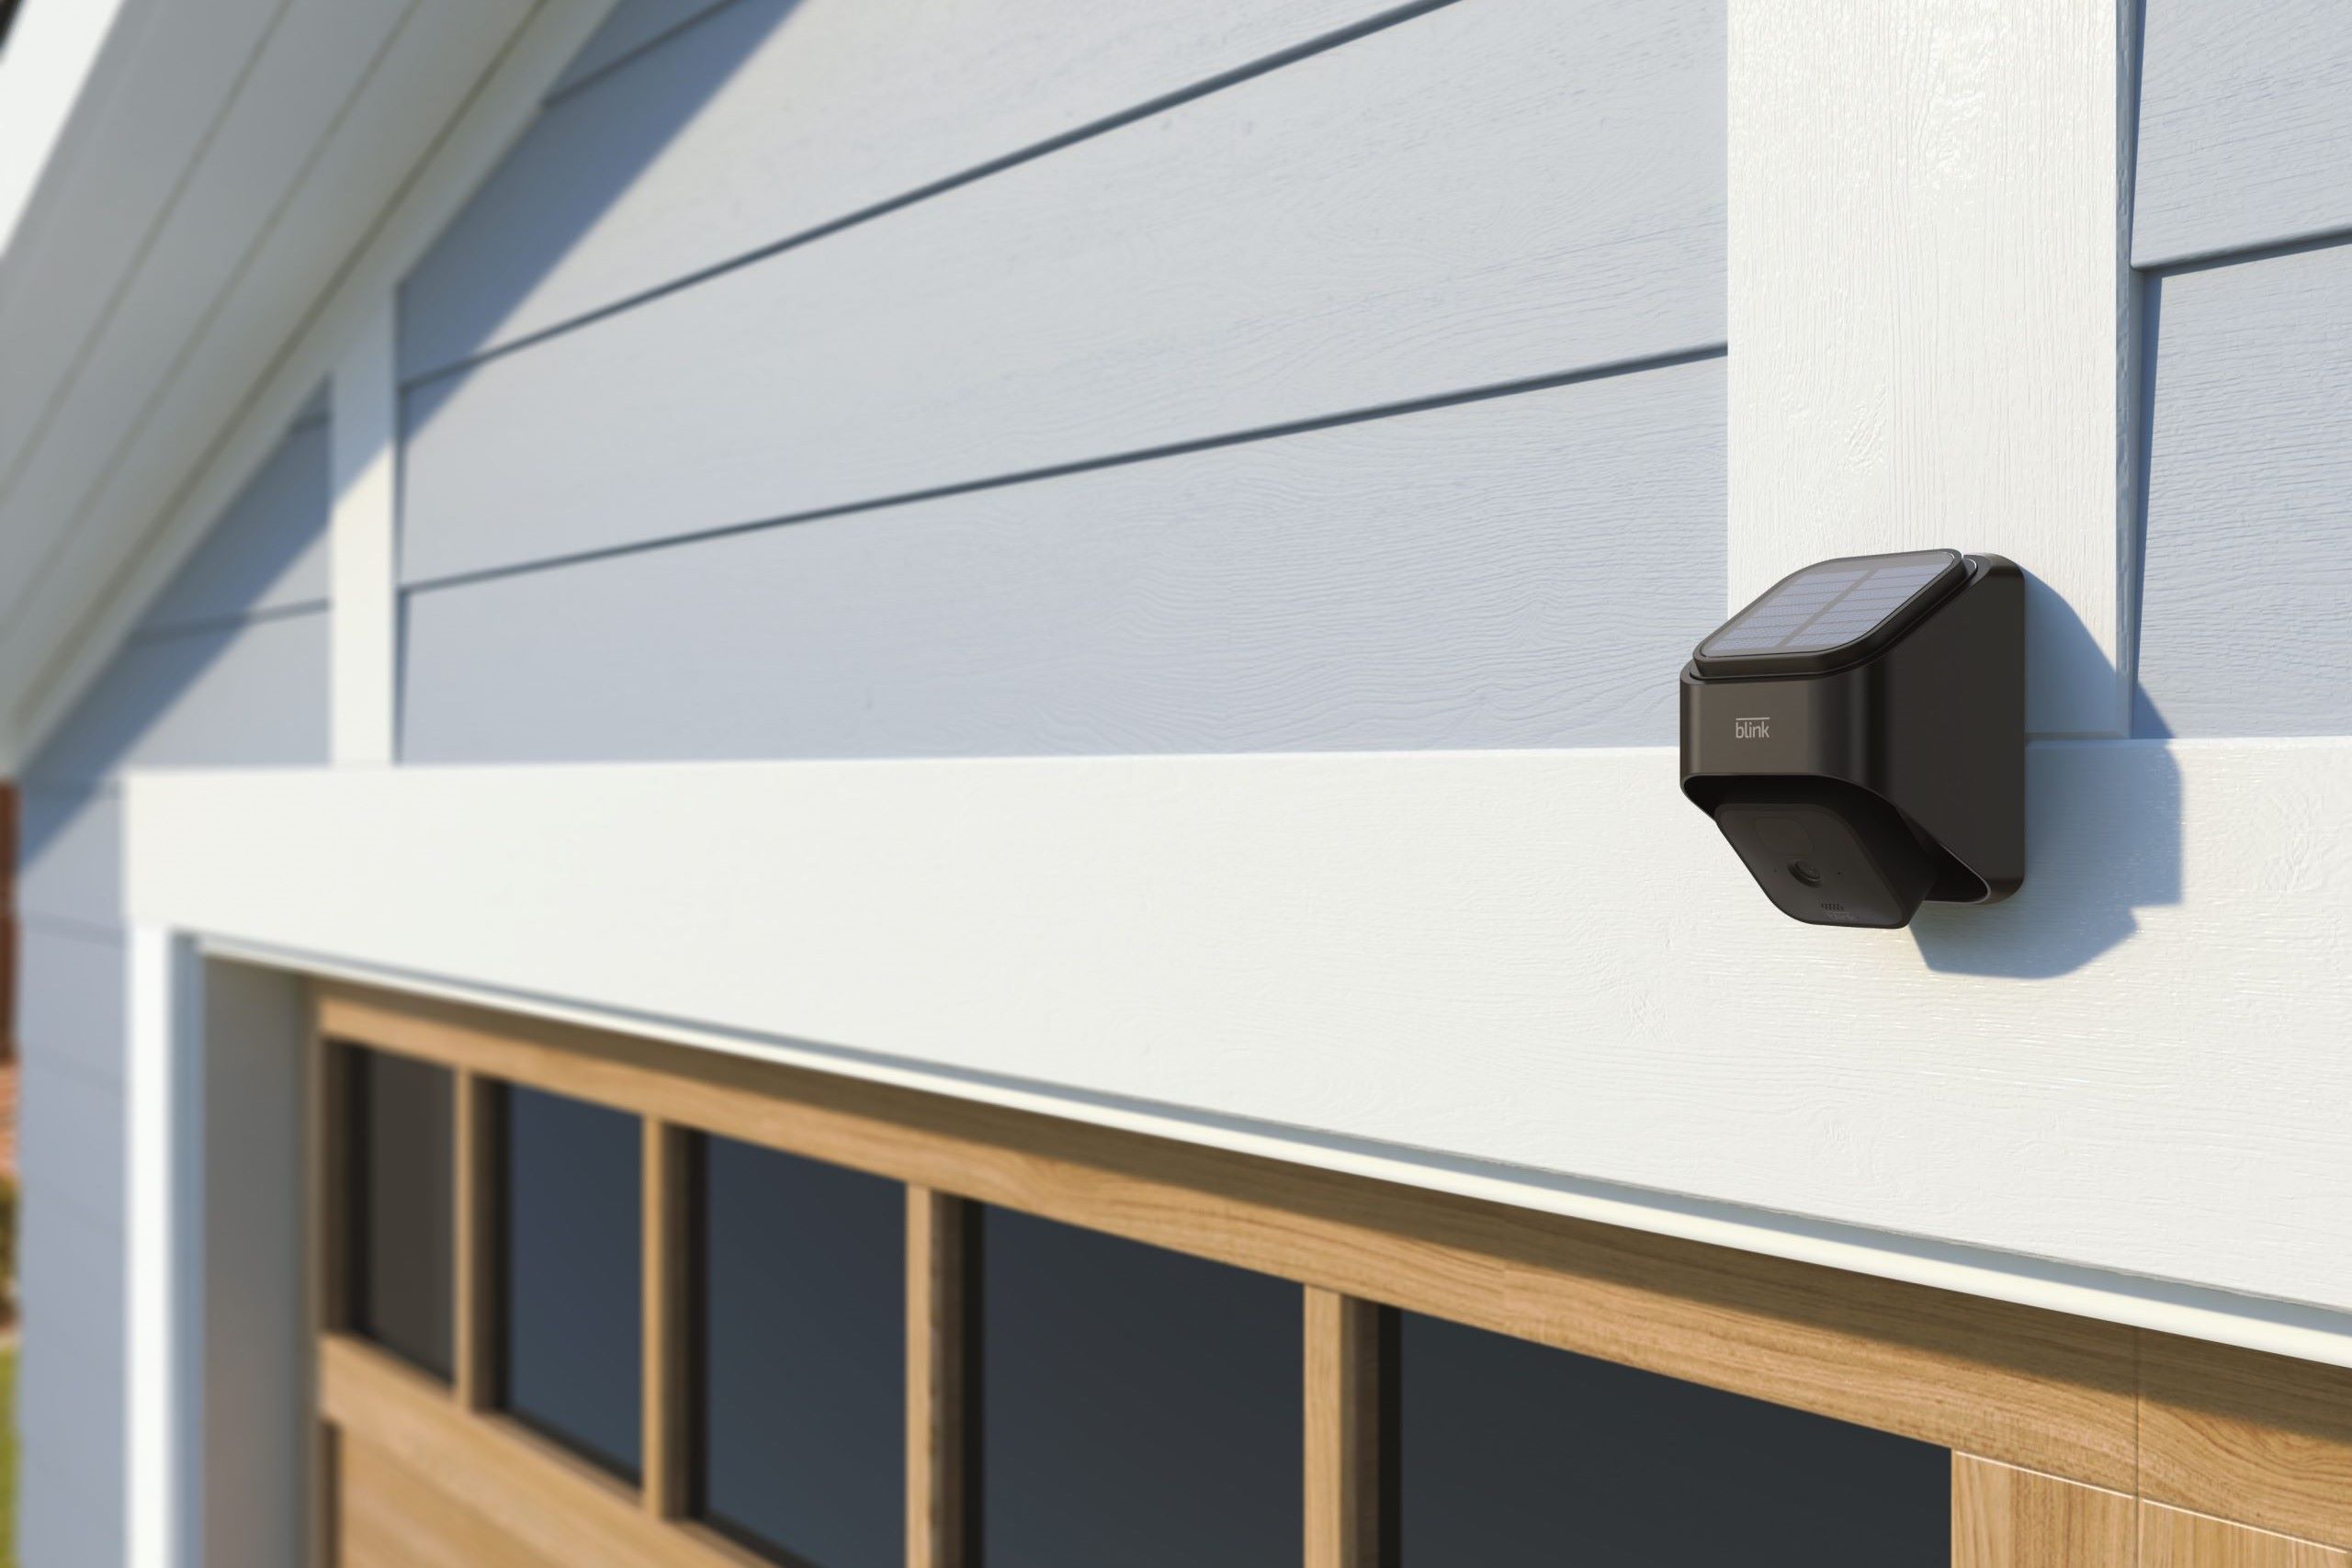
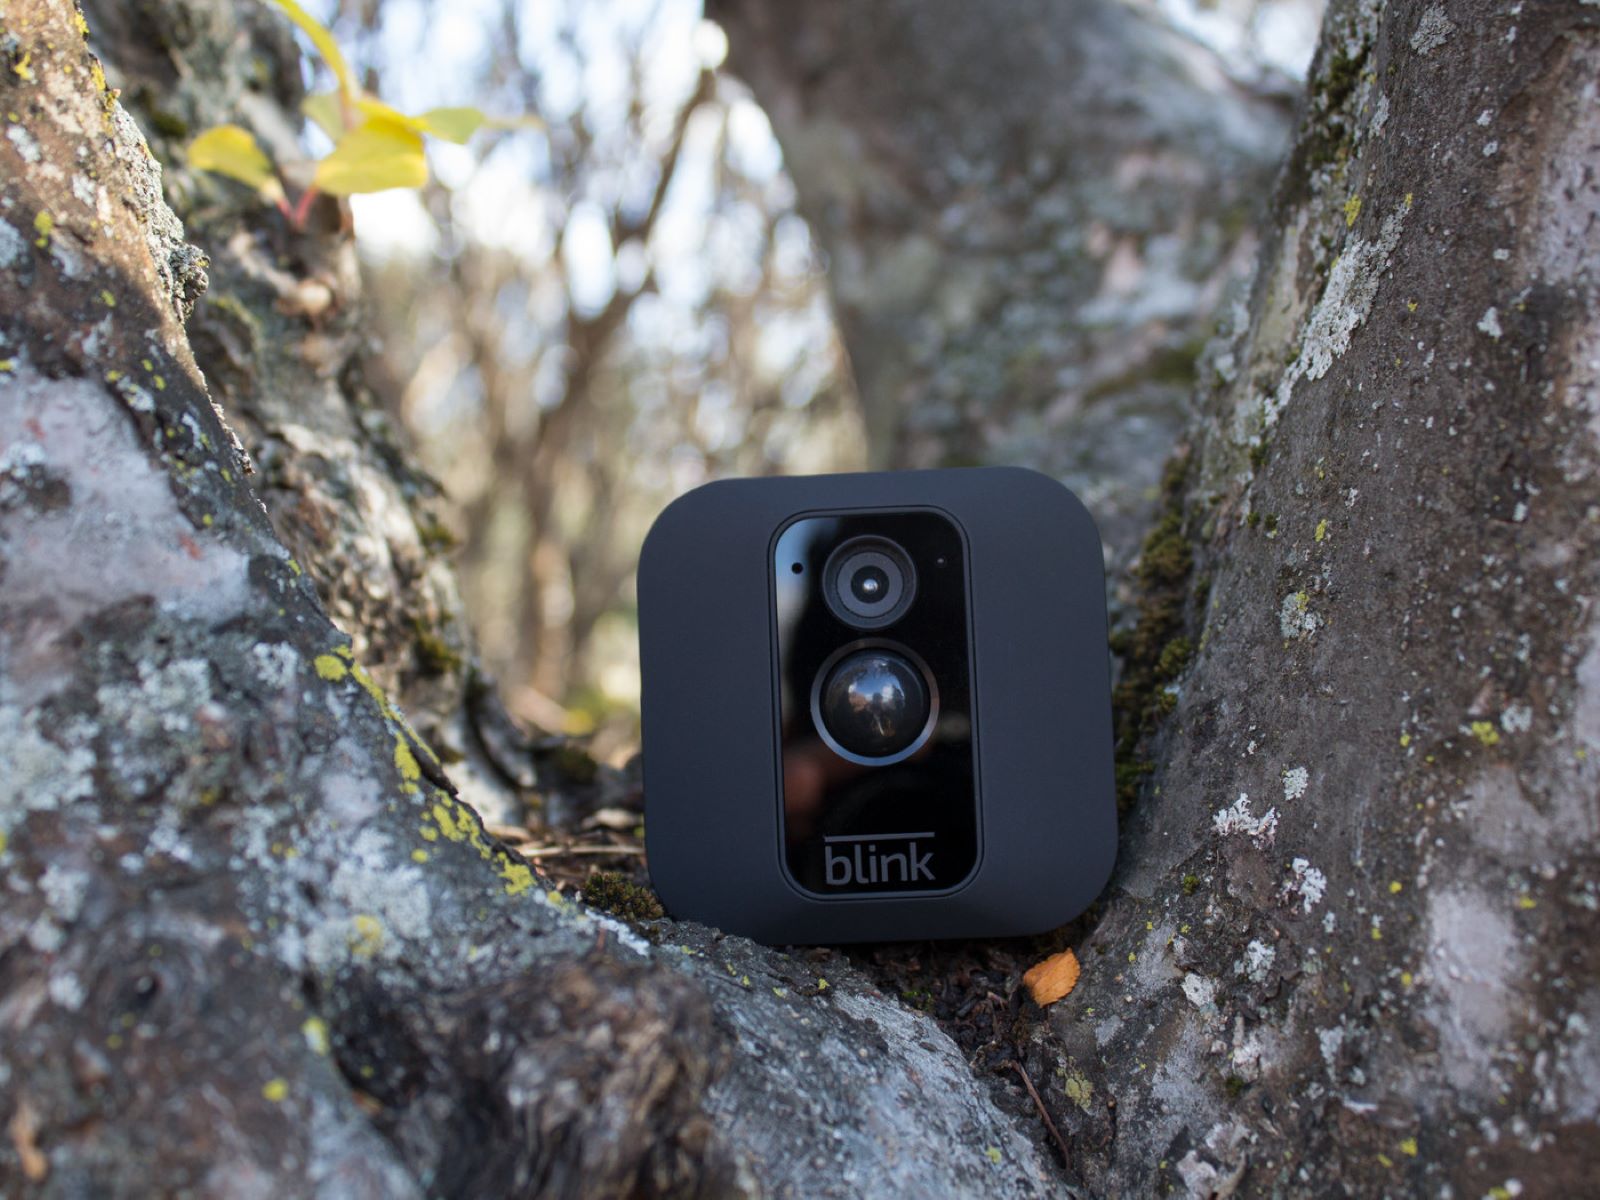
- Choose the Installation Location: Select a strategic location for mounting the floodlight camera, ensuring that it offers a clear view of the targeted outdoor area while remaining within the range of a reliable power source. Consider factors such as the angle of illumination, potential blind spots, and the presence of any obstacles that could obstruct the camera’s field of view.
- Prepare the Mounting Surface: Before securing the camera in place, prepare the mounting surface by ensuring it is clean, level, and capable of supporting the weight of the floodlight camera. If necessary, use a stud finder to locate a suitable mounting point on a solid surface, such as a wall or eave.
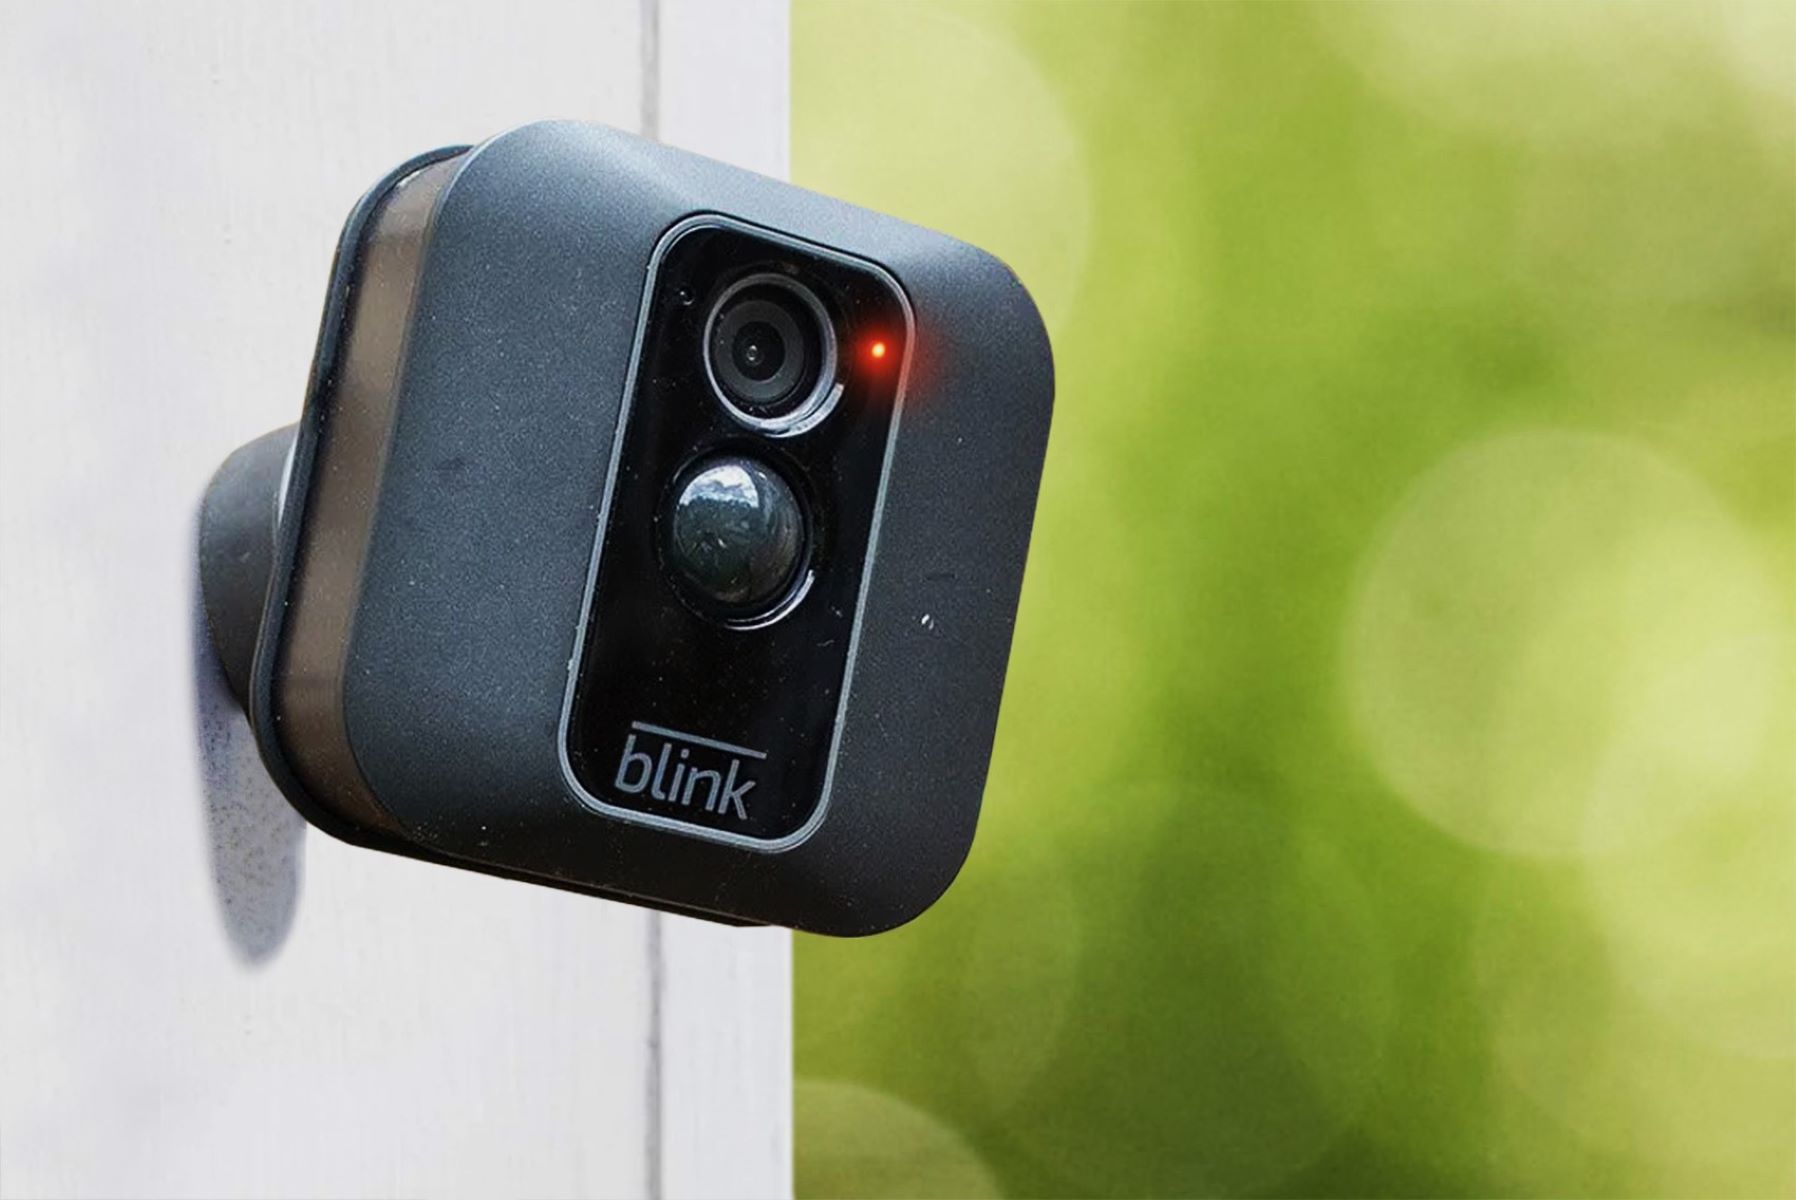
- Secure the Mounting Bracket: Utilize the provided mounting bracket and hardware to securely affix the bracket to the chosen installation location. Ensure that the bracket is firmly anchored and aligned according to your desired camera orientation, allowing for optimal coverage and visibility.
- Attach the Floodlight Camera: With the mounting bracket in place, carefully attach the Blink Outdoor Floodlight Camera to the bracket, following the manufacturer’s guidelines for a secure and stable connection. Double-check the alignment and positioning of the camera to guarantee that it is poised to capture the intended outdoor area effectively.
By methodically following these steps, you can mount the Blink Outdoor Floodlight Camera with precision and confidence, setting the stage for seamless integration into your home security system. Once the floodlight camera is securely mounted, you are ready to proceed to the next phase of the installation process: connecting the camera to power for uninterrupted operation.
Step 3: Connecting the Floodlight Camera to Power
Ensuring a reliable power supply is essential for the seamless operation of your Blink Outdoor Floodlight Camera. By connecting the camera to a stable power source, you can guarantee uninterrupted surveillance and illumination, enhancing the overall effectiveness of your home security system. Here’s a comprehensive guide to help you connect the floodlight camera to power with ease:
- Locate a Power Outlet: Identify a suitable outdoor power outlet within close proximity to the mounted floodlight camera. Ensure that the outlet is weatherproof and equipped with ground fault circuit interrupter (GFCI) protection to safeguard against electrical hazards.
- Connect the Power Adapter: Utilize the provided power adapter and cable to establish a secure connection between the floodlight camera and the designated power outlet. Follow the manufacturer’s instructions for connecting the adapter, ensuring a snug and weather-resistant fit to prevent moisture ingress.
- Secure the Cable: Safely route the power cable from the floodlight camera to the power outlet, securing it along the mounting surface to prevent tripping hazards and potential damage. Utilize cable clips or fasteners to maintain a tidy and organized cable arrangement.
- Test the Power Connection: Once the power adapter is connected, conduct a brief test to verify that the floodlight camera receives power and activates as expected. Confirm that the illumination and surveillance features of the camera are operational, indicating a successful power connection.
By following these steps, you can establish a robust and dependable power supply for your Blink Outdoor Floodlight Camera, ensuring consistent performance and peace of mind. With the camera securely connected to power, you are now prepared to move on to the next phase of the installation process: setting up the floodlight camera to initiate seamless monitoring and surveillance of your outdoor spaces.
Before installing the Blink Outdoor Floodlight Camera, make sure to check the Wi-Fi signal strength in the installation area to ensure a strong and stable connection for the camera.
Step 4: Setting Up the Blink Outdoor Floodlight Camera
With the Blink Outdoor Floodlight Camera securely mounted and connected to power, the next crucial step is to set up the device to commence monitoring and surveillance of your outdoor environment. The setup process involves configuring essential settings, establishing connectivity, and customizing preferences to align the floodlight camera with your specific security requirements. Here’s a comprehensive guide to help you set up your Blink Outdoor Floodlight Camera with precision and ease:
- Download the Blink App: Begin by downloading the official Blink app onto your smartphone or tablet from the respective app store. The app serves as the central hub for managing and controlling your Blink Outdoor Floodlight Camera, offering intuitive tools and features for seamless setup and operation.
- Create a Blink Account: If you don’t already have a Blink account, follow the on-screen prompts to create a new account within the Blink app. This account will serve as your gateway to accessing and managing the floodlight camera’s settings and features.
- Add the Floodlight Camera: Within the Blink app, navigate to the “Add a Device” or “Setup a Camera” section and follow the guided prompts to add your Blink Outdoor Floodlight Camera to your account. This process typically involves scanning a QR code or entering the unique device information to establish a secure connection.
- Configure Camera Settings: Once the floodlight camera is successfully added to your account, take the time to customize the camera settings according to your preferences. This may include adjusting motion detection sensitivity, defining surveillance schedules, and enabling specific alert notifications based on your unique security needs.
- Establish Connectivity: Ensure that the floodlight camera is connected to your home Wi-Fi network, providing seamless access to live video feeds, motion-triggered recordings, and remote monitoring capabilities through the Blink app. Verify the strength of the Wi-Fi signal in the camera’s location to guarantee reliable connectivity.
By carefully navigating through the setup process, you can configure your Blink Outdoor Floodlight Camera to align with your specific security preferences and operational requirements. Once the camera is successfully set up, you are ready to proceed to the final phase of the installation process: testing the functionality of the floodlight camera to ensure optimal performance and surveillance capabilities.
Read more: How To Install Blink Outdoor Cameras
Step 5: Testing the Floodlight Camera
As you near the completion of the installation process for your Blink Outdoor Floodlight Camera, it’s essential to conduct comprehensive testing to verify the functionality and performance of the device. Testing allows you to confirm that the floodlight camera operates as intended, capturing clear video footage, triggering motion-activated illumination, and seamlessly integrating with your home security system. Here’s a detailed guide to help you test the floodlight camera with precision and confidence:
- Activate Motion Detection: Initiate motion within the camera’s field of view to trigger the motion detection feature. Observe the camera’s response as it captures and records the motion event, providing you with real-time alerts and notifications through the Blink app.
- Assess Night Vision Capabilities: Test the floodlight camera’s night vision functionality by simulating low-light conditions in the monitored area. Verify that the camera delivers clear and detailed video footage, even in challenging lighting environments, ensuring comprehensive surveillance round the clock.
- Test the Floodlight Illumination: Activate the floodlight feature of the camera to assess its brightness, coverage, and responsiveness to motion events. Confirm that the floodlight effectively illuminates the targeted area, enhancing visibility and deterring potential intruders or unwanted activity.
- Review Video Playback: Access the recorded video footage from the floodlight camera through the Blink app and review the quality and clarity of the recordings. Ensure that the camera captures and stores video data accurately, allowing you to retrieve and analyze critical surveillance footage when needed.
- Verify Remote Access: Test the remote access capabilities of the Blink Outdoor Floodlight Camera by accessing live video feeds and adjusting camera settings through the Blink app from a remote location. Confirm that the camera responds promptly to your commands and provides seamless access to real-time monitoring features.
By rigorously testing the functionality of your Blink Outdoor Floodlight Camera, you can gain confidence in its performance and reliability, ensuring that it delivers comprehensive surveillance and illumination for your outdoor spaces. Once you are satisfied with the results of the testing phase, you can rest assured that your floodlight camera is ready to safeguard your home and provide enhanced security and peace of mind.
Conclusion
Congratulations on successfully installing and setting up your Blink Outdoor Floodlight Camera! By following the comprehensive steps outlined in this guide, you have taken a significant stride towards enhancing the security and protection of your outdoor spaces. The Blink Outdoor Floodlight Camera represents a powerful combination of advanced surveillance technology and robust illumination, offering a comprehensive solution for monitoring and safeguarding your property.
Throughout the installation process, you have unboxed, mounted, connected, and configured the floodlight camera with precision and confidence, ensuring that it seamlessly integrates into your home security system. By conducting thorough testing, you have verified the functionality and performance of the camera, confirming its ability to capture clear video footage, trigger motion-activated illumination, and provide seamless remote access through the Blink app.
As you embark on your journey with the Blink Outdoor Floodlight Camera, it’s important to remain proactive in maintaining and optimizing its capabilities. Regularly review and adjust the camera settings to align with your evolving security needs, and ensure that the device remains clean and free from obstructions to maximize its surveillance effectiveness.
With the Blink Outdoor Floodlight Camera in place, you can enjoy enhanced peace of mind, knowing that your outdoor spaces are under the watchful eye of advanced surveillance technology. Whether you’re deterring potential intruders, monitoring outdoor activities, or simply illuminating your property after dark, the floodlight camera serves as a reliable and versatile asset in your home security arsenal.
Thank you for entrusting your home security to the Blink Outdoor Floodlight Camera. Embrace the convenience, reliability, and comprehensive protection that this innovative device offers, and take pride in proactively safeguarding your property and loved ones. With your newfound understanding of the installation and setup process, you are well-equipped to harness the full potential of the Blink Outdoor Floodlight Camera and elevate your home security to new heights.
Frequently Asked Questions about How To Install Blink Outdoor Floodlight Camera
Was this page helpful?
At Storables.com, we guarantee accurate and reliable information. Our content, validated by Expert Board Contributors, is crafted following stringent Editorial Policies. We're committed to providing you with well-researched, expert-backed insights for all your informational needs.


0 thoughts on “How To Install Blink Outdoor Floodlight Camera”