Home>Home Security and Surveillance>How To Install Blink Outdoor Camera With Floodlight
Home Security and Surveillance
How To Install Blink Outdoor Camera With Floodlight
Modified: August 16, 2024
Looking to enhance your home security and surveillance? Learn how to install the Blink Outdoor Camera with Floodlight for maximum protection and peace of mind.
(Many of the links in this article redirect to a specific reviewed product. Your purchase of these products through affiliate links helps to generate commission for Storables.com, at no extra cost. Learn more)
Introduction
Welcome to the world of home security and surveillance! With crime rates on the rise, it’s essential to take measures to protect your home and loved ones. One of the most effective ways to enhance the security of your property is by installing a high-quality outdoor camera with a floodlight. These devices not only capture potential threats but also act as a deterrent to potential intruders.
In this comprehensive guide, we will walk you through the step-by-step process of installing a Blink Outdoor Camera with Floodlight. With its advanced features and seamless integration with the Blink App, this camera offers a reliable and user-friendly solution to keep your home safe.
Before we dive into the installation process, let’s take a closer look at the benefits of installing a home security camera system with a floodlight.
The Benefits of a Home Security Camera System with Floodlight
- Enhanced Visibility: The integrated floodlight illuminates the surrounding area, ensuring clear and detailed video footage, even in low-light conditions.
- Deterrent Effect: The presence of a visible security camera and floodlight can discourage potential intruders, reducing the risk of break-ins.
- Remote Access: With a mobile app, you can monitor your property from anywhere, receive real-time alerts, and even communicate with visitors using the two-way audio feature.
- Evidence Collection: In the unfortunate event of a security breach, the recorded footage can provide crucial evidence for investigations and insurance claims.
- Peace of Mind: Knowing that your home is equipped with a reliable security system allows you to have greater peace of mind, whether you’re at home or away.
Now that you understand the advantages of installing a camera with floodlight, let’s proceed to the step-by-step installation process. Remember, this guide is specific to the Blink Outdoor Camera with Floodlight, but the general principles can be applied to other security cameras as well.
Key Takeaways:
- Installing a Blink Outdoor Camera with Floodlight enhances home security by providing clear video footage, deterring intruders, and offering remote access for peace of mind.
- Choosing the right installation location, securely mounting the camera, and adjusting settings are crucial for optimal performance, ensuring a safer and more secure home.
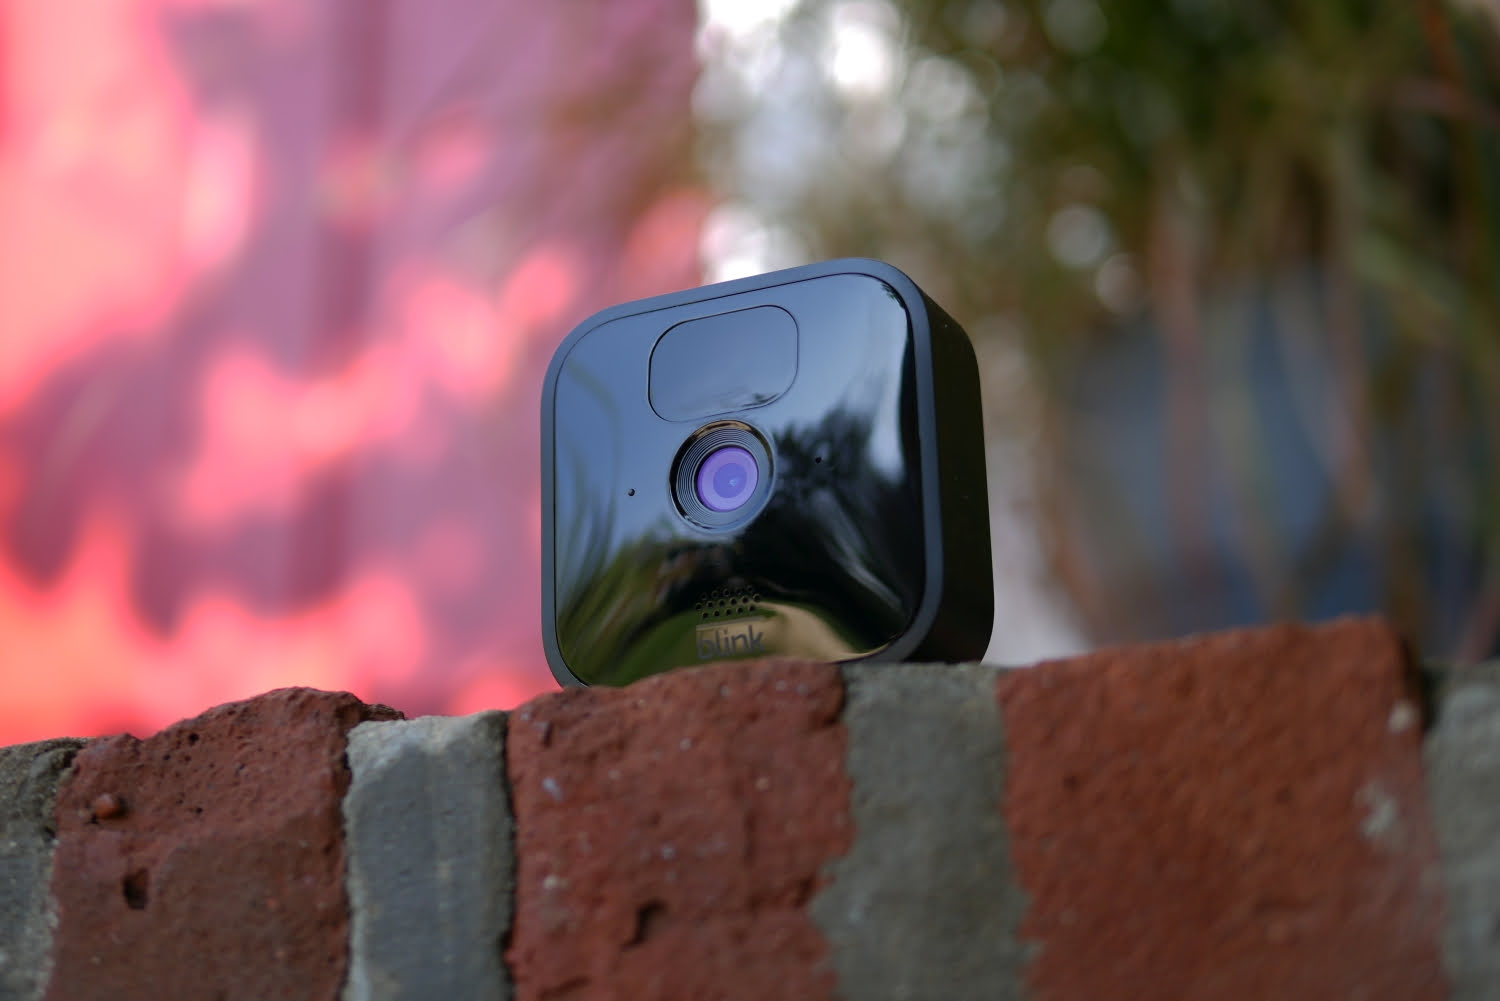
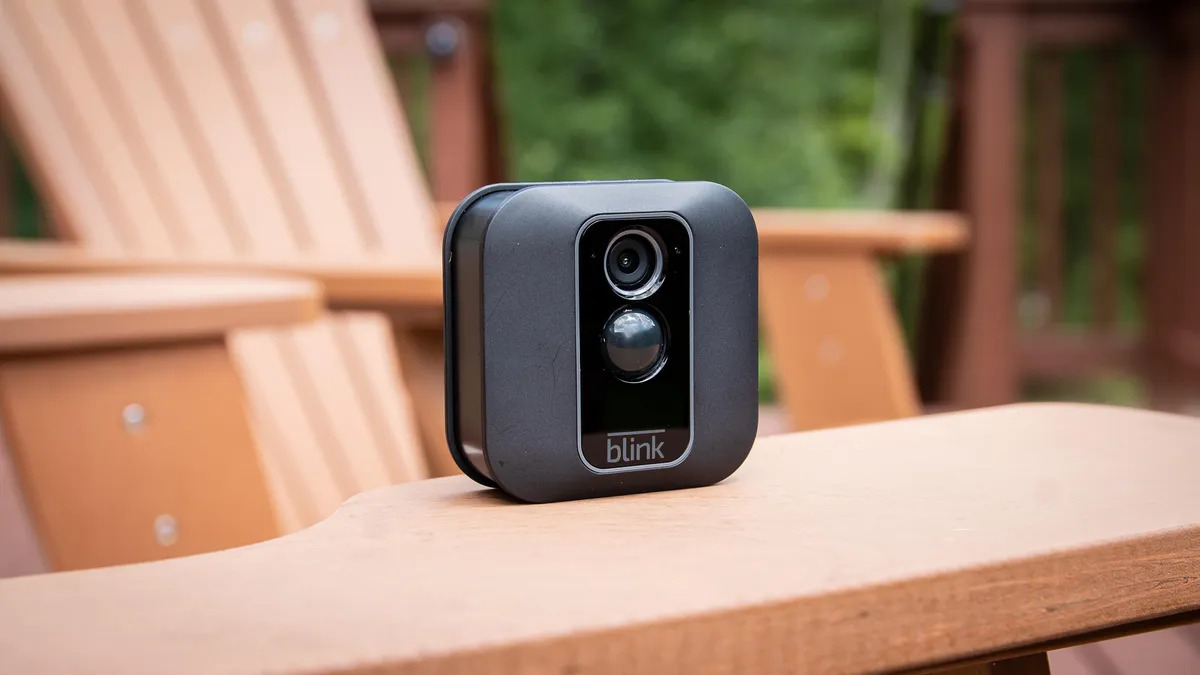
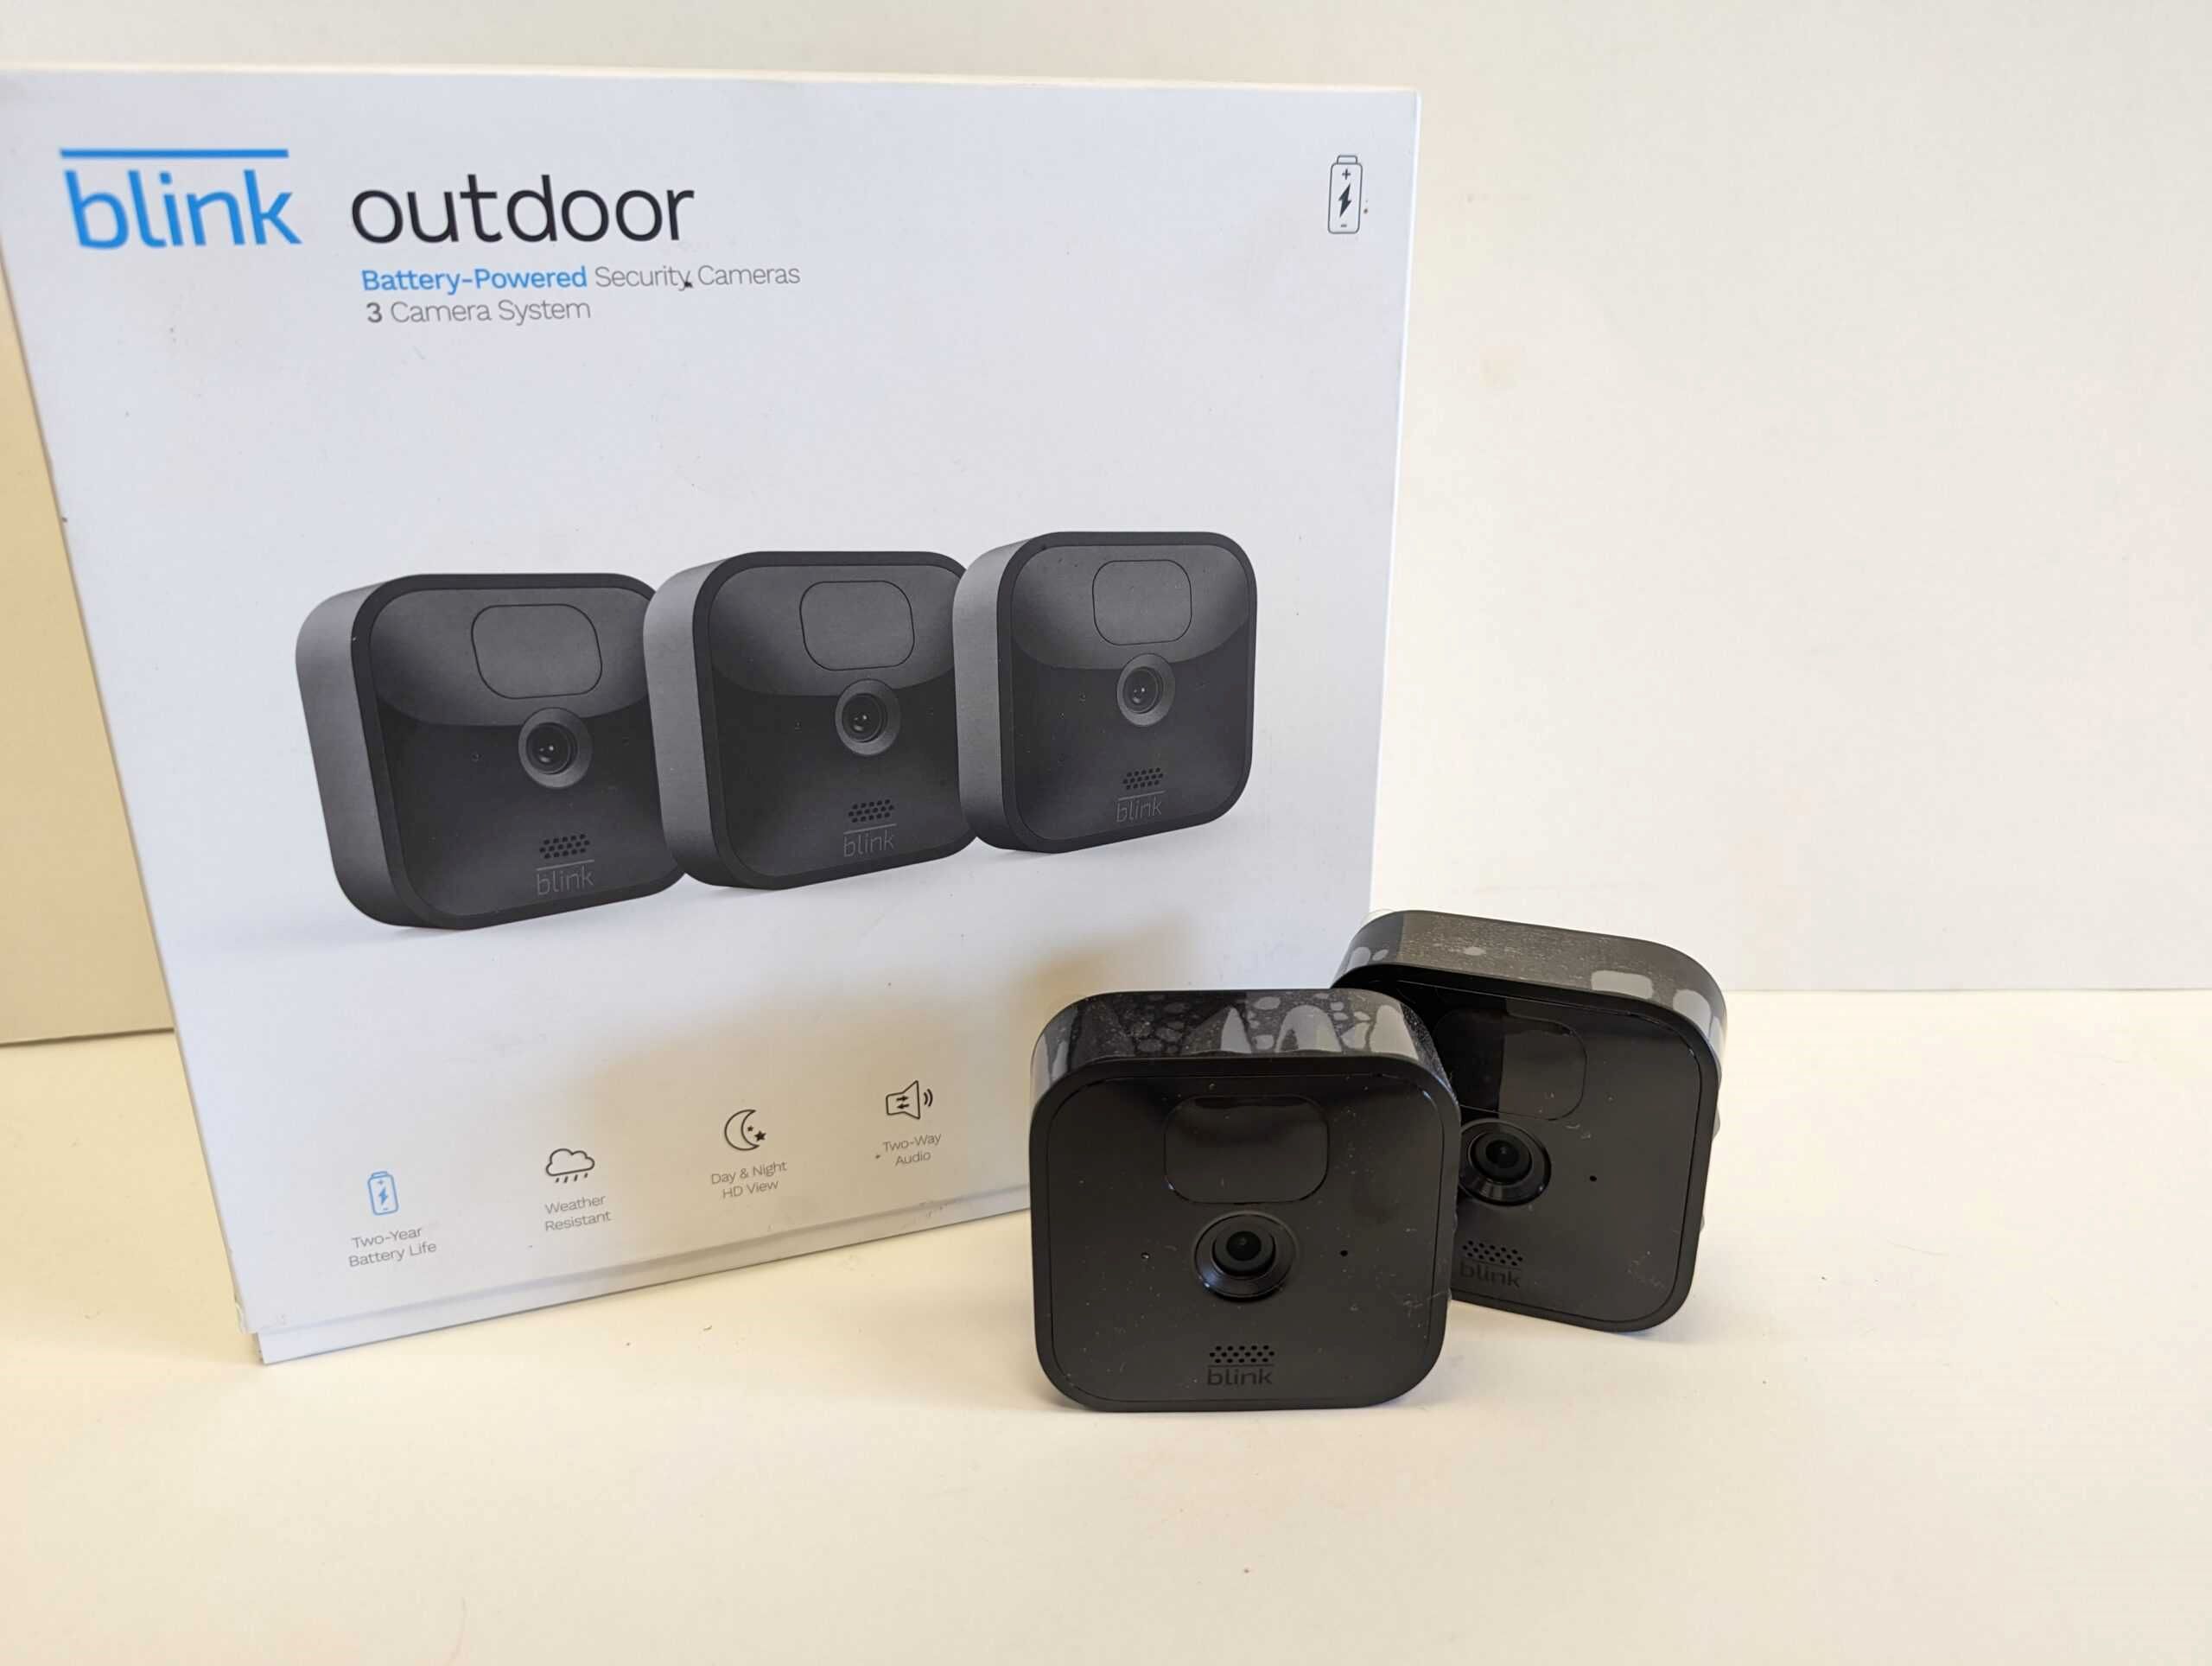
Step 1: Unboxing the Blink Outdoor Camera with Floodlight
Congratulations on your purchase of the Blink Outdoor Camera with Floodlight! Before you start with the installation process, let’s begin by unboxing the package and familiarizing ourselves with the components.
When you open the box, you will find:
- The Blink Outdoor Camera with Floodlight
- A mounting bracket
- Screws and anchors
- A USB cable and power adaptor
Ensure that all the necessary components are present and undamaged. It’s always a good idea to read the user manual or installation guide provided with the camera to get a better understanding of its features and functionalities.
Before proceeding to the installation, make sure you have the following tools handy:
- A screwdriver
- A level
- A drill (if necessary)
Once you have checked the contents and gathered the tools, you are ready to move on to the next step: choosing the installation location.
Step 2: Choosing the Installation Location
The success of your Blink Outdoor Camera with Floodlight installation depends greatly on choosing the right location. Here are some factors to consider when selecting the installation spot:
1. Coverage Area:
Survey your property to identify the areas you want to monitor and ensure that the camera’s field of view adequately covers those areas. Consider the height and angle at which the camera will be mounted to maximize its coverage.
Read more: How To Install Blink Outdoor Cameras
2. Power Source:
Ensure that the installation location is within reach of a power outlet or has appropriate wiring for the camera’s power source. This will allow you to keep the camera continuously powered without relying on batteries.
3. Avoid Obstructions:
Avoid placing the camera in areas that may have obstructions such as tree branches or walls that could block the camera’s view or trigger false motion alerts. Clear any obstacles that may hinder the camera’s performance.
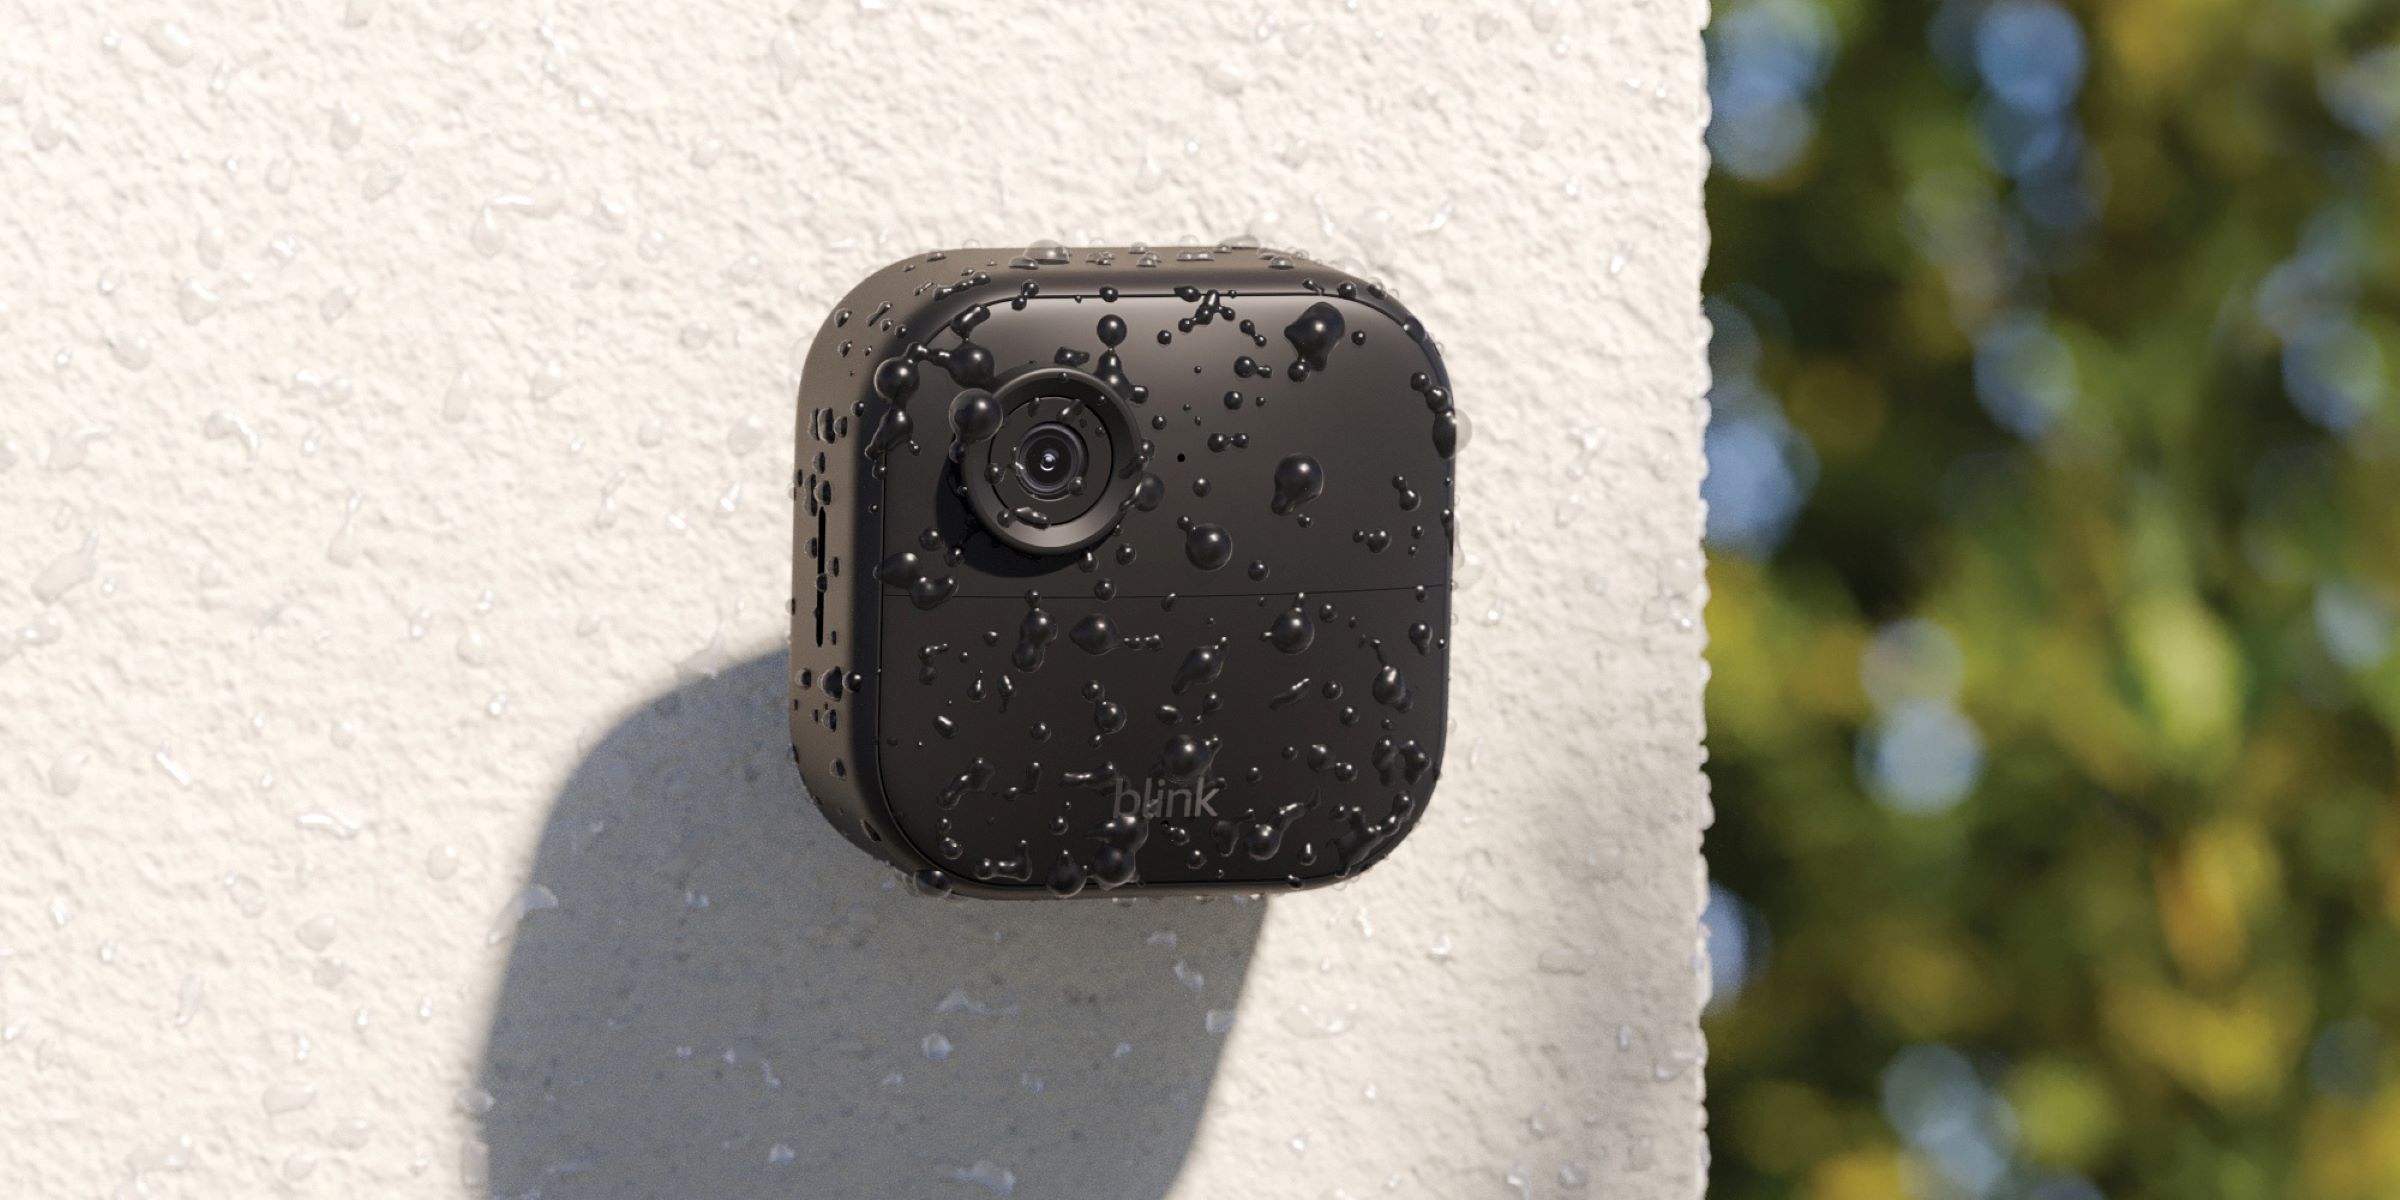
4. Protection from Weather:
Consider the weather conditions in your area and choose a location that provides adequate protection for the camera. Look for areas with overhanging roofs or use weatherproof housings to shield the camera from rain, snow, or direct sunlight.
5. Accessibility:
Ensure that the camera is easily accessible for maintenance and adjustments. You may need to clean the lens or make changes to the camera’s settings, so choose a location that allows for easy reach.
6. Wi-Fi Signal Strength:
Check the Wi-Fi signal strength in the proposed installation location. A strong and stable Wi-Fi connection is crucial for the camera to function properly. If the signal is weak, consider using a Wi-Fi range extender or repositioning your router for better coverage.
Take your time to evaluate different areas of your property based on these factors. Once you have identified the ideal installation location, you can proceed to the next step: mounting the camera with floodlight.
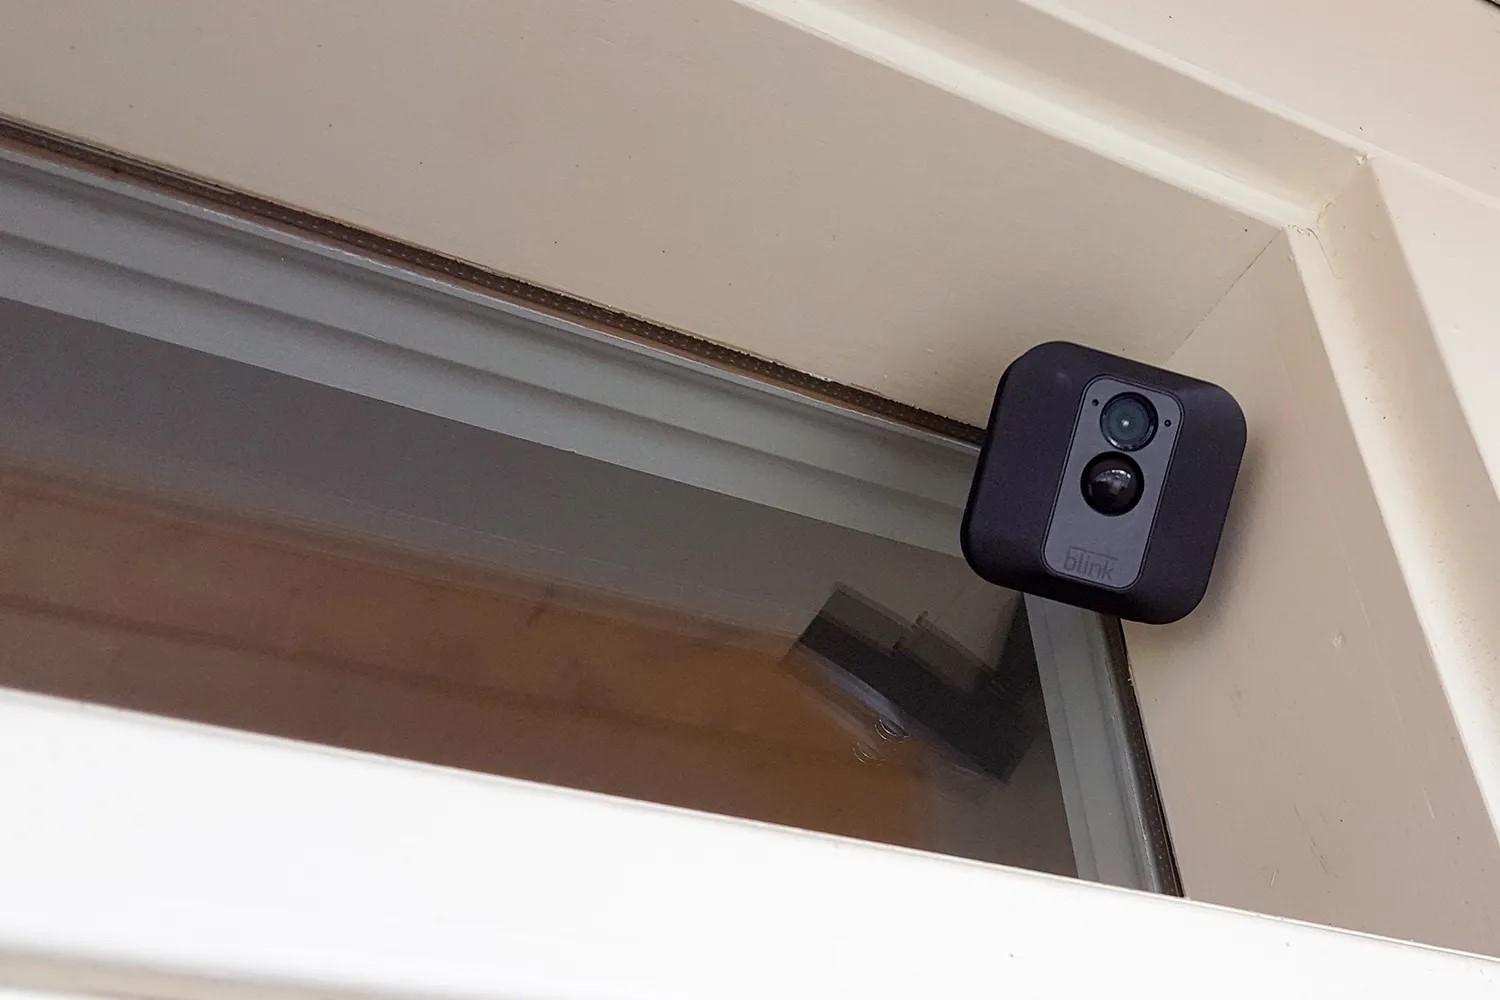
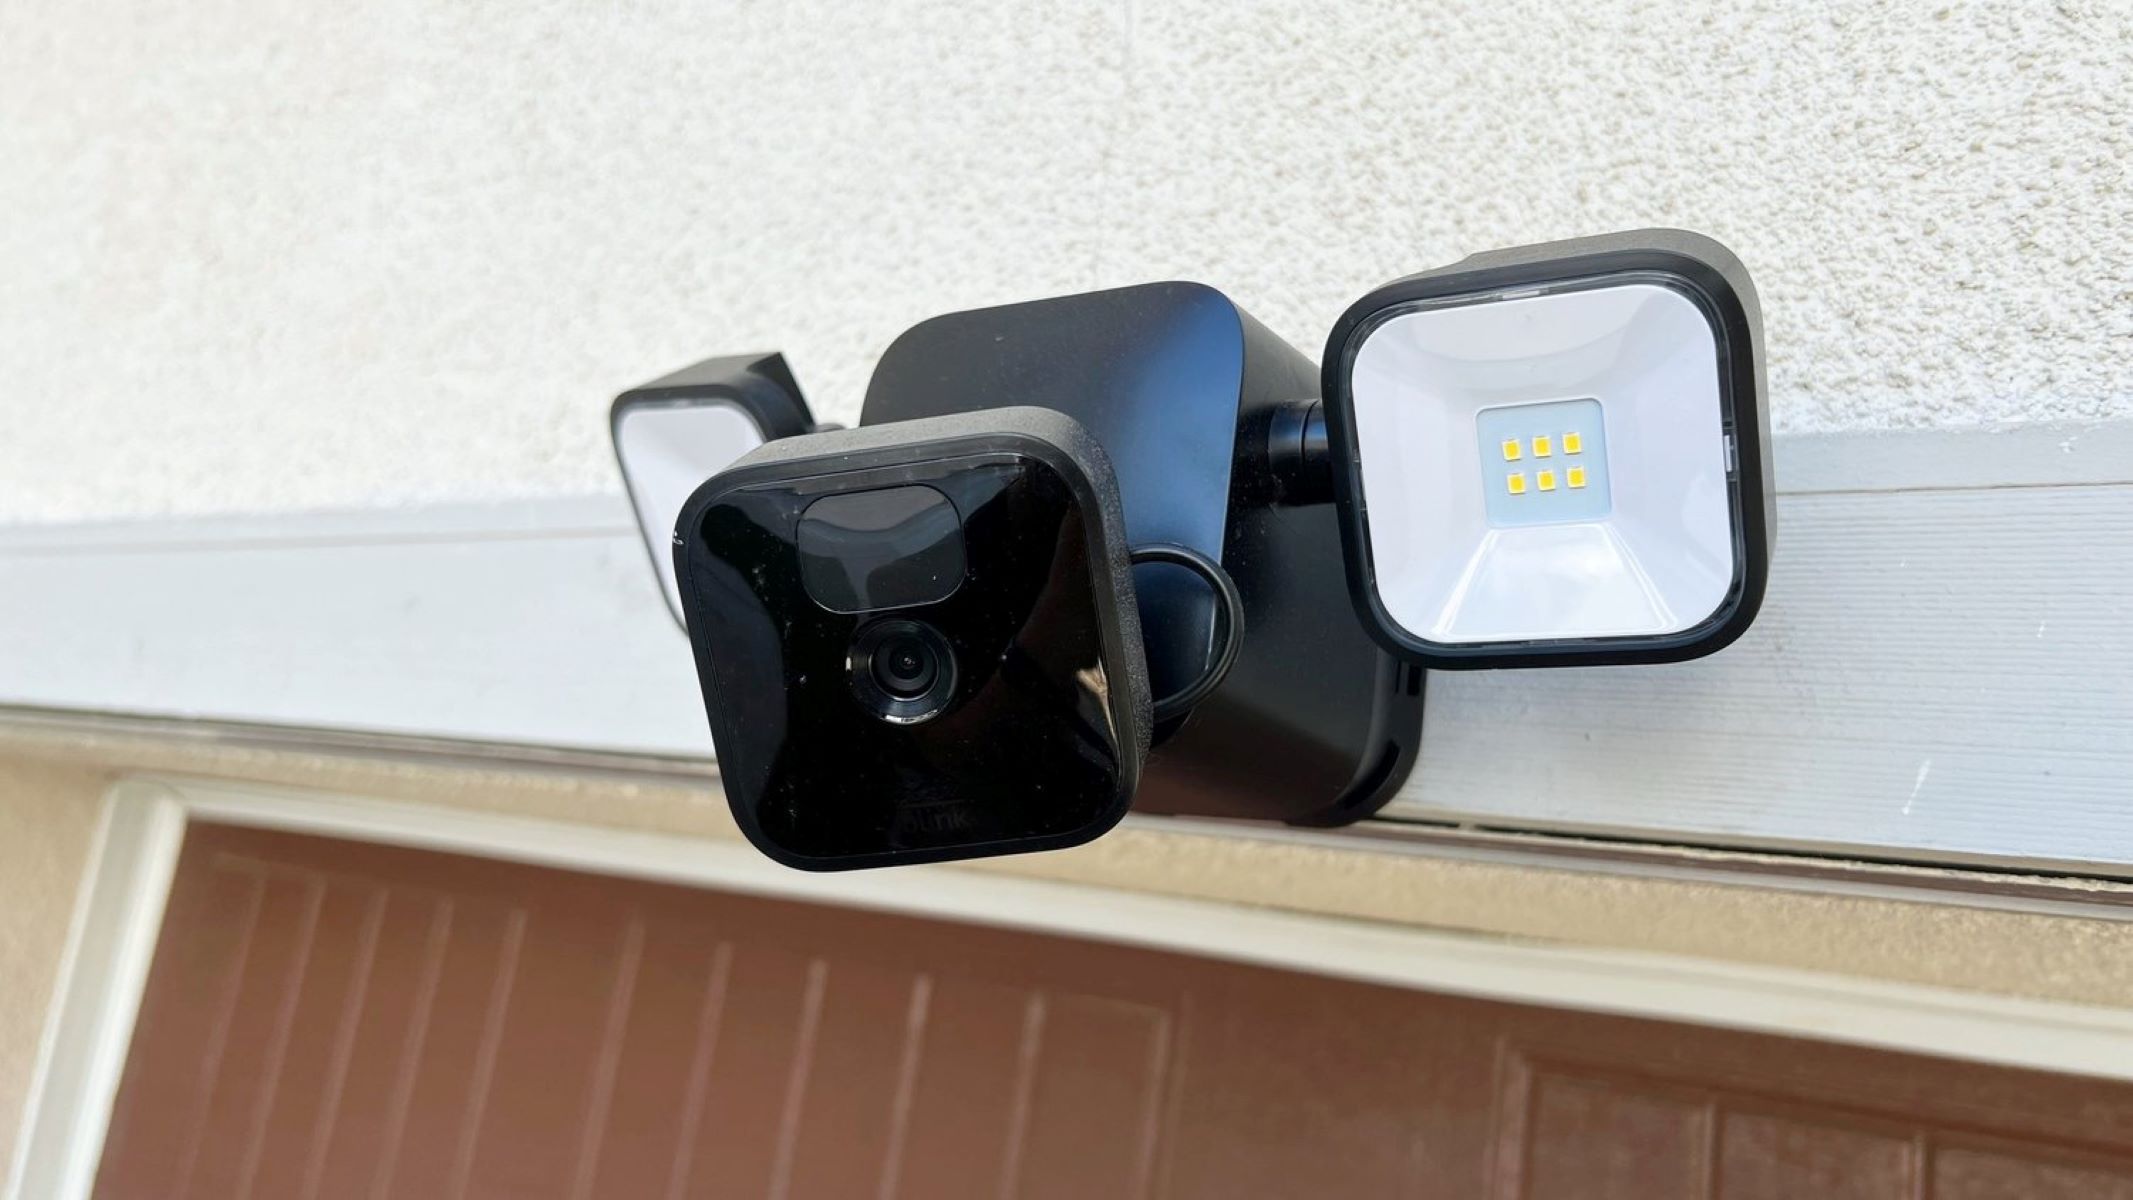
Step 3: Mounting the Camera with Floodlight
Now that you have chosen the perfect installation location for your Blink Outdoor Camera with Floodlight, it’s time to mount the camera securely. Follow these steps to ensure a sturdy and stable installation:
1. Prepare the Mounting Bracket:
Start by attaching the mounting bracket to the desired location using the screws and anchors provided. Use a level to ensure that the bracket is straight and aligned properly.
2. Connect the Camera:
Connect the camera to the mounting bracket by aligning the slots on the camera’s base with the corresponding tabs on the bracket. Slide the camera downward until it locks into place.
3. Adjust the Camera Angle:
Once the camera is attached, adjust the angle to ensure optimal coverage. Use the adjustable screws or knobs on the bracket to tilt the camera up, down, left, or right as needed.
4. Secure the Camera:
Tighten the screws on the mounting bracket to secure the camera in place. Ensure that the camera is firmly attached and doesn’t wobble or move when touched.
5. Test the Camera Position:
Before finalizing the installation, test the camera’s position by using the Blink App or monitoring software. Check if the camera’s field of view covers the desired areas and adjust the angle if necessary.
6. Conceal the Wiring:
If applicable, conceal the wiring for a cleaner and more professional installation. You can use cable clips or conduits to hide the wires along walls or other suitable locations.
By following these steps, your Blink Outdoor Camera with Floodlight should now be securely mounted and ready for the next phase: connecting it to the Blink App.
Step 4: Connecting the Camera to the Blink App
Now that your Blink Outdoor Camera with Floodlight is securely mounted, it’s time to connect it to the Blink App for seamless control and monitoring. Follow these steps to get your camera connected:
1. Download and Install the Blink App:
Search for the “Blink Home Monitor” app in your smartphone’s app store, whether it’s the Apple App Store or Google Play Store. Download and install the app onto your device.
2. Create a Blink Account:
If you haven’t done so already, open the Blink App and create a new account. Provide the required information, including your email address and a secure password, to set up your Blink account.
3. Add a New Device:
Once you have successfully created an account, open the app and tap on the “+” button to add a new device. Select the option to add a Blink Outdoor Camera with Floodlight.
Read more: How To Unscrew Blink Outdoor Camera
4. Scan the QR Code:
Follow the on-screen instructions to point your smartphone’s camera at the QR code on the back of the camera. This will automatically scan and detect your Blink Outdoor Camera with Floodlight.
5. Connect to Wi-Fi:
Select your Wi-Fi network from the available options and enter the network password when prompted. Ensure that you have a stable Wi-Fi connection for the camera to operate effectively.
6. Complete the Setup:
Once the camera is connected to your Wi-Fi, give it a name and assign it to a specific location within your property. Follow any additional prompts to complete the initial setup process.
With the Blink Outdoor Camera with Floodlight successfully connected to your Blink App, you can now enjoy real-time HD video streaming, motion detection alerts, and other advanced features provided by the app.
Please note that the specific steps may vary slightly depending on the version of the Blink App and your smartphone’s operating system, but the general process remains the same.
Now that your camera is connected, it’s time to move on to the next step: adjusting the camera settings according to your preferences.
Step 5: Adjusting Camera Settings
Now that your Blink Outdoor Camera with Floodlight is connected to the Blink App, it’s time to customize the camera settings to meet your specific needs. The Blink App offers a range of options for you to optimize the camera’s performance and tailor it to your preferences:
Read more: How To Open A Blink Outdoor Camera
1. Video Quality:
Choose the desired video quality for your camera. Higher quality settings provide better resolution but may consume more bandwidth and storage space. Find the balance between quality and performance that suits your requirements.
2. Motion Detection:
Adjust the motion detection sensitivity to avoid false alarms. If you notice the camera triggering motion alerts too frequently, you can decrease the sensitivity level. Conversely, if important events are being missed, you can increase the sensitivity.
3. Activity Zones:
Define specific areas within the camera’s field of view that you want to monitor more closely. By creating activity zones, you can focus on the most critical areas while reducing unnecessary notifications for motion detected in less important regions.
4. Night Vision:
Ensure that the camera’s night vision mode is enabled and set to the appropriate level. Depending on your preferences and the surrounding lighting conditions, you can adjust the night vision settings to optimize visibility during nighttime or low-light situations.
Read more: How To Charge A Blink Outdoor Camera
5. Scheduling:
Take advantage of scheduling options to customize when your camera is active. If you have specific times when you want the camera to arm or disarm, you can create a schedule to automate these actions based on your daily routine.
6. Two-Way Audio:
If your Blink Outdoor Camera with Floodlight supports two-way audio, you can enable this feature and adjust the microphone and speaker volume levels. This allows you to communicate with visitors or potential intruders through the app.
These are just a few examples of the settings you can adjust within the Blink App. Explore the app’s interface and navigate through the different options to personalize your camera’s performance to your liking.
Remember to regularly check and update your camera settings as per your changing requirements. By customizing the settings, you can make the most out of your Blink Outdoor Camera with Floodlight and ensure it operates in a way that meets your security needs.
With your camera now fine-tuned, it’s time to move on to the last step: testing the Blink Outdoor Camera with Floodlight for optimal performance.
Step 6: Testing the Blink Outdoor Camera with Floodlight
Once you have completed the installation and adjusted the settings of your Blink Outdoor Camera with Floodlight, it’s important to conduct a thorough test to ensure optimal performance. Here are some steps you can follow to test your camera:
1. Motion Detection:
Walk around the monitored areas of your property to determine if the camera detects motion accurately. Observe the motion detection alerts in the Blink App and make necessary adjustments to the sensitivity or activity zones, if needed.
Read more: What Is The Latest Blink Outdoor Camera
2. Night Vision:
Test the night vision mode by turning off the lights in the monitored area and checking the camera’s ability to capture clear video footage in low-light conditions. Ensure that the night vision settings are adjusted appropriately for optimal visibility.
3. Live View and Recording:
Access the live view feature in the Blink App to verify that the camera is streaming video in real-time without any interruptions. Also, confirm that the camera is recording and saving video clips when motion is detected according to your preferences.
4. Two-Way Audio:
Engage in a two-way audio conversation through the Blink App to test the functionality of this feature. Ensure that you can hear and speak clearly through the camera’s built-in microphone and speaker.
5. Mobile Alerts:
Walk around the monitored areas again to trigger motion alerts and verify that you receive push notifications on your mobile device. Check that the alerts are timely and accurate.
Read more: How To Setup Blink XT Outdoor Camera
6. Camera Connectivity:
Test the connectivity of your camera by moving to different areas of your property and ensuring that the Wi-Fi signal remains strong. If you notice any connectivity issues, consider repositioning your Wi-Fi router or adding a Wi-Fi range extender to improve signal strength.
By performing these tests, you can identify any potential issues or areas of improvement to ensure that your Blink Outdoor Camera with Floodlight is functioning properly. Make any necessary adjustments to the settings or placement of the camera based on your test results.
Remember to periodically check and test your camera to ensure ongoing performance and reliability. Regular maintenance and updates to the camera’s firmware, as provided by the manufacturer, will also contribute to its optimal functionality.
Congratulations! You have successfully installed, connected, and tested your Blink Outdoor Camera with Floodlight. With its advanced features and reliable performance, you can now enjoy enhanced home security and peace of mind knowing that your property is well-monitored.
Remember to familiarize yourself with your local laws and regulations regarding the use of surveillance cameras to ensure compliance. Enjoy the added security and convenience that your camera brings!
Conclusion
Congratulations on completing the installation and setup of your Blink Outdoor Camera with Floodlight! With its advanced features, ease of use, and seamless integration with the Blink App, you now have a powerful tool to enhance the security and surveillance of your home.
By following the step-by-step guide provided in this article, you have successfully unboxed the camera, chosen the ideal installation location, mounted it securely, connected it to the Blink App, adjusted the camera settings, and conducted thorough testing to ensure optimal performance.
The Blink Outdoor Camera with Floodlight offers a range of benefits, including enhanced visibility, a deterrent effect, remote access, evidence collection, and peace of mind. By installing this camera, you have taken a significant step towards safeguarding your property and loved ones.
Remember to regularly review and update your camera settings based on your specific needs and preferences. This will ensure that your camera continues to provide effective security and surveillance for your home.
It’s important to note that a security camera is just one component of a comprehensive home security system. Consider complementing your Blink camera with other security measures such as door and window sensors, motion-activated lights, and a monitored alarm system to provide multi-layered protection.
As a responsible homeowner, make sure to familiarize yourself with local regulations regarding the use of surveillance cameras and respect your neighbors’ privacy. Ensure that the camera is used responsibly and take necessary precautions to secure the camera and protect it from tampering.
Thank you for taking the time to follow this guide. We hope that the information provided has been helpful in your journey towards a safer and more secure home. If you have any questions or need further assistance, consult the Blink user manual or reach out to the Blink customer support team for guidance.
Enjoy the peace of mind that comes with having a reliable home security camera system, and may your Blink Outdoor Camera with Floodlight keep you and your loved ones safe and secure for years to come!
Frequently Asked Questions about How To Install Blink Outdoor Camera With Floodlight
Was this page helpful?
At Storables.com, we guarantee accurate and reliable information. Our content, validated by Expert Board Contributors, is crafted following stringent Editorial Policies. We're committed to providing you with well-researched, expert-backed insights for all your informational needs.