Home>Home Security and Surveillance>How To Install Alarm.com Outdoor Camera
Home Security and Surveillance
How To Install Alarm.com Outdoor Camera
Modified: November 1, 2024
Learn how to easily install Alarm.com outdoor cameras for your home security and surveillance needs. Enhance your safety with our step-by-step guide.
(Many of the links in this article redirect to a specific reviewed product. Your purchase of these products through affiliate links helps to generate commission for Storables.com, at no extra cost. Learn more)
Introduction
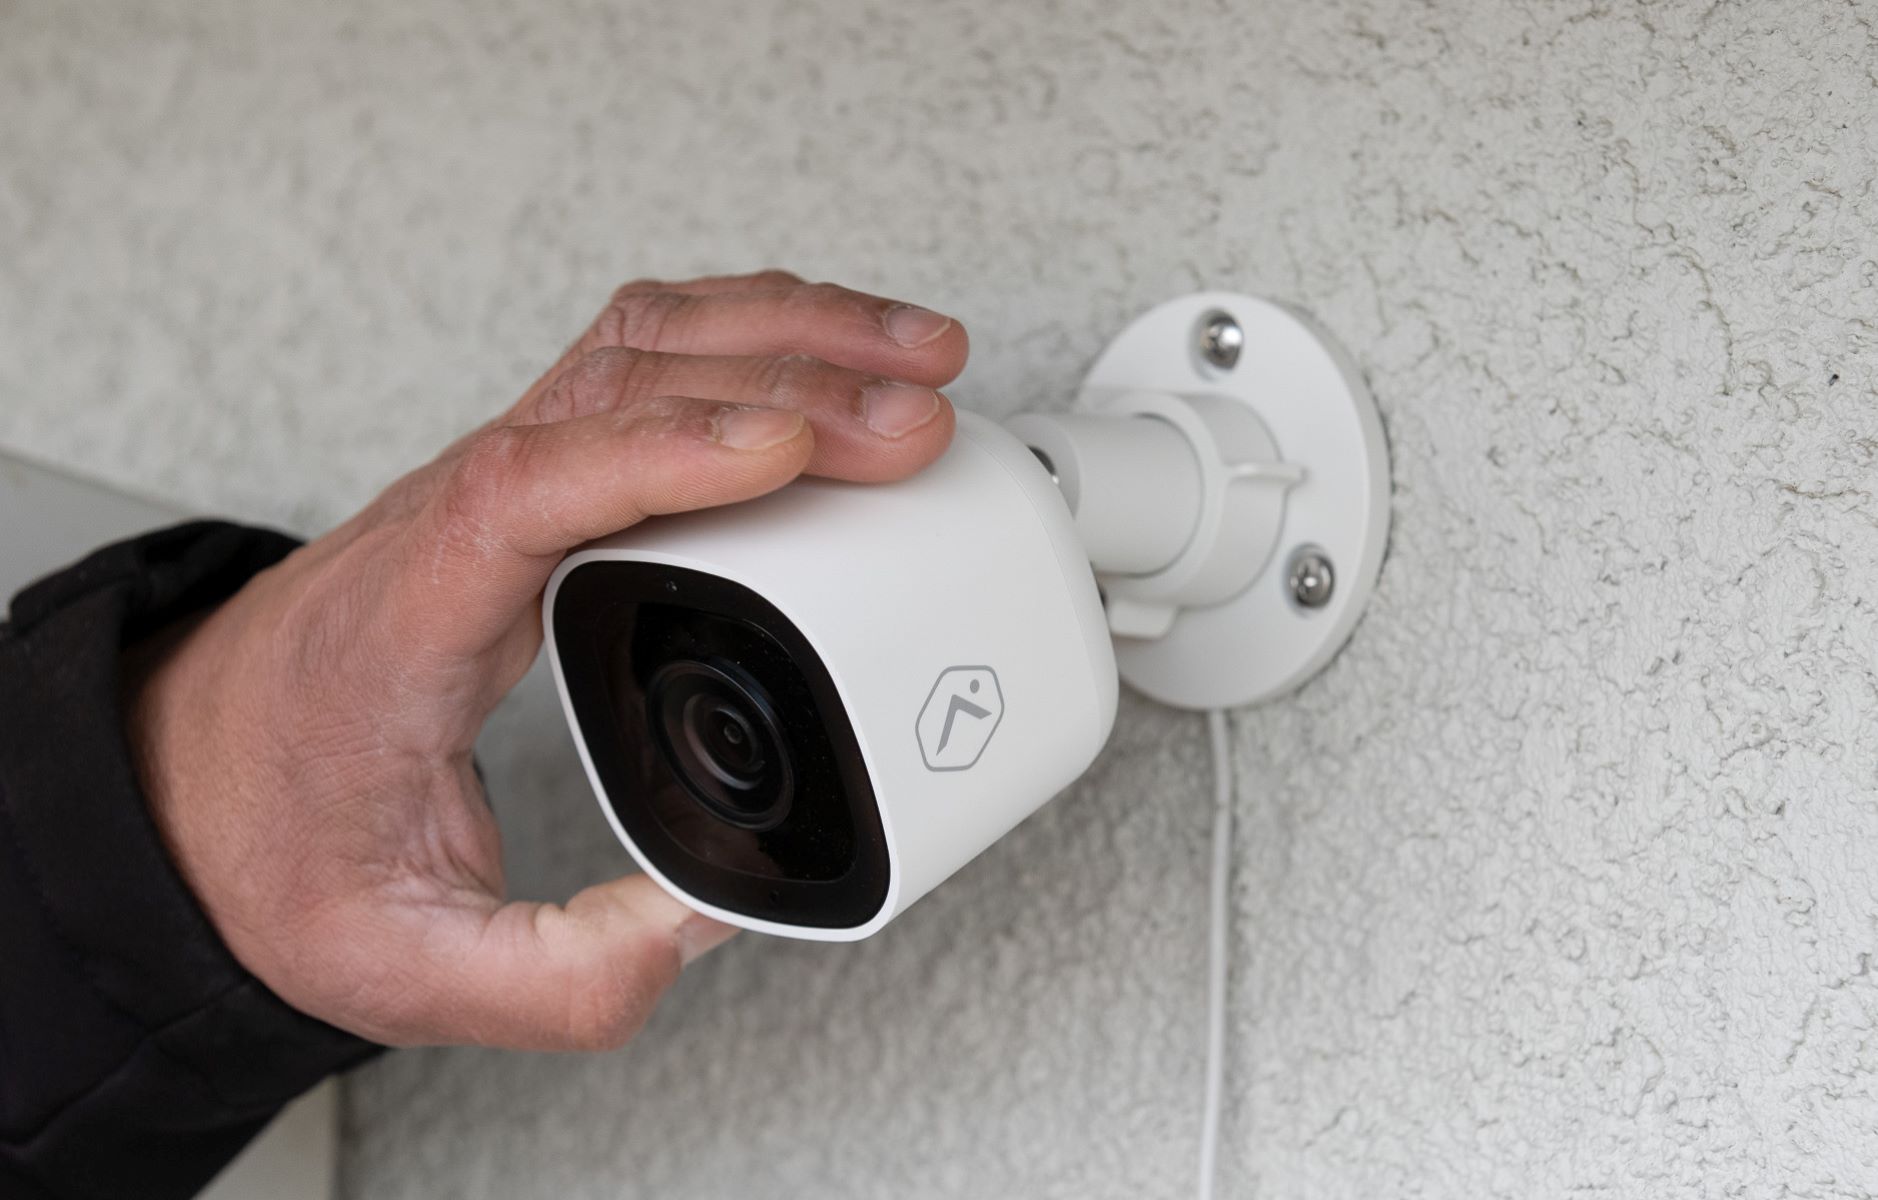
Welcome to our step-by-step guide on how to install the Alarm.com Outdoor Camera. If you’re looking to enhance the security of your home or property, an outdoor camera is an excellent investment. The Alarm.com Outdoor Camera is a top-of-the-line device that offers advanced features and reliable surveillance. Whether you’re a DIY enthusiast or a homeowner looking for a simple installation process, this guide will provide you with the necessary steps to set up your camera.
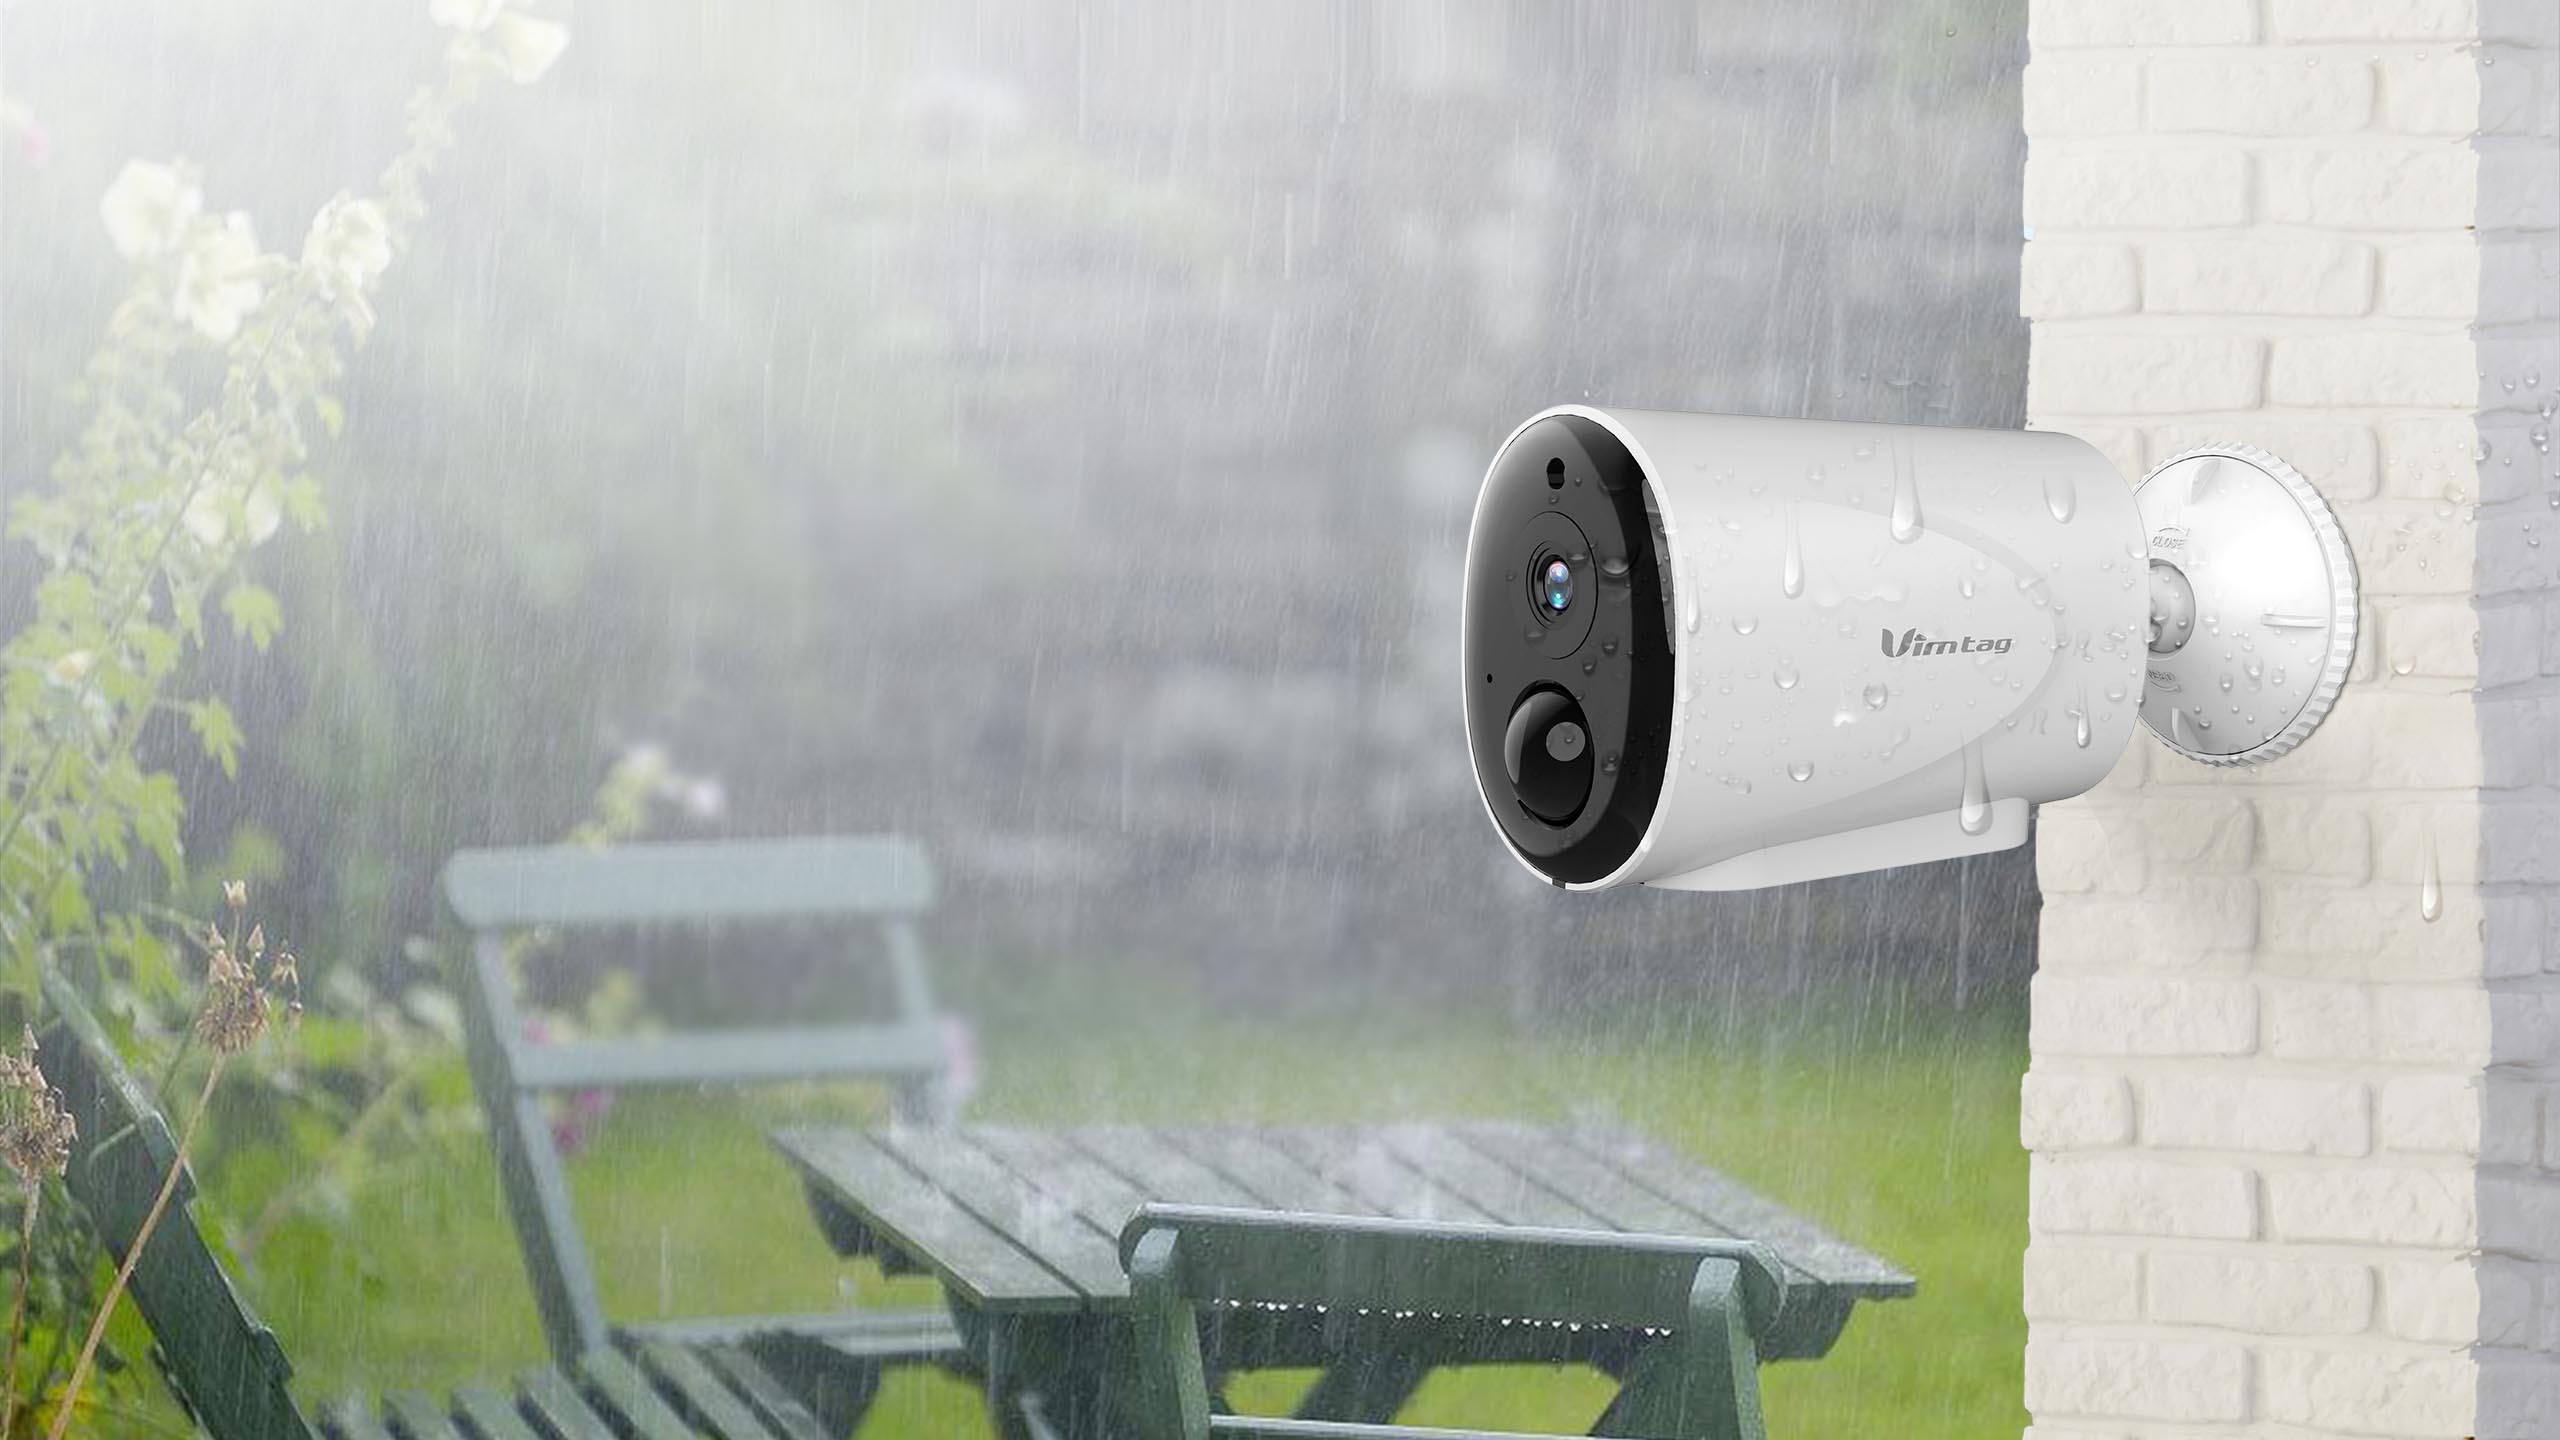
The Alarm.com Outdoor Camera is designed to withstand harsh weather conditions, making it perfect for both residential and commercial use. With its high-resolution video capture, motion detection capabilities, and remote access features, you can enjoy enhanced security and peace of mind.
Before getting started, it’s important to ensure that you have all the necessary tools and equipment for the installation. This may include a ladder, drill, screwdriver, network cables, power adapters, and other basic hand tools. Once you’re ready, let’s dive into the installation process.
Key Takeaways:
- Installing an Alarm.com Outdoor Camera involves unboxing, choosing the right location, mounting the camera bracket, connecting to power and network, adjusting the angle, and testing its functionality for reliable home security.
- Proper installation and testing of the camera ensure optimal surveillance coverage, clear image capture, and motion detection, providing enhanced security and peace of mind for your property.
Read also: 11 Best Alarm.Com Thermostat For 2025
Step 1: Unboxing the Alarm.com Outdoor Camera
The first step in installing the Alarm.com Outdoor Camera is to unbox the package and familiarize yourself with the components. The camera kit typically includes the following items:
- The Alarm.com Outdoor Camera
- Camera bracket and mounting hardware
- Power adapter
- Network cable
- Camera housing (if included)
- Quick start guide and user manual
Before proceeding, it’s essential to inspect the camera and its components for any physical damage or defects. If you notice any issues, it’s best to contact the manufacturer or retailer for assistance.
Once you’ve confirmed that everything is in good condition, you can move on to the next step of the installation process. Make sure to keep all the components organized and easily accessible, as you’ll need them throughout the installation.
Step 2: Choosing the Installation Location
Choosing the right location for your Alarm.com Outdoor Camera is crucial for optimal performance and surveillance. Here are some factors to consider when selecting the installation spot:
- Coverage Area: Determine the area you want to monitor and ensure that the camera’s field of view covers it adequately. Consider factors such as the distance from the camera to the target area and any potential obstructions.
- Height: Mount the camera at a suitable height to capture a clear view of the surrounding area. Generally, it’s recommended to install the camera at a height of about 8 to 10 feet for optimal coverage.
- Safety: Ensure that the camera is mounted securely and protected from tampering or vandalism. Select a location that is not easily accessible, and consider using additional security measures such as camera housings or protective covers.
- Power Source and Network Connectivity: Choose a location that allows you to easily connect the camera to a power source and your network. Ensure that there are power outlets nearby and proper network connectivity for smooth operation.
- Environment Conditions: Consider the environmental conditions that the camera will be subjected to, such as extreme temperatures, rain, or direct sunlight. Look for a location that provides some shelter or consider using camera housings or weatherproofing solutions.
Take your time to assess different areas around your property and evaluate which location meets these criteria. Keep in mind that the camera’s placement should provide maximum coverage without compromising its functionality or visibility.
Once you’ve identified the ideal location, you can move on to the next step of the installation process, which involves mounting the camera bracket.
Step 3: Mounting the Camera Bracket
Now that you have chosen the installation location for your Alarm.com Outdoor Camera, it’s time to mount the camera bracket. The camera bracket serves as the base for securely attaching the camera to the desired surface. Follow these steps to mount the bracket:
- Using a drill and appropriate drill bit, create pilot holes in the surface where you plan to mount the camera bracket. It’s important to ensure that the pilot holes align with the mounting holes on the bracket.
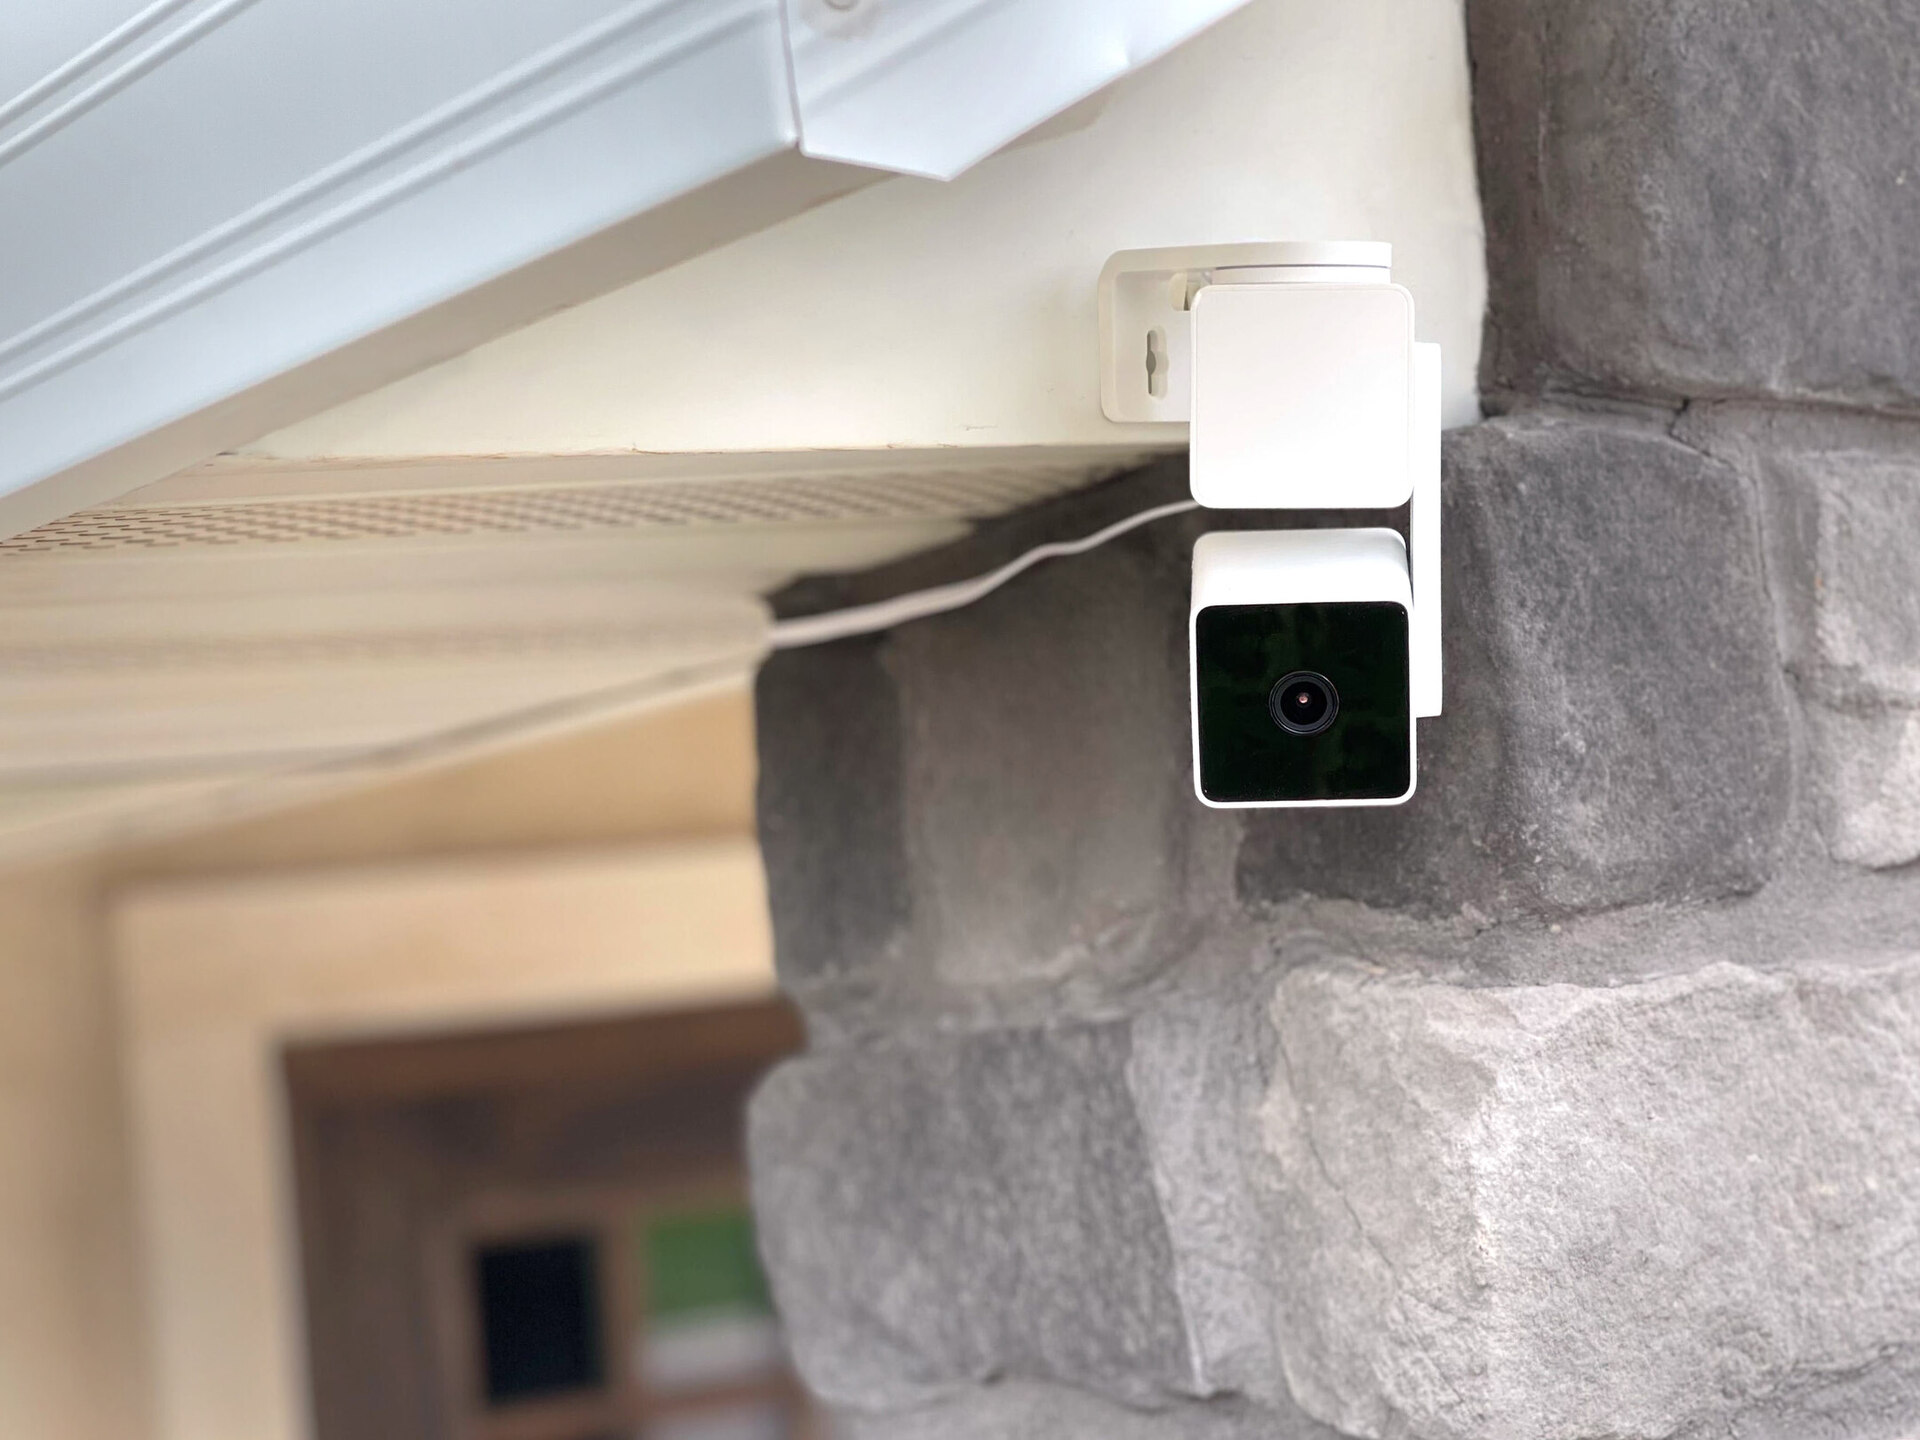
- Attach the camera bracket to the surface using screws and anchors suitable for the mounting surface (e.g., wood, concrete, or brick). Make sure the bracket is securely fastened and leveled.
- Once the bracket is mounted, make any necessary adjustments to ensure that it is positioned at the desired angle for optimal camera placement. Use a level to ensure that the bracket is straight.
- Double-check the bracket’s stability and ensure that it can support the weight of the camera. You may need to reinforce the bracket or consult a professional if you have any concerns.
Take your time during this step to ensure that the camera bracket is securely and properly mounted. A stable and level bracket is essential for the camera’s stability and overall performance.
Once the camera bracket is securely mounted, you can move on to the next step, which involves connecting the camera to the power source.
Step 4: Connecting the Camera to the Power Source
After mounting the camera bracket, it’s time to connect your Alarm.com Outdoor Camera to a power source. Follow these steps to ensure a proper power connection:
- Locate the power adapter that came with your camera. It typically consists of a DC power plug attached to a power cord.
- Connect the DC power plug to the power input port on the camera. Make sure it is securely plugged in.
- Next, plug the other end of the power cord into a nearby electrical outlet. Ensure that the outlet is providing a stable power supply.
- Once the camera is connected to the power source, check for any LED indicators on the camera. The LEDs will typically indicate the power status, such as whether the camera is receiving power or is in standby mode.
It’s important to note that some Alarm.com Outdoor Camera models may offer additional power options, such as Power over Ethernet (PoE) or battery-powered operation. If your camera supports these options, follow the manufacturer’s instructions for connecting the camera to the respective power source.
Ensure that the camera is receiving power and functioning properly before proceeding to the next step. Take a moment to verify that the camera’s LED indicators, if any, are displaying the appropriate status.
Now that the camera is powered up, it’s time to connect it to your network for remote access and monitoring. This will be covered in the next step.
Make sure to choose a location for your Alarm.com outdoor camera that has a strong Wi-Fi signal and a clear view of the area you want to monitor. This will ensure the best performance and coverage.
Read more: How To Install A Vivint Outdoor Camera
Step 5: Connecting the Camera to the Network
Now that your Alarm.com Outdoor Camera is powered up, it’s time to connect it to your network for remote access and monitoring. Follow these steps to establish a network connection:
- Locate the network cable that came with your camera. It’s typically an Ethernet cable with RJ45 connectors on both ends.
- Connect one end of the network cable to the Ethernet port on the camera. Ensure it is firmly inserted.
- Connect the other end of the network cable to your network router or switch. Make sure it is securely connected to an available Ethernet port.
- Verify that the network connection has been established by checking the camera’s LED indicators. The LEDs will typically indicate the network status, such as whether the camera is connected to the network and has obtained an IP address.
- If your camera supports wireless connectivity, you can follow the manufacturer’s instructions to connect it to your Wi-Fi network instead of using a wired connection.
Once the camera is successfully connected to the network, take a moment to confirm its network status. You can do this by accessing your router’s administration interface or using the camera’s companion app, if available, to view the camera’s network settings.
It’s essential to ensure a stable network connection for reliable remote access and monitoring of your camera. If you encounter any issues with the network connection, check your router settings, network cables, or consult the camera’s user manual for troubleshooting tips.
With the camera successfully connected to the network, you can proceed to the next step, which involves adjusting the camera angle and focus.
Step 6: Adjusting the Camera Angle and Focus
After connecting your Alarm.com Outdoor Camera to the network, it’s time to adjust the camera angle and focus to ensure optimal surveillance coverage. Follow these steps to adjust the camera’s angle and focus:
- Access the camera’s live view through the Alarm.com app or any other compatible software provided by the camera manufacturer.
- Observe the camera’s field of view and identify any areas that require surveillance coverage. This may include entrances, driveways, or other points of interest.
- Using the camera bracket, carefully adjust the camera’s angle to focus on the desired areas. You can typically loosen the bracket screws to adjust the camera’s position and tighten them once you’ve achieved the desired angle.
- Once the camera is positioned correctly, you may need to adjust the focus to ensure clear and sharp images. Some cameras have manual focus rings or buttons that allow you to adjust the focus. Refer to the camera’s user manual for specific instructions on adjusting the focus.
- As you adjust the camera angle and focus, keep testing the live view to ensure that the areas you want to monitor are properly captured and in focus.
- If your camera supports pan, tilt, and zoom (PTZ) capabilities, you can use the camera software or app to remotely adjust the camera’s position and zoom level for added flexibility.
Take your time during this step to ensure that the camera’s angle and focus are properly adjusted. This will ensure that you get the best surveillance coverage and high-quality images that meet your security needs.
Once you’re satisfied with the camera’s angle and focus, you can move on to the next step, which involves installing the camera housing, if applicable.
Step 7: Installing the Camera Housing
Installing a camera housing provides an extra layer of protection for your Alarm.com Outdoor Camera. While not all camera models require a housing, if your camera has one included, follow these steps to install it:
- Remove the camera from the bracket by loosening the screws or clips that hold it in place.
- Take the camera housing and align it with the camera. Ensure that the housing’s openings line up with the camera’s lens, microphone, and other components.
- Secure the housing to the camera by tightening the screws or engaging the clips, ensuring a snug and secure fit. Make sure the housing covers the camera completely, leaving no exposed areas.
- Double-check the housing’s stability and ensure that it does not obstruct the camera’s field of view or compromise its performance.
A camera housing helps protect your camera from dust, rain, and other environmental elements, extending its lifespan and maintaining its functionality. It also adds an extra layer of security by making the camera less accessible and tamper-resistant.
It’s important to note that not all cameras may require a housing, especially if they are specifically designed for outdoor use and already have built-in weatherproof features. However, if your camera came with a housing, it’s recommended to install it for added protection.
With the camera housing installed, you can proceed to the final step, which involves testing and troubleshooting the camera.
Step 8: Testing and Troubleshooting
After completing the installation of your Alarm.com Outdoor Camera, it’s crucial to thoroughly test its functionality and address any potential issues. Follow these steps to test and troubleshoot your camera:
- Access the camera’s live view through the Alarm.com app or any other compatible software provided by the camera manufacturer.
- Check the camera’s video feed to ensure that it is capturing clear and high-quality images. Test different camera angles and zoom levels to verify the camera’s flexibility and adjustability.
- Test the camera’s motion detection feature by walking in the camera’s field of view. Ensure that it detects and captures motion accurately and triggers any associated alerts or notifications.
- Verify that the camera’s night vision function is working correctly by testing it in low-light or dark conditions. Make sure the camera captures clear images without any noticeable distortion or noise.
- Next, test the camera’s audio capabilities by checking if you can hear sound captured by the camera’s microphone. Additionally, test the two-way audio feature if your camera supports it.
- Ensure that the camera’s remote access feature is functioning correctly. Try accessing the camera’s live view on different devices, such as your smartphone or computer, both within and outside your home network.
- If you encounter any issues during testing, consult the camera’s user manual or contact the manufacturer’s technical support for troubleshooting assistance. They can help you diagnose and resolve common issues, such as network connectivity problems or camera configuration settings.
By thoroughly testing your camera and addressing any troubleshooting needs, you can ensure that it is functioning optimally and providing the desired security and surveillance capabilities. Regular maintenance and software updates are also recommended to keep your camera up to date and to address any potential security vulnerabilities.
Congratulations! You have successfully installed and tested your Alarm.com Outdoor Camera. With your new outdoor camera in place, you can now enjoy enhanced security and peace of mind knowing that your property is under reliable surveillance.
If you have any further questions or need additional assistance, refer to the camera’s user manual or reach out to the manufacturer’s support team.
Remember to always follow local laws and regulations regarding the use of surveillance cameras, and respect the privacy of others while enjoying the benefits of your Alarm.com Outdoor Camera.
Read more: How To Install Blink Outdoor Cameras
Conclusion
Installing an Alarm.com Outdoor Camera is a great way to enhance the security and surveillance of your home or property. By following the step-by-step guide outlined in this article, you should now have a solid understanding of how to properly install and set up your camera.
Throughout the installation process, it’s important to carefully consider factors such as the camera’s location, power source, network connectivity, and adjusting the camera angle and focus. These steps will ensure that your camera is positioned effectively to capture the desired areas and provide clear and reliable surveillance footage.
After completing the installation, be sure to thoroughly test the camera’s functionality, including the video feed, motion detection, night vision, and audio capabilities. Testing the camera will help verify that it is operating optimally and meeting your security needs.
If you encounter any issues during the installation or testing process, consult the camera’s user manual or contact the manufacturer’s technical support for assistance. They will be able to provide guidance and troubleshooting tips to help resolve any problems.
Remember, regular maintenance and software updates are key to keeping your camera operating smoothly and ensuring its security features are up to date. Regularly check for firmware updates and make adjustments as needed.
By following the steps outlined in this guide, you can have confidence in the installation and functionality of your Alarm.com Outdoor Camera. Enjoy the added security and peace of mind that comes with having a reliable surveillance system in place to protect your home or property.
Now that you are equipped with the necessary knowledge, it’s time to put it into action and enjoy the benefits of your new outdoor camera!
Frequently Asked Questions about How To Install Alarm.com Outdoor Camera
Was this page helpful?
At Storables.com, we guarantee accurate and reliable information. Our content, validated by Expert Board Contributors, is crafted following stringent Editorial Policies. We're committed to providing you with well-researched, expert-backed insights for all your informational needs.