Home>Articles>How To Install Blink Outdoor Camera On Vinyl Siding
Articles
How To Install Blink Outdoor Camera On Vinyl Siding
Modified: September 1, 2024
Learn how to easily install your Blink Outdoor Camera on vinyl siding with our comprehensive step-by-step articles. Upgrade your home security today!
(Many of the links in this article redirect to a specific reviewed product. Your purchase of these products through affiliate links helps to generate commission for Storables.com, at no extra cost. Learn more)
Introduction
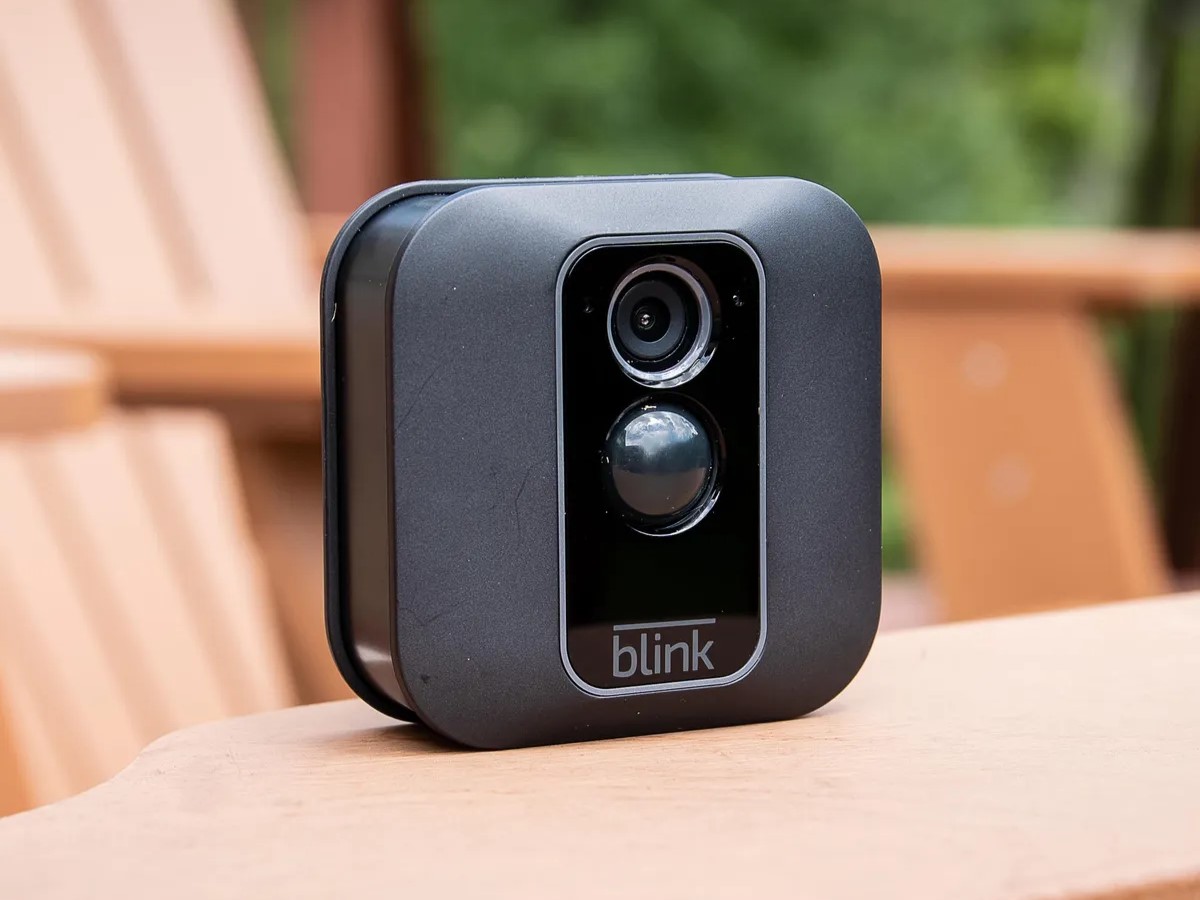
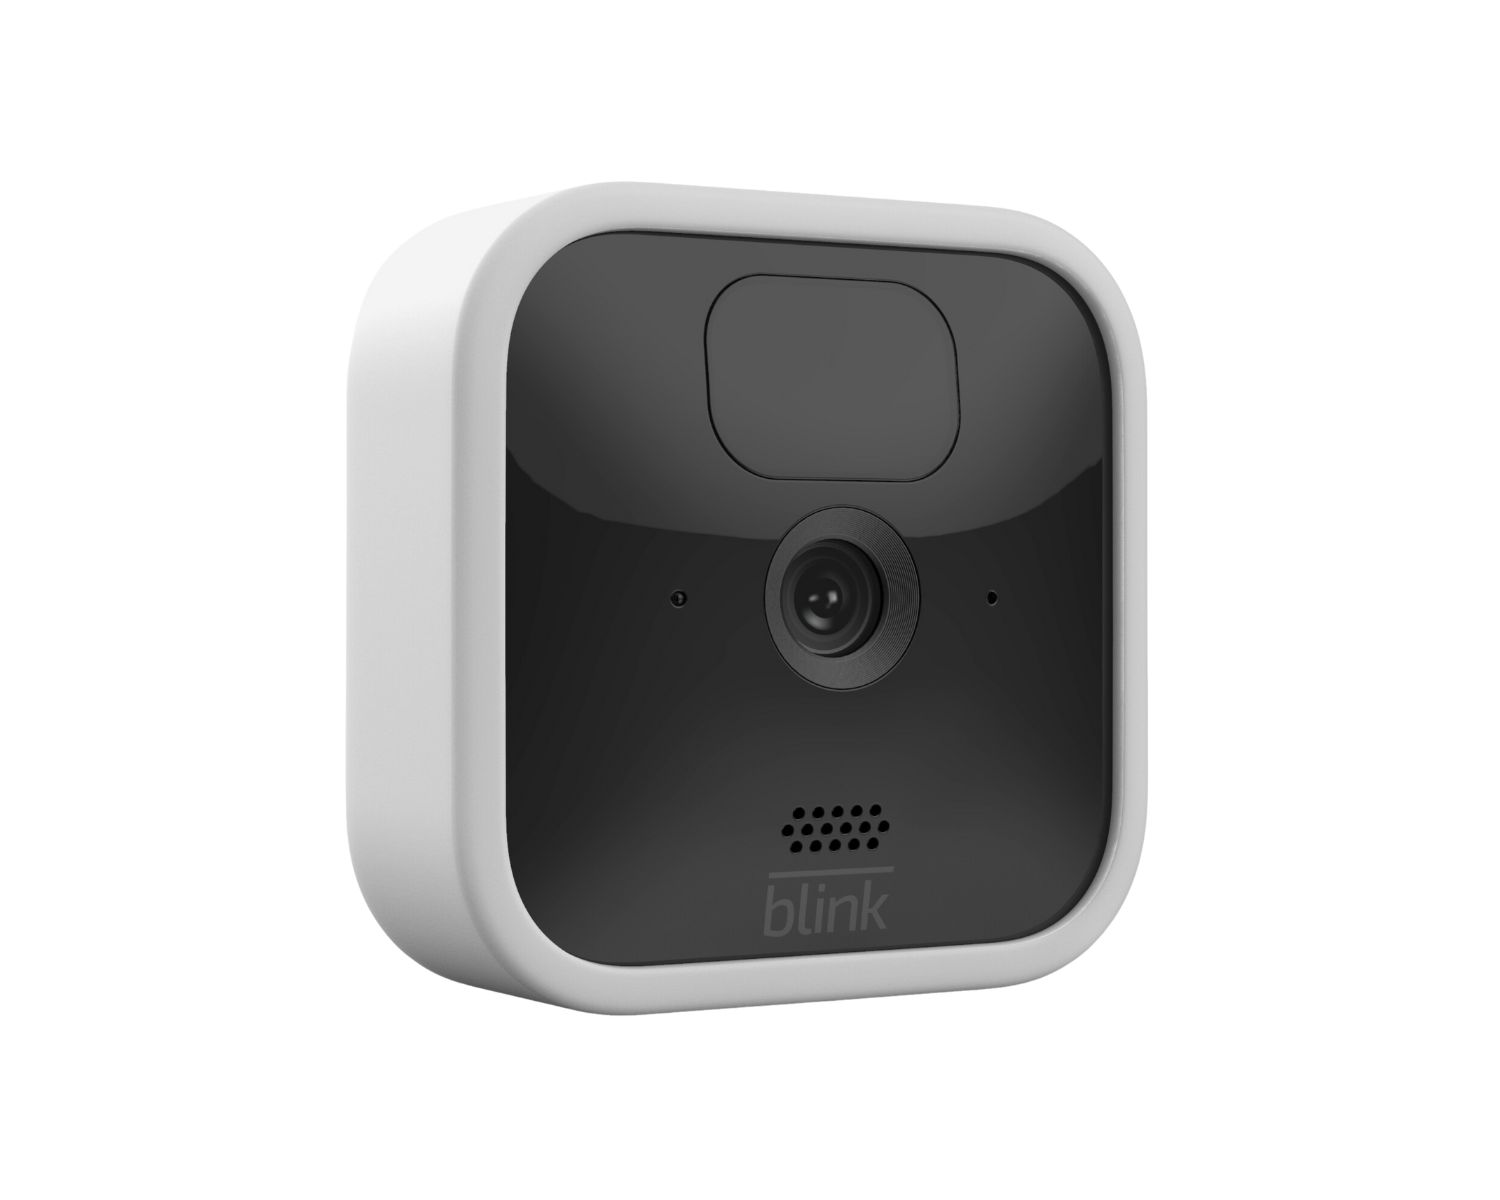
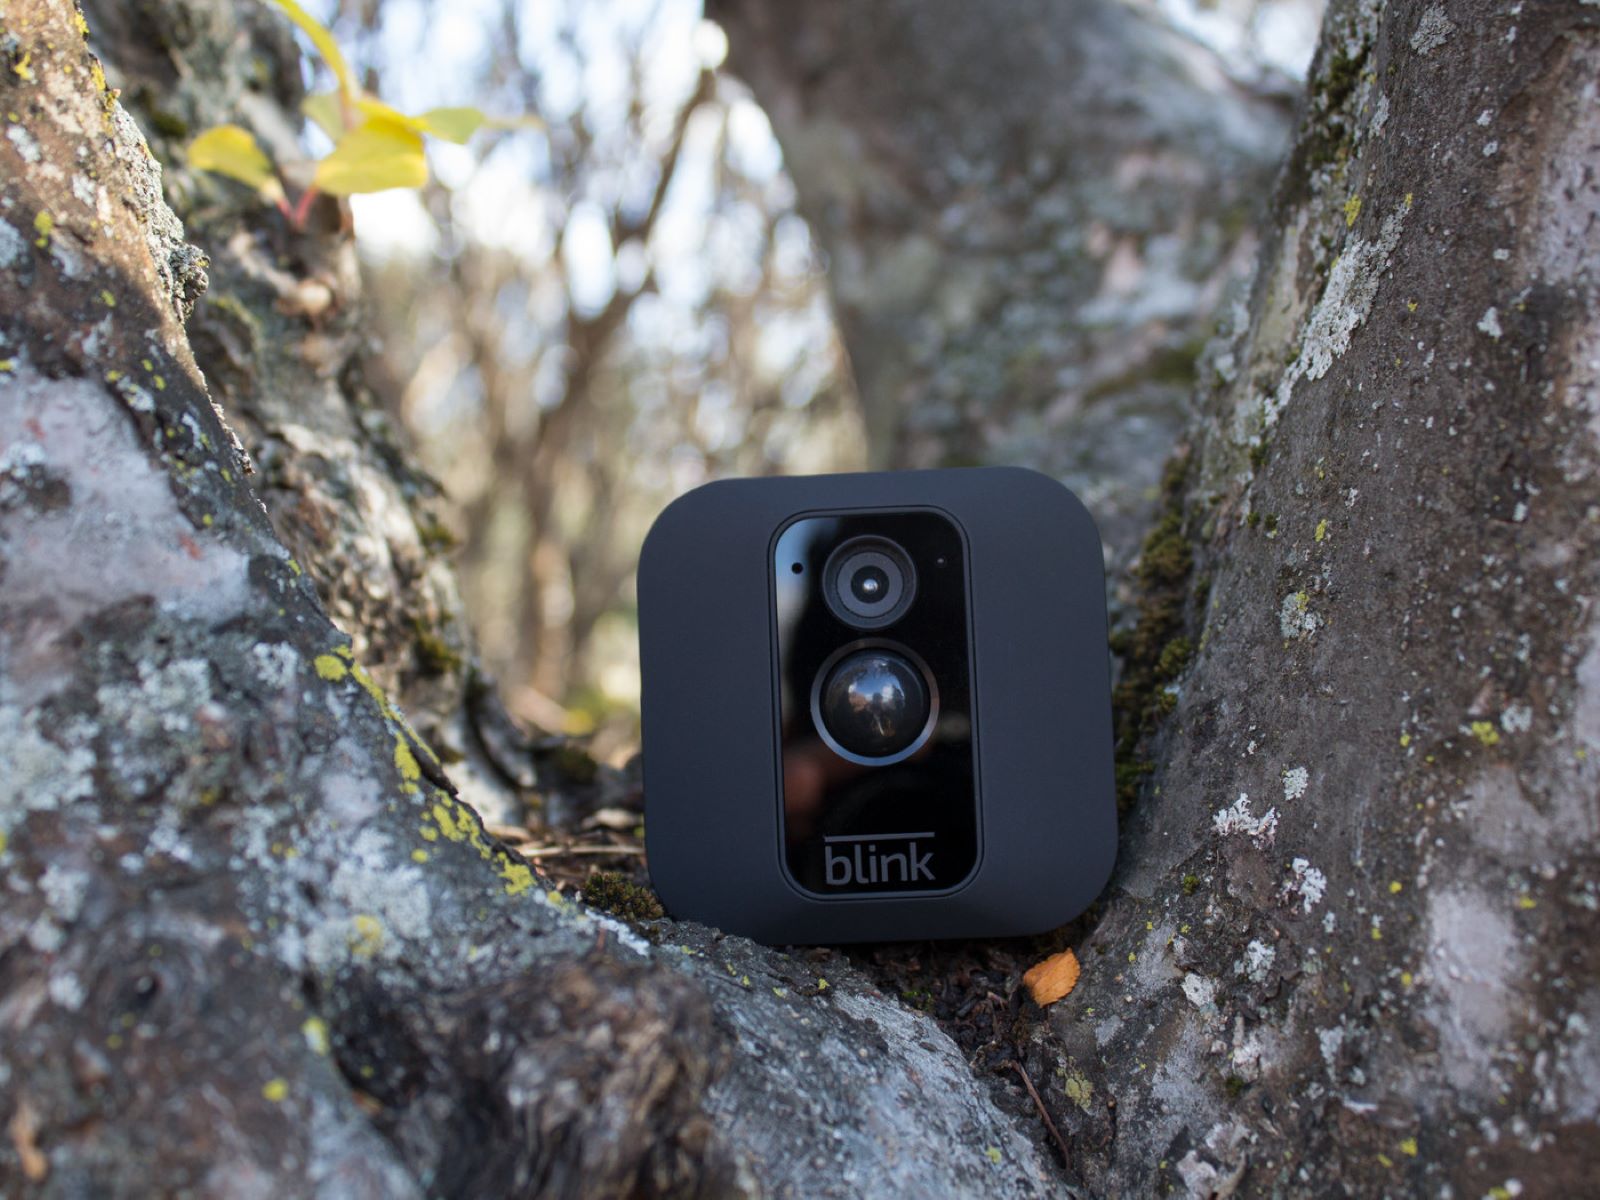
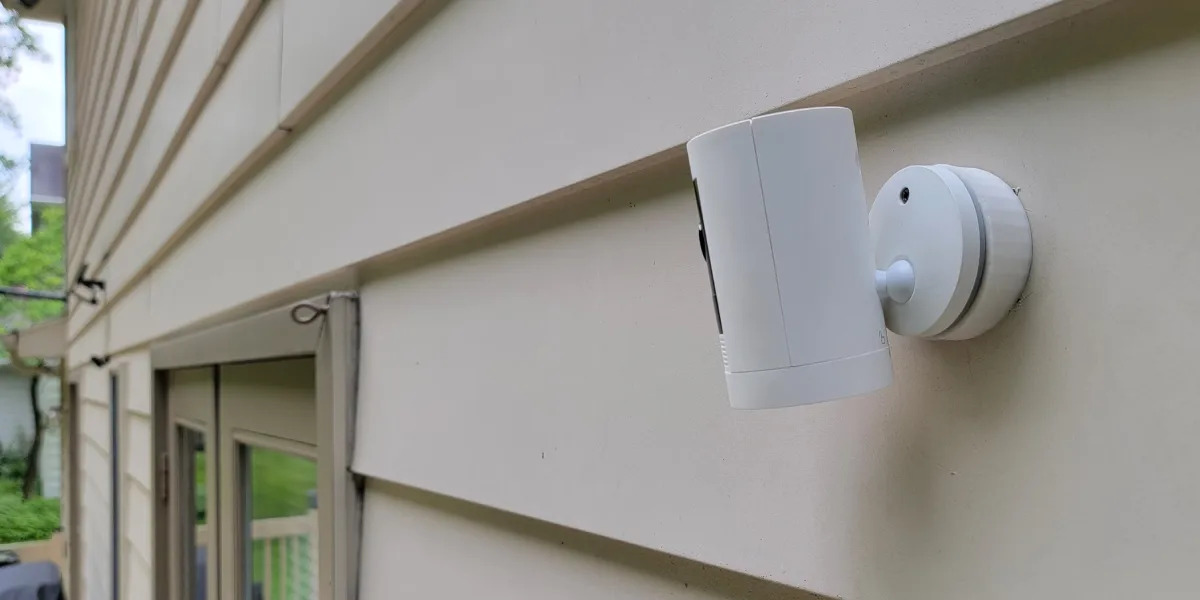
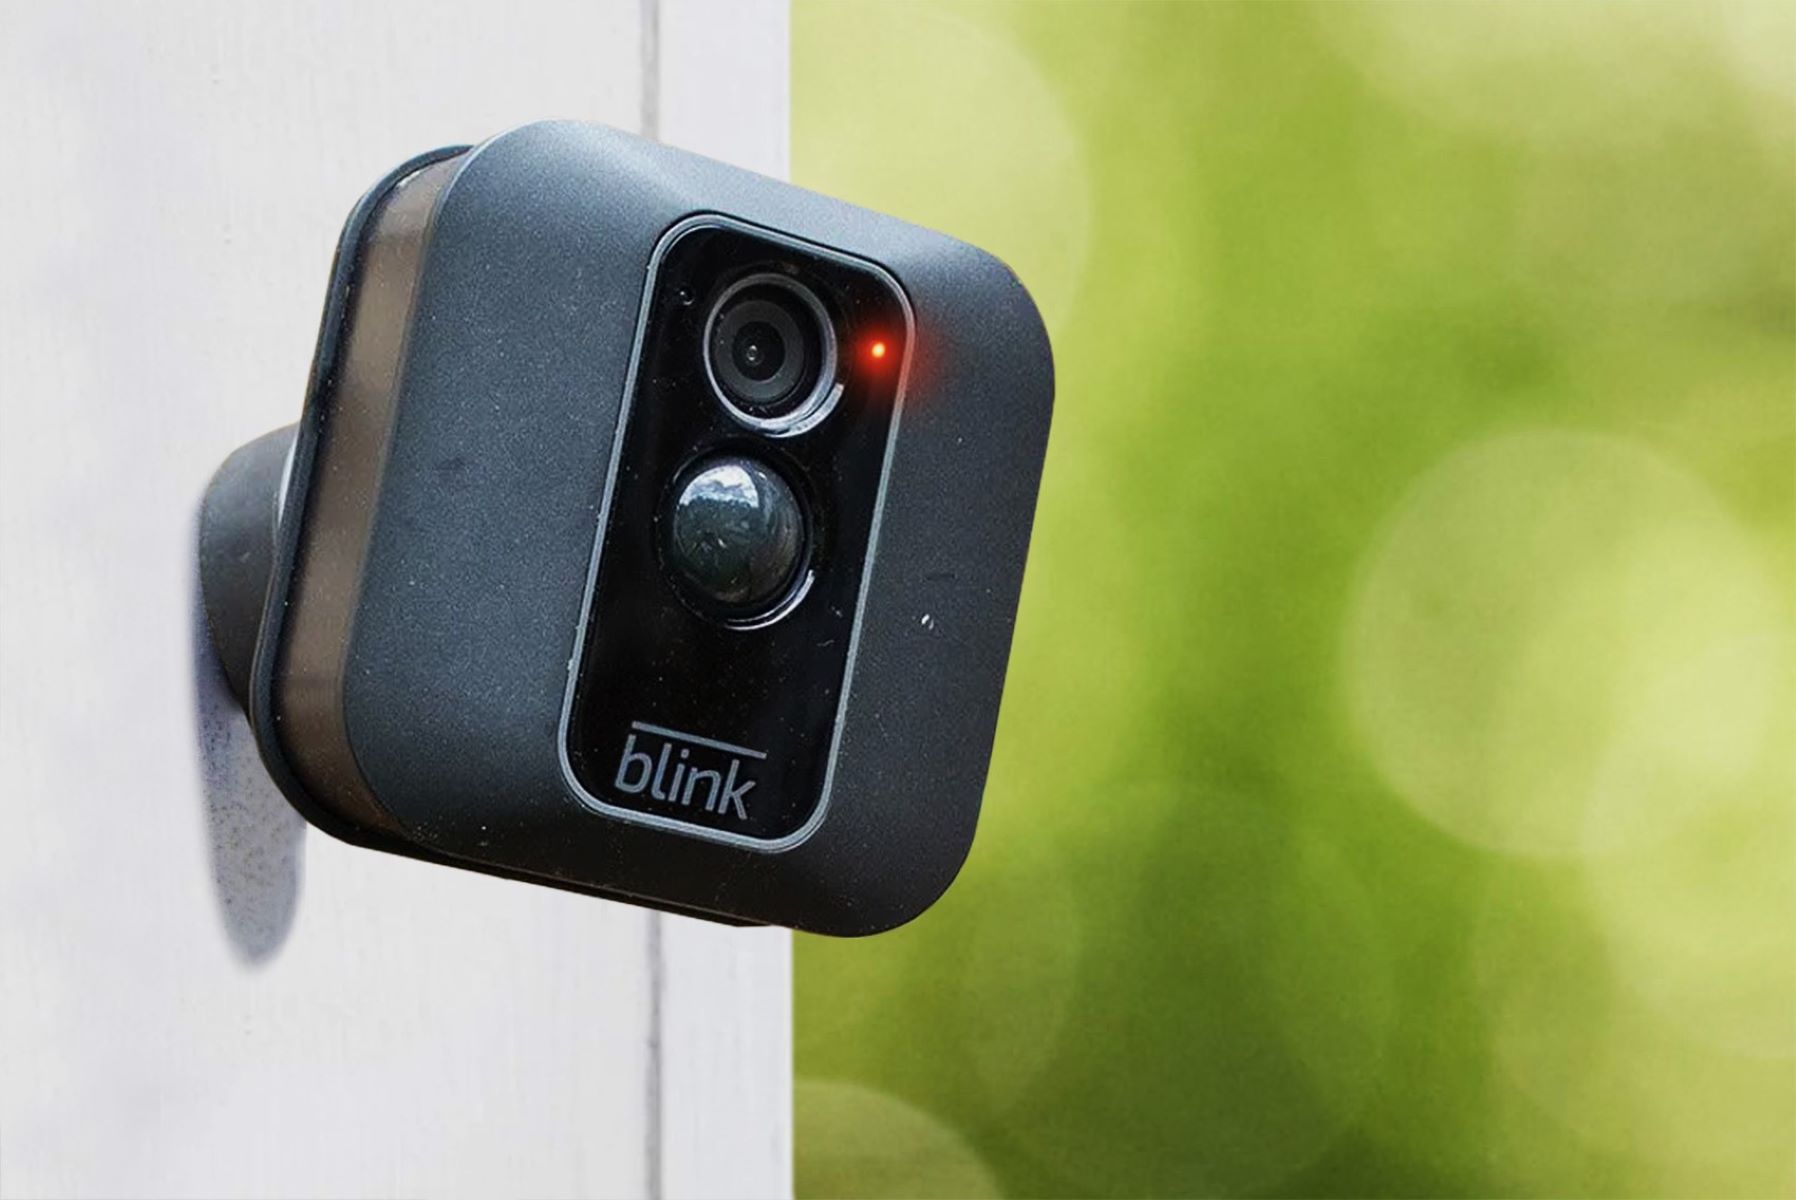
Welcome to the comprehensive guide on how to install the Blink Outdoor Camera on vinyl siding. The Blink Outdoor Camera is a popular choice for home security, offering high-quality video footage and easy installation. If you have vinyl siding on your home, it’s important to follow the correct steps to ensure a secure and durable installation. In this article, we’ll walk you through each step of the process, providing you with the knowledge and confidence to install your Blink Outdoor Camera on vinyl siding with ease.
With the Blink Outdoor Camera, you’ll have the ability to monitor the exterior of your home, keeping an eye on potential threats or simply checking on your property while you’re away. The camera is weather-resistant and designed to withstand different outdoor conditions. By mounting it on vinyl siding, you can achieve a discreet and convenient placement without compromising the integrity of your siding.
Before we dive into the installation process, let’s gather the materials you’ll need to complete the installation:
Key Takeaways:
- Properly installing the Blink Outdoor Camera on vinyl siding involves choosing the right placement, preparing the surface, and adjusting the camera angle to ensure optimal coverage and functionality.
- Testing the camera’s field of view, motion detection, video quality, and night vision capabilities is crucial to verify its functionality and ensure reliable surveillance for enhanced home security.
Materials Needed
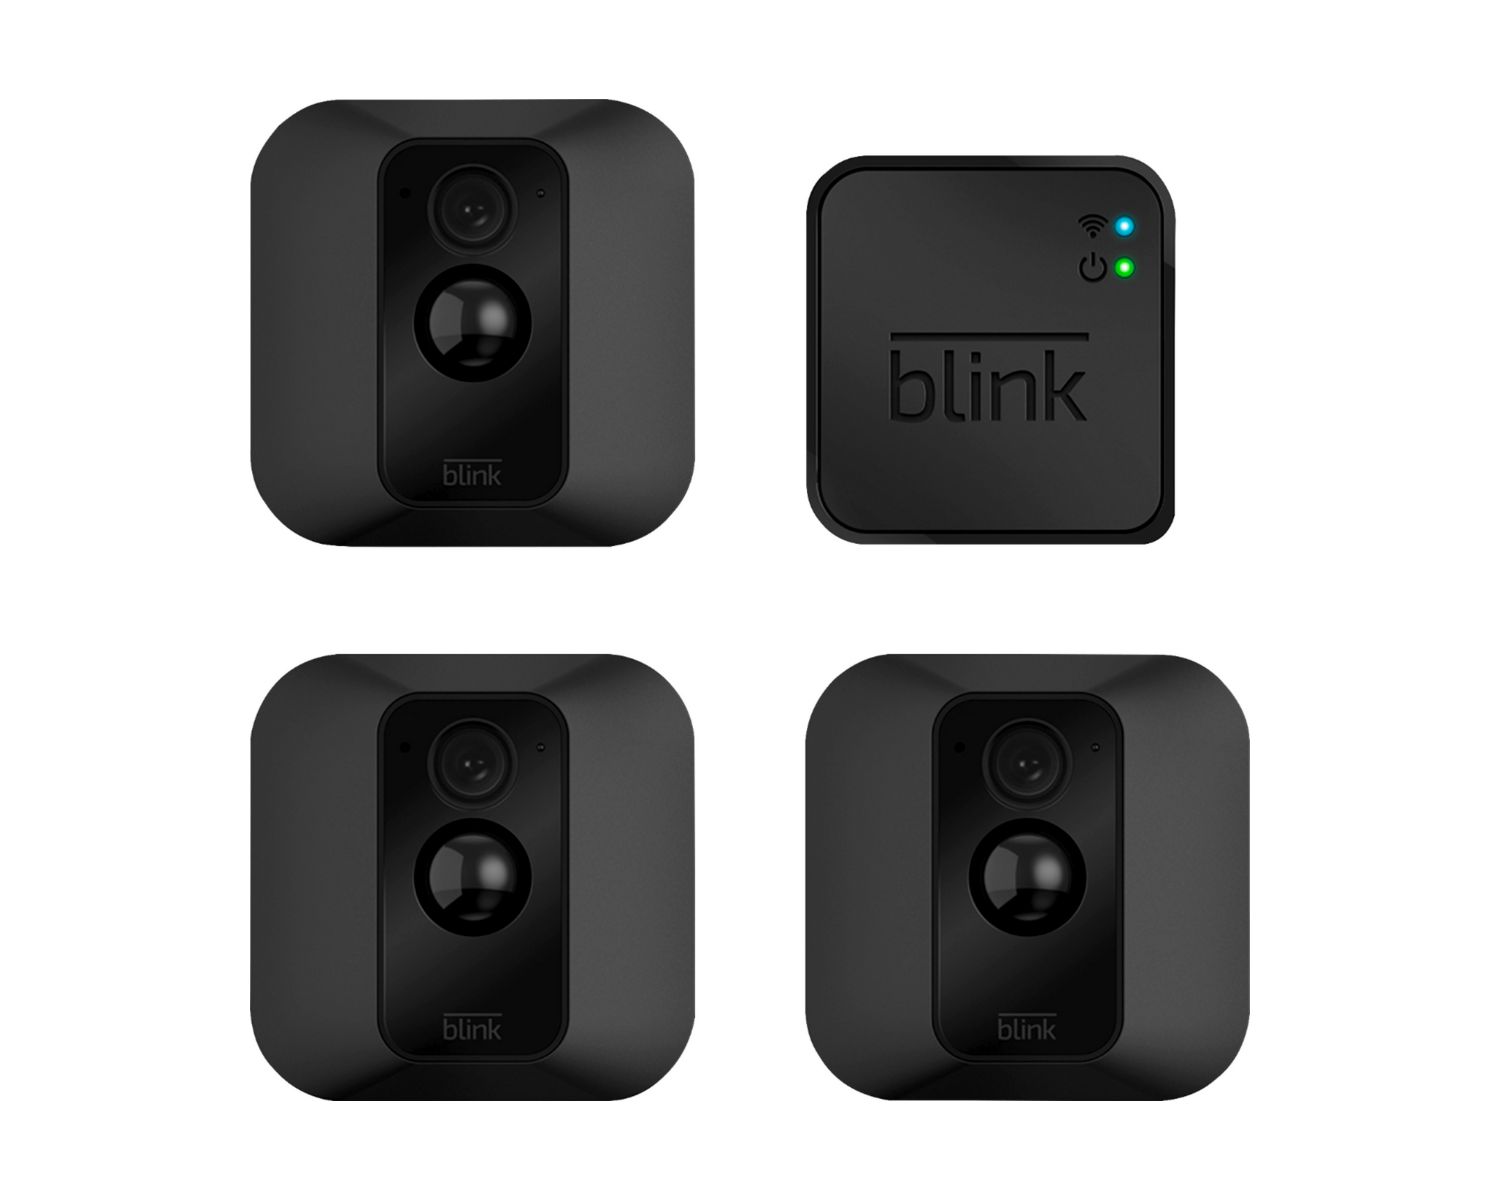
- Blink Outdoor Camera
- Camera mounting bracket
- Screws (usually provided with the Blink Outdoor Camera)
- Drill
- Screwdriver
- Pencil or marker
- Tape measure
Now that you have all the necessary materials, it’s time to get started with the installation process. Let’s jump into the first step: choosing the camera placement.
Key Takeaways:
- Properly installing the Blink Outdoor Camera on vinyl siding involves choosing the right placement, preparing the surface, and adjusting the camera angle to ensure optimal coverage and functionality.
- Testing the camera’s field of view, motion detection, video quality, and night vision capabilities is crucial to verify its functionality and ensure reliable surveillance for enhanced home security.
Materials Needed
Before you begin installing the Blink Outdoor Camera on vinyl siding, gather the following materials:
- Blink Outdoor Camera: Make sure you have the camera itself, which comes with the necessary components for installation.
- Camera mounting bracket: The camera mounting bracket is typically included in the Blink Outdoor Camera package. This bracket will securely hold the camera in place on the vinyl siding.
- Screws: Check if the screws required for mounting the camera bracket are included in the package. If not, make sure you have screws that are appropriate for your vinyl siding. The screws should be long enough to securely attach the bracket to the siding without damaging it.
- Drill: You’ll need a drill to create pilot holes for the screws. Ensure you have a drill with the appropriate bit size for the screws you’ll be using.
- Screwdriver: A screwdriver will be necessary for tightening and securing the screws. Choose a screwdriver that matches the screw heads.
- Pencil or marker: You’ll need a pencil or marker to mark the location for the camera bracket on the siding.
- Tape measure: Use a tape measure to ensure accurate placement of the camera bracket. This will help you achieve the desired viewing angle.
Having these materials ready before you start the installation process will ensure a smooth and efficient installation of your Blink Outdoor Camera on vinyl siding. Once you have gathered all the necessary materials, you can proceed to the next step: choosing the camera placement.
Step 1: Choose the Camera Placement
Choosing the right placement for your Blink Outdoor Camera is crucial for capturing the desired footage and maximizing the security of your property. Here are some factors to consider when selecting the location:
- Field of View: Determine the area you want the camera to cover. Consider the angle of the camera’s lens and ensure it covers the desired field of view.
- Entry Points: Identify the main entry points to your home, such as doors, windows, or driveways. Mounting the camera near these areas can help capture any suspicious activity.
- Accessibility: Ensure the camera is easily accessible for maintenance and adjustment. You’ll need to reach the camera for battery replacement and to adjust the angle if needed.
- Power Source: If you opt for a wired Blink Outdoor Camera, make sure there’s a nearby power source. For wireless cameras, consider the strength of the Wi-Fi signal in the chosen location.
- Potential Obstructions: Look out for any potential obstructions that may obstruct the camera’s view, such as trees, bushes, or other structures. Clear any obstructions that may hinder surveillance.
- Discreet Placement: While the camera should be visible to act as a deterrent, consider a placement that blends well with the surroundings and doesn’t draw unwanted attention.
Once you’ve considered these factors, take a tape measure and mark the desired location for the camera bracket on the vinyl siding using a pencil or marker. Ensure the marked spot is level and easily accessible. With the camera placement chosen and marked, you can move on to preparing the vinyl siding for installation in the next step.
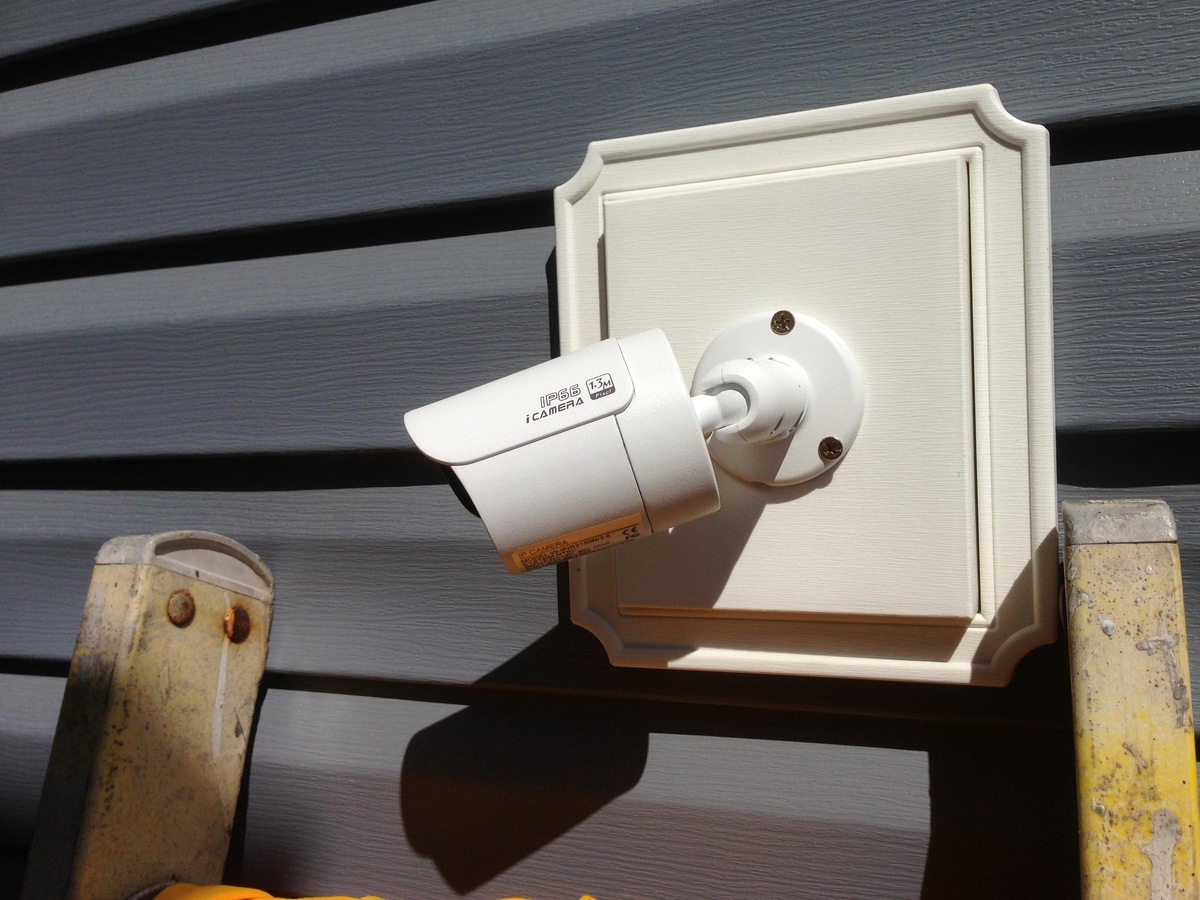
Step 2: Preparing the Vinyl Siding
Before mounting the camera bracket on the vinyl siding, it’s important to prepare the surface to ensure a secure and long-lasting installation. Follow these steps to prepare the vinyl siding:
- Clean the surface: Thoroughly clean the area where you’ll be mounting the camera bracket. Use a mild detergent and a soft cloth or sponge to remove any dirt, dust, or debris. This will help create a clean and smooth surface for attachment.
- Inspect for damage: Check the vinyl siding for any signs of damage, such as cracks or loose sections. Repair or replace any damaged parts before proceeding with the installation. A stable and intact surface is essential for a secure installation.
- Choose the mounting location: Refer back to the marked spot for the camera bracket. Ensure there are no obstacles like vents or electrical outlets in the immediate vicinity that could interfere with the installation process.
By preparing the vinyl siding before installation, you’ll create an optimal surface for attaching the camera bracket. Now that the surface is clean and free from damage, you can proceed to mount the camera bracket in the next step.
When installing a Blink Outdoor camera on vinyl siding, use a drill with a small bit to create pilot holes for the screws. This will help prevent the siding from cracking and ensure a secure installation.
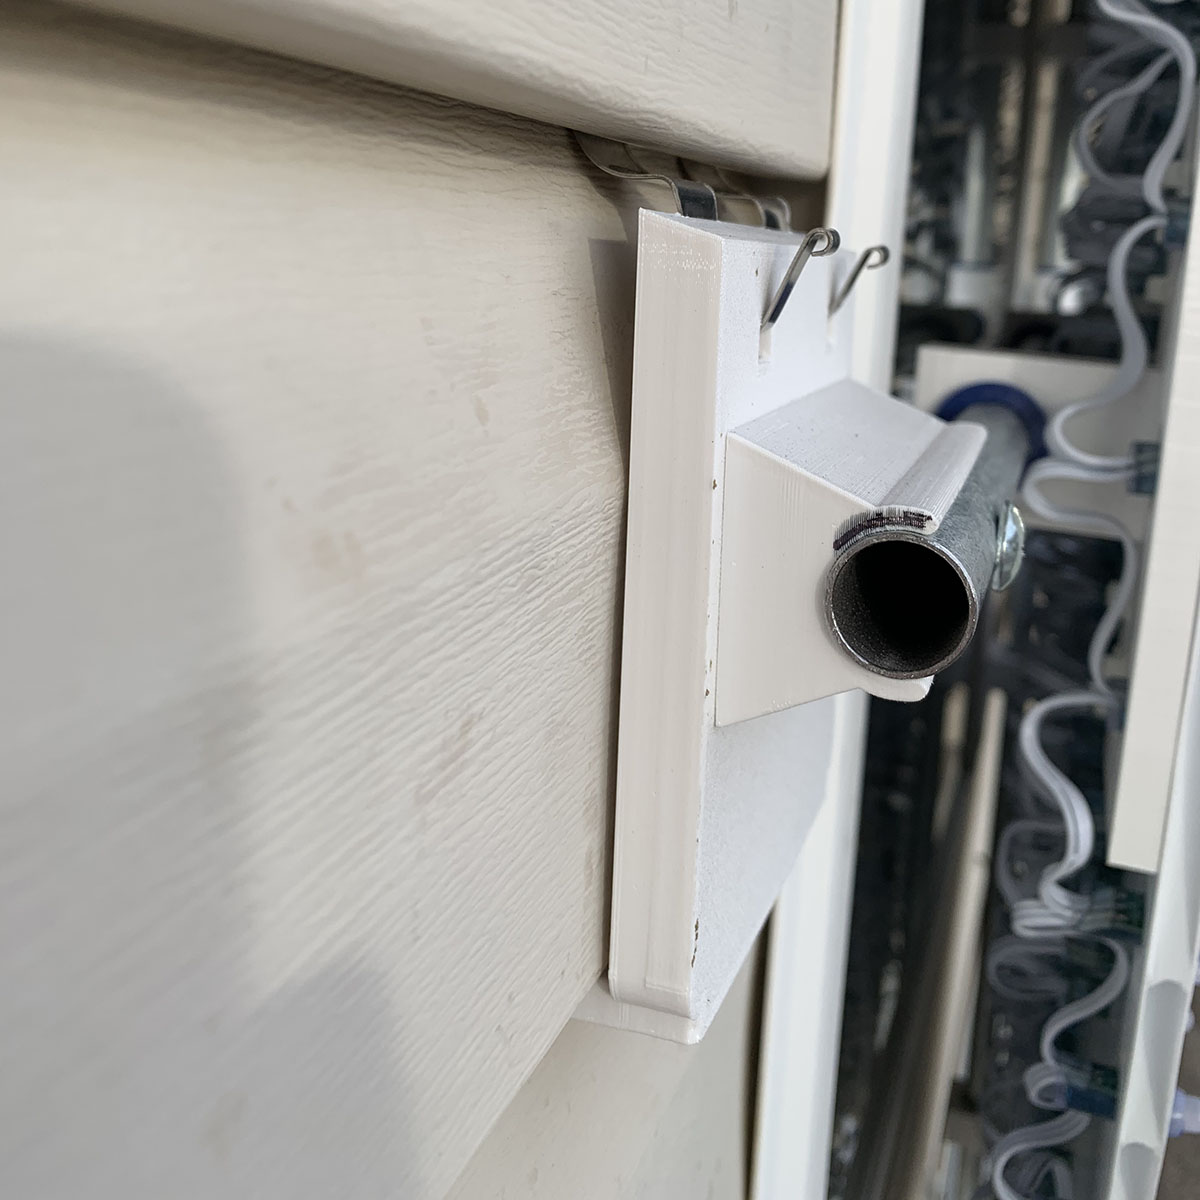
Step 3: Mounting the Camera Bracket
With the vinyl siding prepared, it’s time to mount the camera bracket. The camera bracket serves as the base for attaching the Blink Outdoor Camera securely to the siding. Follow these steps:
- Position the bracket: Hold the camera bracket up to the marked spot on the vinyl siding. Ensure it is level and aligned with the desired camera angle. Use a pencil or marker to mark the screw hole locations on the siding through the holes in the bracket.
- Create pilot holes: Switch to the appropriate drill bit for the screws provided or the ones you have chosen. Drill pilot holes on the marked spots on the vinyl siding. Make sure the pilot holes are slightly smaller than the screws to ensure a snug fit.
- Attach the bracket: Place the camera bracket back on the marked spot, aligning the screw holes with the pilot holes. Secure the bracket to the vinyl siding by driving the screws through the bracket and into the pilot holes. Tighten them until the bracket feels secure and stable.
By carefully following these steps, you will successfully mount the camera bracket onto the vinyl siding. With the camera bracket securely in place, you can move on to attaching the Blink Outdoor Camera itself in the next step.
Step 4: Attaching the Camera
Now that you have the camera bracket securely mounted on the vinyl siding, it’s time to attach the Blink Outdoor Camera. Follow these steps to complete the installation:
- Remove the camera from the packaging: Take the Blink Outdoor Camera out of its packaging and make sure you have all the camera components handy. Carefully unwrap the camera and detach any protective coverings.
- Position the camera on the bracket: Align the camera’s mounting plate or base with the bracket on the vinyl siding. Ensure that the camera securely attaches to the bracket and sits firmly.
- Secure the camera: Depending on the specific design of the Blink Outdoor Camera, there may be screws, clips, or other mechanisms to secure it in place. Follow the manufacturer’s instructions to properly attach and secure the camera to the bracket.
- Check the camera’s stability: Give the camera a gentle tug to ensure it is securely attached to the bracket and does not move or wobble. If needed, make any adjustments or tighten any screws to ensure a stable installation.
With the Blink Outdoor Camera now attached to the bracket on the vinyl siding, you’re one step closer to having a fully installed and functional security camera system. The next step will focus on adjusting the camera angle to optimize its field of view.
Step 5: Adjusting the Camera Angle
Properly adjusting the camera angle is essential to ensure optimal coverage and capture the desired footage. Follow these steps to adjust the camera angle of your Blink Outdoor Camera:
- Access the camera: Depending on the specific model and design of your Blink Outdoor Camera, you may need to remove a cover or access panel to reach the adjustment mechanisms.
- Loosen the camera’s angle adjustment: Use a screwdriver or other tool, if required, to loosen the camera’s angle adjustment screws or mechanism. This will allow you to pivot and adjust the camera’s position.
- Position the camera: Carefully adjust the camera’s position and angle to achieve the desired field of view. Take into consideration the areas you want the camera to monitor and any specific points of interest.
- Tighten the angle adjustment: Once you have positioned the camera at the desired angle, tighten the angle adjustment screws or mechanism to secure it in place. Ensure the camera is stable and does not move when gently nudged.
By carefully adjusting the camera angle, you can optimize its field of view to capture the desired footage and effectively monitor the area you want to secure. With the camera angle set, the next step involves testing the camera to ensure its functionality.
Step 6: Testing the Camera
After installing the Blink Outdoor Camera on your vinyl siding and adjusting the camera angle, it’s important to test its functionality. Performing a camera test will give you peace of mind and ensure that the camera is working as intended. Follow these steps to test your Blink Outdoor Camera:
- Power on the camera: Make sure the camera is powered on and connected to your Wi-Fi network. Refer to the manufacturer’s instructions on how to power on and set up your specific model.
- Check the camera’s field of view: Access the camera’s live feed either through the Blink app or any compatible device. Verify that the camera’s angle covers the desired area and that there are no obstructions blocking the view.
- Test the motion detection: Walk in the camera’s field of view to trigger the motion detection feature. Ensure the camera records the motion and sends alerts, if applicable.
- Verify the video quality: Review the recorded footage or live feed to assess the video quality. Ensure that the image is clear, and any important details are easily identifiable. Adjust the camera angle, if necessary, to enhance the coverage and video quality.
- Test night vision: If your Blink Outdoor Camera has night vision capabilities, test it in low-light or dark conditions. Verify that the camera captures clear and detailed footage even in limited lighting.
- Monitor the camera’s performance: Keep an eye on the camera’s performance over a period of time to ensure consistent functionality. Check for any connectivity issues, battery life, or other factors that may affect its performance.
By testing the Blink Outdoor Camera, you can verify that it is functioning correctly and meeting your security needs. If you encounter any issues during the testing process, consult the camera’s user manual or contact the manufacturer’s customer support for assistance.
With the camera successfully installed, adjusted, and tested, you can now enjoy the peace of mind that comes from having a reliable surveillance system in place to protect your home and loved ones.
Read more: How To Install Blink Outdoor Cameras
Conclusion
Congratulations! You have successfully installed the Blink Outdoor Camera on your vinyl siding. By following the step-by-step guide, you have learned how to choose the camera placement, prepare the vinyl siding, mount the camera bracket, attach the camera, adjust the camera angle, and test its functionality. With your Blink Outdoor Camera in place, you can now enjoy the benefits of enhanced home security and peace of mind.
Remember to periodically check the camera’s performance and make any necessary adjustments to ensure it continues to provide reliable surveillance. This may include cleaning the lens, replacing batteries or charging cables, and fine-tuning the camera angle as needed.
Having a security camera system installed on your vinyl siding can greatly enhance the overall protection of your property and deter potential intruders. The Blink Outdoor Camera offers a user-friendly and effective solution for monitoring the exterior of your home.
It’s important to note that while the installation process outlined in this guide is specific to the Blink Outdoor Camera and vinyl siding, the general principles can be applicable to other camera models and various types of siding. Always refer to the manufacturer’s instructions and guidelines to ensure a safe and secure installation.
By taking the time to properly install and maintain your Blink Outdoor Camera, you are investing in the safety and security of your home and loved ones. Enjoy the added peace of mind that comes with having a reliable surveillance system protecting your property.
Remember, stay vigilant and be proactive in your home security efforts. A well-placed and properly installed camera can go a long way in deterring potential threats and providing valuable evidence if needed.
Thank you for following along with this guide. We hope it has been informative and helpful in your journey towards securing your home with the Blink Outdoor Camera on vinyl siding. Stay safe!
Frequently Asked Questions about How To Install Blink Outdoor Camera On Vinyl Siding
Was this page helpful?
At Storables.com, we guarantee accurate and reliable information. Our content, validated by Expert Board Contributors, is crafted following stringent Editorial Policies. We're committed to providing you with well-researched, expert-backed insights for all your informational needs.


0 thoughts on “How To Install Blink Outdoor Camera On Vinyl Siding”