Home>Home Security and Surveillance>How To Wire A Motion Detector To Multiple Lights

Home Security and Surveillance
How To Wire A Motion Detector To Multiple Lights
Modified: October 20, 2024
Learn how to wire a motion detector to multiple lights for enhanced home security and surveillance. Step-by-step instructions and tips for seamless installation.
(Many of the links in this article redirect to a specific reviewed product. Your purchase of these products through affiliate links helps to generate commission for Storables.com, at no extra cost. Learn more)
Introduction
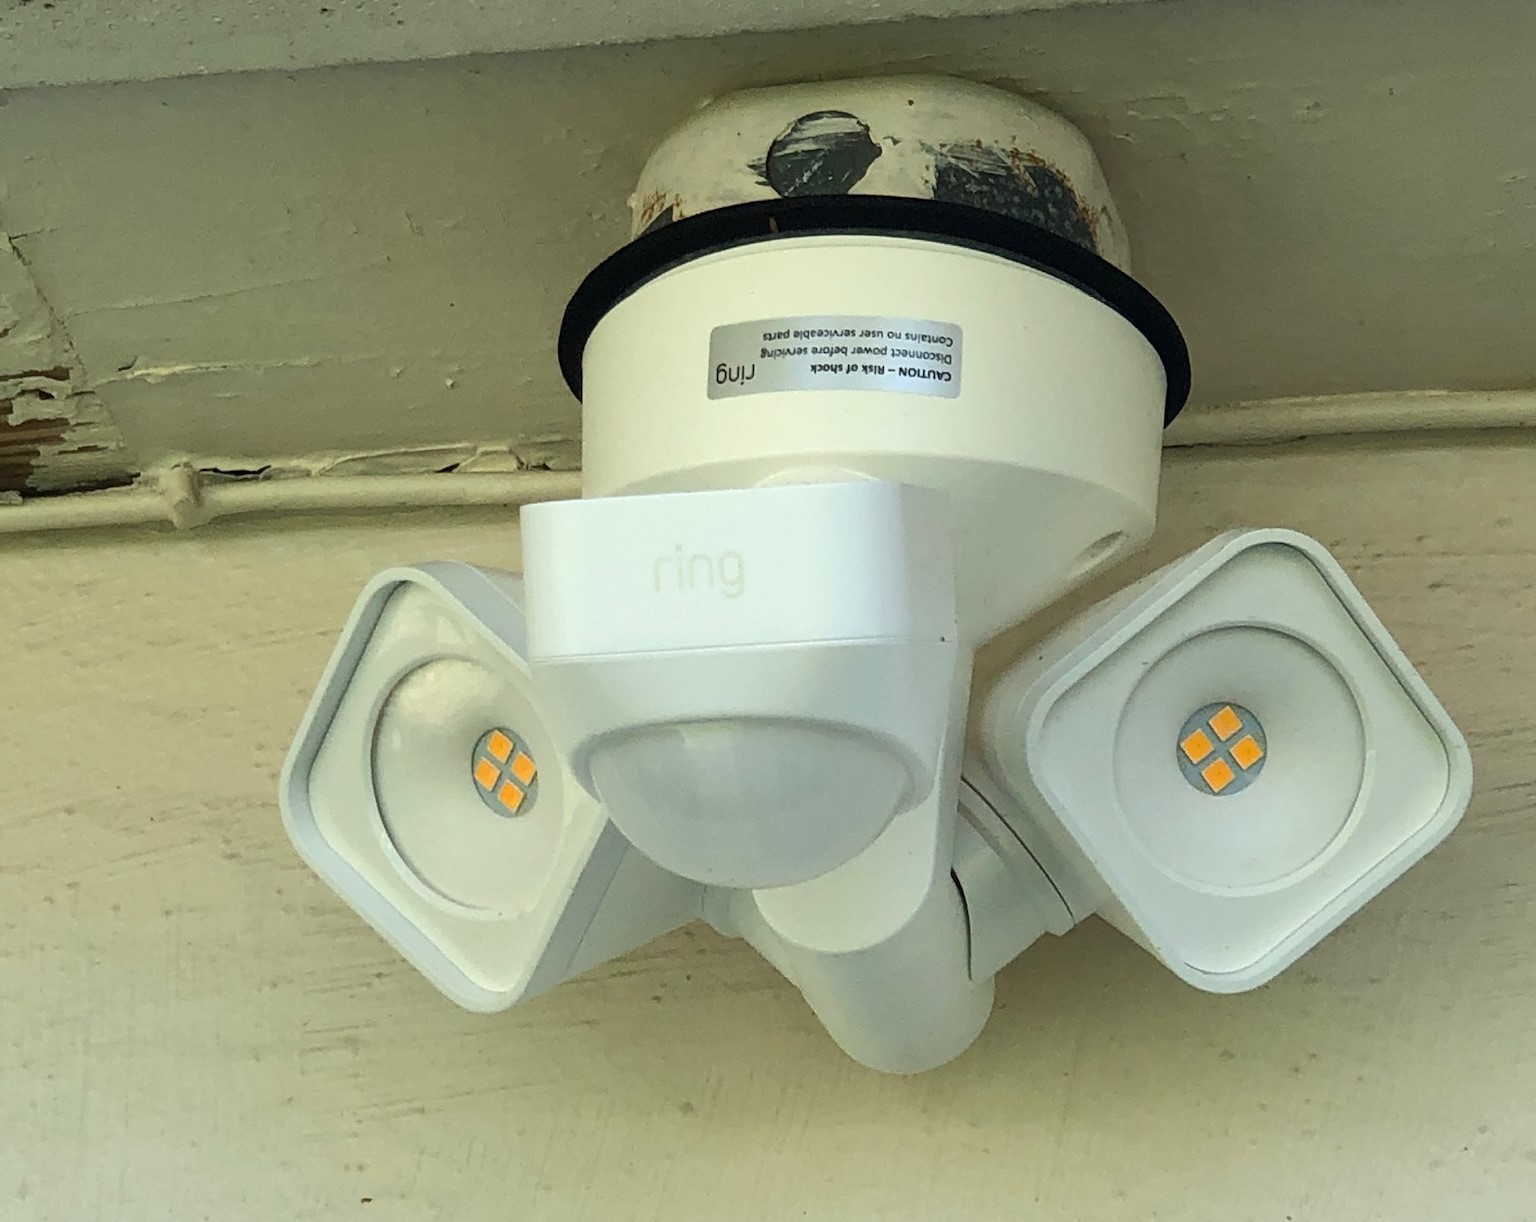
Welcome to our guide on how to wire a motion detector to multiple lights. A motion detector can significantly enhance the security and convenience of your home by automatically turning on the lights whenever motion is detected. This not only deters potential intruders but also provides an illuminated pathway for you and your family when coming home at night.
Wiring a motion detector to multiple lights may seem like a complex task, but with the right tools and instructions, it can be easily achieved. In this article, we will walk you through the step-by-step process of wiring a motion detector to multiple lights, ensuring a safe and efficient installation.
Before we dive into the details, it’s important to understand the basic components involved in this project. The main parts include the motion detector switch, the power source, and the lights that you want to connect to the motion detector. Additionally, you will need a few tools and materials to complete the installation successfully.
Now, let’s get started with step one, which is gathering the necessary tools and materials.
Key Takeaways:
- Enhance home security and convenience by wiring a motion detector to multiple lights. Follow safety precautions, double-check connections, and test the system for optimal performance.
- Enjoy the added security of having lights automatically turn on when motion is detected. Ensure proper installation and testing for reliable functionality.
Read more: How To Replace A Motion Detector Light
Step 1: Gather the necessary tools and materials
Before you begin wiring a motion detector to multiple lights, it’s essential to gather all the tools and materials you’ll need for the installation. Having everything at hand will help make the process smoother and more efficient. Here’s a list of the items you’ll need:
- Wire cutters
- Wire strippers
- Screwdrivers (both flathead and Phillips)
- Wire nuts
- Electrical tape
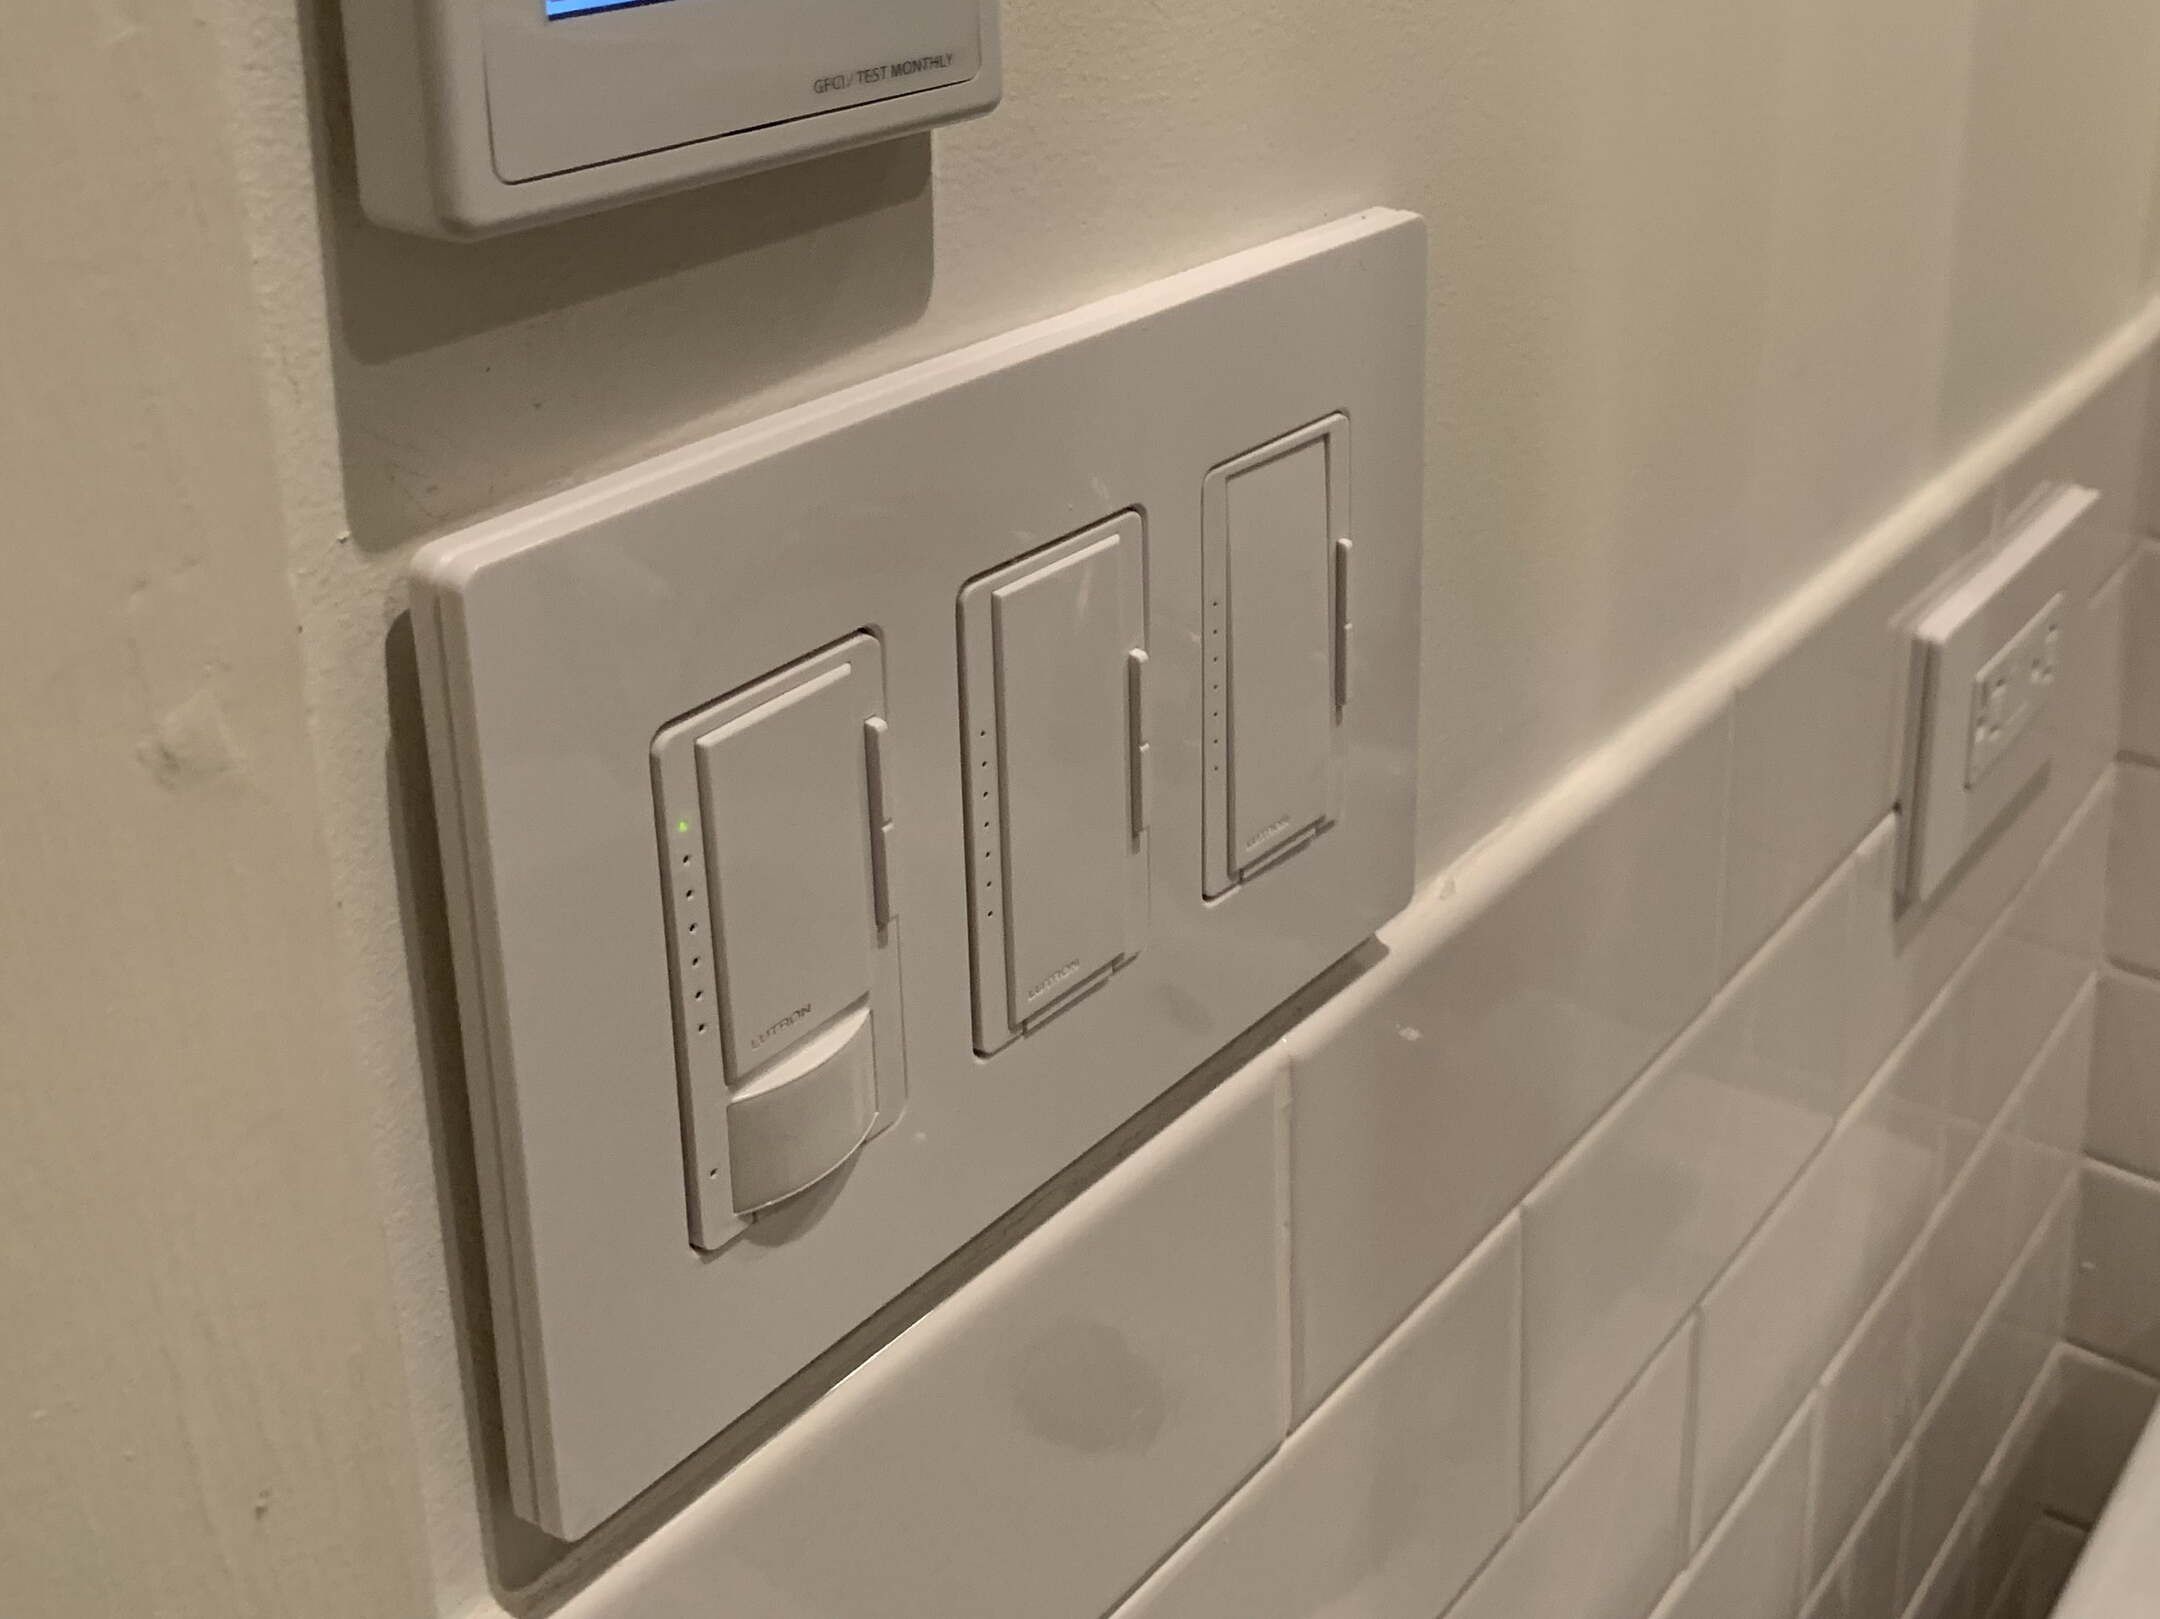
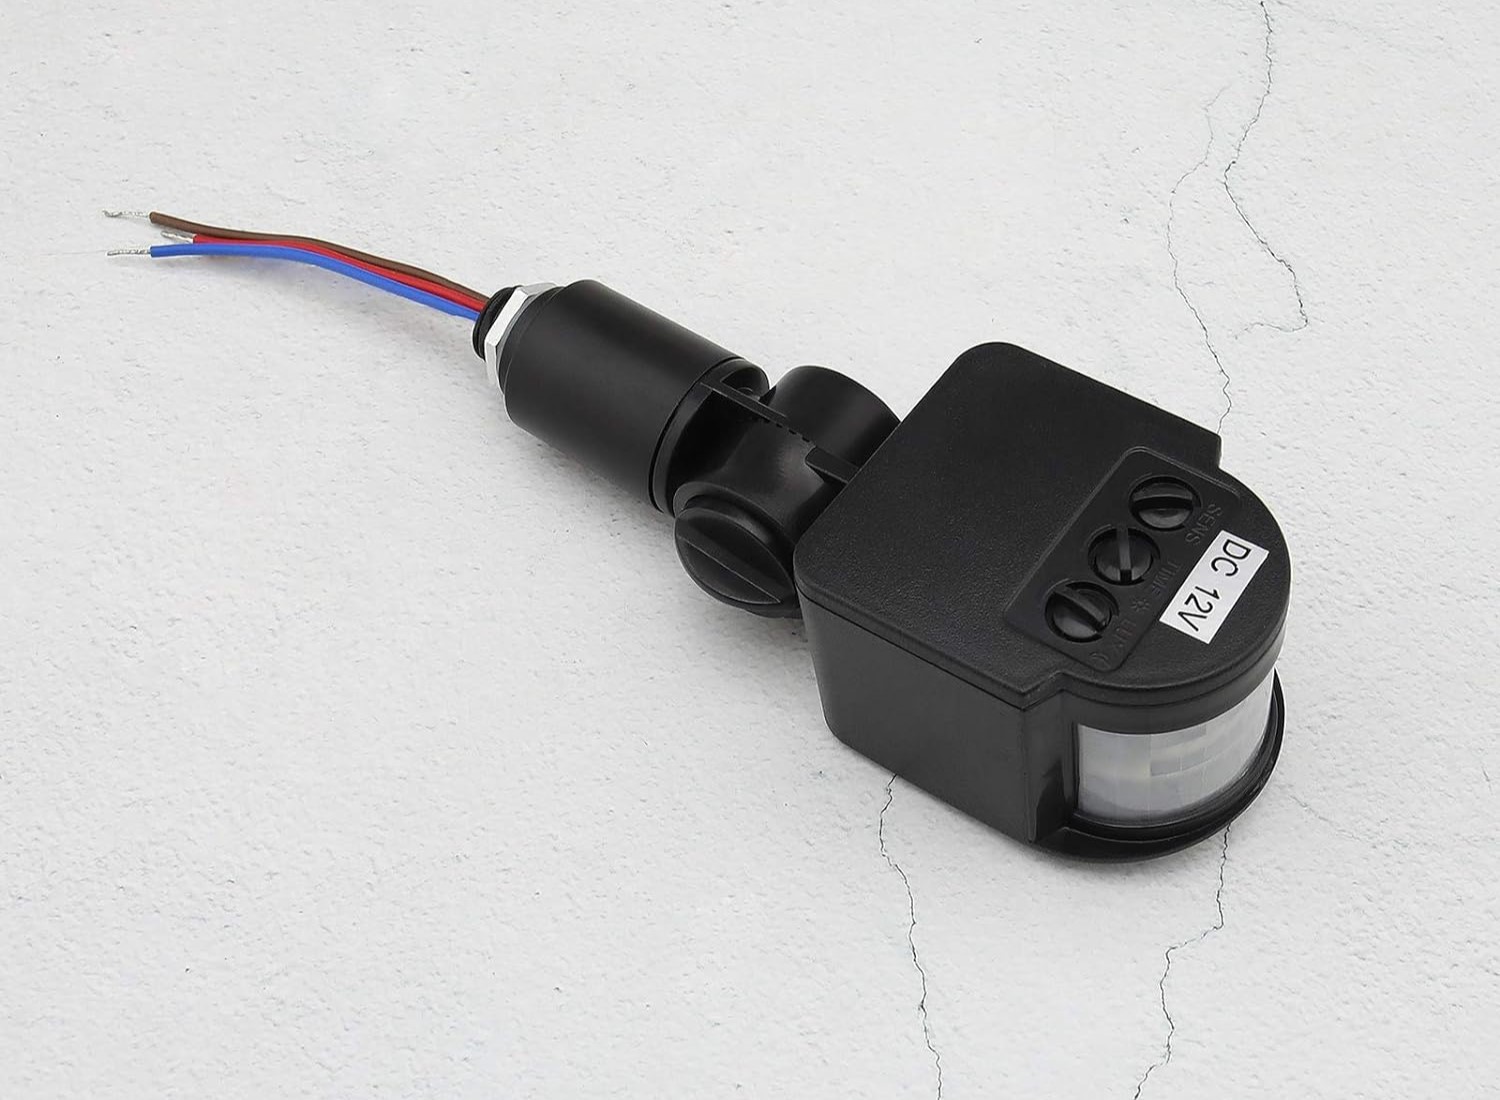
- Motion detector switch
- Electrical wires (preferably 14-gauge)
- Light fixtures
- Bulbs for the light fixtures
- Voltage tester
- Cordless drill (with drill bits)
- Junction box (if necessary)
Make sure you have all these tools and materials before you start the installation to avoid delays or interruptions in the process. It’s always a good idea to have some extra wire nuts and electrical tape on hand in case they are needed during the installation.
Once you have gathered all the necessary tools and materials, you’re ready to move on to the next step: turning off the power.
Step 2: Turn off the power
Prior to beginning any electrical work, it is crucial to ensure your safety by turning off the power to the circuit you’ll be working on. This step will protect you from potential electric shocks and prevent any damage to the electrical components.
Start by locating your home’s main electrical panel. Usually, it is found in the basement, garage, or utility room. Once you’ve located the panel, open the door to reveal the circuit breakers or fuses. Identify the circuit breaker that controls the lights you’ll be connecting to the motion detector.
To turn off the power, simply flip the corresponding circuit breaker to the “OFF” position. If you have an older home with fuses, unscrew and remove the fuse. In either case, once the power is turned off, double-check that the lights you’ll be working on are no longer illuminated.
It’s essential to use a voltage tester to verify that there is no electrical current running through the wires before proceeding with the installation. This device will ensure that the power to the circuit is indeed off and provide an additional level of safety.
Remember, safety should always be the top priority when working with electricity. Take the necessary precautions and never attempt to work on live electrical circuits.
Once you have confirmed that the power is turned off and there is no electrical current, you can proceed to the next step: locating the power source.
Step 3: Locate the power source
Locating the power source is an important step in wiring a motion detector to multiple lights. The power source is the initial connection point where you will tap into the electrical circuit to provide power to the motion detector and lights.
To locate the power source, you’ll need to identify the junction box or electrical outlet that supplies power to the existing lights. In most cases, the power source is located in the ceiling or wall near the light fixtures.
Start by removing the existing light fixture, if present, to access the wiring and junction box. Turn the screws counterclockwise to loosen and remove the fixture from the electrical box. Carefully disconnect any wire nuts connecting the wires.
If you can’t locate the power source by removing the light fixture, you may need to explore other possibilities. Check nearby electrical outlets or switches to see if any wires are connected to the light fixtures. In some cases, the power source may be routed through an outlet or switch before reaching the lights.
If you’re unable to locate the power source on your own, it’s recommended to consult a licensed electrician for assistance. They have the expertise and equipment to help you accurately identify the power source and ensure a safe and compliant installation.
Once you have successfully located the power source, you can proceed to the next step: installing the motion detector switch.
Step 4: Install the motion detector switch
Installing the motion detector switch is a crucial step in wiring a motion detector to multiple lights. This switch is responsible for detecting motion and controlling the activation of the connected lights. Follow these steps to install the motion detector switch:
- Start by turning off the power to the circuit at the main electrical panel, as mentioned in Step 2. This precaution ensures your safety during the installation process.
- Take the motion detector switch and remove the cover plate by unscrewing the screws. Set the cover plate aside.
- Next, remove the existing switch from the electrical box. Unscrew the screws that secure the switch to the box and disconnect the wires from the switch terminals.
- Take a voltage tester and ensure that there is no electrical current running through the wires. This step is crucial to avoid any potential electric shocks.
- Once you have confirmed that the wires are safe to handle, connect the wires from the motion detector switch to the corresponding wires in the electrical box. Typically, there will be three wires: a black (hot) wire, a white (neutral) wire, and a green or copper (ground) wire.
- Connect the black wire from the motion detector switch to the black wire in the electrical box. Use a wire nut to secure the connection.
- Connect the white wire from the motion detector switch to the white wire in the electrical box. Again, secure the connection with a wire nut.
- If there is a ground wire present, connect the green or copper wire from the motion detector switch to the ground wire in the electrical box. Secure the connection with a wire nut.
- Carefully fold the wires into the electrical box and attach the motion detector switch to the box using the screws provided.
- Finally, attach the cover plate to the motion detector switch using the screws you removed in Step 2.
Once the motion detector switch is securely installed, you’re ready to move on to the next step: connecting the motion detector to the power source.
When wiring a motion detector to multiple lights, make sure to connect the motion detector to the first light in the circuit, then run a wire from that light to the next one, and so on. This will ensure that all the lights are activated by the motion detector.
Read more: How To Reset Motion Detector Lights
Step 5: Connect the motion detector to the power source
Now that you have installed the motion detector switch, it’s time to connect it to the power source. This step establishes the electrical connection between the motion detector and the existing wiring. Follow these steps to connect the motion detector to the power source:
- Start by turning off the power to the circuit at the main electrical panel to ensure your safety during the installation process.
- Locate the power source wires in the junction box or electrical outlet where you previously identified the source of power.
- Strip the ends of the power source wires using wire strippers to expose about ½ inch of bare wire.
- Take the corresponding wires from the motion detector switch and strip their ends as well.
- Connect the black (hot) wire from the motion detector to the black (hot) wire from the power source. Twist the stripped ends of the wires together and secure them with a wire nut.
- Similarly, connect the white (neutral) wire from the motion detector to the white (neutral) wire from the power source. Twist the stripped ends together and secure them with a wire nut.
- If there is a ground wire present in the junction box, connect the green or copper (ground) wire from the motion detector to the ground wire. Twist the stripped ends together and secure them with a wire nut.
- Once the connections are made, carefully tuck the wires into the junction box or electrical outlet and secure the motion detector in place using screws.
It’s important to double-check all wire connections to ensure they are securely fastened and properly insulated. Loose connections can cause malfunctioning or even electrical hazards. Take your time to ensure a solid and safe connection between the motion detector and power source wires.
With the motion detector now connected to the power source, it’s time to move on to the next step: connecting the motion detector to the lights.
Step 6: Connect the motion detector to the lights
Now that you have successfully connected the motion detector to the power source, it’s time to establish the connection between the motion detector and the lights you want to control. Follow these steps to connect the motion detector to the lights:
- Start by identifying the wires coming from the motion detector switch that are designated for connecting to the lights. There will typically be a black (hot) wire and a white (neutral) wire.
- Locate the wires from each light fixture that you want to connect to the motion detector. Again, there will be a black (hot) wire and a white (neutral) wire for each fixture.
- Strip the ends of the wires from the motion detector and the light fixtures using wire strippers to expose about ½ inch of bare wire.
- Connect the black (hot) wire from the motion detector to the black (hot) wire of each light fixture. Twist the stripped ends together and secure them with wire nuts.
- Similarly, connect the white (neutral) wire from the motion detector to the white (neutral) wire of each light fixture. Twist the stripped ends together and secure them with wire nuts.
- Ensure that all connections are secure and properly insulated. Tug gently on each wire to make sure they are firmly connected.
By connecting the motion detector to the lights, you are establishing the link that enables the motion sensor to control the illumination of the lights. When motion is detected, the motion detector will send a signal to the lights, instructing them to turn on. This provides enhanced security and convenience by automatically illuminating the area when motion is detected.
Once all the connections have been made and confirmed, carefully tuck the wires into the electrical box or conduit and secure the motion detector and light fixtures in their designated locations using screws or mounting brackets.
With the motion detector now connected to the lights, it’s time to move on to the final step: testing the motion detector and lights.
Step 7: Test the motion detector and lights
After completing the wiring process, it’s crucial to test the motion detector and lights to ensure they are functioning correctly. Follow these steps to test the newly installed system:
- Turn on the power to the circuit at the main electrical panel. If you turned off the power during the installation process, make sure to restore it to its previous position.
- Position yourself in the detection range of the motion detector, according to its specifications. Wave your hand or move in front of the sensor to trigger motion detection.
- Observe if the lights connected to the motion detector turn on promptly when motion is detected. They should illuminate and stay on for a predetermined period, typically adjustable through the motion detector settings.
- Walk around the detection range to make sure the motion detector is reliably detecting motion and activating the lights. Test various angles and distances to ensure optimal performance.
- If the lights do not turn on, or if there are any issues with the motion detector, double-check all the connections and ensure everything is properly wired. It’s also a good idea to consult the motion detector’s user manual for troubleshooting tips.
During the testing phase, pay close attention to the sensitivity and range of the motion detector. Adjust the settings if necessary to ensure it is detecting motion accurately and not triggering false alarms.
Once you have confirmed that the motion detector and lights are working correctly, you have successfully wired a motion detector to multiple lights! Congratulations on completing the installation.
Remember to consult the manufacturer’s instructions and guidelines for any specific details regarding the operation and maintenance of your particular motion detector and lights.
Now you can enjoy the added security and convenience of having your lights automatically turn on when motion is detected. It’s a great way to deter potential intruders and provide a well-lit pathway for you and your family.
Thank you for following our guide on how to wire a motion detector to multiple lights. We hope this article has been helpful, and we wish you success with your home security and surveillance system!
Conclusion
Wiring a motion detector to multiple lights is a fantastic way to enhance the security and convenience of your home. By automatically activating the lights when motion is detected, you can deter potential intruders and provide a well-lit pathway for you and your family. In this guide, we have walked you through the step-by-step process of wiring a motion detector to multiple lights.
Starting with gathering the necessary tools and materials, we emphasized the importance of safety and turning off the power before beginning any electrical work. We then guided you through locating the power source, installing the motion detector switch, connecting the motion detector to the power source, and finally, connecting the motion detector to the lights.
Throughout the installation process, we emphasized the importance of double-checking wire connections, properly securing them with wire nuts, and confirming your work with a voltage tester. Attention to detail and safety precautions are crucial in ensuring a successful and safe installation.
After completing the wiring process, we advised testing the motion detector and lights by triggering motion and observing if the lights turn on reliably. We highlighted the need to adjust the motion detector’s sensitivity and range settings, if necessary, to achieve optimal performance.
In conclusion, by following the steps outlined in this guide, you can successfully wire a motion detector to multiple lights in your home. Enjoy the enhanced security and convenience that comes with having your lights automatically activate when motion is detected. Remember to consult the manufacturer’s instructions for any specific details regarding the operation and maintenance of your particular motion detector and lights.
Thank you for choosing our guide as a resource for your home security and surveillance needs. Stay safe and enjoy the peace of mind that comes with a well-designed and properly installed motion detection system.
Frequently Asked Questions about How To Wire A Motion Detector To Multiple Lights
Was this page helpful?
At Storables.com, we guarantee accurate and reliable information. Our content, validated by Expert Board Contributors, is crafted following stringent Editorial Policies. We're committed to providing you with well-researched, expert-backed insights for all your informational needs.