Home>Home Security and Surveillance>How To Connect A Wired Security Camera To An Old Monitor

Home Security and Surveillance
How To Connect A Wired Security Camera To An Old Monitor
Modified: November 1, 2024
Looking to set up a home security and surveillance system? Learn how to easily connect a wired security camera to your old monitor for peace of mind.
(Many of the links in this article redirect to a specific reviewed product. Your purchase of these products through affiliate links helps to generate commission for Storables.com, at no extra cost. Learn more)
Introduction
Home security and surveillance systems play a vital role in ensuring the safety and well-being of your loved ones and belongings. With advancements in technology, wired security cameras have become a popular choice due to their reliability and high-quality footage. However, connecting these cameras to an old monitor may pose a challenge if you’re not familiar with the process.
In this article, we will guide you through the steps on how to connect a wired security camera to an old monitor. Whether you want to repurpose an old monitor or prefer a dedicated display for monitoring your cameras, we’ve got you covered.
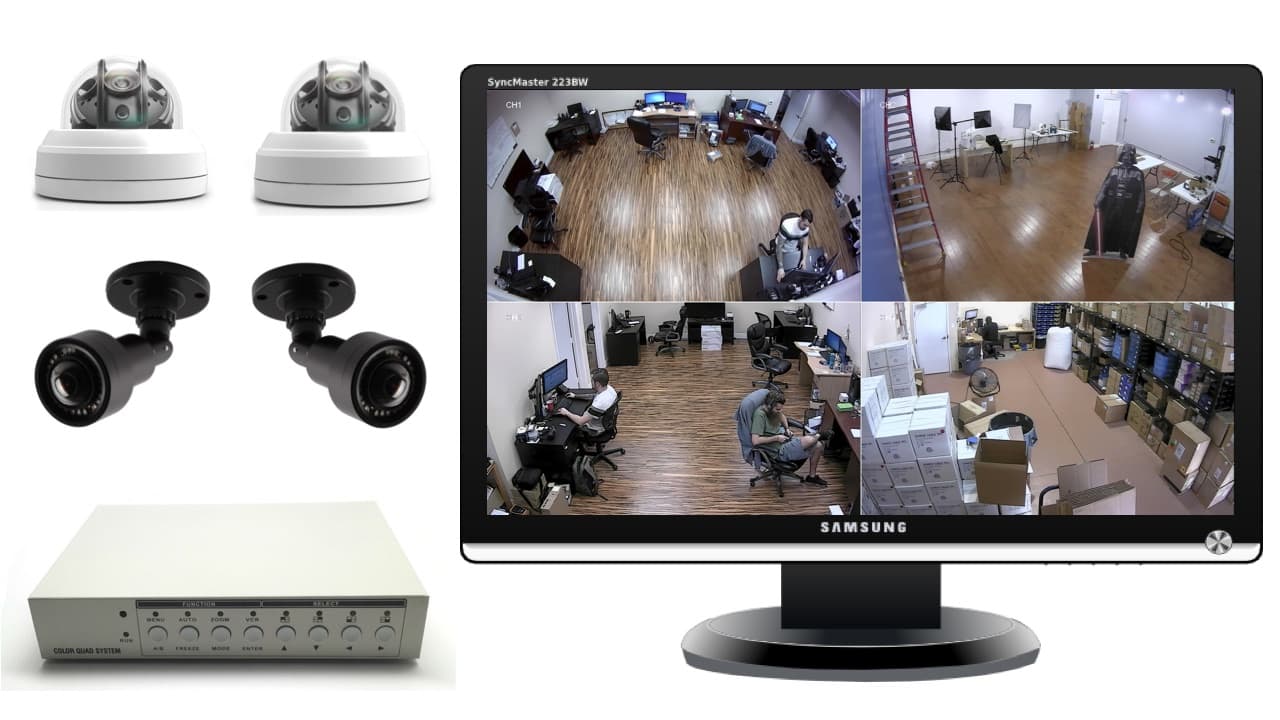
Before we begin, let’s take a look at the equipment you will need:
Key Takeaways:
- Don’t toss out that old monitor! You can easily connect a wired security camera to it for cost-effective surveillance. Just check compatibility, make the connections, adjust settings, and test the setup for peace of mind.
- Ensure your wired security camera and old monitor are compatible before connecting them. Follow the steps to make the right connections, adjust display settings, and thoroughly test the setup for reliable home surveillance.
Required Equipment
Before you start connecting your wired security camera to an old monitor, make sure you have the following equipment:
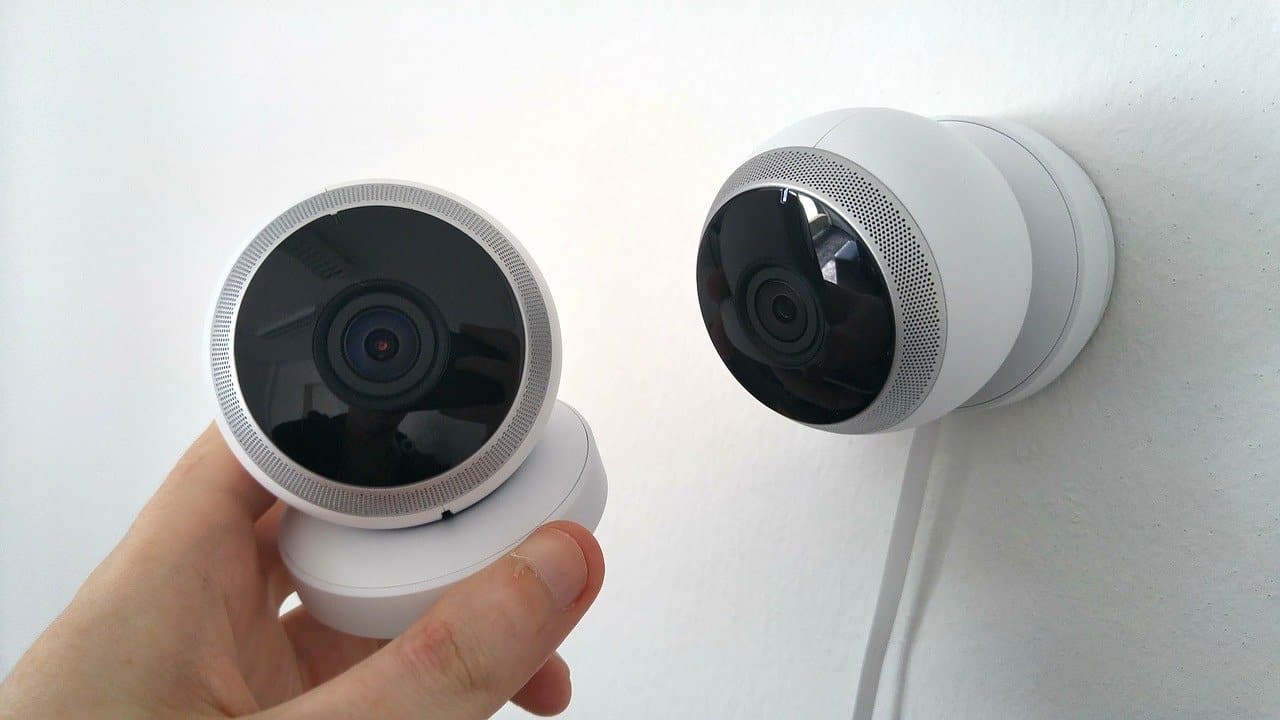
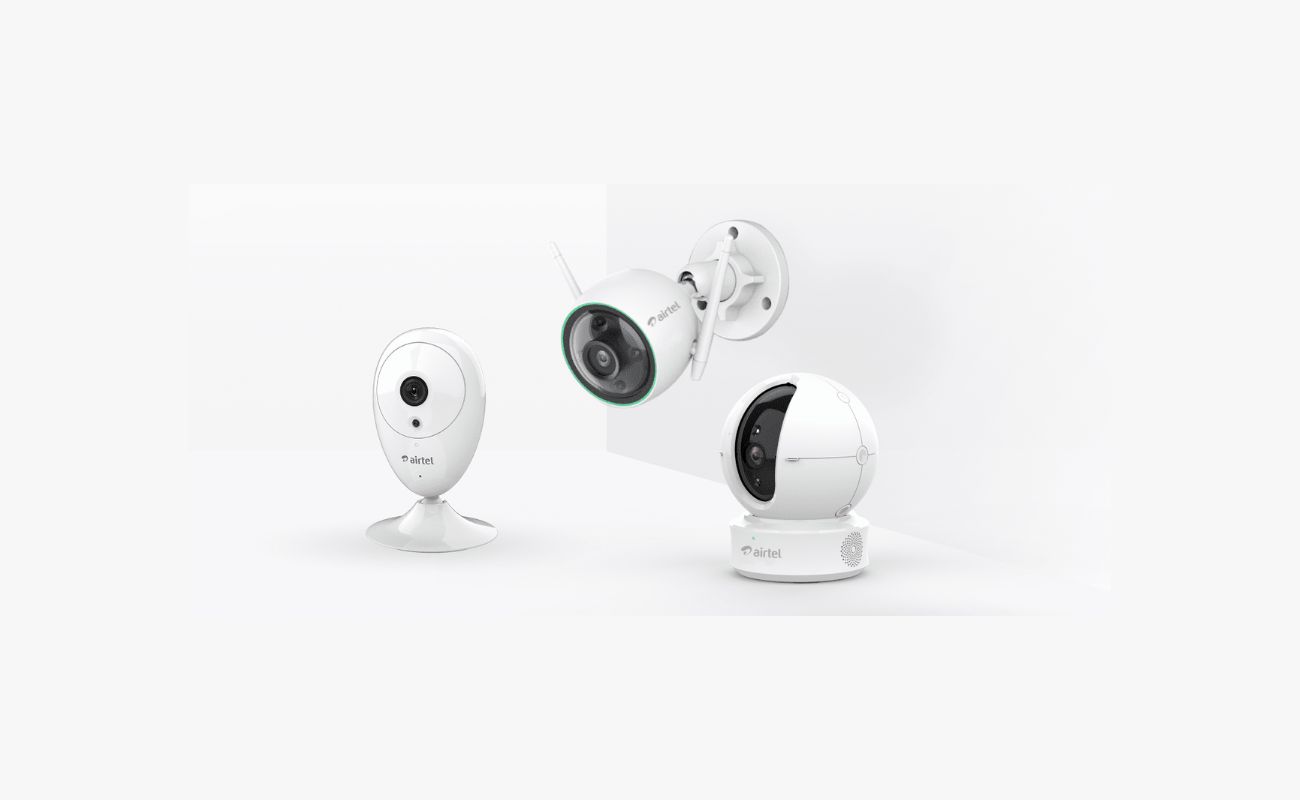
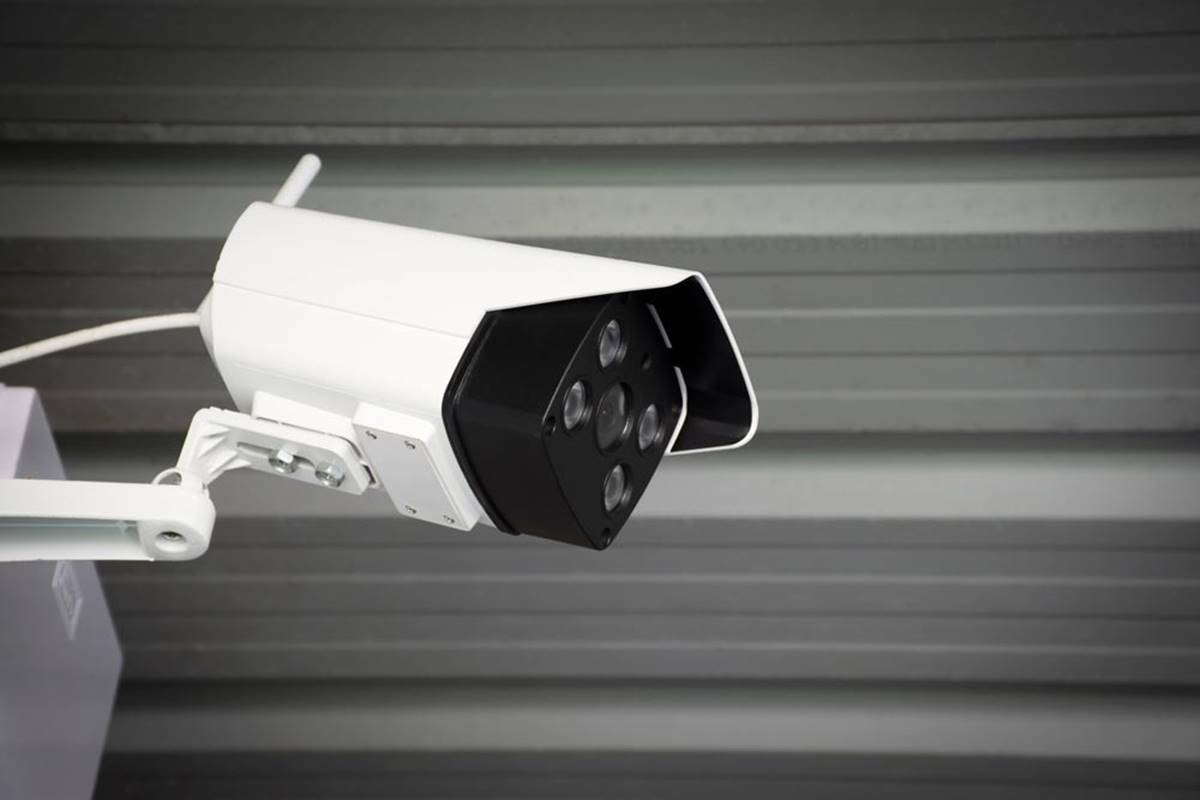
- A wired security camera: Choose a camera that is compatible with an analog (BNC) or digital (HDMI or VGA) connection. Check the specifications of the camera to ensure it has the necessary ports.
- An old monitor: Look for a monitor that supports the same type of connection as your camera. Analog cameras will require a monitor with BNC inputs, while digital cameras will need a monitor with HDMI or VGA inputs.
- Cables: Depending on the camera and monitor connections, you may need BNC cables, HDMI cables, or VGA cables. Make sure you have the appropriate cables for your setup.
- Power adapters: Security cameras and monitors often require separate power sources. Ensure you have the right power adapters for both devices.
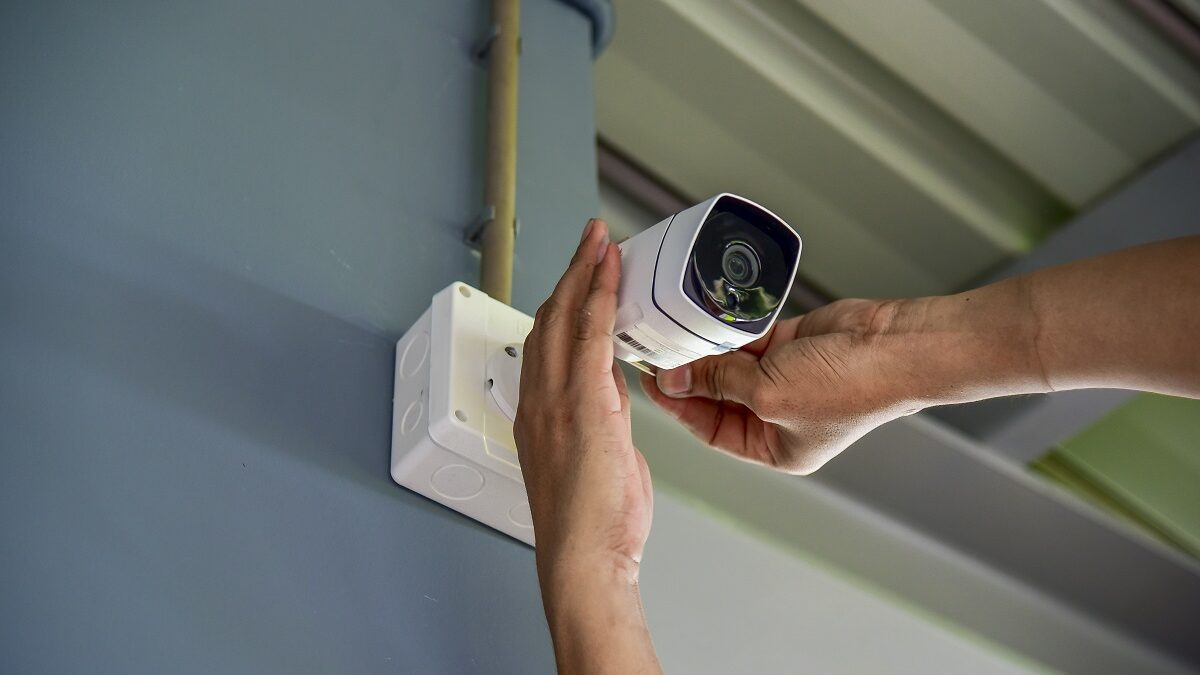
- Mounting hardware: If you plan to install your camera and monitor in a fixed location, you may need mounting brackets, screws, and other hardware to secure them.
Once you have gathered all the necessary equipment, you can proceed to connect your wired security camera to your old monitor.
Step 1: Check Compatibility
Before connecting your wired security camera to an old monitor, it is important to ensure that they are compatible with each other. Here’s what you need to do:
- Check the camera’s output: Take a look at the ports available on your security camera. Most cameras will have either BNC (analog), HDMI, or VGA (digital) outputs. Identify the type of connection used by your camera.
- Check the monitor’s inputs: Examine the inputs on your old monitor. Look for BNC, HDMI, or VGA ports that correspond to the camera’s output. Make sure the monitor has the necessary inputs to connect to the camera.
- Match the connections: Ensure that the camera’s output and the monitor’s inputs match. For example, if your camera has a BNC output, you will need a monitor with BNC inputs. If your camera has an HDMI output, you will need an HDMI-compatible monitor, and so on.
If the camera and monitor have compatible connections, you can proceed to the next step. However, if they are not compatible, you may need to consider alternative solutions, such as using an adapter or purchasing a different monitor or camera that supports the appropriate connections.
By checking the compatibility between your camera and monitor, you can avoid any compatibility issues and ensure a smooth and successful connection process.
Step 2: Connect the Camera to the Monitor
Now that you have confirmed the compatibility between your wired security camera and your old monitor, it’s time to connect them together. Here’s how:
- Power off the camera and the monitor: Before making any connections, ensure that both the camera and the monitor are turned off and unplugged from their power sources. This will prevent any potential damage while connecting the cables.
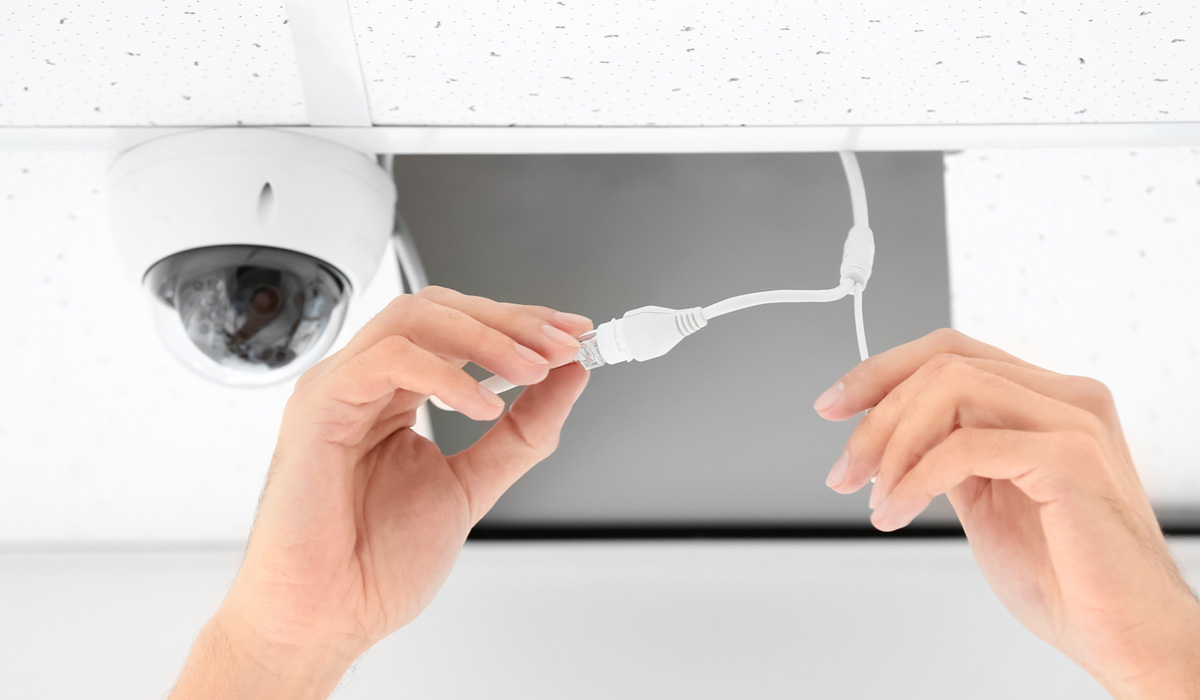
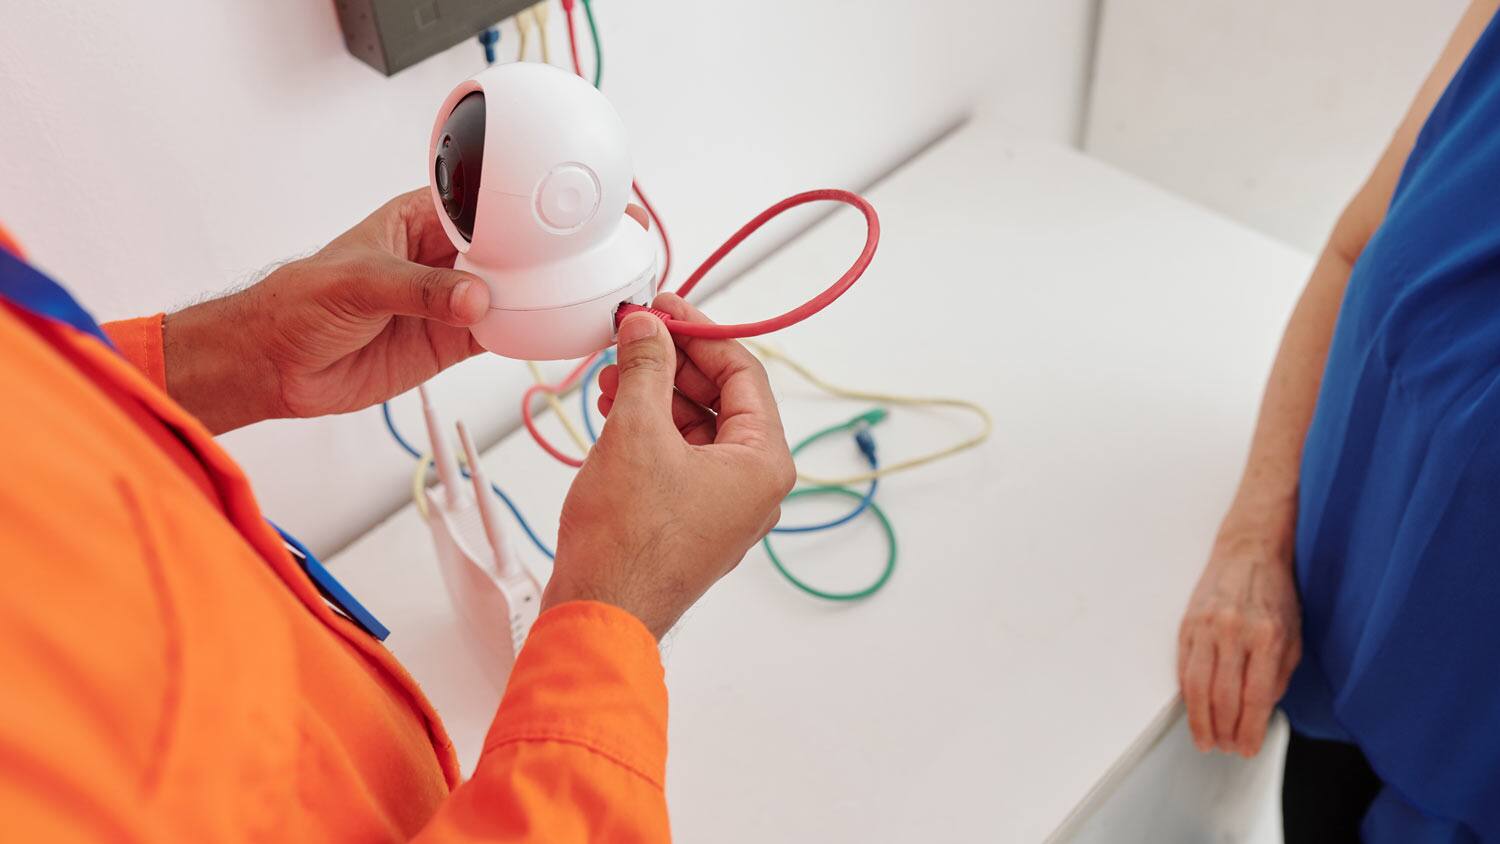
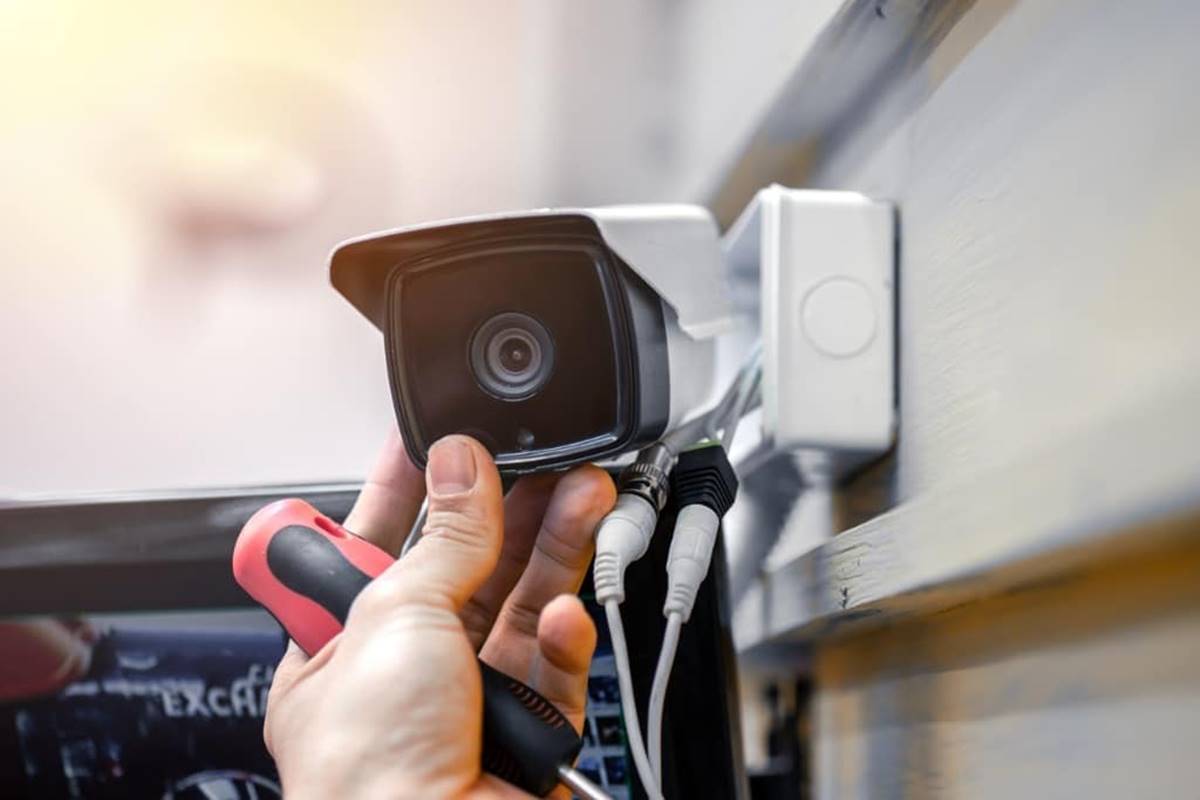
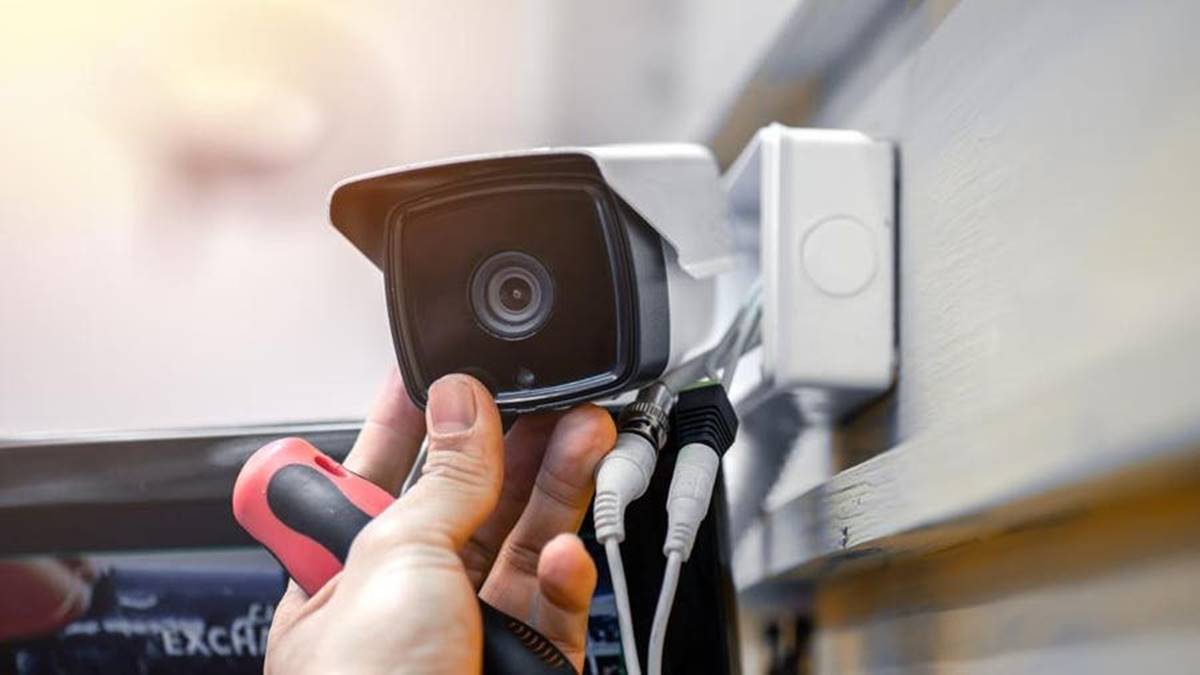
- Connect the video cable: Take the appropriate video cable (BNC, HDMI, or VGA) and connect one end to the camera’s output port and the other end to the corresponding input port on the monitor. Make sure the cable is securely plugged into both devices.
- Connect the power source: If your camera and monitor require separate power sources, plug them into a nearby electrical outlet or power strip. Follow the manufacturer’s instructions for the specific power connections of your devices.
- Power on the camera and the monitor: Once the connections are secure, turn on the camera and the monitor. Allow a few moments for the devices to power up and establish a connection.
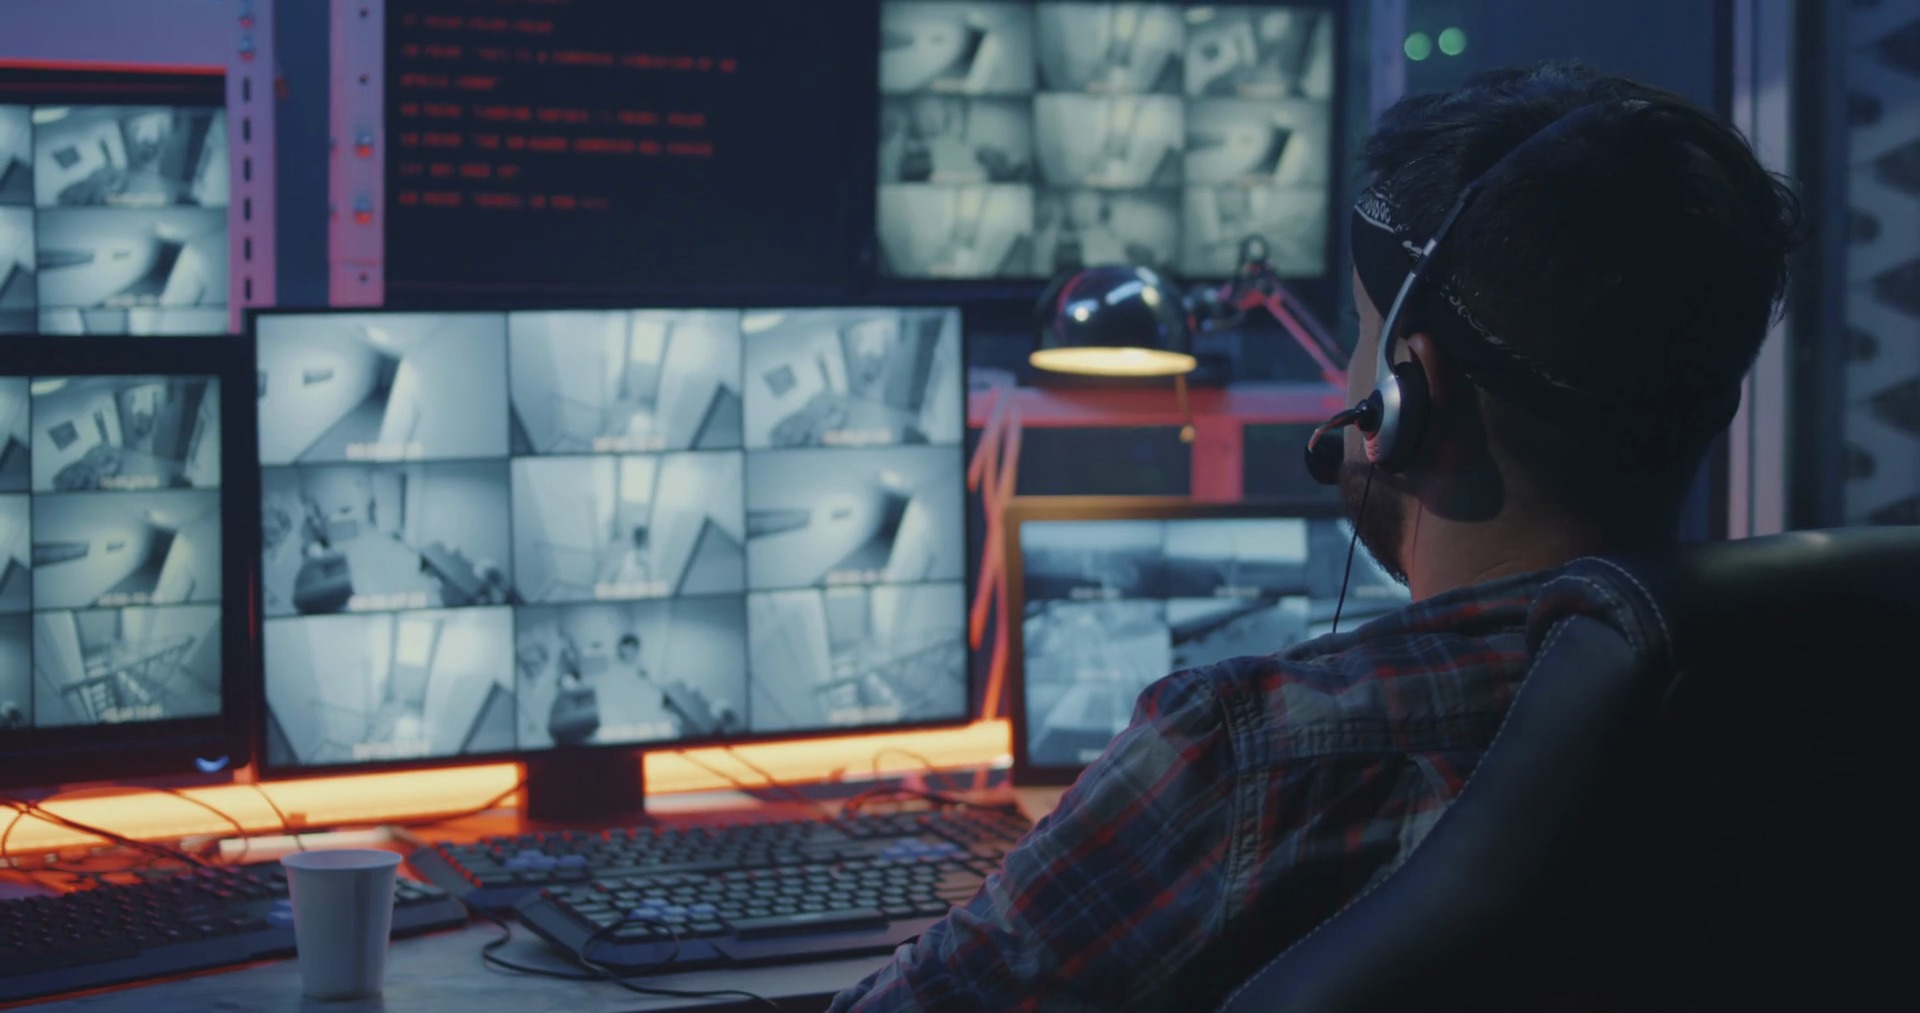
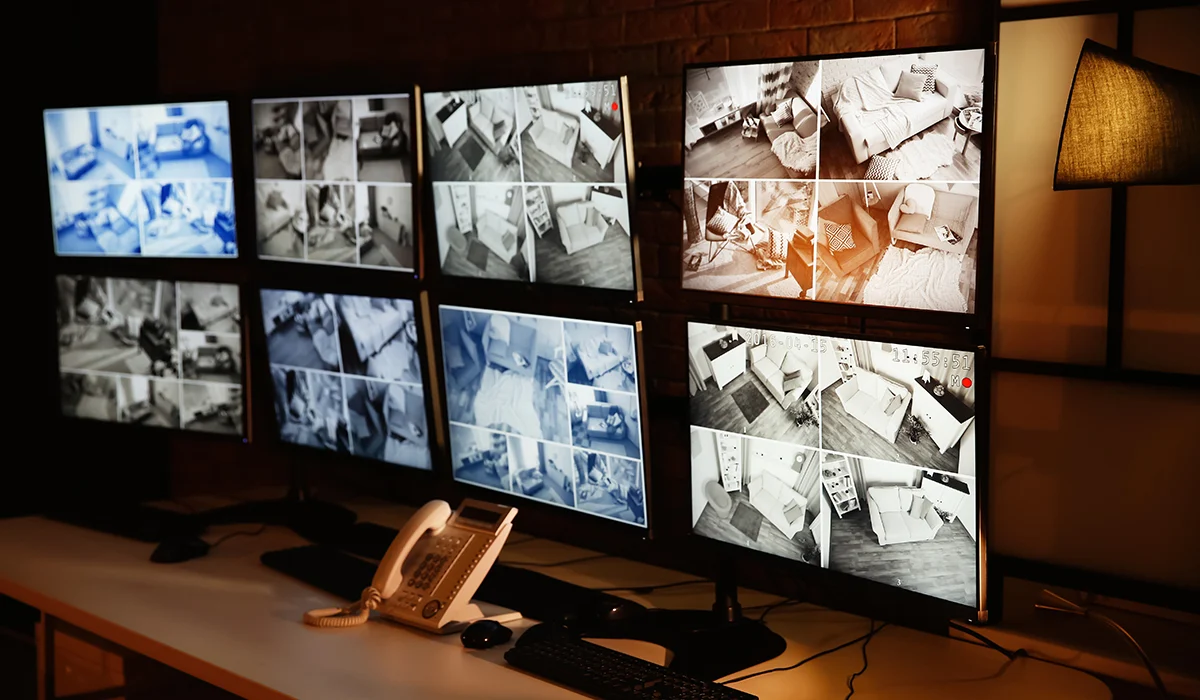
After completing these steps, your wired security camera should be successfully connected to your old monitor. The monitor should display the live video feed from the camera, allowing you to monitor your premises efficiently.
If you are experiencing any issues with the connection, double-check the cables and ensure they are firmly connected. You may also need to consult the user manuals of your camera and monitor for any specific settings required for proper connectivity.
You can connect a wired security camera to an old monitor by using a BNC to VGA or BNC to HDMI converter. These converters allow you to connect the camera’s BNC output to the monitor’s VGA or HDMI input.
Step 3: Adjust Display Settings
Once you have successfully connected your wired security camera to your old monitor, you may need to adjust the display settings to optimize the viewing experience. Here are some steps you can follow:
- Access the monitor’s menu: Most monitors have an on-screen display (OSD) menu that allows you to adjust various settings. Look for a button or menu option on the monitor to access this menu.
- Navigate the settings: Use the buttons on the monitor or the menu controls to navigate through the settings options. Look for options such as “Input,” “Source,” or “Display Mode” that allow you to select the appropriate input source.
- Select the correct input source: Choose the input source that corresponds to the port you connected the camera to. For example, if your camera is connected via HDMI, select the HDMI input source. If it’s connected through VGA, choose the VGA input source.
- Adjust aspect ratio and resolution: Depending on your camera and monitor, you may need to adjust the aspect ratio and resolution settings to ensure that the video feed is displayed correctly. Refer to the user manual of your monitor for instructions on how to make these adjustments.
- Customize other settings: Explore the monitor’s menu to customize other settings such as brightness, contrast, color temperature, and sharpness. These adjustments can enhance the clarity and visibility of the camera’s video feed.
- Save the settings: Once you have made the necessary adjustments, save the settings and exit the monitor’s menu. The display settings should now be optimized for viewing the wired security camera’s video feed.
Remember, the specific steps and options for adjusting display settings may vary depending on the make and model of your monitor. Consult the user manual or the manufacturer’s website for detailed instructions related to your specific monitor.
By fine-tuning the display settings, you can ensure that the video feed from your wired security camera is displayed accurately and clearly on your old monitor.
Read more: How To Wire Outdoor Security Cameras
Step 4: Test the Connection
After connecting the wired security camera to your old monitor and adjusting the display settings, it’s important to perform a thorough test to ensure that the connection is working properly. Here are some steps to follow:
- Verify the video feed: Check the monitor to ensure that it is displaying the live video feed from the camera. Look for clear and crisp images without any distortion or artifacts. If the feed is not displaying or appears distorted, double-check the connections and settings.
- Test different camera views: If your wired security camera supports multiple views, such as zoom or pan, test these features to ensure that the monitor accurately displays the different angles. Verify that the camera’s movements are smooth and the monitor adjusts accordingly.
- Check for audio functionality: If your security camera has audio capabilities, test the audio feed to ensure that the sound is being transmitted to the monitor. Adjust the audio settings on the monitor, if necessary, to achieve the desired volume level.
- Monitor the video feed over time: Leave the camera and monitor running for an extended period to observe the stability and performance of the connection. Look for any disruptions, flickering, or other abnormalities that may occur over time.
- Perform a night vision test: If your wired security camera has night vision capabilities, test the performance in low-light conditions. Ensure that the monitor accurately displays the infrared image produced by the camera, providing clear visibility in the dark.
If you encounter any issues during the testing phase, troubleshoot the problem by checking the cables, power connections, and settings. Consult the user manuals of your camera and monitor for troubleshooting tips or contact the manufacturer’s support if needed.
By thoroughly testing the connection between your wired security camera and your old monitor, you can ensure reliable surveillance and peace of mind.
Conclusion
Connecting a wired security camera to an old monitor can provide you with a cost-effective and reliable solution for monitoring your property. By following the steps outlined in this article, you can successfully connect your camera to your monitor and enjoy real-time video surveillance.
Remember to check the compatibility between your camera and monitor, ensuring they have the appropriate input and output ports. Then, connect the camera to the monitor using the right cables, and adjust the display settings to optimize the viewing experience.
After completing these steps, test the connection thoroughly to ensure that the camera’s video feed is displayed accurately and remains stable over time. If any issues arise, troubleshoot the problem by checking the connections and settings.
By connecting a wired security camera to an old monitor, you can effectively enhance the security and surveillance of your home or business. Monitor your premises with confidence, knowing that you have a reliable system in place to alert you of any potential threats or incidents.
Remember to periodically check your camera and monitor for any updates or maintenance requirements to ensure their long-term functionality. Stay vigilant and enjoy the added peace of mind that comes with having a reliable home security and surveillance system.
Frequently Asked Questions about How To Connect A Wired Security Camera To An Old Monitor
Was this page helpful?
At Storables.com, we guarantee accurate and reliable information. Our content, validated by Expert Board Contributors, is crafted following stringent Editorial Policies. We're committed to providing you with well-researched, expert-backed insights for all your informational needs.
