Articles
How To Miter Corners On A Quilt Border
Modified: March 1, 2024
Learn the step-by-step process of how to miter corners on a quilt border with our informative articles, providing helpful tips and techniques.
(Many of the links in this article redirect to a specific reviewed product. Your purchase of these products through affiliate links helps to generate commission for Storables.com, at no extra cost. Learn more)
Introduction
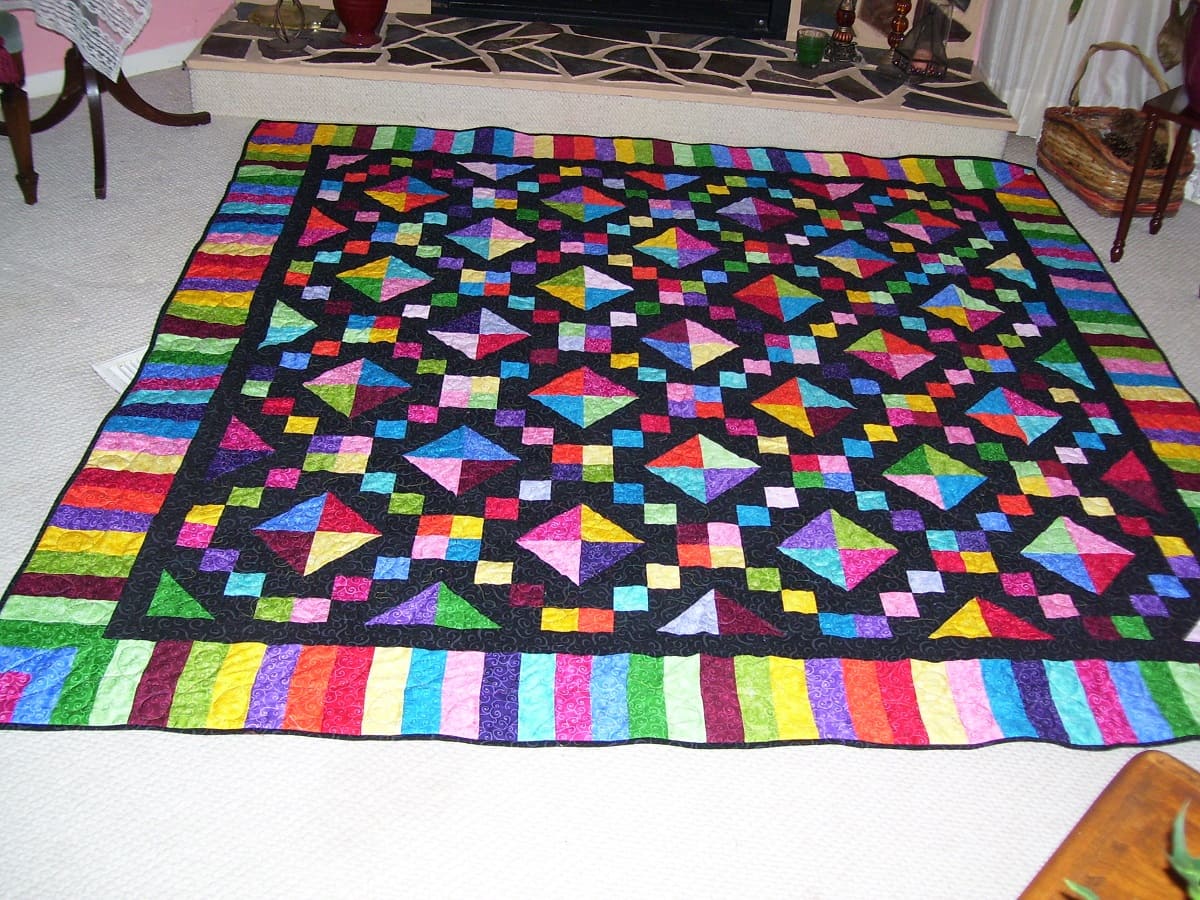
When it comes to quilting, adding a border can make a significant difference in the overall appearance of your quilt. Borders not only provide a finished look but also frame and enhance the design of the quilt top. One of the most common techniques used in quilting borders is mitering the corners.
A mitered corner creates a clean and seamless finish by joining the border strips at a 45-degree angle, resulting in a continuous line around the quilt. This technique requires precise measurements and careful sewing to achieve accurate and professional-looking corners.
In this article, we will guide you through the process of mitering corners on a quilt border. Whether you are a novice quilter or an experienced stitcher looking to refine your skills, this step-by-step guide will help you master the technique and add a polished touch to your quilting projects.
Before we dive into the process, let’s gather the necessary tools and materials you will need for this project.
Key Takeaways:
- Master the art of mitering quilt corners with precision and patience. Elevate your quilting projects with seamless and professional-looking borders, adding a touch of elegance to your creations.
- Embrace the craft of quilting and unleash your creativity through perfectly mitered corners. Experiment with fabrics, colors, and patterns to personalize your quilts and showcase your unique style.
Read more: How To Miter Corners On Quilt Binding
Tools and Materials Needed
Before you begin mitering the corners on a quilt border, it’s important to have the right tools and materials at hand. Here’s a list of what you’ll need:
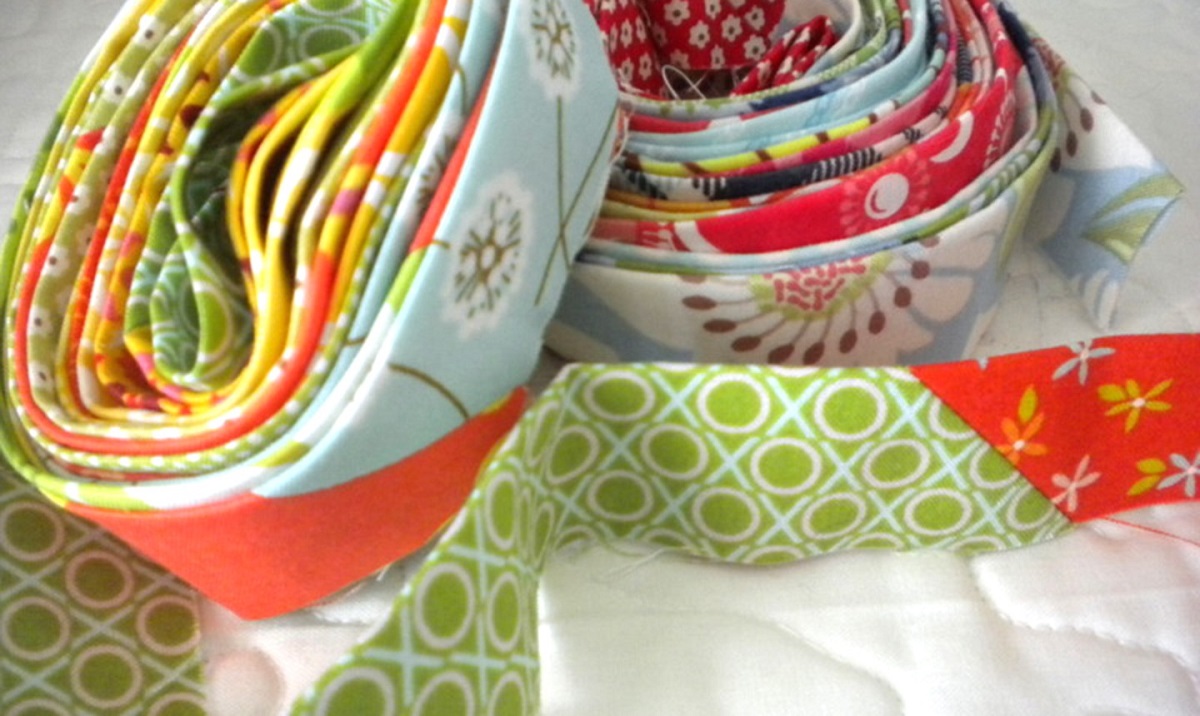
- Fabric for the border: Make sure you have enough fabric to cut strips that are long enough to go around the entire quilt.
- Rotary cutter and cutting mat: These tools will help you accurately cut the fabric strips to the desired width.
- Acrylic ruler: An acrylic ruler with clear markings will assist you in measuring and cutting precise strips.
- Sewing machine: A sewing machine with a straight stitch setting will be used to sew the mitered corners.
- Pins or clips: These will hold the fabric in place while sewing.
- Iron and ironing board: You’ll need an iron to press the fabric and seams during the process.
- Scissors: A pair of sharp fabric scissors will be handy for trimming excess fabric and thread.
- Quilter’s pins: These fine pins will be used to secure the border to the quilt top before sewing.
- Marking tool: You’ll need a marking tool that is suitable for fabric to indicate where the mitered corner will be sewn.
Having these tools and materials prepared and easily accessible will ensure a smooth and efficient sewing process. Now that you have everything you need, let’s move on to the step-by-step instructions for creating mitered corners on your quilt border.
Step 1: Measuring and Cutting the Border Strips
The first step in mitering the corners on a quilt border is to measure and cut the border strips. The length of the border strips will depend on the size of your quilt top and your desired border width.
Follow these steps to measure and cut the border strips:
- Measure the sides of your quilt top: Use a measuring tape to measure the length and width of your quilt top. Add the desired border width to each side to determine the length of the border strips needed.
- Cut the fabric strips: Using a rotary cutter, cutting mat, and acrylic ruler, cut fabric strips according to the measurements from step 1. Make sure the strips are the desired width for your border.
- Take note of the strip orientation: To maintain consistency, keep track of the orientation of the fabric strips. For example, you might label the top edge of the strip with a fabric marker.
It’s essential to measure accurately and cut the strips straight to achieve precise and even borders. Double-check your measurements before cutting the fabric to avoid any errors. Additionally, take care to align the grain of the fabric with the strip to ensure proper stability and prevent distortion during sewing.
Once you have measured and cut your border strips, you are ready to move on to the next step: marking the mitered corner.
Step 2: Marking the Mitered Corner
Now that you have your border strips cut to the correct length, it’s time to mark the mitered corners. This step is crucial in ensuring accurate placement and sewing of the corners.
Follow these steps to mark the mitered corner:
- Take one of your border strips and lay it out flat.
- Using a ruler and a fabric marking tool, measure and mark a point on the wrong side of the fabric where the mitered corner will be sewn. This point should be at a 45-degree angle from the corner of the fabric strip.
- Repeat this marking process for each end of the border strip.
Take your time to ensure accurate measurements and markings. It is recommended to use a ruler or a quilting square to assist you in achieving precise angles. These markings will guide you during the sewing process to create seamless and visually appealing mitered corners.
After marking the mitered corners on all your border strips, you’re ready to move on to the next step: sewing the miters.
Step 3: Sewing the Miters
With the mitered corners marked on your border strips, it’s time to sew the miters together. This step requires careful stitching to ensure precise alignment and a clean finish.
Follow these steps to sew the miters:
- Take two border strips with their mitered corners marked.
- Place the strips right sides together, aligning the marked mitered corners.
- Pin or clip the fabric to secure it in place.
- Start sewing from the marked mitered corner, using a 1/4-inch seam allowance. Sew all the way to the opposite corner of the fabric strip.
- Repeat this process for the remaining pairs of border strips.
When sewing the miters, it’s important to maintain a consistent seam allowance and keep the fabric aligned throughout the stitching process. Take your time and sew slowly, especially when approaching and sewing over the mitered corners, to ensure accuracy.
Once all the miters are sewn, press the seam allowances open or towards one side, depending on your preference, using an iron. Pressing the seams will help create a flat and neat finish.
With the miters sewn and the seam allowances pressed, you’re ready to move on to the next step: trimming the seam allowances.
When mitering corners on a quilt border, always press the seams open to reduce bulk and create a crisp, clean corner. This will help the border lay flat and look professional.
Read more: How To Make Borders For A Quilt
Step 4: Trimming the Seam Allowances
After sewing the miters on your quilt border, the next step is to trim the seam allowances. Trimming the seam allowances reduces bulk and helps the corners lay flat and crisp.
Follow these steps to trim the seam allowances:
- Take your sewn border strip and lay it flat.
- Using a pair of sharp fabric scissors, trim the excess fabric from the seam allowances. Trim them to about 1/8 inch or slightly less.
- Be careful not to cut into the seam itself.
- Repeat this process for all the mitered corners on your border strips.
Trimming the seam allowances allows for smoother and more accurate pressing in the next step. It also ensures that the corners lie flat and free from bulk, resulting in a professional-looking finish.
Once you have trimmed the seam allowances, you’re ready to move on to the next step: pressing the seams.
Step 5: Pressing the Seams
Properly pressing the seams is an essential step in achieving a polished and professional look for your quilt border. Pressing helps set the seams and creates a crisp edge, enhancing the overall appearance of the mitered corners.
Follow these steps to press the seams:
- Take your sewn border strip and lay it flat, with the right side facing up.
- Using an iron set to the appropriate temperature for your fabric, press the seam allowances open or towards one side, depending on your preference.
- Pressing the seam allowances open will help reduce bulk and create a flatter border.
- Repeat this process for all the mitered corners on your border strips.
Make sure to press the fabric rather than sliding the iron back and forth, as this can distort the shape of the fabric and the mitered corners. Pressing the seams properly contributes to achieving a smooth and professional finish for your quilt border.
Now that the seams are pressed, you’re ready to move on to the next step: attaching the border to the quilt.
Step 6: Attaching the Border to the Quilt
With the mitered corners sewn, trimmed, and pressed, it’s time to attach the border to your quilt. This step will bring your quilt top and border together to create a finished and cohesive look.
Follow these steps to attach the border to the quilt:
- Start by laying your quilt top flat, right side up.
- Take one of your border strips and align its raw edge with one edge of the quilt top.
- Pin or clip the border strip in place, ensuring that the mitered corner aligns with the quilt corner.
- Continue pinning or clipping along the entire length of the border strip, securing it to the quilt top.
- Repeat this process with the remaining border strips, aligning and attaching them to the corresponding sides of the quilt top.
- Once all the border strips are attached, sew them to the quilt using a 1/4-inch seam allowance, removing the pins or clips as you go.
When sewing the border to the quilt, be mindful of the mitered corners to ensure they are accurately sewn and aligned with the quilt corners. Sew slowly and carefully, maintaining a consistent seam allowance throughout the process.
After attaching the border, press the seam allowances towards the border using an iron. Pressing will help create a neat and flat border that lies smoothly against the quilt top.
With the border securely attached to the quilt, you’re ready to move on to the final step: finishing the corners.
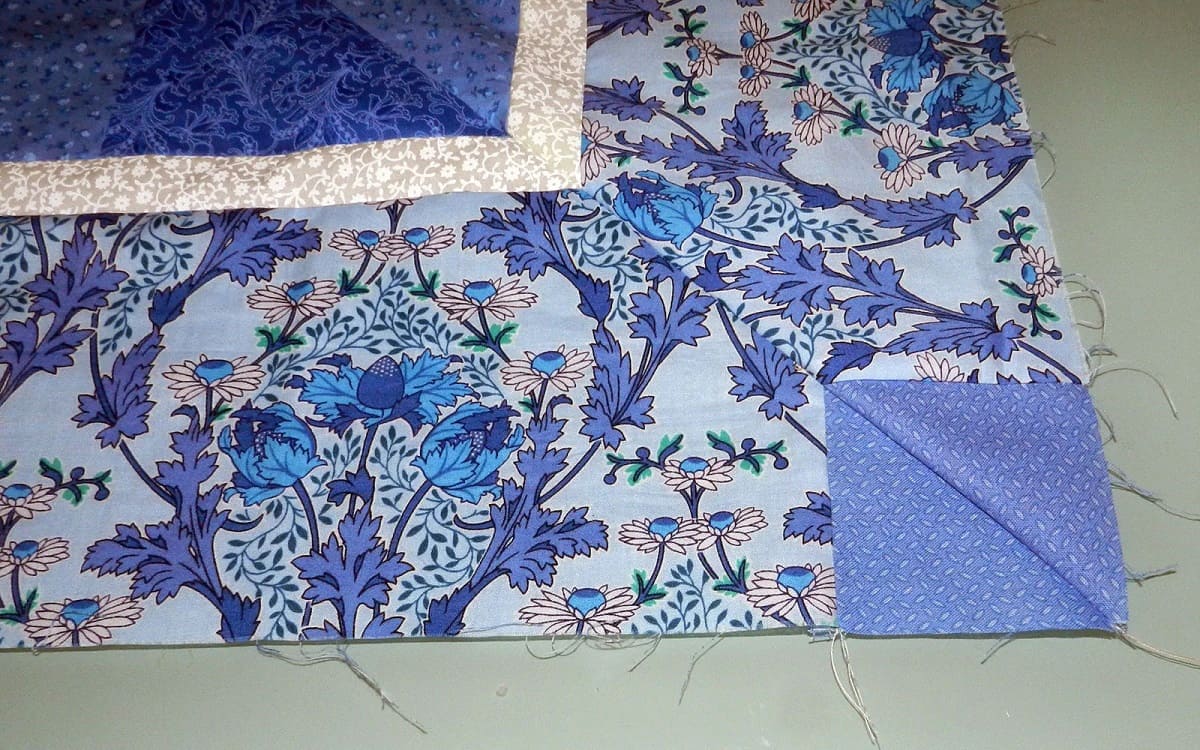
Step 7: Finishing the Corners
Finishing the corners adds the final touches to your mitered quilt border, ensuring a clean and polished look. This step involves folding and stitching the excess fabric to create neat corner folds.
Follow these steps to finish the corners:
- Start by folding the excess fabric diagonally from the corner so that the raw edge aligns with the border edge.
- Pin or clip the fabric in place.
- Next, fold the remaining border fabric over the folded corner, creating a smooth edge.
- Pin or clip the second fold in place.
- Repeat this process for all four corners of the quilt.
- Once all the corners are folded and pinned, stitch close to the folded edge of the border to secure the corners in place.
- Remove the pins or clips as you sew.
Stitching close to the folded edge ensures that the corners are neatly held together and adds stability to the quilt border. Take your time and use a matching thread to create a seamless and cohesive finish.
After finishing the corners, give the quilt border a final press with an iron to set the stitches and create a crisp and professional appearance. Your quilt is now complete with beautifully mitered corners!
Congratulations! You have successfully learned how to miter corners on a quilt border. This technique adds a touch of elegance and sophistication to your quilting projects, elevating them to a whole new level. Practice and patience will help you master this skill, and soon you’ll be creating stunning quilt borders with perfectly mitered corners.
Remember to experiment with different fabrics, colors, and patterns to personalize your quilts and showcase your creativity. Happy quilting!
Read more: How To Make A Diamond Quilt Border
Conclusion
Mitering corners on a quilt border is a technique that adds a professional and polished finish to your quilting projects. By following the step-by-step instructions provided in this article, you have learned how to measure and cut border strips, mark the mitered corners, sew and trim the miters, press the seams, attach the border to the quilt, and finish the corners.
Throughout the process, it is important to pay attention to detail, use accurate measurements, and maintain careful stitching to achieve precise corners and a seamless appearance. Taking the time to press the seams and trim the excess fabric will result in a clean and flat border. Finishing the corners ensures a neat and tidy look, giving your quilt that final touch of elegance.
Remember, practice makes perfect. The more you work on mitered corners, the better you will become at mastering this quilting technique. Don’t be afraid to experiment with different fabrics, patterns, and border widths to create unique and customized designs.
Quilting is not just a craft; it is an art form that allows you to showcase your creativity and bring beauty and warmth into the world. Mitering corners on a quilt border is just one of the many techniques you can explore and master on your quilting journey.
So, gather your tools, select your fabric, and start creating stunning quilts with beautifully mitered corners. Whether you are a beginner or an experienced quilter, the satisfaction and joy that comes from completing a quilt with precise and elegant corners are truly unmatched.
Happy quilting!
Frequently Asked Questions about How To Miter Corners On A Quilt Border
Was this page helpful?
At Storables.com, we guarantee accurate and reliable information. Our content, validated by Expert Board Contributors, is crafted following stringent Editorial Policies. We're committed to providing you with well-researched, expert-backed insights for all your informational needs.
0 thoughts on “How To Miter Corners On A Quilt Border”