Home>Home Security and Surveillance>How To Repair A Security Camera Wire
Home Security and Surveillance
How To Repair A Security Camera Wire
Modified: March 6, 2024
Learn how to repair a security camera wire for your home security and surveillance system. Step-by-step guide to fix any wiring issues and ensure uninterrupted monitoring.
(Many of the links in this article redirect to a specific reviewed product. Your purchase of these products through affiliate links helps to generate commission for Storables.com, at no extra cost. Learn more)
Introduction
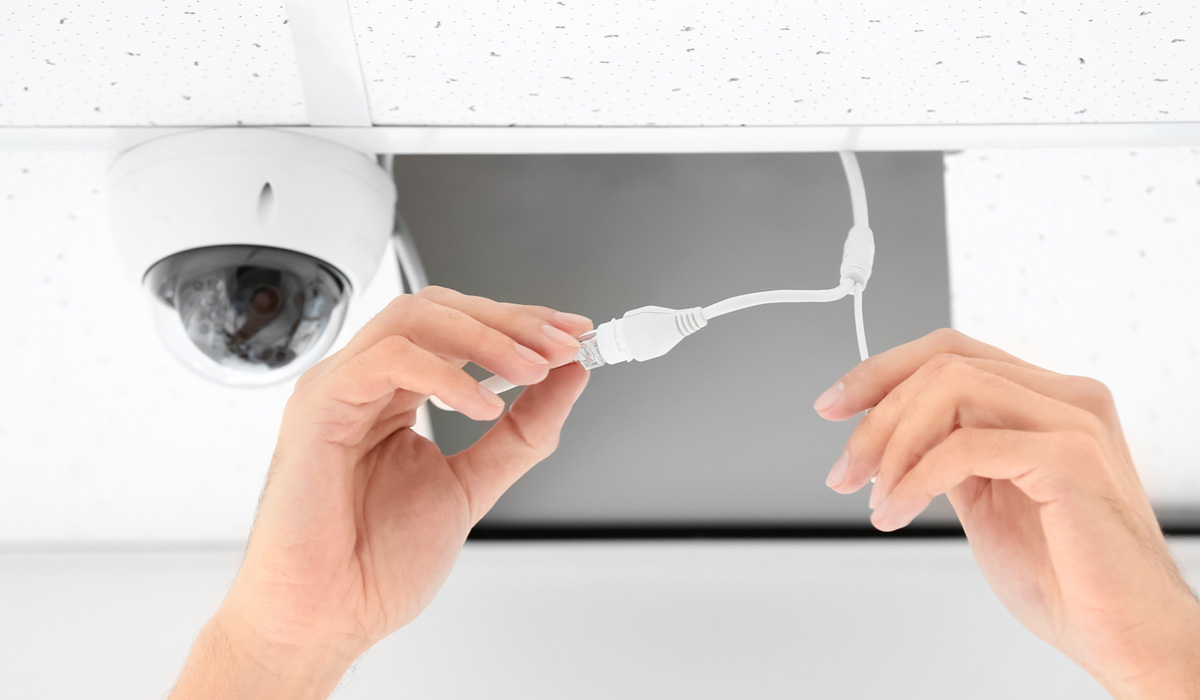
Welcome to the world of home security and surveillance! In today’s fast-paced and ever-evolving society, the importance of ensuring the safety and protection of our homes cannot be overstated. Whether you live in a bustling urban area or a quiet suburban neighborhood, having a reliable security camera system is essential for peace of mind and safeguarding your property.
Security cameras are not only a deterrent to potential intruders, but they also provide invaluable evidence in the unfortunate event of a break-in or other criminal activity. However, like any electronic device, security cameras can encounter issues over time, and one common problem that homeowners may face is a damaged or broken wire.
In this article, we will guide you through the process of repairing a security camera wire, saving you the hassle and expense of replacing the entire system. With a few basic tools and some handyman know-how, you’ll be back to enjoying a reliable and fully-functioning surveillance system in no time.
So, let’s roll up our sleeves and get started with the necessary tools and materials you’ll need for this repair job.
Key Takeaways:
- Don’t panic if your security camera wire is damaged! With basic tools like wire cutters and soldering iron, you can fix it yourself. Just follow the step-by-step guide for a quick and cost-effective repair.
- Safety first! Always turn off the power before repairing the wire. Test the connection after repair and secure it with cable ties. With proper maintenance, your security system will keep your home safe and sound.
Read more: How To Wire Outdoor Security Cameras
Tools and Materials Needed
Before you begin repairing a security camera wire, it’s important to gather all the necessary tools and materials to ensure a smooth and successful repair process. Here’s a list of what you’ll need:
- Wire cutter: A wire cutter is a must-have tool for cleanly cutting through the damaged wire.
- Wire stripper: A wire stripper allows you to remove the insulation from the wire ends, preparing them for soldering.
- Soldering iron: A soldering iron is used to melt solder and create a strong connection between the wire ends.
- Solder: Solder is a metal alloy used to join the wire ends together, providing a secure electrical connection.
- Heat shrink tubing: Heat shrink tubing is a flexible, thermoplastic material that is used to insulate the soldered connection. It shrinks when heated, providing a protective barrier around the wire joint.
- Electrical tape: Electrical tape can be used as an alternative to heat shrink tubing for temporarily insulating the repaired wire.
Having these tools and materials on hand will ensure that you’re fully equipped to tackle the repair process with confidence. Now that we know what we’ll need, let’s move on to the step-by-step process of repairing a security camera wire.
Step 1: Assess the Damage
Before jumping into the repair process, it’s crucial to assess the damage to the security camera wire. This step will help you determine the extent of the problem and whether a repair is possible. Here’s what you need to do:
Check for visible signs of damage: Inspect the wire carefully and look for any obvious signs of damage. This could include cuts, frayed ends, or exposed wires.
Test the wire using a multimeter: If the damage isn’t visible, or you want to confirm the extent of the problem, use a multimeter to test the wire. Set the multimeter to the continuity or resistance mode and touch the wire ends with the test leads. If the multimeter reading fluctuates or shows infinite resistance, it indicates a break or damage in the wire.
By assessing the damage, you’ll have a better understanding of the repair required and can proceed accordingly. If the damage is minor and localized, a repair is usually feasible. However, if the wire is severely damaged or the insulation is compromised, it might be necessary to replace the entire wire.
Now that you’ve assessed the damage, we can move on to preparing for the repair process. Stay tuned for the next step!
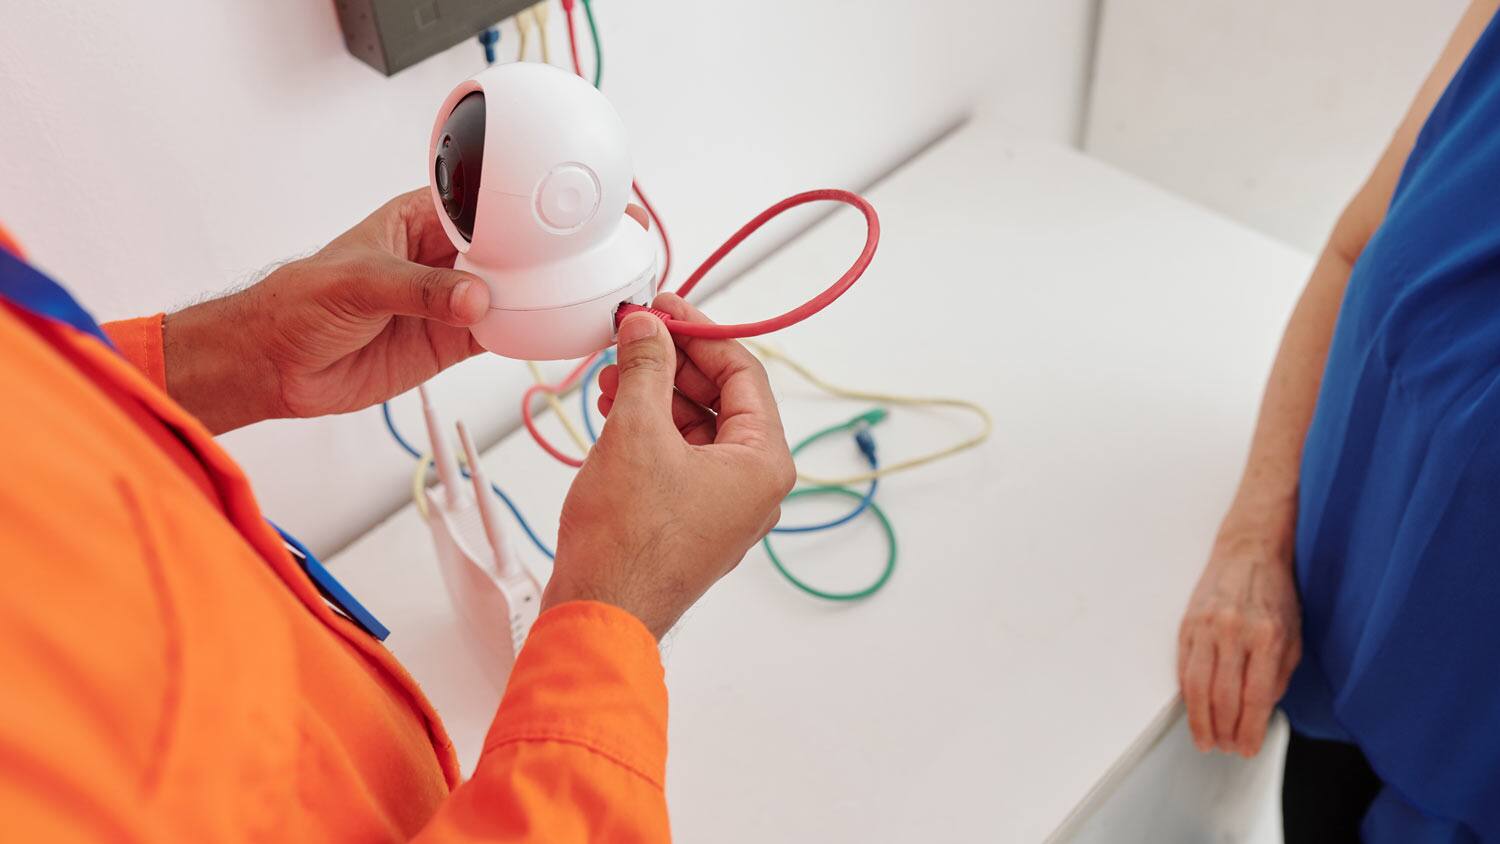
Step 2: Prepare for Repair
Now that you’ve assessed the damage to the security camera wire, it’s time to prepare for the repair process. Taking the necessary precautions and gathering the required tools and materials will ensure a safe and efficient repair. Let’s get started:
Turn off power to the security camera system: Before working on any electrical component, it’s crucial to turn off the power. Locate the power source for your security camera system and switch it off to prevent any potential electrical hazards.
Gather necessary tools and materials: Refer back to the list of tools and materials mentioned earlier and make sure you have everything on hand. Having everything ready before starting the repair will save you time and prevent any unnecessary interruptions.
By turning off the power and gathering the necessary tools and materials, you’re setting the stage for a smooth and safe repair process. Now that we’re prepared, it’s time to move on to the next step: cutting and stripping the damaged wire.
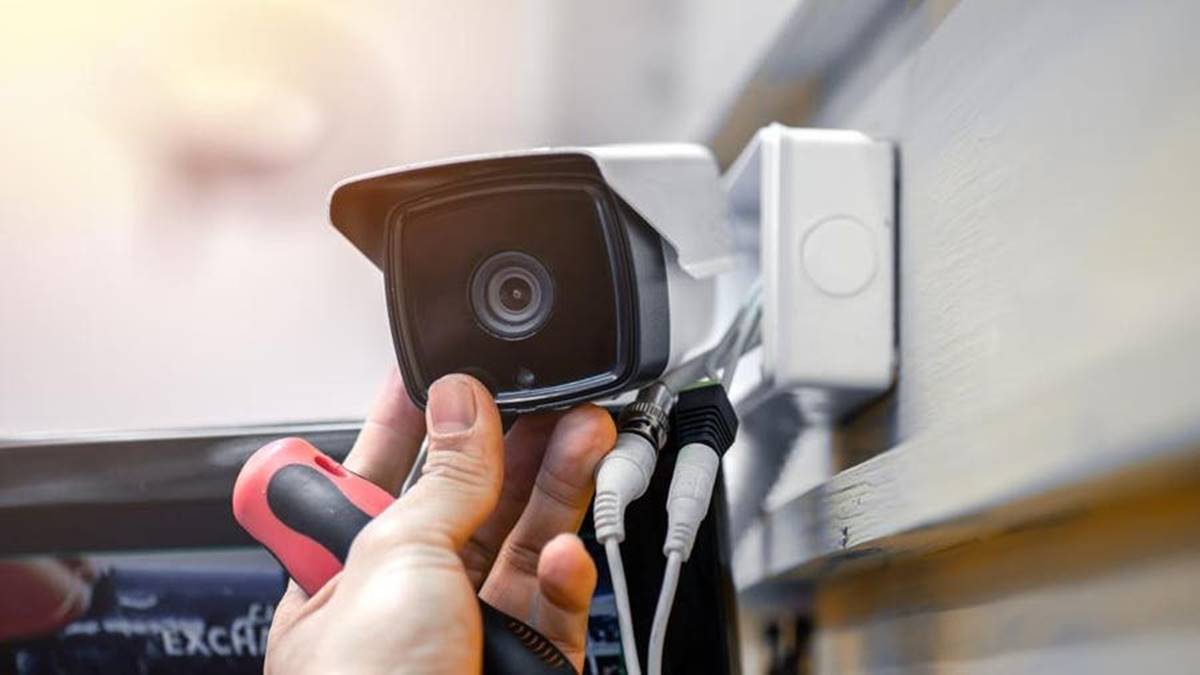
Step 3: Cut and Strip the Wire
With the power turned off and the necessary tools at your disposal, it’s time to proceed with cutting and stripping the damaged section of the security camera wire. Follow these steps carefully:
Locate the damaged section of the wire: Inspect the wire and identify the specific area that needs to be repaired. It’s important to pinpoint the exact damaged section to ensure an effective repair.
Use a wire cutter to cut the wire: Once you’ve located the damaged section, use a wire cutter to cleanly cut through the wire on either side of the damage. Make sure to leave enough space to work with while still removing the damaged portion.
Use a wire stripper to strip the insulation off the wire ends: After cutting the wire, use a wire stripper to remove the insulation from the newly exposed wire ends. Carefully position the wire stripper around the end of the wire and squeeze until the insulation is cleanly stripped away. Repeat this process for both cut ends.
By cutting and stripping the wire, you have effectively removed the damaged section and prepared the wire ends for the repair process. Next, we’ll move on to the crucial step of soldering the wire to establish a strong and reliable connection.
When repairing a security camera wire, start by identifying the damaged section. Use a wire stripper to remove the damaged portion, then strip the insulation from the new wire. Connect the new wire using wire connectors, and secure with electrical tape.
Read more: How To Hack Into A Wired Security Camera
Step 4: Solder the Wire
Now that the damaged section of the wire has been cut and stripped, it’s time to solder the wire to create a strong and reliable connection. Follow these steps to complete the soldering process:
Preheat the soldering iron: Begin by preheating the soldering iron. Make sure it reaches the appropriate temperature for soldering. Heating the soldering iron ensures a smooth and efficient soldering process.
Apply flux to the exposed wire ends: Flux is a compound that helps clean and prepare the wire surface for soldering. Apply a small amount of flux to the exposed wire ends. This will enhance the soldering process and promote a better connection.
Heat the wire and apply solder to create a strong connection: Hold the soldering iron tip against one of the exposed wire ends, heating it until it reaches the appropriate temperature. Then, gently touch the solder to the heated wire. The solder will melt and create a bond with the wire. Repeat this process with the other exposed wire end. Ensure that you have a smooth and evenly distributed solder connection.
Remember to work carefully and avoid excessive heat that could damage the wire insulation or nearby components. Proper soldering will ensure a secure connection and good electrical conductivity for your security camera wire.
With the wire successfully soldered, we can move on to the next step: insulating the connection to protect it from environmental factors.
Step 5: Insulate the Connection
After soldering the wire and creating a strong connection, it’s essential to insulate it properly to protect against any environmental factors that could potentially cause damage. Follow these steps to insulate the connection:
Slide heat shrink tubing over the soldered connection: Take a suitable length of heat shrink tubing and slide it over the soldered connection, covering the exposed wire ends and the solder joint. Ensure that the tubing is long enough to cover the entire connection.
Use a heat gun to shrink the tubing and provide insulation: Once the heat shrink tubing is in place, use a heat gun to apply heat evenly along the tubing. As the heat is applied, the tubing will shrink and tightly adhere to the wire, forming a protective and insulating cover around the connection. Be careful not to overheat the tubing or hold the heat gun too close to prevent damage.
Alternatively, wrap electrical tape around the connection for temporary insulation: If you don’t have heat shrink tubing available, you can use electrical tape as a temporary solution. Wrap several layers of electrical tape around the soldered connection, ensuring complete coverage and insulation.
Proper insulation is crucial to protect the soldered connection from moisture, dust, and other potential hazards. By following these steps, you can ensure the longevity and reliability of your repaired security camera wire.
With the connection insulated, we’re almost done. Let’s move on to the final step: testing and securing the repaired wire.
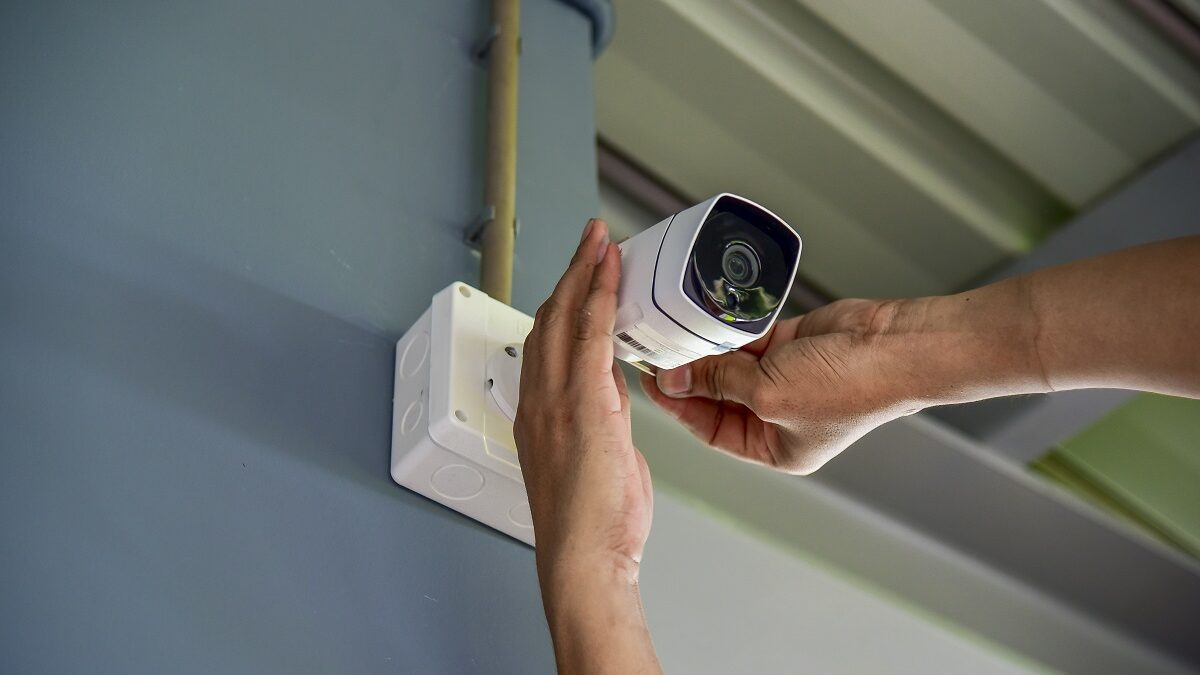
Step 6: Test and Secure the Connection
With the repaired wire insulated and the soldered connection complete, it’s time to test and secure the connection to ensure it’s working properly and remains stable. Follow these steps for the final stage of the repair process:
Turn on power to the security camera system: Before testing the connection, turn on the power to your security camera system. Ensure that the power source is restored, allowing the system to power up.
Test the camera to ensure the connection is working properly: Once the power is on, observe the camera feed or access the monitoring system to verify that the connection is functioning as expected. Check for a clear image and stable video signal. If the camera works properly without any issues, it’s a good indication that the repair was successful.
Secure the repaired wire using cable ties or clips: To prevent any strain or accidental tugging on the repaired wire, secure it using cable ties or clips. Bundle the wire neatly and fasten it securely to nearby structures or along the existing cable management system. This will help to keep the repaired section of the wire in place and protect it from unnecessary movement.
By testing the connection and securing the repaired wire, you can ensure that your security camera system is back up and running at full capacity. Enjoy the peace of mind that comes with knowing your property is well-protected.
Congratulations! You’ve successfully repaired the security camera wire, saving the hassle and expense of replacing the entire system.
It’s important to note that if you encounter any difficulties during the repair process or if the issue persists, it’s advisable to consult a professional or contact the manufacturer for assistance. Safety should always be the top priority when working with electrical components.
We hope this guide has been helpful in assisting you with repairing your security camera wire. Remember, proper maintenance and periodic checks can help prevent future issues and keep your home security system in optimal condition.
Stay safe and secure!
Conclusion
Home security and surveillance are essential for protecting our homes and ensuring our peace of mind. When faced with a damaged security camera wire, it’s important to know that you can take matters into your own hands and repair it yourself. By following the step-by-step process outlined in this article, you can save time and money by fixing the wire instead of replacing the entire system.
Throughout the repair process, we covered the necessary tools and materials needed, the importance of assessing the damage, preparing for the repair, cutting and stripping the wire, soldering the wire to establish a strong connection, insulating the connection to protect it, and finally, testing and securing the repaired wire.
Remember to always turn off the power to the security camera system before working on any electrical components, and exercise caution while handling soldering irons and other tools. Safety should always be your top priority.
With proper maintenance and periodic checks, you can prolong the life of your security camera system and ensure that it continues to provide the protection and peace of mind you desire. However, if you’re unsure or uncomfortable with performing the repair yourself, it’s always best to seek assistance from a professional.
Thank you for taking the time to learn how to repair a security camera wire. We hope this guide has been informative and helpful, empowering you to take control of the maintenance and repair of your home security system. Stay safe, secure, and protected!
Frequently Asked Questions about How To Repair A Security Camera Wire
Was this page helpful?
At Storables.com, we guarantee accurate and reliable information. Our content, validated by Expert Board Contributors, is crafted following stringent Editorial Policies. We're committed to providing you with well-researched, expert-backed insights for all your informational needs.