Home>Home Security and Surveillance>How To Connect A Security Camera To Computer
Home Security and Surveillance
How To Connect A Security Camera To Computer
Modified: March 6, 2024
Learn how to connect a security camera to your computer for easy home security and surveillance. Follow our step-by-step guide for a smooth setup and monitoring process.
(Many of the links in this article redirect to a specific reviewed product. Your purchase of these products through affiliate links helps to generate commission for Storables.com, at no extra cost. Learn more)
Introduction
Welcome to the world of home security and surveillance! In an age where technology is advancing at a rapid pace, securing our homes and keeping a watchful eye on our surroundings has become easier than ever before. One of the most effective ways to achieve this is by connecting a security camera to your computer.
Whether you want to monitor your property, keep an eye on your pets, or simply have an extra layer of security in place, connecting a security camera to your computer offers a convenient and cost-effective solution. In this article, we will guide you through the step-by-step process of how to connect a security camera to your computer.
Before we dive into the nitty-gritty details, let’s start by discussing the equipment you will need. It’s important to gather the necessary tools and software beforehand to ensure a smooth setup process.
Key Takeaways:
- Stay secure with a connected security camera! Gather the right equipment, choose the best connection method, and configure settings for peace of mind while monitoring your property from your computer.
- Ensure safety with a connected security camera! Install the right software, test the connection, and monitor the live feed on your computer for added protection and surveillance convenience.
Step 1: Gather the necessary equipment
Before you can connect a security camera to your computer, it’s important to have the right equipment on hand. Here are the essential items you will need:
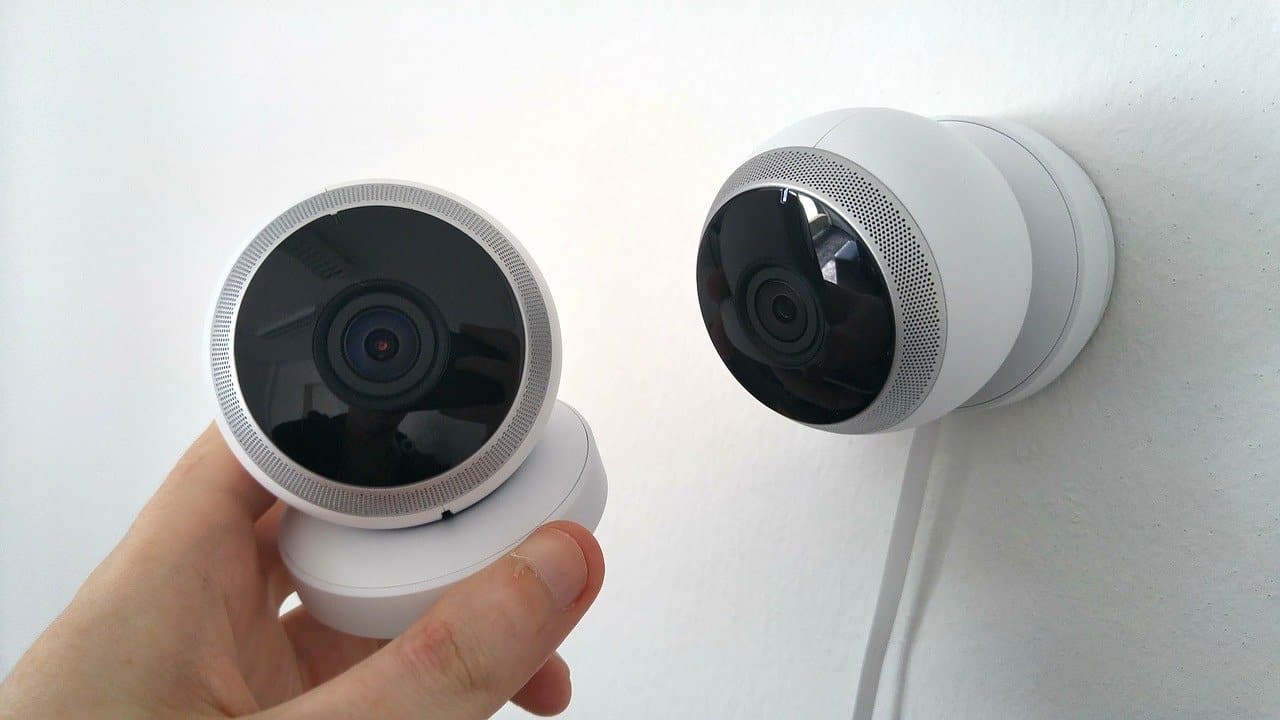
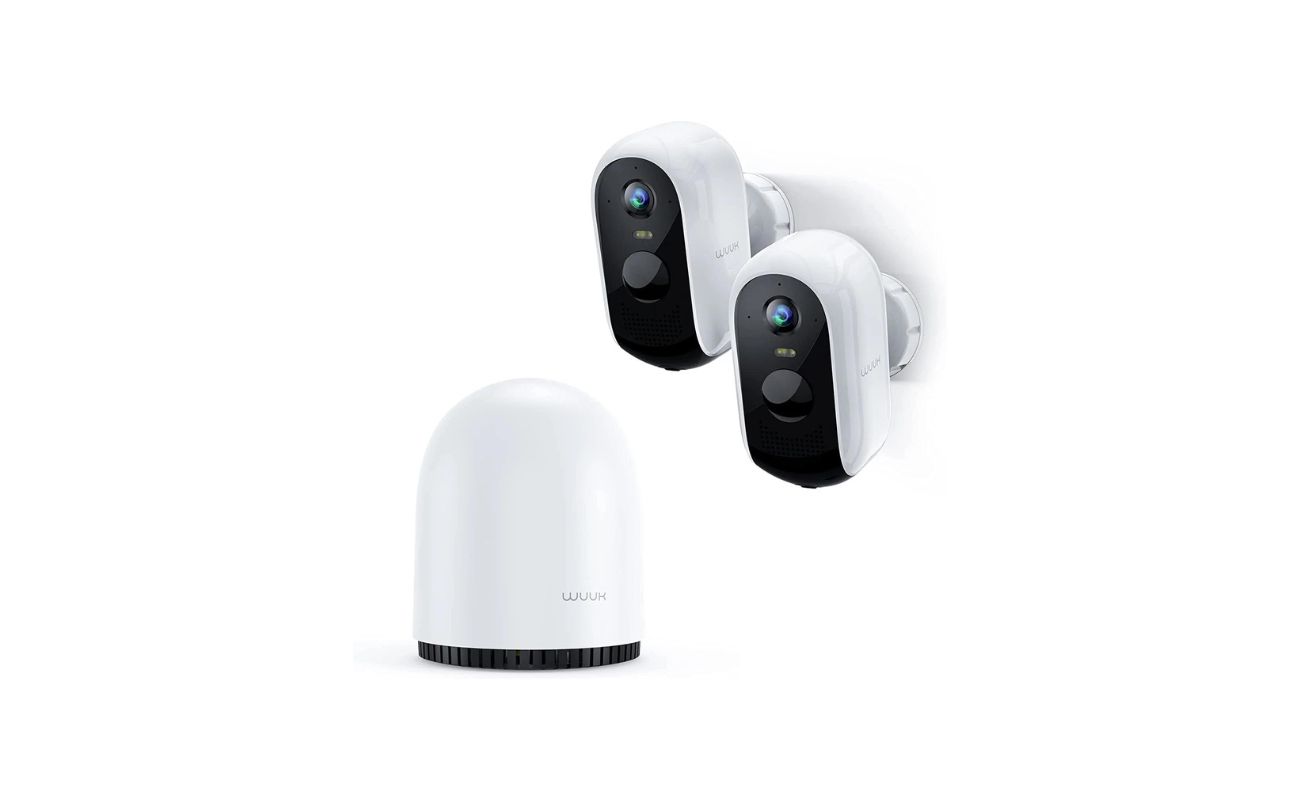
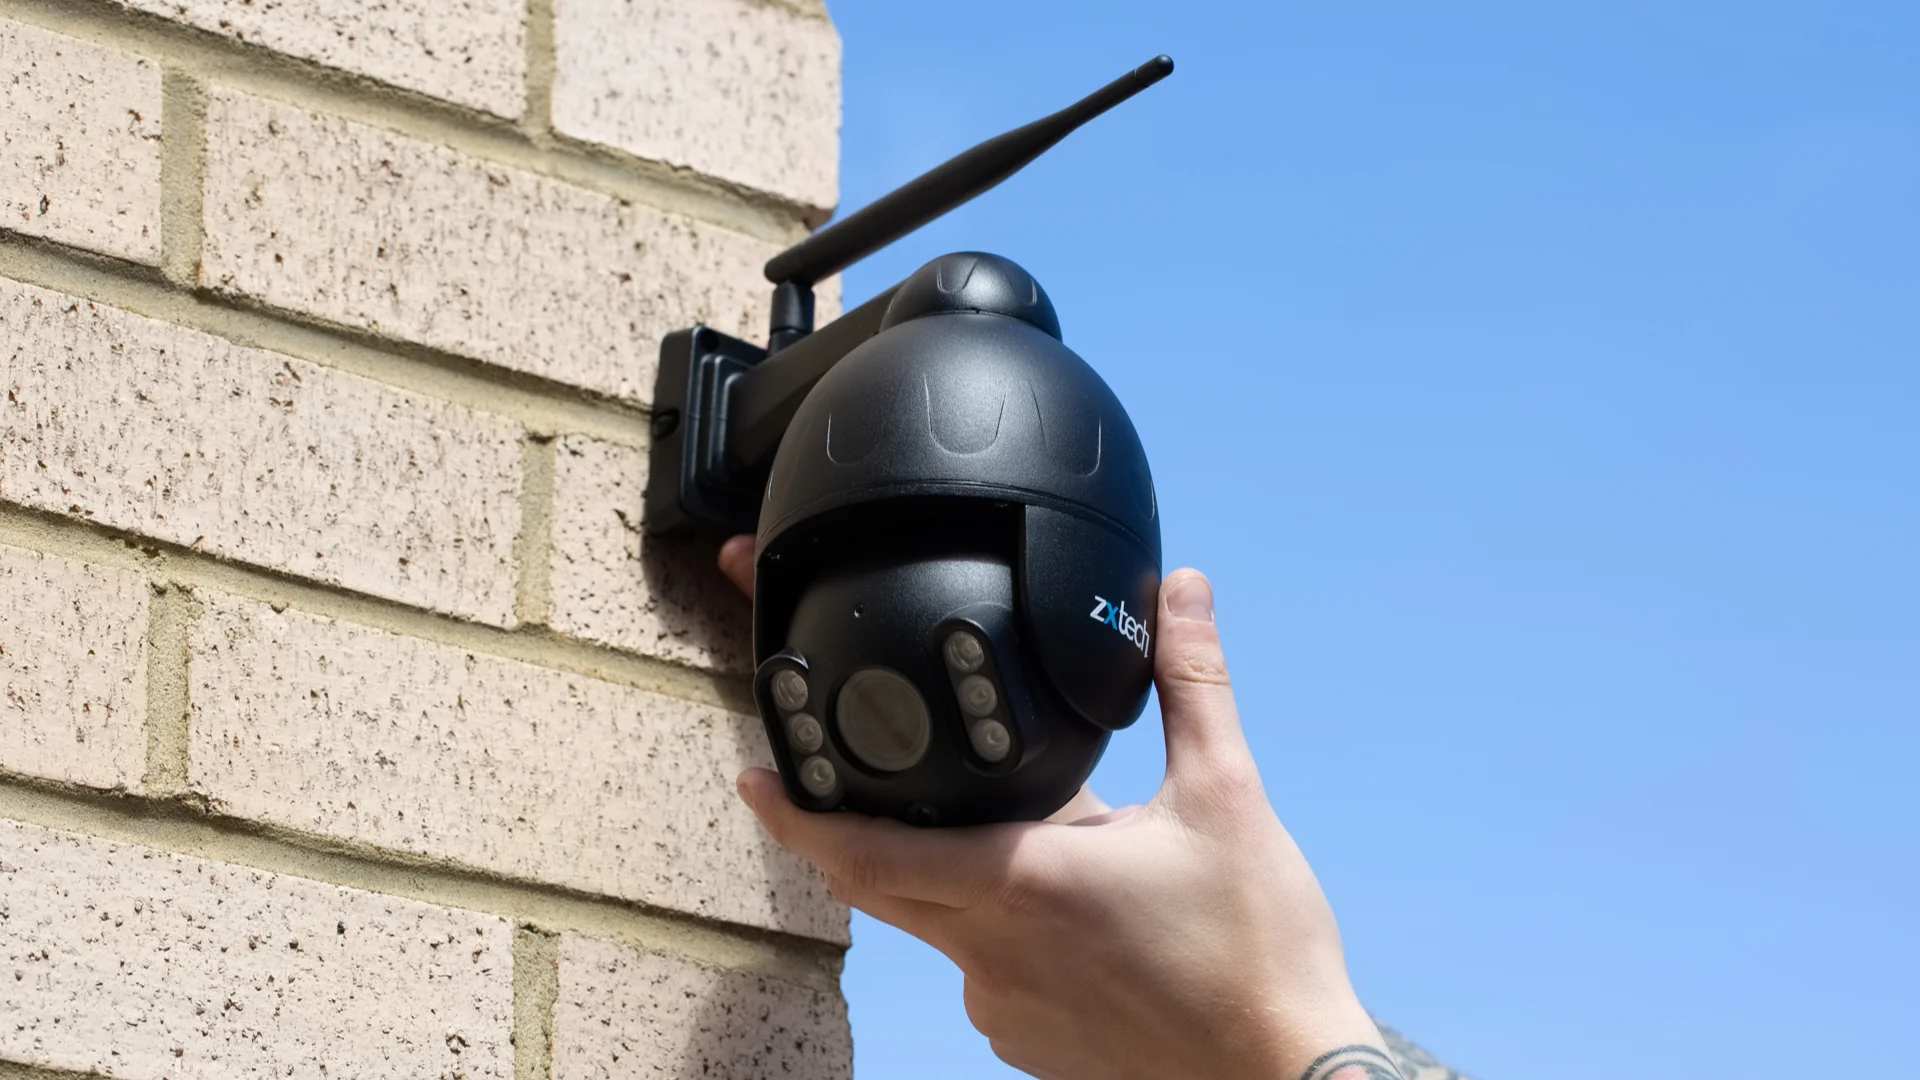
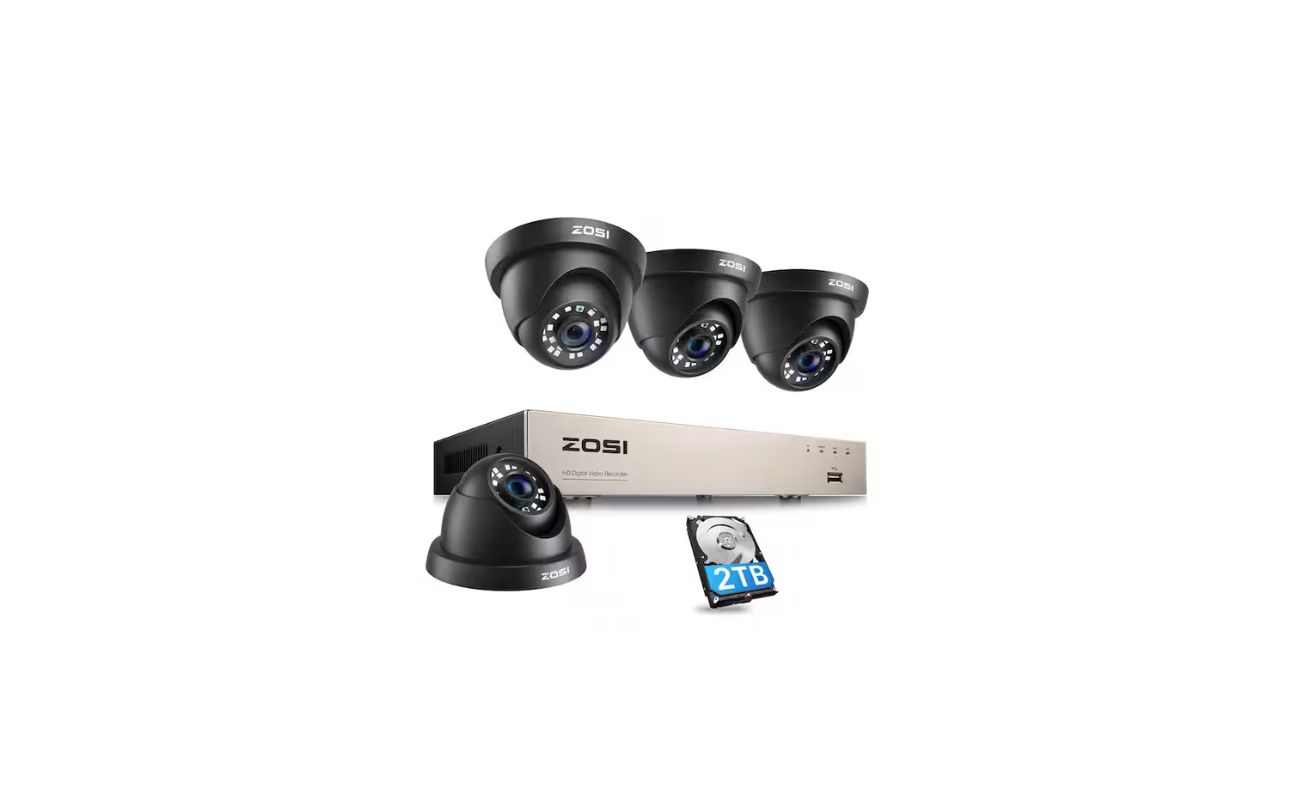
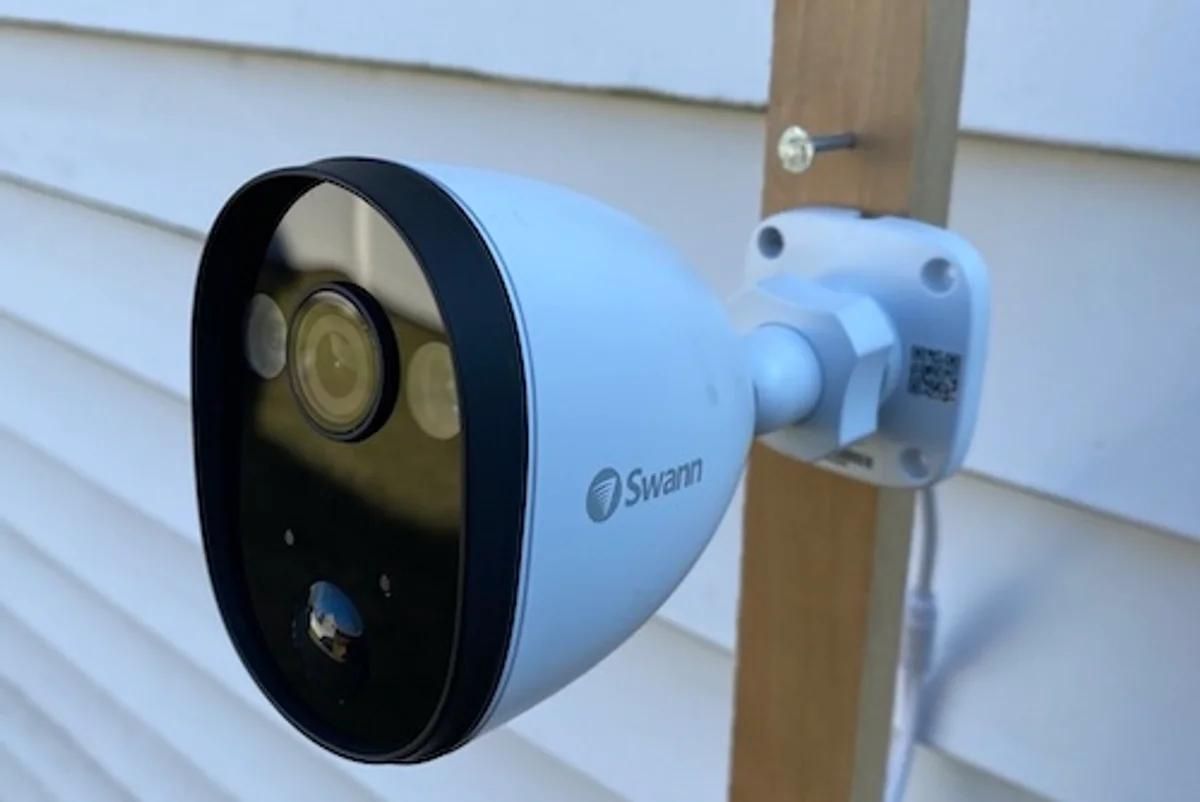
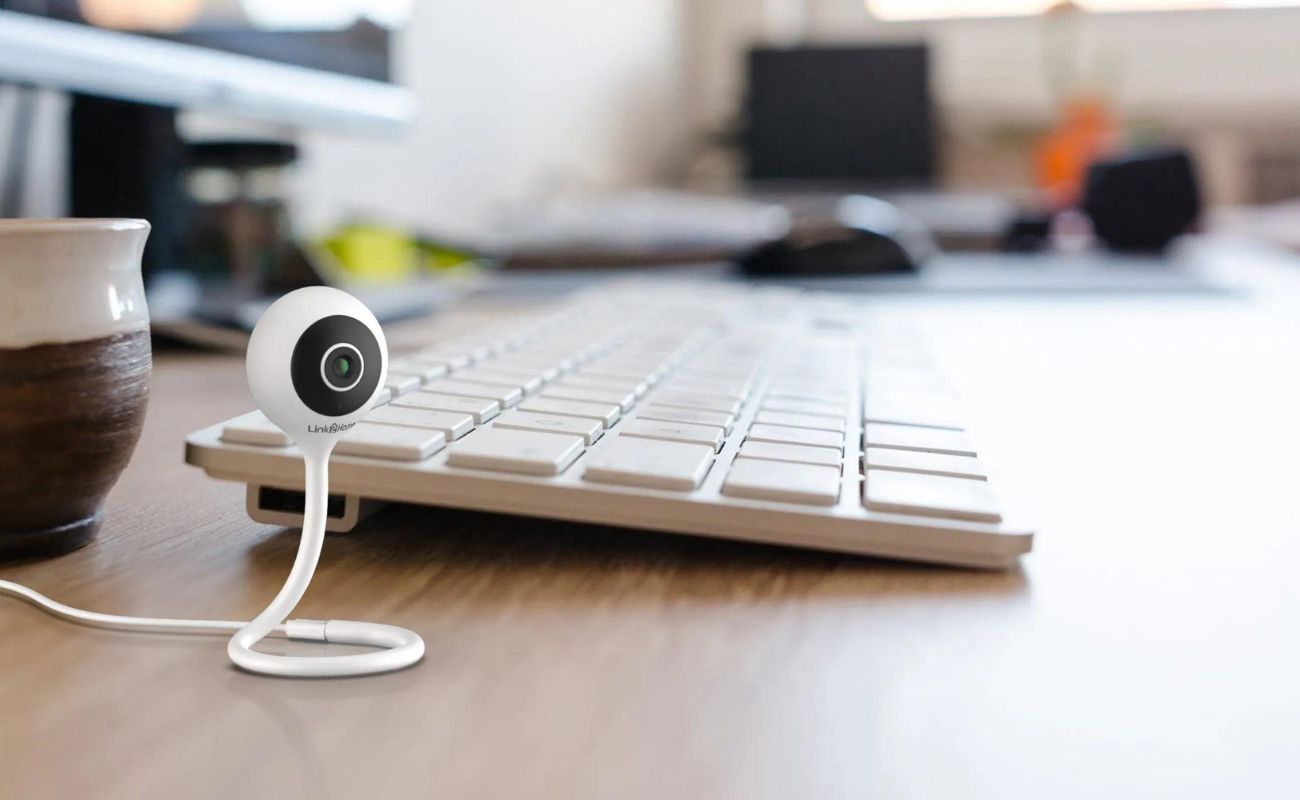
- A security camera: Choose a camera that suits your specific needs. There are various types available, including wired, wireless, and IP cameras. Consider factors such as resolution, night vision capabilities, and weatherproofing if you plan on using the camera outdoors.
- A computer: Ensure that your computer meets the minimum requirements for connecting and running the security camera software. This includes having sufficient processing power, memory, and storage space.
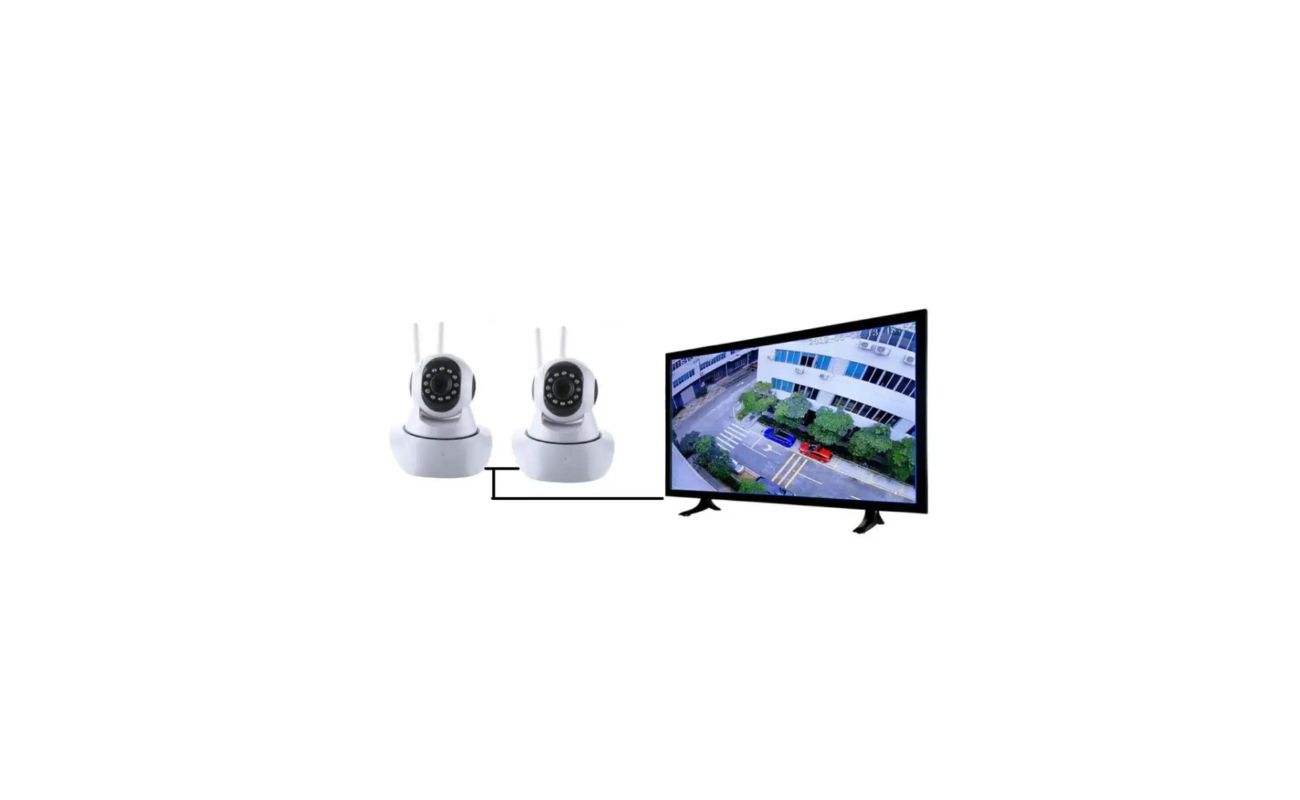
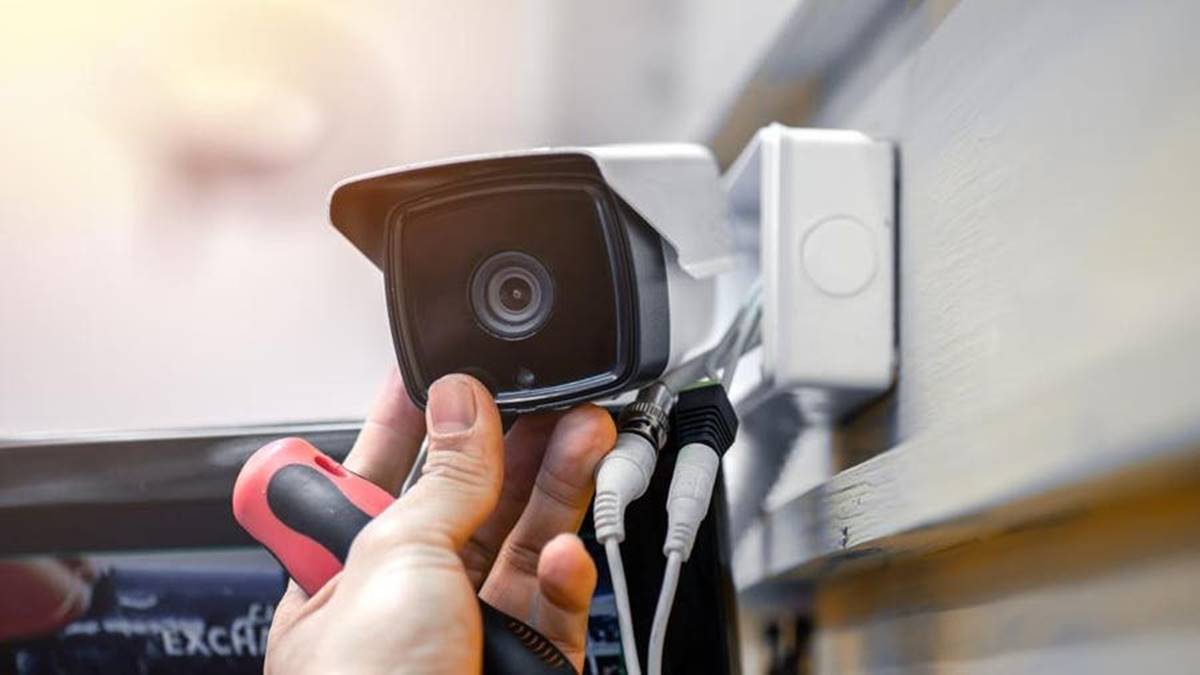
- Network cables: If you’re using a wired security camera, you will need network cables to connect the camera to your computer or router. Make sure to measure the required length of the cable to avoid any limitations in camera placement.
- Power source: Depending on the type of camera you choose, you may need a power source to keep it running. This could be a power outlet for wired cameras or batteries for wireless cameras.
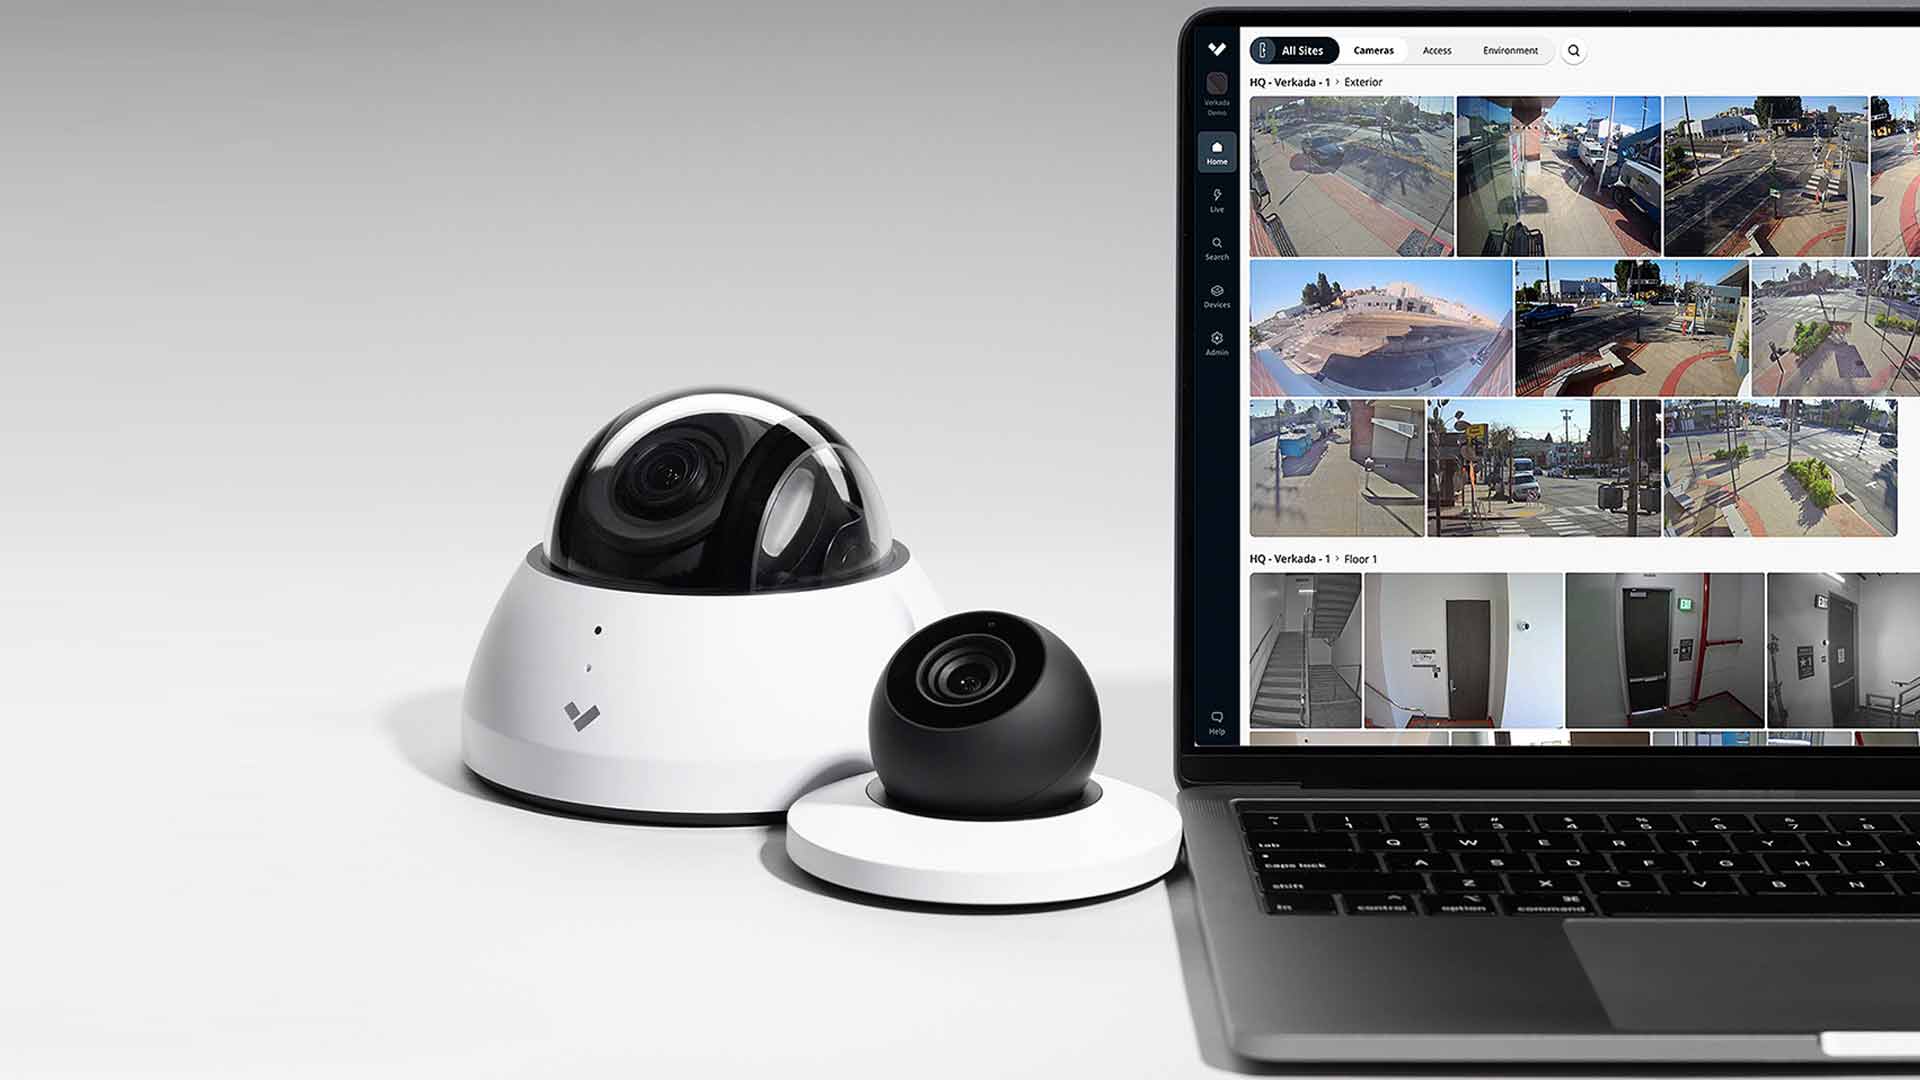
- Security camera software: Look for software that is compatible with your camera model and operating system. This software will allow you to configure the camera, monitor the footage, and manage any additional features it may offer.
Once you have gathered all the necessary equipment, you’re ready to move on to the next step: determining the connection method.
Step 2: Determine the connection method
After gathering the necessary equipment, it’s time to determine the best connection method for your security camera and computer. The connection method will depend on the type of camera you have and the capabilities of your computer. Here are a few common connection methods:
- USB connection: Some security cameras come with USB ports, allowing you to connect them directly to your computer using a USB cable. This method is usually straightforward and doesn’t require any additional equipment.
- Wireless connection: If you have a wireless security camera, you can connect it to your computer via Wi-Fi. This eliminates the need for physical cables and provides more flexibility in camera placement.
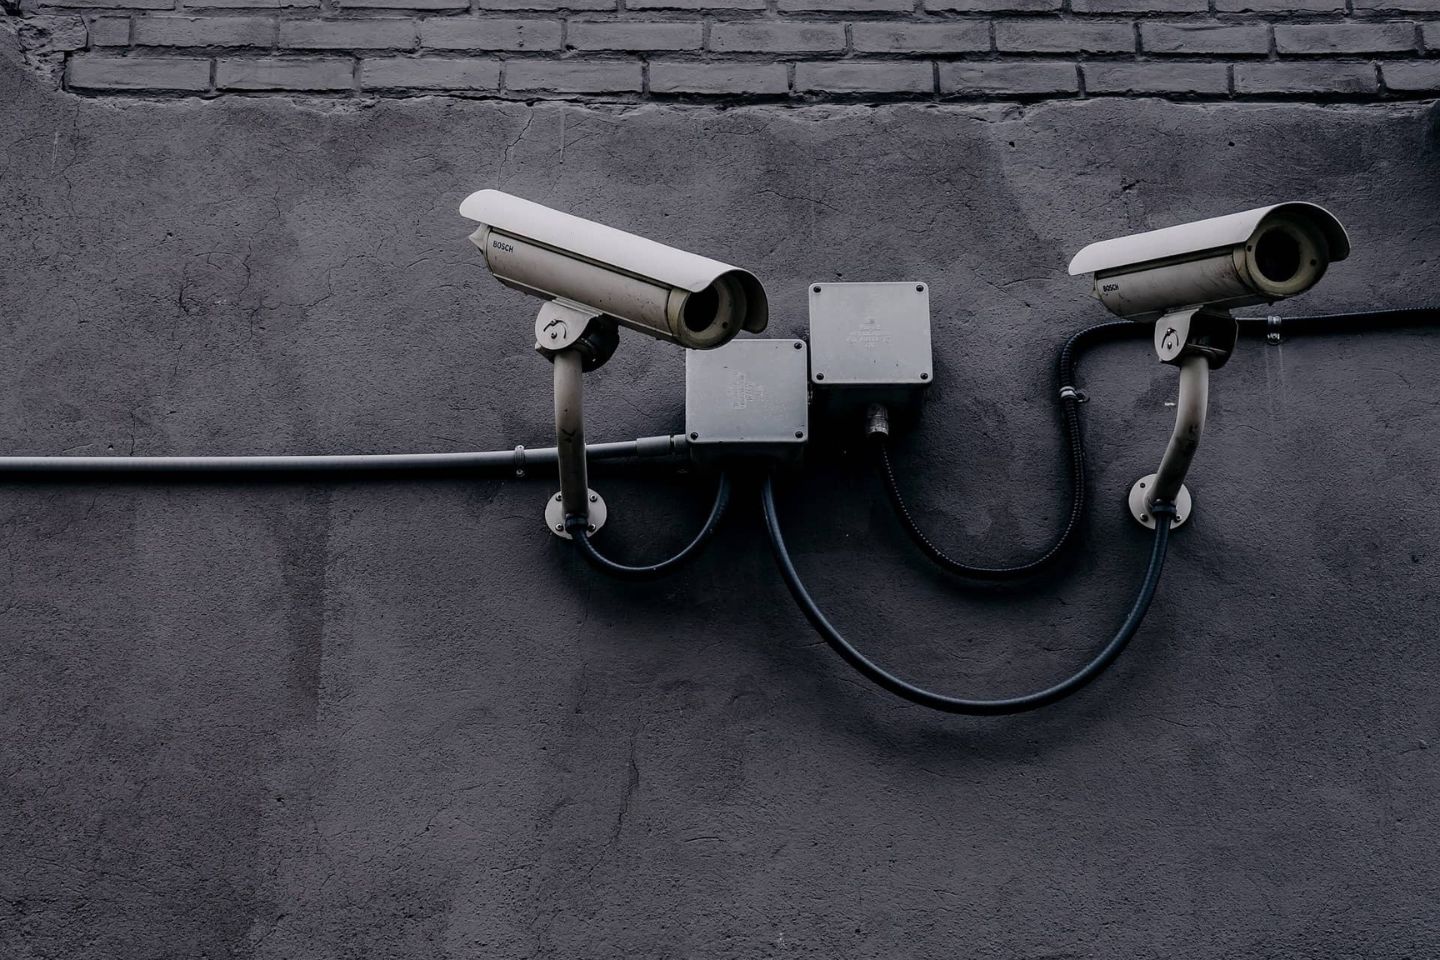
- IP camera connection: IP (Internet Protocol) cameras are connected to a network, which means you can access them remotely from your computer. You will need to connect the camera to your router using an Ethernet cable or connect it wirelessly to your Wi-Fi network.
Consider the capabilities of your computer and the features of your security camera to determine which connection method suits your needs best. Keep in mind that some cameras may have specific requirements or limitations when it comes to the connection method.
Once you have decided on the connection method, you can proceed to the next step: installing the security camera software.
Step 3: Install the security camera software
Installing the proper security camera software is crucial for successfully connecting your camera to your computer. The software allows you to configure the camera settings, access the live footage, and manage any additional features it may offer. Here’s how you can install the software:
- Check the manufacturer’s website: Visit the manufacturer’s website or the camera’s product page to find the appropriate software for your camera model. Look for the software that is compatible with your computer’s operating system.
- Download the software: Once you’ve identified the correct software, download it from the manufacturer’s website. Make sure to save the installation package to a location that is easily accessible.
- Run the installer: Locate the downloaded software file and double-click on it to run the installer. Follow the on-screen instructions to complete the installation process. Depending on the software, you may need to accept the terms and conditions, choose the installation location, and customize the installation settings.
- Launch the software: After the installation is complete, launch the security camera software. You may need to restart your computer for the software to function properly.
- Connect your camera: Once the software is running, connect your security camera to your computer using the appropriate method determined in step 2. The software should detect the camera and prompt you to configure the settings.
By following these steps, you will have successfully installed the security camera software on your computer. With the software up and running, you’re now ready to move on to the next step: connecting the camera to your computer.
Step 4: Connect the camera to the computer
Now that you have the security camera software installed, it’s time to connect the camera to your computer. The connection method will depend on the type of camera you have and the options available. Here are the general steps to connect your camera:
- USB connection: If your camera has a USB port, use a USB cable to connect it directly to an available USB port on your computer. Ensure that the cable is securely inserted into both the camera and the computer.
- Wireless connection: For wireless cameras, follow the manufacturer’s instructions to connect the camera to your Wi-Fi network. This typically involves configuring the camera’s Wi-Fi settings using the software or a mobile app provided by the manufacturer.
- IP camera connection: If you have an IP camera, connect it to the network using an Ethernet cable or via Wi-Fi, following the manufacturer’s instructions. Ensure that the camera is properly connected to the router or access point.
Once the camera is connected to your computer, wait for a few moments to allow the software to detect the camera. If the software doesn’t automatically detect the camera, you may need to manually add the camera by providing its IP address or device identification number.
It’s important to note that the specific steps may vary depending on the camera model and software you are using. Always refer to the user manual or documentation provided by the manufacturer for detailed instructions on how to connect the camera to your computer.
With the camera successfully connected to your computer, you can move on to the next step: configuring the camera settings.
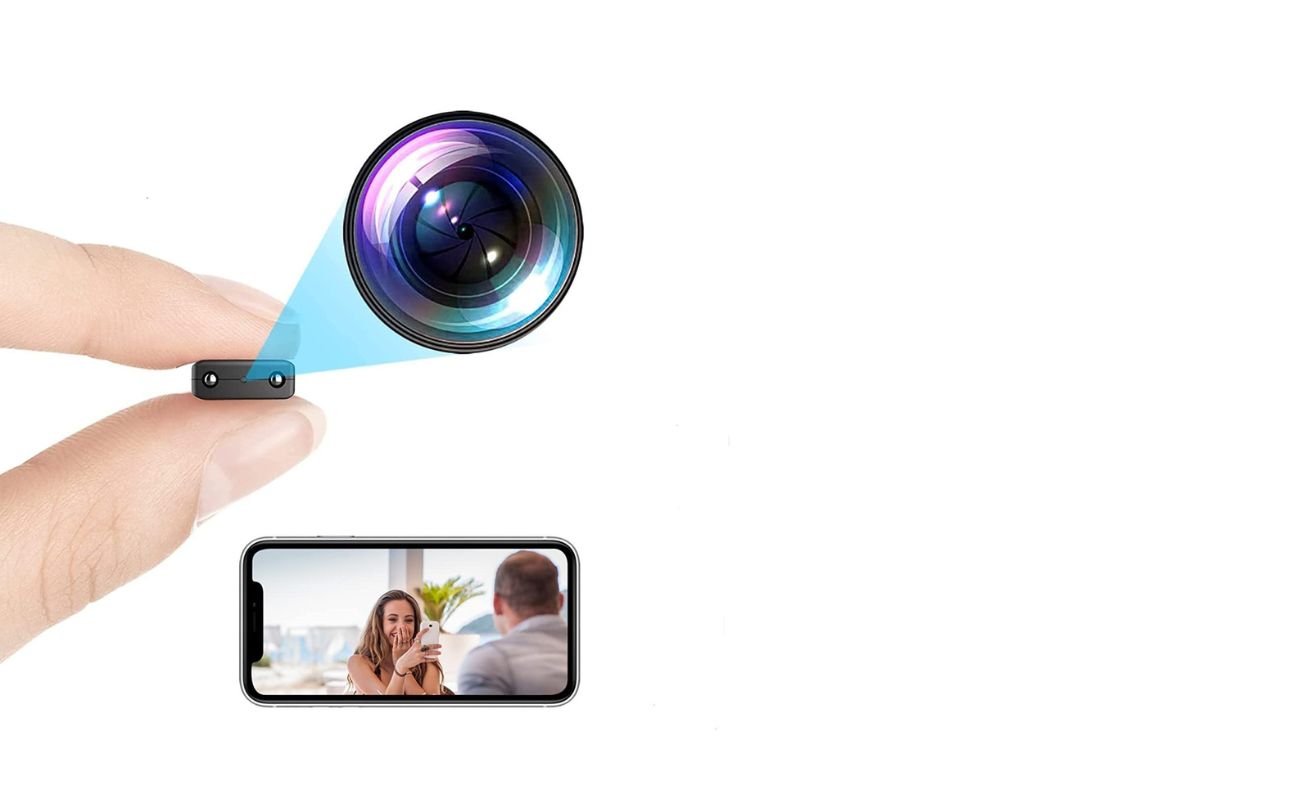
Make sure your security camera is compatible with your computer. Use a USB or network cable to connect the camera to your computer. Install the necessary software and drivers to access and view the camera feed on your computer.
Read more: How To Connect A Security Camera
Step 5: Configure camera settings
Now that your camera is connected to your computer, it’s time to configure the camera settings. This step allows you to customize the camera’s functionality according to your specific needs. Here’s how you can configure the camera settings:
- Launch the security camera software: Open the software that you installed in step 3 and ensure that your camera is detected and connected.
- Access the camera settings: Look for the settings or configuration options within the software interface. This may be located in a dedicated settings tab or menu.
- Adjust the settings: Explore the available settings and options to configure the camera to your desired specifications. Common settings may include resolution, frame rate, motion detection sensitivity, audio settings, and more.
- Set up recording options: Depending on the software and camera capabilities, you may have the option to set up recording preferences. This could include scheduling recordings, choosing a storage location, and selecting the file format.
- Enable remote access: If you want to monitor your camera’s live feed remotely, check if the software offers remote access features. Configure the necessary settings, such as creating an account or enabling cloud storage.
- Save the settings: Once you have adjusted the camera settings to your satisfaction, save the changes within the software.
Remember to refer to the user manual or documentation provided by the camera manufacturer for specific details about configuring your camera’s settings. Each camera model and software may have unique features and options available.
With the camera settings configured, it’s time to move on to the next step: testing the connection to ensure everything is working properly.
Step 6: Test the connection
After setting up and configuring your security camera, it’s important to test the connection to ensure that everything is working as intended. By conducting a thorough test, you can identify any potential issues or adjustments that need to be made. Here’s how you can test the connection:
- Ensure proper camera placement: Make sure that the camera is positioned in the desired location, whether it’s indoors or outdoors, and is capturing the area you want to monitor.
- Verify live feed: Open the security camera software and check if the live feed from the camera is displayed on your computer screen. Verify that the video quality is clear and that there are no lags or delays.
- Test recording functionality: If you have enabled recording, perform a test recording to ensure that it’s working correctly. Check if the recorded video is being saved to the specified location and that it can be easily accessed and played back.
- Trigger motion detection: If your camera has motion detection capabilities, move within the camera’s field of view and ensure that it detects the motion and triggers any configured alerts or notifications.
- Check remote access: If you have enabled remote access, try accessing the camera’s live feed from another device or computer outside of your local network. Ensure that the connection is secure and that you can access the footage remotely.
- Adjust settings if necessary: If any issues or inconsistencies arise during the testing phase, go back to the camera settings and make the necessary adjustments. This could involve tweaking the resolution, frame rate, or motion detection settings.
By thoroughly testing the connection, you can address any potential issues before relying on the security camera for day-to-day surveillance. It’s always a good idea to periodically check the camera’s functionality to ensure that it continues to operate properly.
With the connection successfully tested, you can now move on to the final step: monitoring the security camera on your computer.
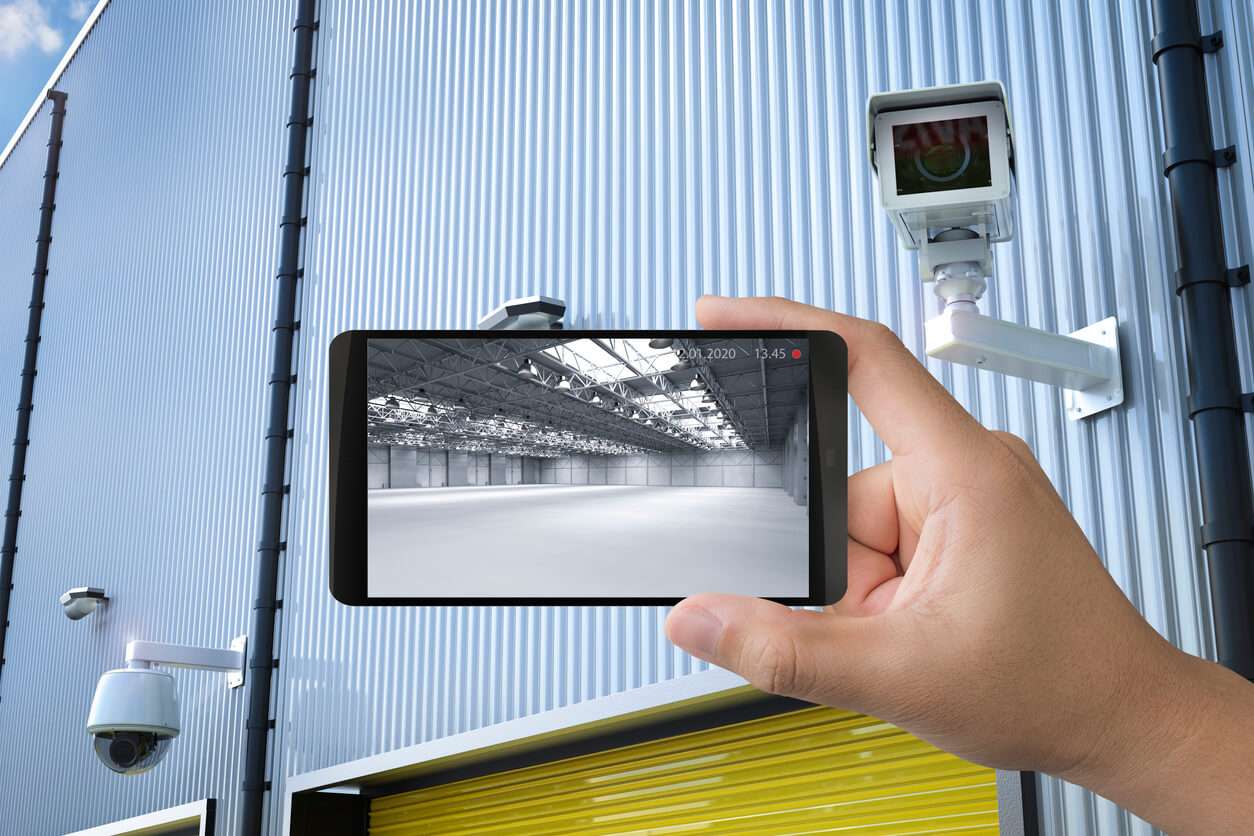
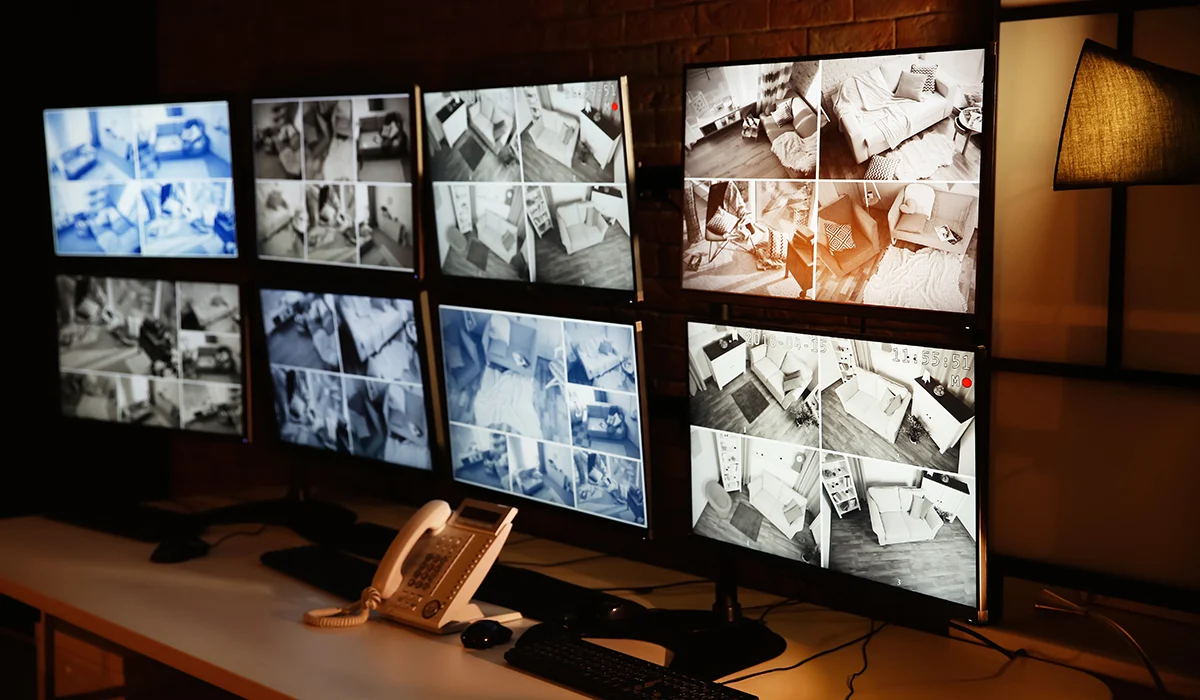
Step 7: Monitor the security camera on your computer
Now that your security camera is successfully connected to your computer and everything is functioning correctly, it’s time to start monitoring the camera feed. Here’s how you can effectively monitor your security camera on your computer:
- Launch the security camera software: Open the software that you installed in step 3 and ensure that your camera is connected and detected.
- Access the camera feed: Look for the live feed option within the software, which will display the real-time video from your security camera. This may be in the form of a window or a dedicated tab.
- Arrange the camera feed window: Resize and position the camera feed window on your computer screen to your preference. You may choose to make it full screen or place it in a corner for constant monitoring while working on other tasks.
- Enable additional features: Depending on the camera and software capabilities, you may have access to additional features such as audio monitoring, pan-tilt-zoom controls, or the ability to take snapshots or record video clips.
- Set up alerts and notifications: Configure the software to send you alerts or notifications when specific events occur, such as motion detection or tampering. This will help you stay informed and take prompt action if needed.
- Periodic check-ups: Regularly check the camera feed to ensure that it is functioning properly. Monitor the video quality, ensure that the camera is capturing the desired area, and address any issues that may arise.
- Review recorded footage: If you are recording the camera feed, make sure to periodically review the recorded footage to identify any incidents or events that may have occurred. This can serve as evidence or documentation if needed.
Monitoring your security camera on your computer provides you with direct access to the live feed and allows you to have a constant eye on your property or surroundings. Ensure that your computer remains powered on and the software stays running for uninterrupted monitoring.
Congratulations! With these steps, you have successfully connected and set up your security camera to your computer. Enjoy the peace of mind and added security that comes with monitoring your property right from your computer.
Remember to regularly update and maintain your security camera software and firmware to ensure optimal performance and to stay up to date with any security patches or improvements.
Now that you are well-equipped with the knowledge of connecting a security camera to your computer, you can ensure the safety and surveillance of your home or property with ease.
Conclusion
Securing your home and maintaining a watchful eye on your surroundings is essential in today’s world. By connecting a security camera to your computer, you can have peace of mind knowing that you have an extra layer of protection in place. Throughout this article, we have outlined the step-by-step process of how to connect a security camera to your computer.
We started by gathering the necessary equipment, including the security camera itself, a computer, network cables (if applicable), a power source, and the required security camera software. We then discussed the different connection methods available, such as USB, wireless, and IP camera connections.
Next, we walked through the installation of the security camera software, which is crucial for configuring the camera settings and accessing the live feed. After installing the software, we covered how to connect the camera to your computer using the appropriate method determined earlier.
Once the camera was connected, we delved into the process of configuring the camera settings to suit your specific needs. This involved adjusting resolution, frame rate, motion detection sensitivity, and setting up recording options. We also touched on enabling remote access for monitoring the camera feed from outside your local network.
To ensure everything was working as intended, we emphasized the importance of testing the connection. During the testing phase, we suggested verifying the live feed, testing recording functionality, triggering motion detection, and checking remote access capabilities.
Finally, we discussed monitoring the security camera on your computer, including launching the security camera software, arranging the camera feed window, enabling additional features, and setting up alerts and notifications. We also recommended periodic check-ups and reviewing recorded footage to stay informed and address any issues that may arise.
Connecting a security camera to your computer provides convenience, accessibility, and peace of mind when it comes to safeguarding your home or property. By following the steps outlined in this article, you can ensure a smooth and successful setup process.
Remember, it’s essential to regularly update and maintain your security camera software to ensure optimal performance and stay ahead of any potential vulnerabilities. With your security camera connected to your computer, you can now enjoy enhanced security and surveillance capabilities right at your fingertips.
Frequently Asked Questions about How To Connect A Security Camera To Computer
Was this page helpful?
At Storables.com, we guarantee accurate and reliable information. Our content, validated by Expert Board Contributors, is crafted following stringent Editorial Policies. We're committed to providing you with well-researched, expert-backed insights for all your informational needs.