Home>Home Security and Surveillance>Why Is My Home Outdoor Camera Fuzzy
Home Security and Surveillance
Why Is My Home Outdoor Camera Fuzzy
Modified: September 1, 2024
Find out why your home outdoor camera is fuzzy and how to improve its clarity. Learn about home security and surveillance solutions to enhance your peace of mind.
(Many of the links in this article redirect to a specific reviewed product. Your purchase of these products through affiliate links helps to generate commission for Storables.com, at no extra cost. Learn more)
Introduction
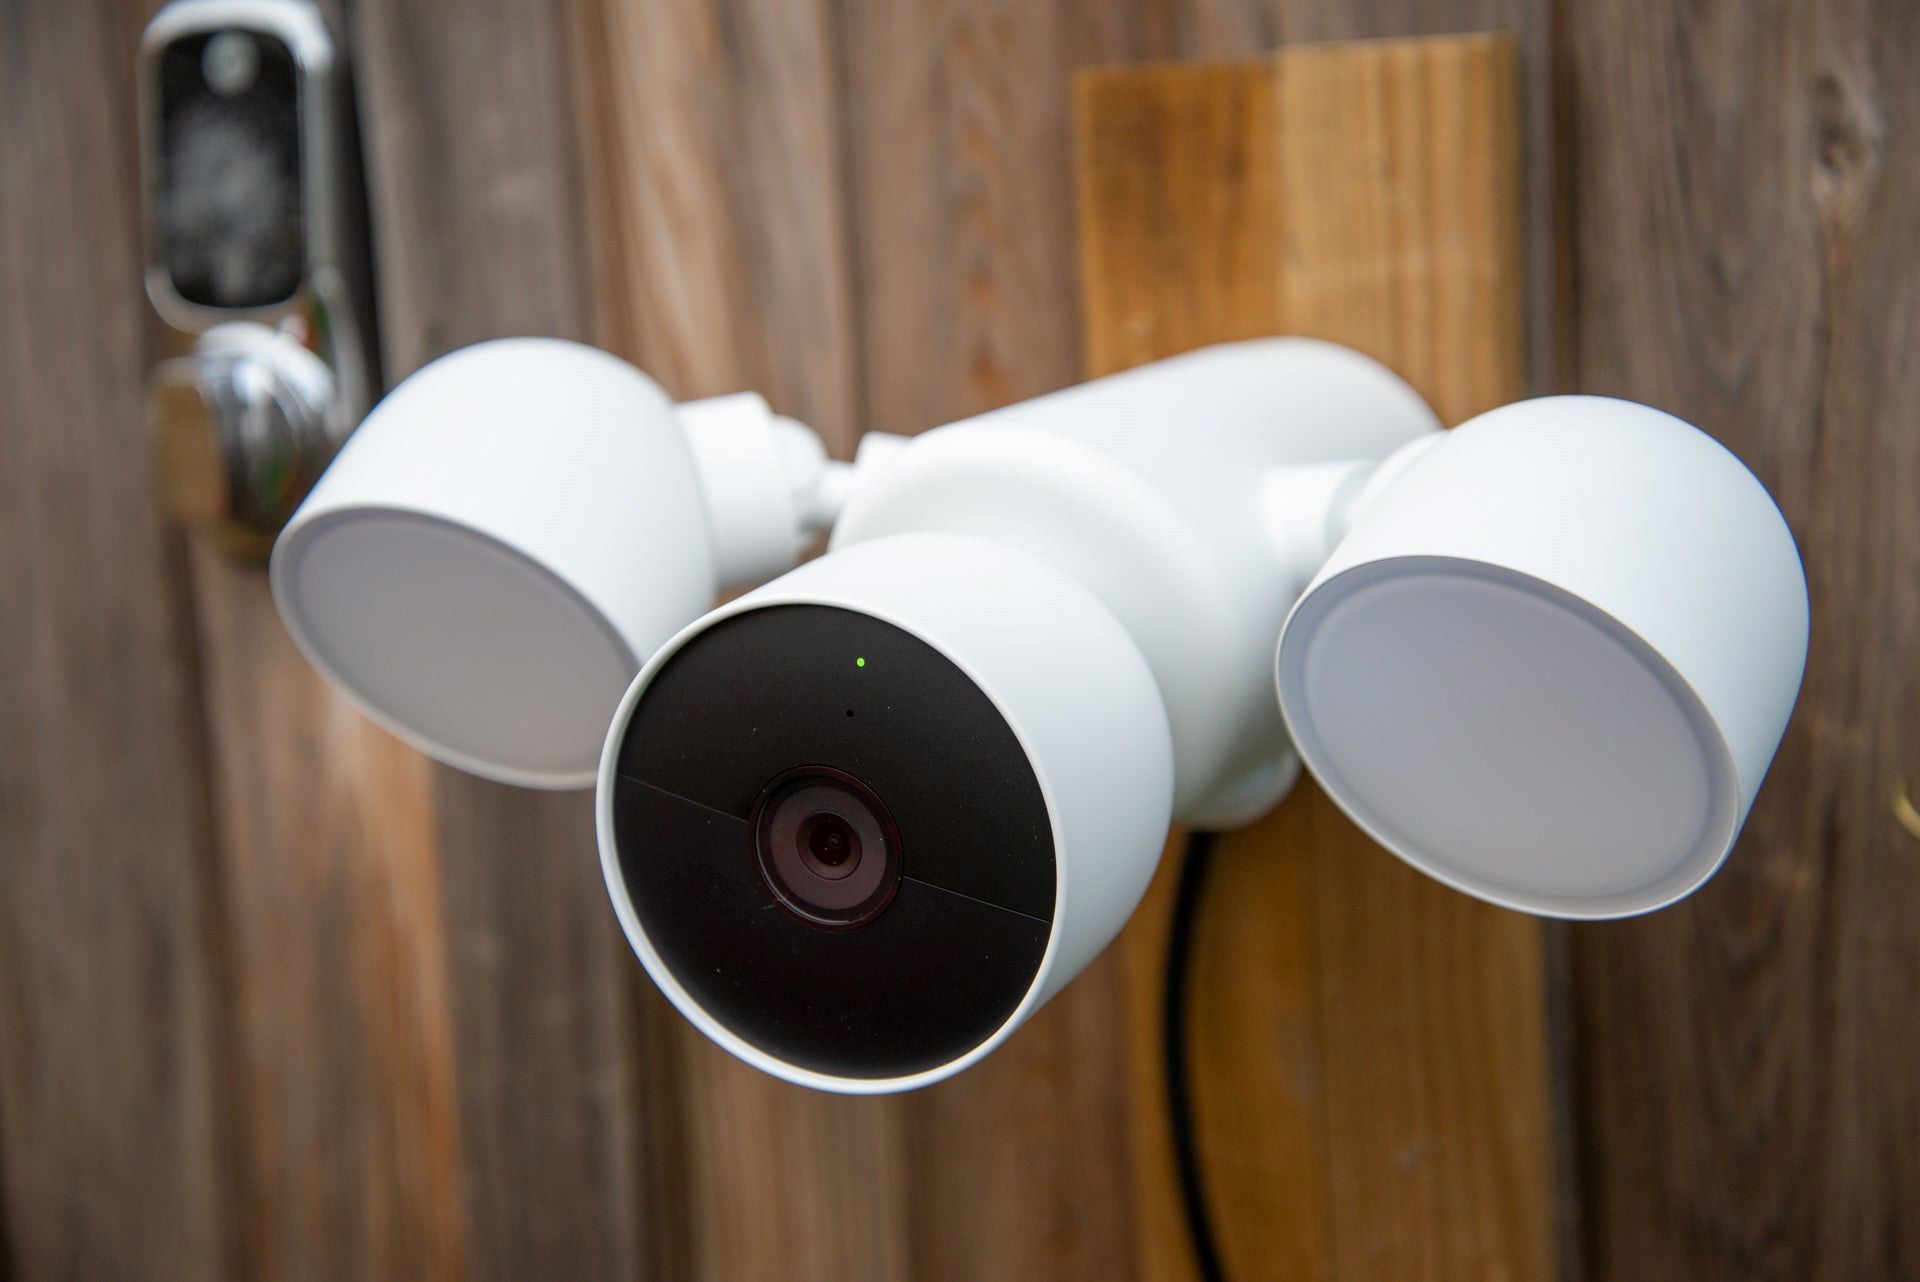
With the rise of smart home technology, outdoor cameras have become an essential part of home security and surveillance systems. These cameras provide homeowners with a sense of peace and protection, allowing them to monitor their property from anywhere at any time.
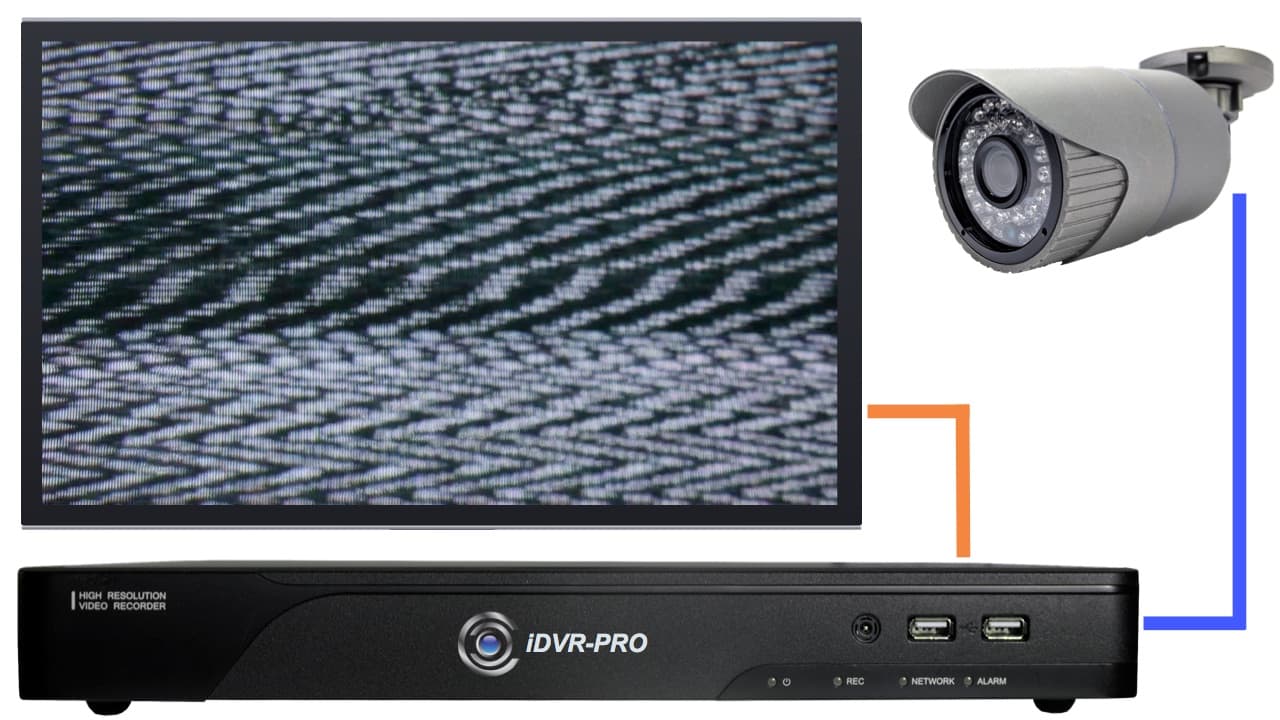
However, one common issue that many homeowners face with their outdoor cameras is fuzzy or unclear video. This can be frustrating, as it hinders the ability to accurately identify potential threats or incidents. Understanding the factors that can cause fuzzy video and implementing troubleshooting tips to improve image clarity are crucial for optimizing the performance of your outdoor camera.
In this article, we will delve into the basics of outdoor cameras, explore the factors that can cause fuzzy video, and provide effective troubleshooting tips to enhance the clarity of your camera footage. By the end, you will have a clear understanding of how to maximize the performance of your outdoor camera and ensure the safety of your home and loved ones.
Key Takeaways:
- Troubleshooting Tips for Clearer Outdoor Camera Footage
Adjust camera settings, clear obstructions, choose the right internet connection, and upgrade camera firmware to improve image clarity and enhance home security. - Understanding and Addressing Fuzzy Outdoor Camera Video
Factors like poor resolution, environmental disturbances, incorrect positioning, and connection issues can cause fuzzy video. Troubleshooting these factors can lead to clearer outdoor camera footage for better surveillance.
Read more: Why Is My Wyze Outdoor Camera Offline
Understanding the Basics of Outdoor Cameras
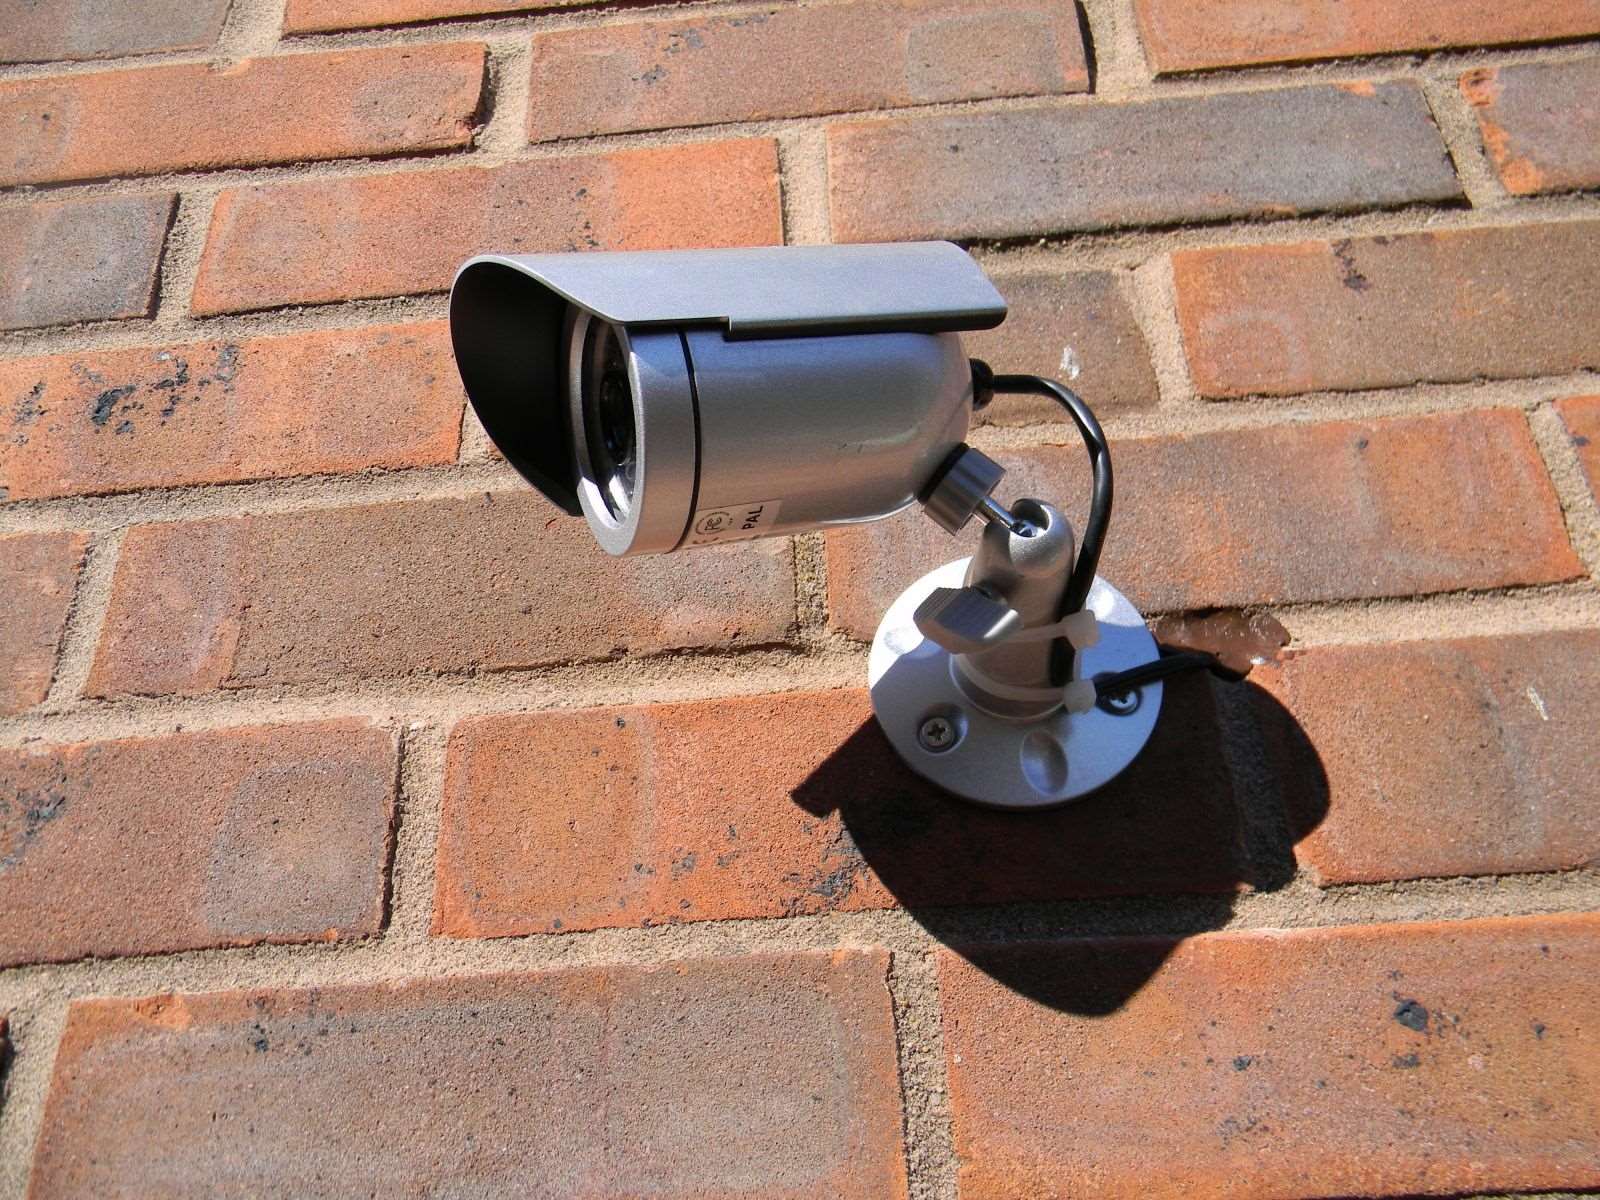
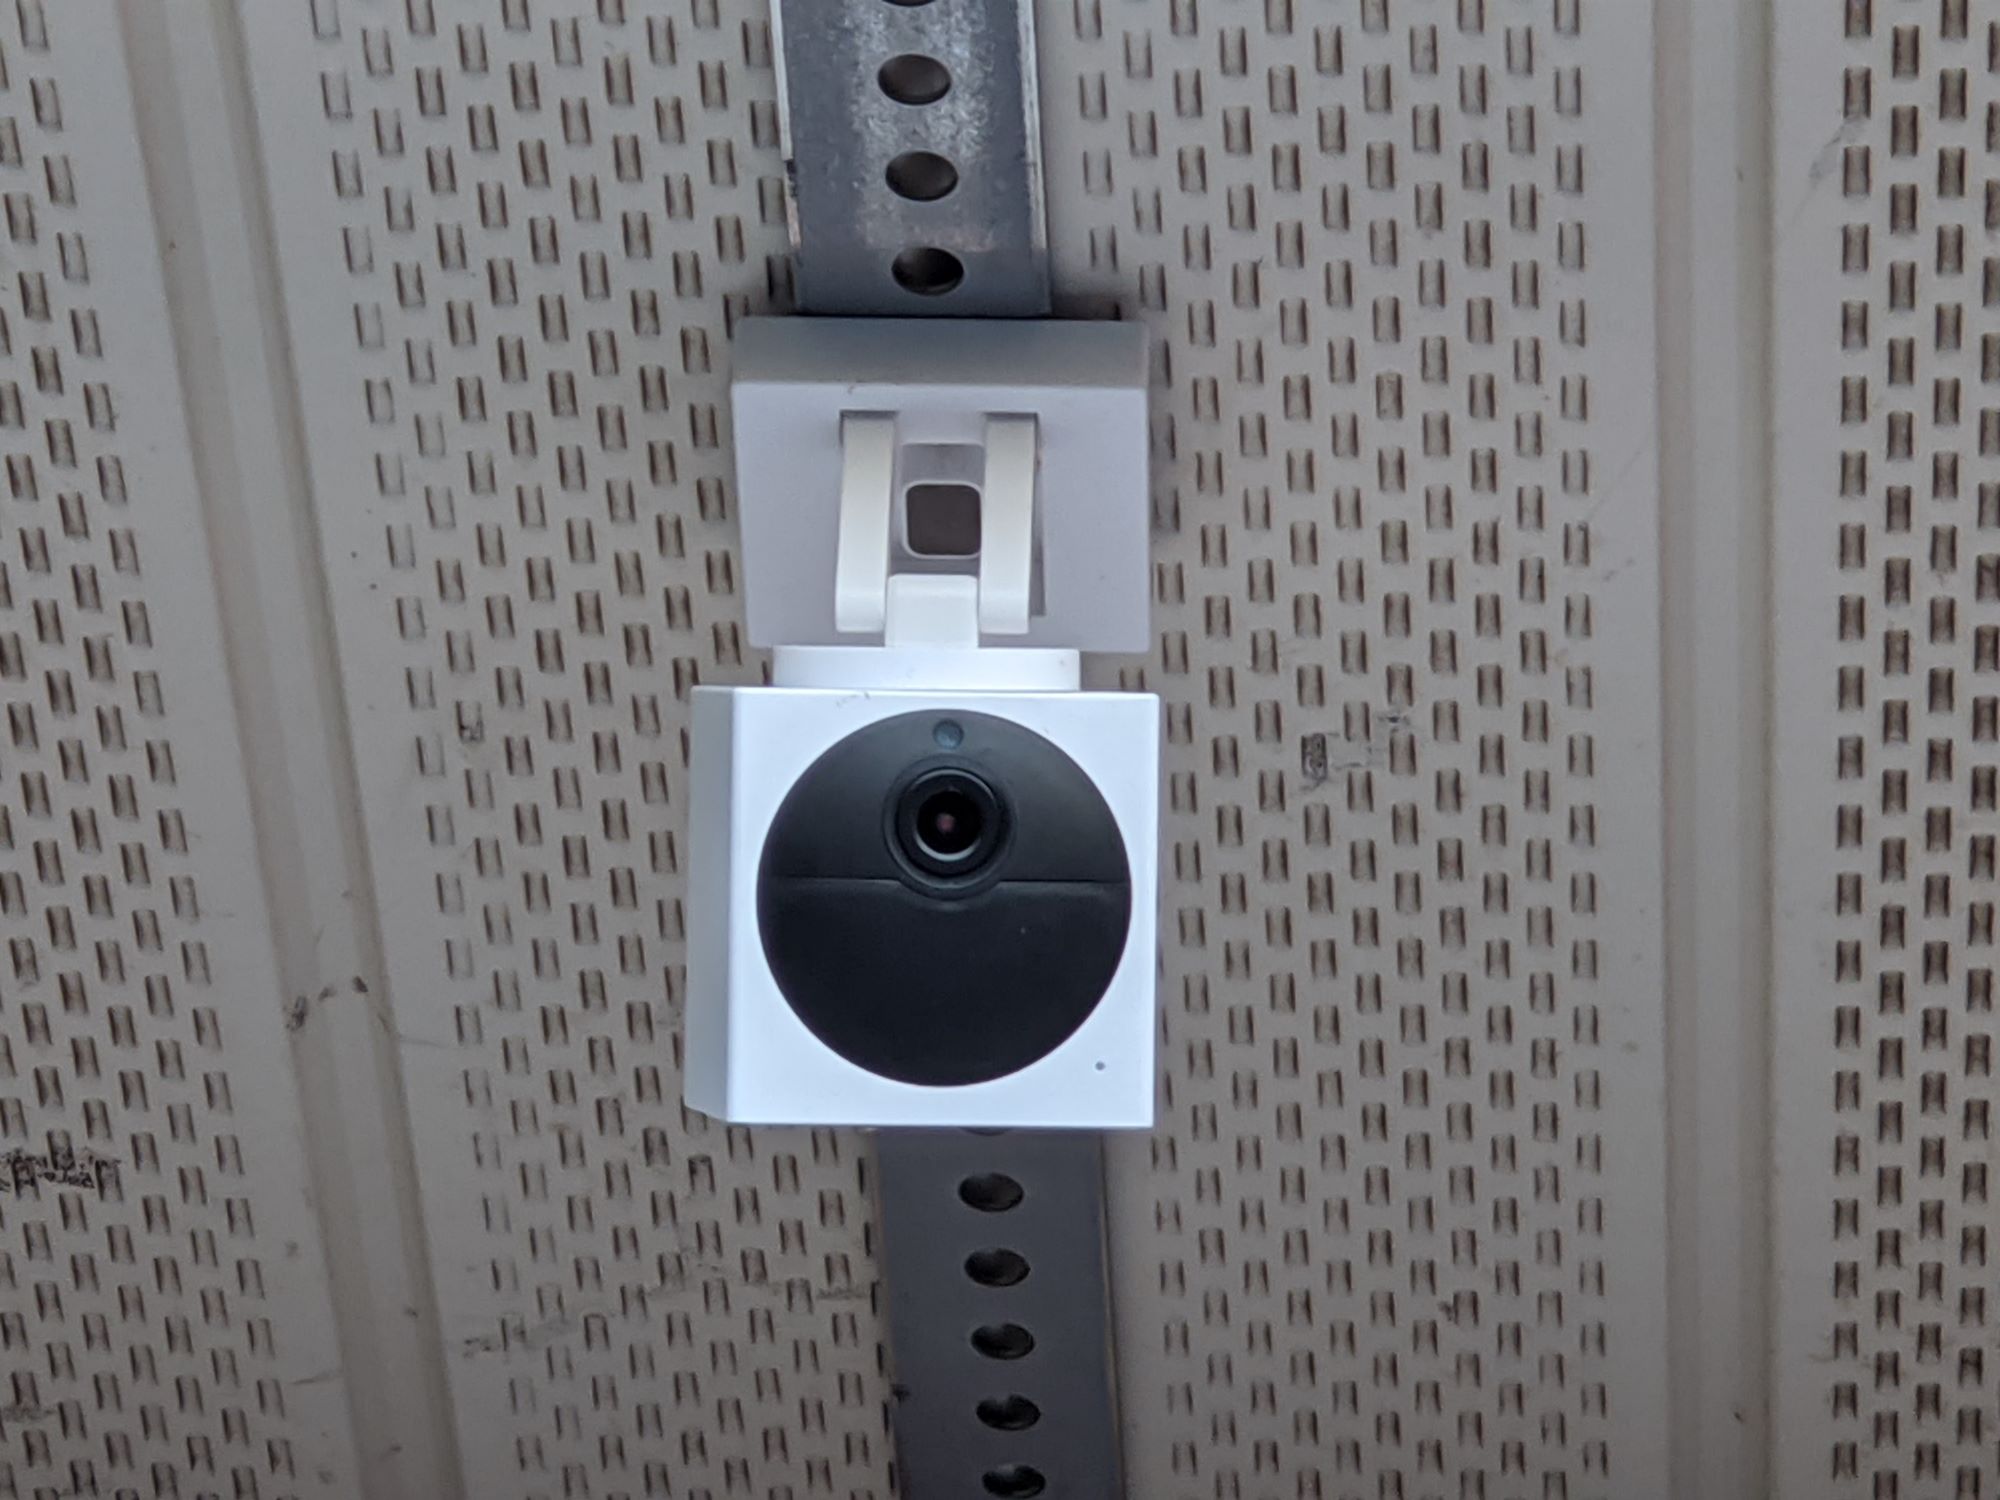
Before we dive into the causes of fuzzy video, let’s first take a closer look at the basics of outdoor cameras. These cameras are specifically designed to withstand various weather conditions, making them suitable for outdoor use.
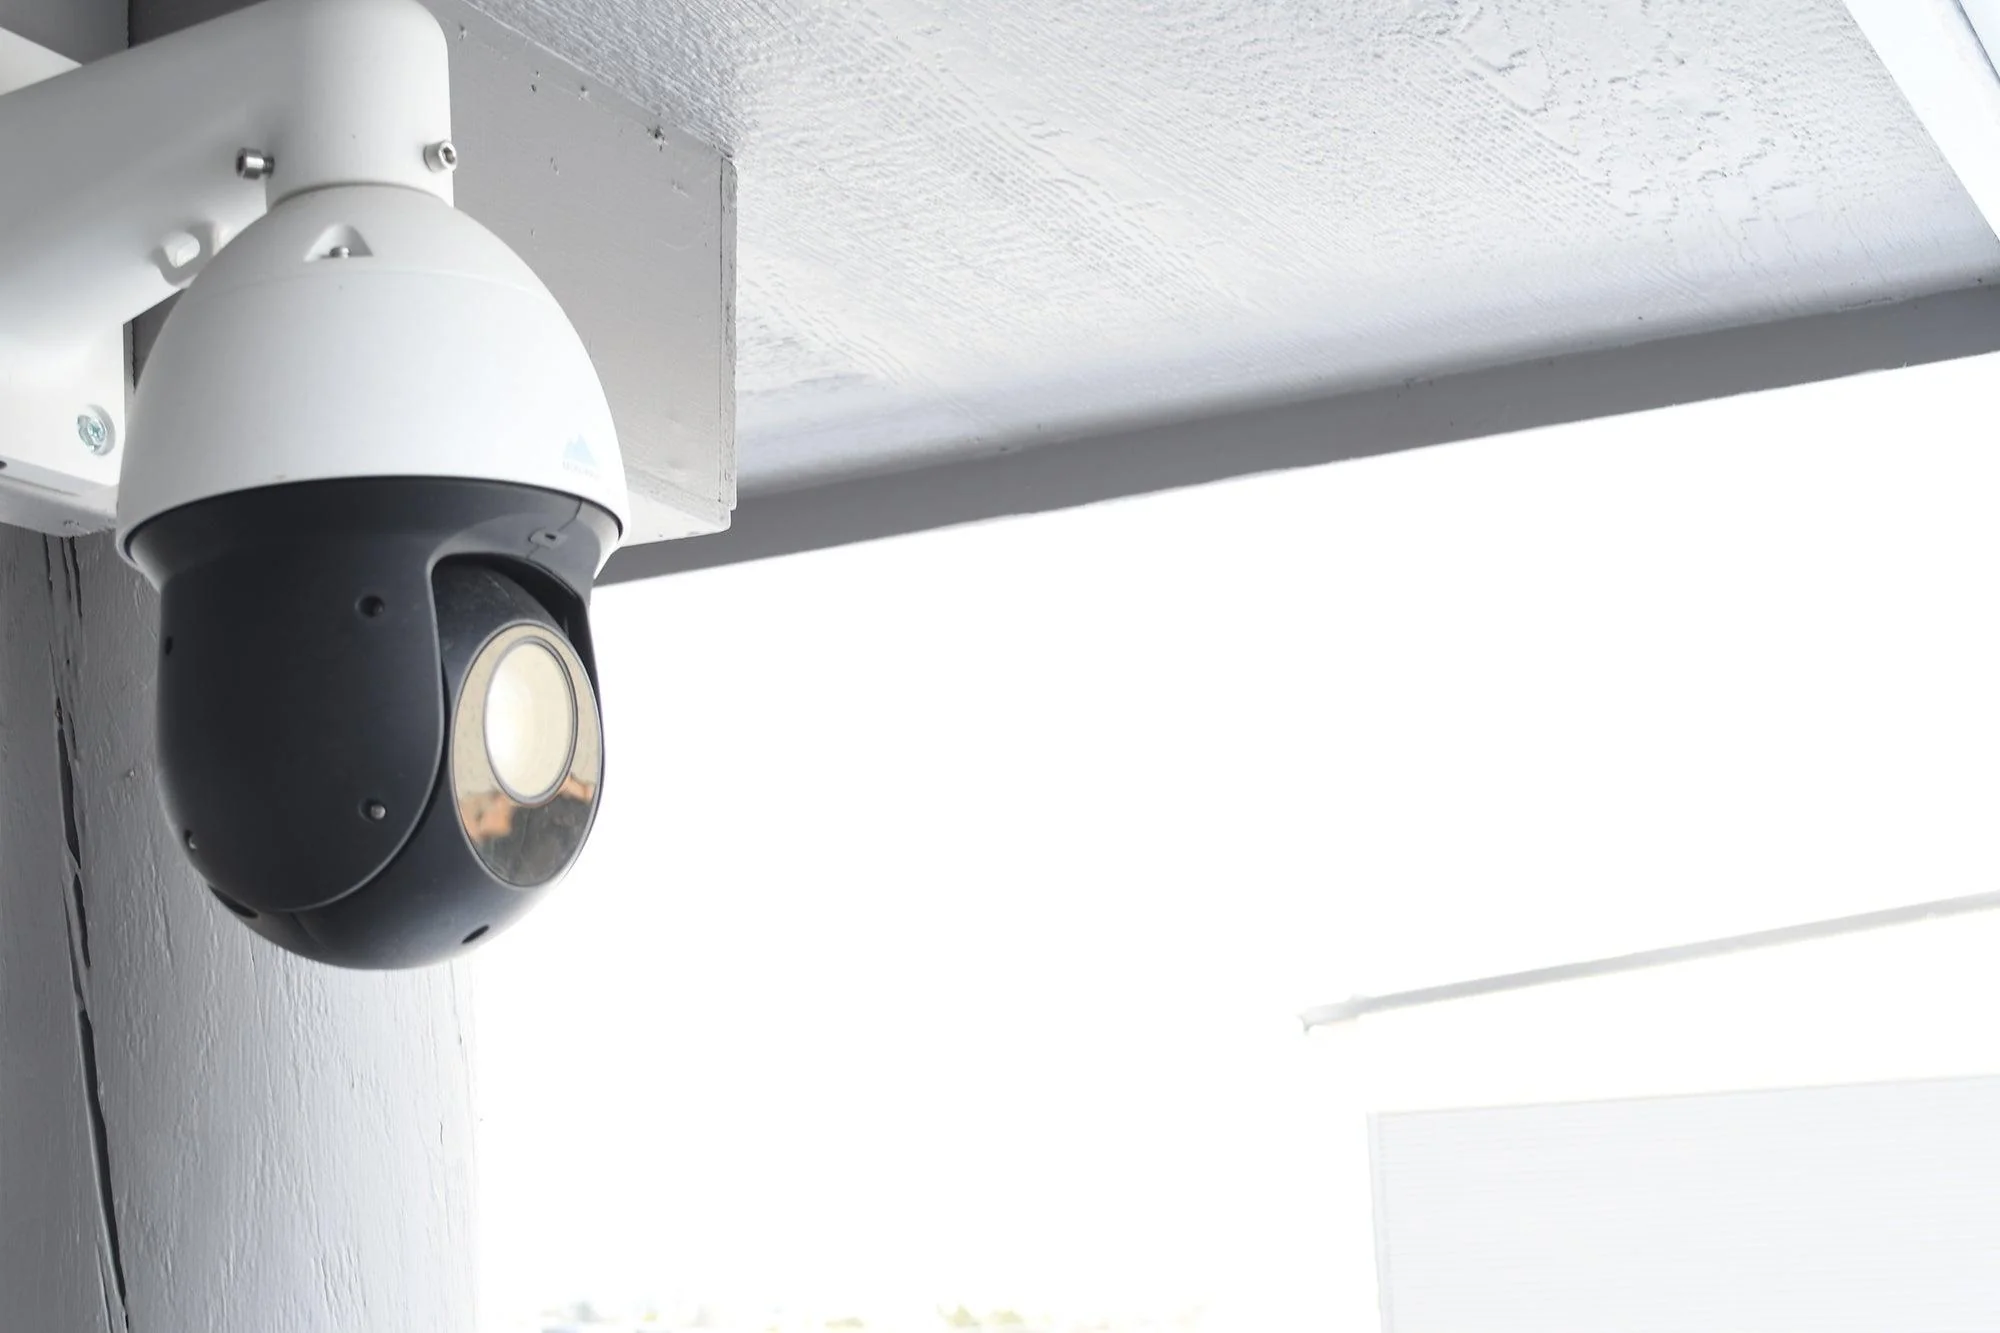
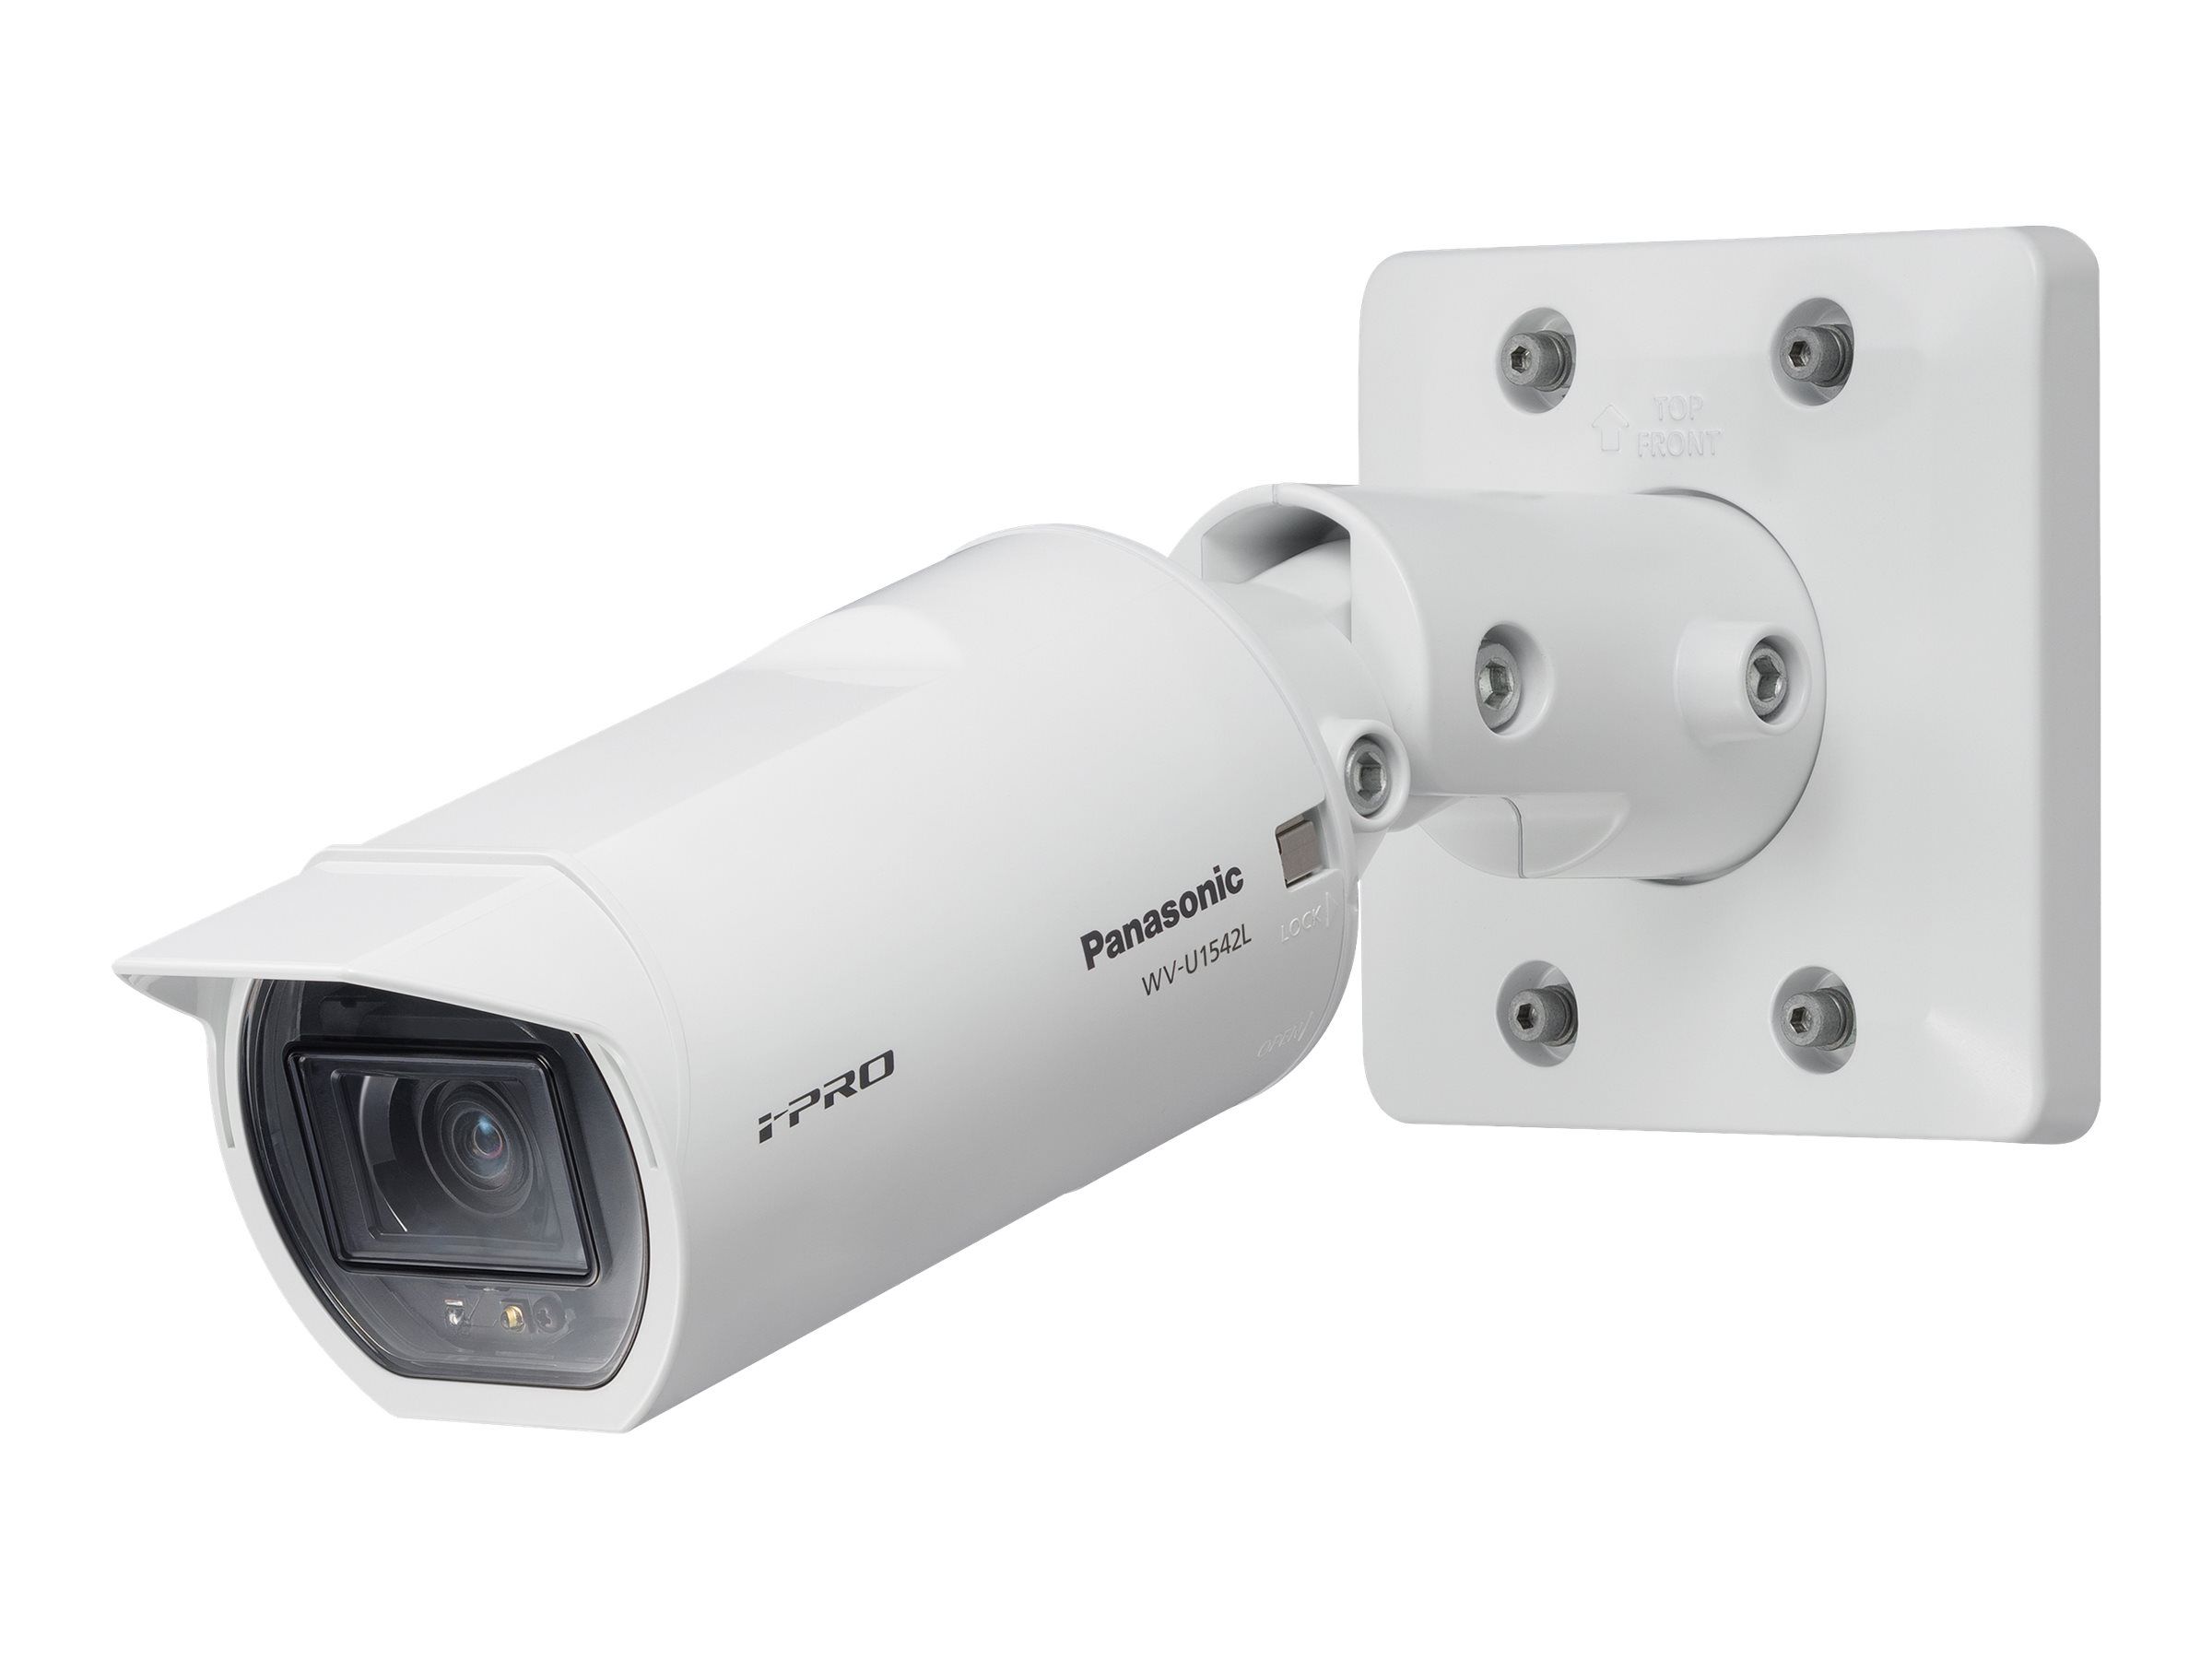
Outdoor cameras typically come in two main types: wired and wireless. Wired cameras require a physical connection to a power source and a central recording unit, while wireless cameras operate via Wi-Fi and transmit data to a recording unit or a cloud storage service.
When it comes to image quality, outdoor cameras usually offer high-definition (HD) or ultra-high-definition (UHD) resolution options. HD cameras provide clear and detailed video, while UHD cameras offer even greater clarity with higher pixel counts.
Another crucial aspect of outdoor cameras is their field of view (FOV). The FOV determines the area the camera can cover and is typically measured in degrees. Cameras with a wider FOV can capture more of the surroundings, reducing blind spots and increasing overall coverage.
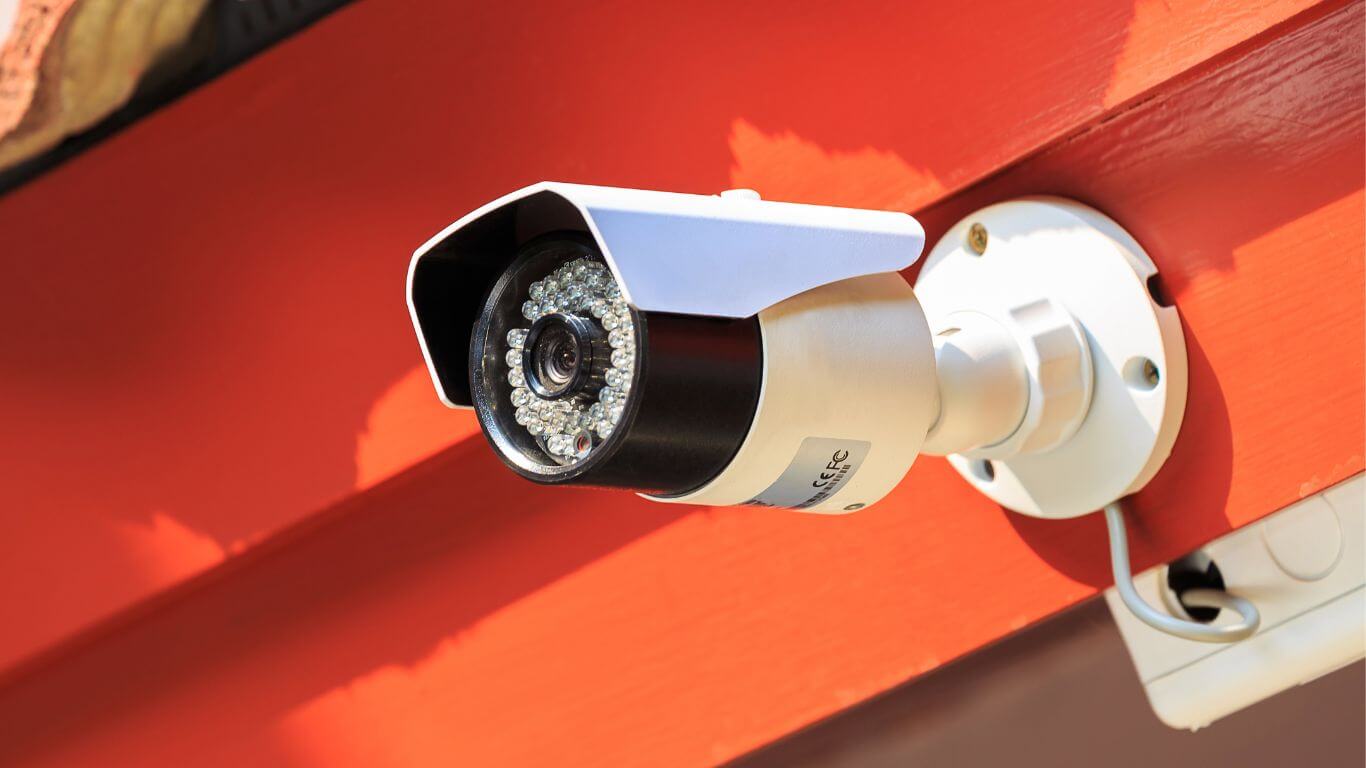
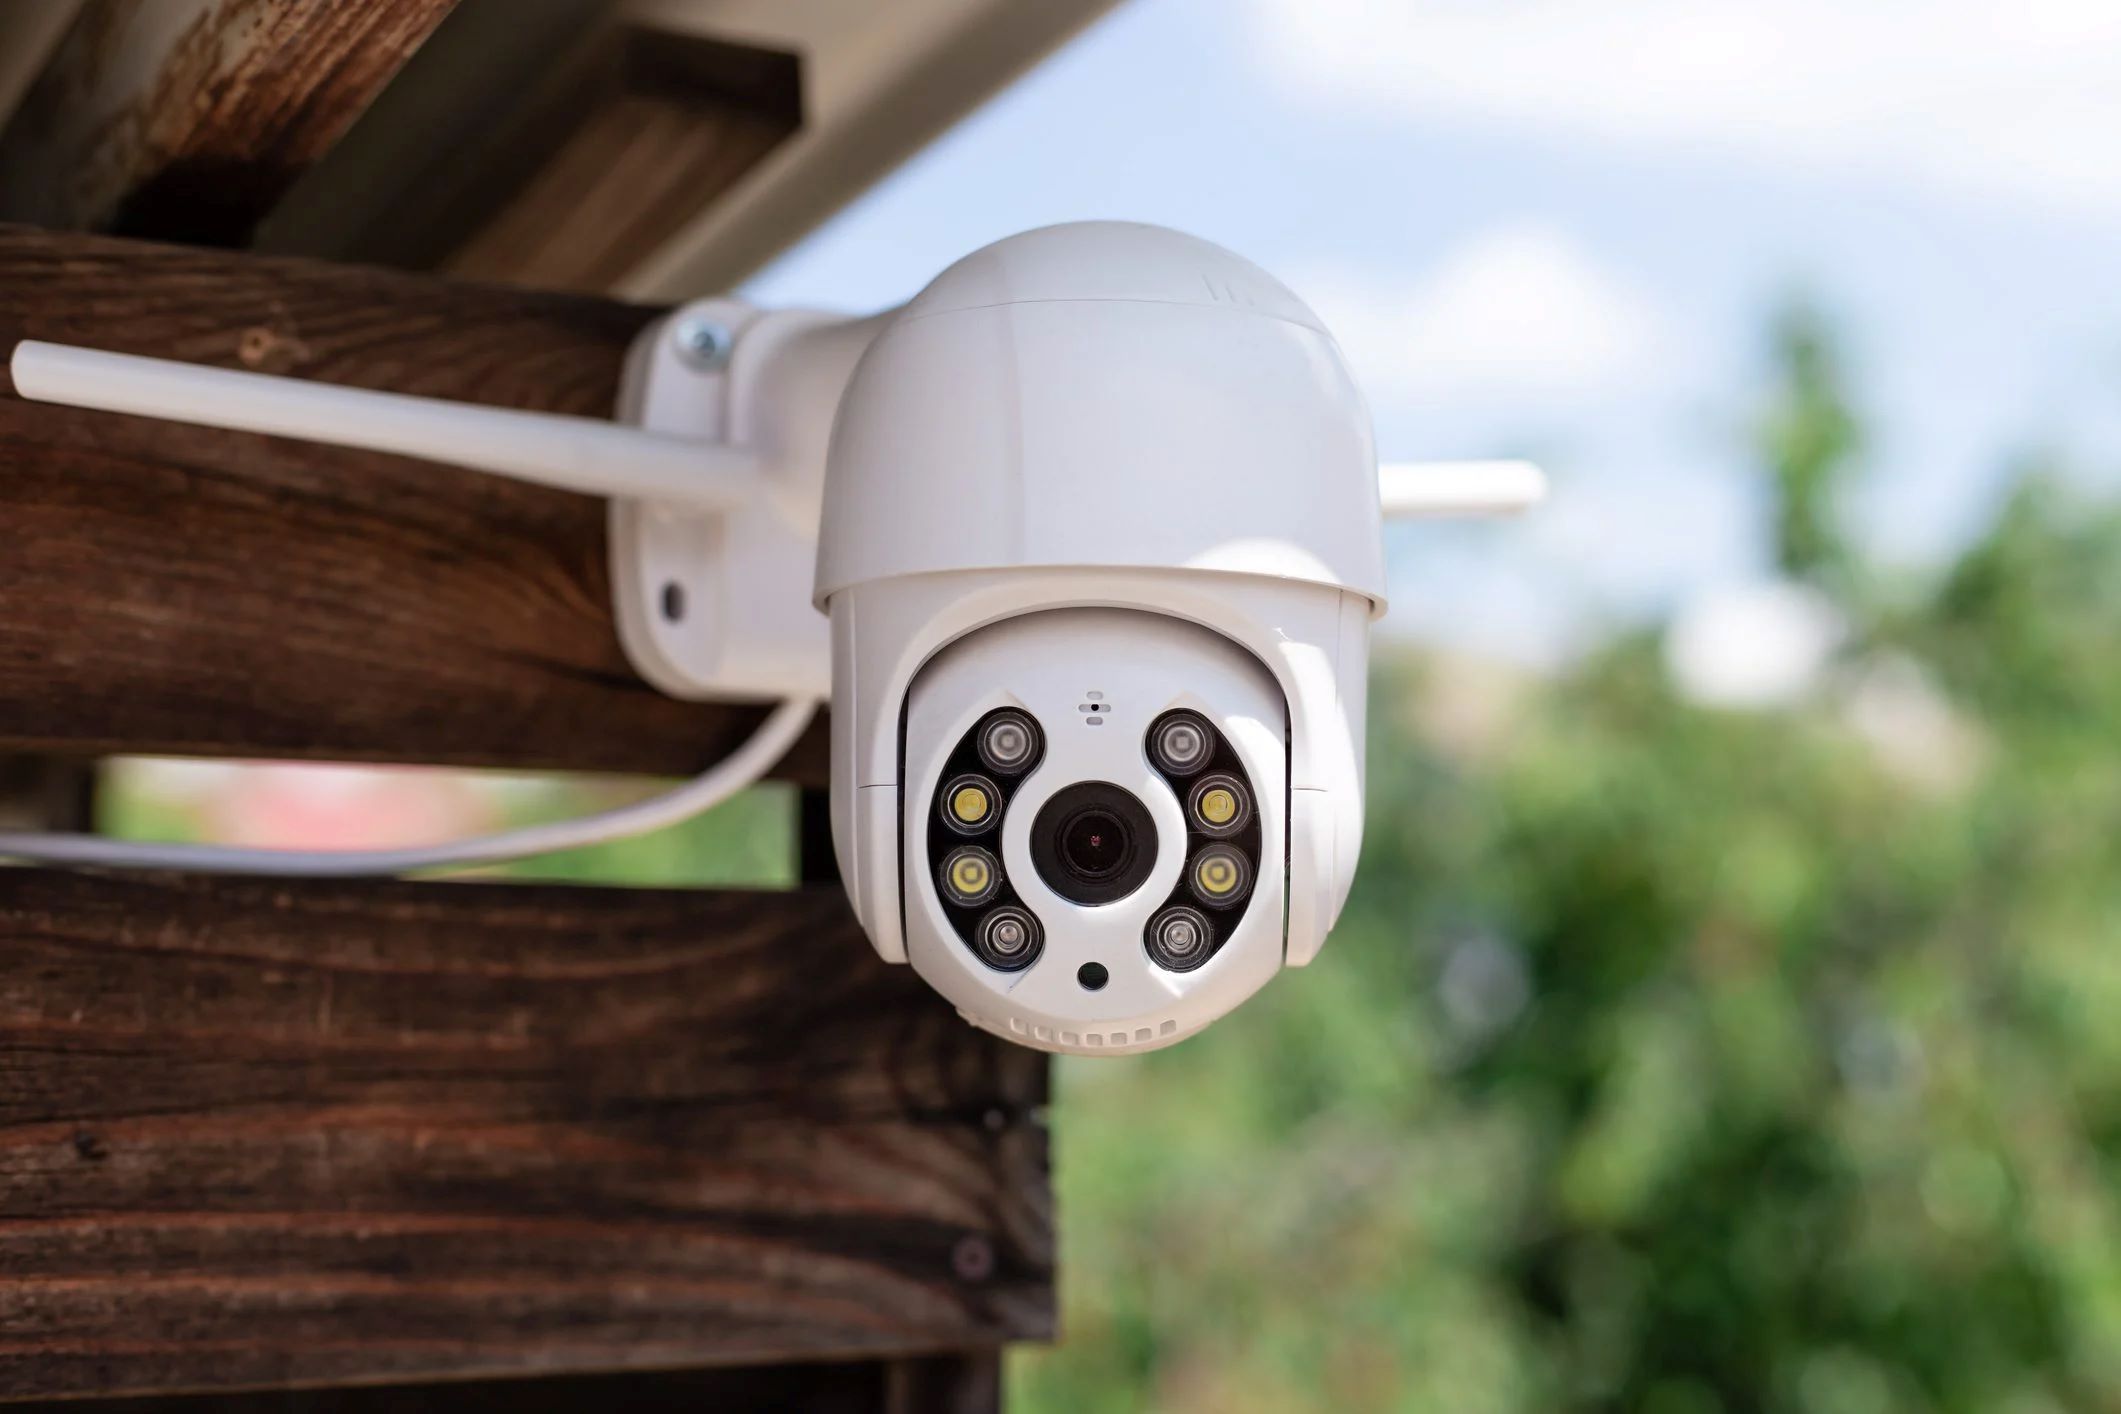
Additionally, many outdoor cameras are equipped with infrared (IR) night vision capabilities, allowing them to capture video even in low-light or dark conditions. This feature ensures that your property is continuously monitored, regardless of the time of day.
Now that we have a better understanding of the features and capabilities of outdoor cameras, let’s explore the factors that can contribute to fuzzy video and affect image clarity.
Factors that Can Cause Fuzzy Video
Several factors can contribute to fuzzy video and impact the clarity of your outdoor camera footage. It is important to identify these factors in order to implement the appropriate troubleshooting techniques. Here are four common culprits:
- Poor Image Resolution: One of the main factors that can cause fuzzy video is a low-resolution camera. If your outdoor camera has a low pixel count or a lower-resolution setting selected, the resulting video may appear blurry or pixelated. It is crucial to choose a camera with a higher resolution to ensure clearer footage and better image quality.
- Environmental Disturbances: Environmental factors such as rain, fog, dust, or excessive sunlight can interfere with the camera’s performance and cause blurred or distorted video. These disturbances can obstruct the camera’s lens or affect the focus, resulting in fuzzy footage. It is important to consider environmental conditions when positioning your camera and choose a weather-resistant model to minimize these disturbances.
- Incorrect Camera Positioning: Incorrect camera positioning can also lead to fuzzy video. If the camera is not properly aligned or angled, it may capture an out-of-focus or distorted view. It is essential to position your outdoor camera in a way that maximizes the desired field of view while ensuring a clear line of sight to the targeted area. Regularly check and adjust the camera’s positioning to maintain optimal image clarity.
- Connection Issues: Connectivity problems between the camera and the recording unit or Wi-Fi network can result in fuzzy video. Weak or unstable Wi-Fi signals, improper camera installation, or faulty cables can disrupt the transmission of data and cause image quality issues. Ensuring a strong and stable connection between the camera and the recording unit or network is vital to prevent fuzzy footage.
Now that we have identified the factors that can contribute to fuzzy video, let’s move on to the troubleshooting tips to improve image clarity and resolve these issues.
Poor Image Resolution
Poor image resolution is a common factor that can contribute to fuzzy video in outdoor cameras. If your camera has a low pixel count or if a lower resolution setting is selected, the resulting video may appear blurry or pixelated.
To improve image clarity, consider the following steps:
- Upgrade to a higher-resolution camera: If you are experiencing consistently fuzzy video, it may be worth upgrading to a camera with a higher resolution. Higher resolution cameras, such as those with 1080p or 4K resolution options, can provide clearer and more detailed footage. It’s important to choose a camera that meets your specific needs and budget.
- Adjust camera settings: Review the settings of your outdoor camera and ensure that the resolution is set to the highest available option. Some cameras have adjustable resolution settings, allowing you to choose the desired level of image quality. By selecting the highest resolution setting, you can maximize the clarity of your video footage.
- Check recording and playback settings: Ensure that the recording and playback settings on your camera or recording unit are set to match the camera’s resolution. If there is a mismatch between the camera’s resolution and the recording settings, it can result in reduced image quality and fuzzy video. Make sure all settings are properly configured for optimal performance.
- Consider bandwidth limitations: Keep in mind that higher-resolution cameras may require more bandwidth for smooth video streaming and recording. If you are experiencing issues with video quality or buffering, it may be necessary to upgrade your internet connection to accommodate the increased data usage. Consult with your internet service provider to determine the best plan for your needs.
By addressing the issue of poor image resolution and implementing these troubleshooting steps, you can significantly improve the clarity of your outdoor camera footage. Stay tuned for the next section, where we will discuss environmental disturbances and their impact on video quality.
Environmental Disturbances
Environmental disturbances can significantly impact the clarity of your outdoor camera video. Factors such as rain, fog, dust, or excessive sunlight can obstruct the camera’s lens or affect the focus, resulting in fuzzy or distorted footage. Understanding and mitigating these environmental disturbances can help improve image clarity.
Here are some steps to minimize the impact of environmental disturbances:
- Choose a weather-resistant camera: Opt for an outdoor camera that is specifically designed to withstand various weather conditions. Look for cameras that have an IP (Ingress Protection) rating, which indicates their level of resistance to dust and water. This ensures that the camera can endure outdoor elements without compromising the quality of the video.
- Properly position the camera: Positioning your outdoor camera strategically can help minimize the effects of environmental disturbances. Consider placing the camera under a shelter or eave to protect it from rain or snow. Avoid pointing the camera directly into direct sunlight to prevent overexposure and glare. Additionally, ensure that the camera lens is kept clean from dust or debris that may accumulate over time.
- Adjust the camera’s focus: Some outdoor cameras allow manual adjustment of the focus. If your camera has this feature, carefully adjust the focus to optimize the image clarity based on the environmental conditions. This will help minimize blurring or distortion caused by dust or raindrops on the camera lens.
- Consider adding supplementary lighting: Insufficient lighting conditions can also contribute to fuzzy video. To improve image clarity, consider adding supplementary lighting options such as motion-activated lights or infrared illumination. These additional light sources can enhance visibility and ensure clearer video footage, especially in low-light or nighttime conditions.
By taking these measures to address environmental disturbances, you can optimize the performance of your outdoor camera and improve the overall clarity of your video footage. In the next section, we will discuss the importance of correct camera positioning and how it can affect image quality. Stay tuned!
Read more: Why Is My Alexa Speaker Fuzzy
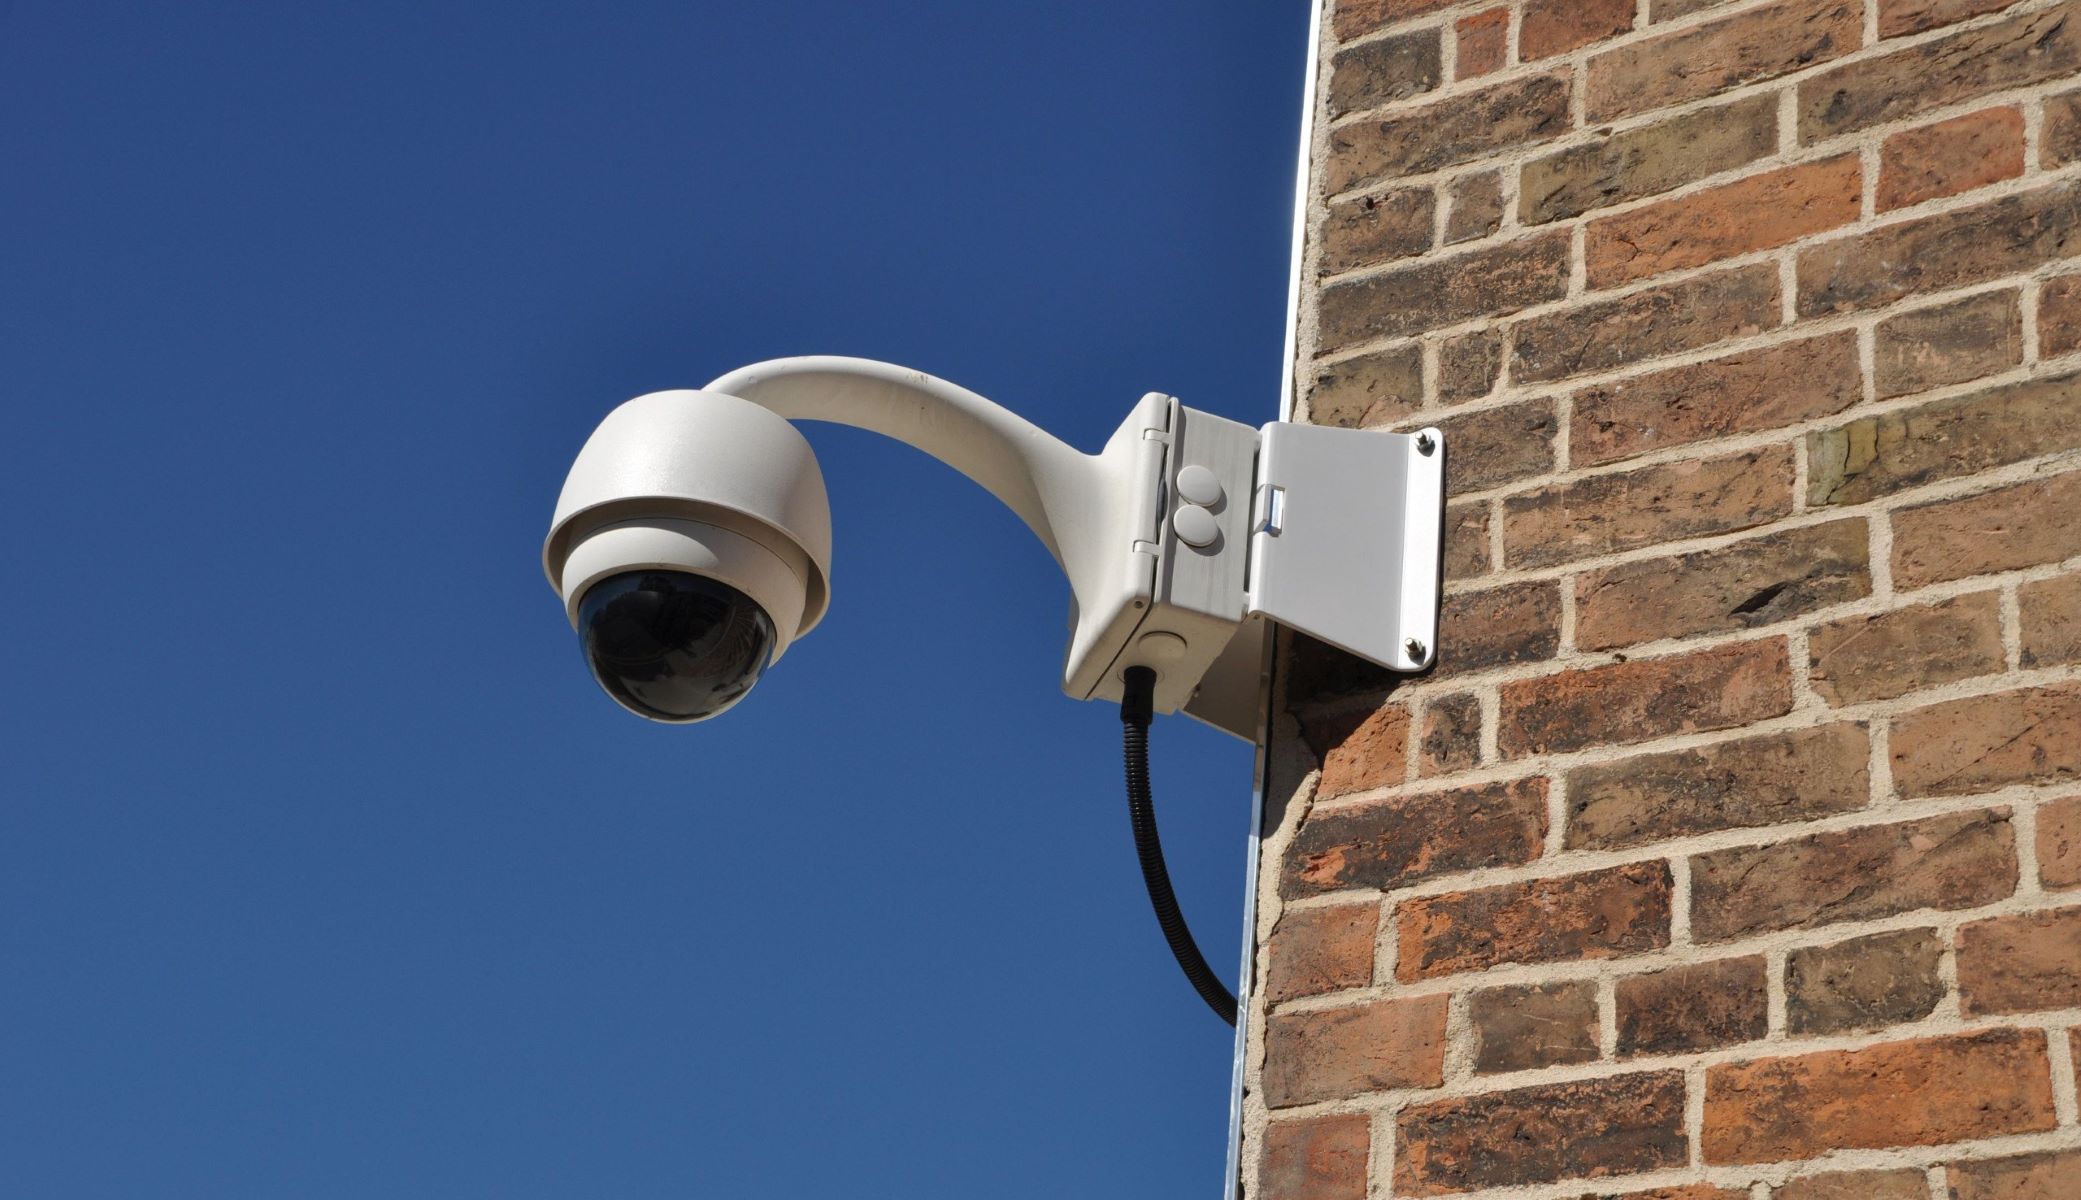
Incorrect Camera Positioning
Incorrect camera positioning is another factor that can result in fuzzy video from your outdoor camera. If the camera is not properly aligned or angled, it may capture an out-of-focus or distorted view, compromising the overall image clarity.
Here are some tips to ensure correct camera positioning for optimal image quality:
- Choose the right field of view (FOV): The FOV of your outdoor camera determines the area it can cover. Before positioning the camera, consider the specific areas you want to monitor and choose a camera with an appropriate FOV. Cameras with a wider FOV are able to capture a larger area, reducing the number of blind spots and improving overall coverage.
- Place the camera at the right height and angle: Position the camera at a height and angle that provides comprehensive coverage of the desired area while maintaining a clear line of sight. Mounting the camera at a higher vantage point can help capture a broader view and reduce the chances of obstructions such as fences or shrubbery blocking the camera’s field of vision.
- Regularly check and adjust the camera position: Over time, the camera’s position may shift or become misaligned. It is important to regularly check and adjust the camera’s position to ensure proper focus and image clarity. Factors such as strong winds or accidental bumping can cause the camera to move out of its intended position. Conduct periodic checks and make any necessary adjustments to maintain optimal camera performance.
- Consider camera mounting options: Depending on the type of camera you have, there may be different mounting options available. Some cameras can be mounted on walls, while others can be placed on poles or ceilings. Choosing the appropriate mounting option for your camera can help achieve the desired viewing angle and ensure clear video footage.
By following these positioning guidelines, you can minimize blurry or distorted video caused by incorrect camera placement. In the next section, we will explore connection issues and how they can affect the clarity of your outdoor camera footage. Keep reading!
Connection Issues
Connection issues can have a significant impact on the clarity of your outdoor camera video. Weak or unstable connections between the camera and the recording unit or Wi-Fi network can result in poor image quality and fuzzy video footage. It’s crucial to address these connection issues to ensure optimal performance.
Here are some troubleshooting tips to resolve connection issues:
- Check Wi-Fi signal strength: Ensure that your outdoor camera is within range of a strong and stable Wi-Fi signal. Weak or fluctuating Wi-Fi signals can cause interruptions in data transmission, leading to degraded image quality. Consider installing Wi-Fi extenders or mesh systems to amplify the signal strength in areas where your camera is positioned.
- Reposition the wireless router: If your camera is located far from the wireless router, it may suffer from reduced signal strength. Try repositioning your wireless router to a central location in your home or closer to the camera’s position. This will help improve the signal strength and stability, resulting in better video quality.
- Check for interference: Other electronic devices or appliances operating on similar frequencies can interfere with the Wi-Fi signal, leading to connection issues. Make sure that your outdoor camera is not placed near devices such as cordless phones, microwave ovens, or baby monitors that can disrupt the signal. Eliminating sources of interference can help maintain a stable connection and improve image clarity.
- Inspect cables and connectors: If your outdoor camera is wired, check the cables and connectors for any signs of damage or loose connections. Faulty cables or connectors can result in intermittent data transfer, impacting video quality. Ensure that all cables are securely connected and in good condition to maintain a stable connection.
- Upgrade to a higher-quality network: If your current internet plan offers limited bandwidth or experiences frequent downtime, it may be worth upgrading to a higher-quality network. Choosing a reliable internet service provider with faster speeds and better stability can improve the connection between your camera and the recording unit or cloud storage, resulting in clearer video footage.
By addressing connection issues using these troubleshooting tips, you can enhance the overall performance of your outdoor camera and eliminate fuzzy video caused by connection interruptions. In the next section, we will discuss additional troubleshooting tips to improve image clarity and optimize the performance of your outdoor camera. Stay tuned!
Make sure the lens of your outdoor camera is clean and free of any dirt, dust, or smudges. Use a soft cloth to gently wipe the lens and improve the clarity of the camera’s image.
Troubleshooting Tips to Improve Image Clarity
Improving the image clarity of your outdoor camera is essential to ensure clear and detailed video footage. In addition to addressing specific issues like poor image resolution, environmental disturbances, incorrect camera positioning, and connection issues, there are some general troubleshooting tips that can optimize the performance and image quality of your outdoor camera.
Here are some additional tips to improve image clarity:
- Adjust camera settings: Review the camera settings and make adjustments to optimize image clarity. These settings may include brightness, contrast, exposure, and white balance. Experiment with different settings to find the optimal configuration that suits your specific environment and lighting conditions.
- Clear obstructions: Ensure that there are no physical obstructions in the camera’s field of view. Trim or remove any tree branches, shrubbery, or other objects that may block the camera’s line of sight. Clearing these obstructions will prevent any interference or obstruction of the camera’s view, resulting in clearer video footage.
- Choose the right internet connection: If your outdoor camera relies on a Wi-Fi connection, consider using a dedicated network for your security devices. The use of a separate network can prevent congestion and ensure a stable and reliable connection. Additionally, connect your camera to a 5GHz Wi-Fi channel instead of 2.4GHz, as it typically offers faster speeds and lower interference.
- Upgrade camera firmware: Regularly check for firmware updates provided by the camera manufacturer. Firmware updates often include bug fixes, performance improvements, and new features that can enhance image quality. Keeping your camera’s firmware up to date is crucial to ensure optimal functionality and performance.
- Maintain camera cleanliness: Regularly clean the camera lens and housing to remove any dirt, dust, or smudges that may affect image clarity. Use a soft, lint-free cloth or lens cleaning solution to gently wipe the lens and ensure it is free from any residue or impurities.
By implementing these troubleshooting tips, you can enhance the image clarity of your outdoor camera and ensure that you capture clear and detailed video footage. Remember to regularly monitor and maintain your camera’s performance to address any ongoing issues and optimize its functionality.
By following these tips and taking proactive measures, you can maximize the effectiveness of your outdoor camera and enhance the security and surveillance of your home. With improved image clarity, you can have peace of mind knowing that your camera is capturing clear and accurate footage.
Adjust Camera Settings
Adjusting the camera settings is a crucial step in improving the image clarity of your outdoor camera. By making the appropriate adjustments, you can optimize the camera’s performance and ensure that it captures clear and detailed video footage.
Here are some tips for adjusting the camera settings:
- Resolution: Check the resolution settings of your camera and ensure that it is set to the highest available option. Higher resolution settings, such as 1080p or 4K, capture more details and result in sharper, clearer video footage. Selecting the highest resolution supported by your camera can greatly enhance the image quality.
- Brightness and contrast: Experiment with the brightness and contrast settings to find the right balance for your specific environment. Adjusting these settings can help improve the visibility of details in both well-lit areas and areas with low light conditions. Find the optimal settings that provide a clear and balanced image.
- Exposure: The exposure setting determines the amount of light the camera captures in the image. Adjust the exposure settings based on the lighting conditions of your outdoor area. Increase the exposure in low-light situations to avoid underexposure and enhance visibility. Similarly, decrease the exposure in bright lighting conditions to prevent overexposure and maintain image clarity.
- White balance: White balance ensures that colors appear natural and accurate in your camera footage. Different lighting conditions can cast different color tints, such as warm or cool tones. Adjust the white balance setting to match the lighting in your environment for more realistic and true-to-life colors.
- Image stabilization: If your camera supports image stabilization, consider enabling it to reduce any blurring or shaking caused by external factors such as wind or vibrations. Image stabilization technology helps enhance the overall image stability and clarity, resulting in smoother and clear video footage.
It is important to note that the specific settings and options available may vary depending on the brand and model of your outdoor camera. Consult the camera’s user manual or online documentation for detailed instructions on accessing and adjusting the camera settings.
By adjusting these camera settings, you can fine-tune the performance of your outdoor camera and improve image clarity. Take some time to experiment with different settings and find the optimal configuration that best suits your specific environment and desired outcome. Regularly monitor the camera’s performance and make any necessary adjustments to ensure consistent image quality.
Stay tuned for the next section, where we will discuss another troubleshooting tip to enhance the image clarity of your outdoor camera: clearing obstructions.
Clear Obstructions
Clearing obstructions around your outdoor camera is an important step in improving its image clarity. Physical obstructions such as tree branches, shrubbery, or other objects in the camera’s field of view can negatively impact the quality of the captured video footage.
Here are some tips for clearing obstructions:
- Trim vegetation: Take a close look at the area surrounding your outdoor camera and identify any vegetation that may be obstructing its view. Trim any overhanging tree branches, bushes, or plants that are blocking the camera’s field of view. This will ensure a clear line of sight and prevent branches from moving in the wind and causing blurry or obstructed footage.
- Remove debris: Remove any leaves, dirt, cobwebs, or other debris that may have accumulated on or near the camera lens. Even small obstructions can affect the clarity of the captured video. Use a soft brush or a gentle stream of compressed air to clean the camera housing and lens without damaging them. Regular cleaning will help maintain optimal image quality.
- Check for other obstructions: In addition to vegetation and debris, check for any other objects that may be obstructing the camera’s field of view. This could include fences, poles, or other structures. Adjust the camera’s position or remove the obstruction if possible to ensure an unobstructed view and clear footage.
- Consider the camera’s height: Sometimes, the camera may be positioned too low, resulting in a limited field of view and potential obstructions. If feasible, adjust the camera’s height to capture a wider and clearer view. Mount the camera higher or use brackets to raise its position, providing a clearer line of sight to the intended surveillance area.
Clearing obstructions not only improves image clarity but also helps maximize the effectiveness of your outdoor camera’s surveillance capabilities. Regularly inspect the camera’s surroundings and remove any new obstructions that may arise over time.
By taking these steps to clear obstructions, you can ensure that your outdoor camera captures clear and unobstructed video footage. In the next section, we will discuss choosing the right internet connection to further enhance the image clarity of your outdoor camera. Keep reading!
Choose the Right Internet Connection
Choosing the right internet connection is essential for optimizing the performance and image clarity of your outdoor camera. A stable and reliable internet connection ensures smooth data transmission, preventing interruptions and maintaining clear and uninterrupted video footage.
Consider the following tips when selecting the right internet connection for your outdoor camera:
- Internet Speed: Ensure that your internet plan provides sufficient upload and download speeds to support the streaming and recording of high-quality video. Higher resolution cameras require more bandwidth to transmit the data, so choose an internet plan with speeds suitable for your camera’s resolution. Consult with your internet service provider to determine the best plan that meets your needs.
- Connection Stability: A reliable and stable internet connection is crucial for continuous surveillance. Opt for a connection type with a low potential for dropouts or interruptions, such as cable, fiber optic, or fixed wireless. These types of connections tend to provide more consistent performance compared to satellite or mobile broadband connections.
- Network Quality: If you have multiple devices connected to your home network, consider setting up a dedicated network specifically for your security devices, including your outdoor camera. This separate network will help prioritize bandwidth to your camera, preventing congestion and ensuring a reliable and stable connection.
- Wi-Fi Signal Strength: If your outdoor camera is connected to your network via Wi-Fi, ensure that it has a strong and stable Wi-Fi signal. Weak or unstable Wi-Fi signals can result in intermittent connection issues and poor image quality. Consider installing Wi-Fi extenders or mesh systems to improve signal strength in areas where the camera is located.
- Positioning of the Router: Place your wireless router in a central location within your home, as close to the outdoor camera as possible. This helps to minimize the distance between the camera and the router, reducing the chances of signal degradation caused by walls or other obstacles. Additionally, ensure that the router is elevated and positioned away from other electronic devices that may interfere with the Wi-Fi signal.
By choosing the right internet connection and optimizing your network setup, you can ensure a stable and reliable connection for your outdoor camera. This will result in smooth streaming, uninterrupted recording, and enhanced image clarity for your surveillance footage.
In the next section, we will discuss another troubleshooting tip to improve the image clarity of your outdoor camera: upgrading the camera firmware. Stay tuned!
Upgrade Camera Firmware
Upgrading your camera’s firmware is an important step in troubleshooting and improving the image clarity of your outdoor camera. Firmware updates released by the camera manufacturer often include bug fixes, performance enhancements, and new features that can have a significant impact on the camera’s performance and image quality. Keeping your camera’s firmware up to date ensures that you are benefiting from the latest advancements and optimizations.
Here are some steps to upgrade your camera’s firmware:
- Check for firmware updates: Visit the camera manufacturer’s website or consult the camera’s user manual to find information about available firmware updates. Manufacturers typically release firmware updates periodically to address issues and improve the camera’s performance. Identify the latest firmware version and make note of any specific instructions or requirements for the upgrade process.
- Backup camera settings: Before performing a firmware upgrade, it is recommended to back up the camera’s settings. This ensures that you can easily restore your preferred configurations and settings after the firmware update. Refer to the camera’s user manual for instructions on how to backup and restore settings.
- Download the firmware: Download the latest firmware version from the manufacturer’s website or follow the provided instructions to obtain the firmware file. Ensure that you download the correct firmware version that corresponds to your camera model and its current firmware version.
- Update the firmware: Follow the manufacturer’s instructions to update the firmware. This typically involves transferring the firmware file to an SD card or connecting the camera to a computer and running a firmware update utility. Refer to the camera’s user manual for detailed step-by-step instructions on how to perform the firmware upgrade process.
- Monitor camera performance: After upgrading the firmware, monitor the camera’s performance and image clarity. Pay attention to any improvements or changes in image quality. If you encounter any issues after the firmware upgrade, consult the manufacturer’s support documentation or contact their customer support for further assistance.
Regularly checking for firmware updates and keeping your camera’s firmware up to date is crucial for maintaining optimal performance and improving image clarity. Firmware updates often include enhancements that address known issues and optimize camera functionality, ultimately leading to better image quality.
Remember to regularly monitor the camera manufacturer’s website for any future firmware updates and consider enabling automatic firmware update notifications if the option is available. By staying up to date with the latest firmware releases, you can ensure that your outdoor camera is operating at its best and providing clear, high-quality video footage.
In the next section, we will conclude our troubleshooting tips and summarize the key points discussed. Keep reading!
Conclusion
Ensuring the image clarity of your outdoor camera is crucial for effective home security and surveillance. Fuzzy video can hinder your ability to accurately identify potential threats or incidents, compromising the overall effectiveness of your system. Fortunately, by understanding the factors that can cause fuzzy video and implementing troubleshooting tips, you can significantly improve the image quality of your outdoor camera.
Throughout this article, we have explored various factors that can contribute to fuzzy video, such as poor image resolution, environmental disturbances, incorrect camera positioning, and connection issues. We have outlined troubleshooting tips to address each of these factors and improve image clarity.
Adjusting camera settings, such as resolution, brightness, contrast, exposure, and white balance, allows you to optimize the camera’s performance and tailor it to your specific environment. Clearing obstructions, both physical and digital, ensures an unobstructed view and enhances the clarity of captured video footage. Choosing the right internet connection, with sufficient speed, stability, and signal strength, is vital for smooth data transmission and uninterrupted streaming. Upgrading your camera’s firmware keeps it up to date with the latest optimizations and enhancements, ultimately improving image quality.
By implementing these troubleshooting tips and techniques, you can maximize the image clarity of your outdoor camera and maintain an effective home security system. Regular monitoring and maintenance of your camera’s performance are also essential to address any ongoing issues and optimize its functionality.
Remember, the goal is to have a clear and detailed video recording that can help you accurately identify potential threats or incidents in and around your home. With improved image quality, you can have greater peace of mind knowing that your outdoor camera is capturing clear and accurate footage.
Stay proactive and take the necessary steps to optimize your camera’s performance. Explore the settings, regularly clean the camera, position it correctly, ensure a stable internet connection, and keep the firmware up to date. By doing so, you can maximize the effectiveness of your outdoor camera and enhance the overall security and surveillance of your home.
Frequently Asked Questions about Why Is My Home Outdoor Camera Fuzzy
Was this page helpful?
At Storables.com, we guarantee accurate and reliable information. Our content, validated by Expert Board Contributors, is crafted following stringent Editorial Policies. We're committed to providing you with well-researched, expert-backed insights for all your informational needs.