Home>Home Security and Surveillance>How To Put Wired Security Cameras Outdoor
Home Security and Surveillance
How To Put Wired Security Cameras Outdoor
Modified: March 6, 2024
Learn how to install wired security cameras outside your home for top-notch home security and surveillance. Enhance your safety with our step-by-step guide.
(Many of the links in this article redirect to a specific reviewed product. Your purchase of these products through affiliate links helps to generate commission for Storables.com, at no extra cost. Learn more)
Introduction
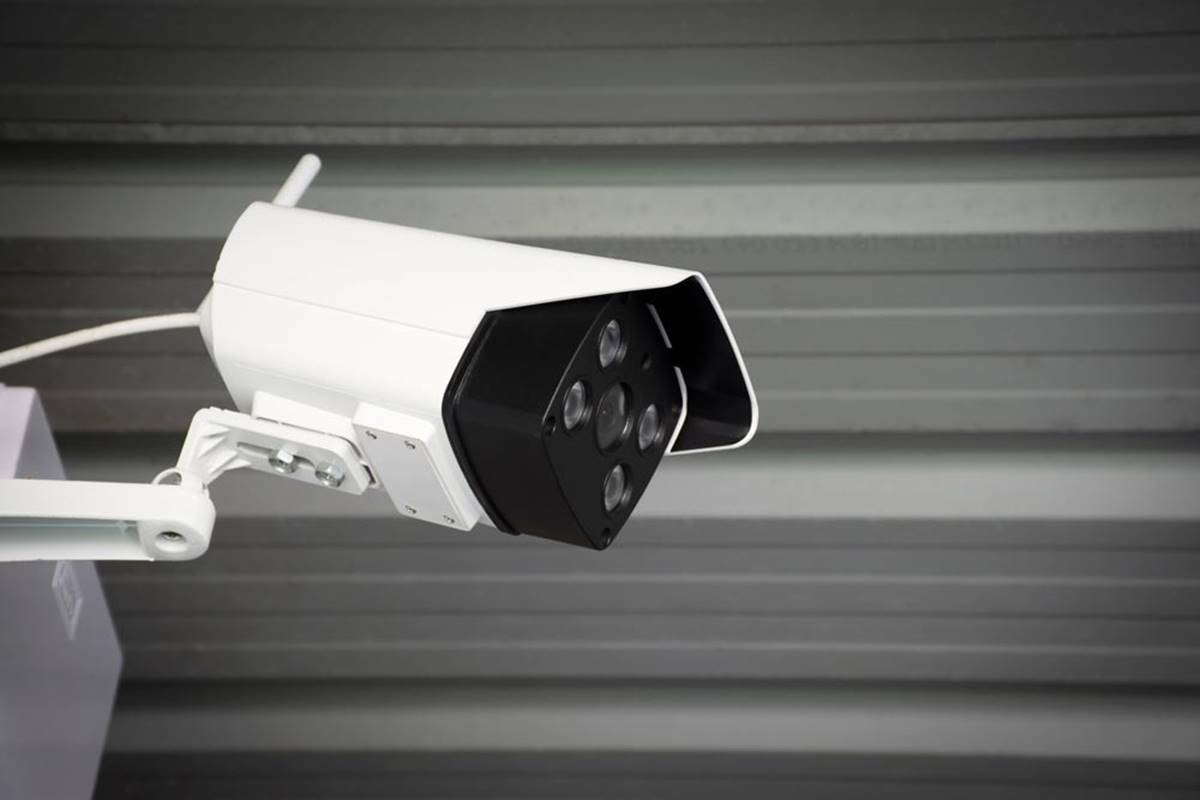
When it comes to home security and surveillance, having a reliable system in place is essential. One effective way to enhance the security of your home is by installing wired security cameras outside. Unlike wireless cameras that rely on Wi-Fi signals, wired cameras offer a more stable and reliable connection, making them ideal for outdoor use.
Putting wired security cameras outside requires careful planning and execution to ensure optimal performance and protection. In this article, we will guide you through the process of installing wired security cameras outside, covering everything from assessing the location to securing the camera cables.
By following these steps, you can have peace of mind knowing that your property is under constant surveillance, deterring potential intruders and capturing any suspicious activities that may occur.
Key Takeaways:
- Enhance Home Security with Wired Cameras
Carefully assess locations, choose weatherproof cameras, and secure cables to create a reliable surveillance system for optimal home security. - Ensure Proper Installation for Effective Surveillance
Mount cameras strategically, establish reliable power sources, and weatherproof the setup to maintain functionality and protect your property effectively.
Read more: How To Wire Outdoor Security Cameras
Assessing the Location
Before installing wired security cameras outside, it’s important to carefully assess the location where you intend to place them. This step will help you determine the best positions for the cameras to maximize their effectiveness.
Start by surveying your property and identifying the areas that require surveillance. Focus on entry points such as doors, windows, and gates, as well as any other vulnerable areas that may be targeted by potential intruders.
Consider the following factors when assessing the location:
- Field of view: Determine the specific areas you want the camera to capture. Consider the angle and range required to cover the desired area effectively.
- Lighting conditions: Take note of the lighting conditions during different times of the day. Ensure that the camera’s field of view is not obstructed by shadows or bright lights.
- Surroundings: Consider the environment surrounding the installation location. Ensure that there are no obstructions such as trees, bushes, or structures that could potentially block the camera’s view.
- Accessibility: Evaluate the ease of access to the camera for maintenance and adjustments. Ensure that it is within reach for necessary adjustments or cleaning.
By carefully assessing the location, you can determine the most suitable positions for your wired security cameras. This will help ensure optimal coverage and effective monitoring of your property.
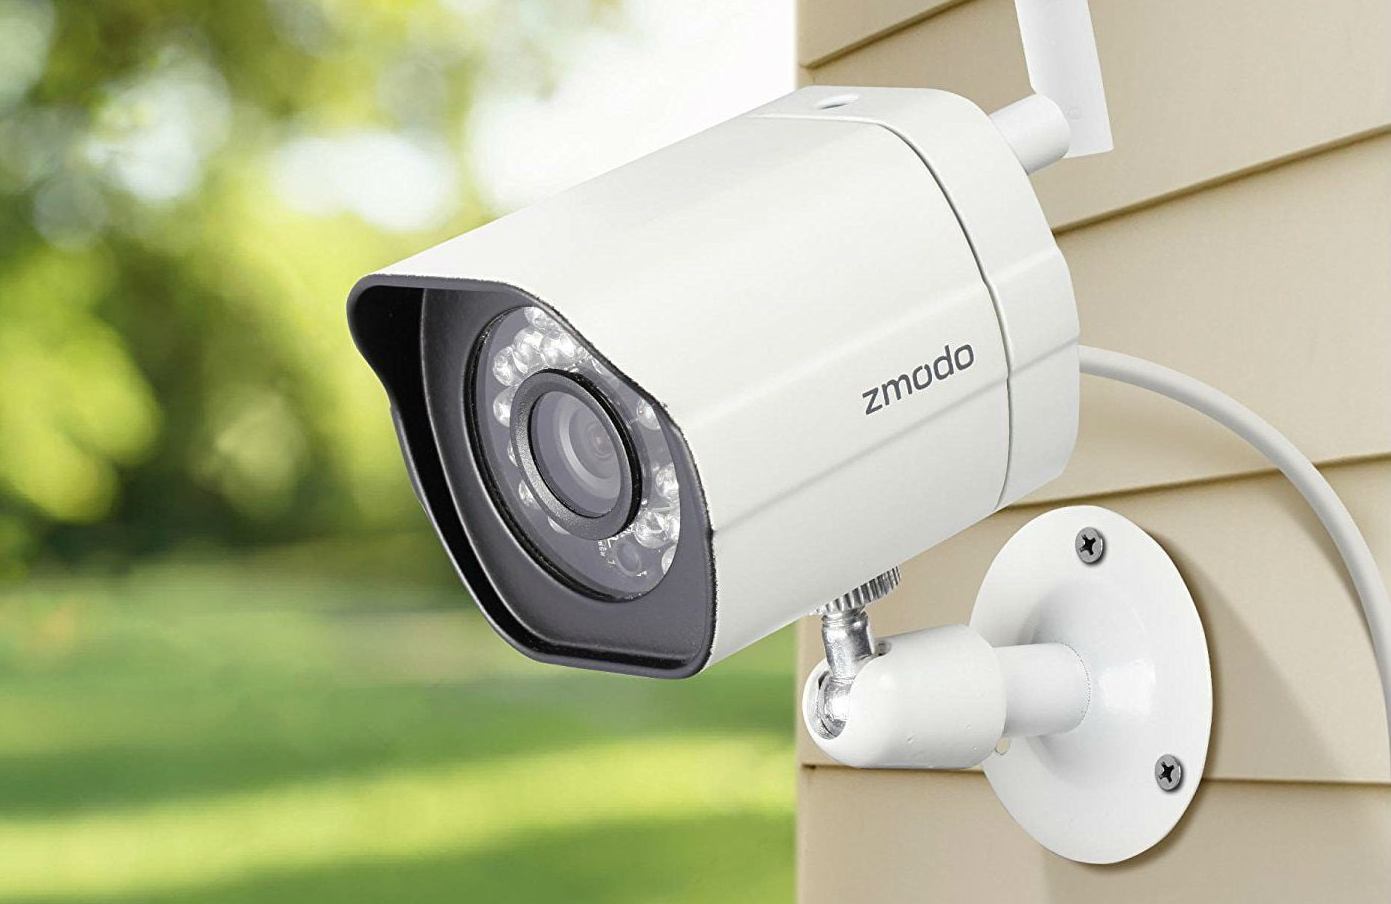
Choosing the Right Camera
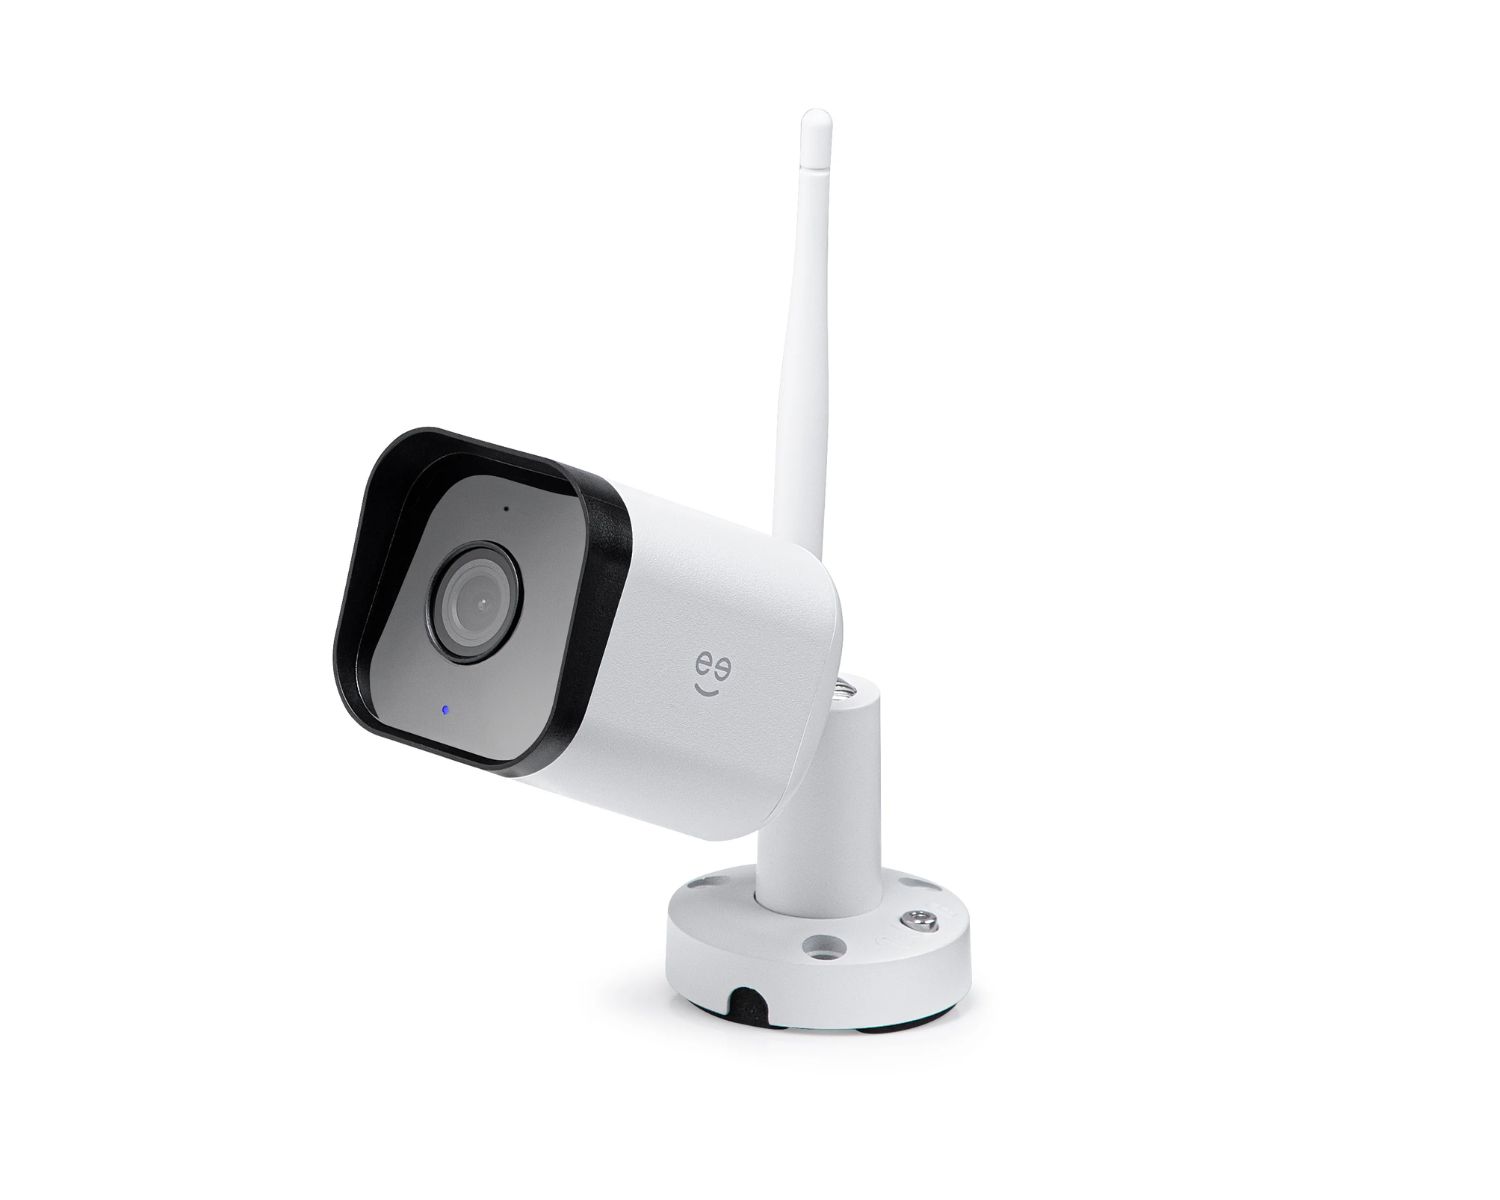
Choosing the right wired security camera is crucial to ensure optimal performance and compatibility with your surveillance system. There are several factors to consider when selecting a camera for outdoor use:
- Resolution: The camera’s resolution determines the clarity of the captured footage. Opt for a high-resolution camera, such as 1080p or higher, to ensure crisp and detailed images.
- Weatherproofing: Select a camera that is specifically designed for outdoor use and has a high IP (Ingress Protection) rating. This rating indicates the camera’s resistance to dust and water. Look for a camera with an IP65 or higher rating, which ensures it can withstand harsh weather conditions.
- Night Vision: Consider a camera with built-in infrared (IR) LEDs for clear monitoring in low-light or nighttime conditions. Look for a camera with a sufficient IR range to cover the desired area effectively.
- Wide Dynamic Range (WDR): This feature allows the camera to handle challenging lighting conditions, such as bright sunlight or deep shadows, by providing balanced exposure for clear visibility.
- Field of View (FOV): Determine the adequate field of view required for your surveillance needs. Choose a camera with an adjustable lens or various lens options to achieve the desired FOV.
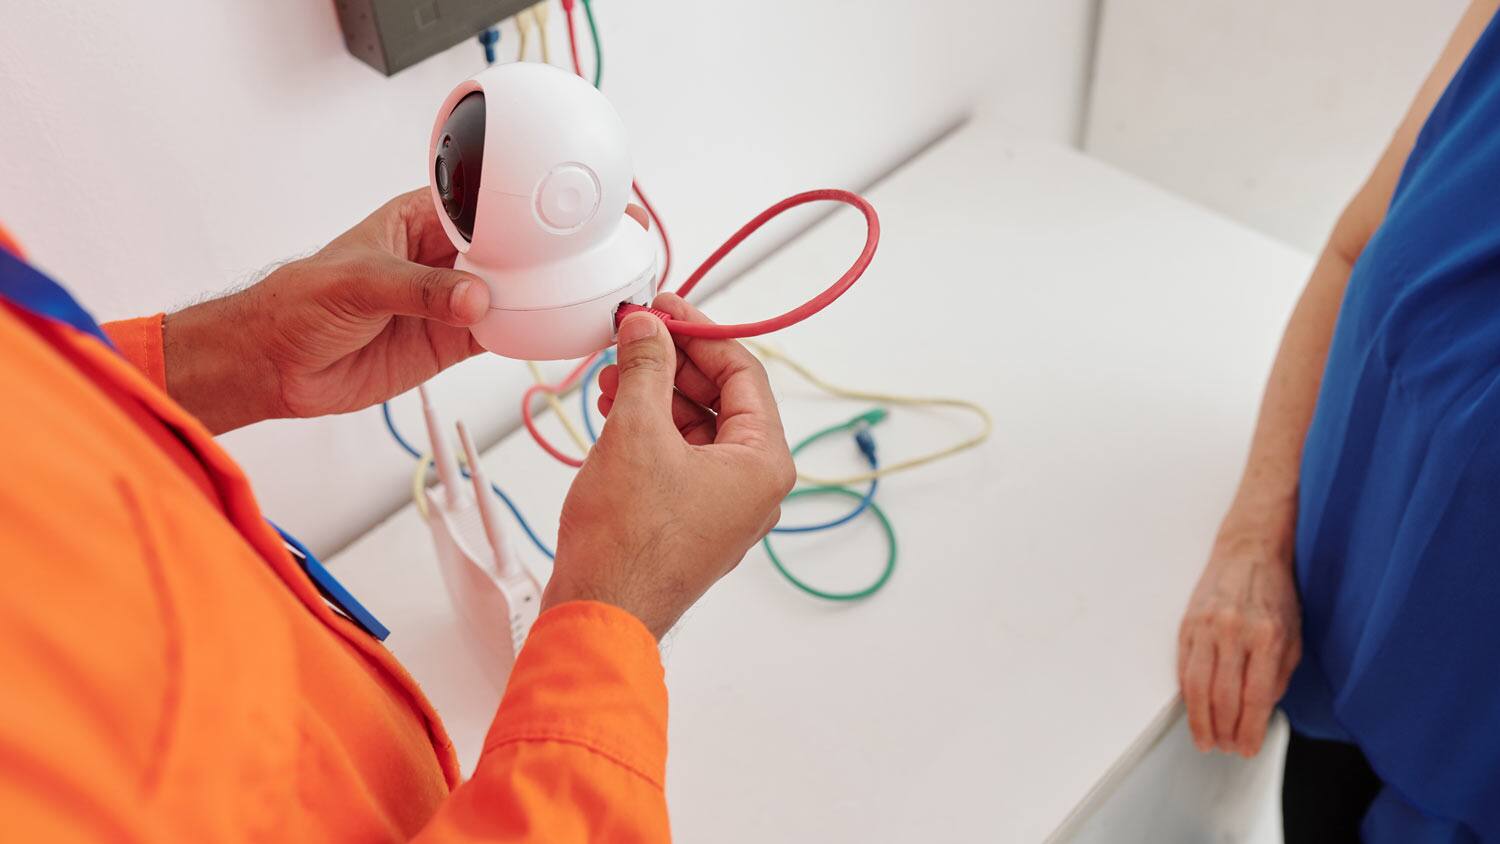
- Power Source: Consider whether you want a camera that is powered by a power supply or Power over Ethernet (PoE). PoE cameras simplify the installation process by allowing power and data transmission through a single Ethernet cable.
Additionally, consider the brand reputation, customer reviews, and warranty offered by the camera manufacturer. This will help ensure the reliability and durability of your chosen camera.
By carefully evaluating these factors, you can select a wired security camera that suits your outdoor surveillance needs and provides you with the necessary features to enhance the security of your property.
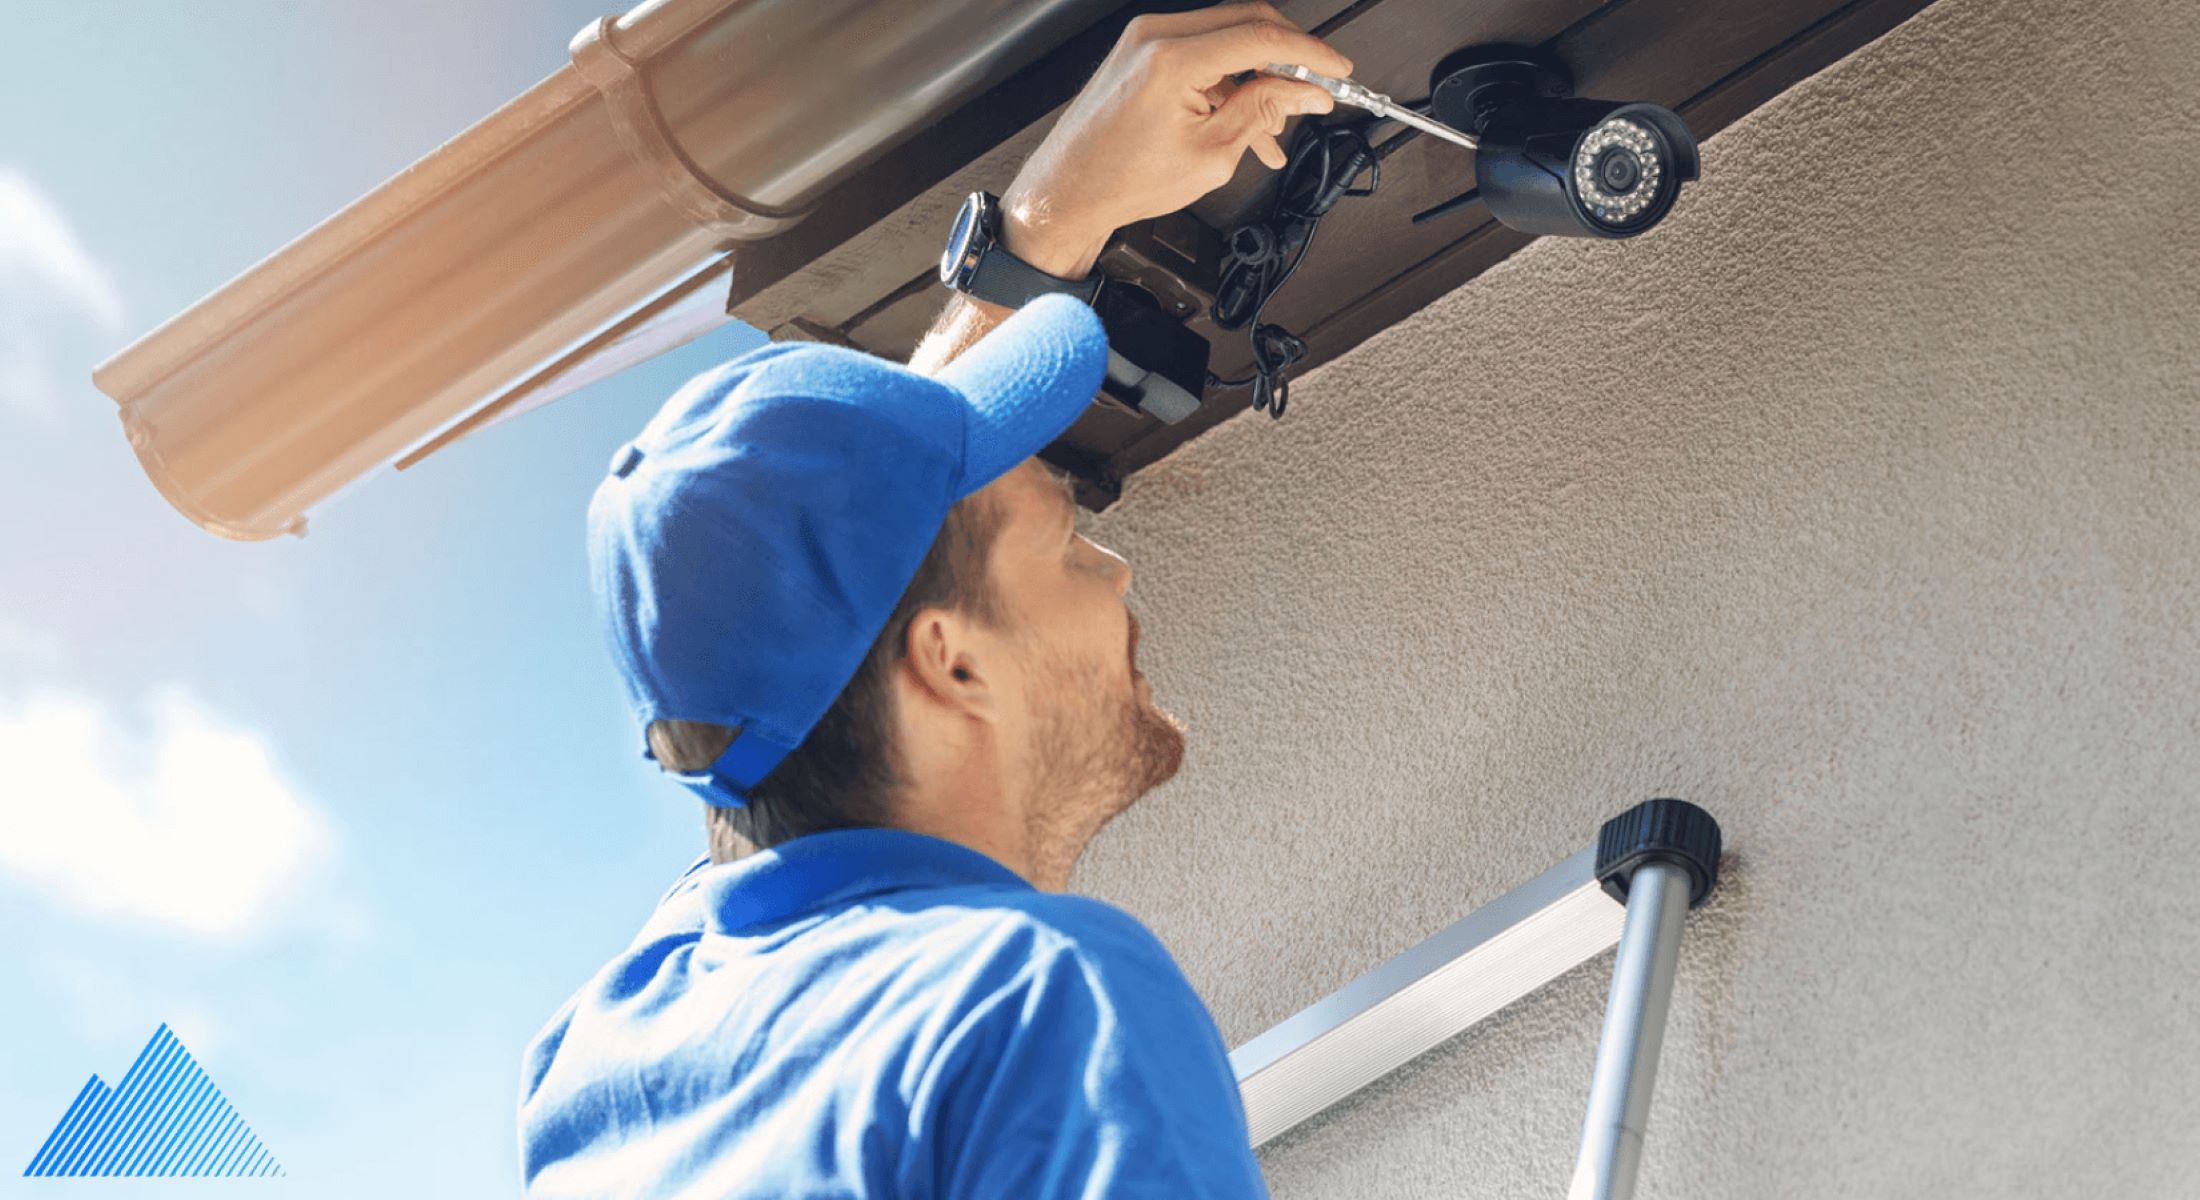
Mounting the Camera
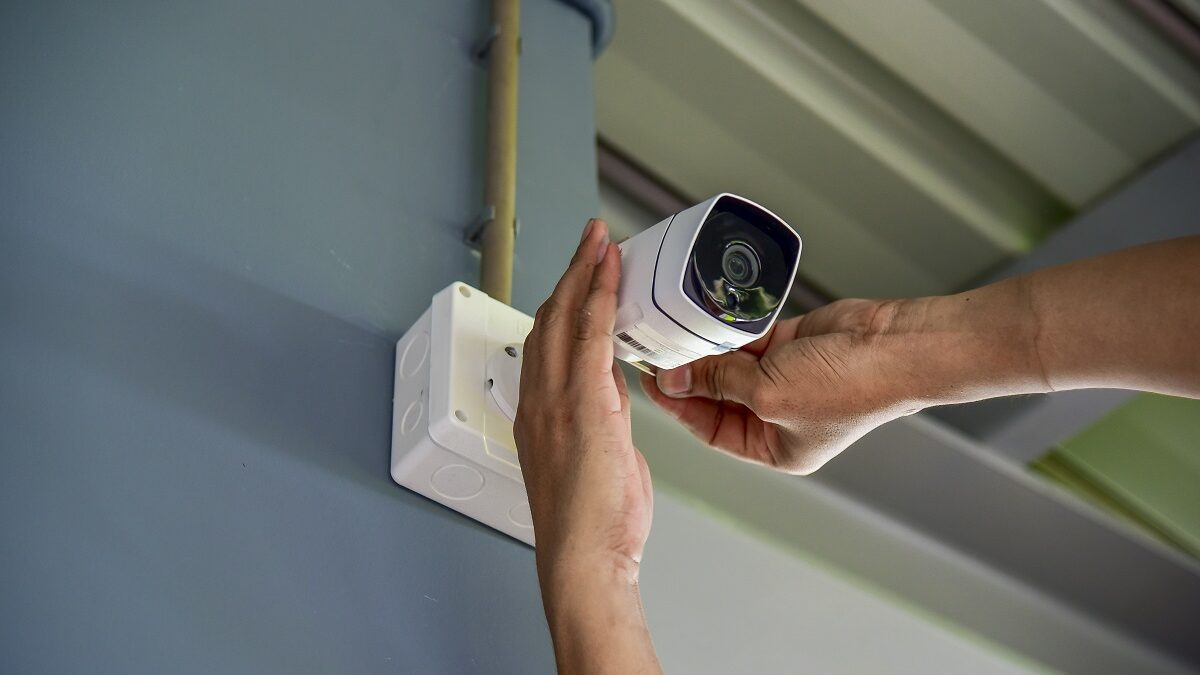
Once you have chosen the right wired security camera for your outdoor surveillance needs, it’s time to mount the camera in the designated locations. Proper mounting ensures the camera stays in position and provides optimal coverage of the intended area.
Follow these steps to mount your wired security camera:
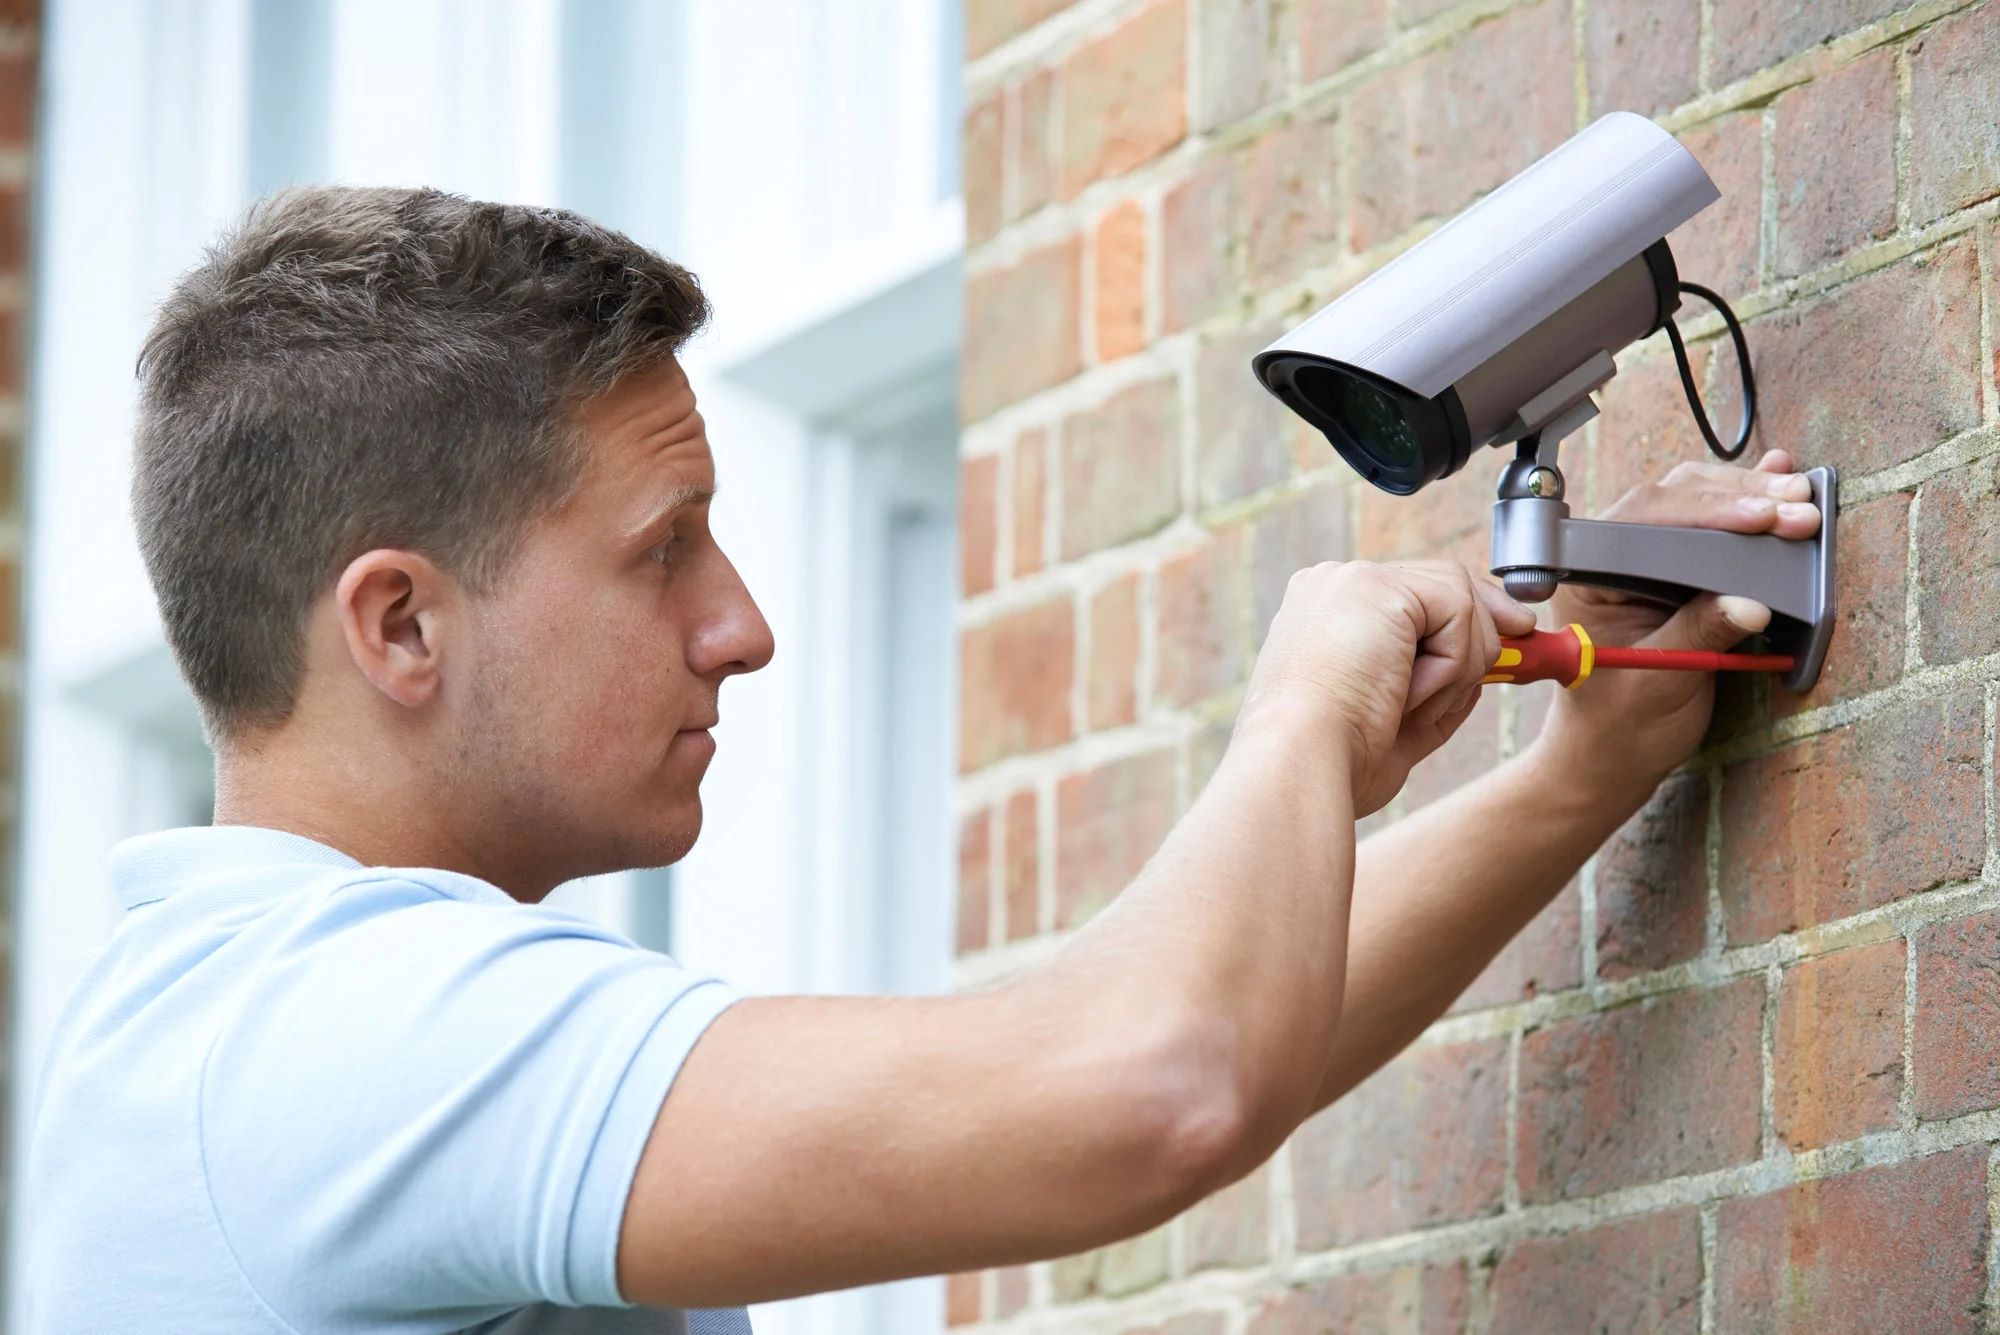
- Gather the necessary tools: Before starting the installation process, gather the tools you’ll need, such as a power drill, screws, a screwdriver, and any mounting brackets or accessories that come with the camera.
- Position the camera: Place the camera on the mounting bracket or base and hold it against the desired location. Use a level to ensure the camera is properly aligned and straight.
- Mark the mounting holes: With the camera in position, mark the mounting holes on the wall or surface using a pencil or marker. These marks will guide you when drilling the holes for the screws.
- Drill the holes: Use a power drill with the appropriate drill bit size to drill the holes at the marked positions. Make sure the holes are deep enough to securely hold the screws and support the camera’s weight.
- Attach the mounting bracket: If the camera comes with a separate mounting bracket, attach it to the wall using the screws provided. Ensure that the bracket is securely fastened to provide stability.
- Mount the camera: Align the camera’s mounting holes with the drilled holes and insert the screws through the holes. Use a screwdriver to tighten the screws, securing the camera in place. Ensure that the camera is firmly attached and does not wobble.
Once the camera is successfully mounted, check its positioning and adjust if necessary. Ensure that the camera covers the desired area and provides the desired field of view.
Remember to test the camera’s functionality after mounting to ensure it is capturing clear footage and functioning as expected.
When installing wired security cameras outside, make sure to use weatherproof housing and secure all cables to prevent tampering or damage from the elements.
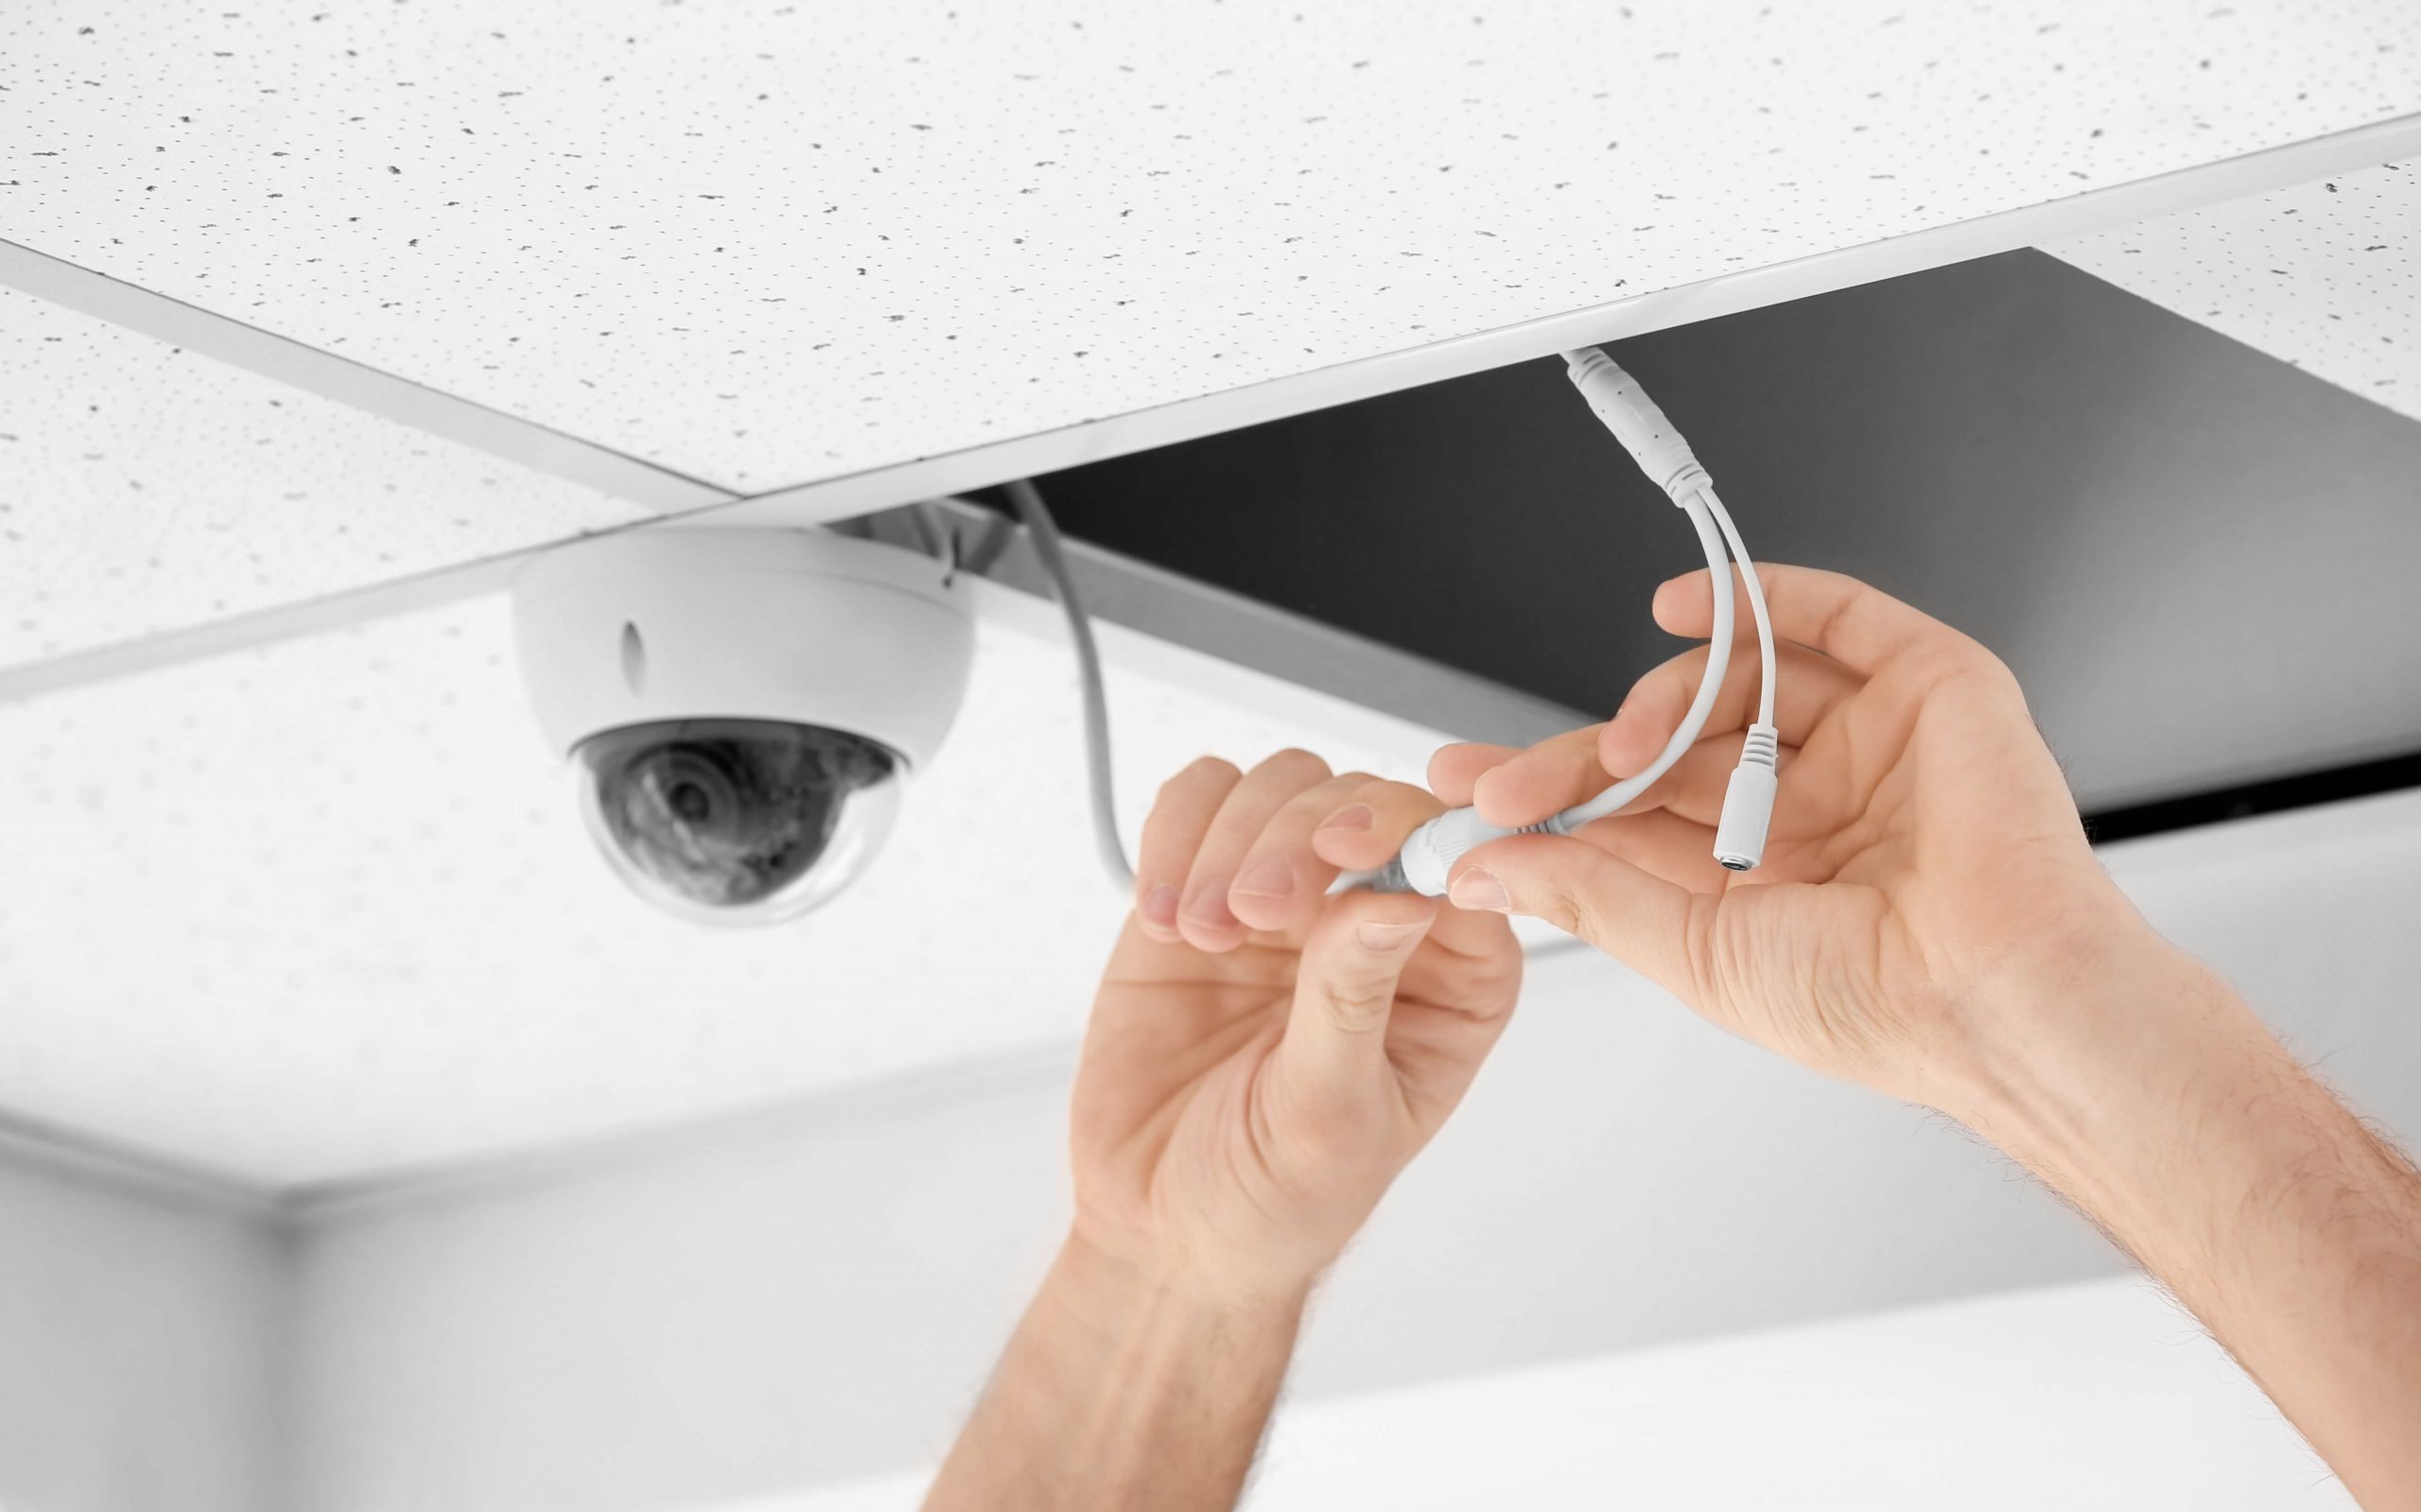
Establishing Power Supply
With your wired security camera mounted in the desired location, the next step is to establish a reliable power supply. The power supply method depends on the camera’s power requirements and your setup.
Consider the following options for establishing the power supply:
- Power Outlet: If your camera is located near a power outlet, you can use a standard power adapter to provide the necessary power. Ensure that the power cable is securely connected to the camera and the power outlet.
- Power Extension Cable: In cases where the camera is positioned far from a power outlet, you can use a power extension cable. Make sure to use high-quality extension cables that are suitable for outdoor use and can withstand different weather conditions.
- Power over Ethernet (PoE): PoE cameras are powered through the Ethernet cable that also transmits data. To use this option, you’ll need a PoE switch or a PoE injector. Connect the camera to the switch or injector using an Ethernet cable, and ensure that the PoE functionality is enabled.
- Battery Backup: If you want to ensure uninterrupted power supply for your wired security camera, consider using a battery backup system. This will keep the camera running even during power outages.
Ensure that the power supply is securely connected to the camera and that all cables are safely routed to avoid any tripping hazards or damage. If necessary, use cable clips or conduits to secure and protect the power cables.
Additionally, consider using surge protectors to safeguard your camera and other equipment from power surges.
Regularly monitor the camera’s power supply and perform routine checks to ensure proper functioning. In case of any issues, troubleshoot the power supply or consult a professional for assistance.
Ensuring Weatherproofing
Outdoor wired security cameras are exposed to various weather conditions, so it’s crucial to ensure proper weatherproofing to protect them from moisture, dust, and extreme temperatures. This will help maintain the camera’s functionality and prolong its lifespan.
Here are some steps to ensure weatherproofing for your wired security camera:
- Select a weatherproof camera: Make sure the camera you choose is specifically designed for outdoor use and has a high IP (Ingress Protection) rating. Look for a camera with an IP65 or higher rating, as this indicates it can withstand dust and water spray.
- Seal cable entry points: Ensure that the cable entry points on the camera housing are properly sealed to prevent moisture from entering. You can use weatherproof sealant or silicone caulk to seal any gaps or openings.
- Utilize protective housing: Consider using a protective housing or enclosure for added protection against harsh weather conditions. These housings are designed to shield the camera from rain, snow, and other environmental elements.
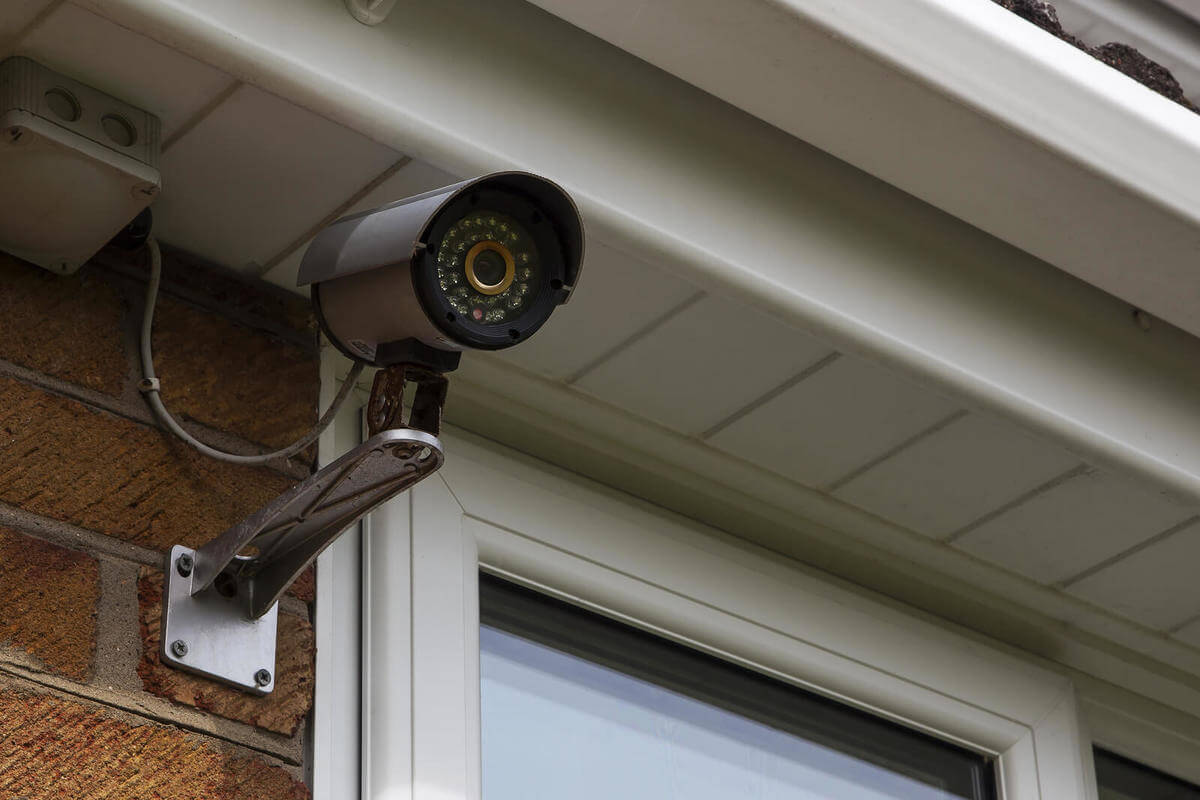
- Position the camera strategically: Mount the camera under eaves or any other protective structure to minimize direct exposure to rain or direct sunlight. This will help prevent excessive moisture buildup on the camera’s housing.
- Regular maintenance: Perform routine checks to ensure the camera’s housing remains intact and weatherproof. Clean the camera’s lens and housing periodically to remove any debris or dirt accumulation that could impact the camera’s performance.
By taking these steps, you can ensure that your wired security camera is adequately protected and operates effectively in various weather conditions.
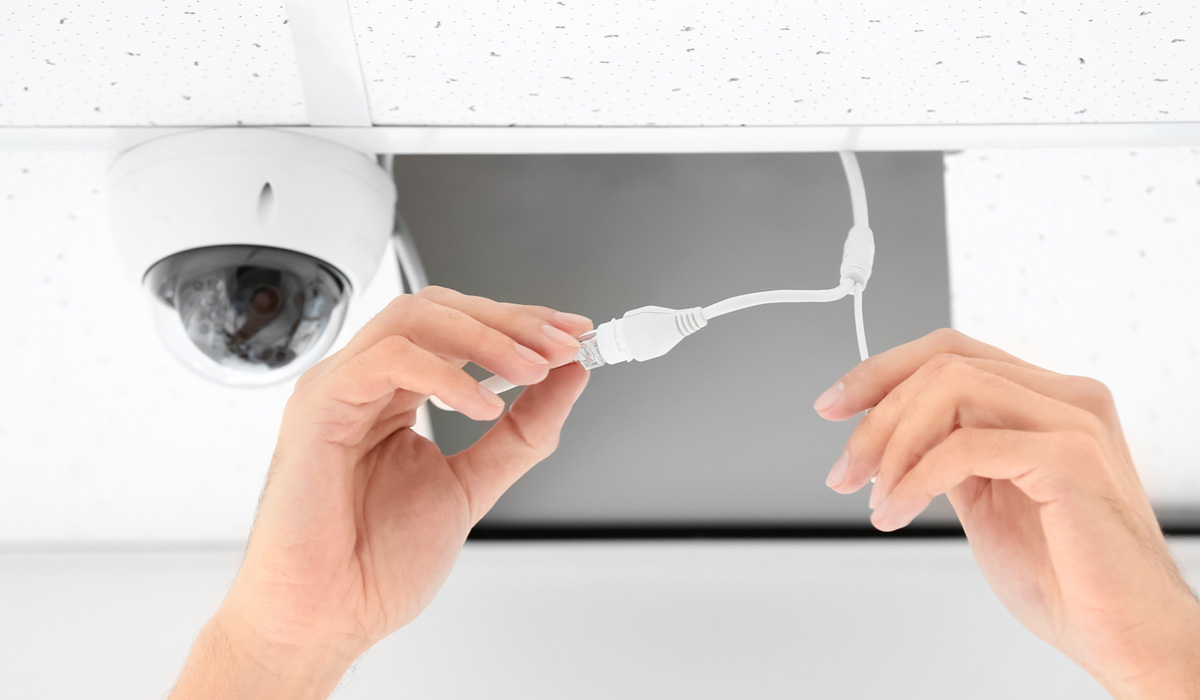
Securing the Camera Cables
Securing the camera cables is an essential step in the installation process of your outdoor wired security camera. Proper cable management ensures the cables are protected, organized, and hidden from sight, reducing the risk of damage and improving the overall aesthetics of your surveillance system.
Follow these guidelines to secure the camera cables:
- Plan the cable route: Before running the cables, plan the route they will take from the camera to the power source and recording device. Consider hiding the cables along walls, under eaves, or inside conduits to minimize their visibility.
- Measure the cable lengths: Measure the required length of each cable accurately to avoid any excess cable that could potentially create clutter or become a tripping hazard.
- Use cable clips or clips: Secure the cables along the planned route using cable clips or cable clips specially designed for outdoor use. These will help keep the cables in place and prevent them from sagging or tangling.
- Protect the cables: Consider using cable protectors or outdoor-rated cable covers to shield the cables from physical damage or exposure to sunlight. This will extend the lifespan of the cables and ensure their optimal performance.
- Conceal the cables: If possible, conceal the cables behind walls, under carpets, or within conduits to make them less visible. This will enhance the overall aesthetics of your surveillance system and minimize the risk of tampering.
- Label the cables: To avoid confusion and simplify maintenance or troubleshooting tasks in the future, label each cable with the corresponding camera and power source. This will make it easier to identify and manage the cables when needed.
Regularly inspect the secured cables to ensure they remain in good condition and make any necessary adjustments or repairs as needed. This will help maintain the integrity of your surveillance system and ensure continuous surveillance coverage.
Conclusion
Installing wired security cameras outside is a practical and effective way to enhance the security of your home. By carefully assessing the location, choosing the right camera, mounting it properly, establishing a reliable power supply, ensuring weatherproofing, and securing the camera cables, you can create a robust and reliable surveillance system.
Remember to consider factors such as field of view, resolution, weatherproofing, and power supply options when selecting a camera. Mount the camera securely, ensuring it covers the desired areas with a clear field of view. Establish a reliable power supply, whether through a power outlet, power extension cable, or Power over Ethernet (PoE) option. Weatherproof the camera to protect it from moisture, dust, and extreme temperatures.
Proper cable management is crucial to secure the camera cables, reduce the risk of damage, and improve the aesthetics of your surveillance system. Carefully plan the cable route, use cable clips or clips to secure the cables, and consider hiding or protecting them for a clean and organized installation.
By following these steps and guidelines, you can confidently install wired security cameras outside and have peace of mind, knowing that your home is under constant surveillance. Remember to periodically maintain and inspect your surveillance system to ensure its optimal performance.
Investing in a comprehensive and well-installed surveillance system is not only a crucial step in protecting your property and loved ones but also provides you with the peace of mind that comes with knowing your home is secure.
So go ahead, take the necessary steps, and enjoy the enhanced security of your home with the installation of wired security cameras outside.
Frequently Asked Questions about How To Put Wired Security Cameras Outdoor
Was this page helpful?
At Storables.com, we guarantee accurate and reliable information. Our content, validated by Expert Board Contributors, is crafted following stringent Editorial Policies. We're committed to providing you with well-researched, expert-backed insights for all your informational needs.