Home>Home Security and Surveillance>How To Remove Security Hardware From Guardian Home Security
Home Security and Surveillance
How To Remove Security Hardware From Guardian Home Security
Modified: March 6, 2024
Looking to remove security hardware for your home security and surveillance system? Find out how with our expert tips and guidance from Guardian Home Security.
(Many of the links in this article redirect to a specific reviewed product. Your purchase of these products through affiliate links helps to generate commission for Storables.com, at no extra cost. Learn more)
Introduction
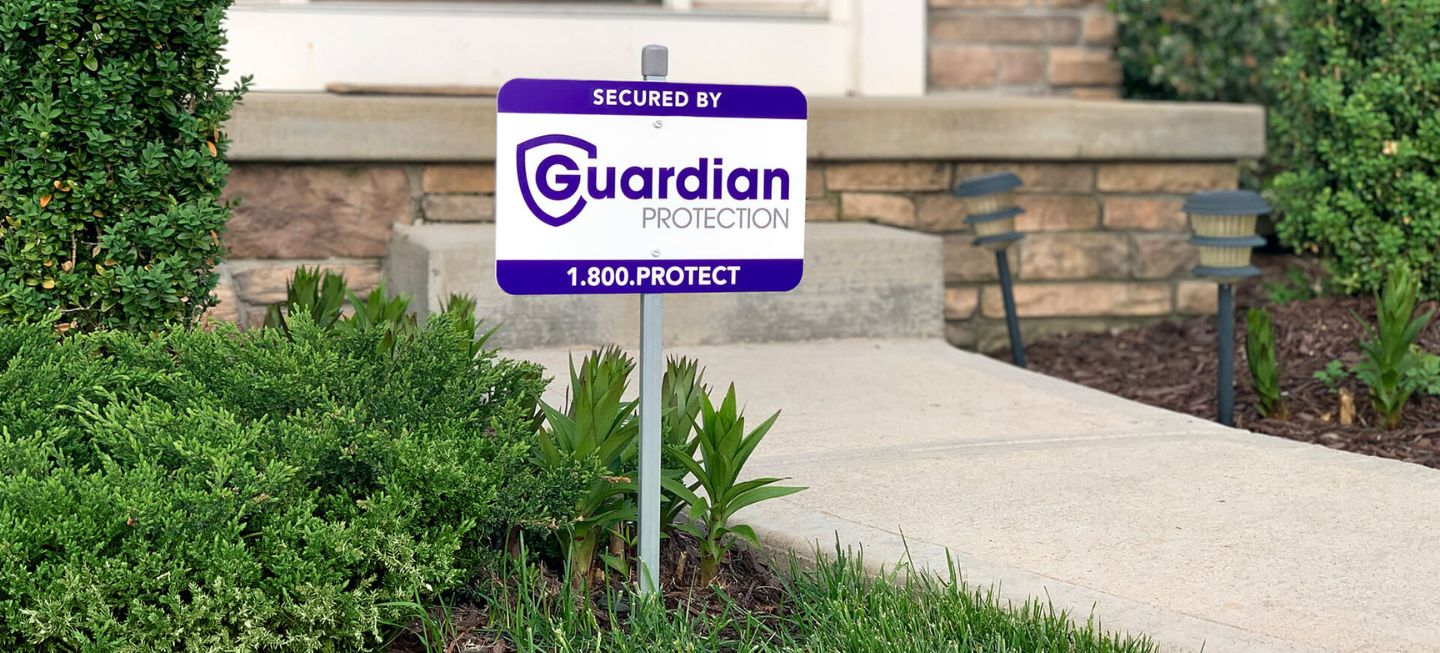
Home security is a top priority for homeowners, and the trusted name in the industry is Guardian Home Security. With their range of innovative home security hardware, they provide peace of mind and protection for families. However, there may be occasions when you need to remove or relocate your security hardware. Whether you’re moving to a new home or simply rearranging your existing security setup, understanding how to remove Guardian Home Security hardware is essential.
In this guide, we will walk you through the process of removing various types of Guardian Home Security hardware, including window sensors, door sensors, motion detectors, control panels, and security cameras. By following these step-by-step instructions, you can safely and effectively remove your security hardware without causing any damage or disrupting the functionality of your system.
Before we dive into the specific removal techniques for each type of hardware, it’s important to note that it’s always a good idea to consult the user manual or contact Guardian Home Security customer support for guidance tailored to your specific system. Additionally, if you have a professional security system installation, it’s recommended to have a professional technician handle the removal for you to ensure proper disconnection and minimal disruption to your system.
Now, let’s begin our journey on how to remove Guardian Home Security hardware, starting with window sensors.
Key Takeaways:
- Safely remove Guardian Home Security hardware by following step-by-step instructions for window sensors, door sensors, motion detectors, control panels, and security cameras. Always consult the user manual or customer support for guidance tailored to your specific system.
- If unsure, seek professional assistance for removing Guardian Home Security hardware to ensure proper disconnection and minimal disruption to your security system. Treat the hardware with care to maintain its condition for future use or reinstallation.
Read more: How To Remove Home Security System From Wall
Understanding Guardian Home Security Hardware
Before we delve into the removal process, it’s essential to have a basic understanding of the different types of Guardian Home Security hardware commonly installed in households.
1. Window Sensors: These small devices are designed to detect the opening and closing of windows. They typically consist of two parts – a magnet and a sensor – that are attached to the window frame and the corresponding window sash. When the window is opened, the magnetic connection is broken, triggering an alert to the security system.
2. Door Sensors: Similar to window sensors, door sensors are used to monitor the opening and closing of doors. They are also composed of two components – a magnet and a sensor. The magnet is installed on the door frame, while the sensor is placed on the door itself. When the door is opened, the magnet and sensor separate, initiating a signal to the security system.
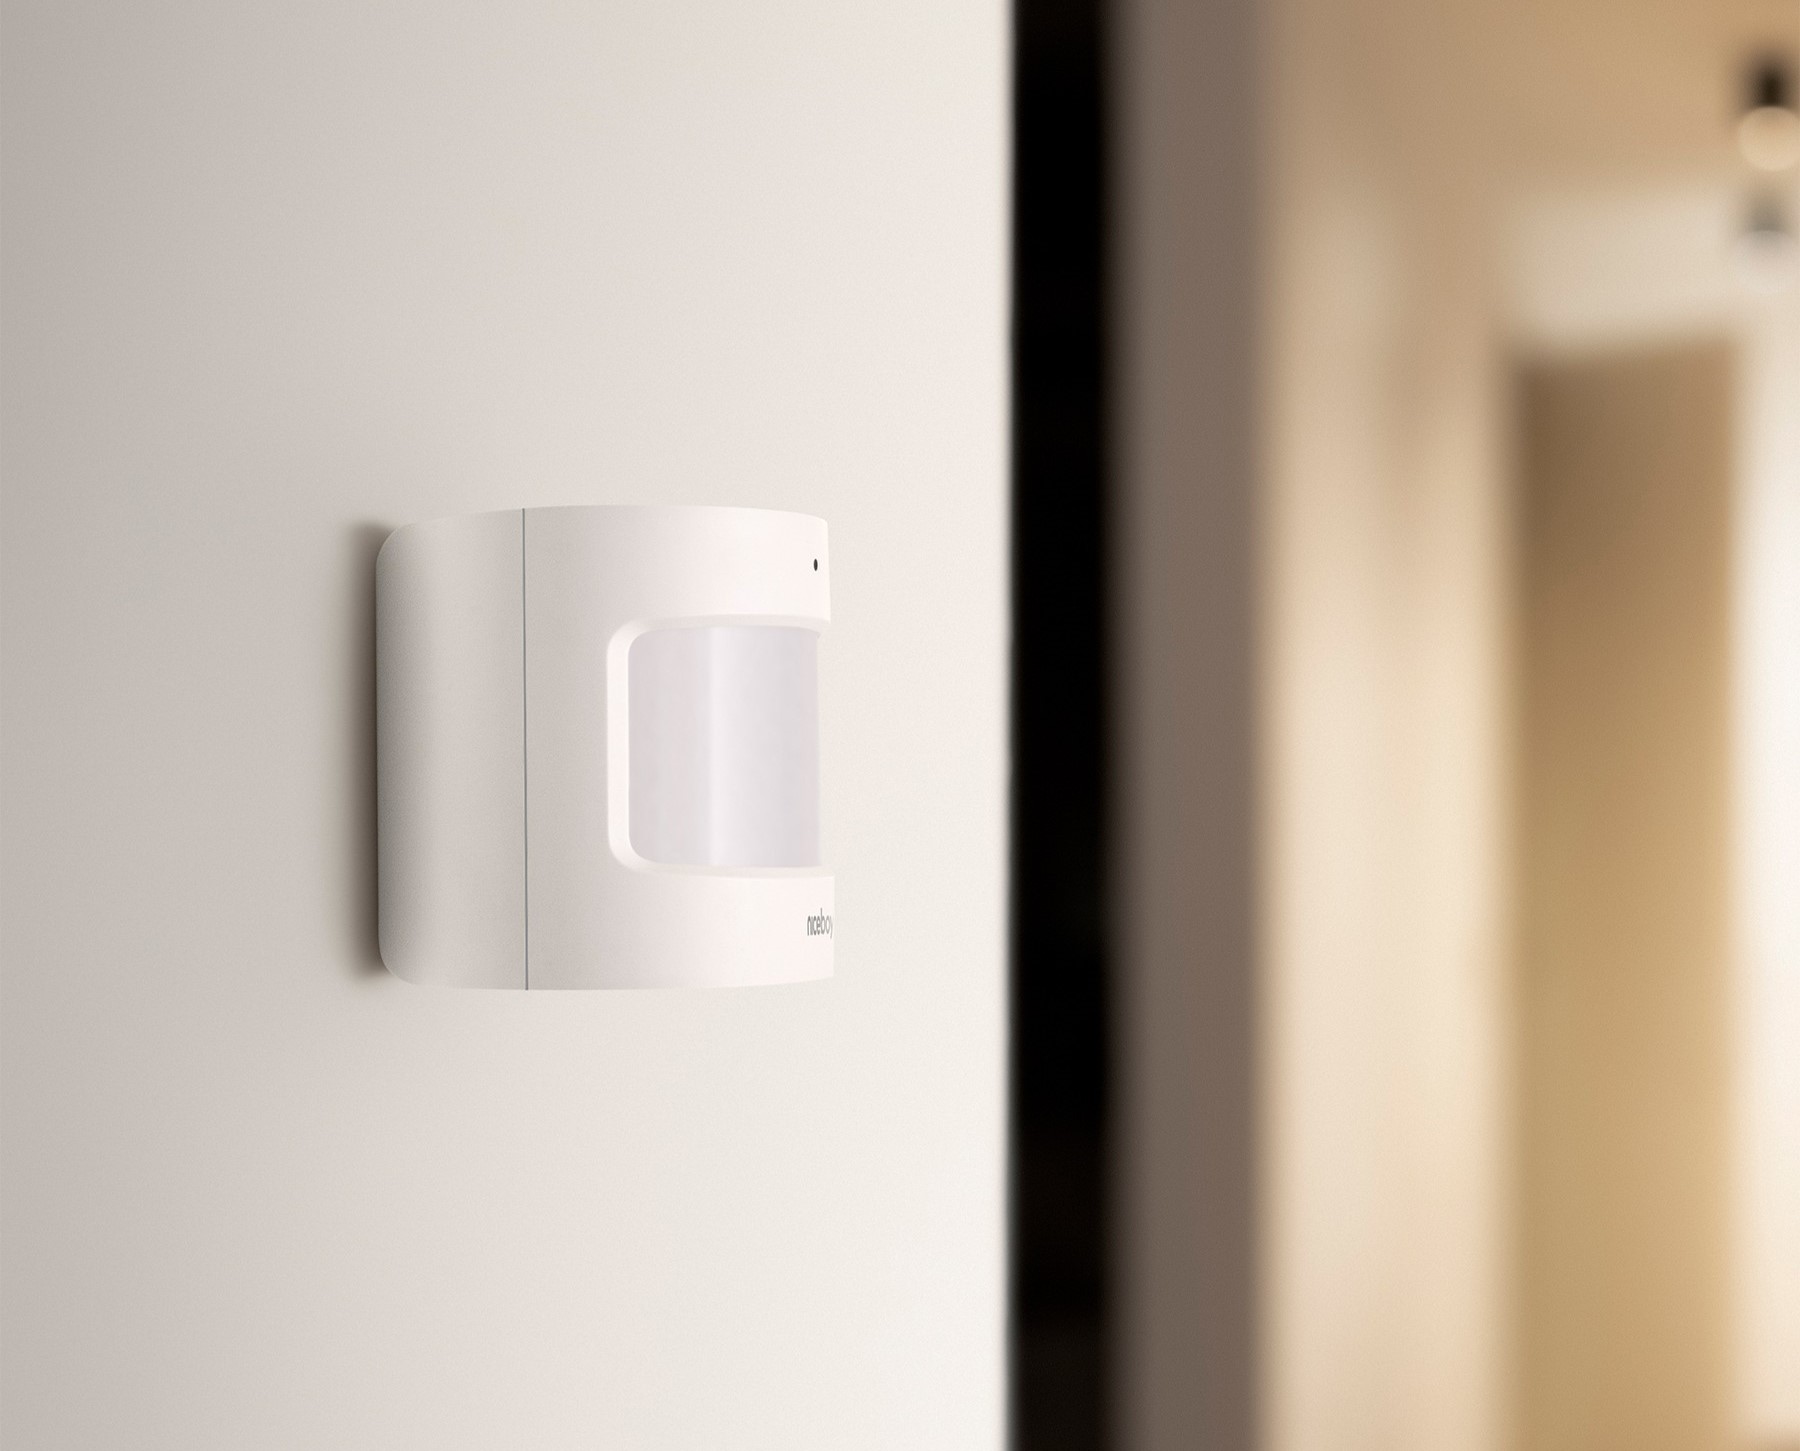
3. Motion Detectors: Motion detectors use various technologies, such as infrared or microwave, to detect movement within a designated area. They are typically mounted on walls or ceilings and can cover a wide range of space. When motion is detected, these sensors send a signal to the security system, alerting homeowners of potential intruders.
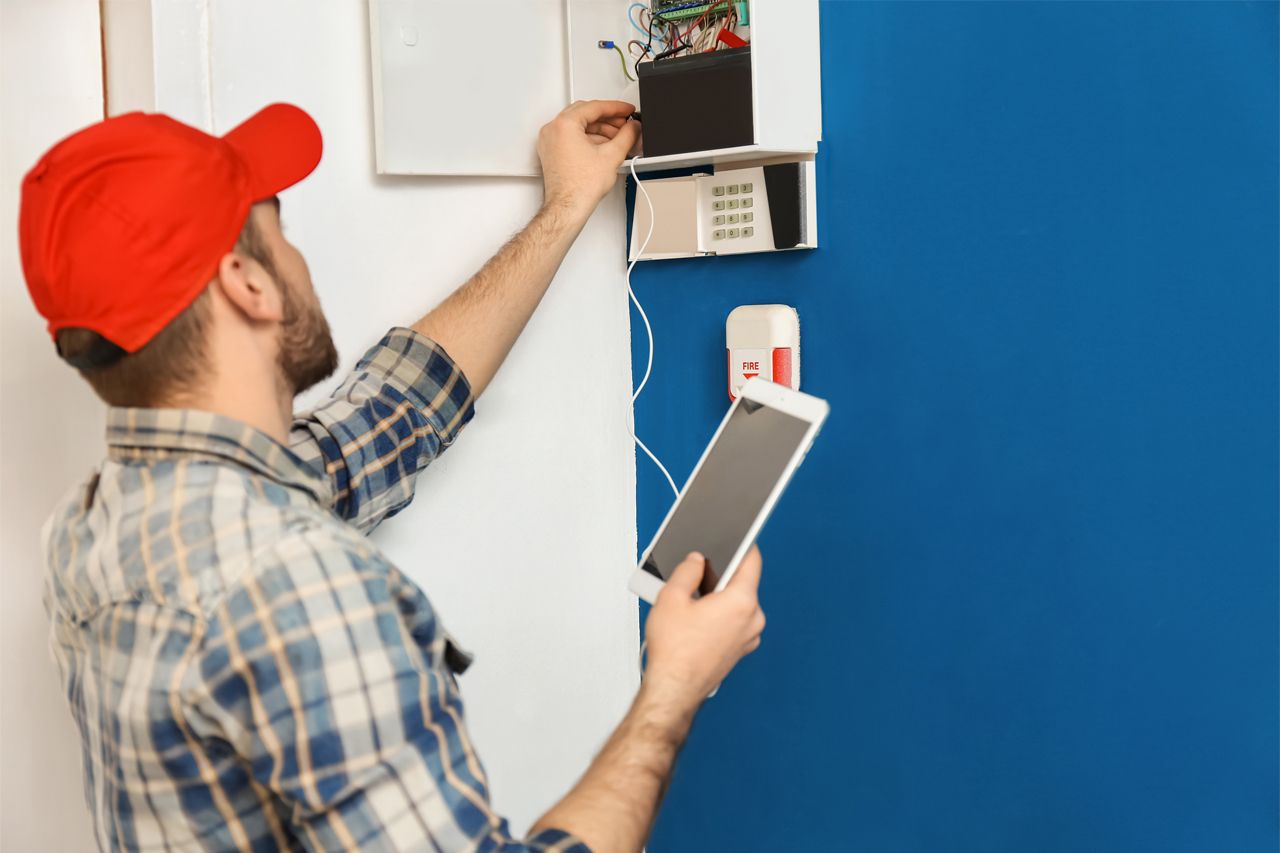
4. Control Panels: The control panel serves as the nerve center of the Guardian Home Security system. It is usually located near the main entrance or in a central area of the house. The control panel allows homeowners to arm or disarm the security system, view alerts, and adjust various settings.
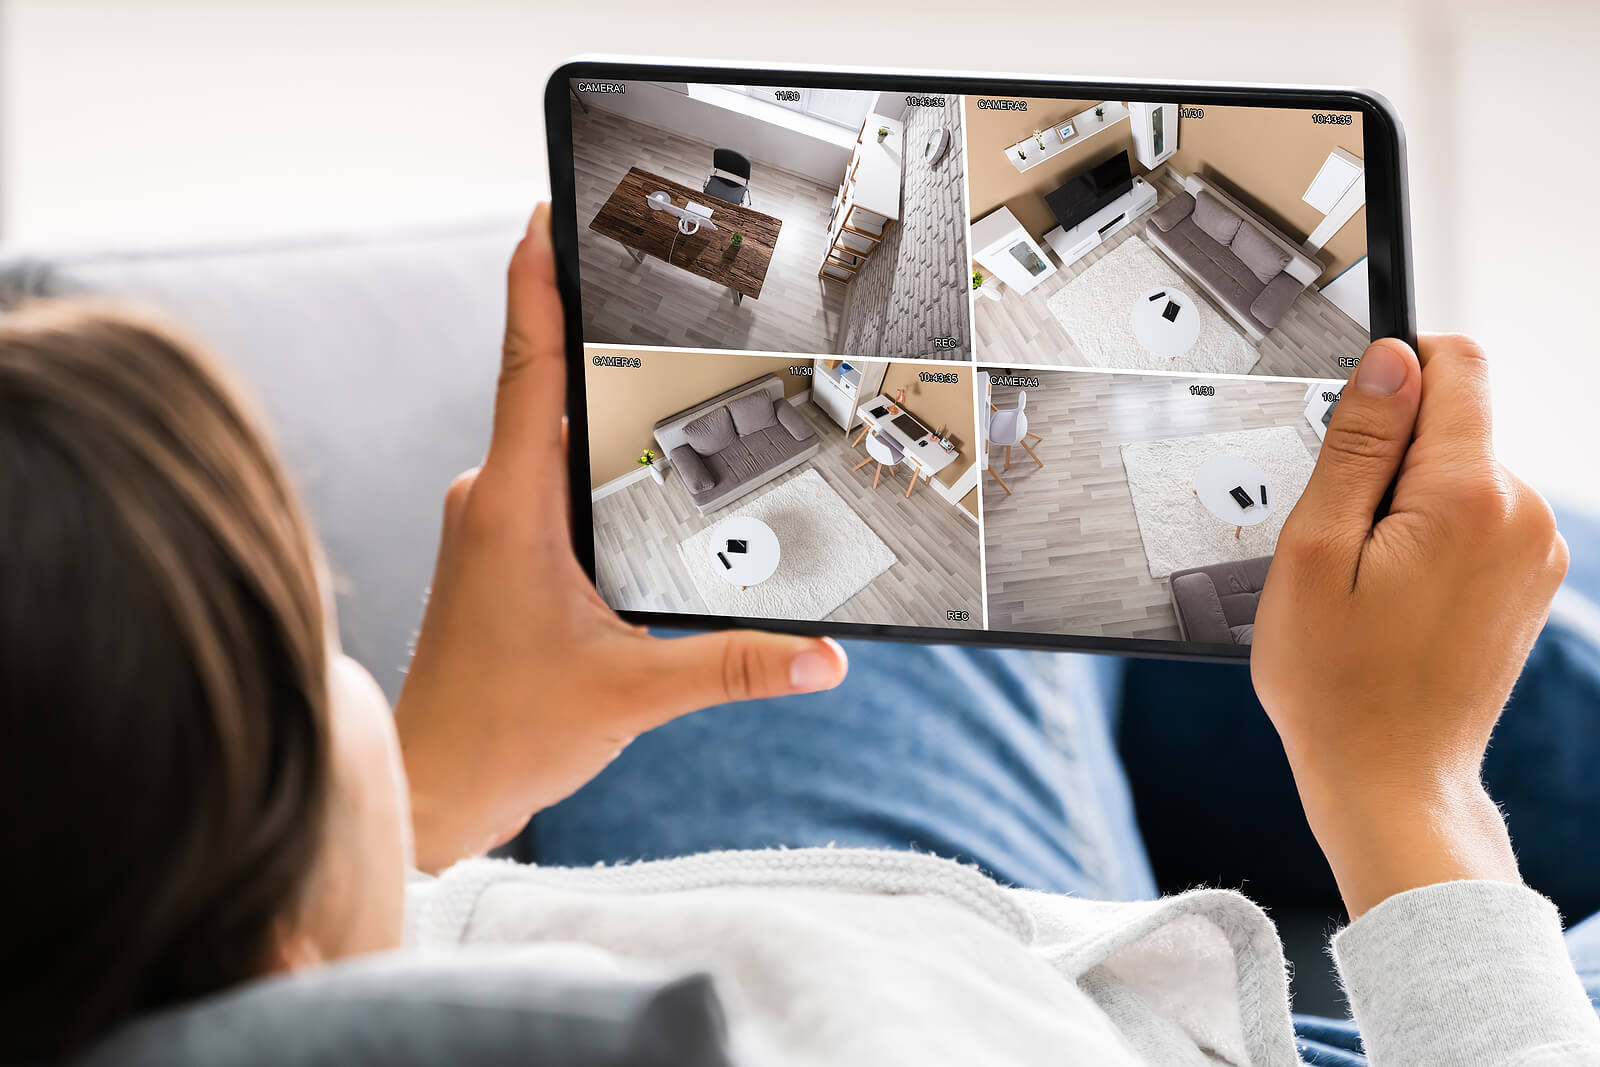
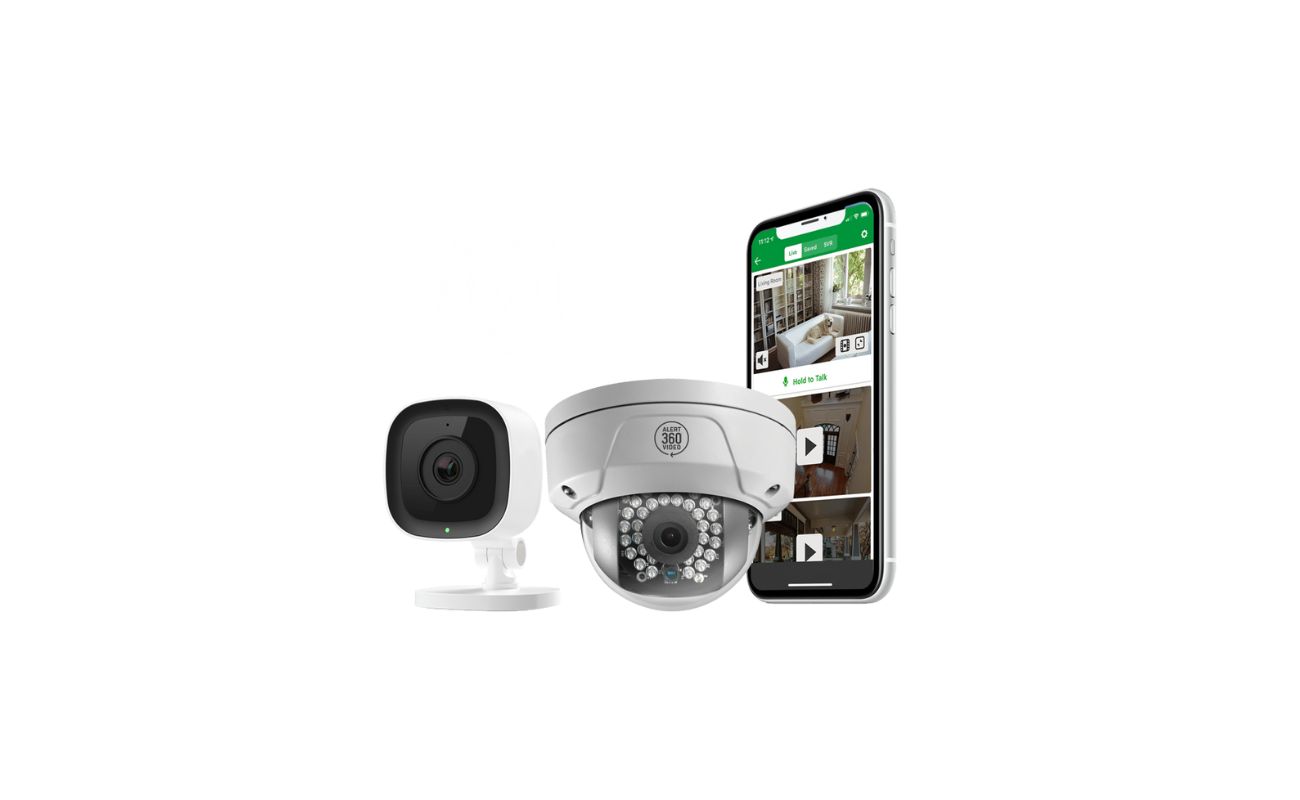
5. Security Cameras: Guardian Home Security offers a range of surveillance cameras, including indoor and outdoor models. These cameras provide live video feeds and recordings, allowing homeowners to monitor and review activity around their property.
By understanding the different types of Guardian Home Security hardware, you can better comprehend the removal process and ensure that you handle each component correctly. Now that we have a solid foundation, let’s move on to the specific steps for removing each type of hardware.
Removing Window Sensors
Window sensors play a crucial role in your Guardian Home Security system by detecting any unauthorized opening of windows. If you need to remove or relocate a window sensor, here’s a step-by-step guide to help you:
1. Disarming the Security System: Before removing any hardware, it’s essential to disarm your Guardian Home Security system. This ensures that no alarms are triggered during the removal process. Refer to your control panel or user manual to correctly disarm your system.
2. Locate the Window Sensor: Identify the specific window sensor you wish to remove. Guardian Home Security window sensors are typically attached to the window frame using adhesive or screws. Carefully inspect the sensor to determine the method of attachment.
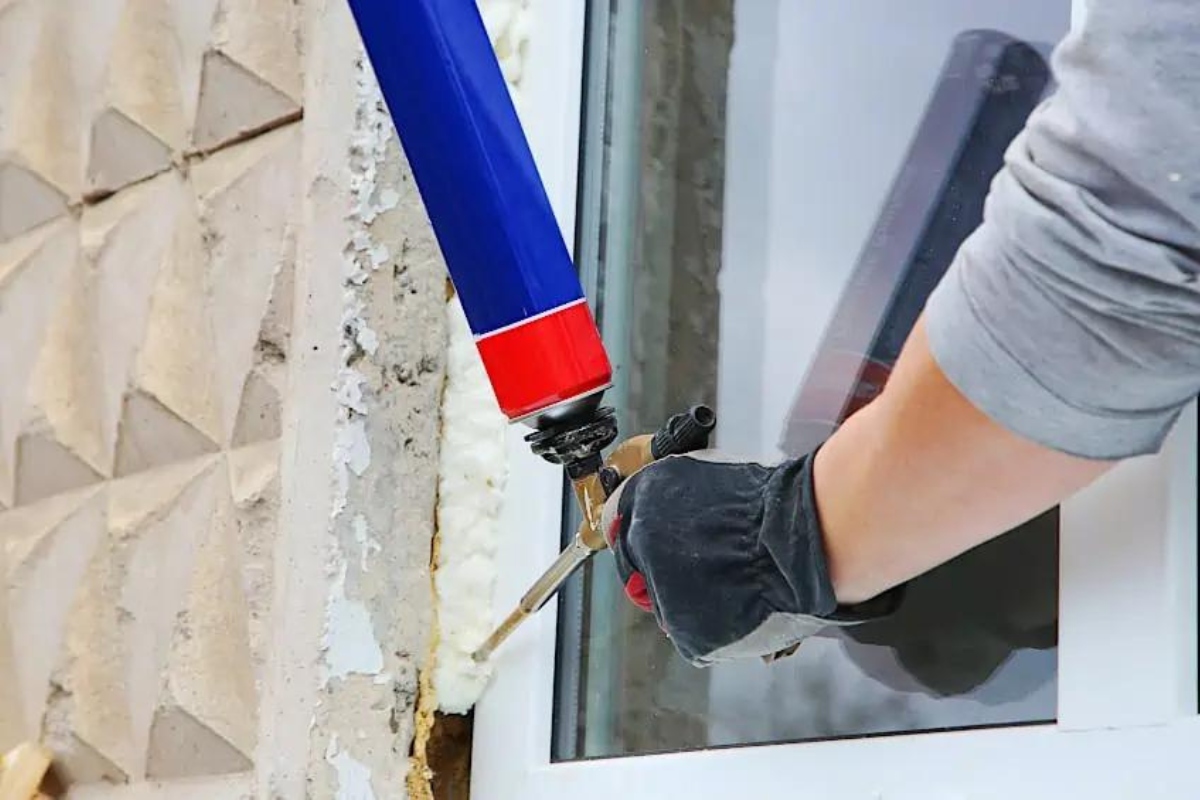
3. Remove the Adhesive Sensor: If your window sensor is attached using adhesive, gently pry it off using a flathead screwdriver or a similar tool. Be cautious not to damage the window frame or the sensor itself. Apply gentle pressure and slowly work around the edges until the sensor comes off.
4. Remove Screwed-in Sensor: If the sensor is secured with screws, use a screwdriver to carefully loosen and remove the screws. Keep a firm grip on the sensor while removing the screws to prevent it from falling and potentially causing damage.
5. Disconnect the Sensor: Once the sensor is removed from the window frame, locate the connection point between the sensor and the wiring. In most cases, there will be a small connector that you can gently unplug to disconnect the sensor from the security system.
6. Reinstall or Store the Sensor: Depending on your needs, you can reattach the sensor to a different window or store it safely for future use. If you plan to reuse the sensor, make sure to clean the adhesive side or replace any damaged screws before installation.
By following these steps, you can successfully remove a Guardian Home Security window sensor without any complications. Remember to consult your user manual or contact customer support if you encounter any difficulties or have specific questions about your system. Now, let’s move on to removing door sensors.
Removing Door Sensors
Door sensors are an important component of your Guardian Home Security system, monitoring the opening and closing of doors. If you need to remove or relocate a door sensor, here’s a step-by-step guide to assist you:
1. Disarming the Security System: Before beginning the removal process, make sure to disarm your Guardian Home Security system. This prevents any false alarms and ensures a smooth removal process. Refer to your control panel or user manual for instructions on disarming the system.
2. Identify the Door Sensor: Determine which specific door sensor you need to remove. Guardian Home Security door sensors are usually composed of two parts – a magnet and a sensor. The magnet is installed on the door frame, while the sensor is attached to the door itself.
3. Separate the Magnet and Sensor: To remove the door sensor, start by separating the magnet from the sensor. Carefully slide the magnet away from the sensor, ensuring a smooth and gradual separation. This action should disconnect the magnetic field between the two components.
4. Remove Adhesive Sensors: If the door sensor is attached using adhesive, gently pry it off using a flathead screwdriver or a similar tool. Apply a slight amount of pressure and work your way around the edges of the sensor until it comes off. Take care not to damage the door or the sensor during this process.
5. Remove Screwed-in Sensors: If the sensor is secured with screws, use a screwdriver to carefully loosen and remove them. Hold onto the sensor while removing the screws to avoid any accidental drops or damage. Once the screws are removed, you can easily detach the sensor from the door.
6. Disconnect the Sensor Wiring: Once the sensor is removed, locate the connector that links the sensor to the wiring. This connector is usually a small plug that can be easily detached. Gently unplug the sensor from the wiring, ensuring a clean disconnection.
7. Reinstall or Store the Sensor: Depending on your needs, you can choose to reinstall the sensor on a different door or store it safely for future use. If you opt for reinstallation, clean the adhesive side or replace any damaged screws before attaching it to the new location.
Remember, if you encounter any difficulties or have specific questions, always refer to your user manual or reach out to Guardian Home Security’s customer support. Now, let’s move on to removing motion detectors.
When removing security hardware from your Guardian Home Security system, always follow the manufacturer’s instructions to avoid damaging the equipment. Typically, you will need to use a specific tool or code to deactivate and remove the hardware safely.
Removing Motion Detectors
Motion detectors are an integral part of any Guardian Home Security system, providing an extra layer of protection against intruders. If you need to remove or relocate a motion detector, follow these steps:
1. Disarm the Security System: Before you begin removing any hardware, make sure to disarm your Guardian Home Security system. This ensures that no alarms are triggered during the removal process. Refer to your control panel or user manual for instructions on how to disarm the system.
2. Locate the Motion Detector: Identify the specific motion detector you want to remove. Guardian Home Security motion detectors are typically mounted on walls or ceilings. Take note of the placement and any screws or brackets securing the device.
3. Remove Mounting Bracket or Screws: If the motion detector is attached using a mounting bracket, start by loosening the screws that secure it to the wall or ceiling. Use a screwdriver to carefully unscrew the device, maintaining a firm grip to prevent it from falling.
4. Disconnect the Wiring: Once the motion detector is detached from the mounting bracket or screws, look for the wiring connection. Most motion detectors have a plug-in connector or wire terminals. Carefully disconnect the wiring, ensuring a clean and safe disconnection.
5. Remove Battery-powered Detectors: If your motion detector is battery-powered, locate the battery compartment and remove the batteries. Some models may have a cover that needs to be unscrewed, while others have a sliding panel. Follow the manufacturer’s instructions for proper battery removal.
6. Reinstall or Store the Motion Detector: Depending on your needs, you can choose to reinstall the motion detector in a different location or store it for future use. If reinstalling, make sure to mount it securely using the appropriate screws or mounting bracket. If storing, store the device in a safe place to avoid damage.
It’s important to note that motion detectors may have different variations and installation methods. Always refer to the user manual specific to your Guardian Home Security system for detailed instructions on removing and reinstalling motion detectors.
Remember, if you have any uncertainties or specific questions, don’t hesitate to contact Guardian Home Security’s customer support. Now, let’s move on to removing control panels.
Read more: How To Remove A Dishwasher
Removing Control Panels
Control panels serve as the central hub of your Guardian Home Security system, allowing you to arm or disarm the system, receive alerts, and customize settings. If you need to remove or relocate a control panel, here’s a step-by-step guide to assist you:
1. Disarm the Security System: Before you begin removing any hardware, make sure to disarm your Guardian Home Security system. This prevents any false alarms and ensures a smooth removal process. Refer to your control panel or user manual for instructions on how to disarm the system.
2. Power Off the Control Panel: Locate the power source for your control panel. This is usually a plug connected to an electrical outlet. Safely power off the control panel by unplugging it from the power source. This step is crucial to ensure your safety during the removal process.
3. Remove Cover and Mounting Bracket: Most control panels have a removable cover. Gently pry off the cover using a flathead screwdriver or a similar tool, being careful not to damage it. Next, examine the mounting bracket securing the control panel to the wall or mounting surface. Unscrew the bracket using a screwdriver and set it aside.
4. Disconnect the Wiring: Once the control panel is detached from the mounting bracket, locate the wiring connections. Control panels typically have a wiring harness or terminal connections. Carefully disconnect the wiring, ensuring a clean and safe disconnection. Take note of the wire colors and their respective locations to facilitate future reinstallation, if necessary.
5. Label and Store Wiring: If you plan to reinstall the control panel in the same location or a different area, label the wires with adhesive labels or masking tape to identify their functions. This step will simplify the reconnection process in the future. Securely bundle and store the labeled wires to avoid tangling or damage.
6. Reinstall or Store the Control Panel: Depending on your needs, you can reinstall the control panel in a new location or store it for later use. If reinstalling, ensure that the mounting surface and security brackets are in good condition. If storing, keep the control panel and its accessories in a safe and dry place to prevent damage.
Remember to consult your user manual or contact Guardian Home Security’s customer support if you encounter any difficulties or have specific questions about your control panel or system. Now, let’s move on to removing security cameras.
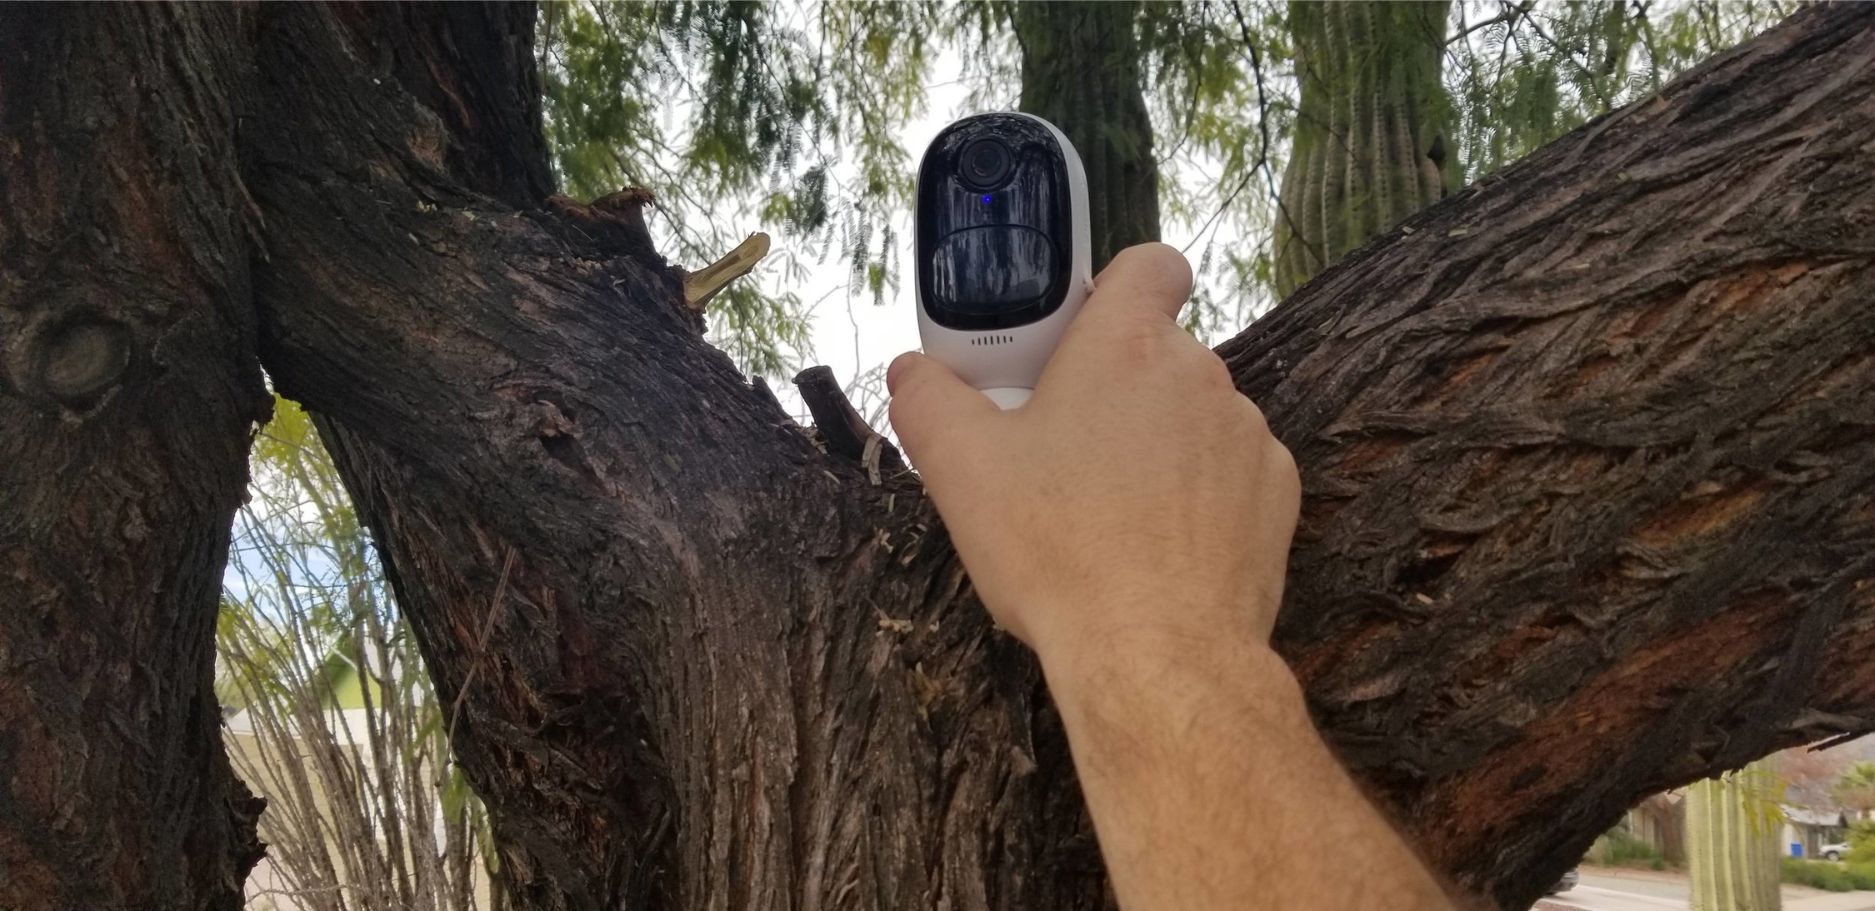
Removing Security Cameras
Security cameras are an essential part of any comprehensive home security system, providing visual surveillance for peace of mind. If you need to remove or relocate a security camera from your Guardian Home Security system, follow these steps:
1. Disarm the Security System: Before you begin removing any hardware, make sure to disarm your Guardian Home Security system. This prevents any false alarms and ensures a smooth removal process. Refer to your control panel or user manual for instructions on how to disarm the system.
2. Locate the Security Camera: Identify the specific security camera you wish to remove. Guardian Home Security offers a range of indoor and outdoor cameras. Check the mounting position and any screws or brackets used to secure the camera.
3. Disconnect the Power Source: Security cameras are typically powered using either a direct power connection or a Power over Ethernet (PoE) adapter. If the camera is connected to an electrical outlet, unplug it. If it is using a PoE adapter, disconnect the Ethernet cable from the adapter.
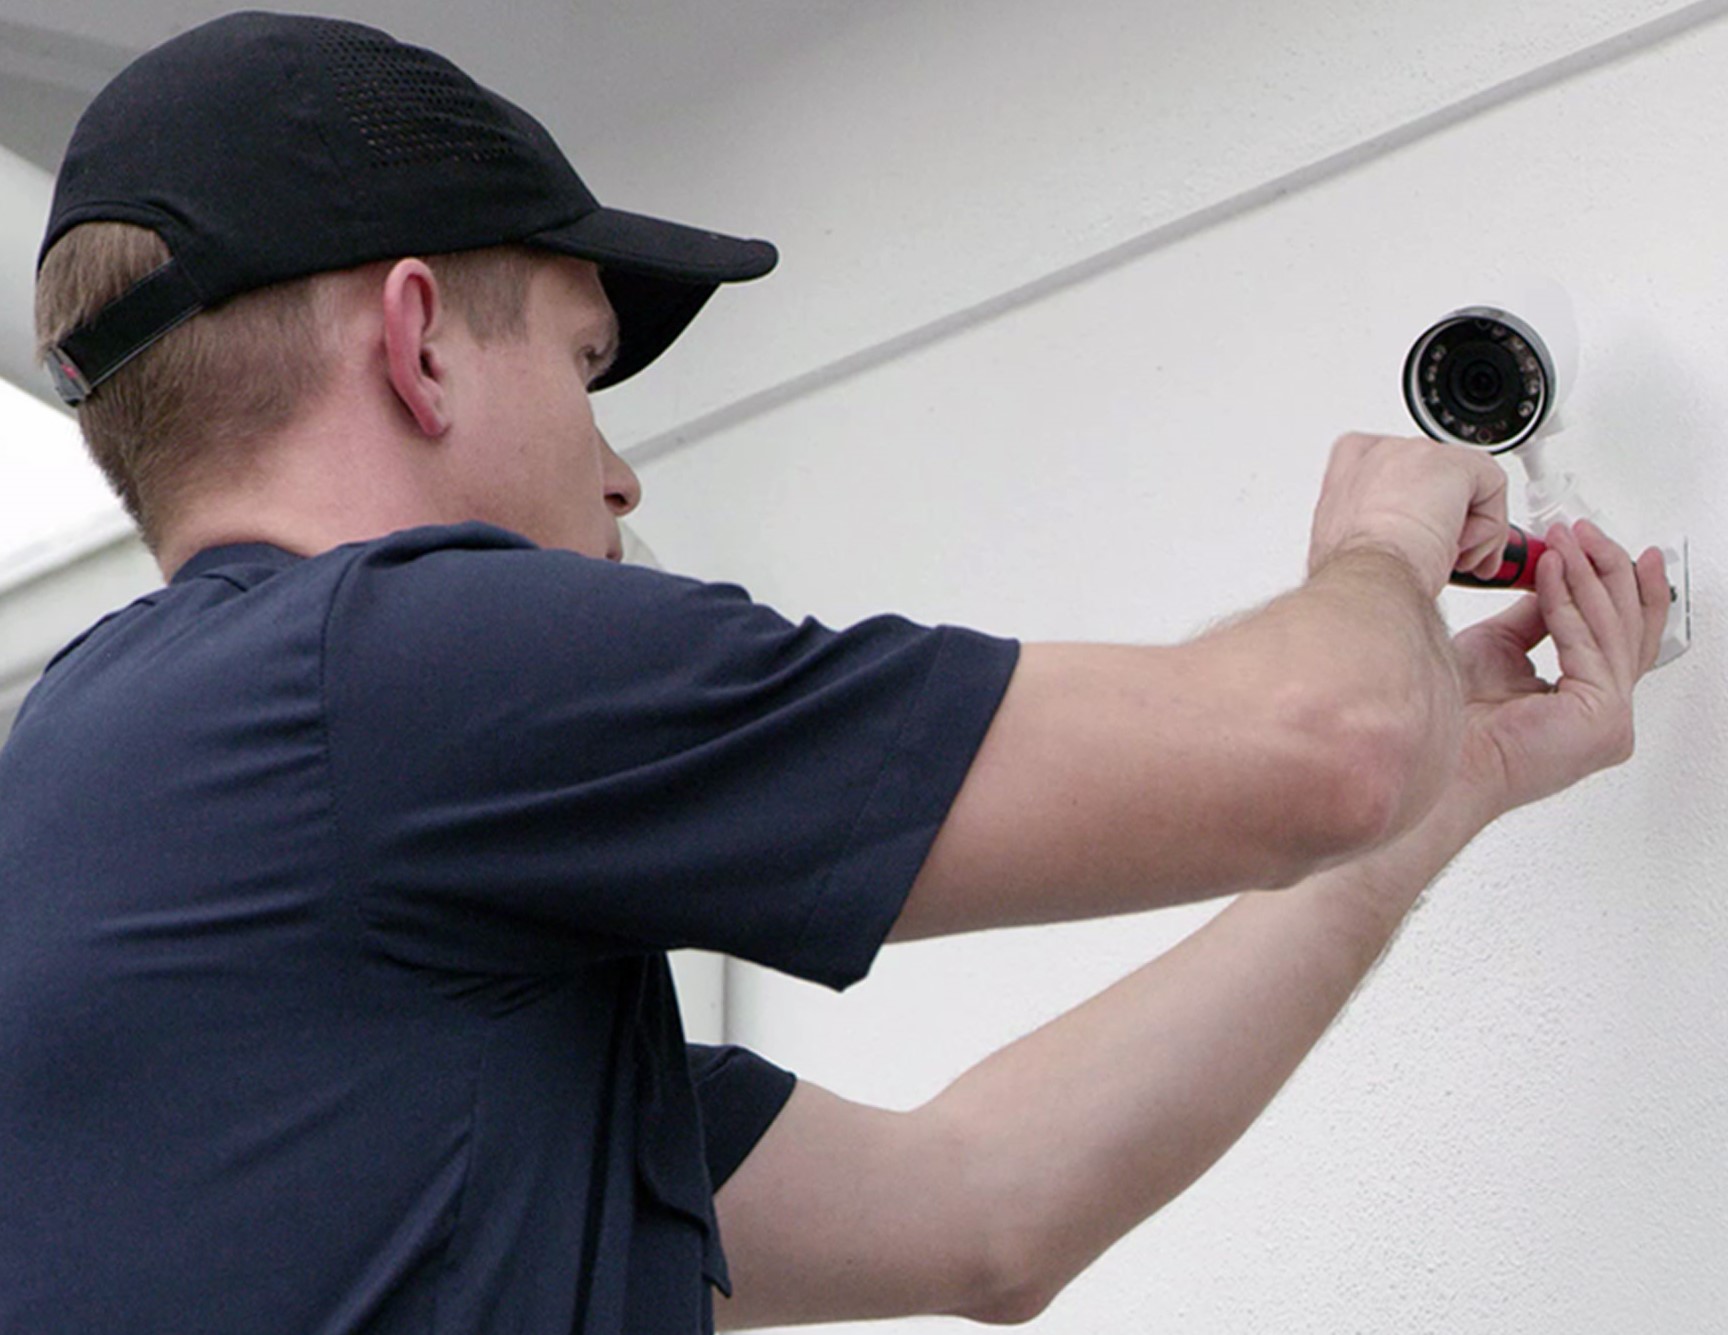
4. Remove Mounting Bracket or Screws: Depending on the camera model, you may need to remove a mounting bracket or unscrew the camera from its mounting position. Use a screwdriver to carefully remove any screws securing the camera or bracket. Hold the camera firmly to prevent it from falling during removal.
5. Disconnect the Camera Wiring: Once the camera is detached from the mounting bracket or screws, look for the wiring connection. Most cameras have a connector or wire terminals. Carefully disconnect the wiring, ensuring a clean and safe disconnection from the security system or network.
6. Remove Outdoor Housing (if applicable): Outdoor cameras often come with weatherproof housings. If your camera is housed in a protective case, follow the manufacturer’s instructions to remove it. This step may involve unscrewing or unlatching the housing to access the camera.
7. Reinstall or Store the Camera: Depending on your needs, you can choose to reinstall the camera in a different location or store it for future use. If reinstalling, make sure to mount it securely, following the manufacturer’s recommendations. If storing, keep the camera and its accessories in a safe, dry location to prevent damage.
Always refer to the specific instructions provided by Guardian Home Security for your camera model. If you have any uncertainties or questions, reach out to their customer support for guidance. Now you’ve successfully learned how to remove Guardian Home Security cameras. Let’s wrap up this guide.
Conclusion
Guardian Home Security provides homeowners with peace of mind through their reliable and innovative home security hardware. Whether you need to remove or relocate their window sensors, door sensors, motion detectors, control panels, or security cameras, understanding the proper removal techniques is essential to maintain the integrity of your system.
By following the step-by-step instructions outlined in this guide, you can safely and effectively remove Guardian Home Security hardware without causing any damage or disruption to your security system. Remember to always consult your user manual or contact Guardian Home Security’s customer support for guidance tailored to your specific system, especially if you have a professionally installed setup.
Taking the time to properly remove your security hardware allows you to adjust your system to meet changing needs or preferences. Whether you’re moving to a new home, rearranging your security setup, or upgrading your equipment, you now have the knowledge and confidence to handle the removal process.
It is important to note that if you are unsure or uncomfortable with removing Guardian Home Security hardware yourself, it is recommended to seek professional assistance. Professional technicians have the expertise and experience to handle hardware removals and ensure the proper disconnection and reinstallation of your security system.
Remember to treat your Guardian Home Security hardware with care during the removal process, avoiding any unnecessary force or damage. This will ensure that your equipment remains in good condition for future use or reinstallation.
Lastly, keeping up with the latest advancements in home security technology is important for maintaining a safe and secure home. Stay informed about new products and features offered by Guardian Home Security to enhance your security system.
With the knowledge gained from this guide, you can confidently handle the removal of Guardian Home Security hardware, allowing you to adapt and customize your home security system to better protect your family and property.
Frequently Asked Questions about How To Remove Security Hardware From Guardian Home Security
Was this page helpful?
At Storables.com, we guarantee accurate and reliable information. Our content, validated by Expert Board Contributors, is crafted following stringent Editorial Policies. We're committed to providing you with well-researched, expert-backed insights for all your informational needs.