Home>Home Security and Surveillance>How To Remove Vivint Outdoor Camera
Home Security and Surveillance
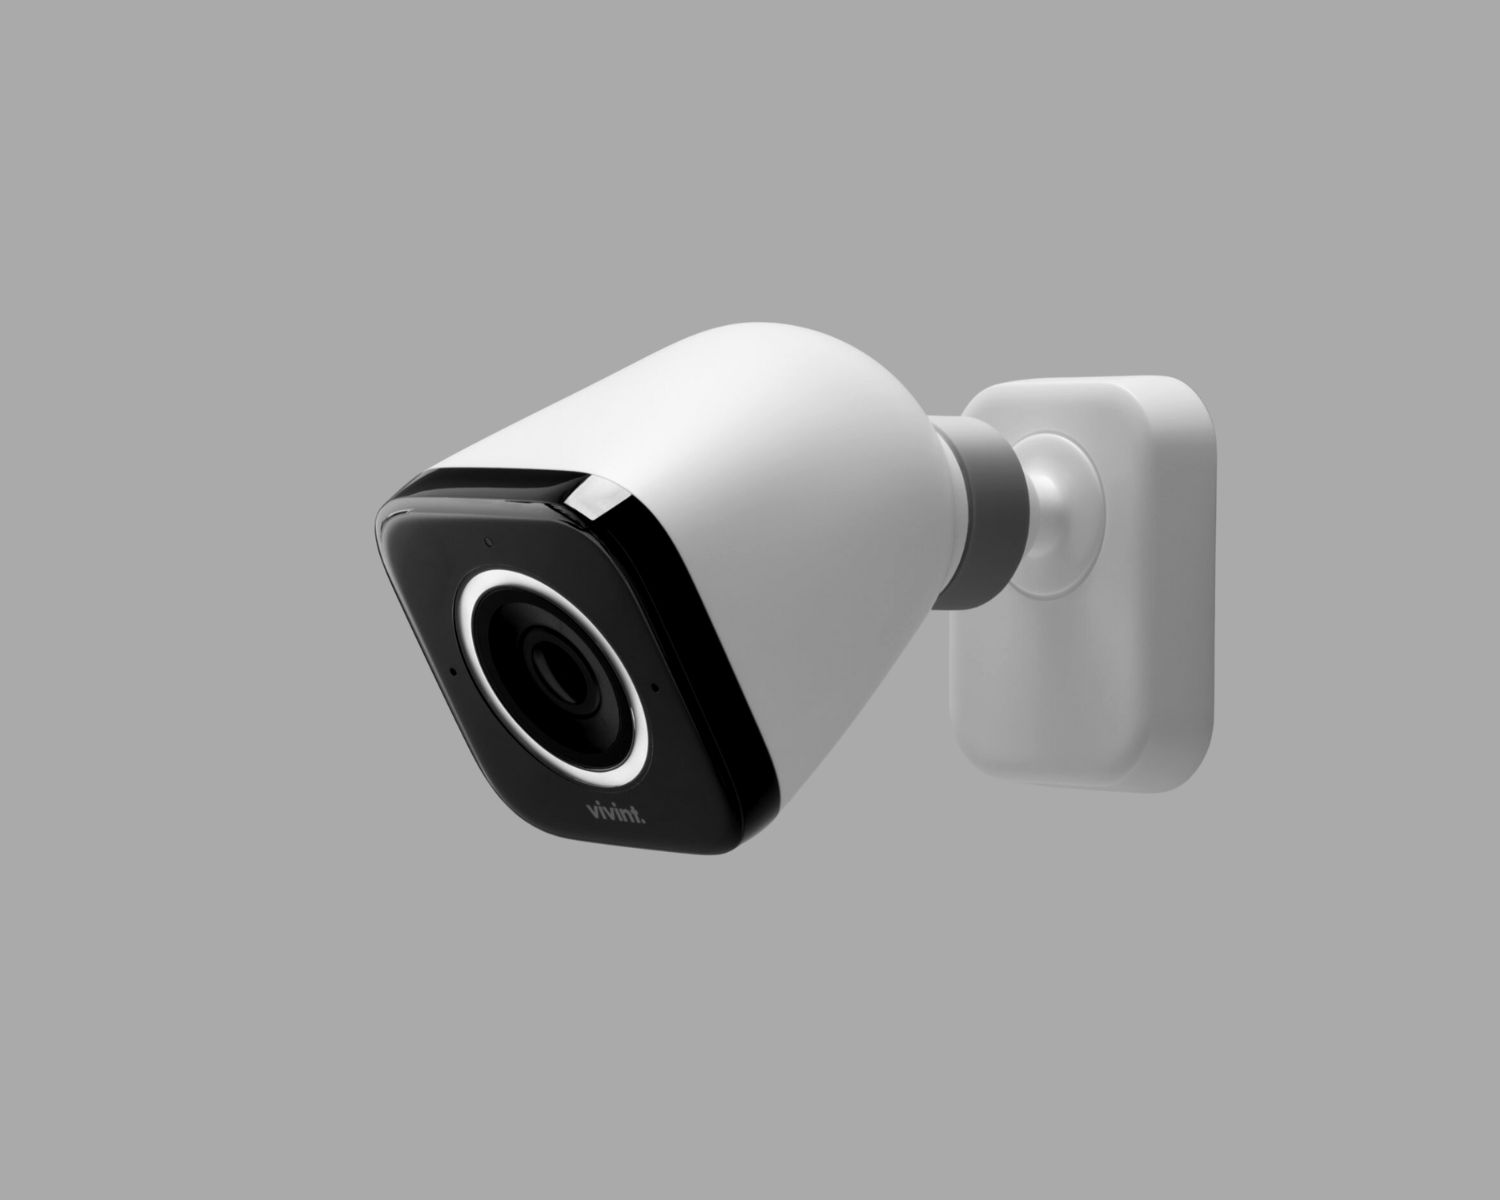
How To Remove Vivint Outdoor Camera
Modified: May 6, 2024
Learn how to remove Vivint outdoor camera and improve your home security and surveillance with our step-by-step guide. Increase your peace of mind today!
(Many of the links in this article redirect to a specific reviewed product. Your purchase of these products through affiliate links helps to generate commission for Storables.com, at no extra cost. Learn more)
Introduction
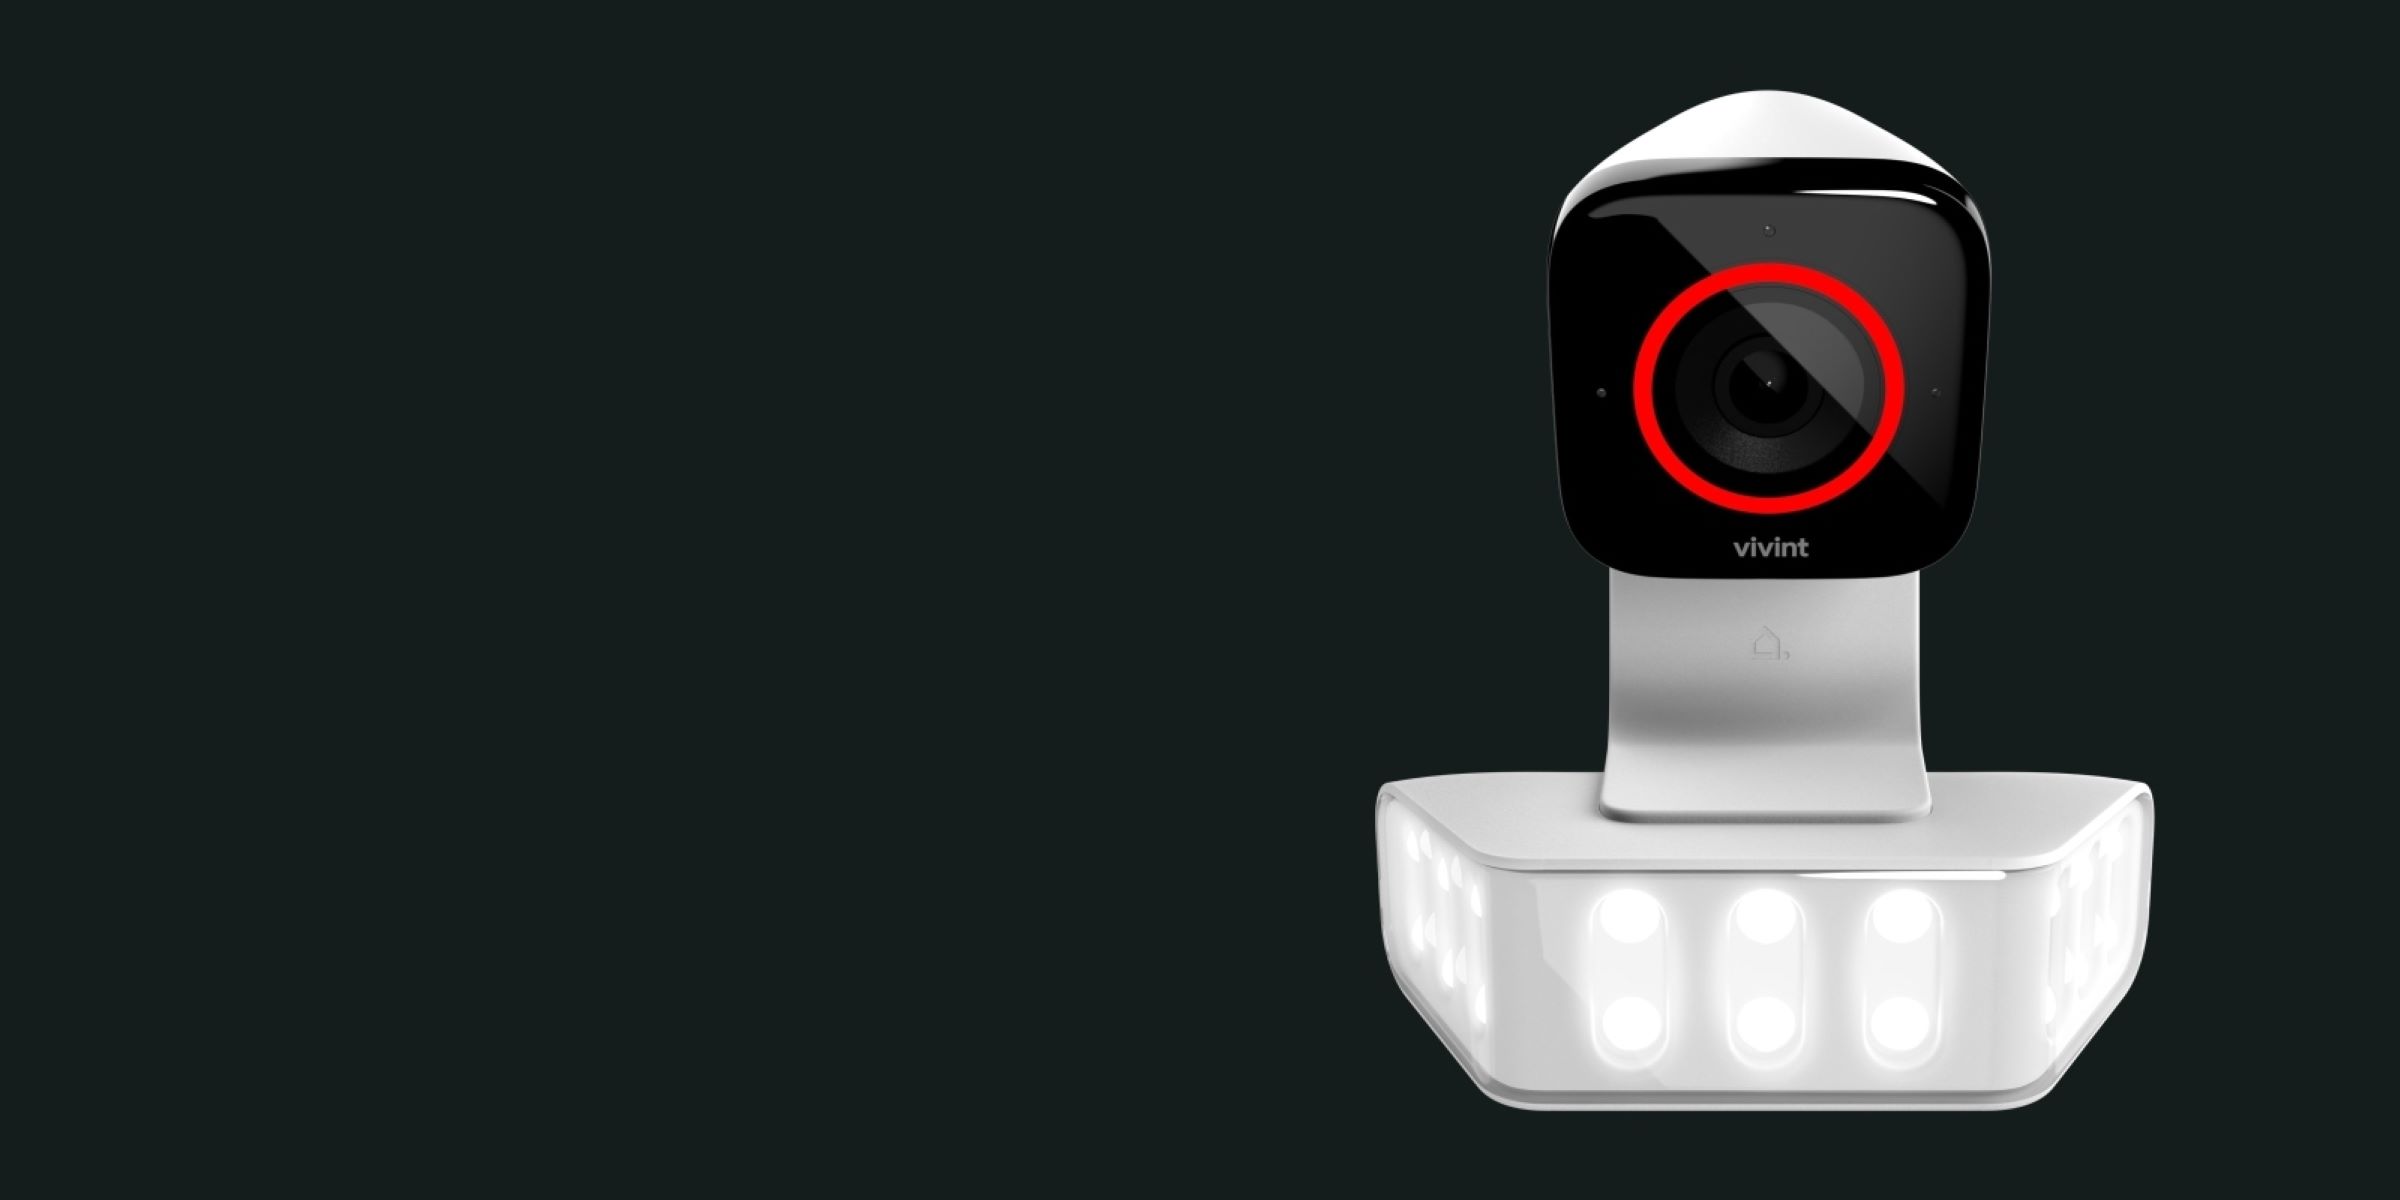
Welcome to this comprehensive guide on how to remove a Vivint outdoor camera. Whether you are looking to relocate your camera, upgrade to a new system, or simply no longer need the camera, we will walk you through the step-by-step process to safely and effectively remove it.
Vivint outdoor cameras are an essential component of any home security system, providing surveillance and peace of mind. However, there may come a time when you need to remove the camera for various reasons. By following the instructions in this guide, you can ensure a smooth and hassle-free removal process.
Before we dive into the detailed steps, it’s important to note that removing a Vivint outdoor camera requires a certain level of caution and expertise. If you feel uncomfortable or unsure about any aspect of the removal process, it is strongly recommended to seek professional assistance. Safety should always be a top priority.
With that said, if you are confident in your abilities and ready to proceed, let’s gather the necessary equipment and get started on removing your Vivint outdoor camera!
Key Takeaways:
- Safely remove a Vivint outdoor camera by following step-by-step instructions. Gather tools, power down the camera, disconnect from mounting bracket, remove from wall, and store or dispose of properly.
- Prioritize safety and caution when removing a Vivint outdoor camera. Follow the guide carefully, and seek professional assistance if unsure. Properly dispose of the camera to minimize environmental impact.
Read more: How To Install A Vivint Outdoor Camera
Step 1: Gather the necessary equipment
Before you begin the process of removing your Vivint outdoor camera, it’s important to gather all the necessary equipment. Having the right tools on hand will make the removal process much easier and more efficient.
Here are the tools you will need:
- A ladder or step stool, depending on the height of the camera
- A screwdriver set with various sizes of screwdriver heads
- A pair of pliers
- A power drill (optional, depending on the type of mounting)
- A cable cutter or wire stripper
- A patching kit or wall repair materials (if needed)
Make sure you have all the necessary tools before you begin the removal process. This will save you time and prevent any delays or interruptions during the process.
It’s also a good idea to have a small container or bag to keep all the screws and small parts together. This will prevent them from getting lost and make reinstallation easier if needed.
Once you have gathered all the required tools and equipment, you are ready to move on to the next step: powering down the Vivint outdoor camera.
Step 2: Power down the Vivint outdoor camera
To ensure your safety and avoid any potential damage, it’s crucial to power down the Vivint outdoor camera before proceeding with the removal process.
Here’s how to power down the camera:
- Locate the power supply for the camera. In most cases, it will be connected to an electrical outlet or a power adapter.
- If the camera is plugged into an electrical outlet, simply unplug it. Make sure to safely remove the plug by firmly gripping it and pulling straight out. Do not yank or pull on the cord itself, as this can damage the wiring.
- If the camera is connected to a power adapter, disconnect the power adapter from the power source. This may involve unplugging it from an outlet or unplugging the cable from a power strip or extension cord.
- Once the camera is disconnected from the power source, wait a few minutes for any residual power to dissipate. This will ensure that the camera is completely powered down before proceeding with the removal process.
By following these steps, you have successfully powered down the Vivint outdoor camera. Now, let’s move on to the next step: disconnecting the camera from the mounting bracket.
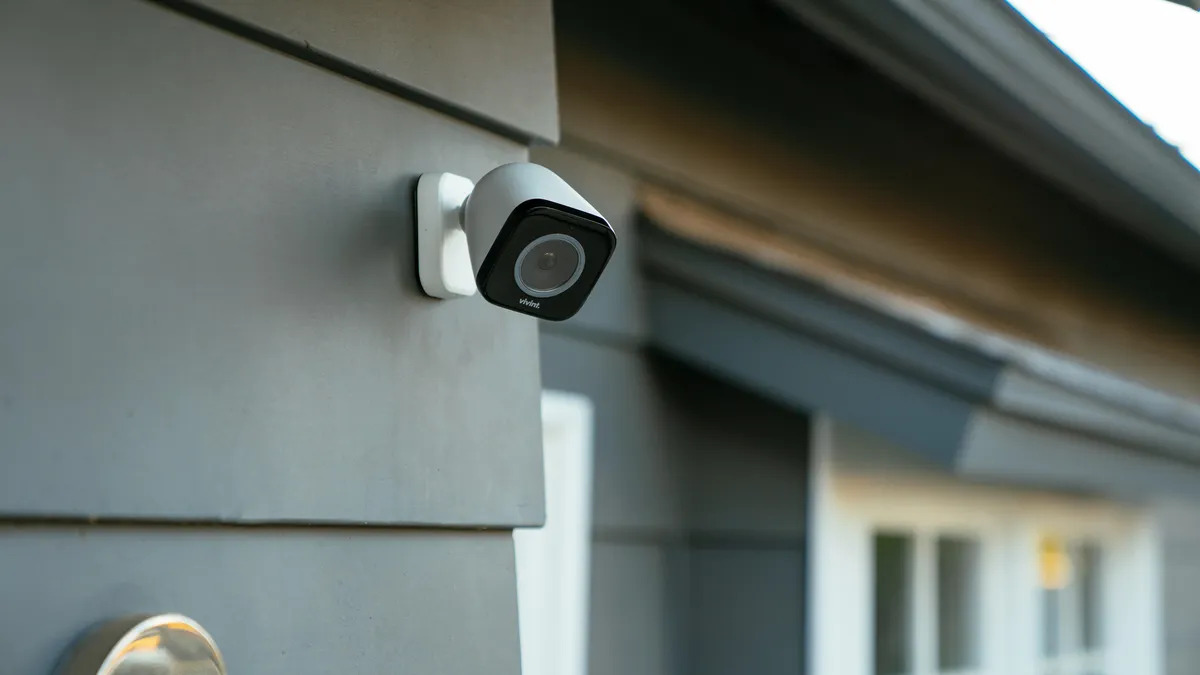
Step 3: Disconnect the camera from the mounting bracket
Once you have successfully powered down the Vivint outdoor camera, it’s time to disconnect it from the mounting bracket. The mounting bracket is what holds the camera securely in place on the wall or pole.
Follow these steps to disconnect the camera from the mounting bracket:
- Locate the mounting bracket. It is usually attached to the wall or pole and may have one or more screws securing it.
- Using the appropriate size screwdriver, carefully loosen and remove the screws that secure the mounting bracket. Place the screws in a container or bag to prevent them from getting lost.
- Once the screws are removed, gently lift the camera up and away from the mounting bracket. Be cautious as the camera may still be attached to the bracket by cables.
If the camera is connected to the mounting bracket with cables, ensure that you do not tug or pull on the cables forcefully. Instead, carefully trace the cables back to their connection points on the camera.
If there are no cables connected to the camera, you can remove it completely from the mounting bracket and proceed to the next step. However, if there are cables attached, we will cover how to disconnect them in the next step.
By following these steps, you have successfully disconnected the Vivint outdoor camera from the mounting bracket. Now, let’s move on to the next step: removing the camera from the wall or pole.
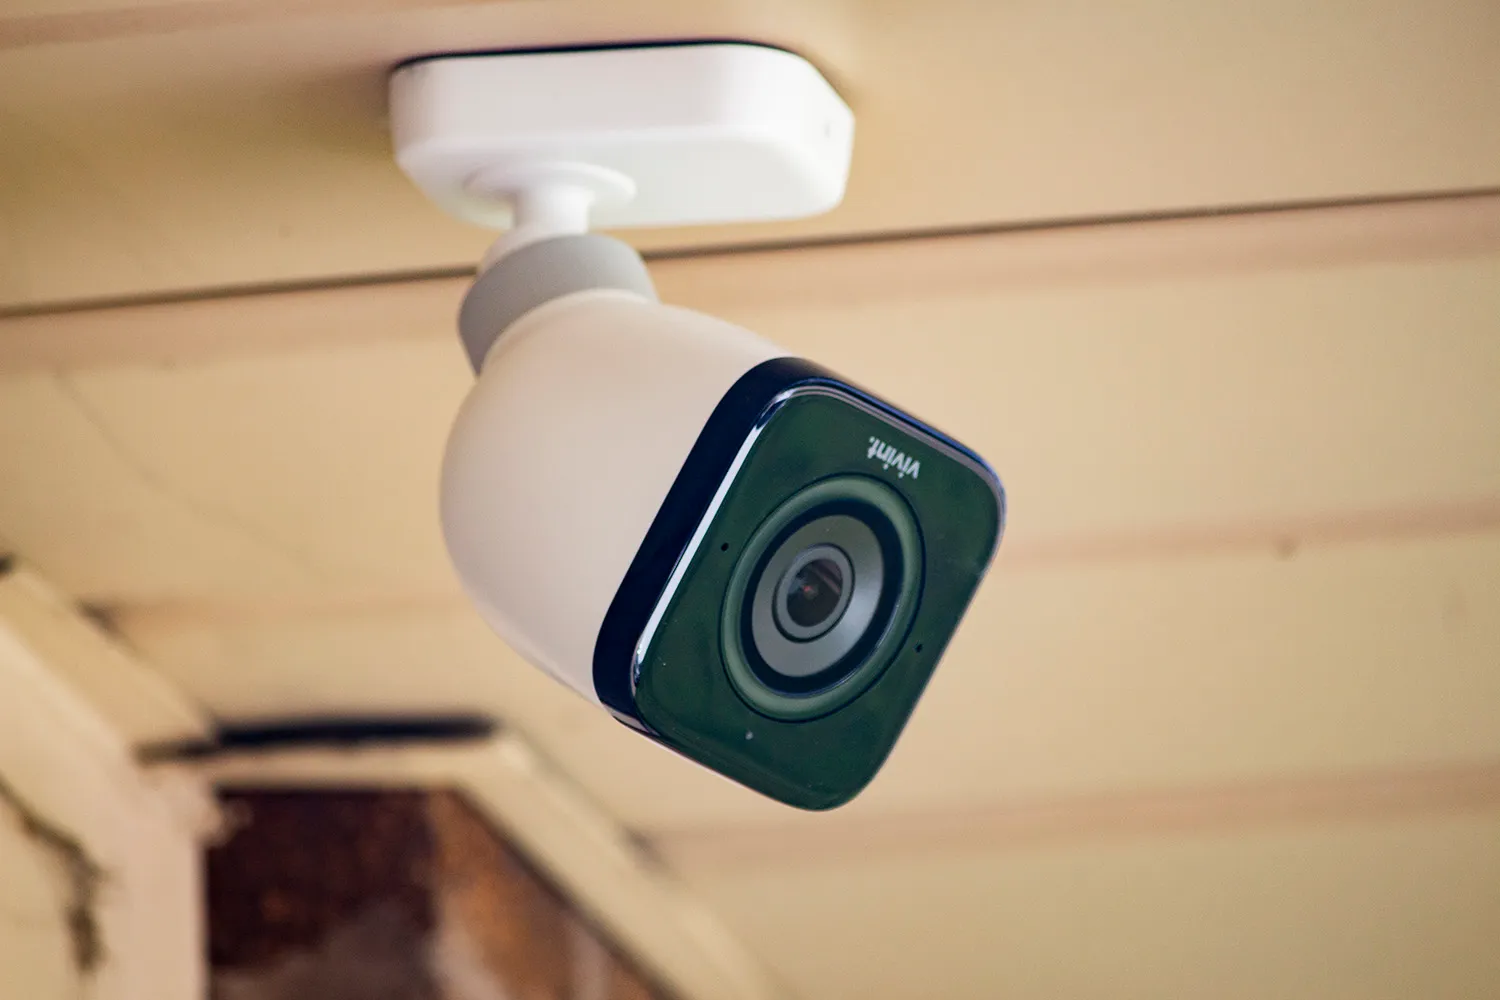
Step 4: Remove the camera from the wall or pole
Now that you have successfully disconnected the Vivint outdoor camera from the mounting bracket, it’s time to remove it from the wall or pole where it is installed.
Follow these steps to remove the camera from the wall or pole:
- Ensure that you have a secure grip on the camera before attempting to remove it from the wall or pole. The camera may be attached using screws or other mounting hardware.
- If the camera is attached with screws, carefully loosen and remove them using the appropriate size screwdriver. Place the screws in a container or bag to prevent loss.
- If the camera is attached using other types of mounting hardware, such as brackets or clamps, refer to the manufacturer’s instructions for the specific removal process. Follow the instructions carefully to avoid damaging the camera or the mounting surface.
- Gently lift the camera up and away from the wall or pole. Pay attention to any cables that may still be connected to the camera.
Take caution not to tug on any connected cables forcefully. Instead, trace the cables back to their connection points and proceed to the next step to disconnect them properly.
By following these steps, you have successfully removed the Vivint outdoor camera from the wall or pole. Now, let’s move on to the next step: disconnecting the camera’s cables.
To remove a Vivint outdoor camera, first disconnect the power source. Then, use a screwdriver to remove the mounting screws and gently detach the camera from the mounting bracket. Be sure to follow the manufacturer’s instructions for safe removal.
Read more: How To Remove Vivint Doorbell Camera
Step 5: Disconnect the camera’s cables
With the Vivint outdoor camera now removed from the wall or pole, the next step is to disconnect any cables that are still connected to the camera. This ensures a clean and safe removal process.
Follow these steps to disconnect the camera’s cables:
- Trace the cables back to their connection points on the camera. Most cameras have cables for power and data transmission.
- Identify the type of connectors used to attach the cables to the camera. These can vary depending on the camera model.
- For power cables, gently unplug or detach them from the camera. This is usually done by pulling the connector straight out of the camera.
- For data transmission cables, such as Ethernet or BNC cables, loosen any connectors or screws that secure them to the camera. Carefully remove the cables by pulling them straight out.
- Once all the cables have been disconnected, set them aside or coil them up neatly for storage or future use.
Be sure to handle the cables with care to avoid any damage. If you encounter any difficulties or are unsure about disconnecting the cables, refer to the camera’s user manual or contact Vivint customer support for guidance.
By following these steps, you have successfully disconnected the cables from the Vivint outdoor camera. Now, let’s move on to the next step: removing any remaining mounting hardware.
Step 6: Remove any remaining mounting hardware
Now that you have disconnected the Vivint outdoor camera and its cables, it’s time to remove any remaining mounting hardware that may still be attached to the wall or pole.
Follow these steps to remove any remaining mounting hardware:
- Inspect the area where the camera was mounted and identify any screws, brackets, or clamps that are still in place.
- Using the appropriate size screwdriver or tool, carefully loosen and remove any screws that are securing the mounting hardware.
- If you encounter any brackets or clamps, refer to the manufacturer’s instructions or user manual for guidance on the removal process. Follow the instructions carefully to avoid damaging the mounting surface.
- Once all the mounting hardware has been removed, inspect the area to ensure it is clean and free from any remaining debris or obstructions.
It is important to remove any remaining mounting hardware to ensure a clean and smooth surface for future installations or repairs. This step also helps to prevent any potential safety hazards, such as protruding screws or brackets.
If you are unsure about the removal process or encounter any difficulties, it’s always a good idea to consult the camera’s user manual or contact Vivint customer support for assistance.
By following these steps, you have successfully removed any remaining mounting hardware from the Vivint outdoor camera. Now, let’s move on to the next step: patching up any holes or damage on the wall.
Step 7: Patch up any holes or damage on the wall
After removing the Vivint outdoor camera and all the mounting hardware, it’s important to take the time to patch up any holes or damage that may have been left on the wall or surface where the camera was installed. This step ensures a clean and professional-looking finish.
Follow these steps to patch up any holes or damage on the wall:
- Inspect the area where the camera was mounted and identify any holes, screws, or damage on the wall.
- If there are small holes from screws, you can use a spackling compound or a similar wall patching material to fill them. Apply the patching material with a putty knife, following the manufacturer’s instructions.
- For larger holes or significant damage on the wall, you may need to use a wall patch kit. These kits typically include a patching mesh or tape and a spackling compound. Apply the patching mesh or tape over the hole and cover it with the spackling compound.
- Smooth out the patched areas using the putty knife and allow the patching material to dry completely. This usually takes a few hours or as per the manufacturer’s instructions.
- Once the patching material is dry, sand the patched areas lightly with fine-grit sandpaper to achieve a smooth finish. Wipe away any dust or debris with a clean cloth.
After patching up the holes or damage on the wall, you may need to touch up the paint or wall finish to match the surrounding area. Use a small brush and the appropriate paint or finish to seamlessly blend the patched areas with the rest of the wall.
By taking the time to patch up any holes or damage on the wall, you will achieve a clean and professional look. Now, let’s move on to the final step: storing or disposing of the camera properly.
Step 8: Store or dispose of the camera properly
Now that you have successfully removed the Vivint outdoor camera, it’s important to consider how to store or dispose of it properly. Depending on the condition of the camera and your future plans, there are a few options to consider.
Here are some suggestions:
- If you plan to reuse the camera in the future or sell it, it’s best to store it in a safe and dry place. Make sure to protect it from dust, moisture, and any potential damage. You can use the original packaging or invest in a protective case or storage box designed for cameras.
- If the camera is no longer functional or damaged beyond repair, consider recycling it. Check with your local recycling facilities or electronic waste recycling centers. Many municipalities have specific programs for recycling electronic devices. Make sure to follow the guidelines for proper disposal and recycling.
- If you are unsure of what to do with the camera, you can contact Vivint customer support for guidance. They may be able to provide recommendations or information on how to properly handle the camera.
Regardless of your decision, it’s important to handle the camera with care and consider the impact on the environment. Avoid throwing the camera in the regular trash, as it may contain components that can be harmful to the environment.
By taking the time to store or dispose of the camera properly, you are contributing to a cleaner and more sustainable environment.
Congratulations! You have successfully completed the process of removing a Vivint outdoor camera. Whether you are relocating the camera, upgrading your security system, or simply no longer need it, you can now proceed with confidence.
Remember, if you have any doubts or concerns about the removal process, it’s always a good idea to seek professional assistance to ensure safety and avoid any potential damage.
We hope this guide has been helpful to you. Thank you for choosing Vivint and taking the necessary steps to maintain the security and functionality of your home.
Read more: How Much Is The Vivint Outdoor Camera
Conclusion
Removing a Vivint outdoor camera may seem like a daunting task, but with the right knowledge and steps, it can be a relatively simple process. By following the comprehensive guide outlined here, you can safely and effectively remove the camera without any hassle.
We started by gathering the necessary equipment, ensuring that you have all the tools needed for the removal process. Then, we powered down the camera, disconnecting it from the power source to ensure safety.
Next, we moved on to disconnecting the camera from the mounting bracket, carefully removing any screws or hardware holding it in place. Once the camera was detached from the bracket, we proceeded to remove it from the wall or pole.
After removing the camera, we disconnected any cables that were still connected to it, ensuring a clean separation. We then focused on removing any remaining mounting hardware, leaving a smooth surface behind.
It’s essential to patch up any holes or damage on the wall to achieve a professional look. By following the steps provided, you can seamlessly blend the patched areas with the surrounding wall.
Lastly, we discussed the importance of storing or disposing of the camera properly. Whether you plan to reuse it or recycle it, it’s crucial to handle the camera responsibly and minimize its environmental impact.
We hope this guide has provided you with the necessary information and confidence to remove your Vivint outdoor camera. If you have any further questions or need assistance, don’t hesitate to reach out to Vivint customer support or consult a professional.
Thank you for prioritizing the security of your home and taking the necessary steps to ensure the smooth removal of your Vivint outdoor camera.
Now that you've mastered removing your Vivint outdoor camera, why not upgrade to the latest in surveillance technology? Our guide on choosing the best rated outdoor camera offers insights into features that matter most. On a similar note, understanding why home security is vital could help safeguard your residence more effectively. Both articles are packed with practical tips to enhance your peace of mind.
Frequently Asked Questions about How To Remove Vivint Outdoor Camera
Was this page helpful?
At Storables.com, we guarantee accurate and reliable information. Our content, validated by Expert Board Contributors, is crafted following stringent Editorial Policies. We're committed to providing you with well-researched, expert-backed insights for all your informational needs.