Home>Home Security and Surveillance>How To Setup Motion Detector On Vista 20P
Home Security and Surveillance
How To Setup Motion Detector On Vista 20P
Modified: March 6, 2024
Learn how to easily set up a motion detector on your Vista 20P home security and surveillance system for enhanced protection and peace of mind.
(Many of the links in this article redirect to a specific reviewed product. Your purchase of these products through affiliate links helps to generate commission for Storables.com, at no extra cost. Learn more)
Introduction
Welcome to our comprehensive guide on setting up a motion detector on the Vista 20P home security and surveillance system. Motion detectors are an essential component of any security system as they provide an added layer of protection by detecting movement within designated areas. This allows homeowners to be notified of potential intruders or unusual activity, ensuring the safety of their loved ones and property.
In this article, we will walk you through the step-by-step process of setting up a motion detector on the Vista 20P system. You will learn what materials you need, how to mount the motion detector, connect it to the control panel, program it, and finally, test its functionality.
Whether you are a seasoned DIY enthusiast or a homeowner looking to enhance the security of your property, this guide will provide you with the knowledge and confidence to successfully install a motion detector on your Vista 20P system.
Are you ready to take the security of your home to the next level? Let’s get started!
Key Takeaways:
- Setting up a motion detector on your Vista 20P system is crucial for protecting your home. Follow the step-by-step guide to ensure a smooth and effective installation process.
- Regular testing and maintenance of your motion detector are essential for reliable operation. Complement it with other security measures for comprehensive coverage and peace of mind.
Step 1: Gather Materials
Before you begin the installation process, it is important to gather all the necessary materials to ensure a smooth and efficient setup. Here is a list of the materials you will need:
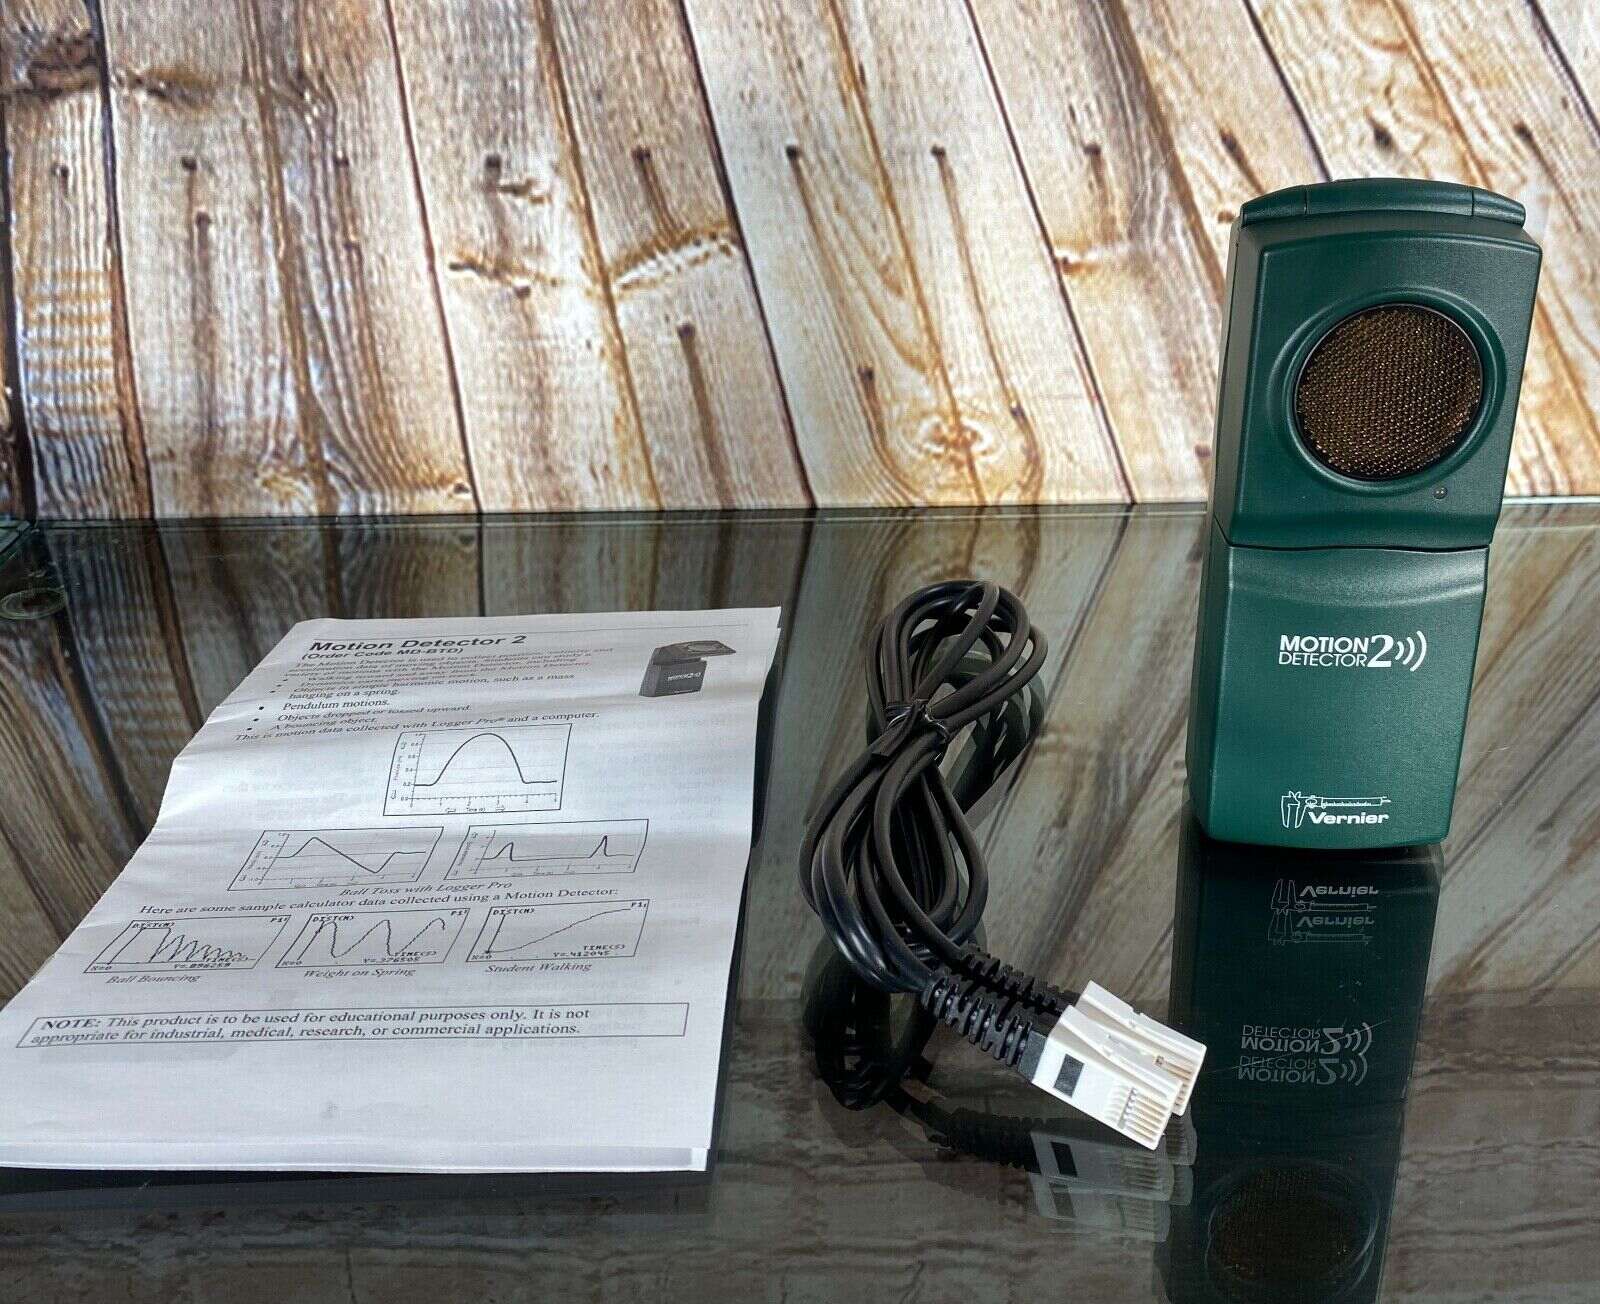
- Motion Detector: Choose a high-quality motion detector suitable for your Vista 20P system. Look for features such as infrared detection, pet-immunity, and adjustable sensitivity.
- Motion Detector Mounting Bracket: This bracket will securely hold the motion detector in place.
- Wall Screws and Anchors: These are necessary to mount the motion detector bracket onto the wall or ceiling.
- Screwdriver: You will need a screwdriver to attach the motion detector to its mounting bracket and to secure the bracket onto the wall.
- Wire Strippers: These tools will allow you to strip the necessary wires for connecting the motion detector to the control panel.
- Wire Clamp: A wire clamp will help keep the wires organized and prevent them from becoming loose or tangled.
- Control Panel Manual: It is always a good idea to have the control panel manual handy for reference throughout the installation process.
Once you have gathered all the necessary materials, you are ready to move on to the next step: mounting the motion detector.
Step 2: Mount the Motion Detector
Now that you have all the materials needed, it’s time to mount the motion detector in the desired area. Follow these steps:
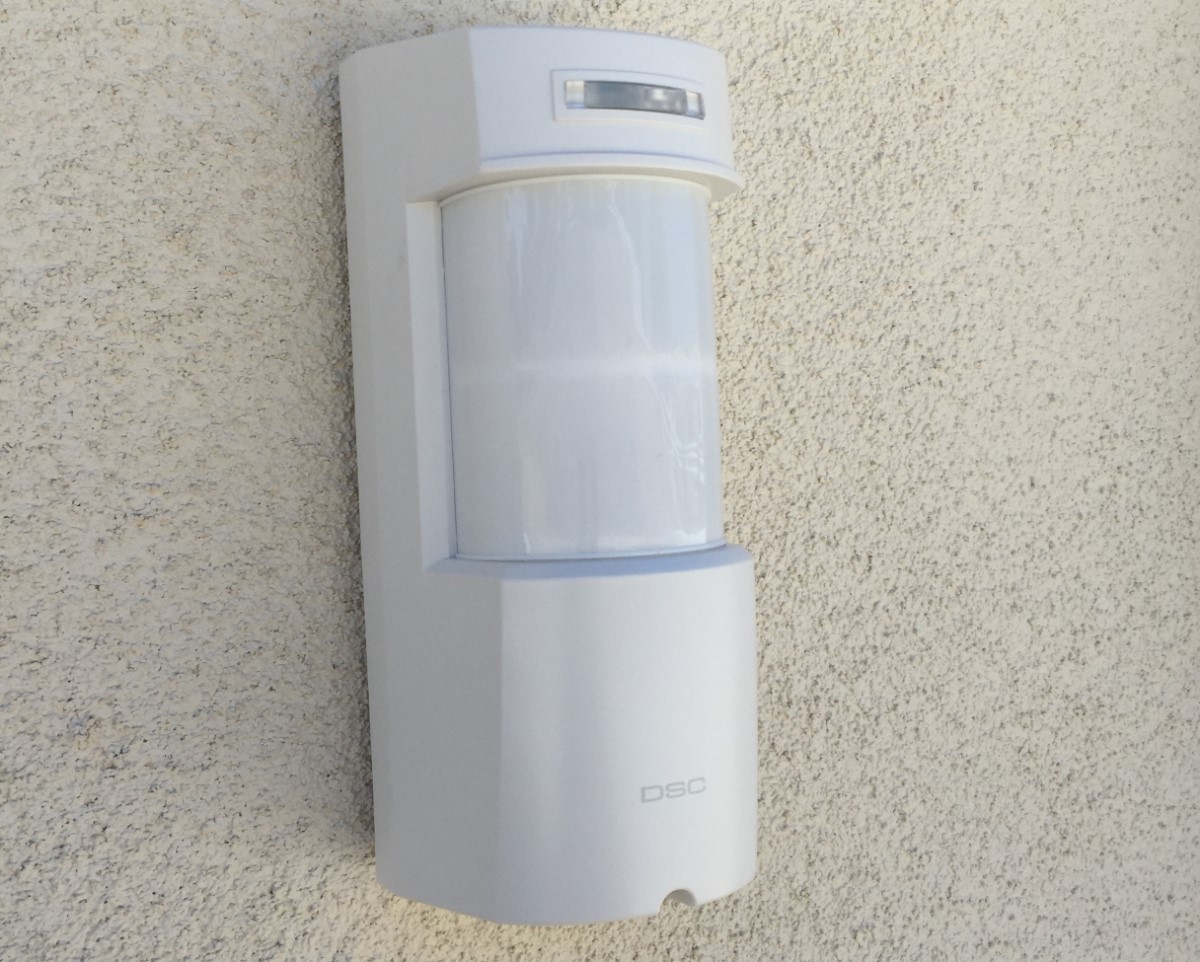
- Select an Ideal Location: Choose a location for the motion detector that covers a wide area and allows for optimal detection. It should be positioned at a height of around 6-8 feet from the ground, facing the most vulnerable entry points.
- Attach the Mounting Bracket: Attach the mounting bracket to the chosen location using screws and anchors. Ensure that the bracket is securely fixed to the wall or ceiling.
- Secure the Motion Detector: Once the bracket is in place, attach the motion detector onto the mounting bracket. Align the holes on the back of the detector with the corresponding holes on the bracket and use the screws provided to secure it in place.
- Adjust the Angle: Depending on the specific detector model, you may be able to adjust the angle of the detection pattern. Ensure that the detector is positioned and angled appropriately to cover the desired area while avoiding any obstructions.
- Tighten and Verify: Double-check that all screws are tight and secure. Give the motion detector a gentle push to ensure it stays in place. If it moves or feels loose, adjust and tighten the screws as necessary.
Congratulations! You have successfully mounted the motion detector in the desired location. The next step is to connect the motion detector to the control panel.
Step 3: Connect the Motion Detector to the Control Panel
Now that you have mounted the motion detector, it’s time to connect it to the control panel. Follow these steps:
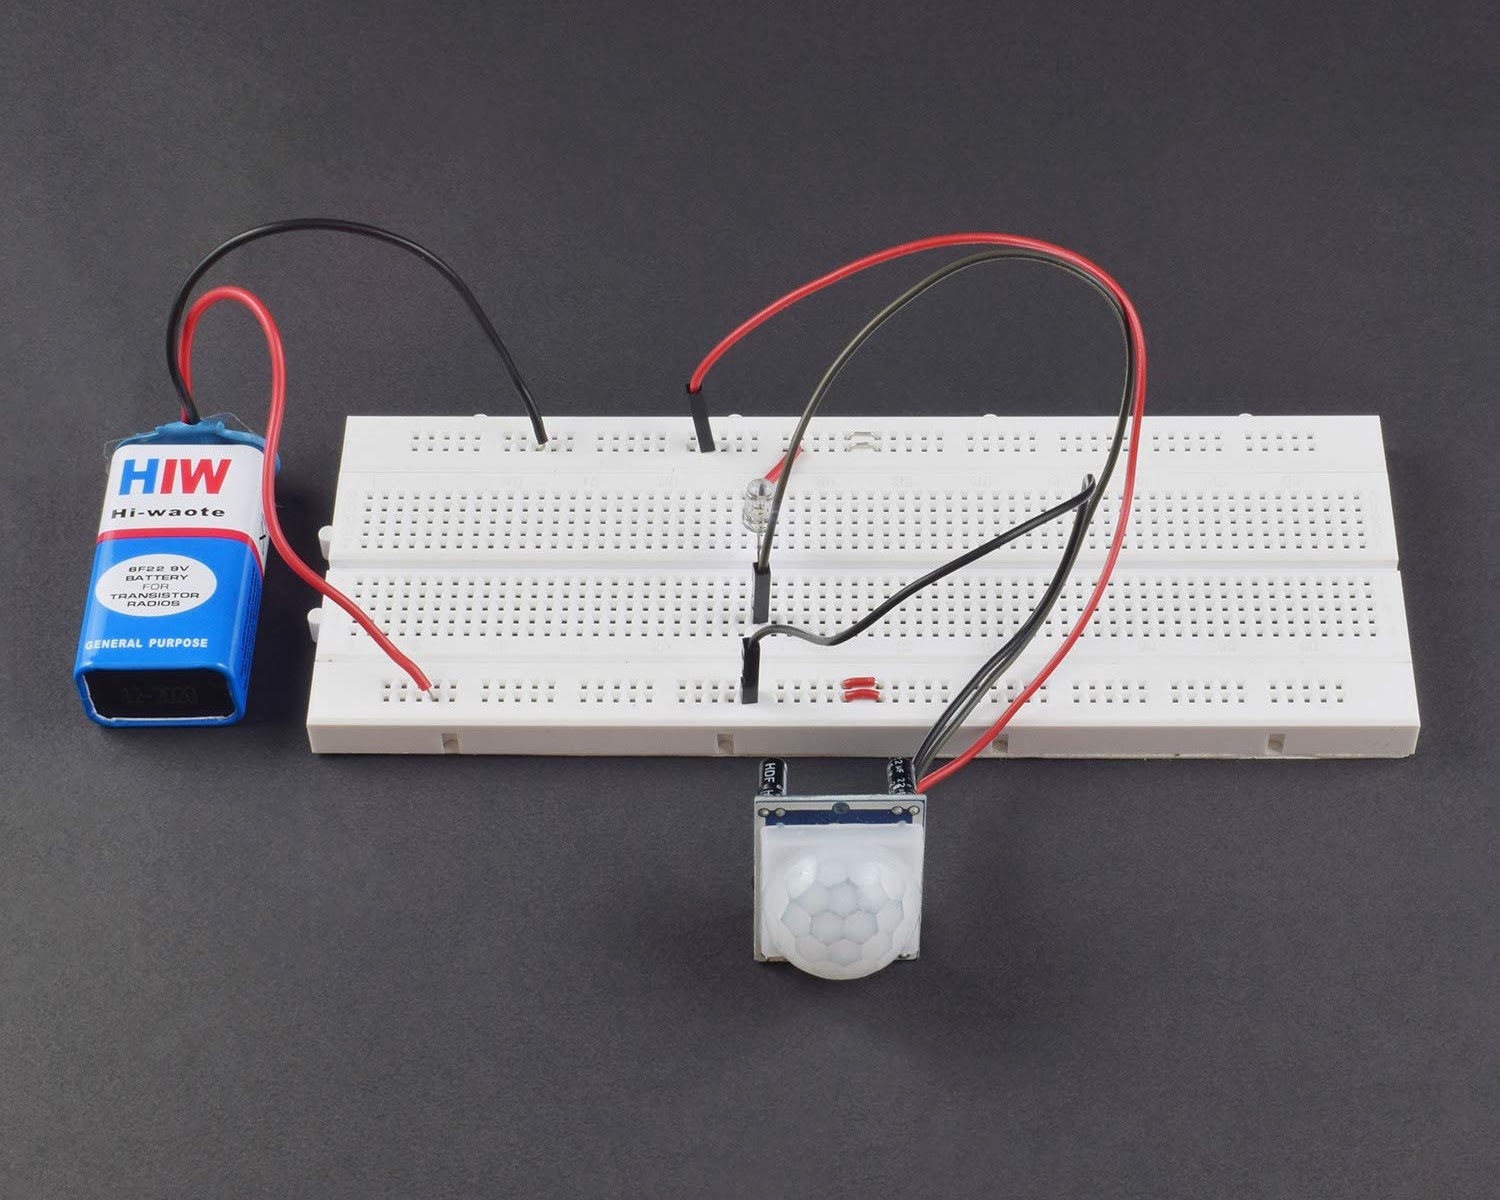
- Locate the Wiring Terminals: On the control panel, locate the wiring terminals designated for connecting the motion detector. These terminals are typically labeled “Motion” or “Zone-in.”
- Prepare the Wires: Using the wire strippers, strip about 1/4 inch of insulation from the end of each wire connected to the motion detector. This will expose the copper conductors, which you will connect to the control panel.
- Connect the Wires: Connect the stripped wires to the appropriate terminals on the control panel. Make sure to match the positive (+) and negative (-) terminals correctly. If you are uncertain, consult the control panel manual for the correct wiring diagram.
- Secure the Connections: Once the wires are connected, use a wire clamp to secure and organize the wires. This will prevent them from becoming loose or tangled over time.
- Perform a Visual Inspection: Before proceeding, visually inspect the connections to ensure they are secure and properly aligned. Loose connections can cause issues with the motion detector’s functionality.
- Close the Control Panel: After verifying the connections, carefully close the control panel and secure it in place. Use the appropriate screws or latches provided with the panel.
Great job! You have successfully connected the motion detector to the control panel. The next step is to program the motion detector to integrate it into your home security system.
When setting up a motion detector on a Vista 20P, make sure to program the zone type as “Interior Follower” to ensure that the motion detector is active when the system is armed in “Away” mode.
Step 4: Program the Motion Detector
Now that the motion detector is connected to the control panel, it’s time to program it. Follow these steps to integrate the motion detector into your home security system:
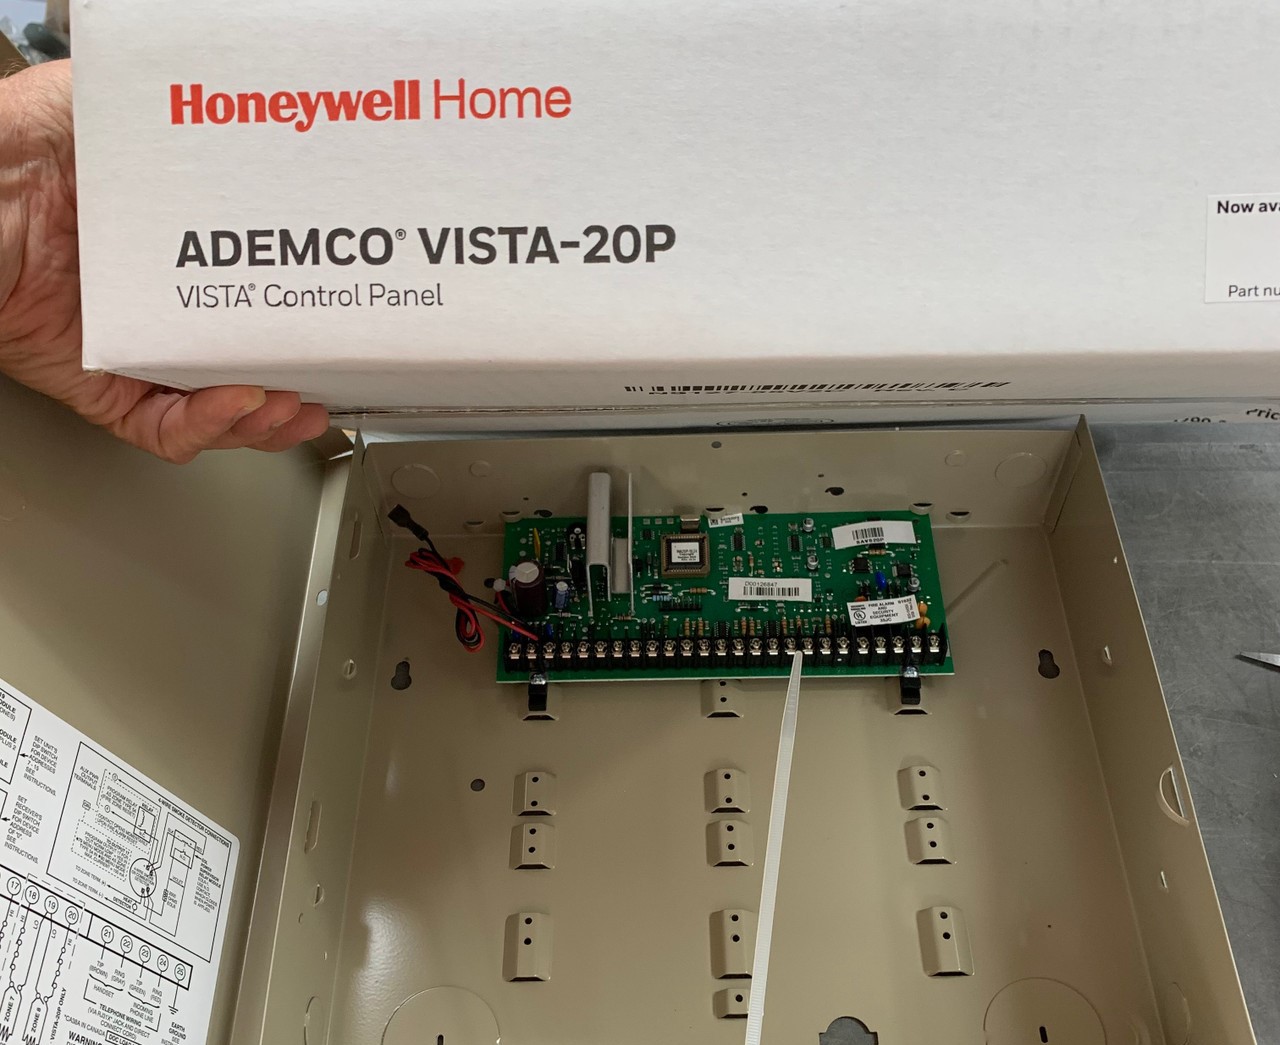
- Access the Control Panel Programming Mode: Depending on the specific model of your Vista 20P system, you will need to access the control panel’s programming mode. This is typically done by entering a specific code or sequence of keystrokes. Consult the control panel manual for the correct procedure.
- Enter the Zone Programming Section: Once in programming mode, navigate to the zone programming section. This is where you will configure the settings for the motion detector.
- Assign a Zone Number: Assign a specific zone number to the motion detector. This number will be used to identify and control the motion detector within your system. Choose an available zone number that is not already in use.
- Configure the Zone Attributes: Set the attributes for the motion detector, such as the response type, supervision type, and alarm report codes. These settings will determine how the system behaves when the motion detector is triggered.
- Adjust the Detector Sensitivity: Depending on your specific motion detector model, you may have the option to adjust the sensitivity level. Fine-tune this setting to ensure reliable detection while minimizing false alarms.
- Save and Exit Programming Mode: Once you have completed the necessary programming for the motion detector, save your changes and exit the programming mode. Follow the on-screen instructions or consult the control panel manual for the correct procedure.
Well done! You have successfully programmed the motion detector within your Vista 20P system. The final step is to test the functionality of the motion detector to ensure it is working properly.
Read more: How To Setup Zosi Security Motion Detector
Step 5: Test the Motion Detector
After setting up and programming the motion detector, it’s crucial to test its functionality to ensure it is working correctly. Follow these steps to test the motion detector:
- Arm the Security System: Before testing the motion detector, arm your security system in the appropriate mode. Ensure all doors and windows are closed to simulate real-world conditions.
- Trigger the Motion Detector: Move within the detection range of the motion detector to trigger its sensors. Walk, wave your hand, or simulate movement within the designated area covered by the detector.
- Observe System Response: Watch and listen for any indications that the motion detector has detected movement. This may include audible alarms, flashing lights, or notifications on your control panel, keypad, or smartphone app.
- Check Control Panel Status: Check the control panel to verify that the motion detector’s zone is displaying the correct status. It should indicate that movement has been detected. If the status appears incorrect or the motion detector does not activate, double-check the connections and programming settings.
- Test Multiple Times: Repeat the testing process from different angles and locations within the detection range to ensure consistent and accurate detection. This will help identify any blind spots or areas that may need adjustment.
- Perform Regular Maintenance: Once you have confirmed the proper functioning of the motion detector, remember to perform regular maintenance checks. This includes checking batteries, cleaning any dust or debris from the detector, and ensuring the detection area remains unobstructed.
Congratulations! By successfully testing the motion detector, you have verified that it is properly installed and integrated into your home security system. You can now have peace of mind knowing that your property is safeguarded against potential intrusions.
Remember, if you encounter any issues or concerns during the installation or testing process, consult the Vista 20P system manual or seek assistance from a professional in the field. Stay vigilant and keep your loved ones and property safe with a reliable motion detector in place.
Conclusion
Setting up a motion detector on your Vista 20P system can significantly enhance the security and surveillance of your home. With the ability to detect movement and provide timely alerts, motion detectors act as an additional layer of protection for your loved ones and belongings.
In this comprehensive guide, we have walked you through the step-by-step process of installing and programming a motion detector on the Vista 20P system. From gathering the necessary materials to mounting the detector, connecting it to the control panel, programming it, and testing its functionality, we have covered all the important aspects of the installation process.
By following the outlined steps and ensuring attention to detail, you can have confidence in the effectiveness of your motion detector. Regular testing and maintenance will help maintain its reliable operation and ensure that it continues to serve its purpose.
Remember, a motion detector is just one component of a robust home security system. It is important to complement it with other security measures such as door and window sensors, security cameras, and alarm systems to provide comprehensive coverage.
Keep in mind that while DIY installation can be cost-effective and rewarding, consulting a professional is always an option. They can provide expert advice and ensure the installation is done correctly, maximizing the effectiveness of your security system.
Investing in a motion detector and implementing a comprehensive home security system not only protects your family and property but also provides peace of mind. By taking these proactive measures, you are taking a proactive stance against potential threats and ensuring the safety and security of your home.
Stay safe, stay vigilant, and enjoy the peace of mind that comes with a well-installed and functioning motion detector on your Vista 20P system.
Frequently Asked Questions about How To Setup Motion Detector On Vista 20P
Was this page helpful?
At Storables.com, we guarantee accurate and reliable information. Our content, validated by Expert Board Contributors, is crafted following stringent Editorial Policies. We're committed to providing you with well-researched, expert-backed insights for all your informational needs.