Home>Home Security and Surveillance>How Do I Change The Battery In My Ademco Motion Detector
Home Security and Surveillance
How Do I Change The Battery In My Ademco Motion Detector
Modified: September 1, 2024
Learn how to change the battery in your Ademco motion detector for improved home security and surveillance. Easy step-by-step guide!
(Many of the links in this article redirect to a specific reviewed product. Your purchase of these products through affiliate links helps to generate commission for Storables.com, at no extra cost. Learn more)
Introduction
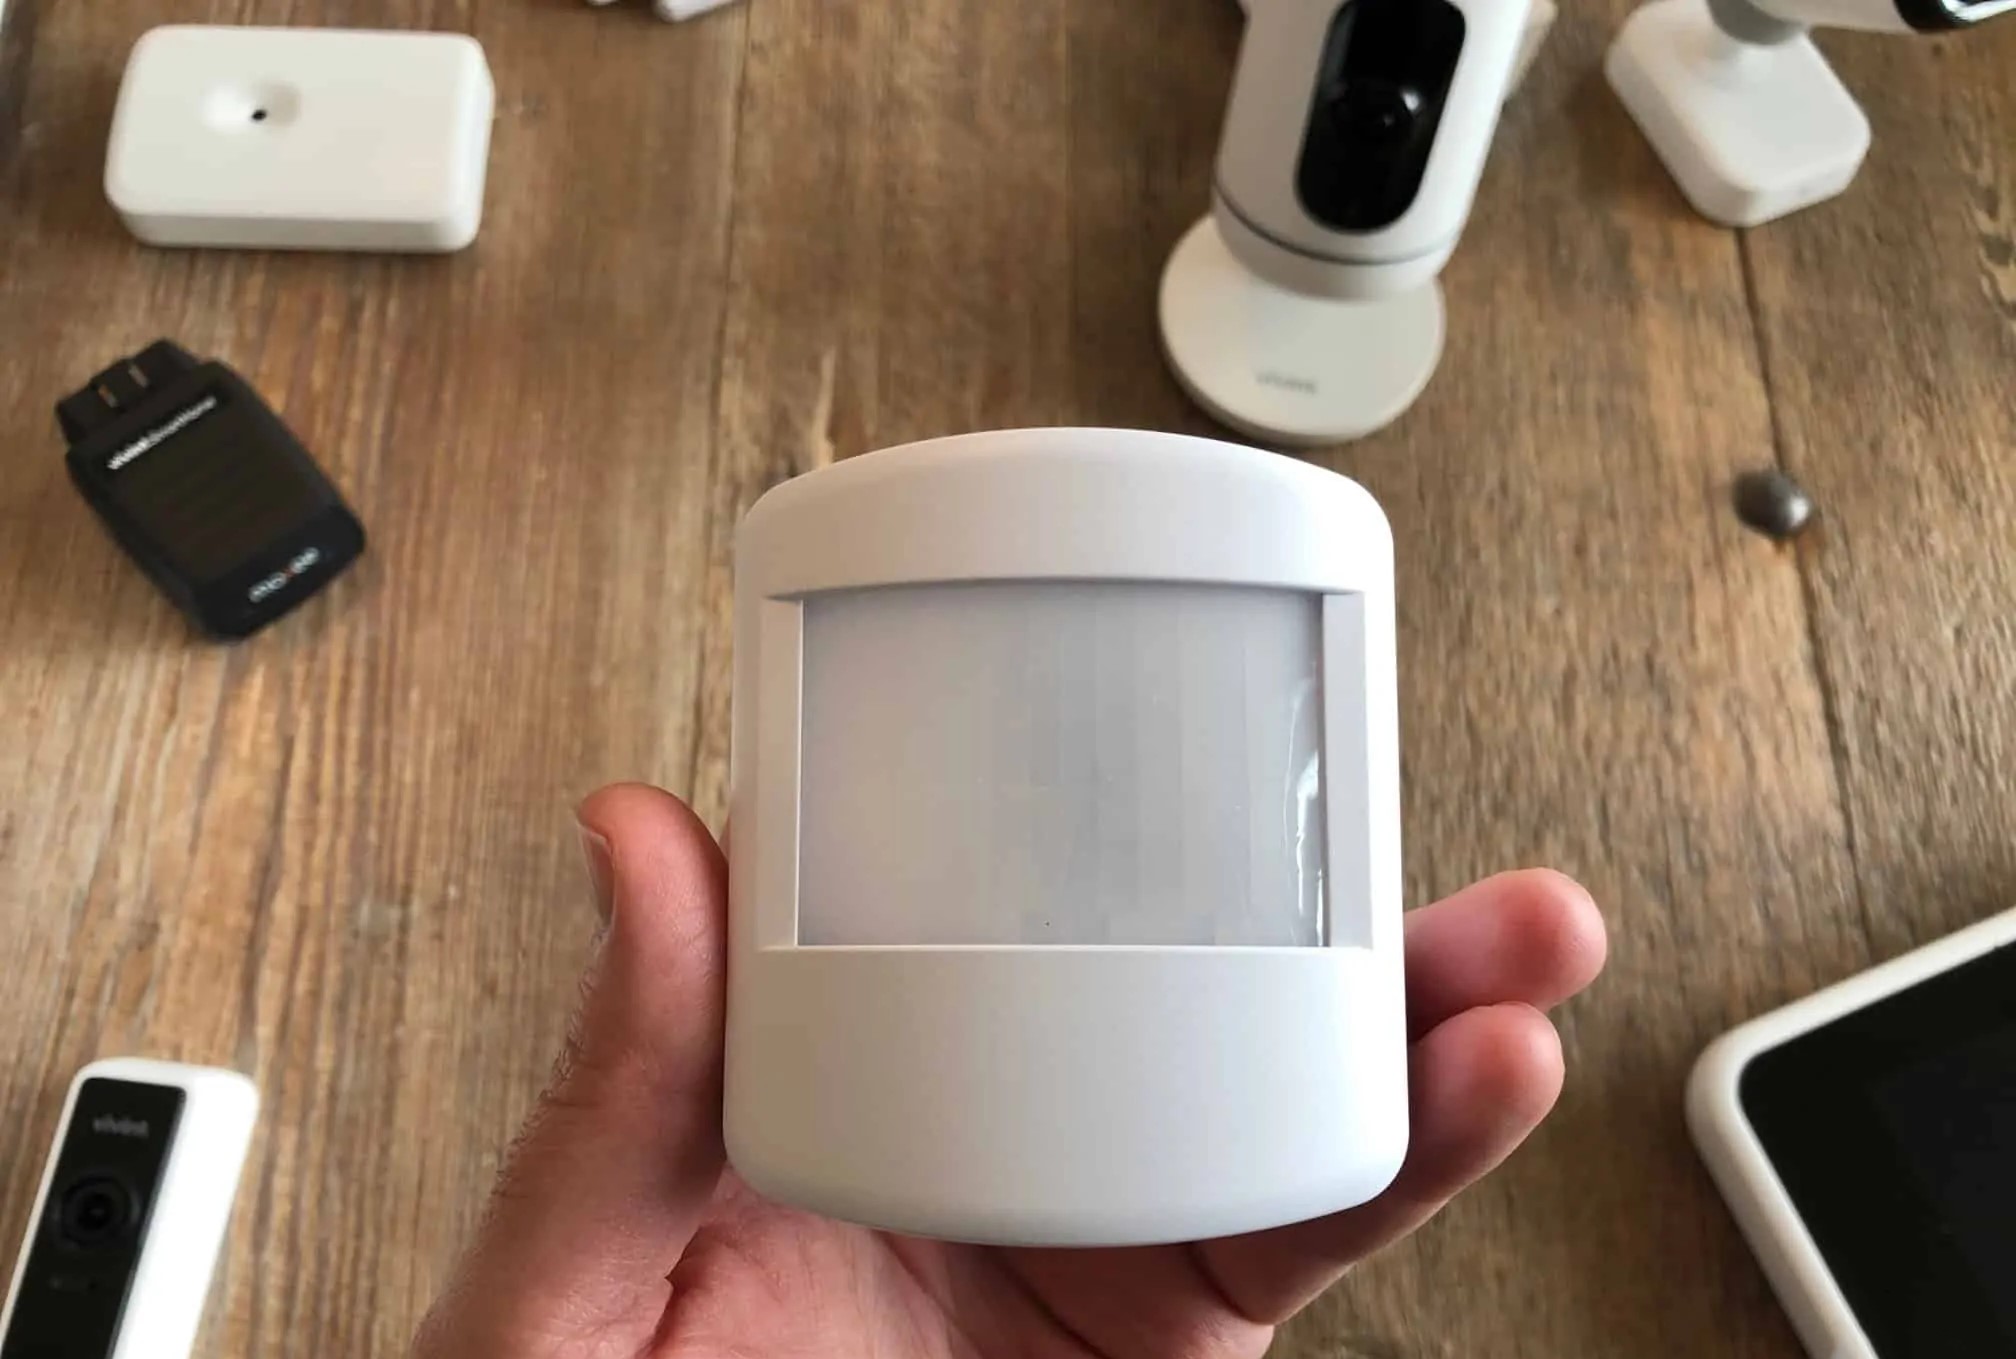
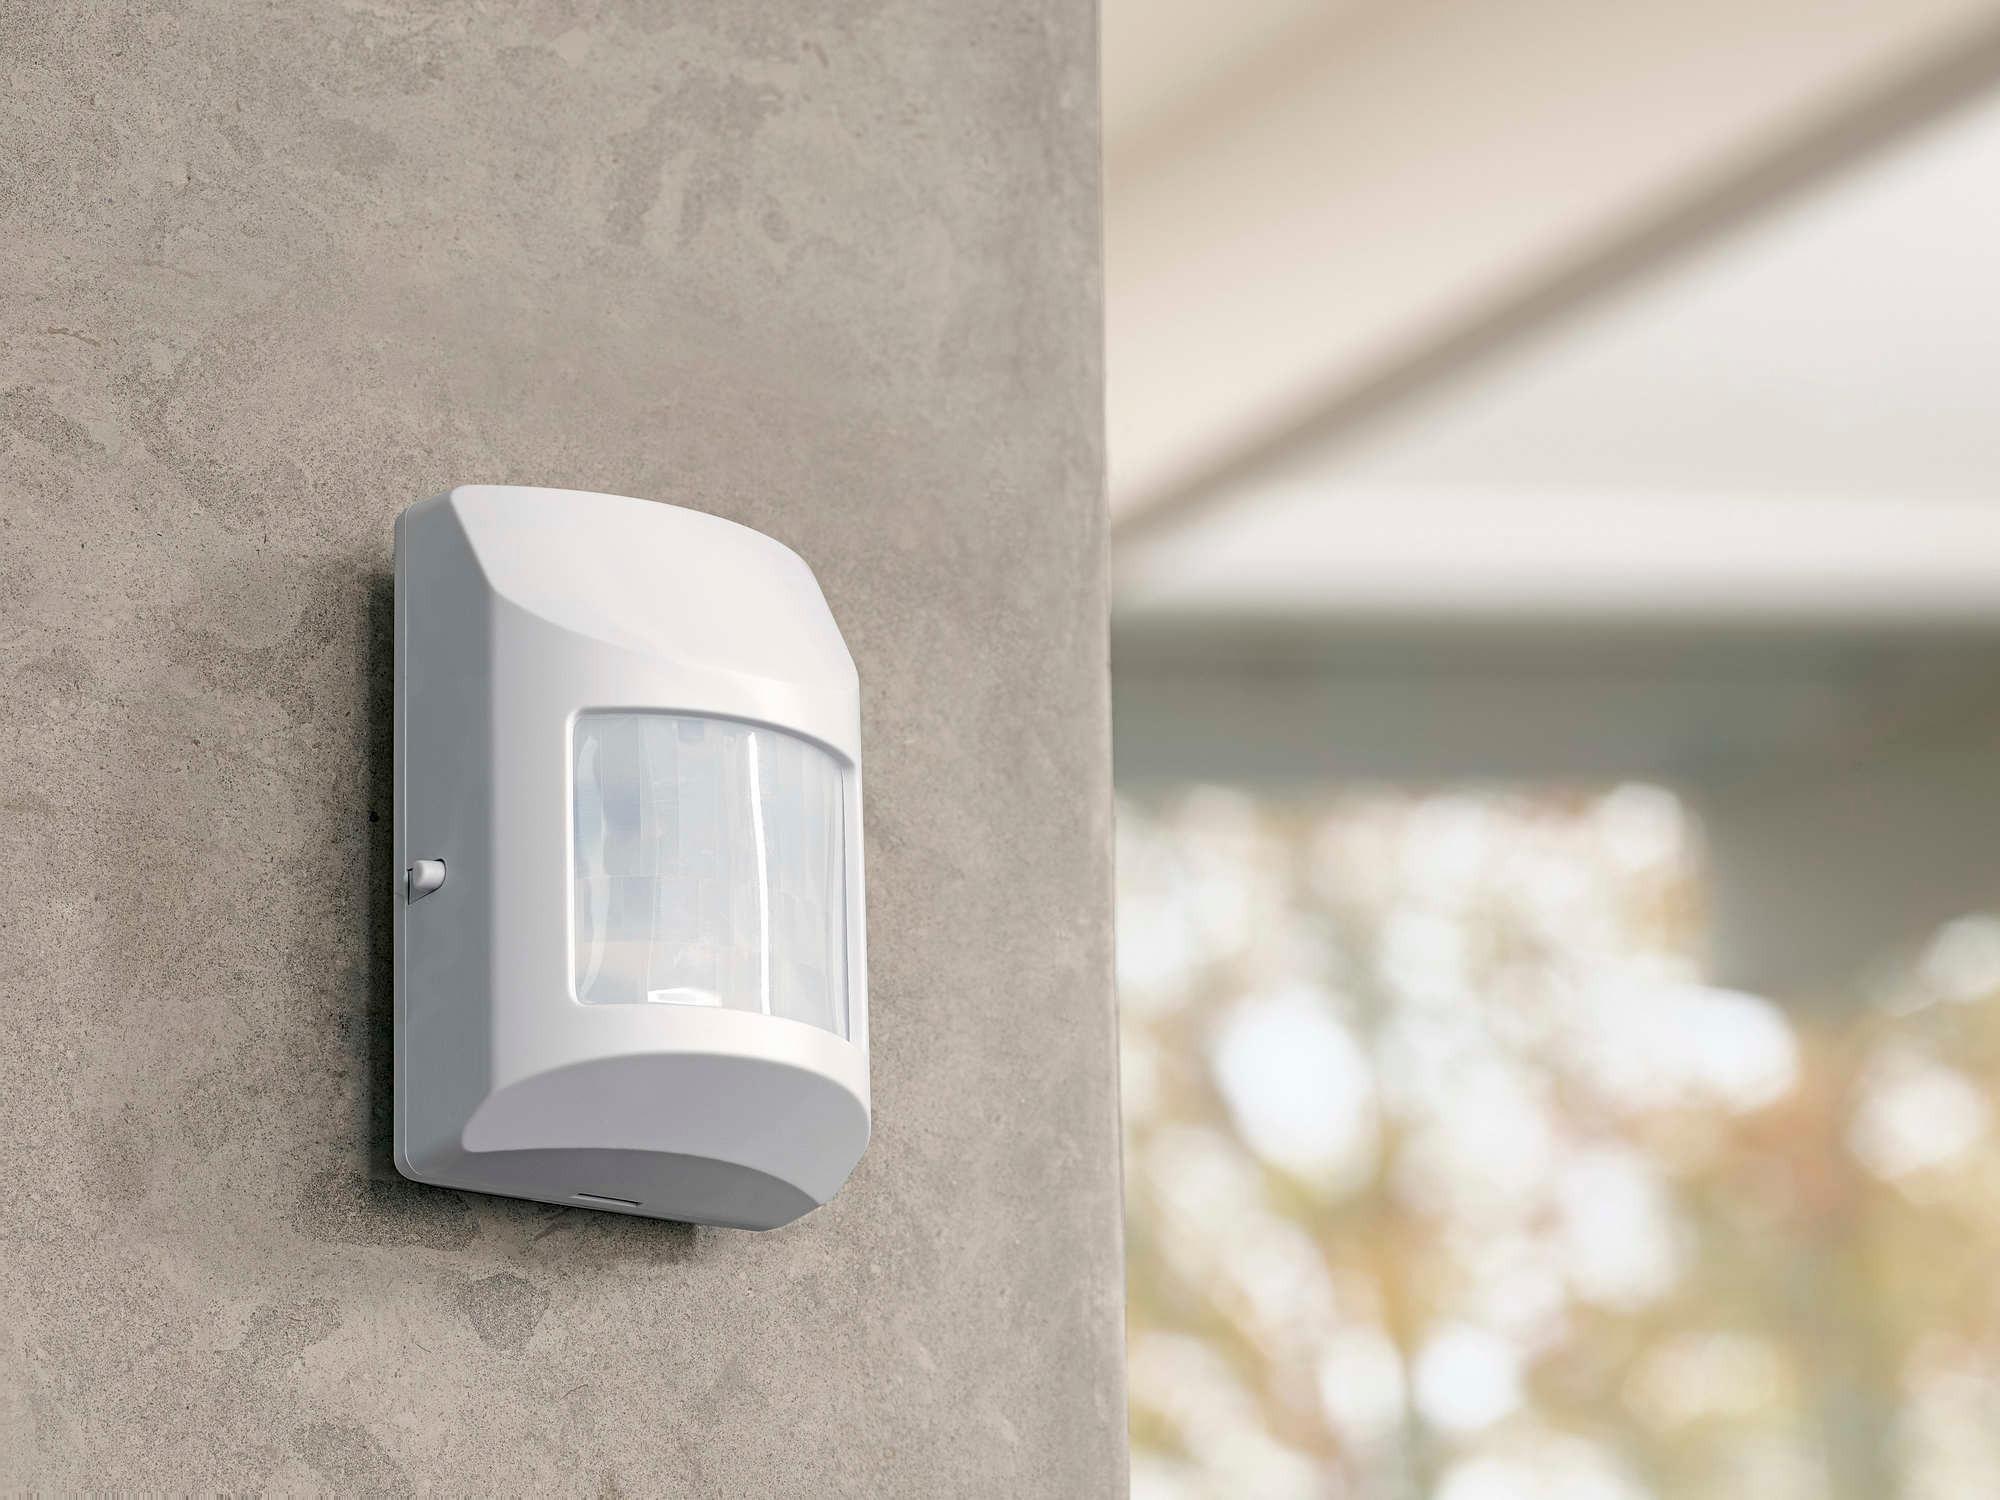
Security is a top priority for every homeowner, and having a reliable home security system is essential for peace of mind. One crucial component of a comprehensive home security system is motion detectors. These devices are designed to detect movement in and around your home, alerting you to any potential intrusions or suspicious activity.
Motion detectors often rely on batteries to power their operation. Over time, these batteries can become depleted and need to be replaced. Knowing how to change the battery in your Ademco motion detector is vital to ensuring that your home security system remains functional and effective.
In this article, I will guide you through the step-by-step process of changing the battery in your Ademco motion detector. Whether you are a DIY enthusiast or simply want to save on service costs, this guide will help you easily complete the battery replacement process. By following these instructions, you can maintain the optimal performance of your motion detector and keep your home secure.
Before we begin, let’s gather the necessary tools and materials. It’s essential to have everything ready before starting the battery replacement procedure. This will help you complete the task efficiently and without any avoidable delays.
Tools needed:
– Screwdriver (if required for removal)
– Small needle-nose pliers (if necessary for battery removal)
Materials needed:
– New battery (check the specifications for your specific Ademco motion detector model)
Now that you have gathered the tools and materials, let’s move on to the next step and get ready to replace the battery in your Ademco motion detector. The following steps will guide you through the process systematically, ensuring a successful battery replacement and continued home security.
Key Takeaways:
- Replacing the battery in your Ademco motion detector is essential for keeping your home secure. Gather the right tools and materials, follow the steps carefully, and test the device to ensure it functions properly.
- Properly disposing of the old battery and inserting the new one correctly are crucial for maintaining the functionality of your motion detector. Regular testing ensures your home security system is always ready to protect.
Step 1: Gather necessary tools and materials
Before you begin the process of changing the battery in your Ademco motion detector, it’s essential to gather all the necessary tools and materials. Being prepared ahead of time will make the battery replacement procedure smooth and efficient. Here is a list of tools and materials you will need:
Tools needed:
– Screwdriver (if required for removal): Depending on the model of your Ademco motion detector, you may need a screwdriver to remove the device from its mounting bracket. Check the device’s manual or visually inspect the detector to determine if a screwdriver is necessary for removal.
Materials needed:
– New battery: First and foremost, you will need a new battery for your Ademco motion detector. Make sure to consult your device’s manual or check the specifications for the correct battery type. Using an incorrect battery can result in malfunctions or damage to the device.
When selecting a new battery, look for quality brands and choose a battery with a long lifespan. Opting for a high-quality battery ensures reliable performance and minimizes the frequency of battery replacements.
Having these tools and materials ready before starting the battery replacement process will save you time and prevent any unnecessary interruptions. Now that you have all the necessary tools and materials, you’re ready to move on to the next step: preparing for the battery replacement.
Step 2: Prepare for battery replacement
To ensure your safety and the proper functioning of your Ademco motion detector, it is important to prepare for the battery replacement process. This involves turning off the power and removing the motion detector from its mounting bracket. Follow these steps to prepare for the battery replacement:
1. Turn off the power: It is crucial to turn off the power to the motion detector before replacing the battery. Locate the power source for the motion detector, which is typically a switch or circuit breaker dedicated to the security system. Switch off the power by flipping the switch or turning off the circuit breaker.
Turning off the power not only ensures your safety but also prevents any accidental activation or interference while replacing the battery.
2. Remove the motion detector from its mounting bracket: Once the power is off, you can proceed to remove the motion detector from its mounting bracket. Depending on the model and installation method, you may need to unscrew the detector from the bracket or simply slide it out.
If your motion detector is screwed onto the bracket, use the appropriate screwdriver to remove the screws holding it in place. Carefully set aside the screws in a safe location so they won’t get lost.
If your motion detector is a snap-in type, gently squeeze the release tabs or levers located on the sides or bottom of the detector. This will allow you to lift the detector out of the mounting bracket.
By removing the motion detector from its mounting bracket, you will have better access to the battery compartment and be able to perform the replacement more easily.
Once you have turned off the power and removed the motion detector from its mounting bracket, you are ready to proceed to the next step: opening the motion detector to access the battery compartment.
Step 3: Open the motion detector
In this step, we will guide you on how to open the motion detector to access the battery compartment. Follow the instructions carefully to ensure a smooth and successful battery replacement process.
1. Locate the battery compartment: Take a close look at your Ademco motion detector and locate the battery compartment. The location of the battery compartment may vary depending on the model of your motion detector, so refer to the device’s manual or inspect the detector for any visible markings or indicators.
Most motion detectors have a small panel or cover that conceals the battery compartment. Look for a section of the detector that appears slightly different from the rest, indicating the presence of the battery compartment.
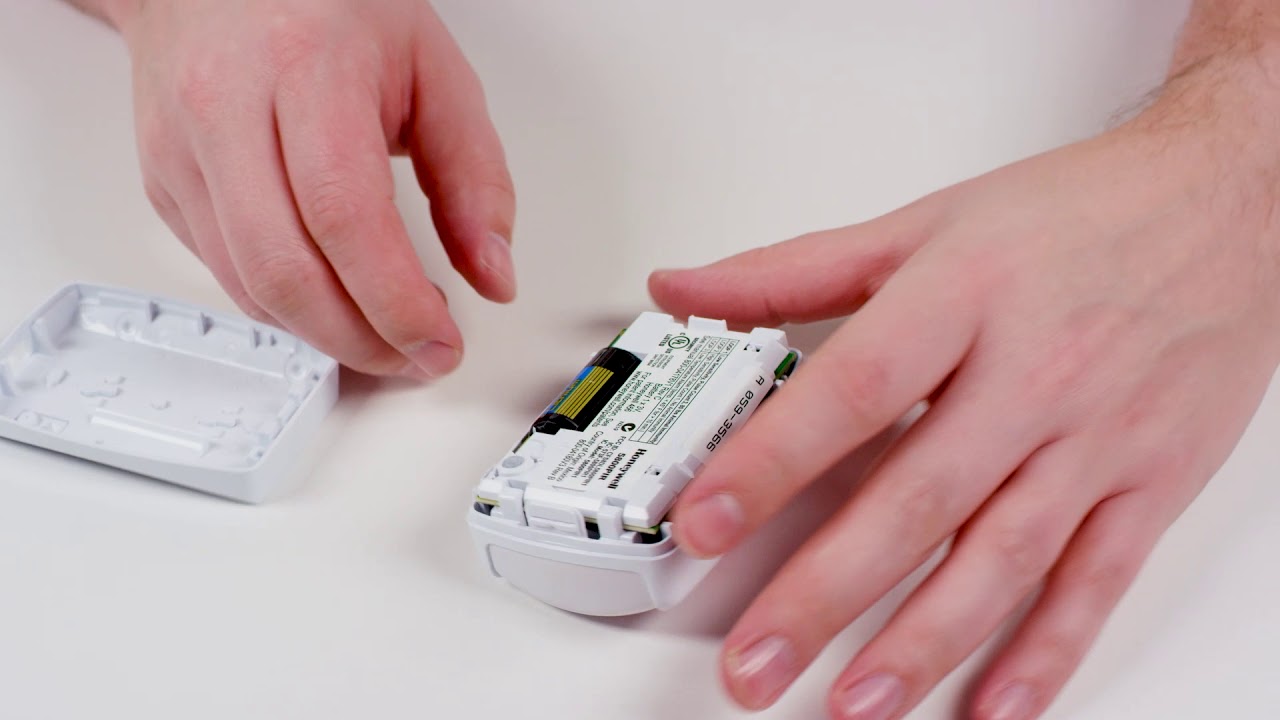
2. Remove the cover: Once you have located the battery compartment, gently remove the cover. In some cases, the cover may be easily removable by pressing or sliding it in a specific direction. However, different models may have different mechanisms, so refer to your device’s manual for specific instructions.
If the cover is held in place by screws, use the appropriate screwdriver to carefully remove the screws and set them aside in a secure location.
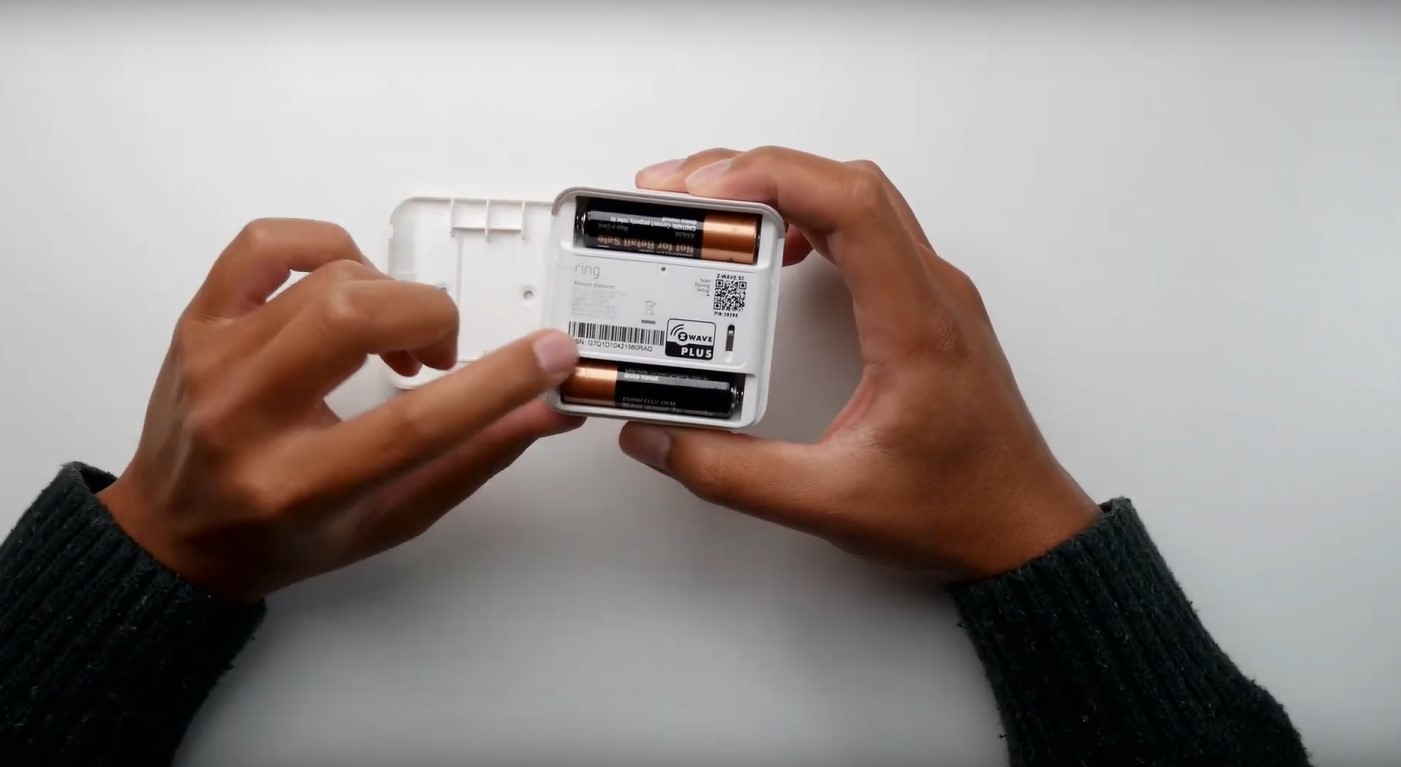
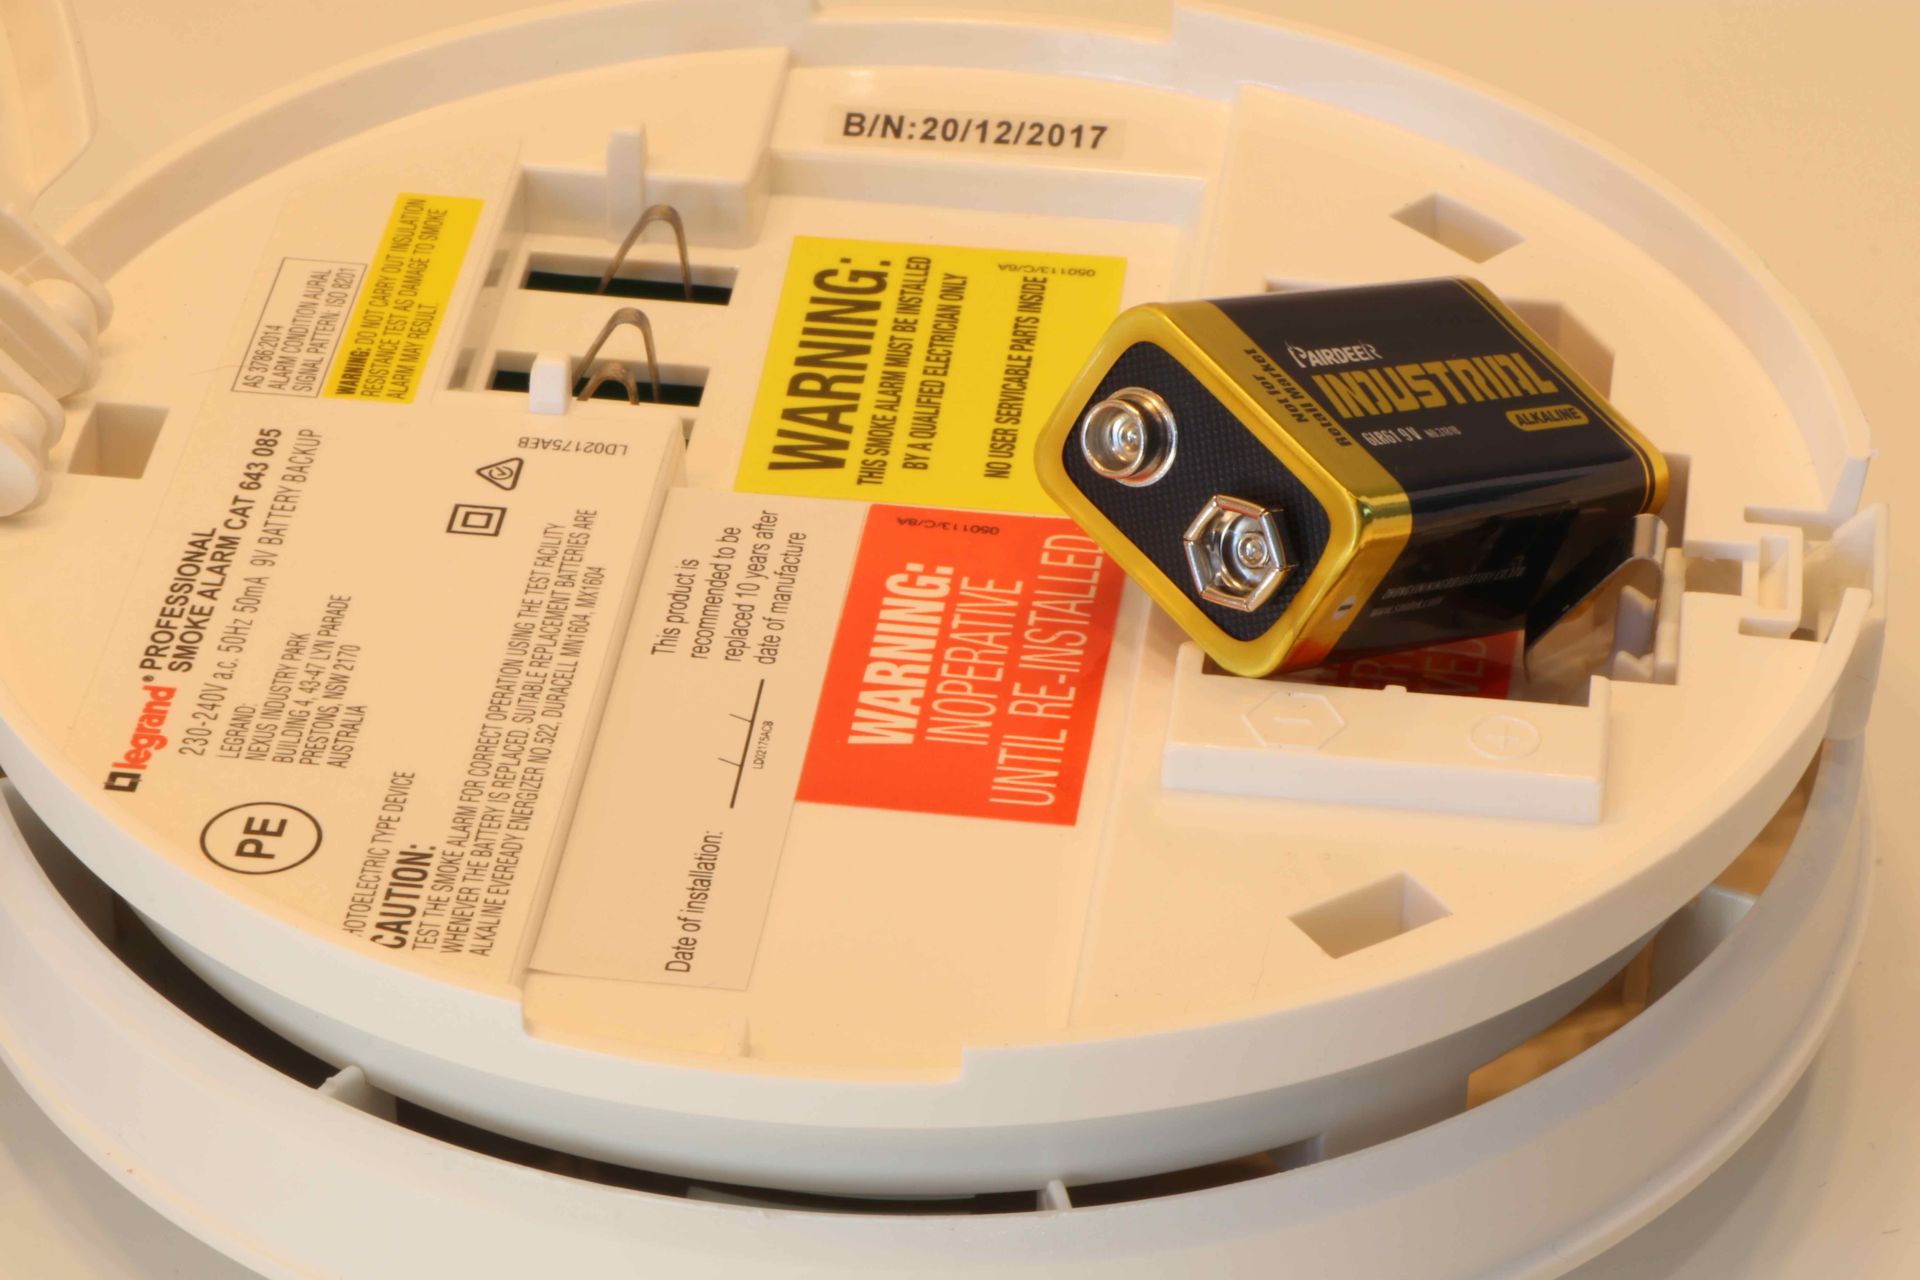
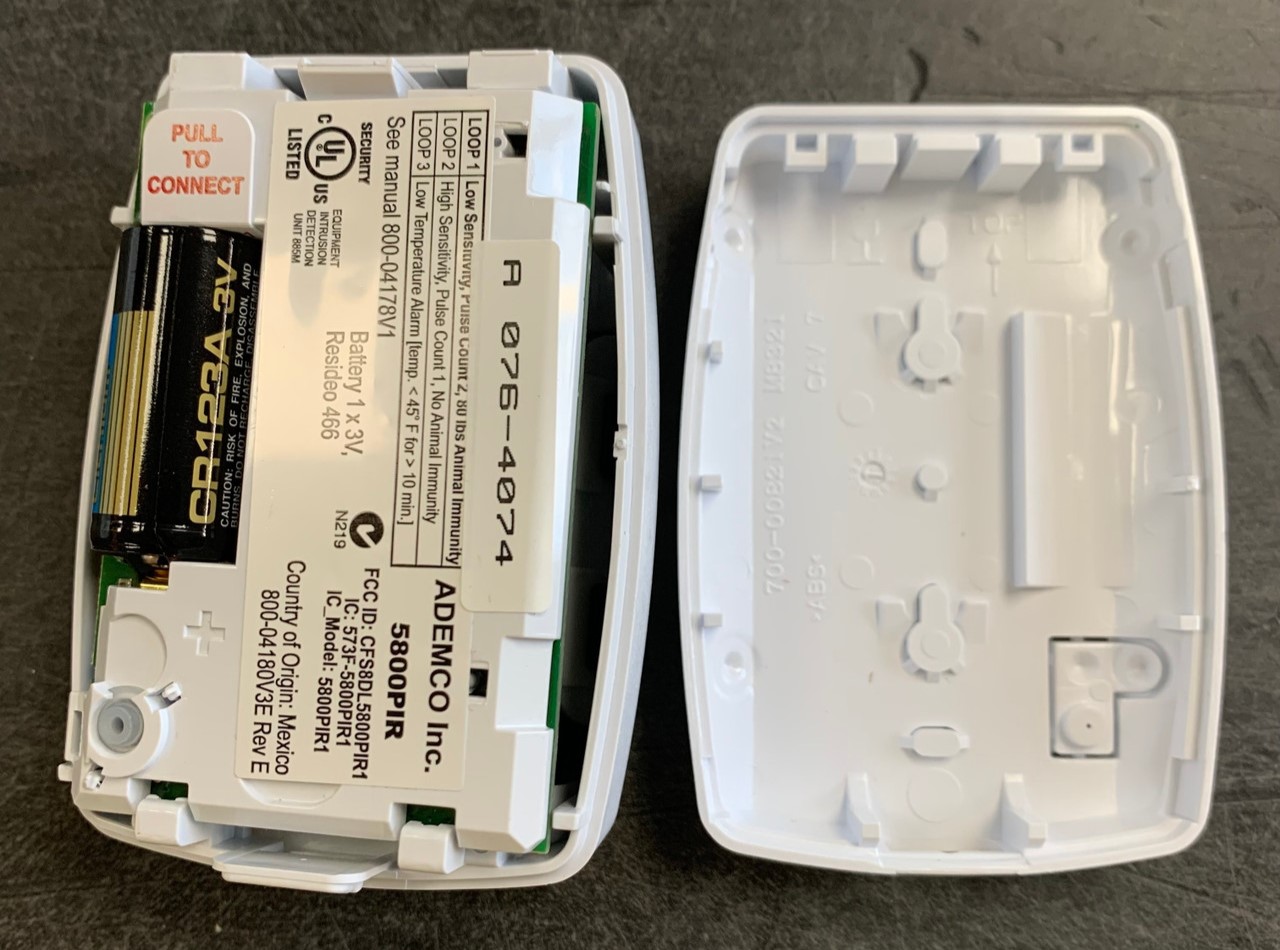
3. Identify the type of battery: With the cover removed, you will now have a clear view of the battery within the compartment. Take note of the type of battery used by your motion detector. The battery type might be labeled on the battery itself or within the device’s manual.
Common types of batteries used in Ademco motion detectors include AA or AAA alkaline batteries. However, depending on the model, it may also utilize lithium or CR123A batteries. Ensure that you have the correct replacement battery on hand before proceeding to the next step.
Identifying the correct battery type is important to ensure optimal performance and compatibility with your motion detector.
Now that you have successfully opened the motion detector and identified the type of battery used, you are ready to move on to the next step: removing the old battery.
Step 4: Remove the old battery
Now that you have successfully opened the motion detector and identified the type of battery used, it’s time to remove the old battery. Follow these steps to safely remove the old battery and dispose of it properly:
1. Safely remove the old battery: Before removing the old battery, it’s important to handle it with care. In some cases, the battery may be easily removable by gently pulling it out of the compartment. However, if the battery is situated tightly or has corroded, you may need to use small needle-nose pliers to carefully grasp and remove it.
Avoid using excessive force to avoid damaging the battery compartment or causing any injury. If you encounter resistance while removing the battery, double-check for any additional securing mechanisms or consult the device’s manual for guidance.
2. Dispose of the old battery properly: Once the old battery is removed, it is crucial to dispose of it safely and responsibly. Do not throw the battery in the regular trash or mix it with other household waste as it can be harmful to the environment.
Many communities have specific recycling programs or facilities that accept household batteries. Check with your local recycling center or visit their website to find out the proper way to dispose of batteries in your area. They will provide guidance on recycling options or proper disposal methods, ensuring that the battery is handled and recycled in an environmentally-friendly manner.
If there are no specific battery recycling options available in your area, you can also check with local retailers or electronic stores as they may have designated drop-off points for battery recycling.
Remember, proper disposal of batteries not only helps protect the environment but also promotes safety and reduces the risk of potential hazards.
With the old battery safely removed and disposed of correctly, you’re now ready to move on to the next step: installing the new battery.
To change the battery in your Ademco motion detector, first, locate the battery compartment on the device. Then, remove the old battery and replace it with a new one of the same type. Finally, close the battery compartment securely.
Step 5: Install the new battery
Now that you have removed the old battery and properly disposed of it, it’s time to install the new battery in your Ademco motion detector. Follow these steps to ensure a successful battery replacement:
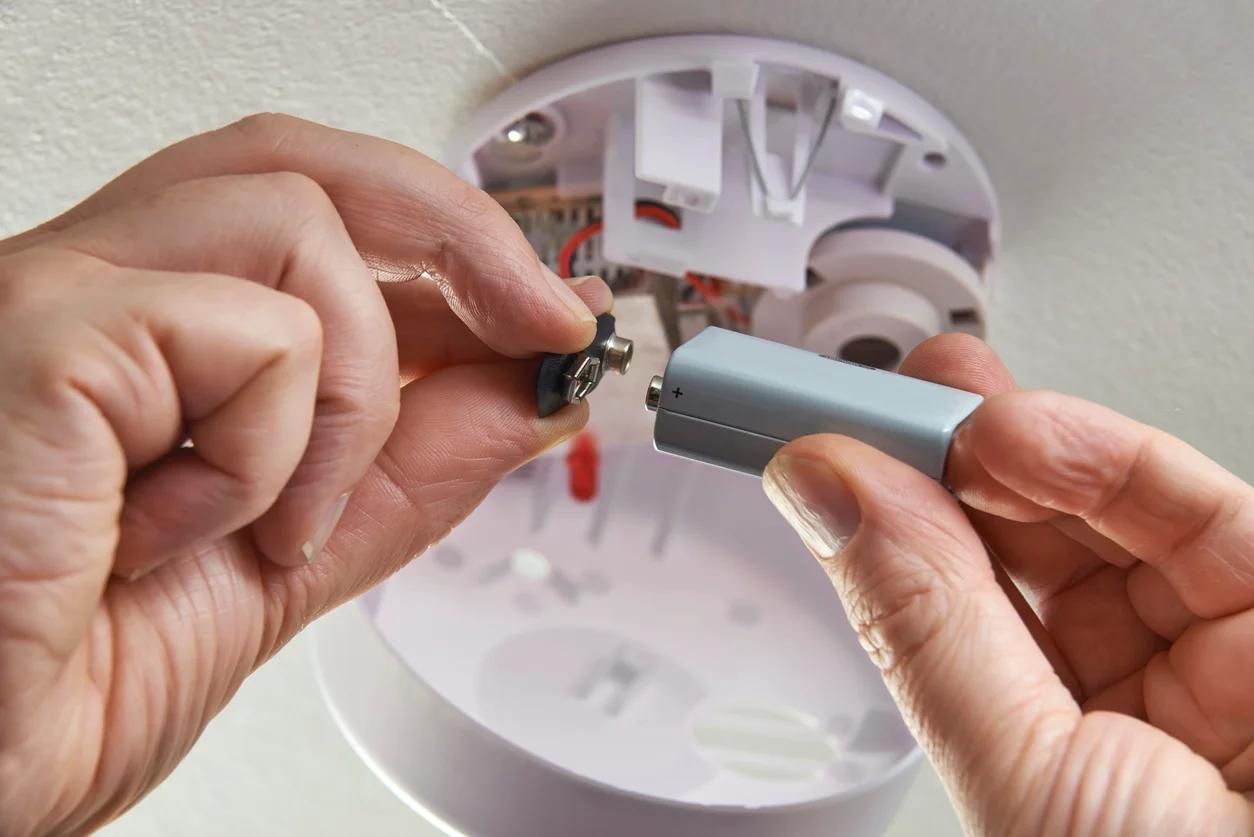
1. Insert the new battery into the compartment: Take the new battery and carefully insert it into the battery compartment of the motion detector. Ensure that the positive (+) and negative (-) ends of the battery align with the corresponding markings or indicators inside the compartment.
Most motion detectors have clear markings indicating the proper orientation for inserting the battery. Pay close attention to these markings to avoid any potential damage or malfunction caused by incorrect battery alignment.
2. Ensure proper orientation and alignment: Once the new battery is inserted into the compartment, double-check its orientation and alignment. The positive terminal should align with the positive marking or indicator, and the negative terminal should align with the negative marking or indicator.
If the battery is inserted incorrectly, it may not power the motion detector or may cause damage to the device. Take your time to ensure that the battery is properly aligned before proceeding to the next step.
It’s also important to note that certain battery types, such as CR123A batteries, have a specific orientation. These batteries have a flat and raised end, and they must be inserted accordingly to ensure proper contact and functionality.
By ensuring the proper orientation and alignment of the new battery, you can guarantee optimal performance and avoid any potential issues with your Ademco motion detector.
With the new battery properly installed in the compartment and aligned correctly, you are now ready to reassemble the motion detector in the next step.
Step 6: Reassemble the motion detector
Now that you have successfully installed the new battery in your Ademco motion detector, it’s time to reassemble the device. Follow these steps to ensure the proper reassembly of the motion detector:
1. Securely place the battery cover back: Take the battery cover that you removed earlier and carefully position it back onto the motion detector. Make sure that it fits snugly and aligns properly with the battery compartment. If the cover is held in place by screws, use the appropriate screwdriver to reattach the screws securely.
Ensure that the battery cover is securely in place to prevent any dust or debris from entering the device. This will help maintain the longevity and functionality of your motion detector.
2. Reattach the motion detector to the mounting bracket: With the battery cover secured, it’s time to reattach the motion detector to its mounting bracket. Align the detector with the bracket and gently slide or screw it back into position. Ensure that the detector is snug and properly seated in the bracket.
If your motion detector is a snap-in type, listen for a click or visual confirmation that it is securely in place. Give it a gentle tug to make sure it is properly mounted.
By securely placing the battery cover back and reattaching the motion detector to the mounting bracket, you can ensure that the device is properly sealed and positioned for optimum performance.
Now that the motion detector is reassembled, it’s time to move on to the next step: testing the device to verify its functionality.
Step 7: Test the motion detector
With the battery replaced and the motion detector reassembled, it’s time to test the device to ensure that it is functioning correctly. Follow these steps to validate the proper operation of your Ademco motion detector:
1. Turn on the power: Before testing the motion detector, ensure that the power to the device is turned on. Locate the power switch or circuit breaker dedicated to the security system and switch it back on.
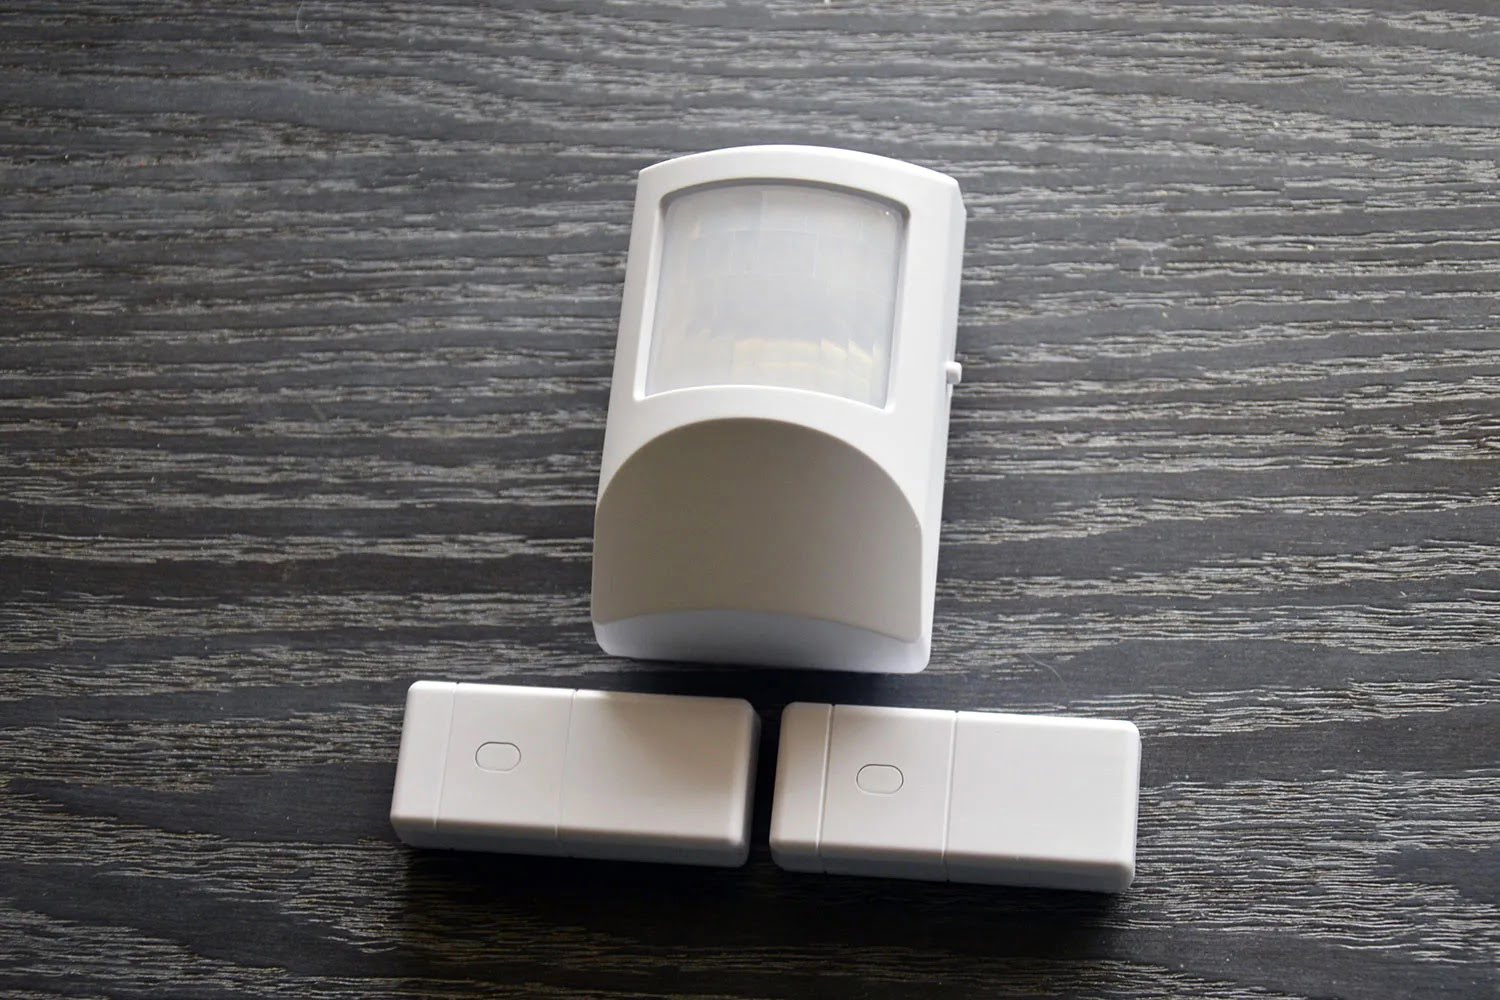
2. Verify proper functioning of the device: Once the power is back on, wait for a few moments to allow the motion detector to power up. Then, walk in front of the detector’s sensing range to trigger its motion detection capabilities.
Observe the motion detector to ensure that it properly detects your movement and triggers an appropriate response, such as activating an alarm or sending a notification to your home security system.
Take note of any irregularities or malfunctions during the testing process. If the motion detector fails to respond or behaves erratically, double-check the battery installation and revisit the previous steps to ensure that everything was done correctly.
If the motion detector functions as expected and detects your movement accurately, it indicates that the battery replacement was successful and the device is ready to protect your home once again.
Regularly testing your motion detector is essential to ensure its continuous performance and reliability in safeguarding your home. It is recommended to test the device periodically, especially after any maintenance or battery replacement.
Note: If you encounter any persistent issues with the motion detector’s functionality, it may be necessary to consult the device’s manual or reach out to a professional for further assistance or troubleshooting.
By following these steps and testing the motion detector, you can be confident in the proper functioning of your Ademco motion detector and the continued protection it provides for your home and loved ones.
Congratulations! You have successfully replaced the battery in your Ademco motion detector, securing your home’s safety and peace of mind.
Conclusion
Maintaining a functional and reliable home security system is of utmost importance, and ensuring the proper functioning of your Ademco motion detector is a key component. By knowing how to change the battery in your motion detector, you can keep your security system operating smoothly and effectively.
In this guide, we have provided you with a step-by-step process in changing the battery in your Ademco motion detector. From gathering the necessary tools and materials to reassembling the device, each step has been carefully outlined to ensure a successful battery replacement.
By following these steps, you can easily replace the battery in your motion detector without the need for professional assistance. This saves you time and money, providing you with the satisfaction of a DIY solution.
Remember to handle the old battery with care, disposing of it in an environmentally-friendly manner. Recycling centers or designated drop-off points are ideal choices for proper battery disposal.
Before concluding, it is worth mentioning that regular testing of your motion detector is essential to maintain its functionality. Periodically test the device to ensure that it accurately detects movement and triggers the appropriate response.
By replacing the battery in your Ademco motion detector and regularly testing its functionality, you are taking proactive measures to secure your home and protect your loved ones.
With a well-functioning motion detector, you can have peace of mind knowing that your home security system is in proper working order. So, take the time to replace the battery in your Ademco motion detector, and enjoy the added peace of mind that comes with a secure home.
Frequently Asked Questions about How Do I Change The Battery In My Ademco Motion Detector
Was this page helpful?
At Storables.com, we guarantee accurate and reliable information. Our content, validated by Expert Board Contributors, is crafted following stringent Editorial Policies. We're committed to providing you with well-researched, expert-backed insights for all your informational needs.