Home>Home Security and Surveillance>How To Setup Motion Detector To Notify My Phone

Home Security and Surveillance
How To Setup Motion Detector To Notify My Phone
Modified: March 6, 2024
Learn how to set up a motion detector for enhanced home security and surveillance. Get notified on your phone for any detected movements.
(Many of the links in this article redirect to a specific reviewed product. Your purchase of these products through affiliate links helps to generate commission for Storables.com, at no extra cost. Learn more)
Introduction
Welcome to the world of home security and surveillance! In today’s fast-paced world, it’s essential to have a reliable security system in place to keep your home and loved ones safe. One crucial component of any comprehensive security setup is a motion detector that notifies your phone in case of any suspicious activity.
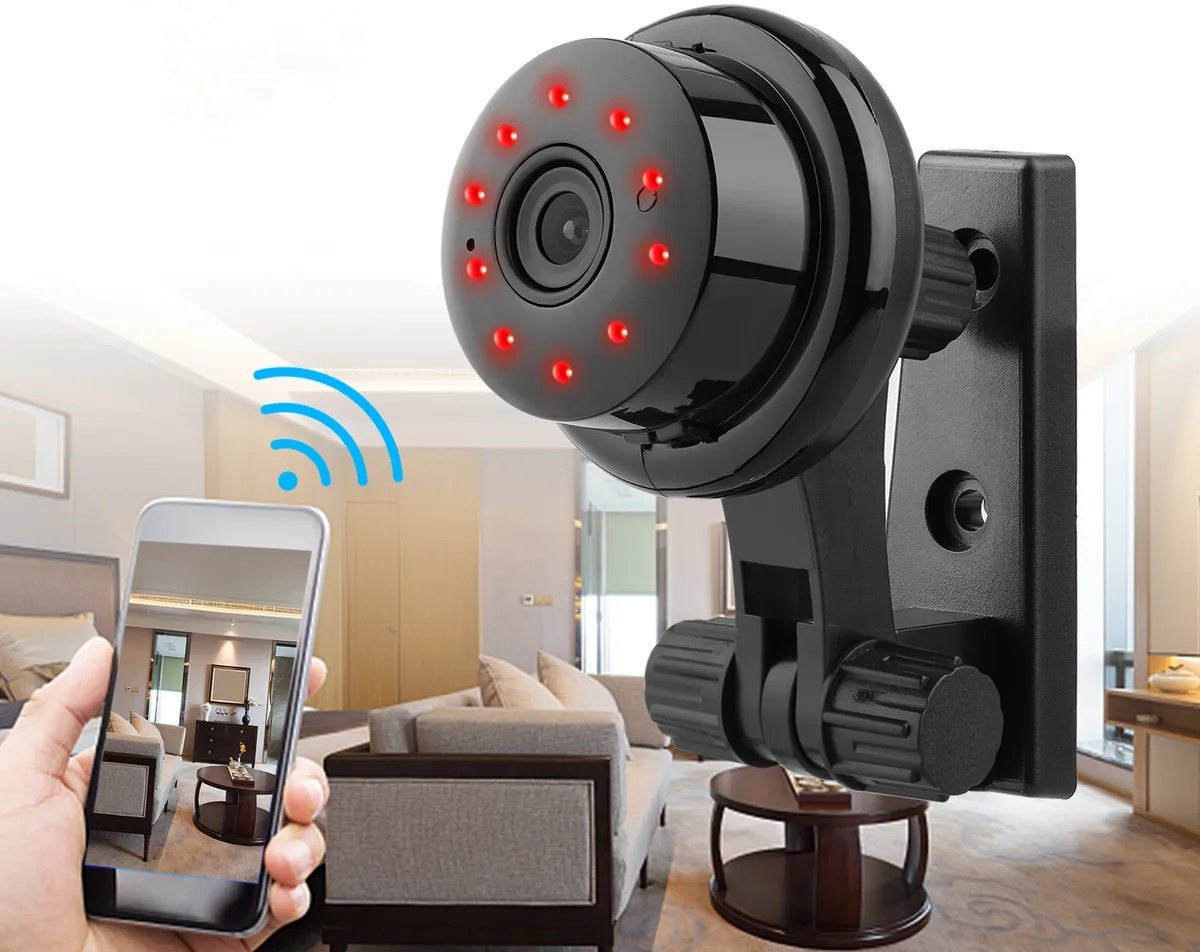
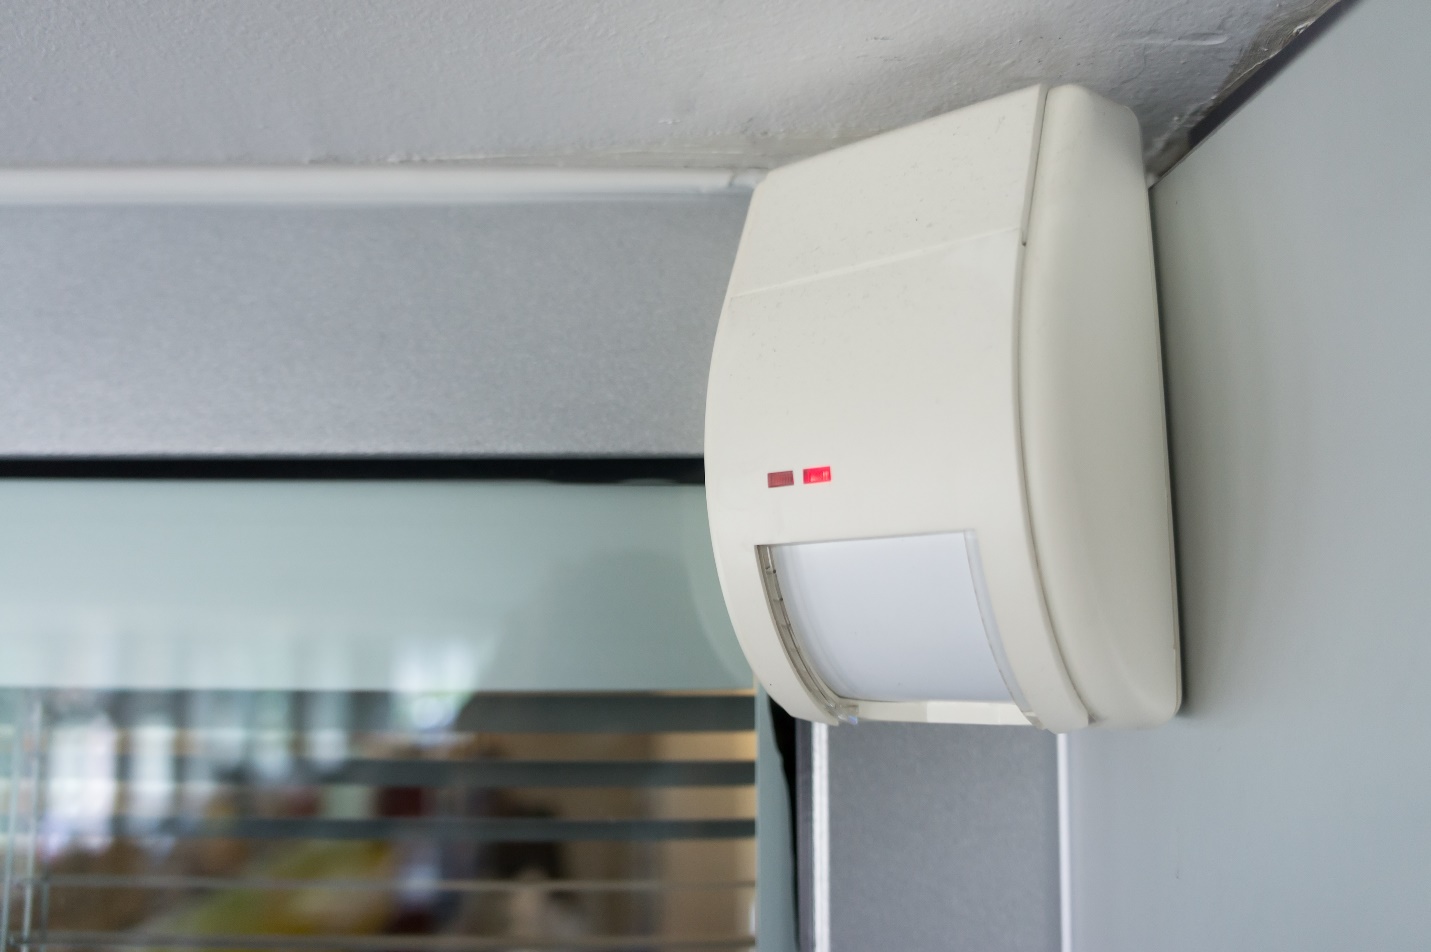
A motion detector is a device that uses various technologies such as infrared, microwave, or sonar to detect movement within its range. When it senses motion, it sends a signal to your phone, alerting you to the potential threat. This feature allows you to take immediate action, whether it’s contacting the authorities or checking live footage from your surveillance cameras.
Setting up a motion detector to notify your phone may seem like a daunting task, but fear not! In this article, we will guide you through the step-by-step process, making it easy and understandable for even the least tech-savvy individuals.
Before we dive into the details, it’s crucial to choose the right motion detector for your needs. There are various options available in the market, ranging from standalone motion sensors to integrated security systems. Consider factors such as detection range, sensitivity, power source, and compatibility with your existing security setup when making your selection.
Once you’ve selected the perfect motion detector, it’s time to get started with the setup process. In the following sections, we will walk you through each step, from connecting the motion detector to your Wi-Fi network to configuring the notification settings on your phone.
So, let’s roll up our sleeves and get down to business!
Key Takeaways:
- Choose the right motion detector by considering factors like detection range, technology, sensitivity, power source, and compatibility with your existing security setup to ensure effective home surveillance.
- Follow the step-by-step process to connect, pair, and configure your motion detector with the mobile app, enabling timely notifications on your phone whenever motion is detected for enhanced home security.
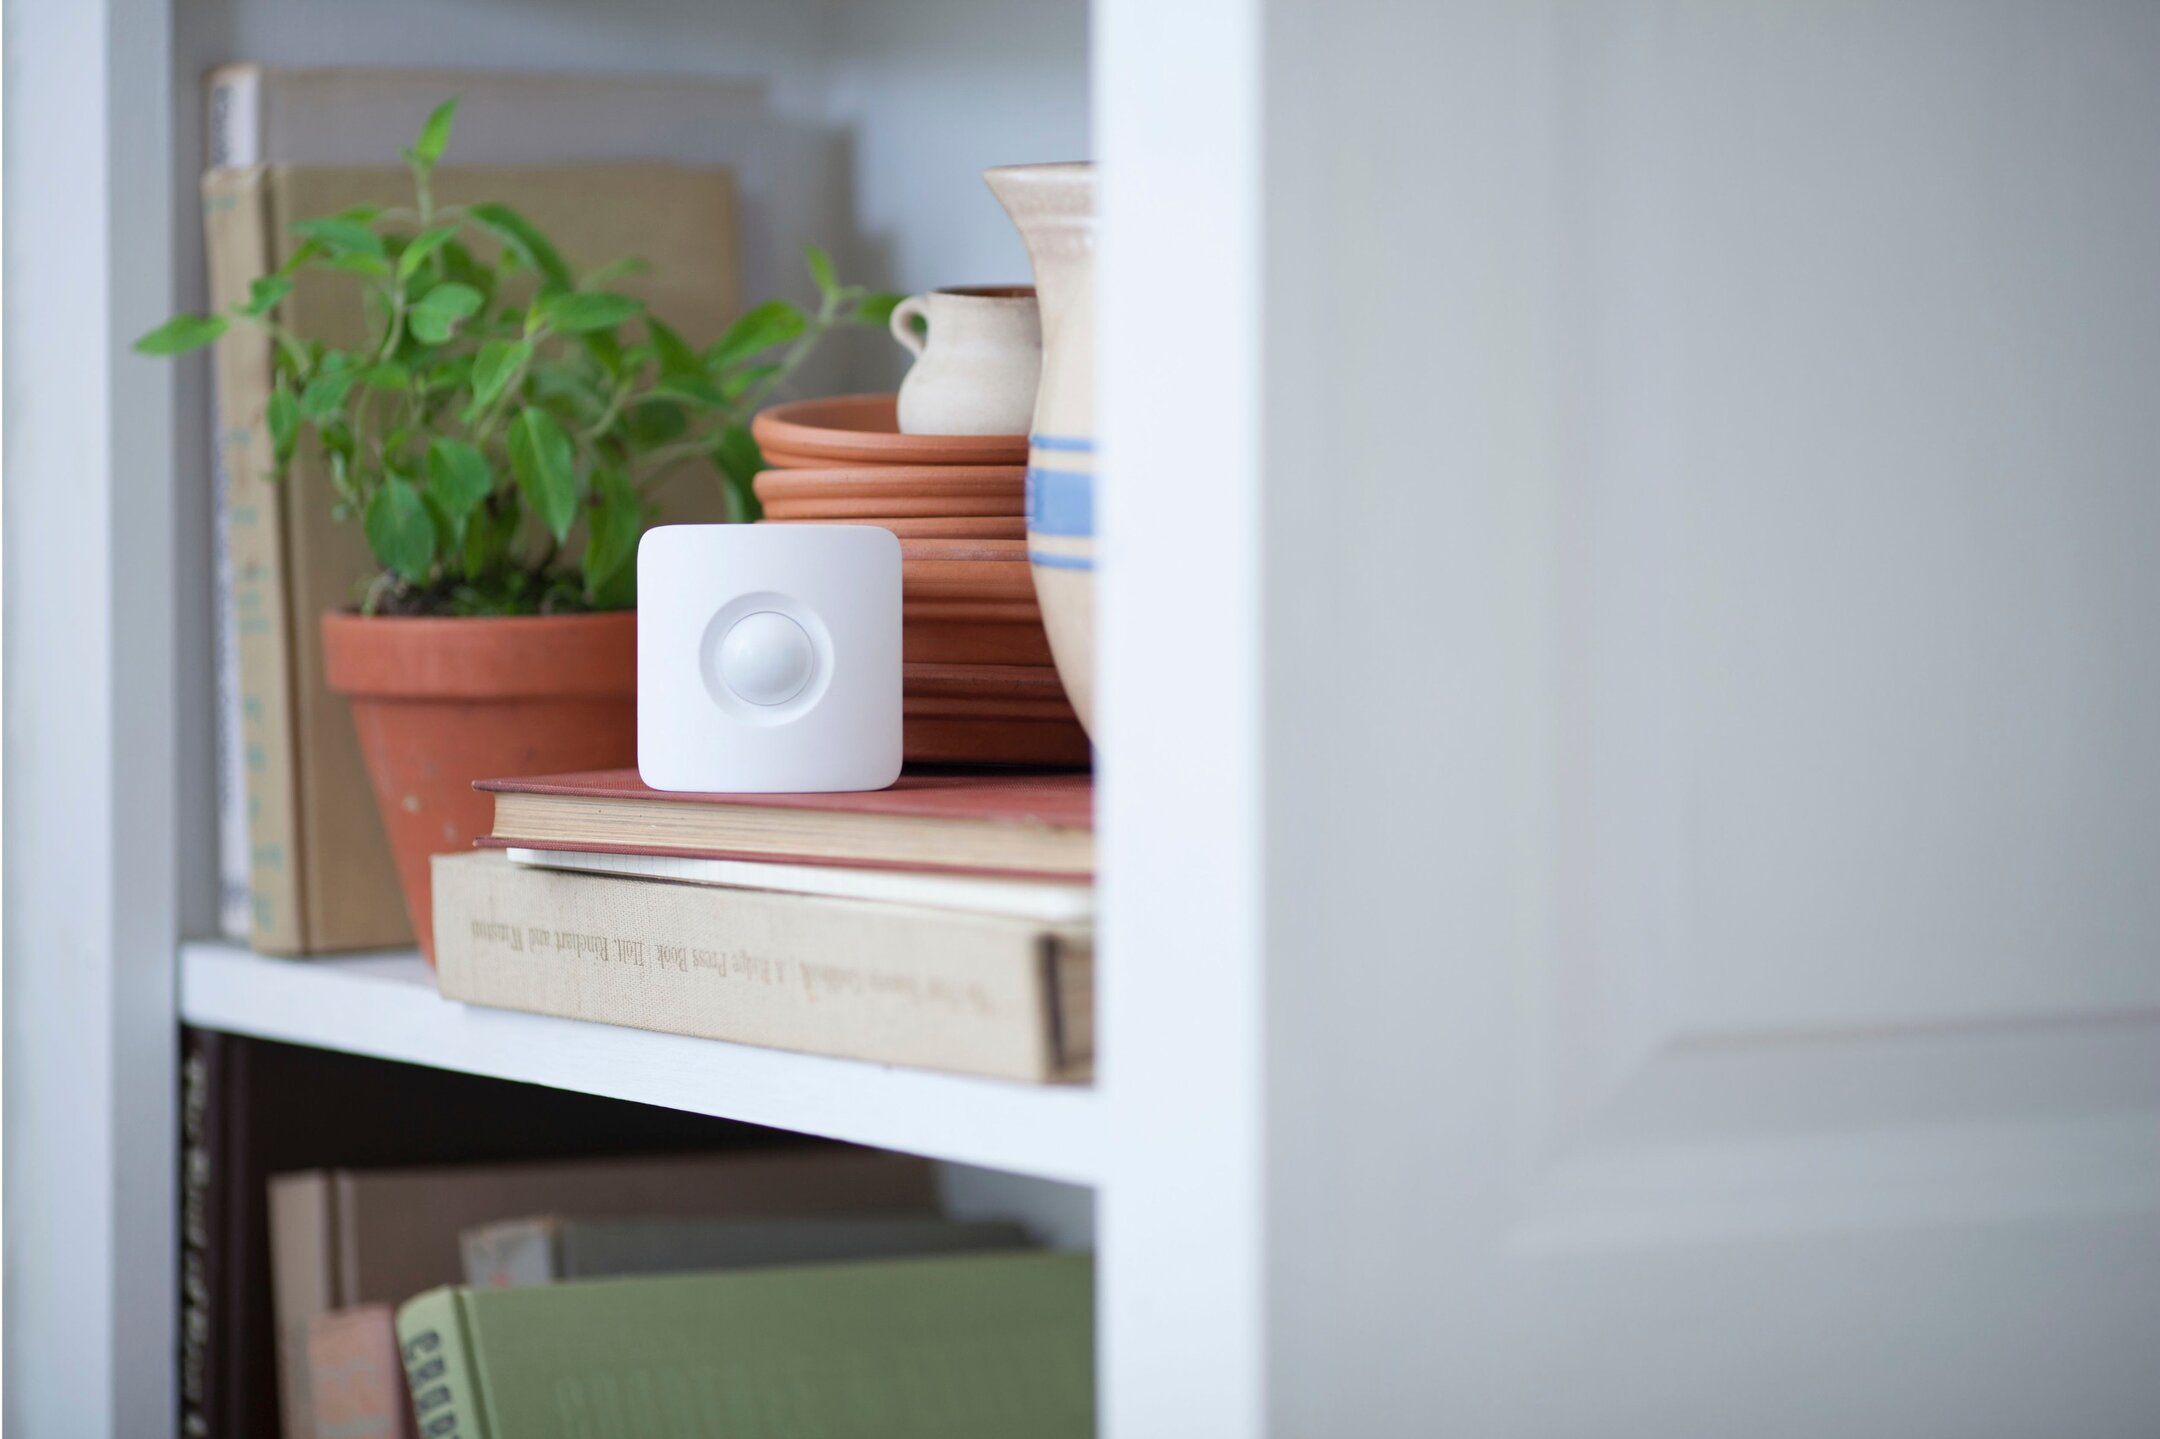
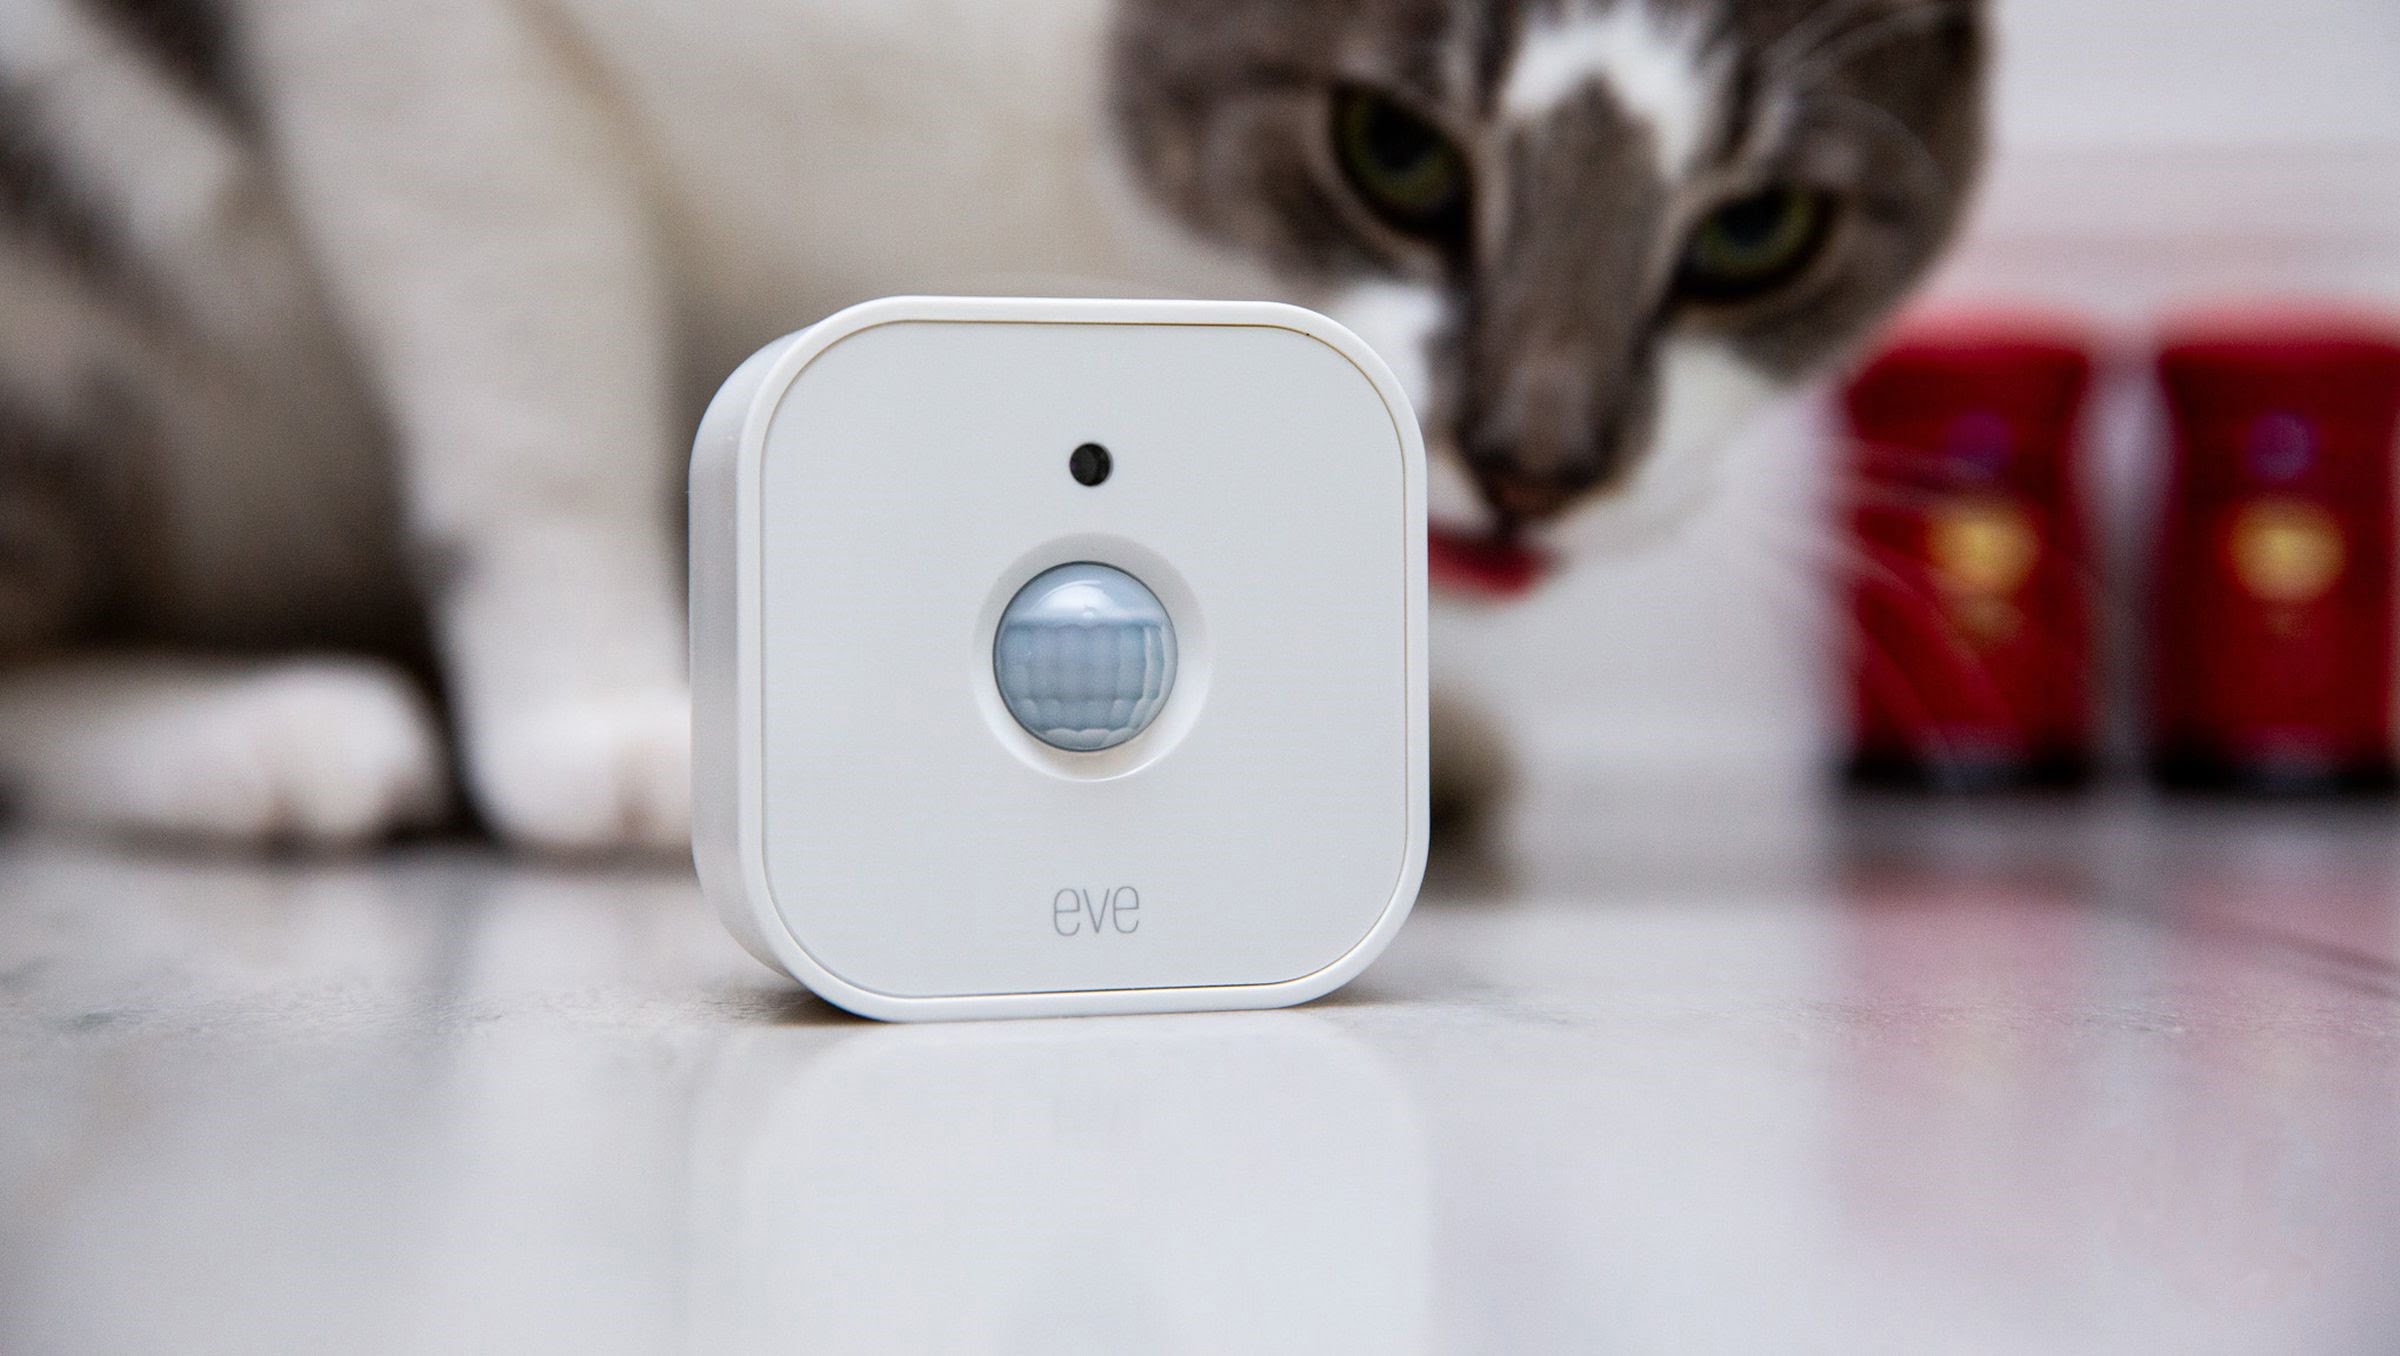
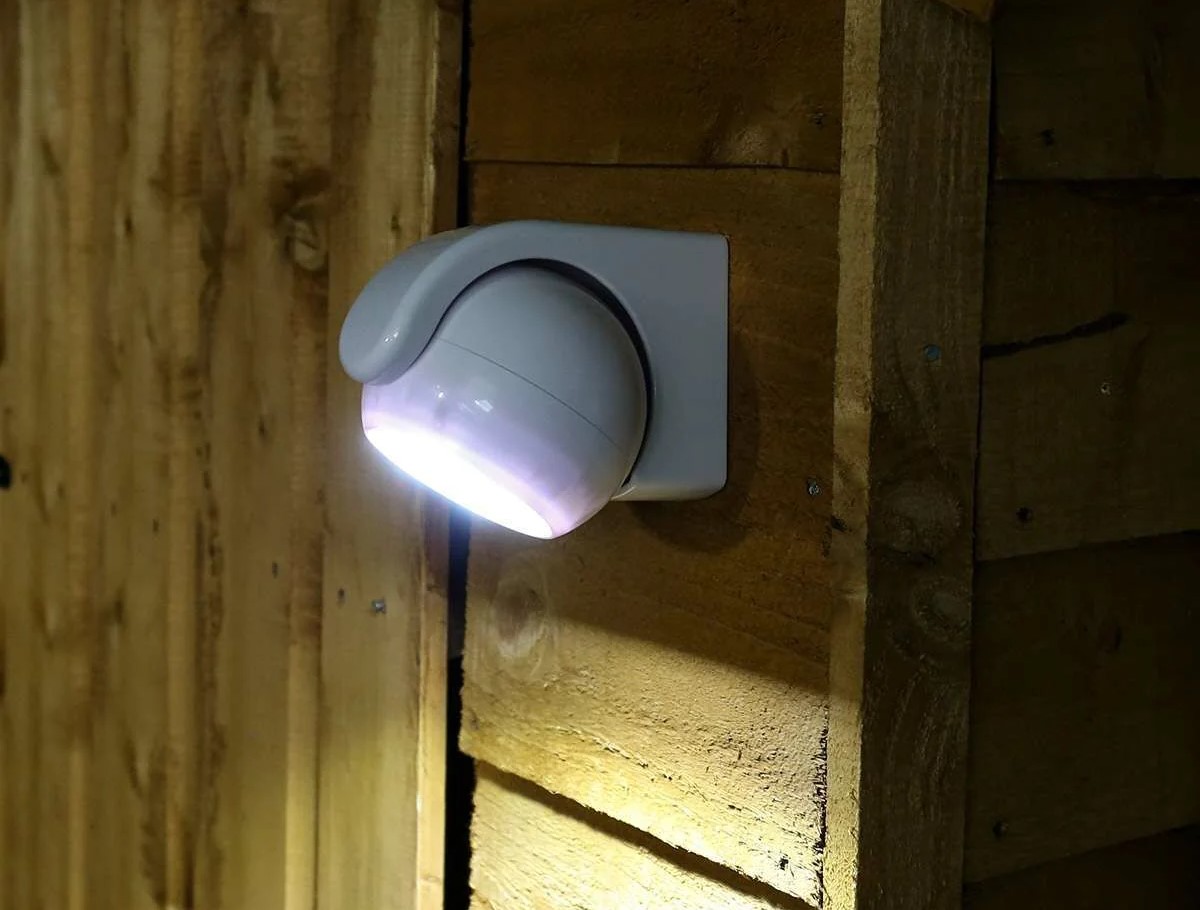
Step 1: Selecting a Motion Detector
When it comes to selecting a motion detector, there are a few key factors to consider. Here are some important points to keep in mind:
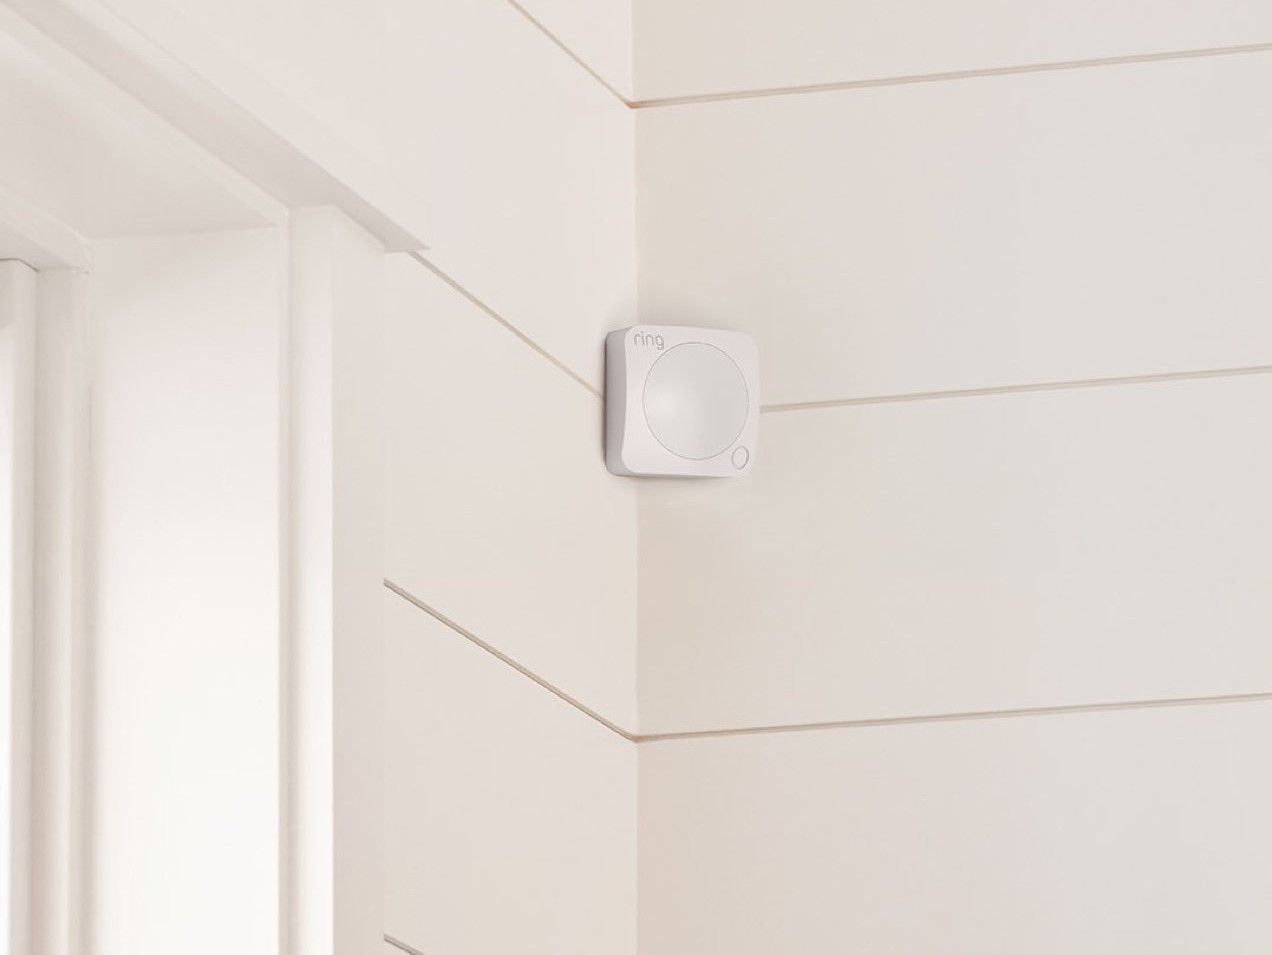
- Detection Range: The detection range refers to the maximum distance at which the motion detector can sense movement. Consider the size and layout of the area you want to monitor and choose a motion detector with an appropriate detection range.
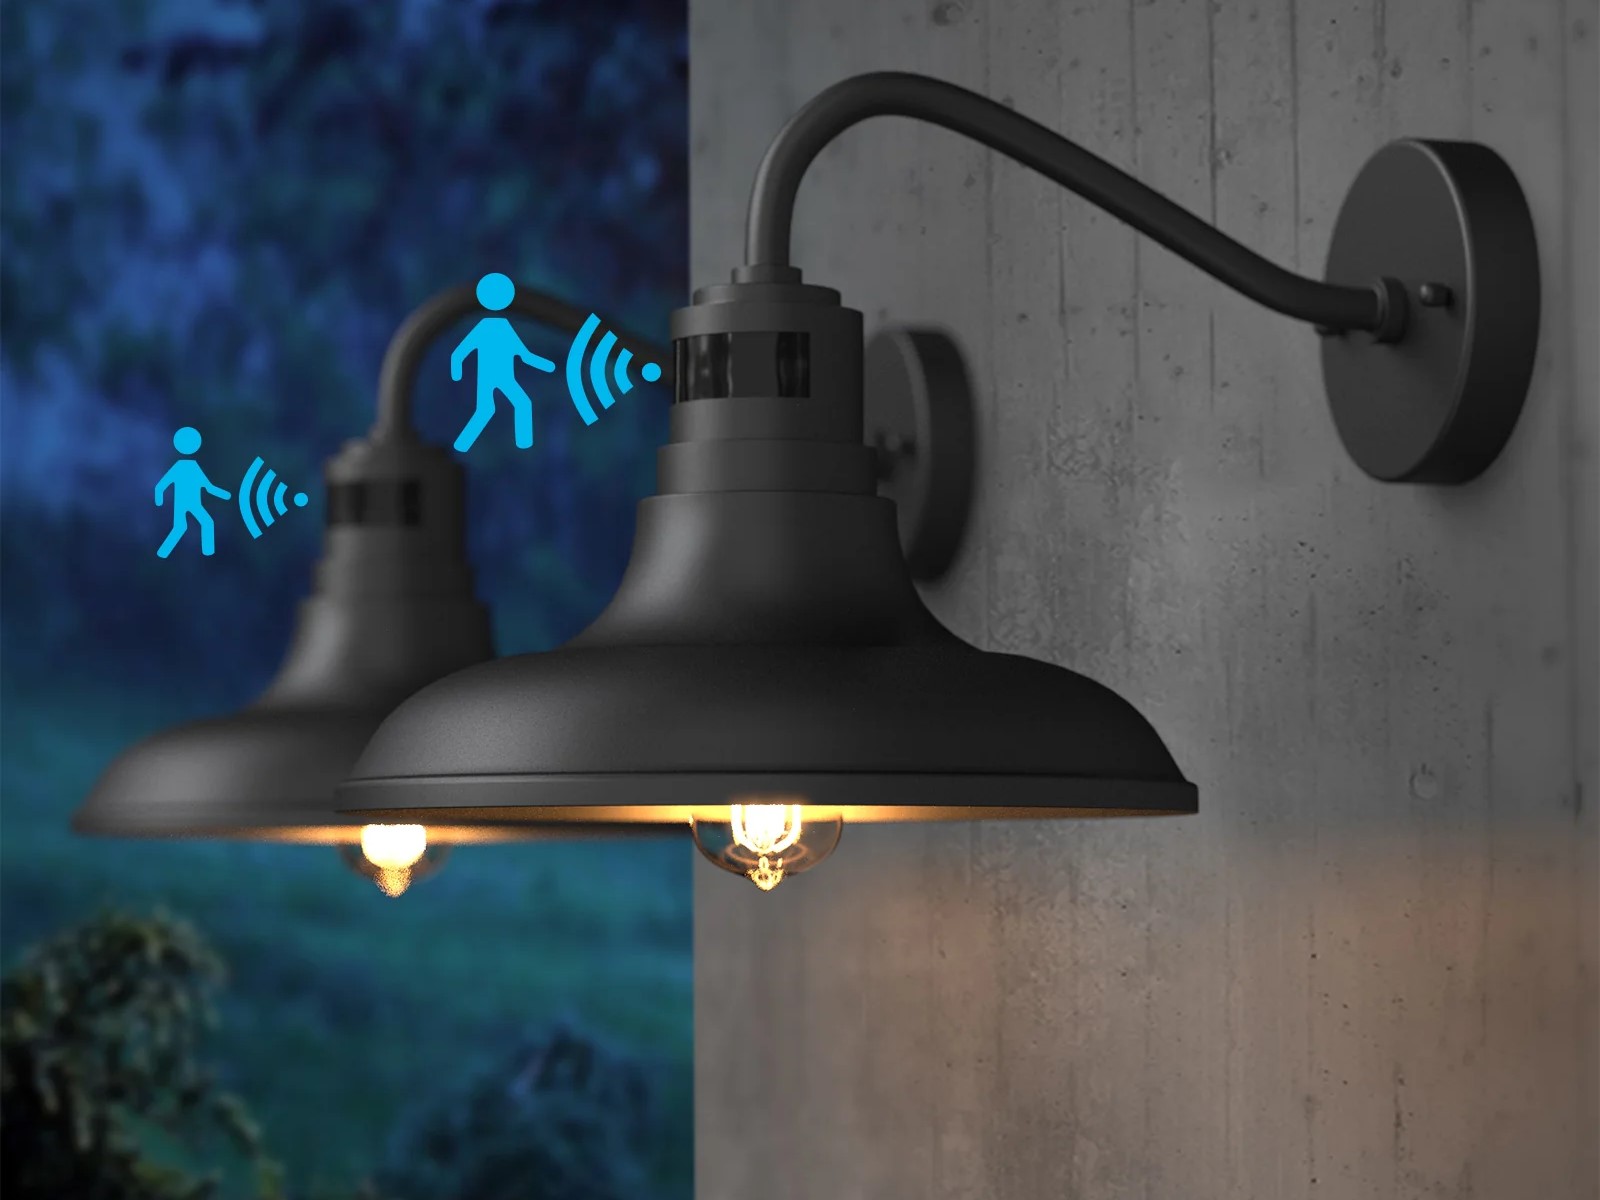
- Technology: Motion detectors can use different technologies, such as infrared (PIR), microwave, or sonar. Infrared detectors are the most common and work by detecting changes in heat signatures. Microwave detectors emit continuous waves and measure changes in the reflected waves caused by movement. Sonar detectors use sound waves to detect motion. Consider the specific needs of your home and the environment in which the motion detector will be placed to determine the most suitable technology.
- Sensitivity: Motion detectors have adjustable sensitivity levels, allowing you to customize their response to movement. Higher sensitivity means the detector will trigger more easily, while lower sensitivity may prevent false alarms. Fine-tune the sensitivity based on your preferences and the specific requirements of your home.
- Power Source: Motion detectors can be battery-powered or wired. Battery-powered detectors offer flexibility in terms of placement, but you will need to regularly replace or recharge the batteries. Wired detectors require access to a power source but eliminate the need for battery maintenance.
- Compatibility: If you already have a home security system or surveillance cameras in place, ensure that the motion detector you choose is compatible with your existing setup. This will allow for seamless integration and centralized control of your security system.
Research various motion detectors available on the market and read customer reviews to gather insights into their performance and reliability. Additionally, consider consulting with a professional security expert who can provide personalized recommendations based on your specific needs and budget.
Once you have selected the right motion detector, you are ready to move on to the next step: connecting it to your Wi-Fi network.
Step 2: Connecting the Motion Detector to Wi-Fi
Connecting your motion detector to your Wi-Fi network is essential for enabling remote notifications on your phone. Here’s how you can do it:
- Read the User Manual: Before getting started, carefully read the user manual that came with your motion detector. It will provide specific instructions on how to connect the device to your Wi-Fi network.
- Power On the Motion Detector: Plug in your motion detector and ensure that it has power. Most devices will have an LED light indicator to show that they are powered on.
- Download the Mobile App: To connect your motion detector to Wi-Fi, you’ll typically need to download and install the manufacturer’s mobile app on your smartphone or tablet. Visit the app store on your device and search for the app using the provided name or scan the QR code provided in the user manual.
- Create an Account: Open the app and create a new account if prompted to do so. This account will allow you to access and control your motion detector remotely.
- Follow the In-App Instructions: Once you’ve logged in, follow the instructions provided in the app to begin the Wi-Fi setup process. Typically, you will be asked to enter your Wi-Fi network name (SSID) and password.
- Connect to Wi-Fi: The app will attempt to connect to your Wi-Fi network using the provided information. Make sure that you are within range of your Wi-Fi router and that the network password is entered correctly. This process may take a few moments as the motion detector establishes a connection.
- Successful Connection: If the connection is successful, you will receive a confirmation message in the app. The motion detector is now connected to your Wi-Fi network and ready to be paired with the mobile app.
Remember, it’s important to follow the specific instructions provided by the manufacturer as the exact steps may vary depending on the brand and model of your motion detector. For troubleshooting or further assistance, refer to the user manual or contact customer support.
With your motion detector successfully connected to Wi-Fi, it’s time to move on to the next step: downloading and setting up the mobile app.
Step 3: Downloading and Setting up the Mobile App
In order to receive notifications on your phone, you’ll need to download and set up the mobile app provided by the manufacturer of your motion detector. Follow these steps to get started:
- Find the App: Go to the app store on your smartphone or tablet and search for the app. Look for the app that corresponds to the brand and model of your motion detector. Alternatively, you can scan the QR code provided in the user manual to directly access the app download page.
- Download and Install: Once you’ve found the app, tap on the “Download” or “Install” button to begin the installation process. Wait for the app to download and install on your device.
- Create an Account: Launch the app and create a new account if you don’t already have one. This account will allow you to log in and access the features and settings of your motion detector.
- Grant Permissions: When prompted, grant the app the necessary permissions to access functions such as your device’s camera, microphone, and notifications. These permissions are required for the app to function correctly and send you motion alerts.
- Log In: Once you’ve created an account and granted permissions, log in to the app using your account credentials. This will give you access to the dashboard and settings of your motion detector.
- Connect the Motion Detector: In the app, look for the option to add or connect a new device. Follow the on-screen instructions to pair your motion detector with the app. This may involve scanning a QR code, entering a device-specific code, or following other guided steps.
- Test the Connection: After connecting the motion detector, perform a quick test to ensure that it is communicating with the app correctly. You can do this by triggering the motion sensor or using any other available testing features within the app.
Each mobile app may have slightly different steps and interfaces, so make sure to refer to the app’s user manual or on-screen instructions for any specific guidance or troubleshooting tips.
Now that your mobile app is set up and connected to your motion detector, you can move on to the next step: pairing the motion detector with the mobile app.
Step 4: Pairing the Motion Detector with the Mobile App
Now that you have downloaded and set up the mobile app, it’s time to pair your motion detector with the app. This step is crucial for establishing a connection and ensuring that you receive motion detection alerts on your phone. Follow these steps to pair the two:
- Open the Mobile App: Launch the mobile app on your smartphone or tablet. Make sure you are logged in to your app account.
- Access Device Settings: Within the app, look for the settings or devices menu. This is where you can manage and configure your motion detector.
- Add a New Device: In the settings or devices menu, select the option to add a new device. The app will guide you through the pairing process.
- Put the Motion Detector in Pairing Mode: Follow the instructions provided by the app to put your motion detector in pairing mode. This typically involves pressing a button or entering a specific code on the device itself.
- Detect the Motion Detector: Using Bluetooth or Wi-Fi, the app will scan for nearby devices. It will detect the motion detector in pairing mode and display it on the screen. Select the motion detector to proceed.
- Confirm Device Pairing: Once the app has successfully detected the motion detector, it will ask you to confirm the pairing. Verify that the displayed details match your device and confirm the pairing.
- Test the Connection: After pairing, perform a test to make sure the motion detector is communicating with the app. Trigger the motion sensor or use any available testing features within the app to ensure that alerts are being received on your phone.
Remember to consult the user manual or on-screen instructions provided by the manufacturer for any specific pairing instructions or troubleshooting steps. If you encounter any issues during the pairing process, try resetting the device and repeating the steps.
Now that your motion detector is successfully paired with the mobile app, you can proceed to the next step: configuring motion detection settings.
Make sure to download the corresponding app for your motion detector and follow the instructions to connect it to your phone. Set up notifications in the app to receive alerts when motion is detected.
Read more: How To Setup Zosi Security Motion Detector
Step 5: Configuring Motion Detection Settings
Configuring the motion detection settings is a crucial step in customizing the behavior of your motion detector. By adjusting these settings, you can optimize the device’s performance and ensure that you receive accurate and timely notifications. Follow these steps to configure the motion detection settings:
- Access the App Settings: Open the mobile app on your smartphone or tablet and navigate to the settings or devices menu. This is where you will find the options to configure the motion detection settings.
- Select Motion Detection: Within the settings, locate the option for motion detection settings. This may be labeled as “Motion Detection,” “Sensor Settings,” or something similar. Tap on it to access the motion detection configuration.
- Adjust Sensitivity: One of the most important settings to configure is the sensitivity level. This determines how easily the motion detector will trigger an alert. Higher sensitivity may result in more false alarms, while lower sensitivity may cause the detector to miss some movements. Adjust the sensitivity level based on your specific needs and the environment in which the detector is placed.
- Set Detection Zones: Most motion detectors allow you to define specific areas within their field of view that you want to monitor for motion. This can help reduce false alarms triggered by movement in irrelevant areas, such as passing vehicles. Identify the important zones within the camera’s range and mark them accordingly in the settings.
- Configure Alarm Length and Delay: Specify how long the motion detector should send alerts or trigger alarms once motion is detected. Additionally, you can set a delay time for the detector to reset before it can detect motion again. Adjust these settings to match your preferences and security requirements.
- Enable Advanced Features: Some motion detectors offer additional features such as pet detection, human detection, or object recognition. If available, enable these features to enhance the accuracy and functionality of the detector.
- Save and Apply Settings: After configuring the desired motion detection settings, save and apply the changes in the app. The motion detector will now operate according to the updated configurations.
Remember to consult the user manual or any instructions provided by the manufacturer for specific guidance on configuring motion detection settings. Experiment with different settings if needed and fine-tune the configurations based on your home’s layout and specific security requirements.
With the motion detection settings properly configured, you’re one step closer to receiving notifications on your phone. In the next step, we’ll cover how to set up notifications for your motion detector.
Step 6: Setting up Notifications on Your Phone
Now that your motion detector is configured, it’s time to ensure that you receive timely notifications on your phone whenever motion is detected. Follow these steps to set up notifications:
- Open App Settings: Launch the mobile app on your smartphone or tablet and access the app settings or preferences menu.
- Notification Settings: Look for the option that is related to notifications or alerts. It may be labeled as “Notifications,” “Alerts,” or something similar.
- Enable Notifications: Toggle the switch or button to enable notifications for the app. This will ensure that you receive alerts on your phone when motion is detected.
- Customize Notification Sound: Depending on the app, you may have the option to customize the notification sound. Choose a sound that is distinct and easily recognizable so that you can differentiate between motion alerts and other notifications on your phone.
- Configure Delivery Method: Some apps allow you to choose how you want to receive notifications. You may have the option to receive them as push notifications, text messages, or email alerts. Select the appropriate delivery method based on your preference.
- Fine-tune Notification Settings: Explore further options available in the notification settings to customize the behavior of notifications. This may include options such as scheduling the active hours for notifications, enabling silent mode, or setting up multiple users to receive alerts.
- Test the Notifications: Perform a quick test to ensure that you are receiving notifications correctly. Trigger the motion sensor or use any testing features within the app to verify that alerts are being sent to your phone.
Keep in mind that the process of setting up notifications may vary depending on the manufacturer’s app and the specific features available. Refer to the app’s user manual or any on-screen instructions for detailed guidance on customizing notification settings.
With notifications successfully configured, you are now ready to receive alerts straight to your phone whenever motion is detected by your motion detector. In the final step, we’ll cover testing and troubleshooting the motion detector if necessary.
Step 7: Testing and Troubleshooting the Motion Detector
Now that you have completed the setup process for your motion detector and notifications, it’s essential to test its functionality and address any potential issues. Follow these steps to test and troubleshoot your motion detector:
- Check Placement: Ensure that the motion detector is securely and correctly installed in the desired location. Verify that it is positioned within the recommended range and angle to effectively detect motion.
- Trigger Motion: Test the motion detector by intentionally triggering motion within its range. Wave your hand or walk in front of it to see if the device adequately detects the movement and sends the expected alerts to your phone.
- Adjust Sensitivity: If you notice issues with either false alarms or missed detections, consider adjusting the sensitivity level of the motion detector. Fine-tune this setting to achieve the desired balance between accurate motion detection and minimizing false alerts.
- Check Wi-Fi Connection: Ensure that your motion detector is still properly connected to your Wi-Fi network. Check the app settings and verify that the device has a stable and consistent connection to the internet.
- Update Firmware: Check for firmware updates for your motion detector through the mobile app or the manufacturer’s website. Keeping the firmware up-to-date ensures that your motion detector operates with the latest features and performance improvements.
- Review App FAQs or Support: If you encounter any technical issues or have specific questions about the mobile app, consult the app’s FAQs section or reach out to the manufacturer’s customer support for assistance and troubleshooting guidance.
- Test Notification Delivery: Perform a final test to ensure that notifications are being properly delivered to your phone. Trigger motion and check if the alerts are promptly sent to your device.
Keep in mind that motion detectors may have different troubleshooting steps or specific requirements based on the manufacturer and model. Consult the user manual and any documentation provided by the manufacturer for additional troubleshooting steps and specific guidance for your motion detector.
By thoroughly testing your motion detector and resolving any potential issues, you can ensure that your home security setup is ready to effectively detect and alert you to any suspicious activity.
Congratulations! You have successfully set up and configured a motion detector to notify your phone. With this comprehensive security feature in place, you can enjoy peace of mind knowing that you have an extra layer of protection for your home and loved ones.
Remember to periodically check the functionality of your motion detector and update the settings as needed. Additionally, continue to educate yourself on best practices for home security and surveillance to further enhance the safety of your home.
Thank you for taking the time to follow this step-by-step guide. Stay safe and secure!
Conclusion
Setting up a motion detector to notify your phone is an excellent way to enhance the security and surveillance of your home. With the ability to receive real-time alerts on your phone whenever motion is detected, you can take immediate action to protect your property and loved ones.
In this article, we have explored the step-by-step process of setting up a motion detector and configuring it to send notifications to your phone. We began by discussing the importance of selecting the right motion detector and considering factors such as detection range, technology, sensitivity, power source, and compatibility with your existing security setup.
We then delved into the process of connecting the motion detector to your Wi-Fi network and downloading the necessary mobile app. By following the provided instructions and consulting the user manual, you can establish a seamless connection between the motion detector and your phone.
Once the connection was established, we moved on to setting up the mobile app and pairing your motion detector with it. This step ensures that your motion detector is recognized by the app and allows you to control and monitor its functions remotely.
Configuring motion detection settings was the next crucial step. By adjusting sensitivity levels, defining detection zones, and enabling advanced features, you can customize the behavior of your motion detector to suit your specific needs and minimize false alarms.
We then explored how to set up notifications on your phone. By enabling notifications and customizing settings such as notification sound and delivery method, you can ensure that you receive timely alerts whenever motion is detected by your motion detector.
Finally, we discussed the importance of testing and troubleshooting the motion detector. By performing tests, adjusting sensitivity, checking Wi-Fi connection, updating firmware, and seeking support when necessary, you can ensure the functionality and reliability of your motion detector.
In conclusion, setting up a motion detector to notify your phone is an integral part of a comprehensive home security and surveillance system. By carefully following the steps outlined in this article and conducting regular maintenance, you can enjoy the peace of mind that comes with knowing your home is protected at all times.
Remember, home security is an ongoing effort, and it’s important to stay informed about the latest advancements and best practices. With your motion detector in place, we hope you have the confidence and reassurance that your home is secure and your loved ones are safe.
Thank you for joining us on this journey, and here’s to a safer and more secure home!
Frequently Asked Questions about How To Setup Motion Detector To Notify My Phone
Was this page helpful?
At Storables.com, we guarantee accurate and reliable information. Our content, validated by Expert Board Contributors, is crafted following stringent Editorial Policies. We're committed to providing you with well-researched, expert-backed insights for all your informational needs.