Home>Home Security and Surveillance>How To Replace The Battery In Protection 1 Motion Detector
Home Security and Surveillance
How To Replace The Battery In Protection 1 Motion Detector
Modified: March 6, 2024
Learn how to replace the battery in your Protection One motion detector and ensure your home security and surveillance system remains functional and reliable.
(Many of the links in this article redirect to a specific reviewed product. Your purchase of these products through affiliate links helps to generate commission for Storables.com, at no extra cost. Learn more)
Introduction
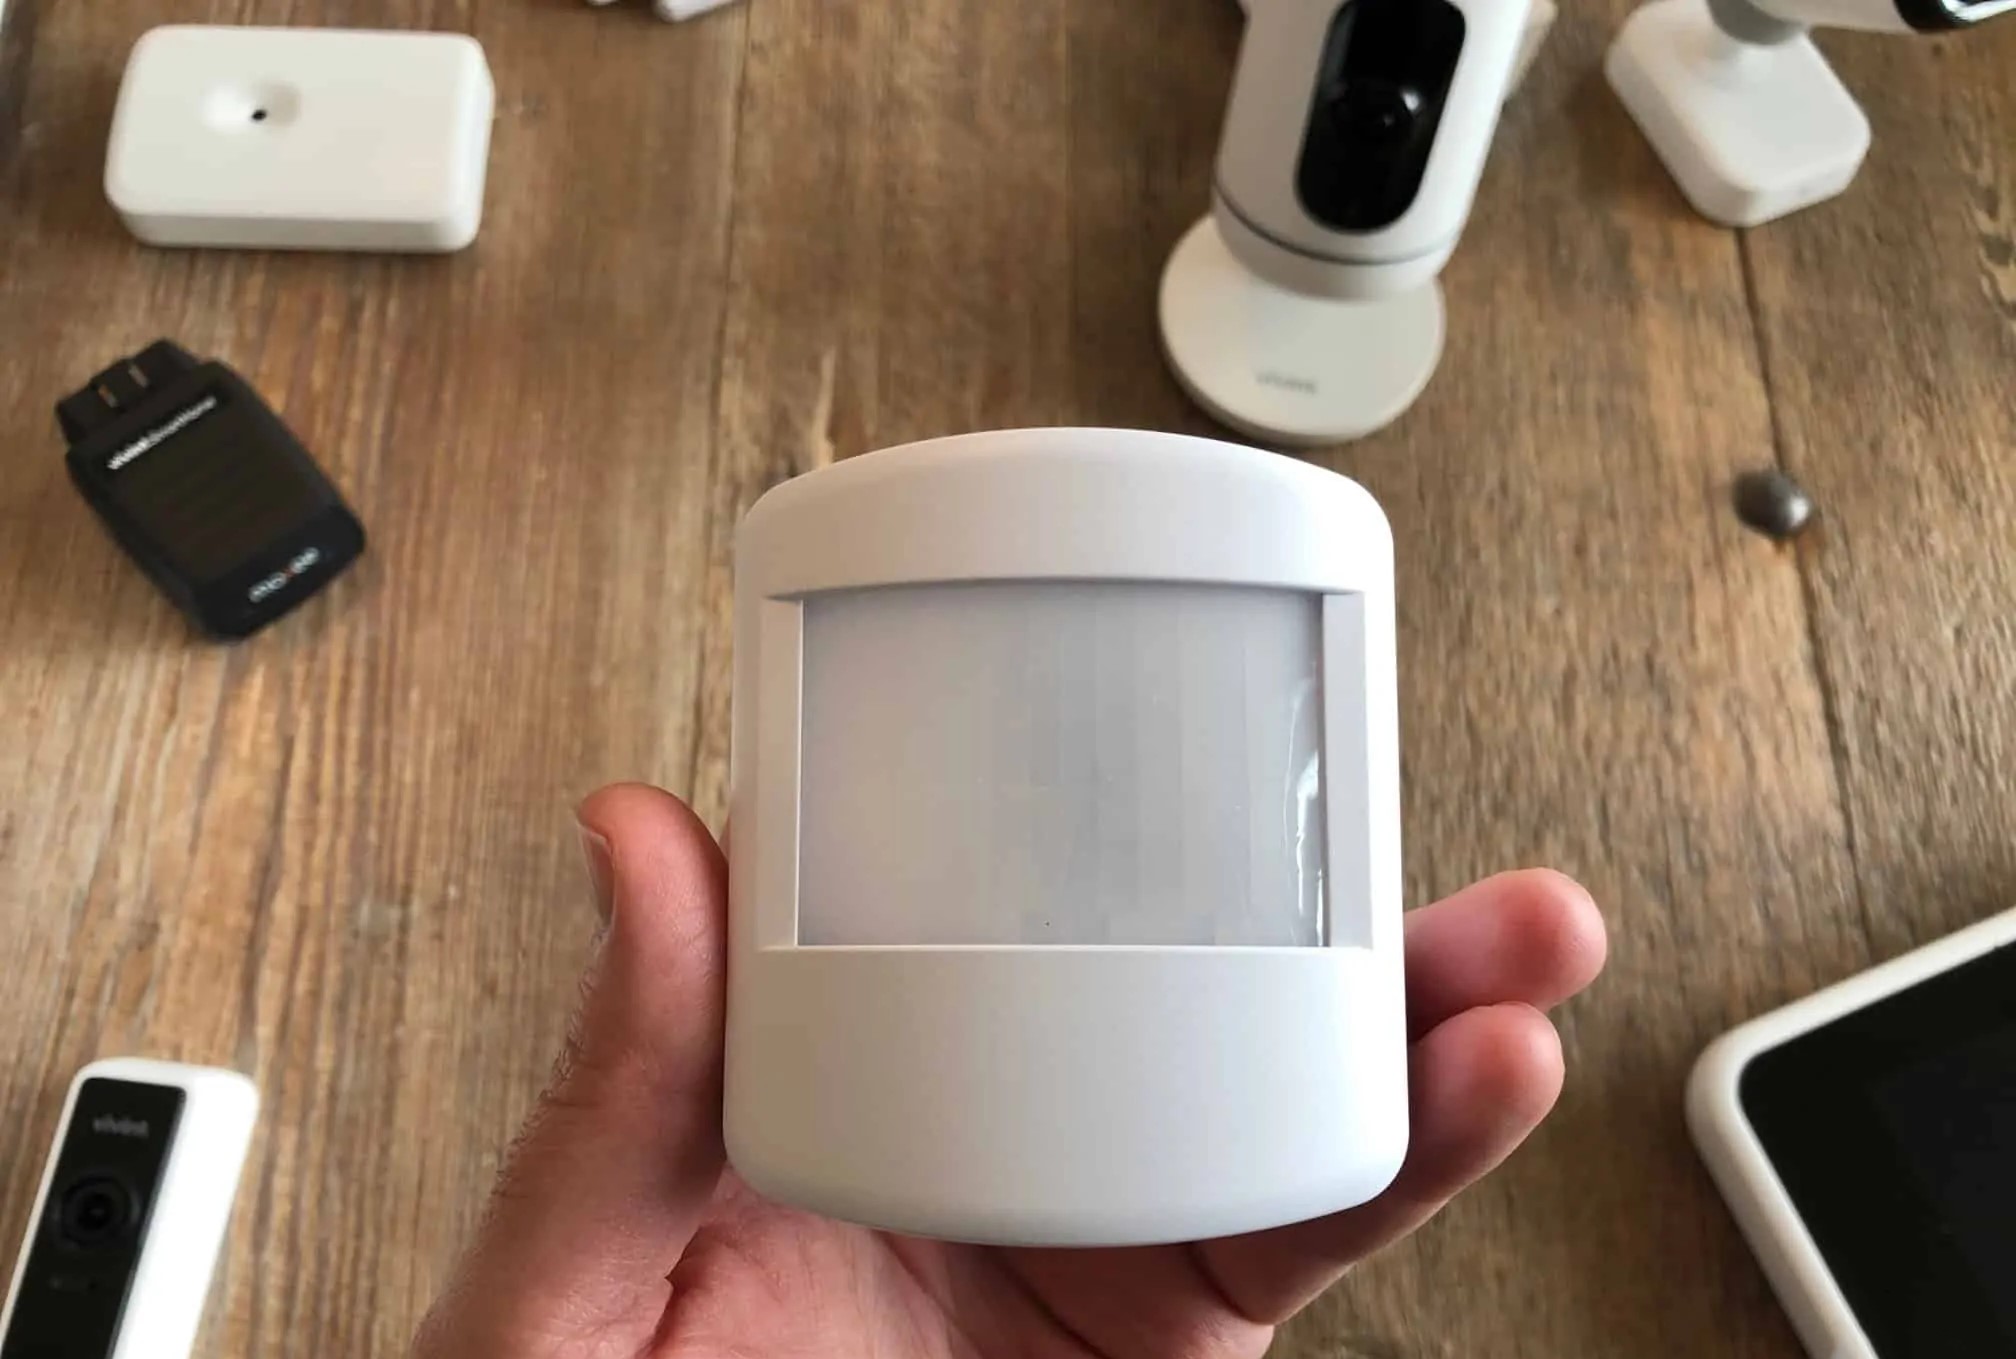
Welcome to our comprehensive guide on how to replace the battery in your Protection One Motion Detector. A motion detector is a pivotal component of any home security system, as it detects movement and triggers an alarm when an intruder is present. Regular maintenance, including replacing the battery when necessary, is crucial to ensure the effective operation of your motion detector.
In this article, we will walk you through the step-by-step process of replacing the battery in your Protection One Motion Detector. We will also provide safety precautions, a list of tools and materials needed, and tips for testing the motion detector after installing the new battery. By following these instructions, you can ensure that your motion detector remains in optimum condition, providing you with the ultimate peace of mind when it comes to protecting your home and loved ones.
Key Takeaways:
- Safety First!
Before replacing the battery in your Protection One Motion Detector, remember to turn off the power, wear protective gear, work in a well-ventilated area, handle the battery with care, and follow manufacturer instructions for a smooth and safe process. - Test for Peace of Mind
After installing the new battery, don’t forget to test your motion detector to ensure it’s working correctly. This simple step can provide you with the confidence and peace of mind that your home security system is in top-notch condition.
Safety Precautions
Before proceeding with the battery replacement, it is crucial to prioritize safety. Follow the guidelines below to ensure a safe and risk-free process:
- Turn off the power: Begin by disarming your home security system to prevent any accidental alarms or electrical shocks during the battery replacement process. Refer to your user manual or contact your security system provider for specific instructions on how to disarm the system.
- Wear protective gear: It is always a good idea to wear safety gloves and goggles to protect your hands and eyes during the battery replacement. This will help prevent any potential injury or exposure to harmful chemicals.
- Work in a well-ventilated area: If the motion detector is located in a confined or poorly ventilated space, it is advisable to open doors and windows to ensure proper airflow. This will minimize the risk of inhaling any fumes or gases that may be emitted during the battery replacement.
- Handle the battery with care: Batteries contain chemicals that can be harmful if mishandled or damaged. Be cautious when removing the old battery and when preparing and installing the new one. Avoid touching the battery terminals with your bare hands, and ensure that the battery is disposed of properly.
- Follow manufacturer instructions: Always refer to the manufacturer’s instructions or user manual specific to your Protection One Motion Detector for guidance on the battery replacement process. Different models may have slight variations, so it is important to follow the correct steps.
By adhering to these safety precautions, you can minimize the risk of accidents or damage and ensure a smooth and successful battery replacement for your Protection One Motion Detector.
Tools and Materials Needed
Before starting the battery replacement process, gather the following tools and materials:
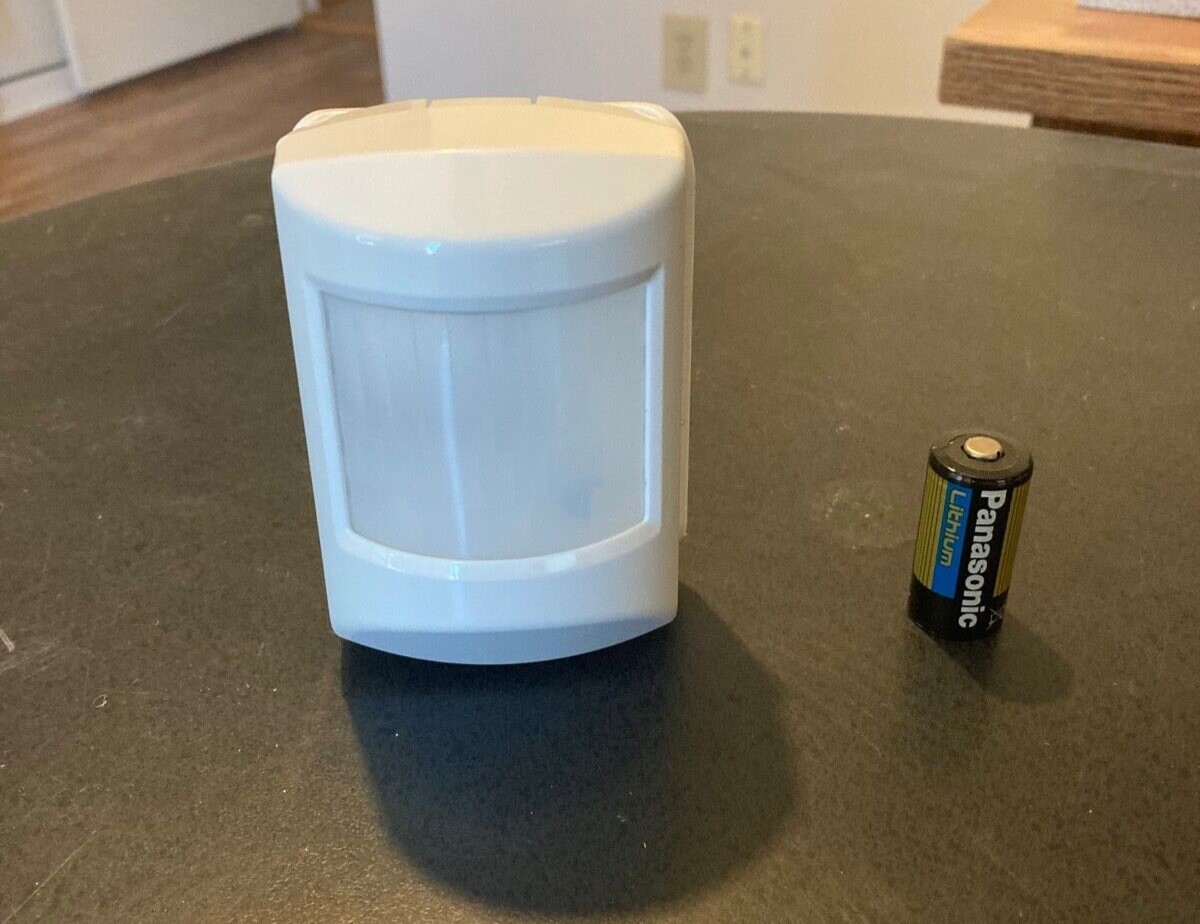
- Replacement battery: Identify the specific type and size of battery required for your Protection One Motion Detector. Typically, motion detectors use common coin or button cells, such as CR123A or CR2032.
- Safety gloves: It is essential to wear protective gloves to ensure your hands are protected throughout the process.
- Safety goggles: Protect your eyes from any potential hazards by wearing safety goggles.
- Screwdriver: Check if a screwdriver is needed to remove the battery compartment cover. This will depend on the specific design of your motion detector.
- Clean cloth or tissue: Keep a clean cloth or tissue nearby to wipe away any dirt or residue from the battery compartment or battery contacts.
Gathering these tools and materials beforehand will ensure a smooth and efficient battery replacement process for your Protection One Motion Detector, saving you time and effort.
Step 1: Disarming the Motion Detector
The first step in replacing the battery in your Protection One Motion Detector is to disarm the system. This prevents any accidental alarms or electrical shocks during the battery replacement process. Follow these steps to disarm the motion detector:
- Refer to your user manual: Consult your user manual or contact your security system provider for specific instructions on how to disarm your Protection One Motion Detector. Different models may have different disarming procedures, so it’s important to follow the correct steps.
- Enter your security code: Typically, you’ll need to enter your security code on the control panel or keypad to disarm the motion detector. Consult your user manual for the correct code and enter it accordingly.
- Wait for confirmation: Once you’ve entered the correct security code, wait for the confirmation signal from the control panel. This typically indicates that the system is successfully disarmed.
- Test the system: To ensure that the motion detector is disarmed, walk in front of the sensor and check if it triggers an alarm. If no alarm is triggered, it indicates that the system is properly disarmed.
By following these steps, you can safely disarm your Protection One Motion Detector before proceeding with the battery replacement process. This reduces the risk of any accidental alarms and ensures a smooth and hassle-free replacement experience.
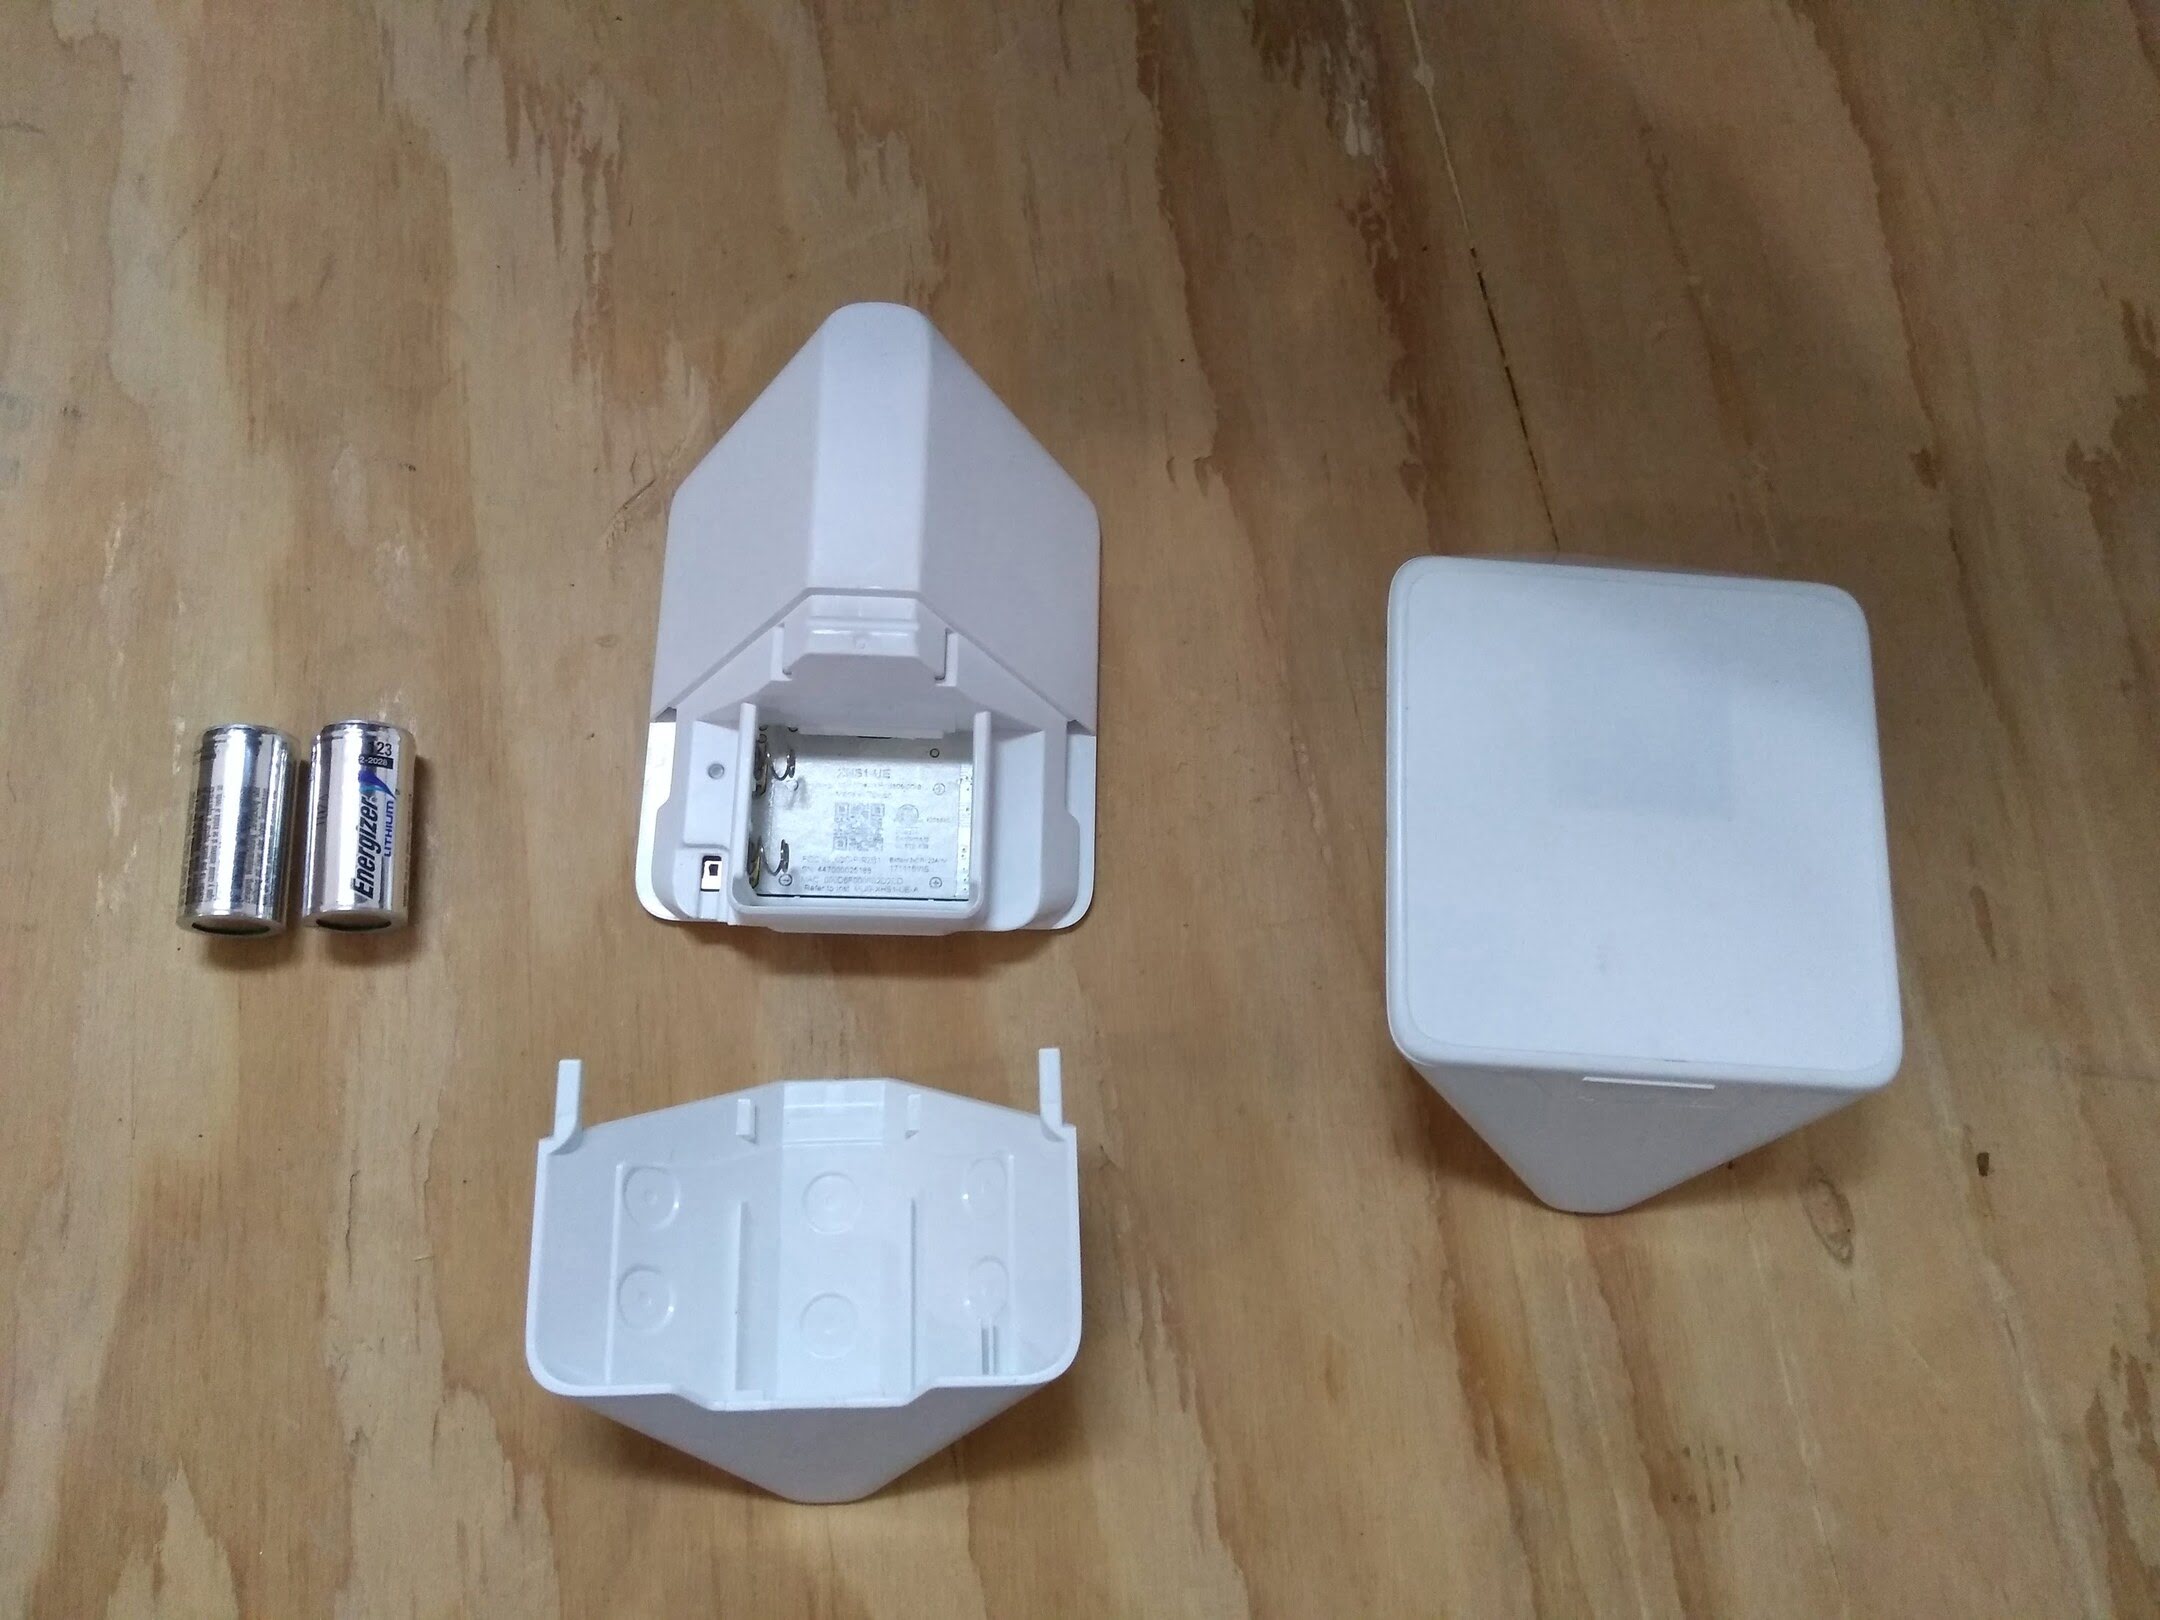
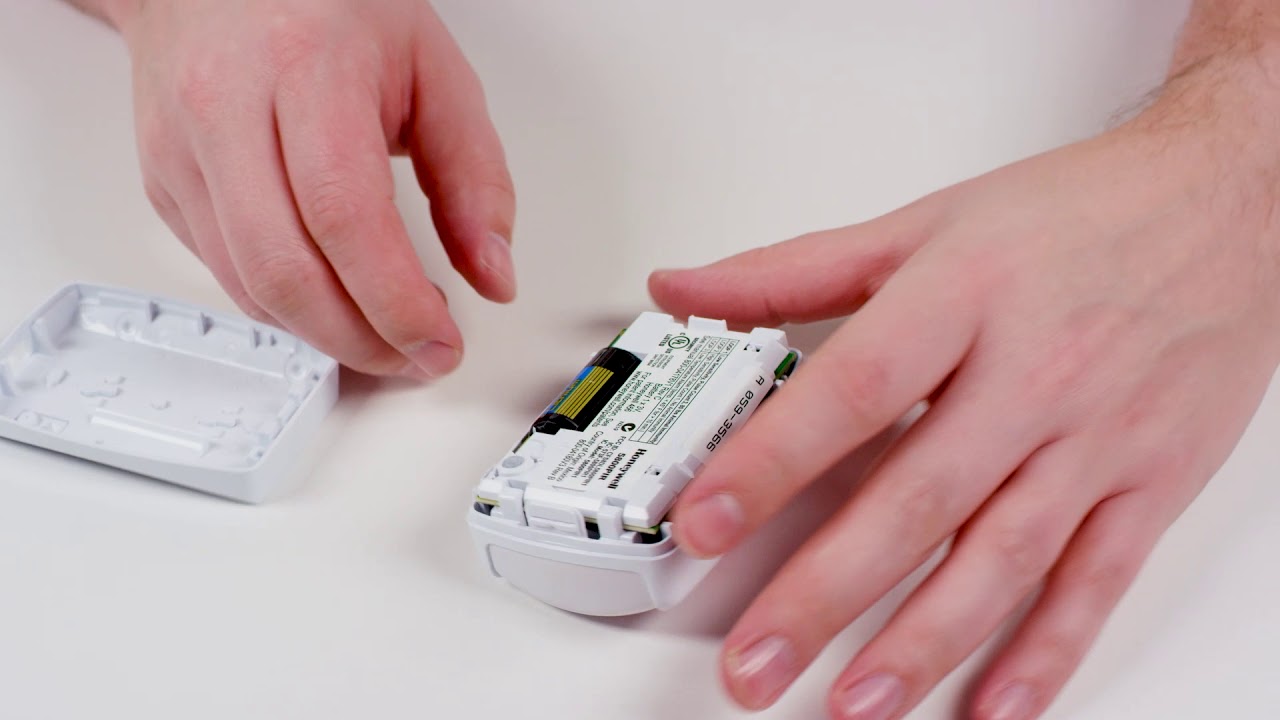
Step 2: Removing the Old Battery
Now that you have successfully disarmed your Protection One Motion Detector, it’s time to remove the old battery. Follow these steps:
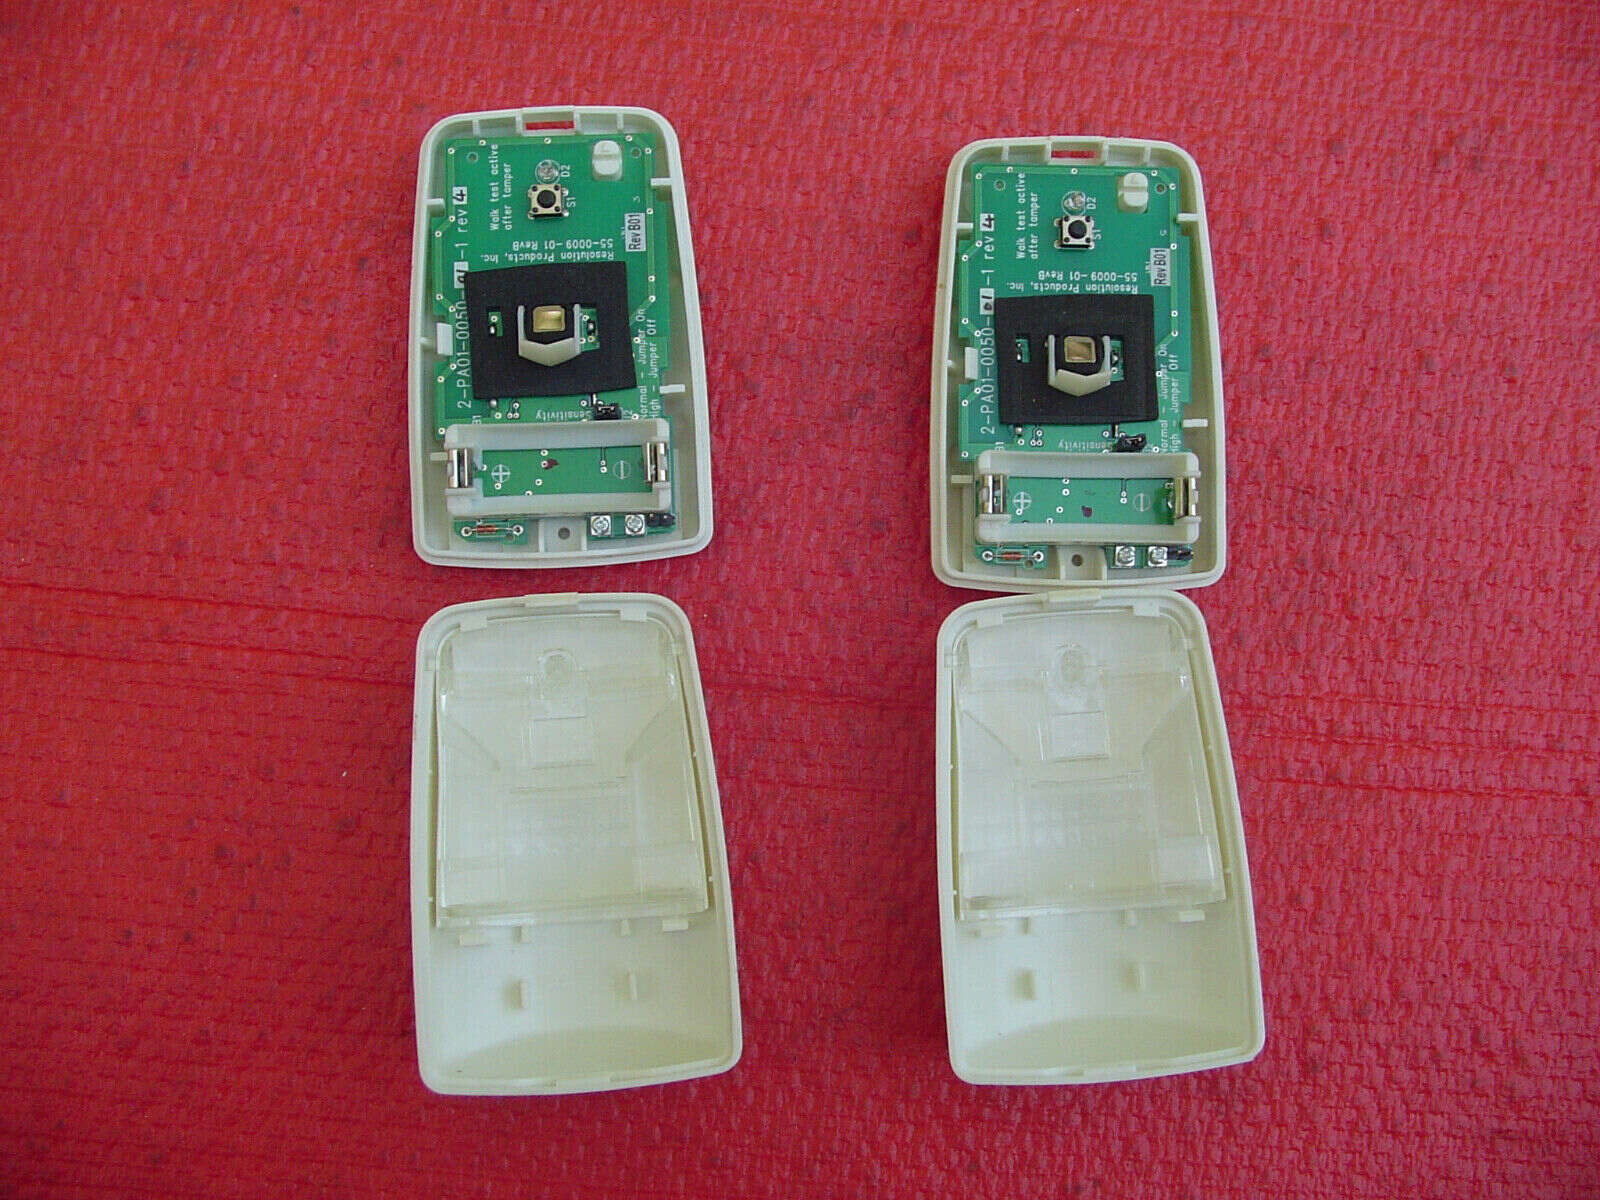
- Locate the battery compartment: Look for the battery compartment on your motion detector. It is usually located on the back or bottom of the device.
- Open the battery compartment: Depending on the model of your motion detector, you may need to use a screwdriver to remove the screws securing the battery compartment cover. Alternatively, some models may have a latch or sliding mechanism to open the compartment; refer to your user manual for guidance.
- Inspect the battery: Once the battery compartment is open, examine the old battery. Note its orientation and the position of the positive (+) and negative (-) terminals.
- Remove the old battery: Using your gloved hand or a pair of tweezers, carefully lift the old battery out of the compartment. Be cautious not to damage the battery or the battery contacts.
- Dispose of the old battery: Properly dispose of the old battery according to your local regulations. Many communities have specific recycling programs for batteries, so check with your local waste management or recycling facility for guidance.
By following these steps, you can safely and effectively remove the old battery from your Protection One Motion Detector. Remember to handle the old battery with care and dispose of it properly to minimize any environmental impact.
To replace the battery in your Protection One motion detector, first, remove the cover and locate the old battery. Then, carefully remove the old battery and replace it with a new one of the same type. Finally, put the cover back on and test the detector to make sure it’s working properly.
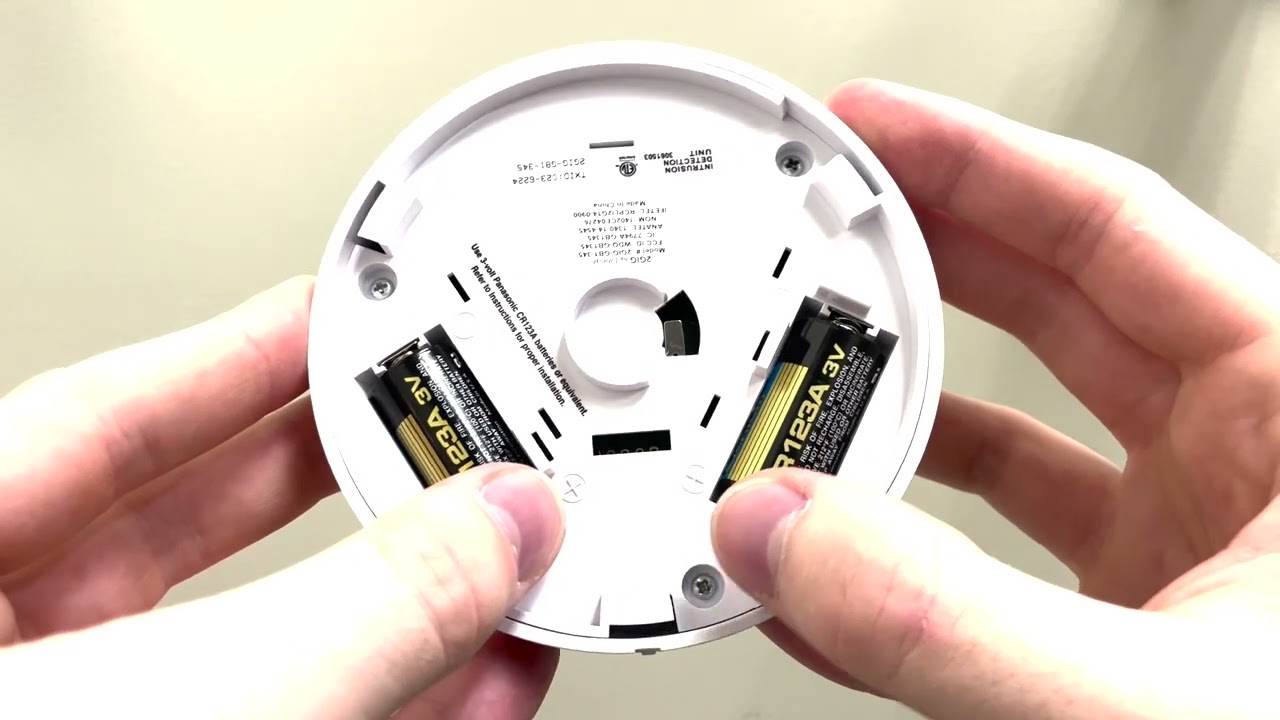
Step 3: Preparing the New Battery
Now that you have removed the old battery from your Protection One Motion Detector, it’s time to prepare the new battery for installation. Follow these steps:
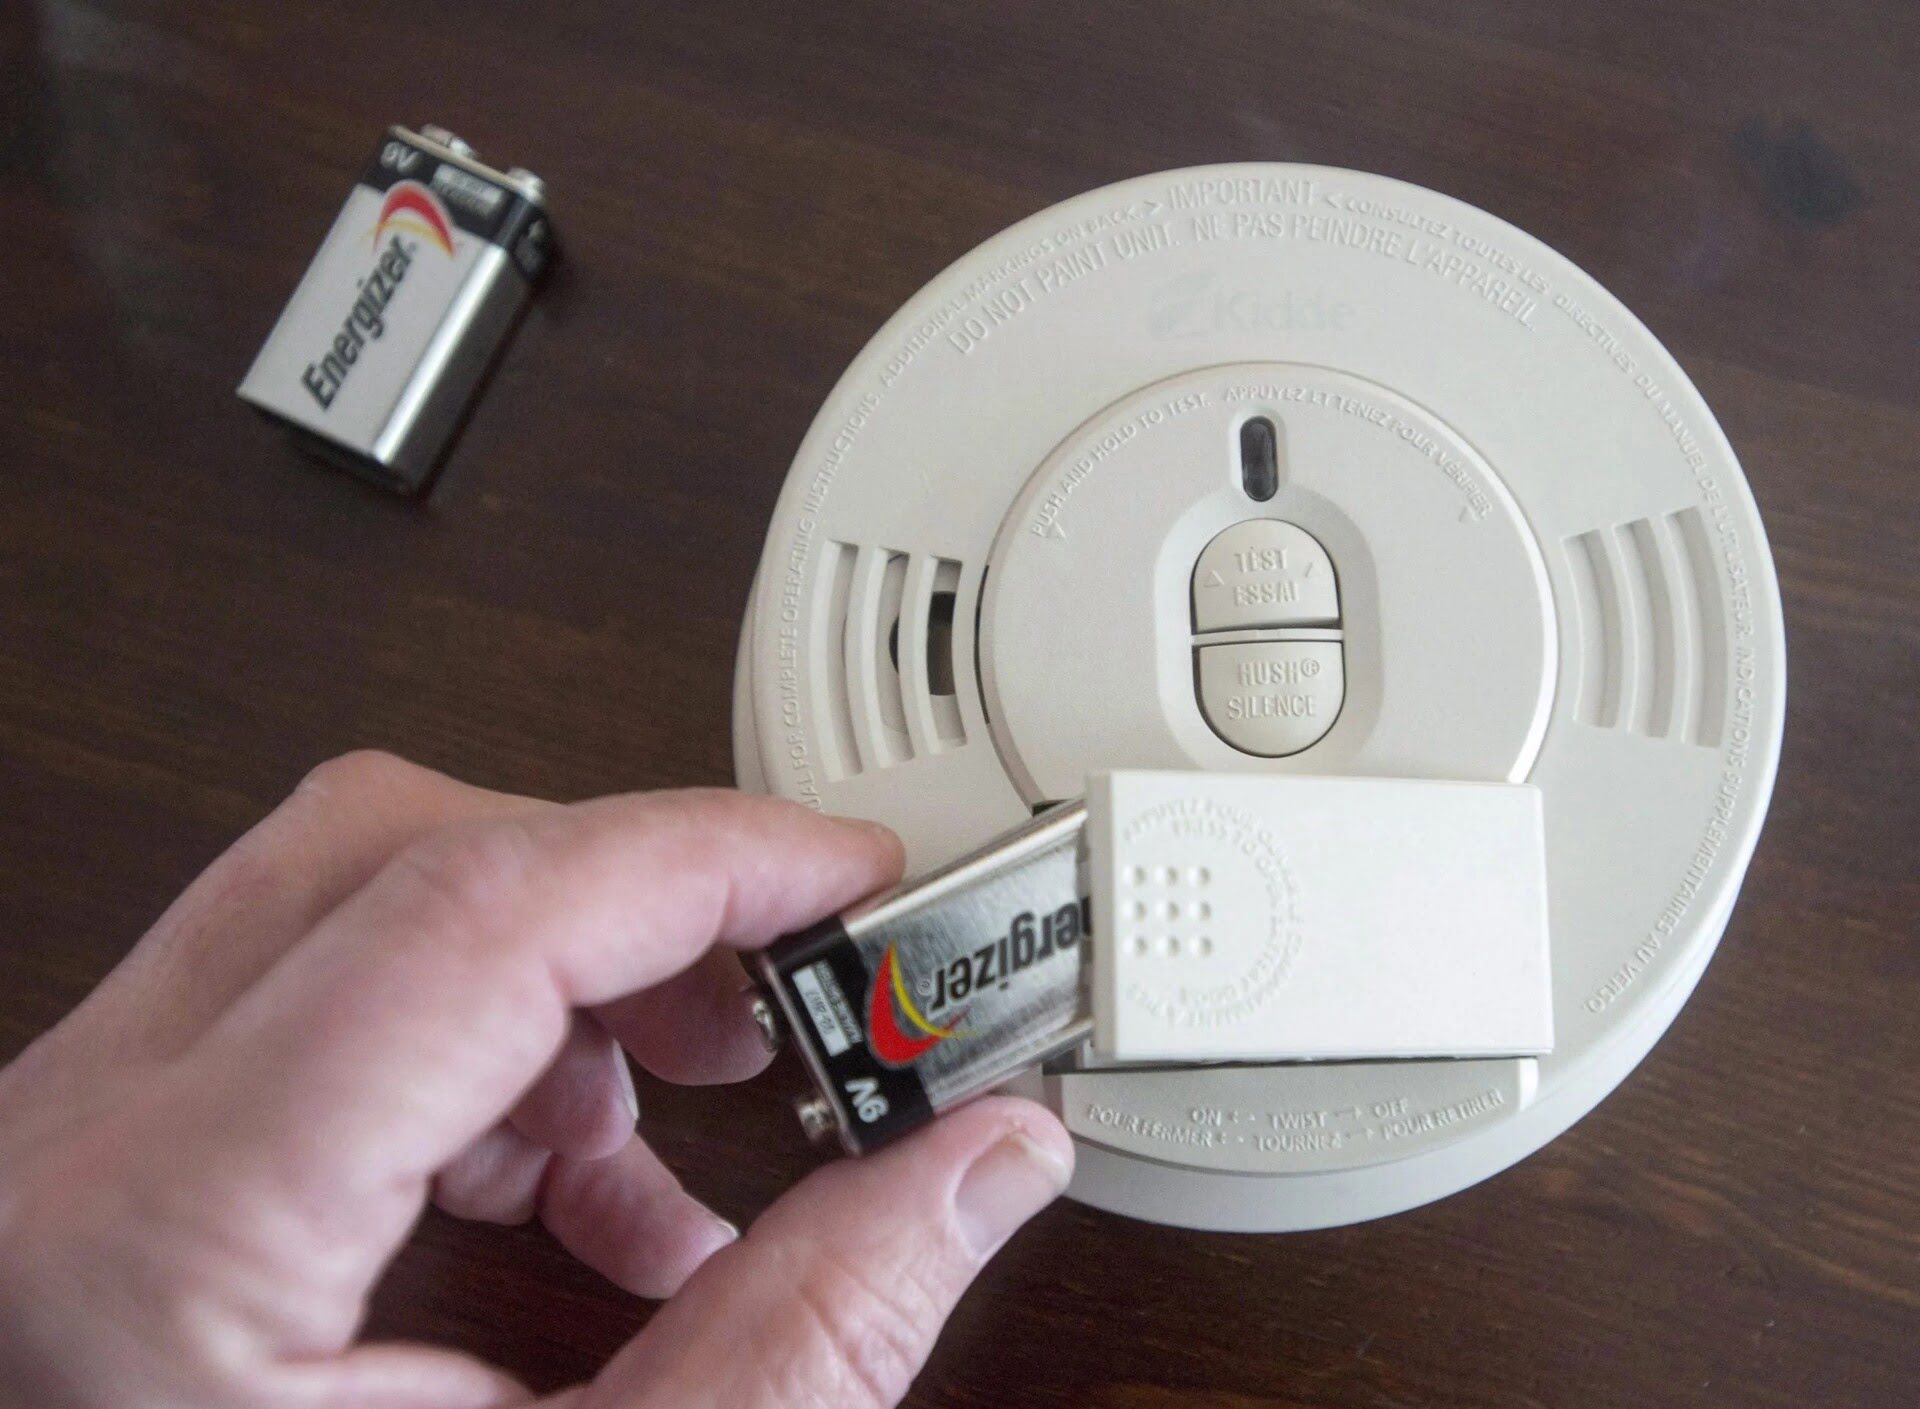
- Check battery compatibility: Ensure that the replacement battery matches the specifications of your motion detector. Refer to your user manual or consult with the manufacturer to confirm the correct battery type and size.
- Clean the battery compartment: Use a clean cloth or tissue to wipe away any dirt or residue from the battery compartment. Ensure that the compartment is clean and free from any debris before inserting the new battery.
- Handle the new battery carefully: Pick up the new battery with clean hands or gloves, taking care not to touch the battery terminals with your bare fingers. Oil and dirt from your skin can affect battery performance.
- Check battery orientation: Examine the new battery and identify the positive (+) and negative (-) terminals. Note the correct orientation, as improper installation can prevent the motion detector from functioning correctly.
- Allow the battery to acclimate: In some cases, it is recommended to let the new battery sit at room temperature for a few minutes before installation. This allows the battery to acclimate and ensures optimal performance.
By following these steps and taking the necessary precautions, you can properly prepare the new battery for installation in your Protection One Motion Detector. This ensures that the motion detector operates effectively and efficiently once the new battery is installed.
Step 4: Installing the New Battery
With the new battery prepared, it’s time to install it into your Protection One Motion Detector. Follow these steps:
- Locate the battery compartment: Refer to the user manual or your previous steps to find the battery compartment of your motion detector.
- Insert the new battery: Place the new battery into the battery compartment, following the correct orientation. Ensure that the positive (+) and negative (-) terminals align with the corresponding markings in the compartment.
- Secure the battery compartment: If the compartment has a screw-on cover, carefully place it back and tighten the screws. For latch or sliding mechanisms, close the compartment securely until it clicks into place.
- Test the battery connection: Gently tap or press the motion detector to ensure a proper connection between the new battery and the device. This step confirms that the battery is securely installed and making good contact with the internal circuitry.
By following these steps, you can successfully install the new battery in your Protection One Motion Detector. The proper installation ensures that the motion detector is powered and ready to detect any movement in its range for your home security system.
Step 5: Testing the Motion Detector
After replacing the battery in your Protection One Motion Detector, it is essential to test its functionality to ensure that it is working correctly. Follow these steps to test the motion detector:
- Arm the system: Refer to your user manual or contact your security system provider to arm your Protection One Motion Detector. This is typically done by entering your security code on the control panel or keypad.
- Trigger the motion detector: Walk in front of the motion detector, within its range, to simulate movement. Wave your hand or walk briskly to activate the motion sensor.
- Observe the response: Watch for any signs that indicate the motion detector is functioning properly. This may include seeing the LED indicator light up, hearing an audible beep, or receiving an alarm notification on your control panel or monitoring system.
- Perform a range test: Move to different areas within the motion detector’s range to ensure that it can detect movement consistently throughout its coverage area. This test helps verify that there are no dead zones or blind spots in the detection zone.
- Contact customer support if issues persist: If you encounter any issues during the testing process or if the motion detector does not respond as expected, reach out to the Protection One customer support team for further assistance and troubleshooting.
By following these steps and conducting thorough testing, you can confirm that your Protection One Motion Detector is functioning correctly after battery replacement. Regularly testing your motion detector helps ensure that your home security system remains effective and provides the peace of mind you deserve.
Conclusion
Replacing the battery in your Protection One Motion Detector is an essential maintenance task that ensures the continuous and reliable operation of your home security system. By following the step-by-step guide provided in this article, you can easily and safely replace the battery in your motion detector.
Remember to prioritize safety by disarming the system and wearing protective gear throughout the process. Additionally, make sure to gather the necessary tools and materials before beginning the battery replacement.
By disarming the motion detector, removing the old battery, preparing the new battery, and installing it correctly, you can ensure that your motion detector is ready to detect any movement and trigger an alarm in case of intrusion.
Lastly, don’t forget to test the motion detector after installing the new battery to verify that it is functioning correctly. This will give you peace of mind and confidence in the effectiveness of your home security system.
If you encounter any issues during the battery replacement process or if your motion detector does not respond as expected, remember to contact the Protection One customer support team for further assistance and troubleshooting.
With a properly maintained and functioning Protection One Motion Detector, you can enhance the security of your home and protect your loved ones and valuables.
Stay vigilant, stay secure!
Now that you've mastered replacing batteries in your motion detector, why stop there? Ensuring your residence maintains its security is vital. Dive into our latest article, which sheds light on compelling reasons to prioritize robust home security systems. From preventing unauthorized entry to offering peace of mind, understanding the benefits will help you make informed decisions about safeguarding your premises.
Frequently Asked Questions about How To Replace The Battery In Protection 1 Motion Detector
Was this page helpful?
At Storables.com, we guarantee accurate and reliable information. Our content, validated by Expert Board Contributors, is crafted following stringent Editorial Policies. We're committed to providing you with well-researched, expert-backed insights for all your informational needs.