Home>Home Security and Surveillance>How To Use My Webcam For Home Surveillance

Home Security and Surveillance
How To Use My Webcam For Home Surveillance
Modified: March 6, 2024
Learn how to set up your webcam for home surveillance and ensure the safety of your property with our step-by-step guide. Enhance your home security and surveillance using the power of technology.
(Many of the links in this article redirect to a specific reviewed product. Your purchase of these products through affiliate links helps to generate commission for Storables.com, at no extra cost. Learn more)
Introduction
Welcome to the exciting world of home surveillance! In today’s ever-changing and fast-paced world, having a reliable home security system is crucial for maintaining the safety and well-being of yourself and your loved ones. With the advancements in technology, you no longer need to rely solely on expensive security cameras. Instead, you can utilize your existing webcam to set up an efficient and cost-effective home surveillance system.
Whether you want to keep an eye on your property while you’re away or monitor your children or pets, using your webcam for home surveillance is a convenient and accessible option. In this article, we will guide you through the process of choosing the right webcam, setting it up, configuring the necessary software, and accessing the recorded footage.
By utilizing your webcam for home surveillance, you can have peace of mind knowing that you have an extra layer of security protecting your home and loved ones. Let’s dive into the details and get started on transforming your webcam into a personal surveillance tool.
Key Takeaways:
- Transform your webcam into a home surveillance tool by choosing the right one, setting it up, and configuring software. Keep an eye on your property and loved ones with ease.
- Position your webcam strategically, set up motion detection, and review recorded footage regularly to ensure effective home surveillance. Troubleshoot common issues for smooth operation.
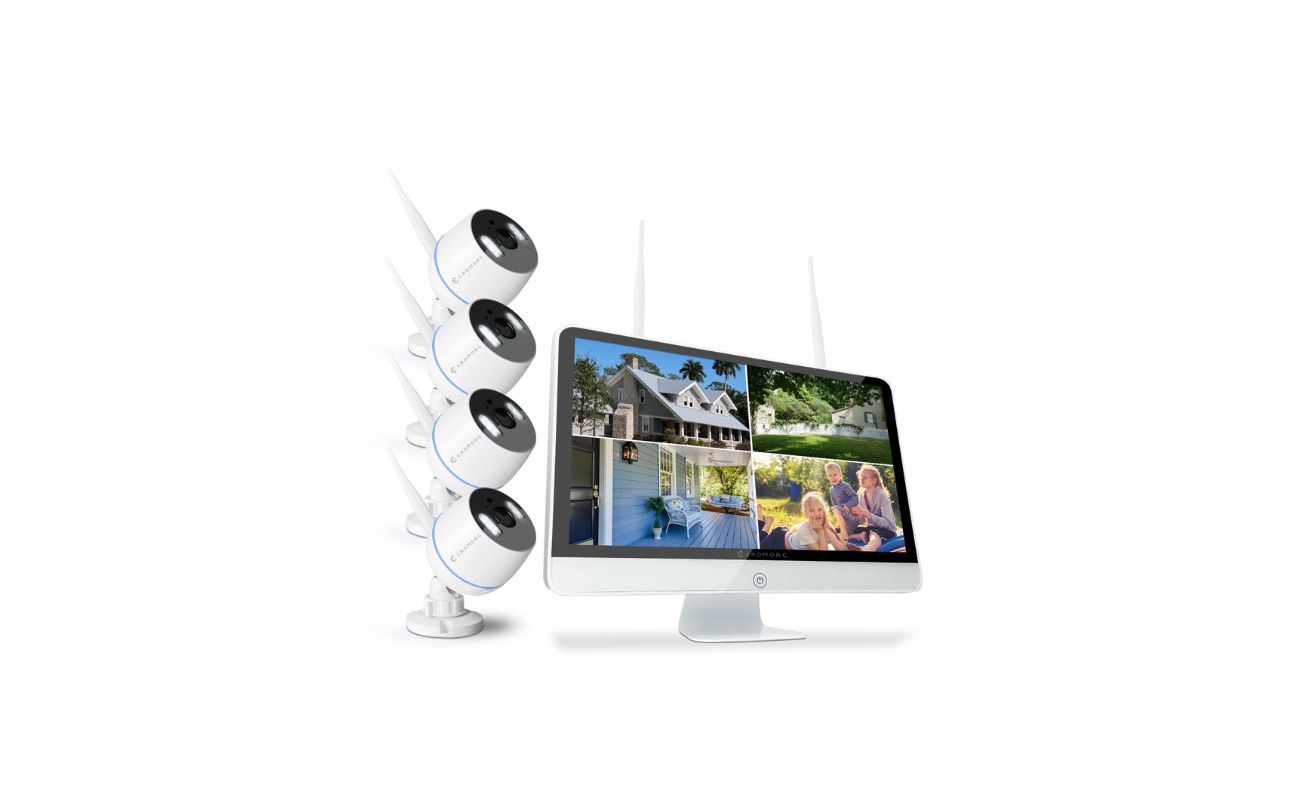
Choosing the Right Webcam
When it comes to selecting a webcam for home surveillance, there are a few key factors to consider. Here are some important aspects to keep in mind:
- Resolution: Look for a webcam with high-resolution capabilities. A higher resolution will result in clearer and more detailed footage. Aim for a webcam with at least 1080p resolution to ensure optimal image quality.
- Field of View: Consider the field of view (FOV) offered by the webcam. A wider FOV will enable you to capture a larger area without the need for multiple cameras. Look for a webcam with a wide-angle lens or a FOV of around 90 degrees for comprehensive coverage.
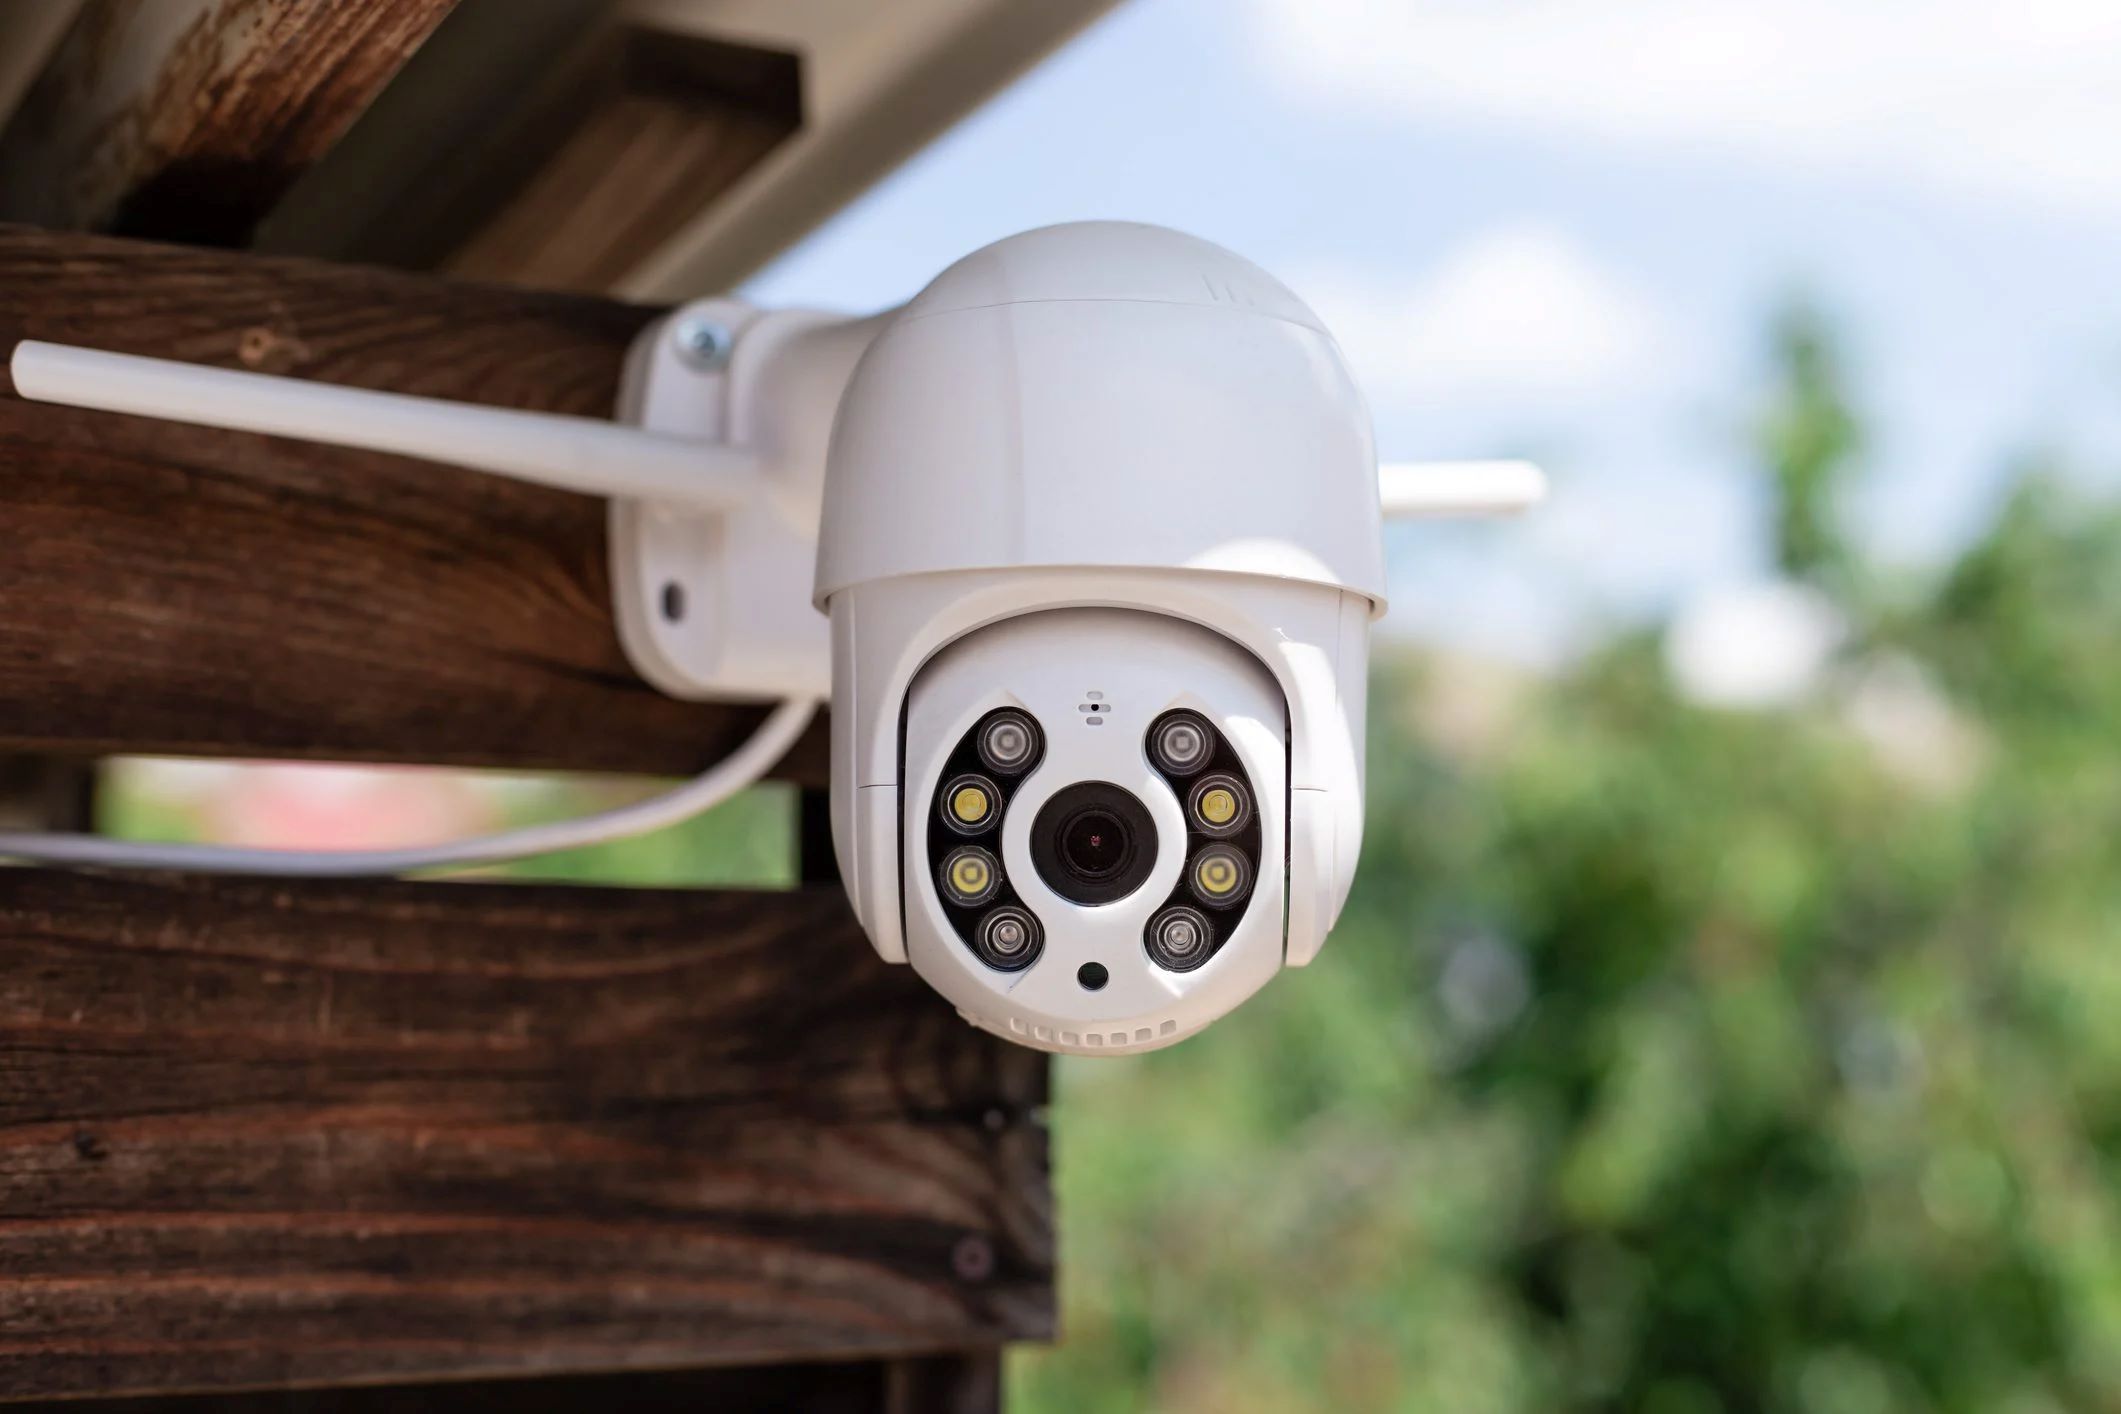
- Low-Light Performance: Home surveillance often entails monitoring areas with limited lighting. Opt for a webcam with good low-light performance, as this will enable you to capture clear footage even in dimly lit environments. Look for features like enhanced night vision or low-light sensitivity.
- Connectivity: Ensure that the webcam you choose is compatible with your computer’s operating system and has the necessary connectivity options. USB webcams are the most common and widely supported.
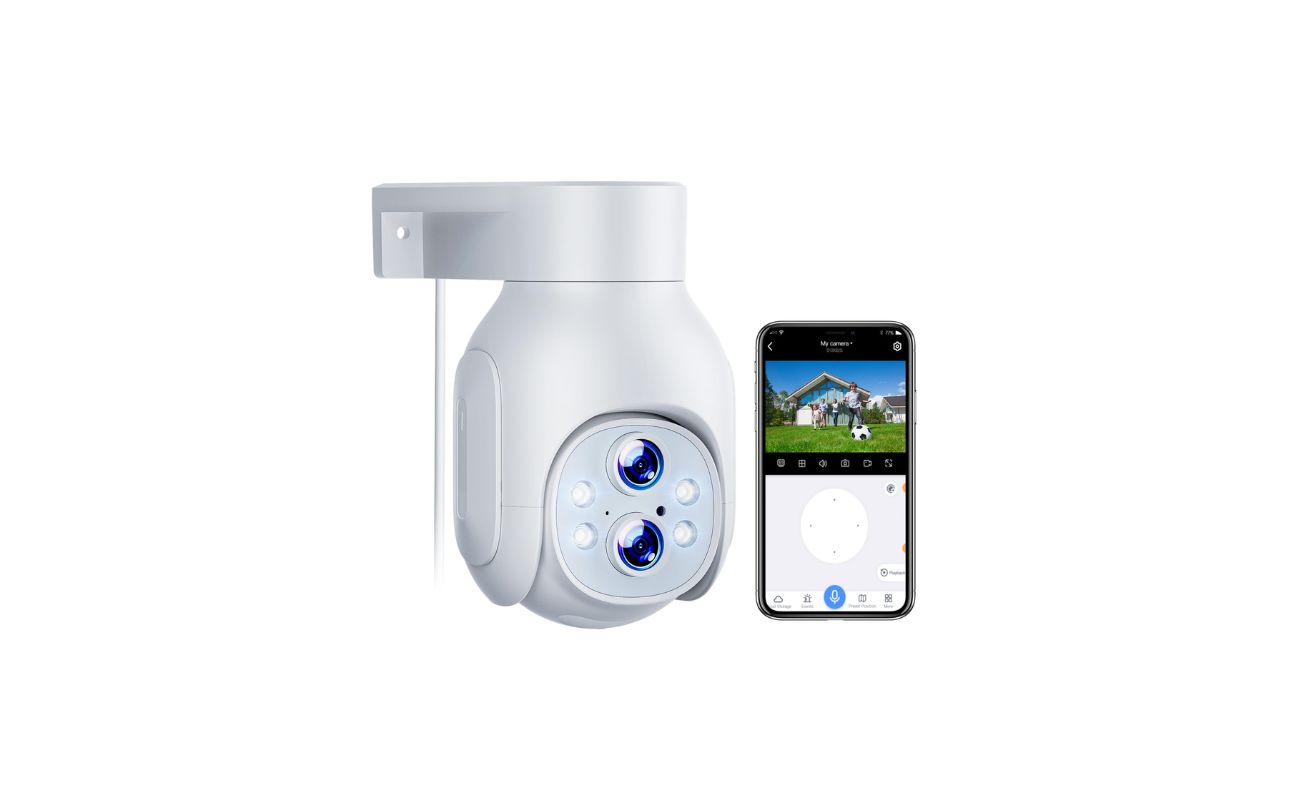
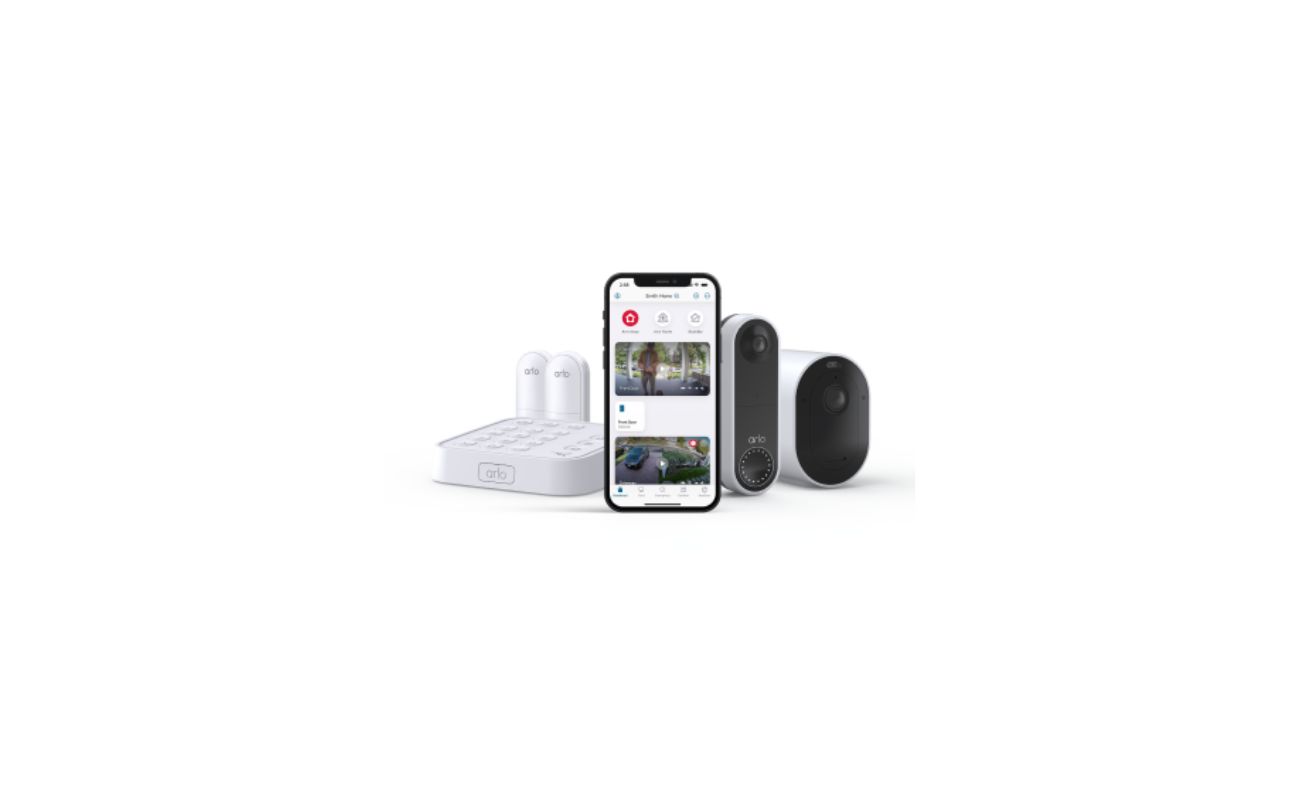
- Additional Features: Consider any additional features that may be useful for your home surveillance needs. This could include built-in microphones for capturing audio, pan and tilt capabilities for adjusting the camera’s position remotely, or even wireless connectivity options for added flexibility.
Take some time to research different webcam models and read reviews to gauge their performance and reliability. By choosing the right webcam, you can ensure that you have a reliable and high-quality tool for your home surveillance needs.
Setting Up Your Webcam
Now that you’ve chosen the right webcam for your home surveillance needs, it’s time to set it up and get it ready for monitoring. Follow these steps to set up your webcam:
- Connect the Webcam: Plug your webcam into a USB port on your computer. Make sure to follow any specific instructions provided by the manufacturer.
- Install Drivers: In most cases, your computer will automatically recognize and install the necessary drivers for your webcam. However, if your webcam comes with an installation CD or requires specific drivers, follow the provided instructions to install them.
- Position Your Webcam: Before finalizing the webcam setup, consider the optimal position for monitoring. Depending on your surveillance needs, you may want to point the camera towards entryways, windows, or high-traffic areas. Ensure that the webcam is securely positioned and stable.
- Adjust Camera Settings: Access the camera settings either through the manufacturer’s software or your computer’s webcam settings. Here, you can adjust options such as brightness, contrast, and zoom to optimize the viewing experience. Experiment with different settings to find the best configuration for your needs.
- Test the Webcam: Verify that the webcam is functioning correctly by opening the software or application that you plan to use for monitoring. Ensure that you can see a live video feed from the webcam and that the image quality is satisfactory.
Setting up your webcam is a straightforward process that requires minimal technical expertise. Once you have completed these steps, your webcam will be ready to capture footage and provide you with the security you desire.
Installing Webcam Software
After setting up your webcam, the next step is to install the necessary software to utilize its full potential. Webcam software allows you to access and control your webcam, record footage, and set up additional features like motion detection. Follow these steps to install webcam software:
- Check for Manufacturer’s Software: Start by checking if the webcam manufacturer provides specific software for their webcam. Visit their website and look for any software downloads or support sections. Download and install the recommended software for your webcam model.
- Explore Built-In Webcam Applications: Many computers and operating systems come with built-in webcam applications or utilities. Check your computer’s installed applications or control panel to see if there is a pre-installed webcam software that you can use.
- Consider Third-Party Software: If you prefer more advanced features or additional functionalities, consider exploring third-party webcam software options. There are various options available, both free and paid, that offer features like motion detection, scheduled recording, and cloud storage.
- Download and Install: Once you have decided on the webcam software, visit the developer’s website and download the software installation file. Follow the on-screen instructions to install the software on your computer.
- Configure Webcam Software: After installing the webcam software, open the application and navigate to the settings or preferences section. Here, you can configure various options such as video resolution, recording formats, and motion detection sensitivity.
Installing webcam software enhances your ability to make the most out of your webcam for home surveillance. With the right software, you can customize your webcam’s settings, record footage, and utilize advanced features to maximize your security efforts.
Configuring Webcam Settings
Once you have installed the webcam software, it’s time to configure the settings to optimize your home surveillance experience. Here are some key settings to consider:
- Video Resolution: Adjust the video resolution to your desired quality. Higher resolution settings will provide sharper and more detailed footage, but keep in mind that larger files may require more storage space.
- Frame Rate: The frame rate determines the number of video frames captured per second. A higher frame rate will result in smoother video playback but may require more processing power and storage space.
- Exposure and Brightness: Fine-tune the exposure and brightness levels to ensure optimal image quality in different lighting conditions. Experiment with different settings to find the right balance.
- Contrast and Saturation: Adjust the contrast and saturation levels to enhance the colors and make the details in the footage more visible. Find a setting that provides a clear and natural representation of the scene.
- Focus: If your webcam has manual focus capabilities, use it to ensure that the captured footage is sharp and in focus. This is especially important if you need to monitor specific areas or objects.
- Audio Settings: If your webcam has a built-in microphone or if you plan to record audio along with the video, configure the audio settings. Set the microphone sensitivity and adjust any volume controls as needed.
- Motion Detection: Enable motion detection features if available in your webcam software. Configure the sensitivity level and set up specific areas or zones where you want the software to detect motion. This enables you to receive notifications or record footage only when there is activity.
Take the time to explore the various settings offered by your webcam software and adjust them to suit your specific surveillance needs. Fine-tuning these settings will help you capture the best possible footage and ensure that your home surveillance system functions effectively.
Read more: How To Make A Wireless Security USB Webcam
Choosing the Right Location
Choosing the right location for your webcam is crucial for effective home surveillance. The placement of your webcam will determine the coverage area and the quality of the captured footage. Consider the following factors when selecting the ideal location:
- Entry Points: Start by identifying the entry points to your home, such as doors and windows. These areas are often the first points of access for potential intruders, making them critical to monitor.
- High-Traffic Areas: Look for areas in your home that experience the most activity, such as hallways, living rooms, or common areas. Placing a webcam in a high-traffic area ensures that you have a comprehensive view of the happenings in your home.
- Valuables: If you have valuable possessions or areas of importance, like a home office or a safe, consider positioning a webcam to monitor these areas specifically. This can provide an extra layer of security and peace of mind.
- Vantage Points: Find locations that offer a clear and unobstructed view of the area you want to monitor. Avoid placing the webcam behind objects that could block the view or obscure the captured footage.
- Power Accessibility: Ensure that the chosen location has easy access to a power source to keep your webcam running continuously. Long power cables or extension cords may be necessary to reach the desired location.
Each home is unique, so take the time to assess your specific needs and determine the areas that require monitoring. By strategically placing your webcam in the right location, you can maximize its effectiveness in capturing important events and ensuring the security of your home.
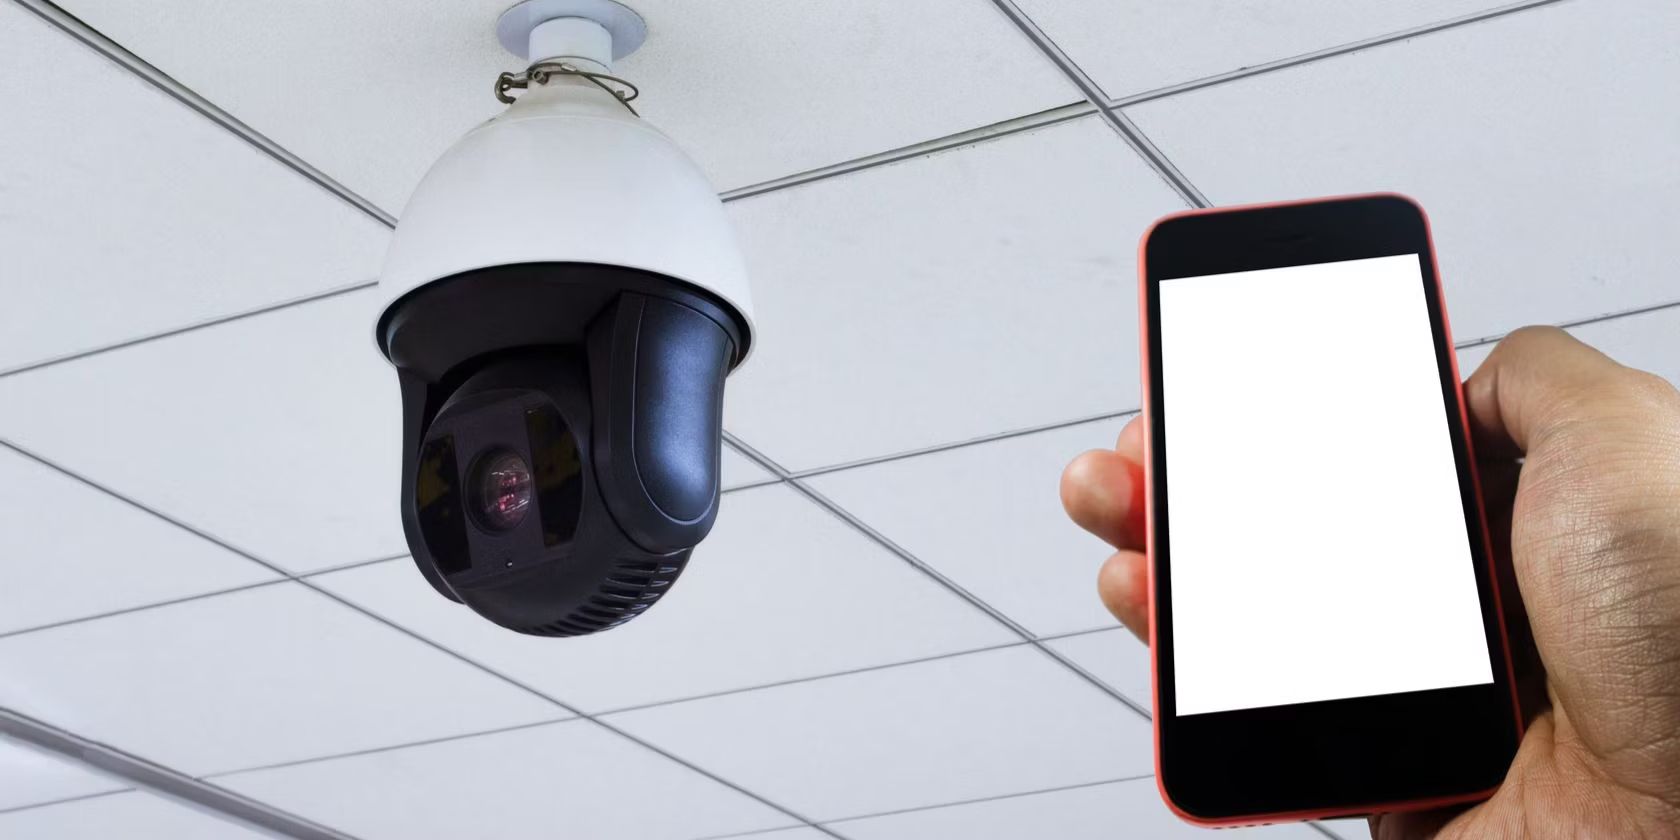
Ensure your webcam is securely mounted in a strategic location to capture the entire area you want to monitor. Use a reliable software to set up motion detection and alerts for any unusual activity.
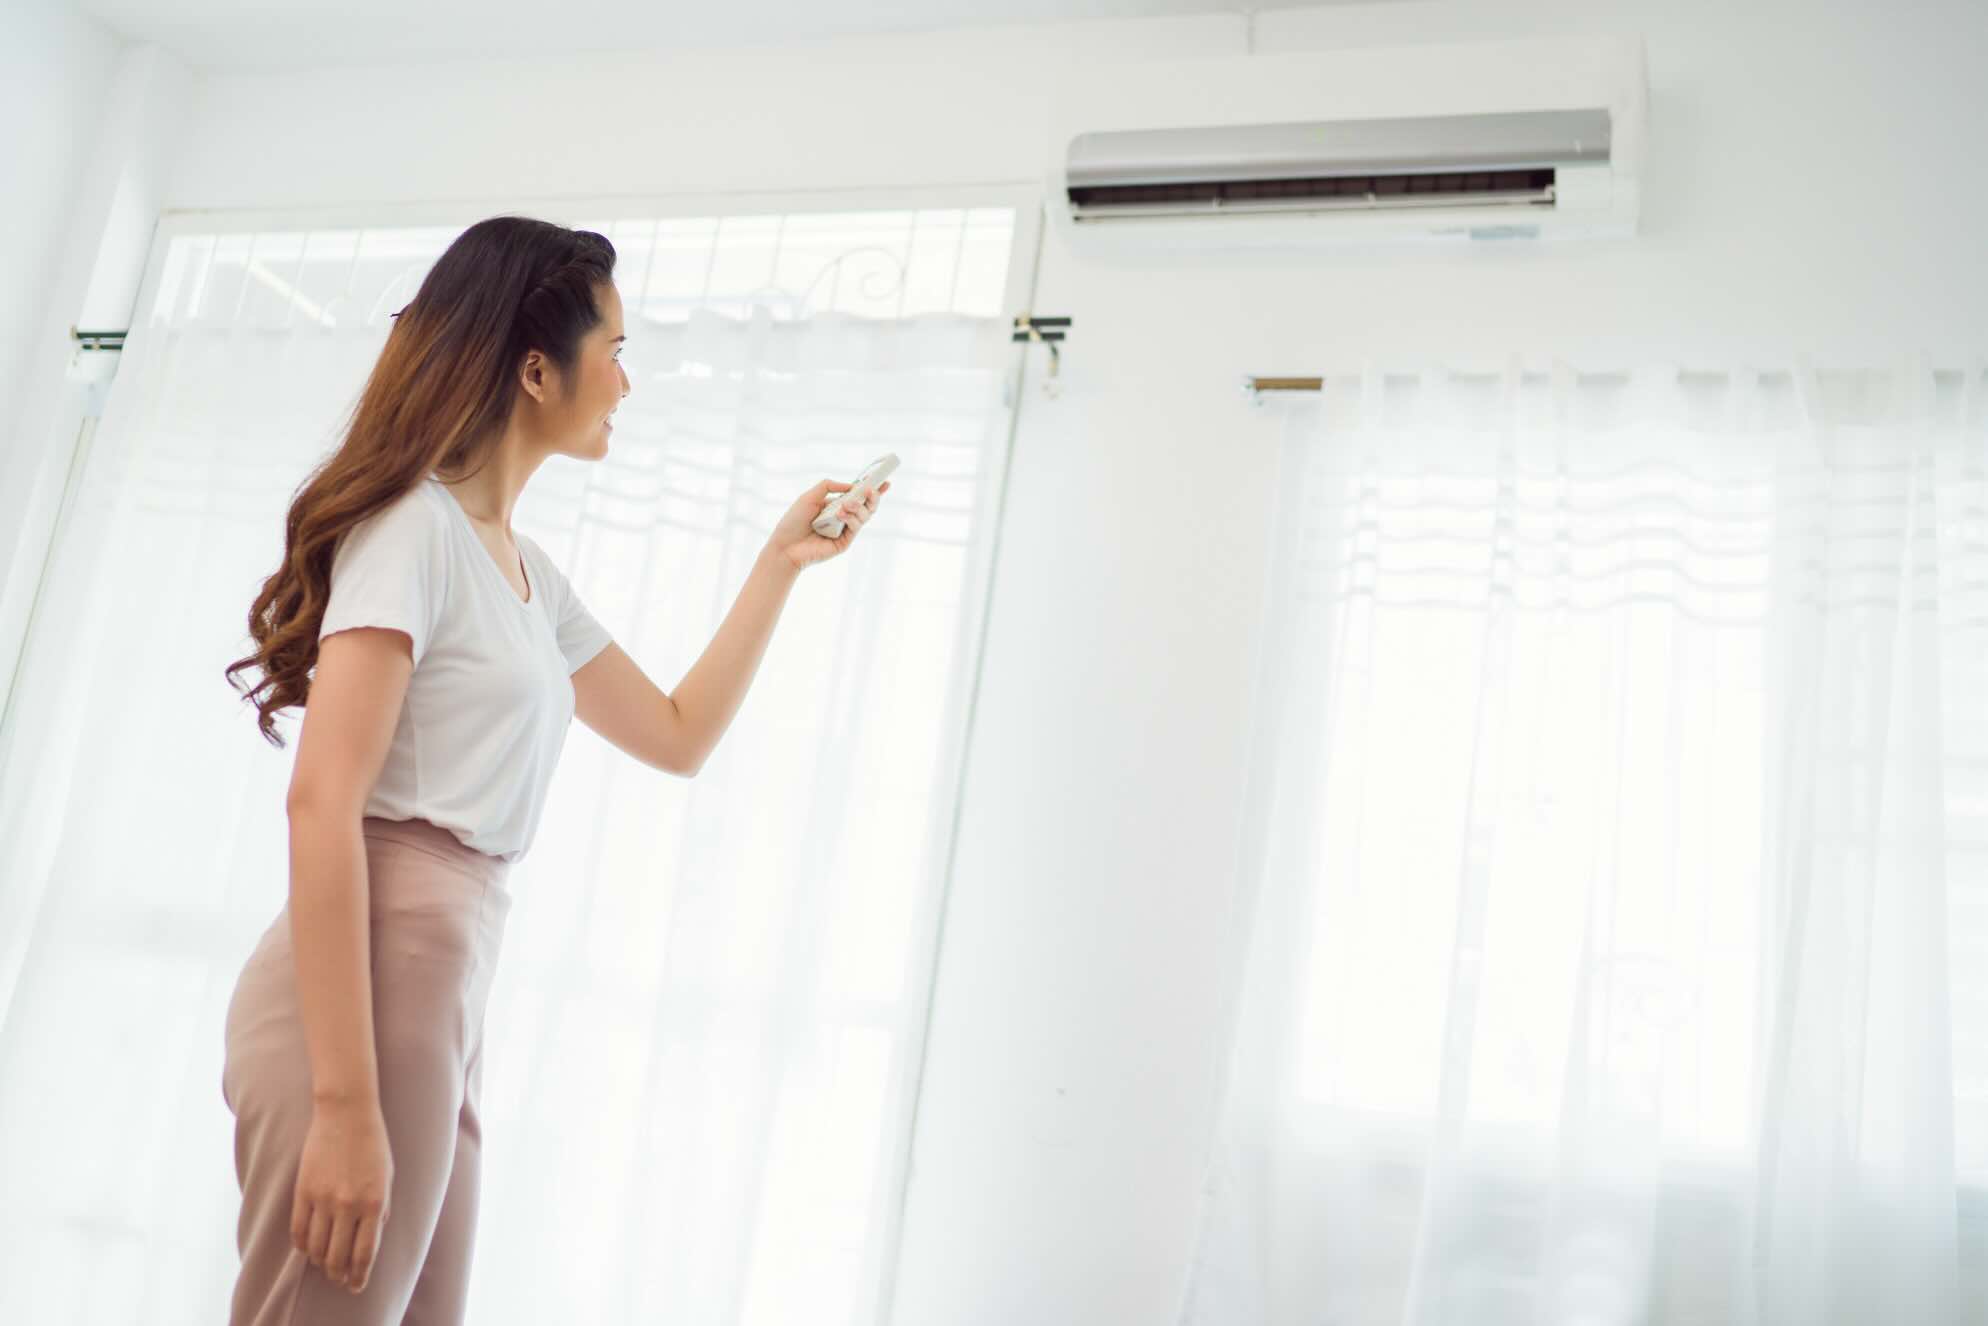
Positioning Your Webcam
Now that you have chosen the ideal location for your webcam, it’s time to position it properly to ensure optimal surveillance coverage. The positioning of your webcam plays a crucial role in capturing clear and comprehensive footage. Follow these tips for positioning your webcam:
- Mounting Options: Depending on your webcam and the location, you may have different mounting options available. Consider using a tripod, wall mount, or clamps to securely position your webcam. Ensure that the mounting option you choose provides stability and adjustability.
- Height and Angle: Position the webcam at an appropriate height and angle to capture the desired area. For most surveillance needs, placing the webcam at eye level or slightly above works well. Tilt the camera slightly downwards to capture a wider field of view.
- Avoid Obstructions: Make sure that there are no obstructions such as furniture, plants, or other objects that could block the view of the webcam. Clear any obstacles that could interfere with the camera’s line of sight to maximize its coverage.
- Test the View: Before finalizing the positioning, make sure to test the camera’s view by checking the live feed on your computer or monitoring device. Ensure that the important areas are within the frame and that there are no blind spots or areas that are out of focus.
- Consider Multiple Webcams: If the area you want to monitor is extensive or if there are multiple points of interest, consider using multiple webcams. This allows you to cover a larger area or focus on specific areas simultaneously.
Take your time to experiment with different positions and angles to find the optimal placement for your webcam. Remember to consider the specific surveillance needs of your home and adjust accordingly. By positioning your webcam strategically, you can maximize its surveillance capabilities and ensure comprehensive coverage of your desired areas.
Setting Up Motion Detection
One of the key features of webcam surveillance is motion detection, which allows your webcam to detect and capture any movement within its field of view. Setting up motion detection is an essential step in maximizing the effectiveness of your home surveillance system. Follow these steps to set up motion detection for your webcam:
- Access Webcam Software: Open the webcam software or application that you installed earlier and navigate to the settings or preferences section.
- Enable Motion Detection: Look for the option to enable motion detection within the software. This setting may be located under a specific tab or category related to monitoring or recording options.
- Adjust Sensitivity: Depending on the software, you may have the option to adjust the sensitivity level of the motion detection. Experiment with different sensitivity settings to find the right balance. Set it too low, and minor movements may not trigger the detection. Set it too high, and you may receive false triggers from ambient movements or changes in lighting.
- Create Motion Detection Zones: Some webcam software allows you to create specific motion detection zones within the camera’s field of view. This allows you to focus on particular areas of interest and receive notifications or trigger recordings only when motion is detected within those zones.
- Set Actions: Decide what should happen when motion is detected. You can configure the software to send you email alerts, push notifications to your smartphone, or even start recording automatically. Choose the actions that suit your preferences and ensure that the necessary settings are properly configured.
- Test and Refine: After setting up motion detection, conduct a thorough test to ensure its accuracy and reliability. Walk through the areas being monitored to see if the motion detection is triggered appropriately. Adjust the sensitivity or motion detection zones if needed.
Setting up motion detection with your webcam allows you to actively monitor and capture any suspicious or unexpected movements. This feature enhances the security of your home surveillance system by providing timely notifications and recording crucial events.
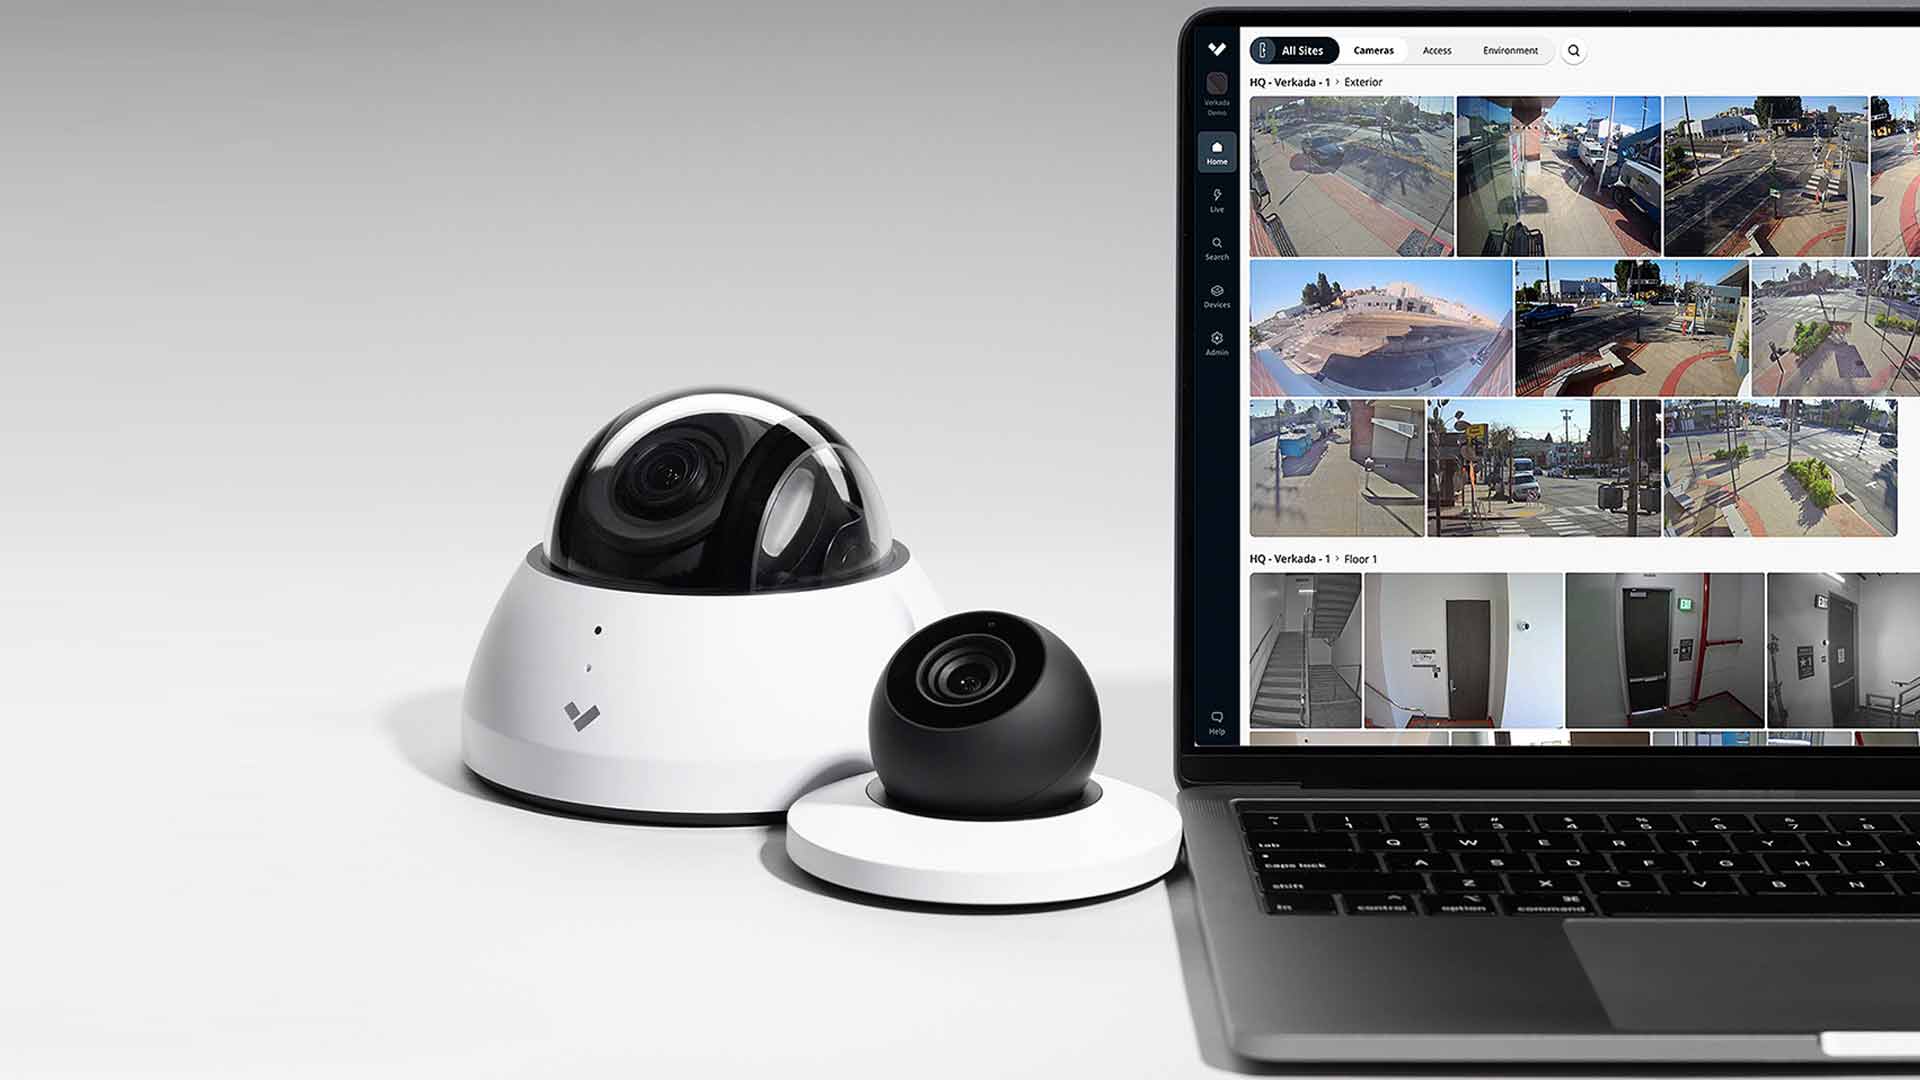
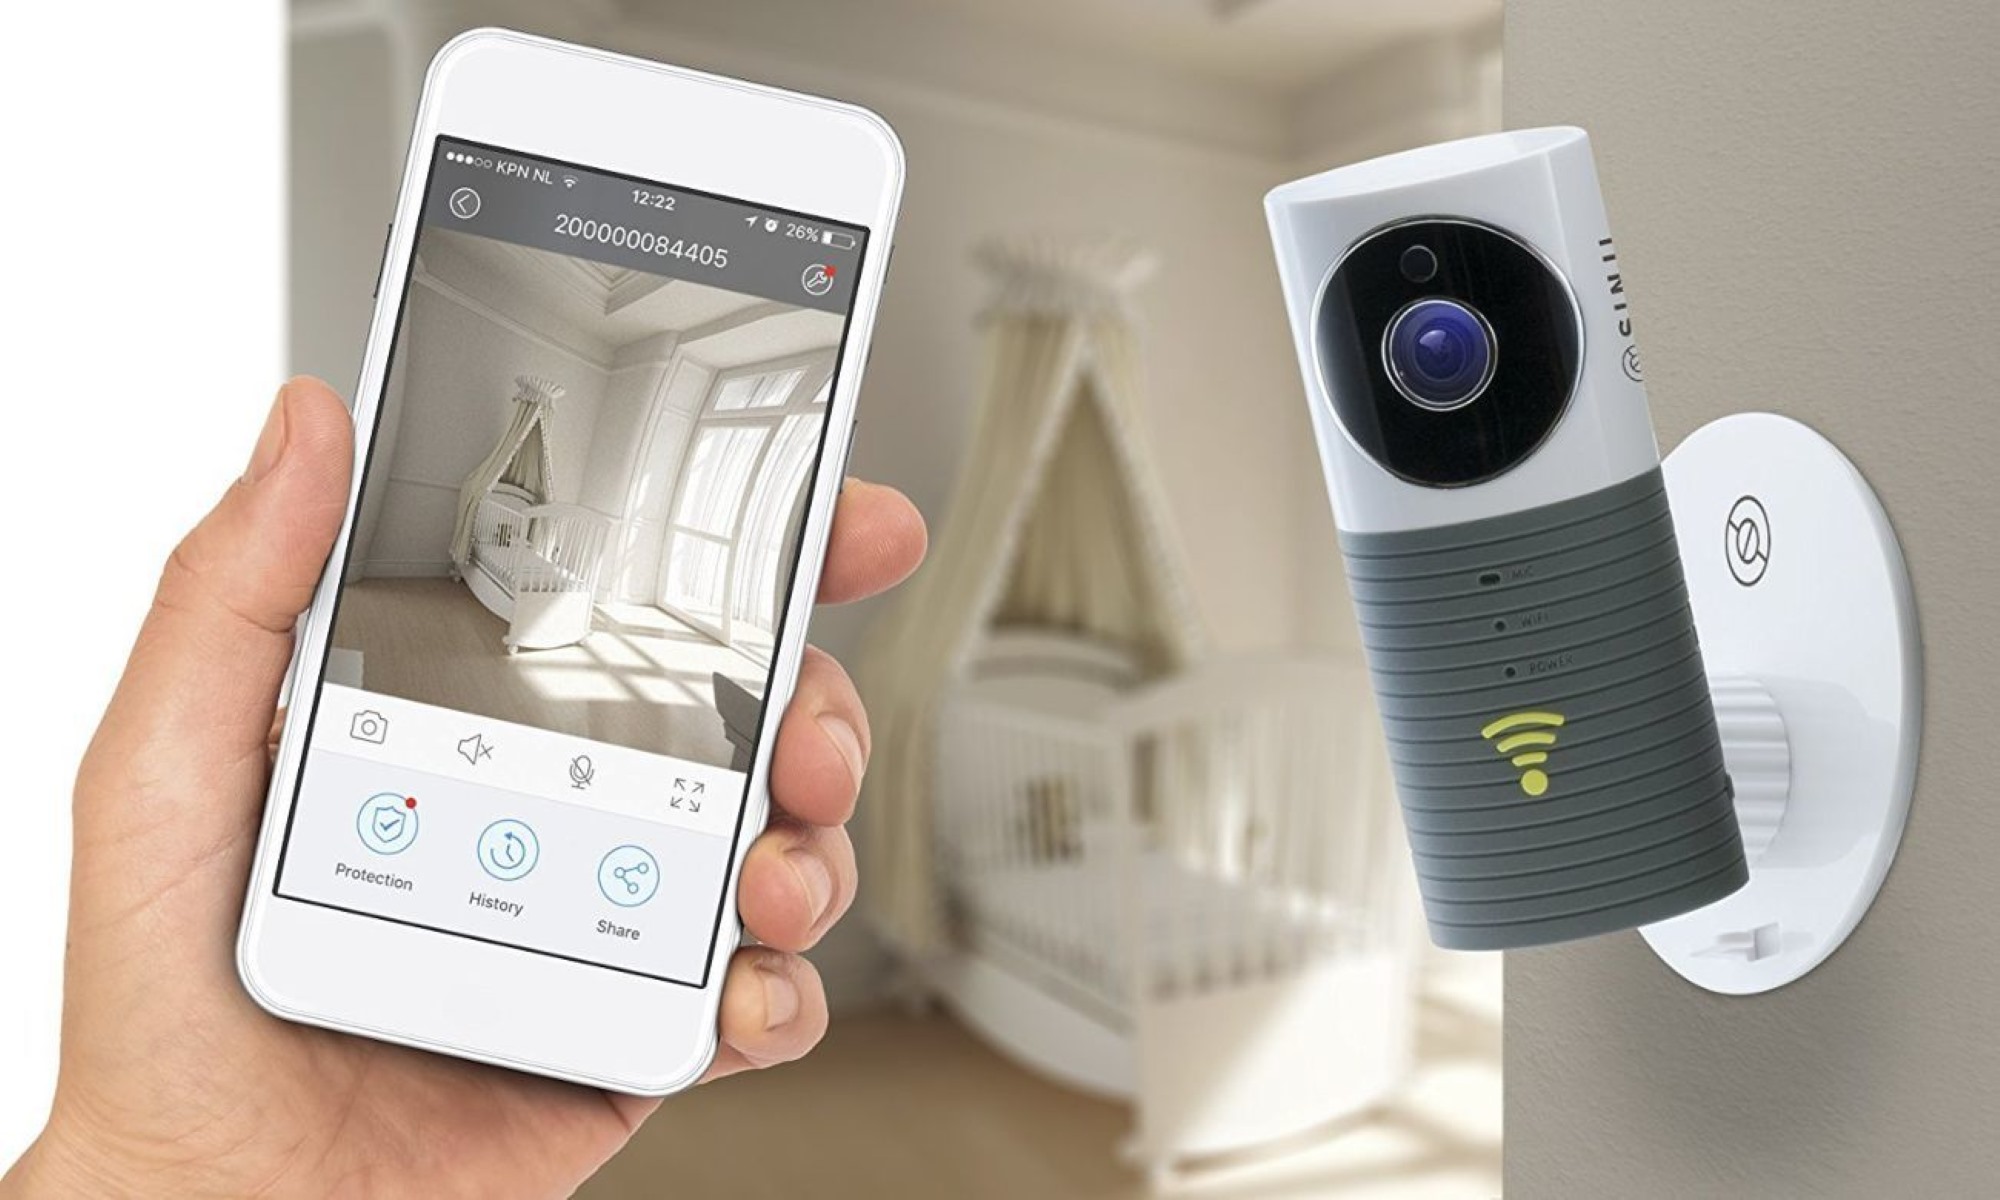
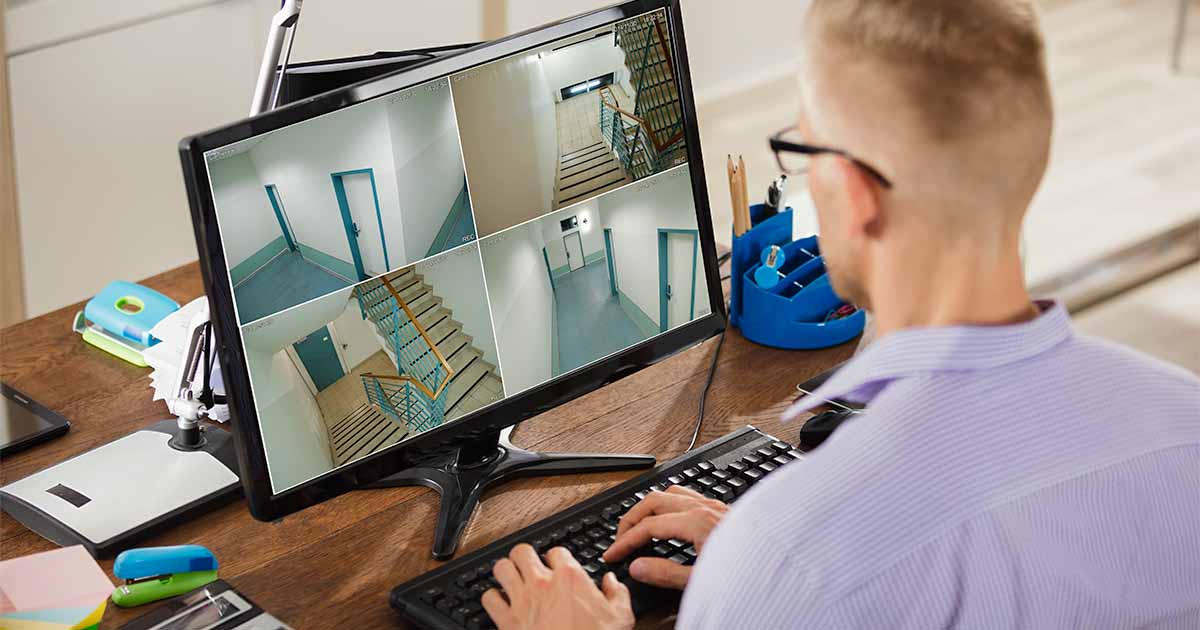
Accessing Webcam Footage
Once your webcam is set up and configured for surveillance, accessing the recorded footage is essential for reviewing any events that occurred. Here are the steps to access your webcam footage:
- Launch Webcam Software: Open the webcam software or application on your computer that you installed earlier.
- View Live Feed: In the webcam software, you should see a live feed from the webcam. Ensure that the camera is active and capturing the desired area.
- View Recorded Footage: Most webcam software allows you to access and view recorded footage. Look for an option or tab that provides access to the recorded videos or a timeline of captured events.
- Select Date and Time: Navigate to the specific date and time of the event you want to review. Depending on the software, you may be able to browse through a calendar or use a search function to locate the desired footage.
- Playback and Review: Once you have located the footage, click on it to initiate playback. You can review the footage to gather information, identify any suspicious activity, or check on the well-being of your home and loved ones.
- Download or Save: If necessary, some webcam software allows you to download or save the recorded footage to your computer or cloud storage. This can be helpful for archiving important video clips or sharing them with authorities if needed.
Keep in mind that the location and process of accessing the webcam footage may vary depending on the software you are using. Familiarize yourself with the software’s user interface and features to ensure a smooth and efficient retrieval of recorded footage.
Regularly check and review the webcam footage to stay informed about any unusual or suspicious activity. This will help provide you with peace of mind and the necessary information to take appropriate action if required.
Read more: How To Set Up A Webcam As A Security Camera
Reviewing Recorded Footage
Reviewing recorded footage is an essential part of using your webcam for home surveillance. It allows you to analyze events, identify any suspicious activity, and provide evidence in case of an incident. Here are some steps to effectively review your recorded webcam footage:
- Access Webcam Software: Open the webcam software or application that you installed on your computer.
- Navigate to Recorded Footage: Locate the section or tab within the software that provides access to your recorded footage. This may be labeled as “Recordings,” “Events,” or something similar.
- Select Date and Time: Choose the date and time of the specific event or period that you want to review. Use the software’s calendar or search function to locate the desired recorded footage.
- Playback Controls: Use the playback controls within the software to navigate through the recorded footage. Most webcam software includes options to play, pause, fast forward, and rewind the footage.
- Analyze the Footage: Pay attention to any unusual or suspicious activity captured in the footage. Look for any signs of intrusion, unauthorized entry, or suspicious behavior that may require further investigation or action.
- Note Important Details: Take notes or timestamp the significant events or incidents that occur in the recorded footage. This will help you easily reference and find specific moments of interest in the future.
- Export or Save Footage: If necessary, some webcam software allows you to export or save specific video clips from the recorded footage. This can be useful for sharing with law enforcement or storing as evidence, if needed.
Develop a regular reviewing routine and schedule dedicated time to analyze the recorded webcam footage. This will ensure that you stay updated on the activities around your home and can take appropriate action if any security concerns arise.
Remember to maintain good record-keeping practices by organizing and labeling your recorded footage. Regularly backup your footage to prevent any loss of important information in case of computer failures or data corruption.
Troubleshooting Tips
While setting up and using your webcam for home surveillance, you may encounter some challenges or technical issues. Here are some troubleshooting tips to help you address common problems:
- Ensure Proper Webcam Connection: Verify that your webcam is properly connected to the USB port on your computer. If necessary, try using a different USB port or cable to rule out any connectivity issues.
- Update Webcam Drivers: Make sure that you have the latest drivers installed for your webcam. Visit the manufacturer’s website or utilize their provided software to check for any driver updates.
- Check Webcam Compatibility: Ensure that your webcam is compatible with your operating system. Some webcams may not be fully supported by certain operating systems, which can cause compatibility issues.
- Adjust Lighting Conditions: If you’re experiencing issues with image quality, adjust the lighting conditions in the room. Ensure that there is adequate lighting and avoid backlighting or extreme contrasts that can affect the camera’s performance.
- Restart Webcam Software: If you’re encountering software-related issues, try restarting the webcam software or your computer. Sometimes, simply restarting can resolve minor glitches or conflicts.
- Check System Resources: Insufficient system resources can cause performance issues with your webcam. Close unnecessary programs or applications that may be consuming excessive CPU or memory, and ensure that your computer meets the minimum system requirements for the webcam software.
- Clear Storage Space: Running out of storage space can prevent the webcam software from recording or saving footage. Delete unnecessary files or consider adding more storage to ensure uninterrupted recording capabilities.
- Consult Webcam Software Documentation: Refer to the user manual or documentation provided with your webcam software for specific troubleshooting steps. The software developer’s website or support forums may also offer valuable insights and solutions.
- Contact Tech Support: If you have tried the above troubleshooting steps and are still experiencing issues, don’t hesitate to reach out to the webcam manufacturer’s technical support. They will be able to provide more specialized assistance tailored to your specific situation.
Remember to approach troubleshooting with patience and persistence. Sometimes, it may require a systematic approach of trying different solutions to identify and resolve the problem. Stay proactive in resolving any issues to ensure smooth operation of your home surveillance system.
Conclusion
Congratulations! You have now learned how to transform your webcam into an effective and budget-friendly home surveillance tool. By following the steps outlined in this guide, you can set up your webcam, configure the necessary software, and utilize motion detection to monitor your home with ease.
Using your webcam for home surveillance provides you with an added layer of security, allowing you to keep an eye on your property, loved ones, and valuable belongings. With the right webcam, software, and positioning, you can capture clear and detailed footage to review and ensure the safety of your home.
Remember to choose a webcam with the appropriate resolution, field of view, and low-light performance to suit your specific needs. Configure the webcam settings to optimize the image quality, adjust motion detection sensitivity, and set up specific monitoring zones if available.
Regularly review the recorded footage and take note of any unusual activities or events. This will help you identify potential security concerns and take necessary action as needed.
If you encounter any difficulties along the way, don’t forget the troubleshooting tips outlined in this guide. Addressing common issues such as connection problems, software glitches, or lighting adjustments can ensure the smooth operation of your home surveillance system.
Remember, home security is an ongoing effort. Regularly maintain and update your webcam software and drivers, keep an eye on your system’s resources and storage capacity, and prioritize the safety of your loved ones and property.
In conclusion, by harnessing the power of your webcam for home surveillance, you can enhance the security and peace of mind within your household. Stay vigilant, stay informed, and utilize the power of technology to protect what matters most to you.
Frequently Asked Questions about How To Use My Webcam For Home Surveillance
Was this page helpful?
At Storables.com, we guarantee accurate and reliable information. Our content, validated by Expert Board Contributors, is crafted following stringent Editorial Policies. We're committed to providing you with well-researched, expert-backed insights for all your informational needs.