Home>Home Security and Surveillance>How To View Home Surveillance Cameras From My Iphone
Home Security and Surveillance
How To View Home Surveillance Cameras From My Iphone
Modified: March 6, 2024
Discover how you can conveniently monitor your home security and surveillance system remotely from your iPhone with our easy-to-follow guide.
(Many of the links in this article redirect to a specific reviewed product. Your purchase of these products through affiliate links helps to generate commission for Storables.com, at no extra cost. Learn more)
Introduction
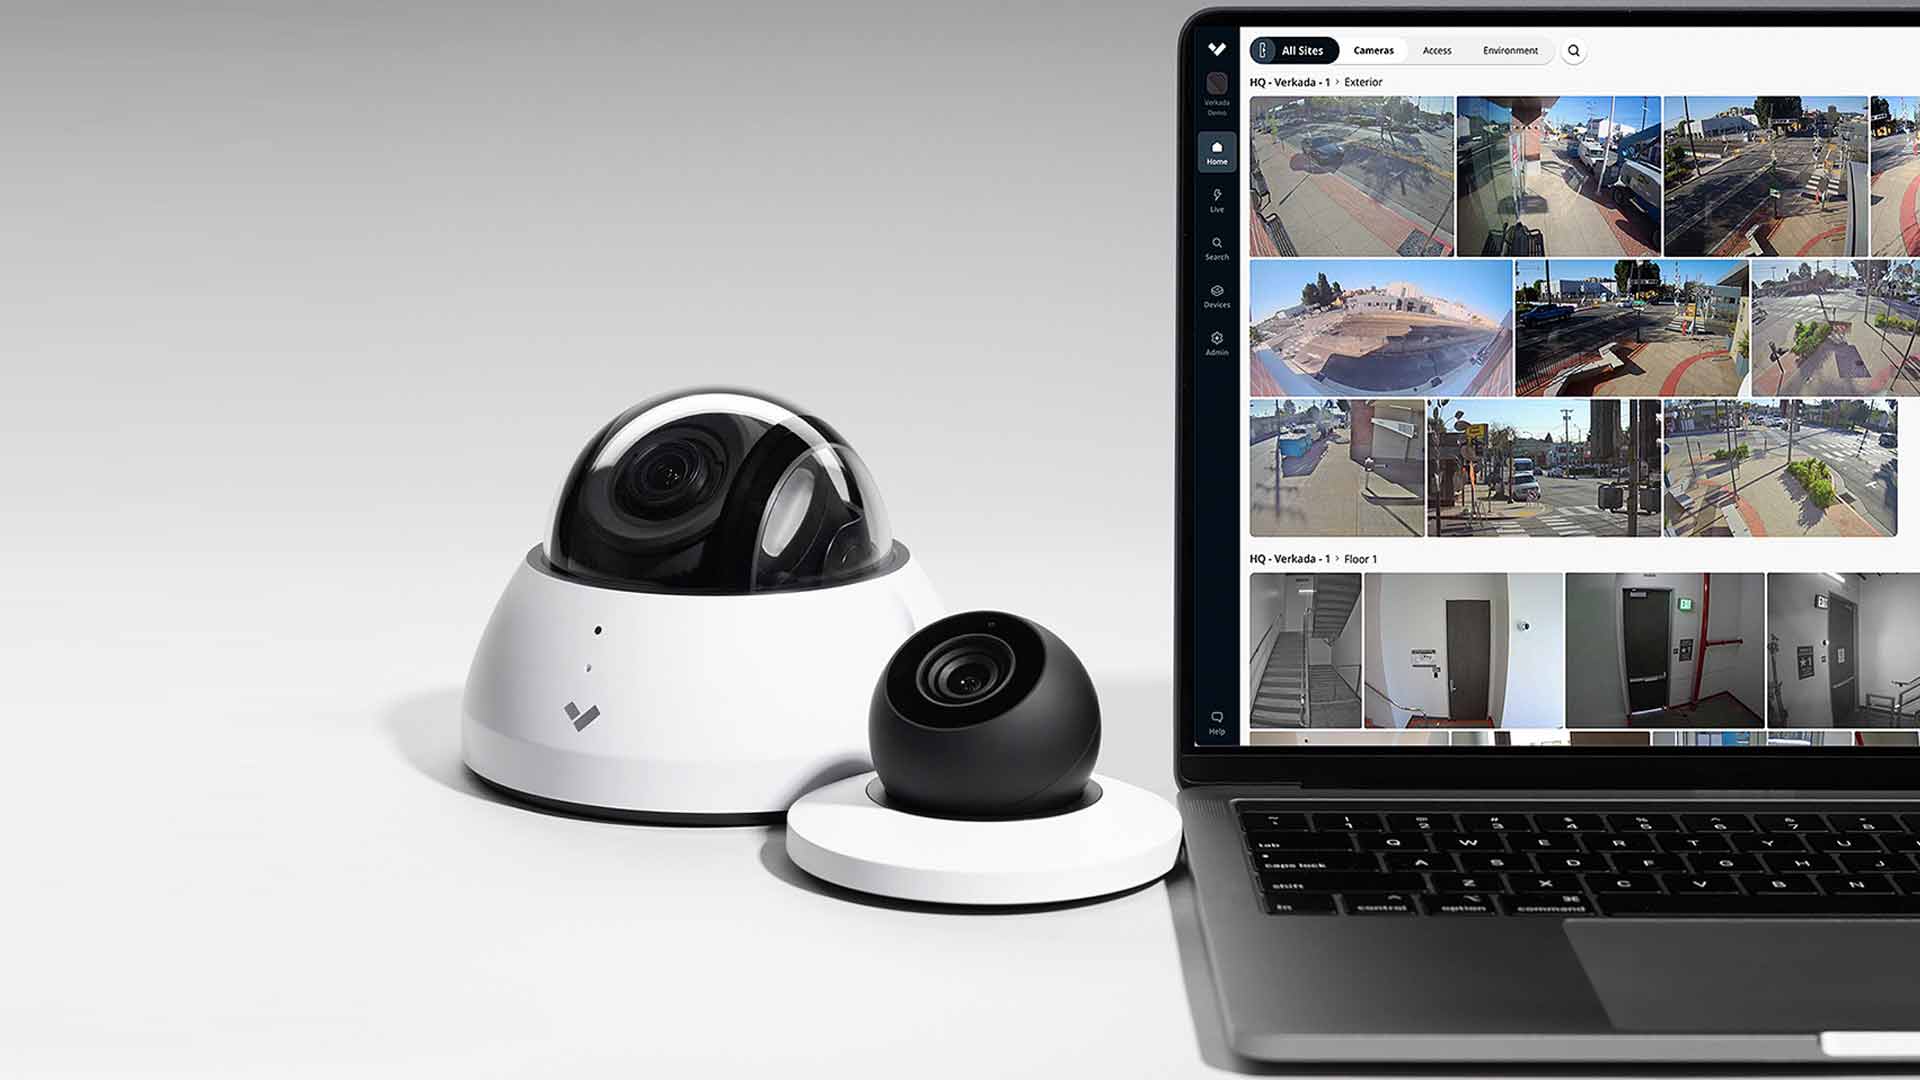
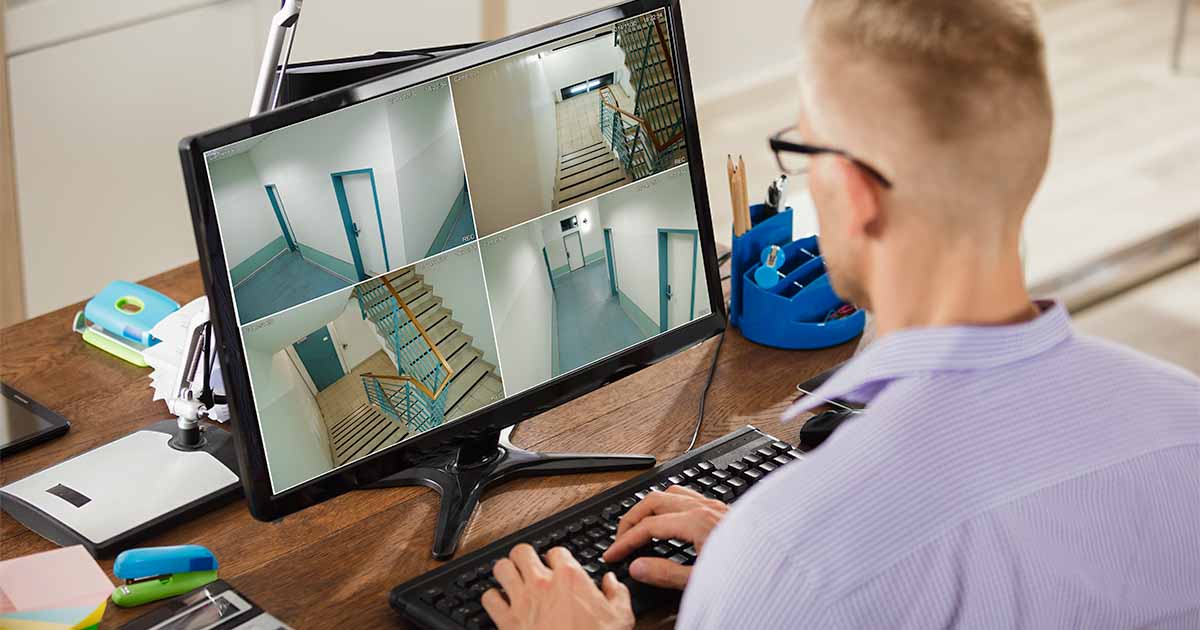
Home security and surveillance systems have become increasingly popular in recent years, as homeowners prioritize the safety and protection of their properties. With advancements in technology, it is now possible to view your home surveillance cameras directly from your iPhone, adding an extra layer of convenience and peace of mind.
In this article, we will provide a step-by-step guide on how to view your home surveillance cameras from your iPhone, ensuring that you can stay connected and monitor your property at all times. Whether you are at work, on vacation, or simply away from home, accessing your surveillance feed through your iPhone allows you to oversee any activity and respond swiftly to any unusual or suspicious events.
Before we delve into the instructions, it is essential to note that the compatibility of your home surveillance system and the availability of a dedicated mobile application are crucial factors in setting up remote viewing on your iPhone. Ensure that your surveillance system supports remote access and has a compatible app that can be downloaded on your phone.
Now, let’s get started with the step-by-step process of setting up your iPhone to view your home surveillance cameras.
Key Takeaways:
- You can easily view your home surveillance cameras from your iPhone by following simple steps, allowing you to monitor your property remotely and respond to any unusual activity with peace of mind.
- Make sure your surveillance system is compatible, install the camera app, connect to your system, configure camera settings, and start viewing your cameras from your iPhone to enhance your home security and convenience.
Step 1: Ensure compatibility
The first step in viewing your home surveillance cameras from your iPhone is to ensure that your surveillance system is compatible with remote access. Not all surveillance systems offer this feature, so it is essential to check the specifications and capabilities of your system before proceeding.
Here are a few things to consider:
- Check the user manual or consult the manufacturer’s website to confirm if remote viewing is supported.
- Ensure that your home surveillance system is connected to the internet. Remote viewing requires an internet connection to transmit the video feed to your iPhone.
- Verify that your home network has sufficient upload bandwidth to handle the video streaming. Insufficient bandwidth can result in poor video quality or buffering issues.
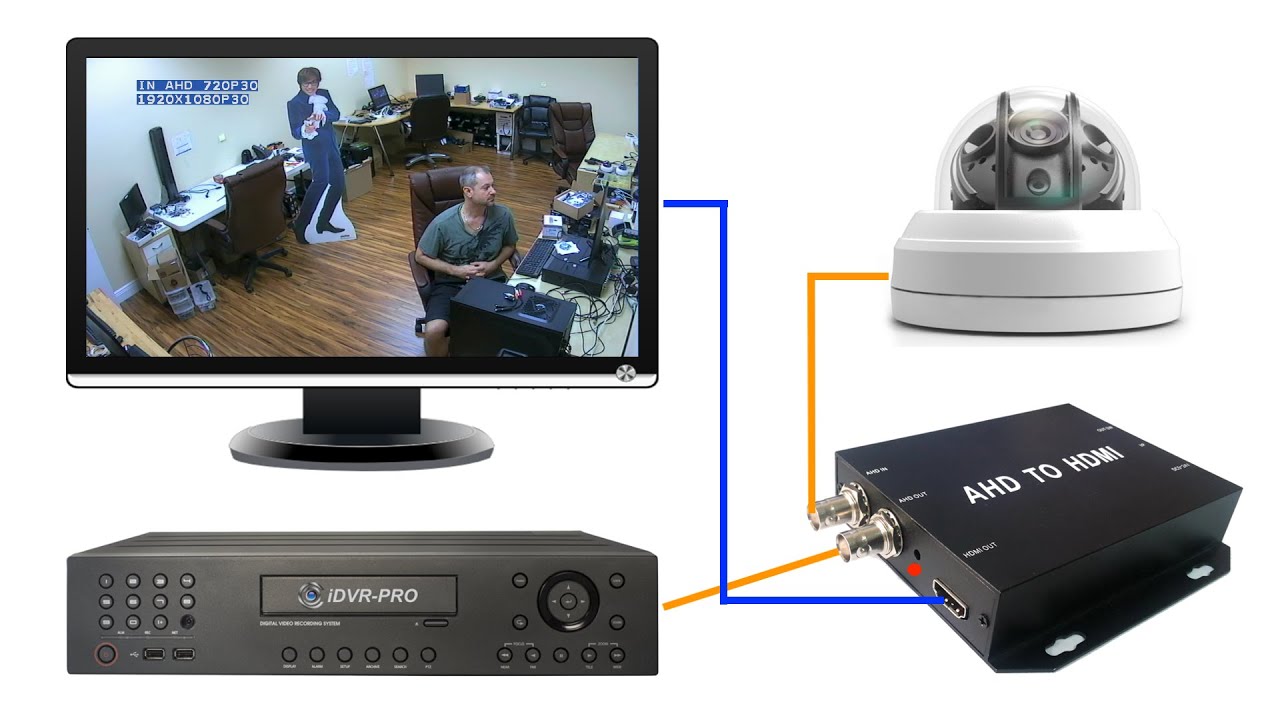
- If your surveillance system uses a digital video recorder (DVR) or network video recorder (NVR), make sure that it is compatible with mobile applications specifically designed for remote viewing.
If your home surveillance system meets these requirements, you can proceed to the next step of installing the camera app on your iPhone.
Please note that the process may vary depending on the brand and model of your surveillance system. It is always recommended to refer to the user manual or contact the manufacturer’s customer support for specific instructions tailored to your system.
Step 2: Install the camera app
Once you have confirmed that your home surveillance system is compatible with remote access, the next step is to install the camera app on your iPhone. This app will serve as the interface through which you can view your surveillance cameras.
Here’s how you can install the camera app:
- Open the App Store on your iPhone.
- Tap on the search icon and type in the name of the camera app that is compatible with your home surveillance system. For example, if you have a system from ABC Company, search for “ABC Company camera app”.
- From the search results, select the app that matches your surveillance system.
- Tap on the “Get” or “Install” button to download and install the app on your iPhone.
- Once the app is installed, locate it on your iPhone’s home screen and tap on it to open the app.
- Follow the on-screen instructions to set up the app and configure it to connect to your home surveillance system.
It is important to note that some camera apps may require you to create a user account or login with your existing account associated with your surveillance system. Make sure to follow the app’s instructions and provide the necessary information to complete the setup process.
If you encounter any issues during the installation or setup, refer to the app’s user manual or contact the app’s support team for assistance.
With the camera app installed on your iPhone, you are now ready to connect to your home surveillance system and start viewing your cameras remotely. We will cover this in the next step.
Step 3: Connect to your home surveillance system
Now that you have installed the camera app on your iPhone, the next step is to connect it to your home surveillance system. This will allow you to access the live feed from your surveillance cameras and view them remotely.
Here’s how you can connect to your home surveillance system:
- Open the camera app on your iPhone.
- Depending on the app, you may be prompted to log in with your account credentials or enter the IP address of the surveillance system. Follow the app’s instructions to proceed.
- In the app’s settings or configuration menu, navigate to the “Device” or “Camera” section.
- Tap on the option to add a new device or camera.
- Enter the required information, such as the IP address or domain name of your surveillance system, the port number, and any authentication details if applicable.
- Save the settings and wait for the app to establish a connection with your home surveillance system.
- If the connection is successful, you should see a list of available cameras or a live feed from your cameras on the app’s interface.
Keep in mind that the specific steps may vary depending on the camera app and surveillance system you are using. It is important to refer to the app’s user manual or consult the manufacturer’s instructions for detailed guidance.
Once you have successfully connected your iPhone to your home surveillance system, you are ready to proceed with configuring the camera settings in the next step.
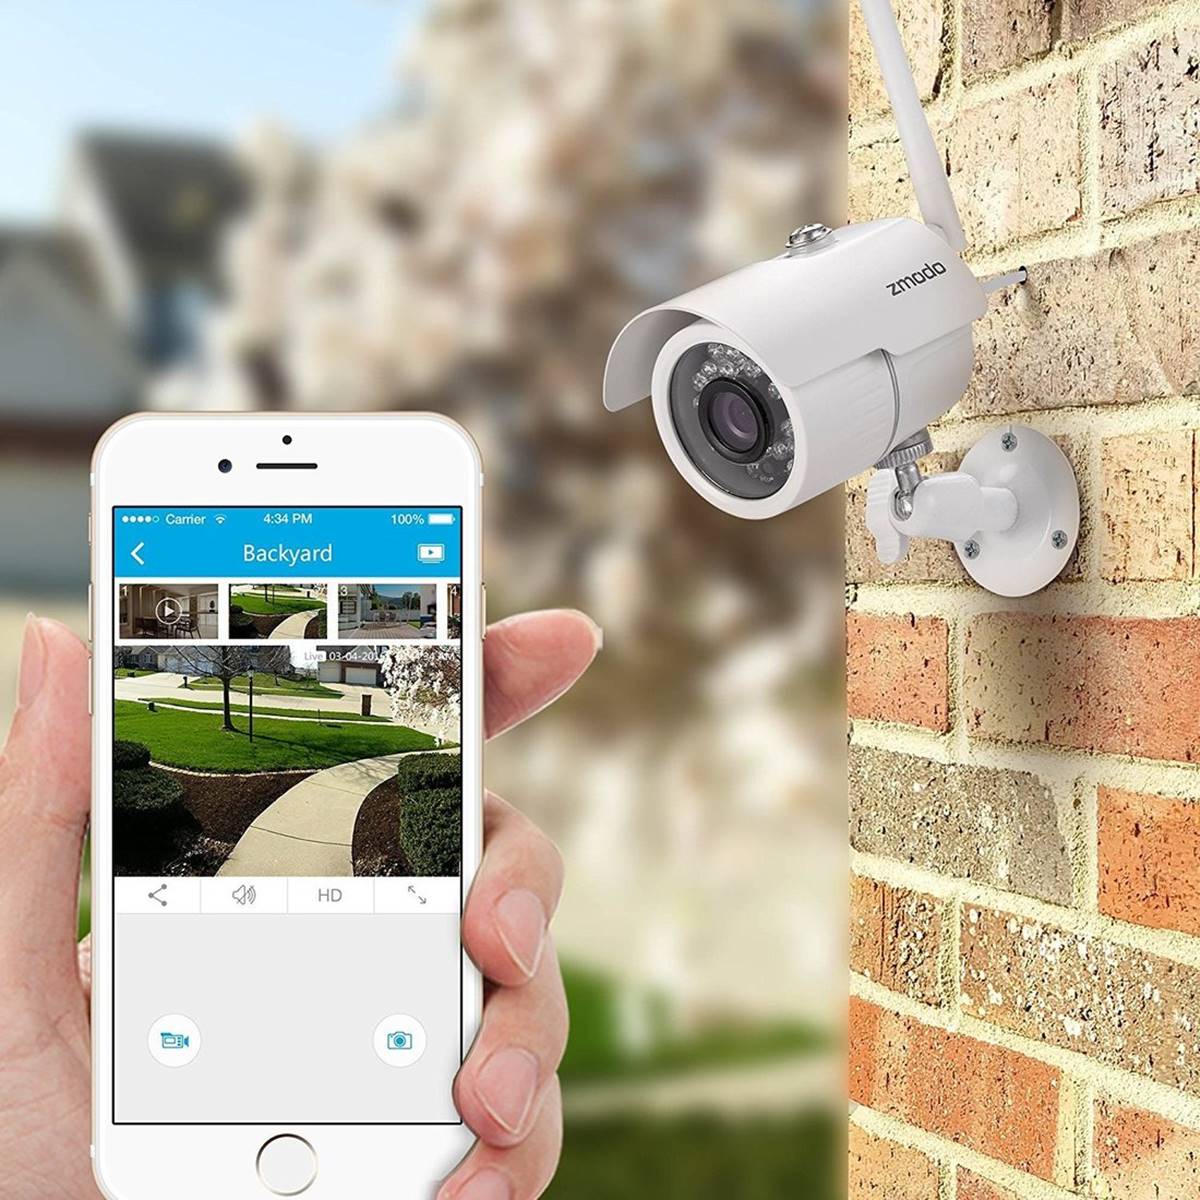
You can view home surveillance cameras from your iPhone by downloading the app provided by your camera’s manufacturer. Once installed, you can log in using your camera’s credentials and access the live feed from anywhere with an internet connection.
Step 4: Configure camera settings
After connecting your iPhone to your home surveillance system, it’s important to configure the camera settings to ensure optimal functionality and customization. Depending on the camera app and surveillance system you are using, you may have various options and settings available.
Here are some common camera settings that you may need to configure:
- Camera naming: Assign names to your cameras to easily identify and differentiate them.
- Video quality settings: Adjust the resolution, frame rate, and bitrate of the video feed based on your preferences and network bandwidth. It’s important to maintain a balance between video quality and bandwidth usage.
- Recording settings: Configure options related to recording, such as enabling motion detection, scheduling recording times, and setting up automatic video storage.
- Notification settings: Set up notifications to receive alerts on your iPhone when motion is detected or specific events occur in the camera’s field of view. You can customize the types of notifications you receive.
- Privacy and security settings: Enable features like password protection, encryption, or two-factor authentication to enhance the security of your surveillance system.
- Remote access settings: If your surveillance system supports multiple users, you may need to manage user permissions and access levels for remote viewing.
Explore the camera app’s settings menu to access these options and make the necessary configurations based on your preferences. Remember to save your settings after making any changes.
It’s worth mentioning that some camera apps offer additional advanced features such as pan-tilt-zoom (PTZ) control, two-way audio communication, or cloud storage options. Take advantage of these features if they are available and relevant to your needs.
Once you have configured the camera settings to your satisfaction, you are ready to move on to the final step of viewing your home surveillance cameras from your iPhone.
Read more: How To View My Security Cameras On My Phone
Step 5: View home surveillance cameras from your iPhone
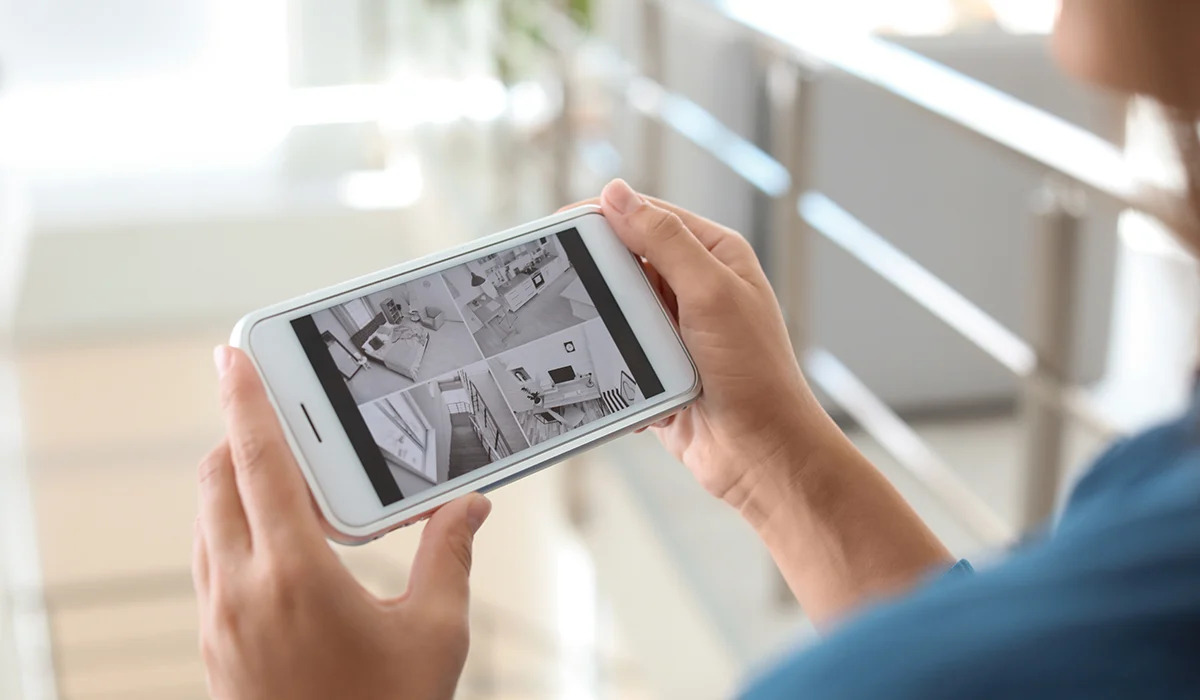
Now that you have set up and configured your camera app, it’s time to start viewing your home surveillance cameras directly from your iPhone. With this convenient feature, you can keep an eye on your property no matter where you are, providing you with peace of mind and enhanced security.
Here’s how you can view your home surveillance cameras from your iPhone:
- Open the camera app on your iPhone.
- If you have multiple cameras set up, select the camera you want to view from the list or on the app’s interface.
- Once you have selected the camera, you should see the live feed on your iPhone’s screen.
- You can now monitor the camera’s view, pan or tilt (if supported), and zoom in to get a closer look at specific areas.
- Depending on the app, you may have additional options such as taking screenshots, recording videos, enabling audio, or adjusting the video quality.
- To switch between different cameras, use the app’s interface to navigate and select the desired camera.
- If you receive motion detection alerts, you can quickly access the corresponding camera’s feed from the notification, allowing you to check and address any potential incidents immediately.
It’s important to note that the experience and features may vary depending on the camera app and surveillance system you are using. Some apps may offer additional functionality like video playback, timeline navigation, or the ability to view recorded footage stored on your surveillance system.
Remember to adjust your camera app’s settings to optimize the viewing experience based on your preferences and network conditions. You can refer to the previous step on configuring camera settings for more details on customizing your app.
By following these steps, you can effectively view your home surveillance cameras directly from your iPhone, providing you with the flexibility and convenience to monitor your property at any time.
Conclusion
With the advancement of technology, it is now easier than ever to view your home surveillance cameras from your iPhone. This added convenience allows you to keep a watchful eye on your property no matter where you are, enhancing the security and peace of mind for homeowners.
In this article, we provided a comprehensive step-by-step guide on how to set up and view your home surveillance cameras from your iPhone. We covered important steps such as ensuring compatibility, installing the camera app, connecting to your surveillance system, configuring camera settings, and finally, how to view the cameras remotely.
It is important to note that the specific steps may vary depending on the brand and model of your surveillance system, as well as the camera app you choose to use. Always refer to the user manual for your specific devices and seek assistance from customer support if needed.
By following these steps, you can easily access your home surveillance cameras from your iPhone, providing you with the ability to monitor your property, check for any suspicious activity, and even receive real-time alerts in case of any potential incidents.
Remember to regularly update your camera app and surveillance system firmware to ensure maximum security and compatibility. Additionally, consider implementing best practices such as using strong passwords, enabling encryption, and securing your home network to further reinforce the security of your surveillance system.
With the power of remote viewing at your fingertips, you can have peace of mind knowing that you are in control of your home security, even when you’re not physically present. So go ahead and set up your home surveillance cameras on your iPhone today and enjoy the convenience and added security it provides.
Frequently Asked Questions about How To View Home Surveillance Cameras From My Iphone
Was this page helpful?
At Storables.com, we guarantee accurate and reliable information. Our content, validated by Expert Board Contributors, is crafted following stringent Editorial Policies. We're committed to providing you with well-researched, expert-backed insights for all your informational needs.