Home>Home Security and Surveillance>How To Wire A 12-Volt Motion Detector
Home Security and Surveillance
How To Wire A 12-Volt Motion Detector
Modified: March 6, 2024
Learn how to wire a 12-volt motion detector for enhanced home security and surveillance. Install your own system with these step-by-step instructions.
(Many of the links in this article redirect to a specific reviewed product. Your purchase of these products through affiliate links helps to generate commission for Storables.com, at no extra cost. Learn more)
Introduction
Welcome to our guide on how to wire a 12-volt motion detector. Security and surveillance systems are essential for protecting our homes and loved ones. Installing a motion detector is a great way to enhance the security of your property and provide an added layer of protection against intruders.
A 12-volt motion detector is a popular choice for residential use due to its ease of installation and low voltage requirements. In this article, we will guide you through the process of wiring a 12-volt motion detector, from choosing the mounting location to testing the connection.
Before we get started, make sure you have the necessary tools and materials on hand. You will need a wire stripper, wire connectors, a power supply, and of course, the 12-volt motion detector itself. It’s crucial to work safely and ensure that the power is turned off before starting any wiring project.
So, if you’re ready to enhance your home security system and learn how to wire a 12-volt motion detector, let’s dive in and get started!
Key Takeaways:
- Wiring a 12-volt motion detector is a practical way to boost home security. From choosing the right location to testing the connection, following the steps ensures a reliable and effective system.
- Prioritize safety, use the right tools, and follow instructions for a successful motion detector installation. Enjoy peace of mind and added protection with a well-wired motion detector.
Overview of a 12-Volt Motion Detector
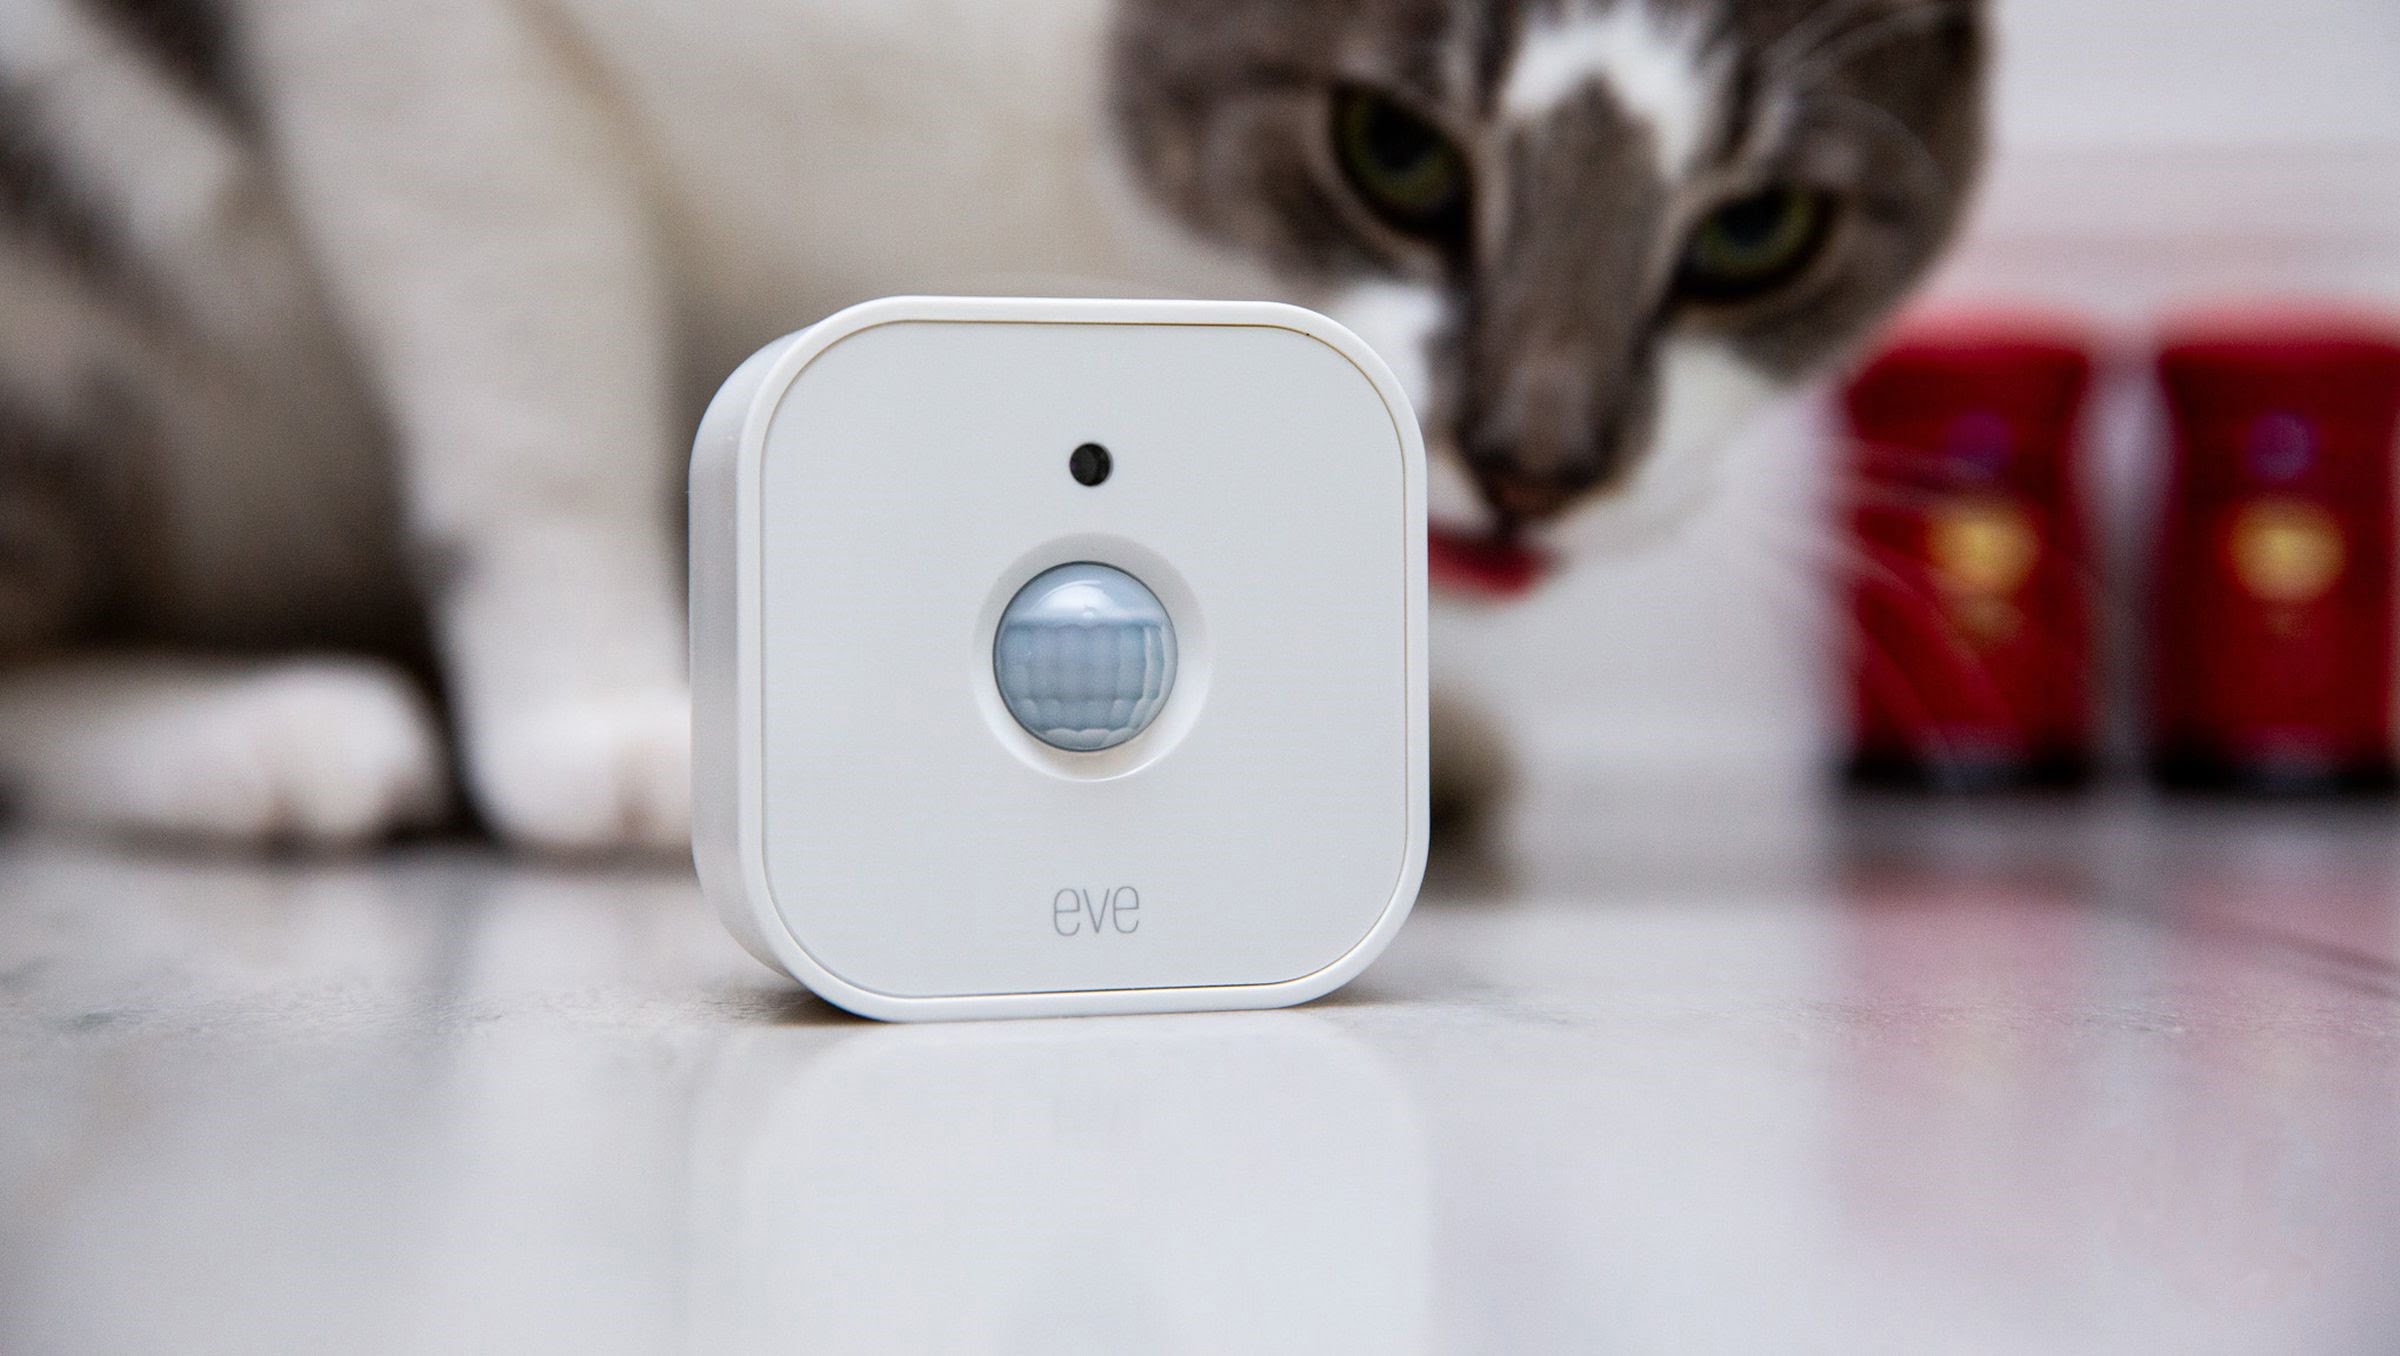
Before we dive into the wiring process, it’s important to understand the basic components and functionality of a 12-volt motion detector. A motion detector, also known as a motion sensor, is a device that detects movement within its field of view.
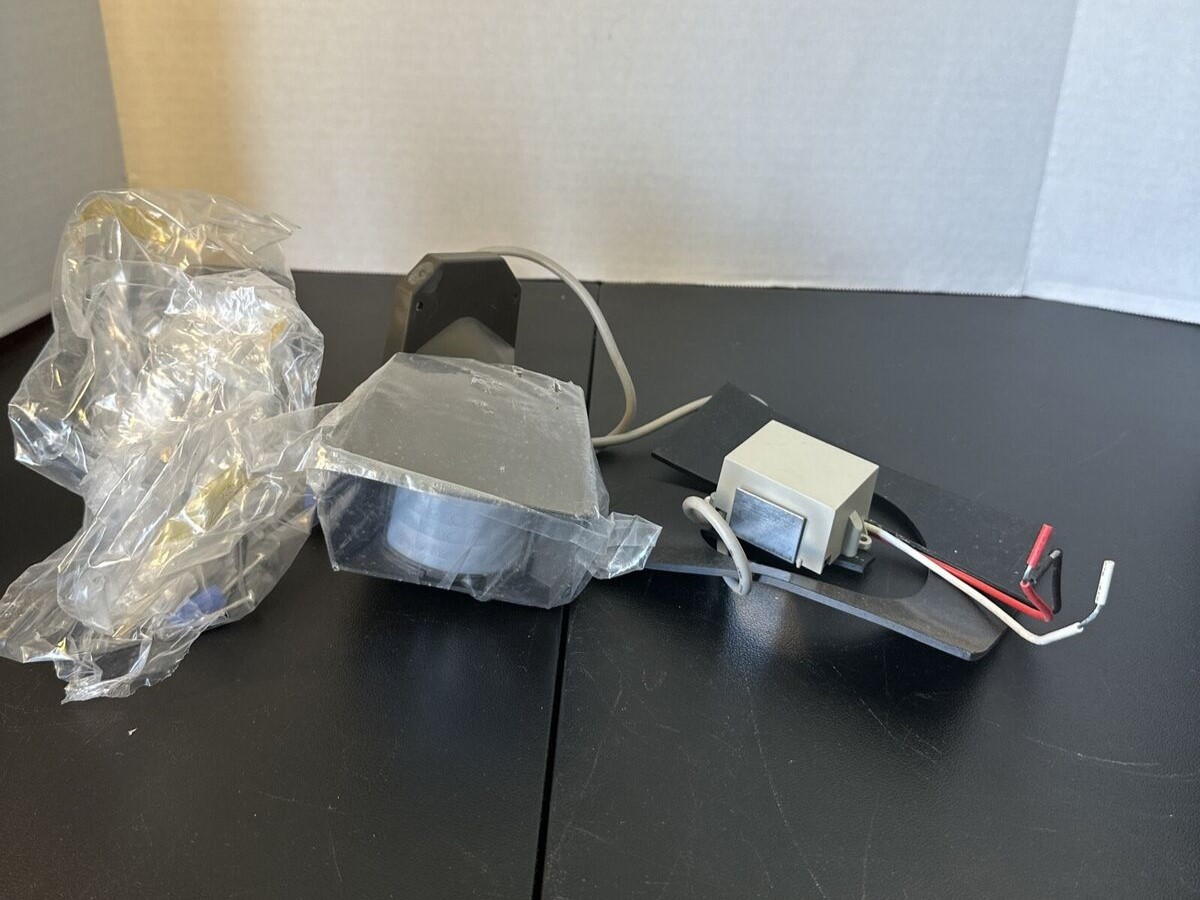
A 12-volt motion detector operates using a low voltage power supply, typically from a battery or a transformer. It consists of several key components, including the sensor, control unit, and power supply.
The sensor is the core element of the motion detector. It uses different technologies such as infrared, microwave, or ultrasonic waves to detect motion. When it detects movement, it sends a signal to the control unit.
The control unit acts as the brain of the motion detector. It processes the signals received from the sensor and triggers an alarm or activates other security measures, such as turning on lights or sounding a siren.
Power is supplied to the motion detector through a 12-volt power source. This low voltage requirement makes it easier and safer to install, as it eliminates the need for extensive wiring or professional assistance.
Furthermore, many 12-volt motion detectors are wireless, reducing the complexity and labor involved in installation. They often come with mounting brackets or adhesive backings for easy attachment to walls, ceilings, or other surfaces.
Now that we have a clear understanding of the basic components and operation of a 12-volt motion detector, let’s move on to the next step: gathering the necessary tools and materials for the installation process.
Tools and Materials Needed
Before you start wiring a 12-volt motion detector, make sure you have the following tools and materials ready:
1. Wire stripper: A wire stripper is a handy tool for removing insulation from the wires. Make sure to use the appropriate gauge size for your wires.
2. Wire connectors: Wire connectors are used to secure and join wires together. Make sure you have connectors suitable for the gauge of wires you are using.
3. Power supply: You will need a 12-volt power supply to provide power to the motion detector. This can be a battery or a transformer, depending on your specific setup.
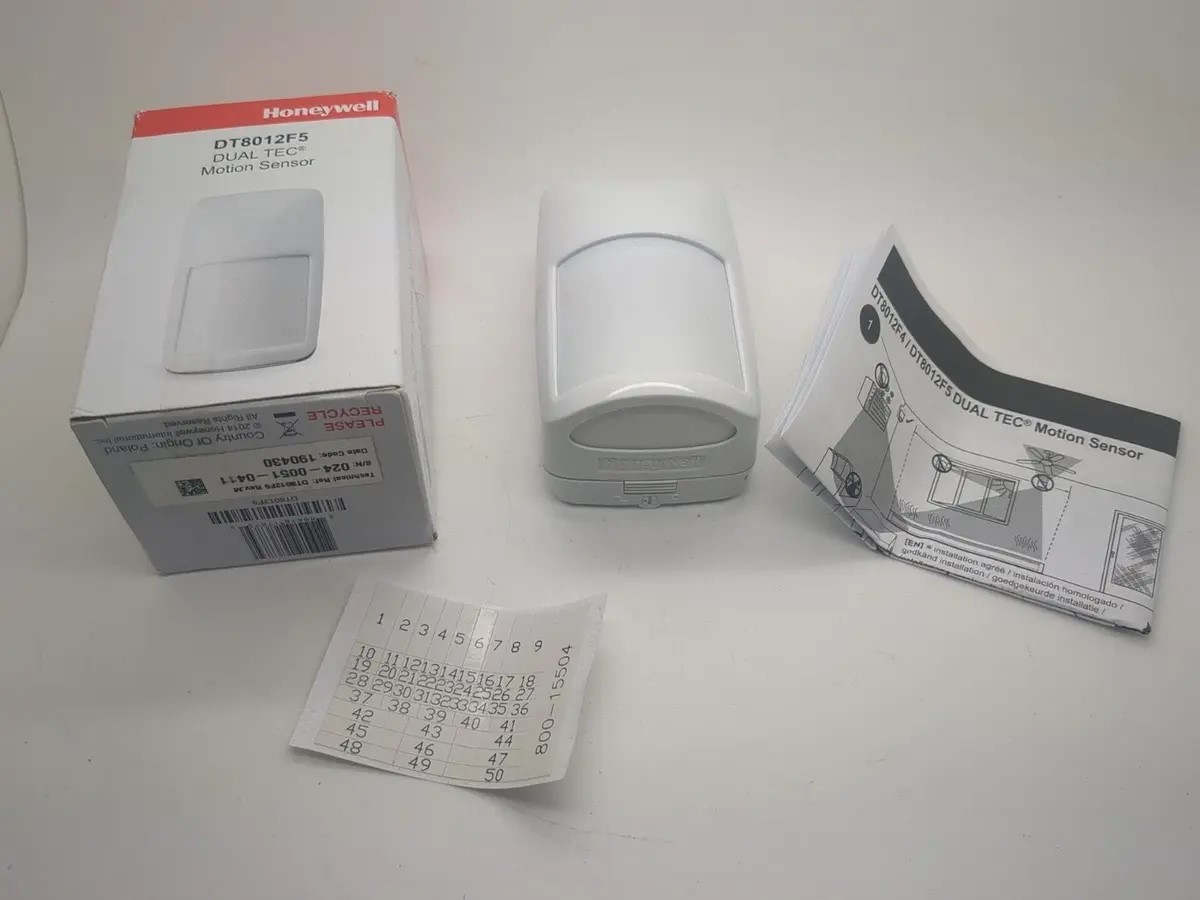
4. Motion detector: Choose a 12-volt motion detector that suits your needs and preferences. Look for features like adjustable sensitivity, range, and detection angle.
5. Mounting brackets or adhesive backing: Most motion detectors come with mounting brackets or adhesive backing for easy installation. Check if your motion detector includes these accessories.
6. Screws or wall anchors: If you are mounting the motion detector on a wall or ceiling, you will need screws or wall anchors to secure the mounting bracket in place.
7. Screwdriver or drill: Depending on the type of mounting brackets and fasteners, you may need a screwdriver or drill to secure them properly.
8. Voltage tester: A voltage tester is crucial for ensuring the power is turned off before starting any wiring work. It helps prevent accidents and keeps you safe.
9. Electrical tape: Electrical tape is used to insulate and protect wire connections, providing an extra layer of safety and preventing short circuits.
10. Labels or markers: It’s always a good idea to label or mark the wires during the installation process. This will help with troubleshooting or future maintenance.
Having these tools and materials ready will make the installation process smoother and more efficient. Now that you’re prepared, let’s move on to the next step: choosing the mounting location for your motion detector.
Step 1: Choosing the Mounting Location
Choosing the right mounting location for your 12-volt motion detector is crucial for optimal performance and effectiveness. Here are some key considerations when selecting the placement:
1. Coverage Area: First, determine the specific areas you want the motion detector to cover. This could be a front porch, backyard, garage, or any other area where you want to detect motion. Consider the size and shape of the area to ensure proper coverage.
2. Height: For outdoor installations, it’s important to mount the motion detector at an appropriate height. Aim for a height of around 6-8 feet off the ground. This will provide a good balance of capturing motion while minimizing the chances of false triggers from pets or wildlife.
3. Angle and Range: Consider the angle and range of the motion detector’s field of view. Adjust the mounting angle and range to avoid obstructions such as trees, shrubs, or walls that may block or limit the detection capability.
4. Weather Resistance: Ensure that the chosen location is suitable for the weather conditions in your area. If you’re installing the motion detector outdoors, make sure it is weatherproof and designed to withstand rain, snow, and extreme temperatures.
5. Accessibility: Take into account the accessibility of the mounting location for installation and maintenance purposes. Ensure that the motion detector is easily accessible for battery replacement or adjustments.
6. Wiring Considerations: Consider the proximity of the mounting location to a power source if you are using a wired motion detector. Ensure that running the necessary wiring to the chosen location is feasible and practical.
When choosing the mounting location, it can be helpful to walk around the area and imagine where intruders are likely to pass through or areas where you want to monitor activity. Take your time to evaluate various options before settling on the final placement.
Once you have identified the ideal mounting location, you can proceed to the next step: determining the power source for your 12-volt motion detector.
Step 2: Determining Power Source
When it comes to powering your 12-volt motion detector, you have a few options to consider. The power source you choose will depend on your specific setup and preferences. Here are the most common power sources for 12-volt motion detectors:
1. Battery-powered: If you prefer a wireless installation or if running wires is not feasible, battery-powered motion detectors are a convenient option. These detectors typically use standard batteries, such as AA or AAA, and can last for several months before needing to be replaced.
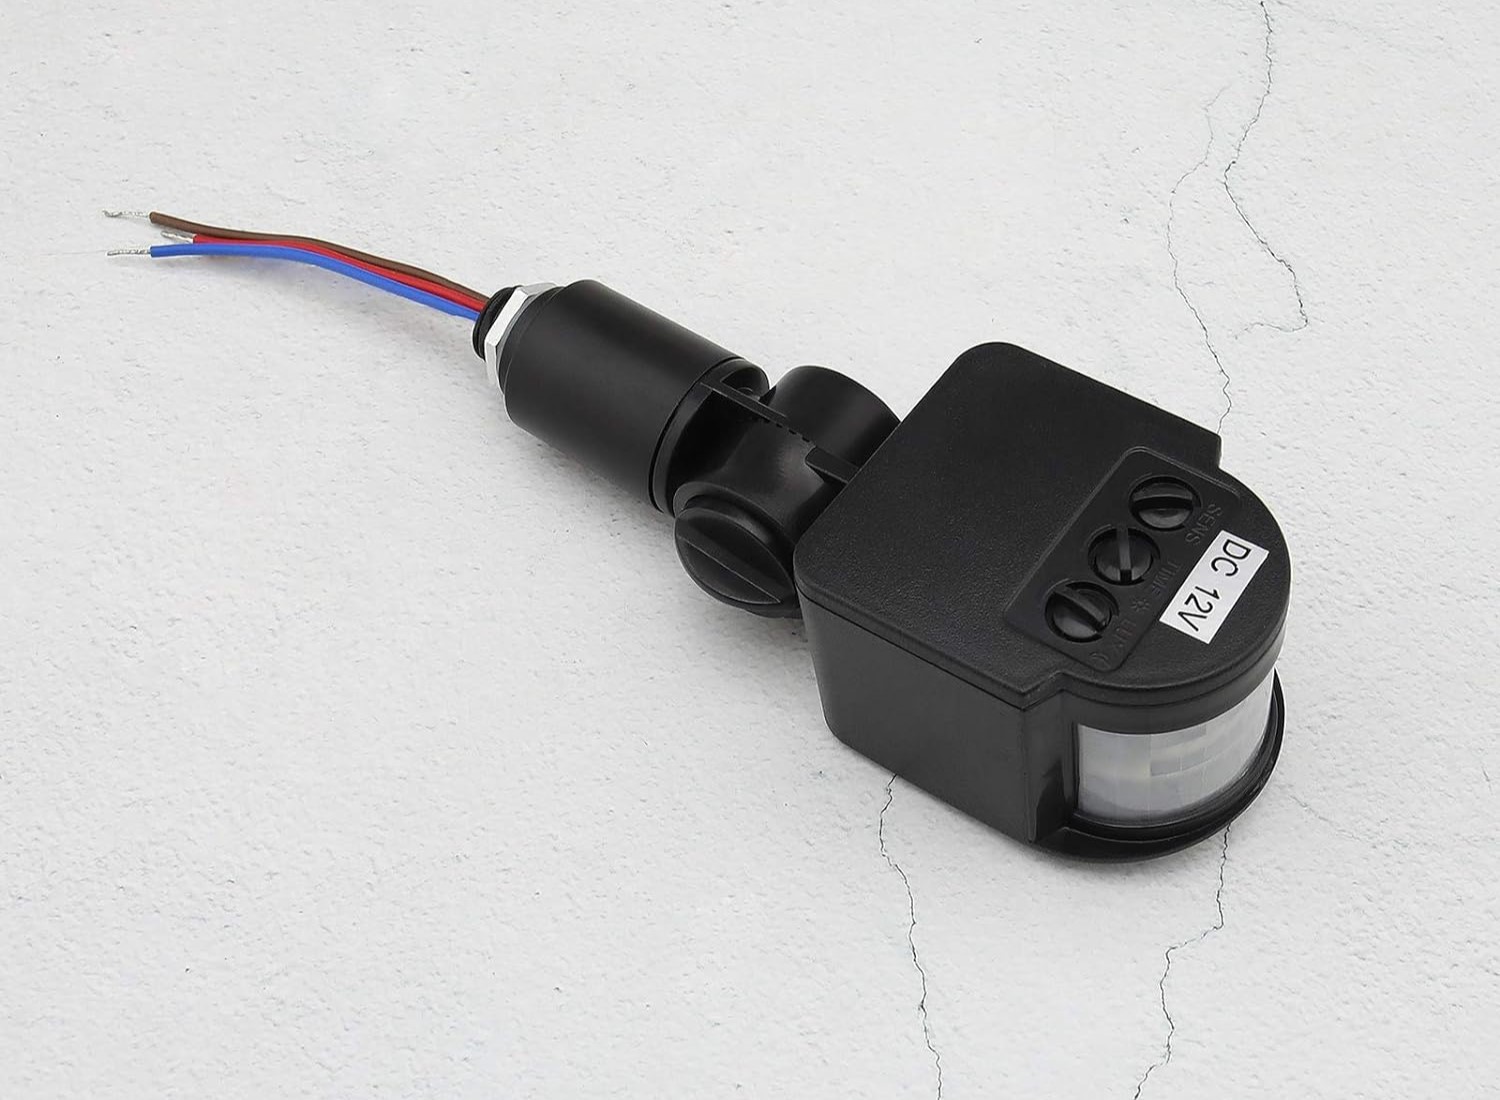
2. Transformer-powered: Transformer-powered motion detectors require a low-voltage transformer, which converts the standard household voltage (110-120 volts) to the 12 volts necessary to power the device. This option is ideal for wired installations and provides a constant power supply.
3. Solar-powered: For outdoor installations where access to electricity may be limited, a solar-powered motion detector is an eco-friendly and convenient choice. These detectors have built-in solar panels that convert sunlight into electricity to power the device.
Consider the advantages and limitations of each power source option before making your decision. If you choose a battery-powered motion detector, ensure that you have spare batteries on hand for future replacements. For transformer-powered or solar-powered detectors, make sure you have the appropriate equipment and wiring to connect the motion detector to the power source.
Once you have determined the power source for your 12-volt motion detector, you’re ready to move on to the next step: preparing the wires for installation.
When wiring a 12-volt motion detector, make sure to connect the positive wire to the positive terminal and the negative wire to the negative terminal. Use wire connectors to secure the connections and test the detector before finalizing the installation.
Read more: How To Wire Bosch Tritech Motion Detector
Step 3: Preparing the Wires
Before wiring your 12-volt motion detector, it’s essential to properly prepare the wires to ensure a secure and reliable connection. Follow these steps to prepare the wires:
1. Measure and cut the wires: Measure the distance between the power source and the motion detector and cut the wires accordingly. Be sure to leave some extra length to allow for flexibility during the installation process.
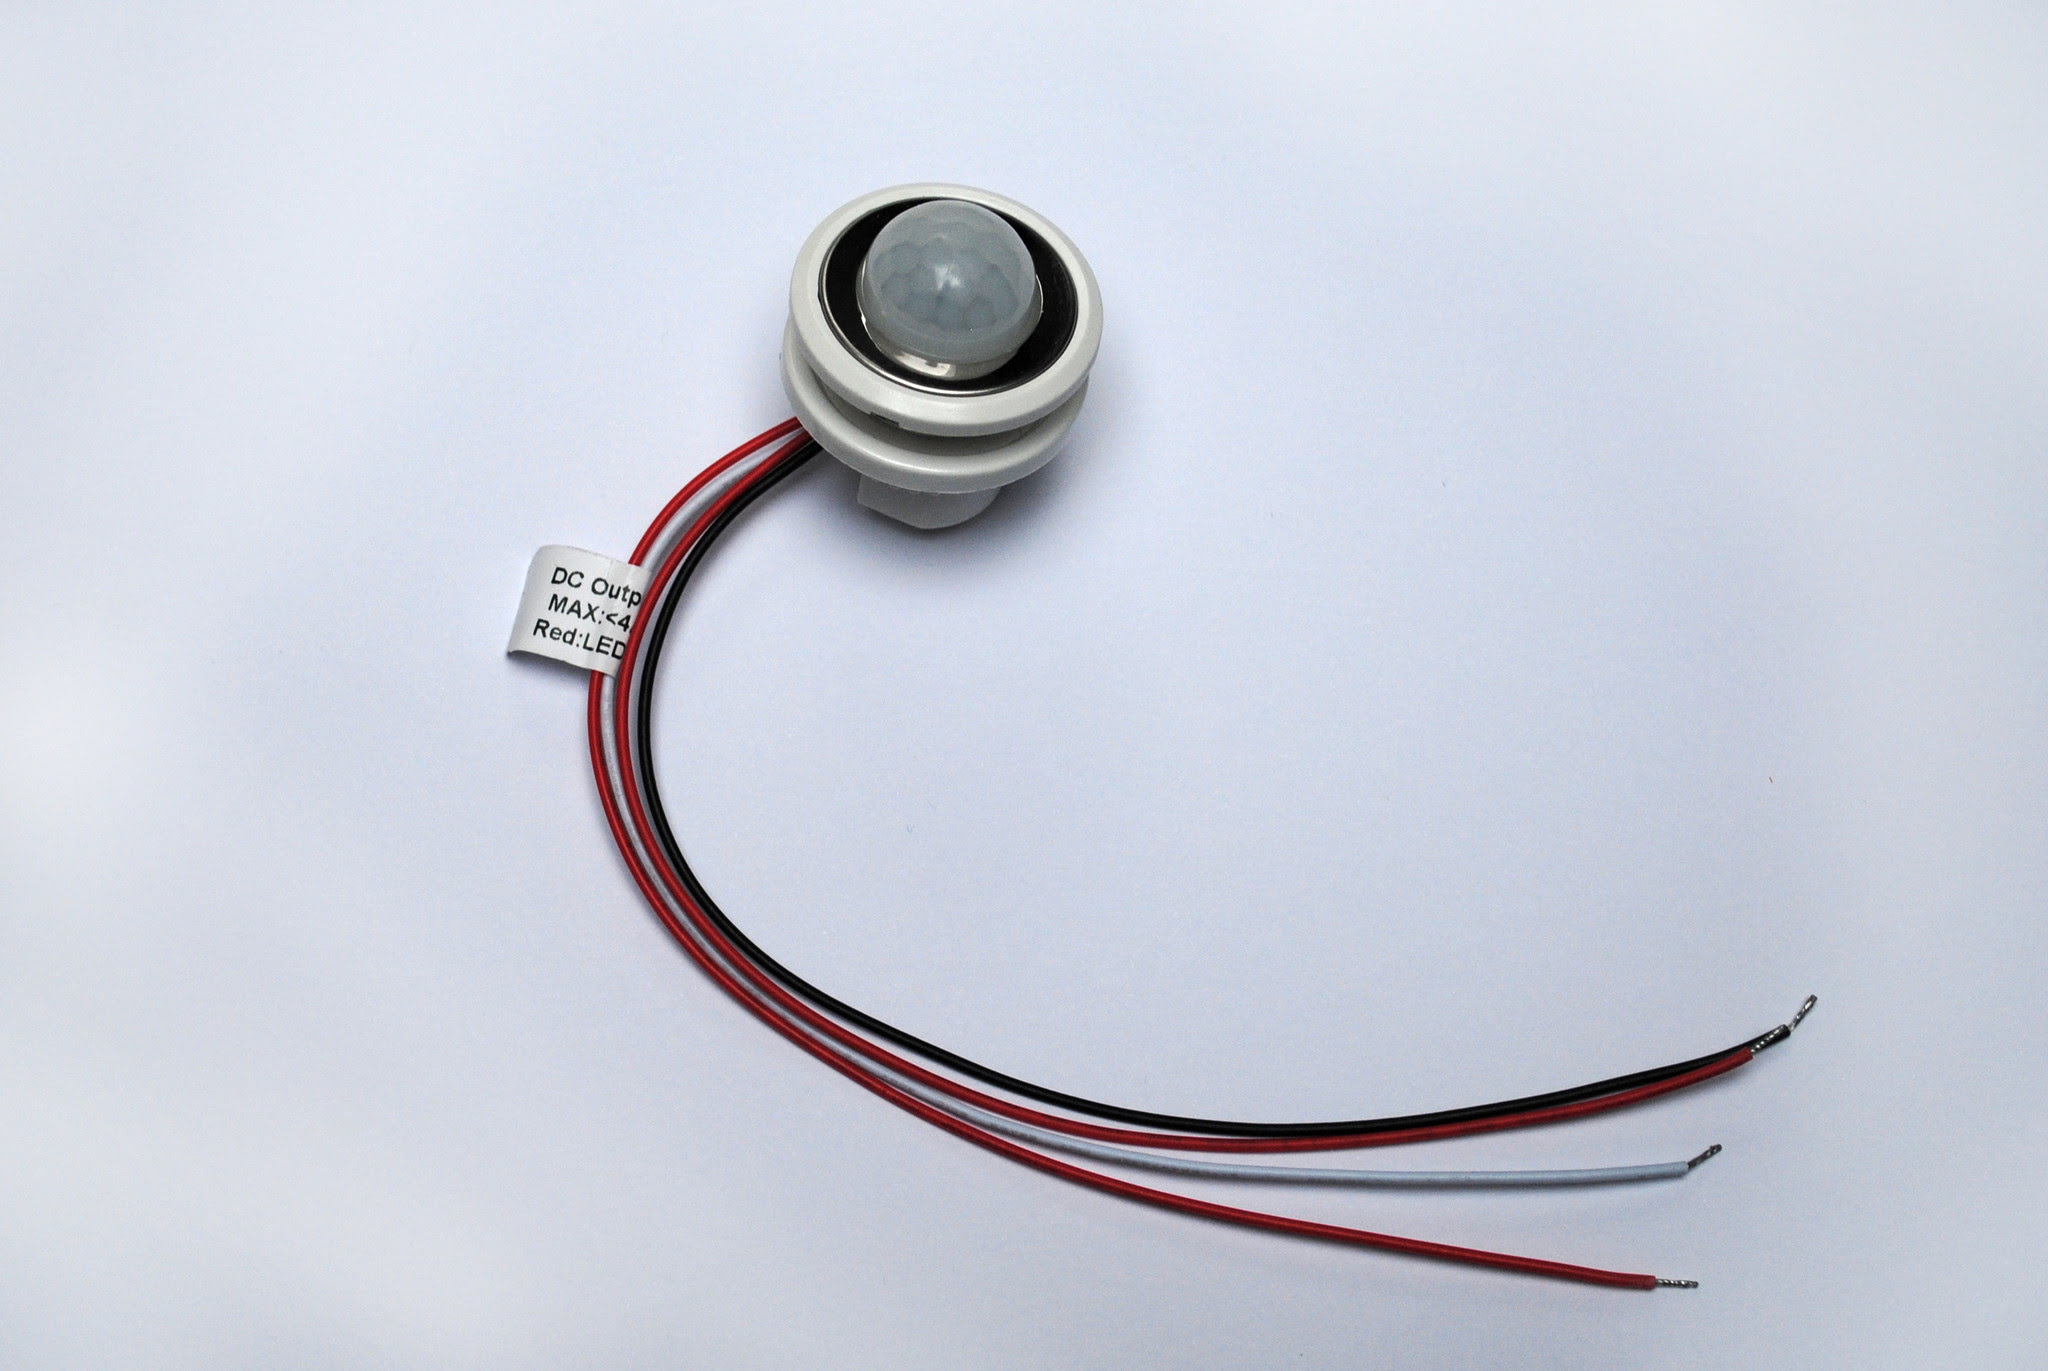
2. Strip the ends of the wires: Use a wire stripper to remove approximately 1/2 inch of insulation from the ends of the wires. This will expose the metal conductors and allow for proper connection.
3. Twist the wire strands: After stripping the ends, gently twist the strands of each wire between your fingers. This will keep the individual strands together and facilitate better wire connectivity.
4. Insulate the wire ends: To avoid any potential shorts or mishaps, insulate the exposed wire ends with electrical tape. Wrap the tape tightly around the exposed portion, making sure there are no exposed wires.
5. Label the wires: If you have multiple wires to connect, it’s a good practice to label them to avoid confusion. Either use pre-printed labels or mark the wires with colored markers for easy identification during the installation process.
By properly preparing the wires, you can ensure a clean and secure connection when wiring your 12-volt motion detector. Now that the wires are ready, let’s move on to the next step: connecting the power supply.
Step 4: Connecting the Power Supply
Now that the wires are prepared, it’s time to connect the power supply to your 12-volt motion detector. Follow these steps to ensure a proper connection:
1. Turn off the power: Before connecting any wires, make sure the power supply is turned off. This will prevent any electrical shocks or mishaps during the installation process. Use a voltage tester to verify that the power is off.
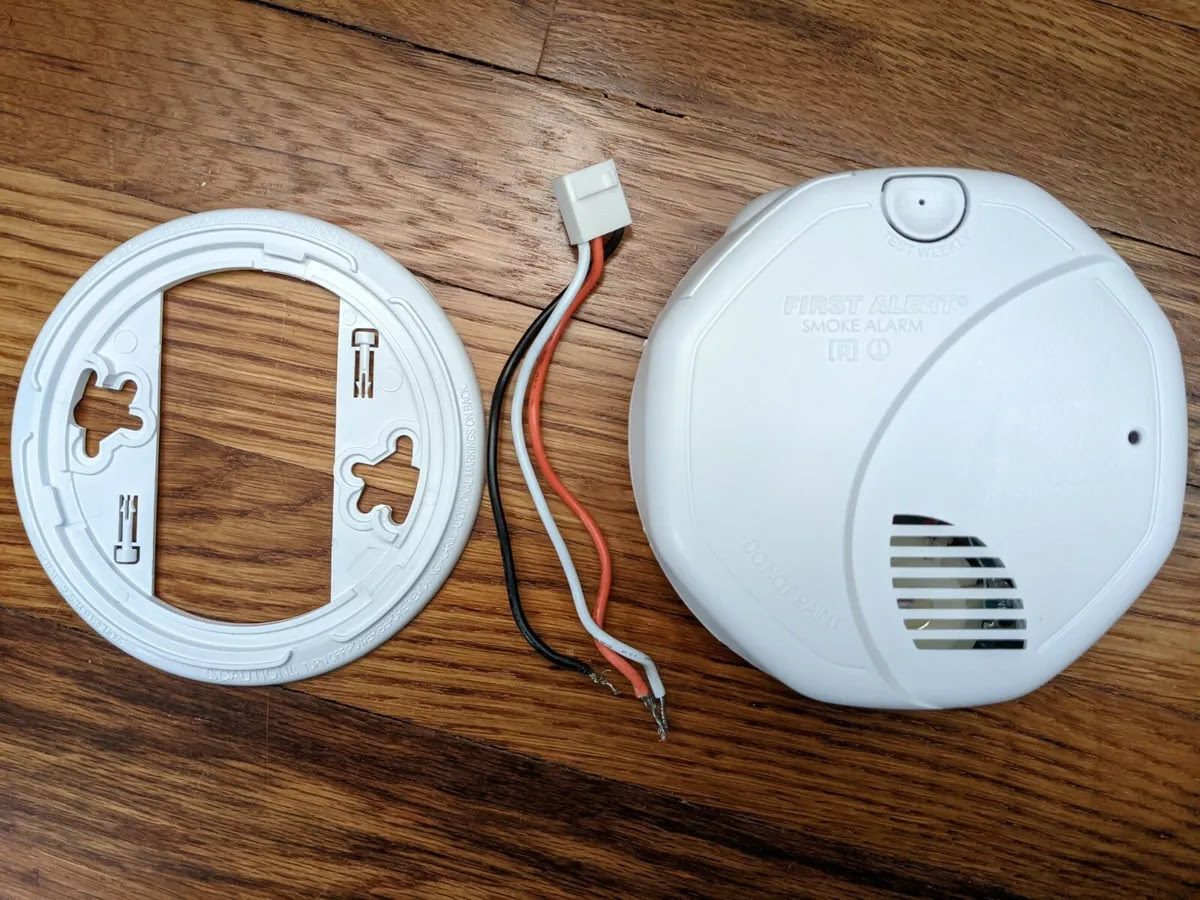
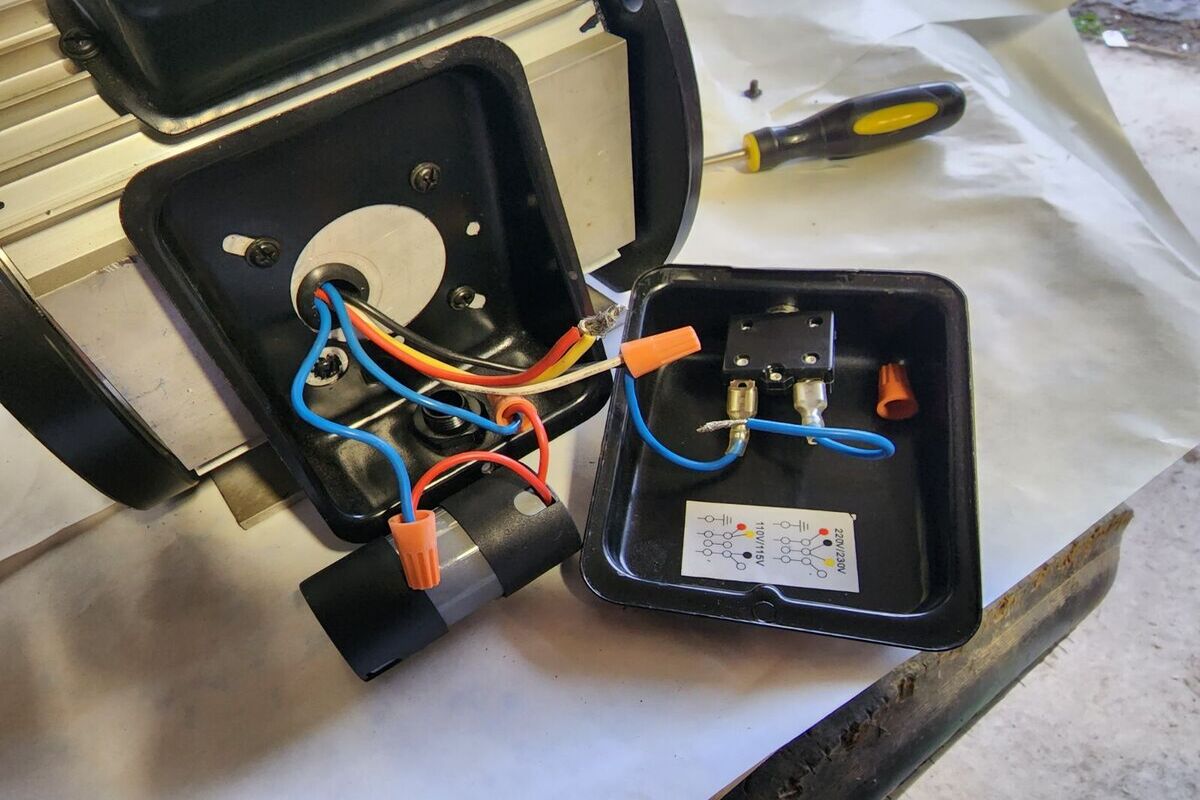
2. Identify positive and negative terminals: Locate the positive (+) and negative (-) terminals on both the power supply and the motion detector. These terminals are usually indicated by markings or different colors.
3. Connect the wires to the power supply: Take the stripped end of the positive wire and connect it to the positive terminal of the power supply. Tighten the connection securely using a wire connector. Repeat the same process for the negative wire, connecting it to the negative terminal of the power supply.
4. Double-check the connections: Once the wires are connected, double-check to ensure that the connections are secure and there are no loose wires. Gently tug on each wire to verify that they are firmly connected.
5. Insulate the connections: After confirming the secure connections, insulate each wire connection with electrical tape. Wrap the tape tightly around the wire connectors and the exposed portions of the wires to provide an extra layer of protection.
6. Turn on the power: Once you have completed the connections and insulation, it’s time to turn on the power supply. Test the motion detector to ensure that it receives the necessary power and is functioning properly.
If you are using a battery-powered motion detector, simply insert the batteries into the designated compartment, following the manufacturer’s instructions.
Now that the power supply is connected, we can move on to the next step: wiring the motion detector itself.
Step 5: Wiring the Motion Detector
With the power supply connected, it’s time to wire your 12-volt motion detector. Follow these steps to ensure a proper and secure connection:
1. Identify the terminals: Locate the wiring terminals on the motion detector. They are usually labeled or color-coded for easier identification. Common terminals include power (+ / -), alarm output, and auxiliary input.
2. Connect the power wires: Take the positive (+) wire from the power supply and connect it to the positive power terminal on the motion detector. Similarly, connect the negative (-) wire from the power supply to the negative power terminal. Use wire connectors to secure the connections.
3. Connect the alarm output wires: If your motion detector has an alarm output, connect the corresponding wires to the designated alarm output terminals. These terminals may be labeled “Alarm Out” or “Alarm+”. Again, use wire connectors to secure the connections.
4. Connect the auxiliary input wires (if applicable): Some motion detectors have an auxiliary input for additional functionality, such as connecting to an external device or trigger. If your motion detector has this feature, connect the appropriate wires to the auxiliary input terminals.
5. Insulate the connections: After making all the necessary connections, insulate each wire connection with electrical tape. Wrap the tape tightly around the wire connectors and the exposed portions of the wires to provide insulation and prevent any accidental short circuits.
6. Secure the motion detector: Once the wiring is complete, securely mount the motion detector to the chosen location using the provided mounting brackets or adhesive backing. Make sure it is stable and positioned correctly to cover the desired area for motion detection.
7. Test the motion detector: With the motion detector wired and mounted, turn on the power supply and test the functionality of the device. Walk in front of the detector’s field of view to ensure it detects motion and triggers the desired response, such as activating lights or sounding an alarm.
By following these steps, you can properly wire your 12-volt motion detector and ensure a reliable and effective security system. Now, let’s move on to the final step: testing the connection.
Step 6: Testing the Connection
After wiring your 12-volt motion detector, it’s crucial to test the connection to ensure that everything is working correctly. Follow these steps to test the connection:
1. Activate the motion detector: Turn on the power supply to activate the motion detector. Depending on the type of motion detector, you may need to adjust the settings or sensitivity as per the manufacturer’s instructions.
2. Walk within the detection range: Walk within the designated detection range of the motion detector to trigger its motion-sensing capabilities. Observe if the detector detects your movement and responds accordingly, such as activating lights or sounding an alarm.
3. Test the auxiliary features (if applicable): If your motion detector has auxiliary features like triggering external devices or alarms, test them to ensure they work as intended. Connect the compatible devices to the auxiliary input terminals and verify their functionality.
4. Check for false alarms: Pay attention to any false alarms triggered by movements from pets, trees, or other non-threatening objects. Adjust the detection range or sensitivity as necessary to reduce the occurrences of false alarms.
5. Perform regular maintenance checks: Regularly inspect and clean the motion detector to ensure it remains in optimal working condition. Remove any dirt, debris, or cobwebs that may obstruct its performance.
If the motion detector fails to detect movement or does not trigger the desired response, double-check the wiring connections to ensure they are secure and properly connected. If necessary, refer to the manufacturer’s instructions or seek professional assistance for troubleshooting.
By thoroughly testing the connection, you can have confidence in the effectiveness of your 12-volt motion detector and ensure the security of your home. With the testing complete, it’s time to recap our journey.
Conclusion
Installing a 12-volt motion detector is a practical way to enhance the security and surveillance of your home. By following the steps outlined in this guide, you can wire your motion detector with confidence and ensure a reliable and effective system.
Throughout the process, we covered important topics such as choosing the mounting location, determining the power source, preparing the wires, connecting the power supply, wiring the motion detector, and testing the connection. By carefully following each step, you have taken a significant step towards increasing your home’s security.
Remember to always prioritize safety when working with electrical components. Turn off the power before starting any wiring, use the appropriate tools and materials, and follow the manufacturer’s instructions for your specific motion detector model.
A well-placed and properly wired motion detector can provide peace of mind, deter potential intruders, and alert you to any suspicious activity. Regularly check and maintain your motion detector to ensure it continues to operate at its best performance.
With the knowledge and skills gained from this guide, you are now ready to wire your 12-volt motion detector and enjoy the benefits of an enhanced home security system. Stay vigilant, stay safe, and enjoy the added protection and peace of mind that a motion detector brings.
Thank you for joining us on this informative journey, and we wish you success in your motion detector installation!
Frequently Asked Questions about How To Wire A 12-Volt Motion Detector
Was this page helpful?
At Storables.com, we guarantee accurate and reliable information. Our content, validated by Expert Board Contributors, is crafted following stringent Editorial Policies. We're committed to providing you with well-researched, expert-backed insights for all your informational needs.