Home>Ideas and Tips>DIY Guide To Installing A Kitchen Range Hood
Ideas and Tips
DIY Guide To Installing A Kitchen Range Hood
Modified: October 20, 2024
Learn how to install a kitchen range hood with our step-by-step DIY guide. Improve ventilation and enhance your cooking experience today!
(Many of the links in this article redirect to a specific reviewed product. Your purchase of these products through affiliate links helps to generate commission for Storables.com, at no extra cost. Learn more)
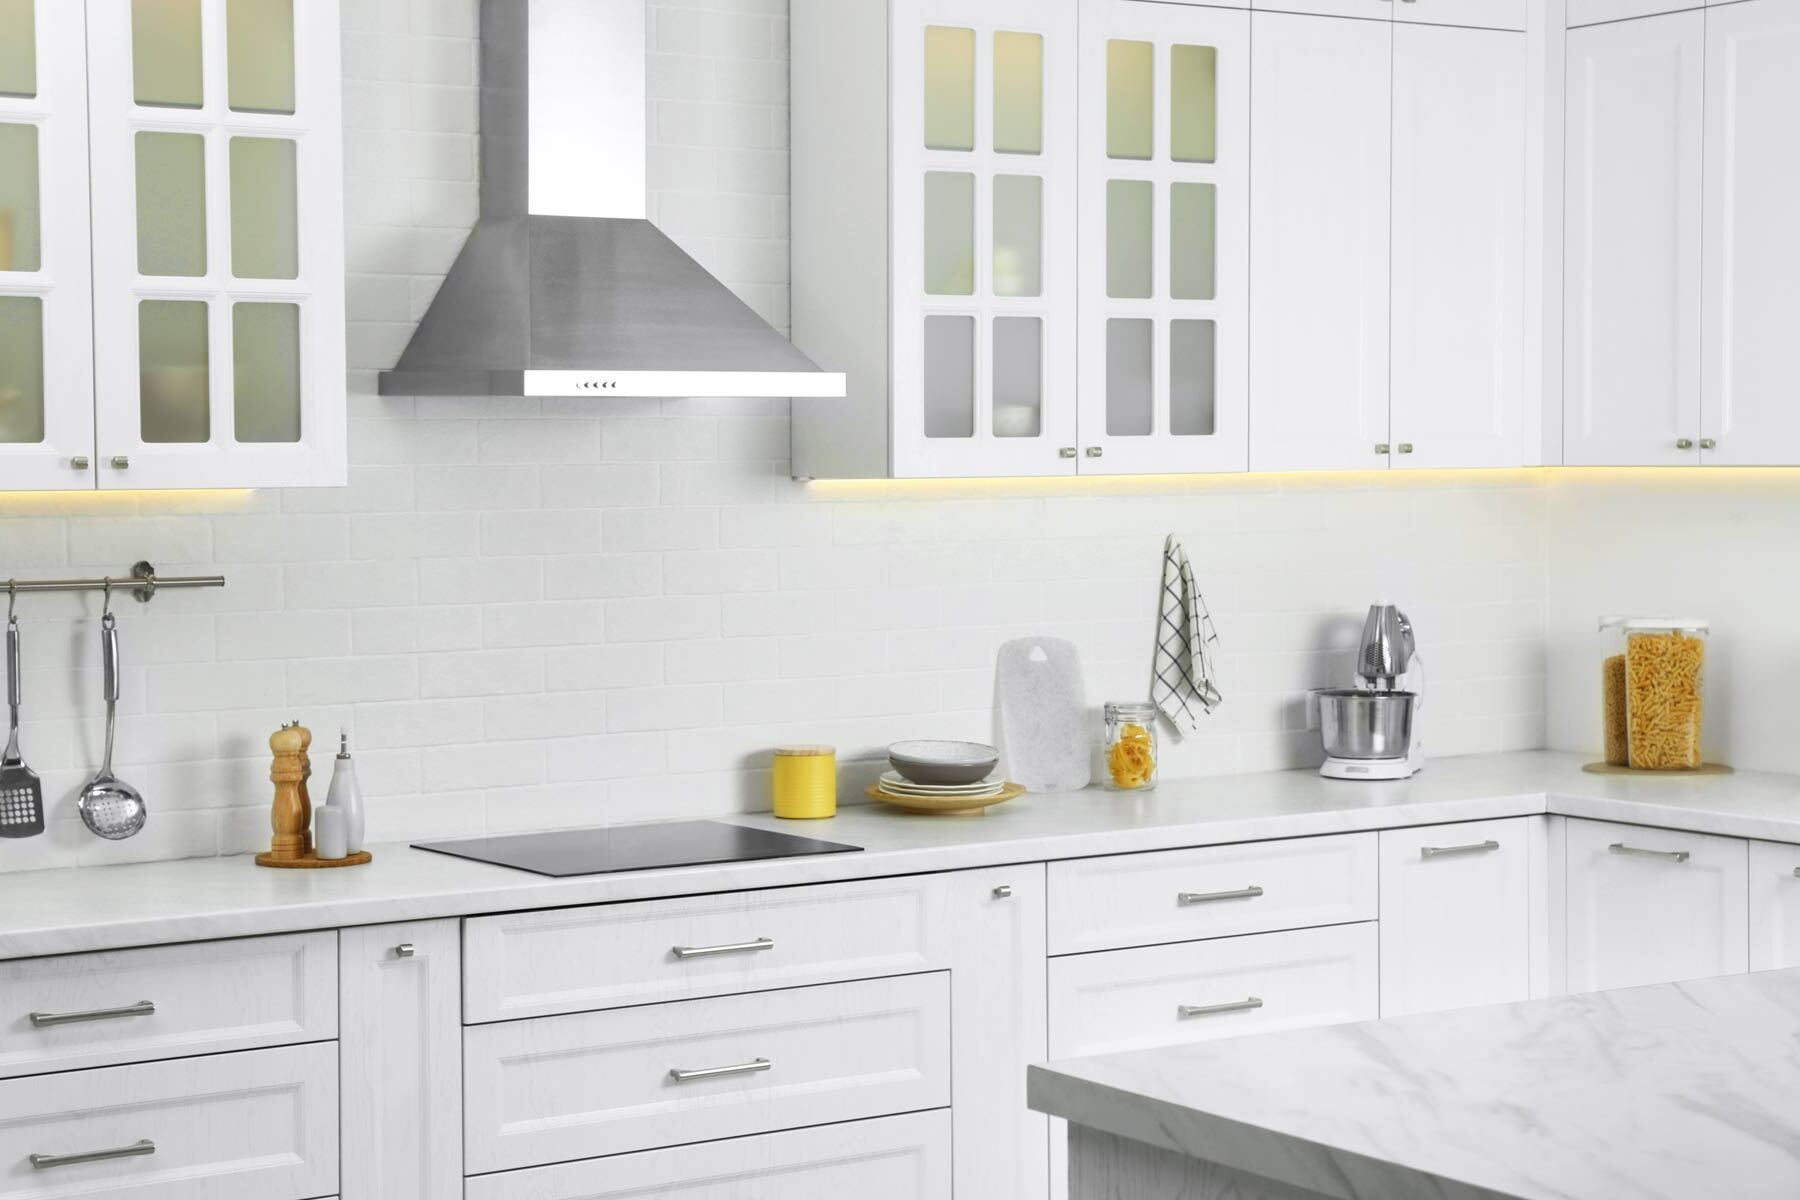
Installing a kitchen range hood is a significant project that can greatly improve the ventilation and overall cooking experience in your kitchen. Whether you're upgrading from an old hood or installing one for the first time, this guide will walk you through the steps involved in a DIY installation. However, it's essential to note that if you're not comfortable with electrical work or drilling through walls, it's highly recommended to hire a professional.
Why Install a Range Hood?
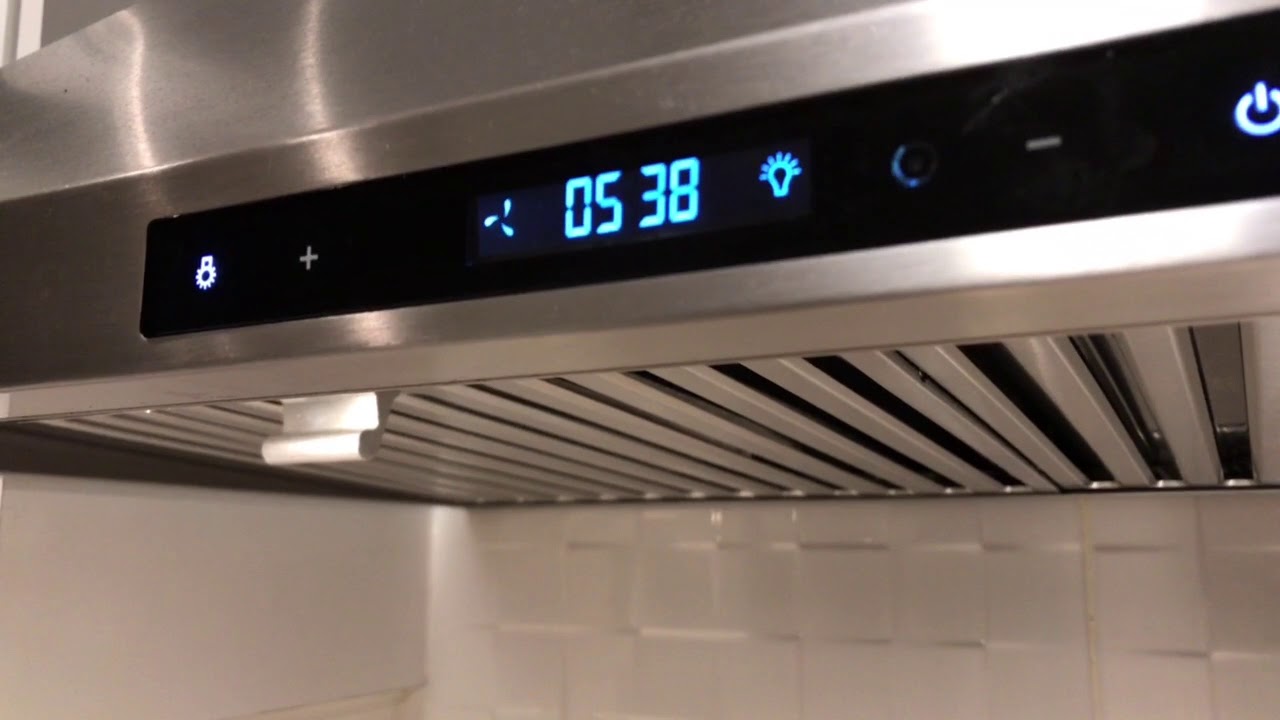
A range hood is crucial for your kitchen because it draws smoke, steam, and cooking aromas from your stovetop and vents them out of the house. This helps in refreshing the air in your kitchen, making it a healthier and more comfortable space for cooking.
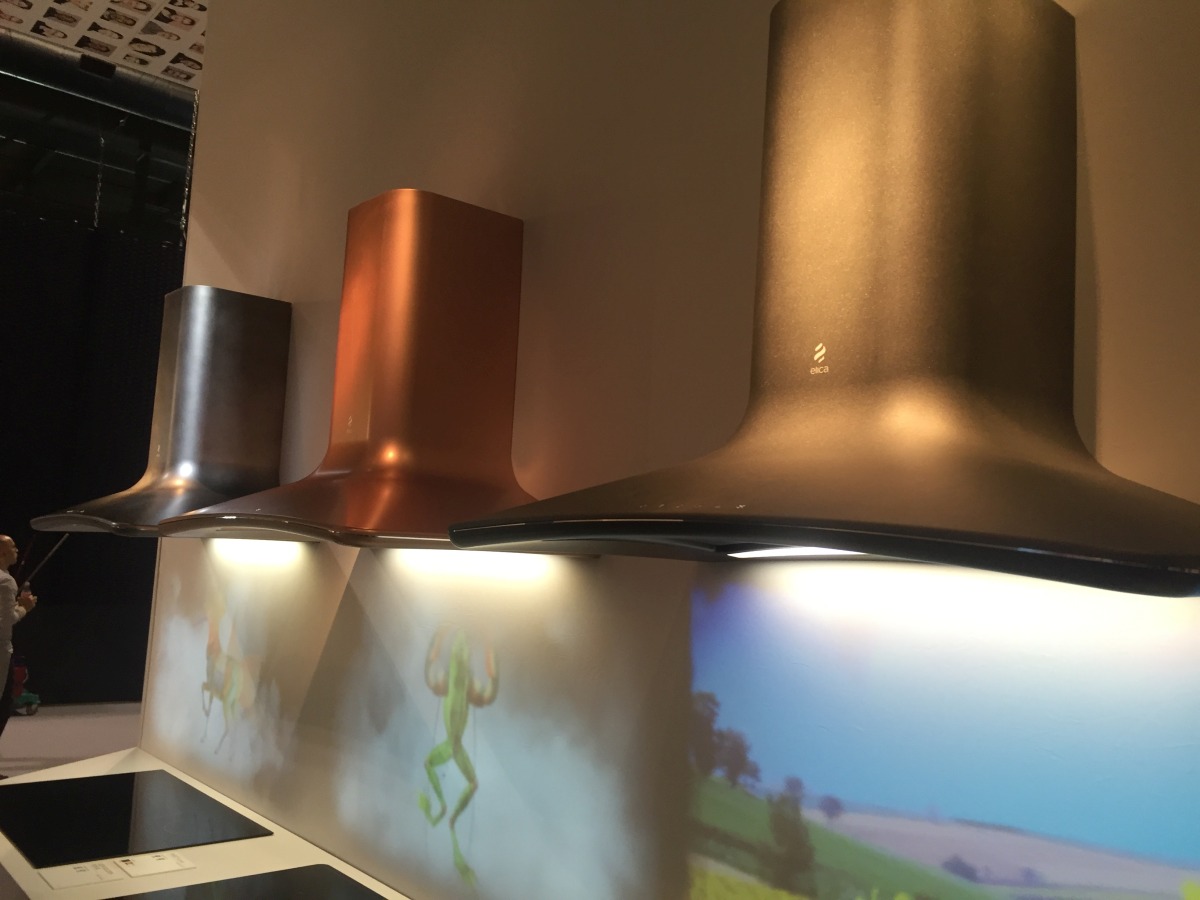
Range hoods come in two main types: vented and ductless. Vented range hoods pull in air and lead it outside through the exterior wall or roof, providing more effective odor and smoke removal. Ductless range hoods, on the other hand, recirculate filtered air back into the home, which is easier to install but less effective at removing smoke and odors.
Choosing the Right Range Hood
Selecting the right range hood for your kitchen is crucial for its effectiveness and compatibility with your existing kitchen setup. Here are some key factors to consider:
-
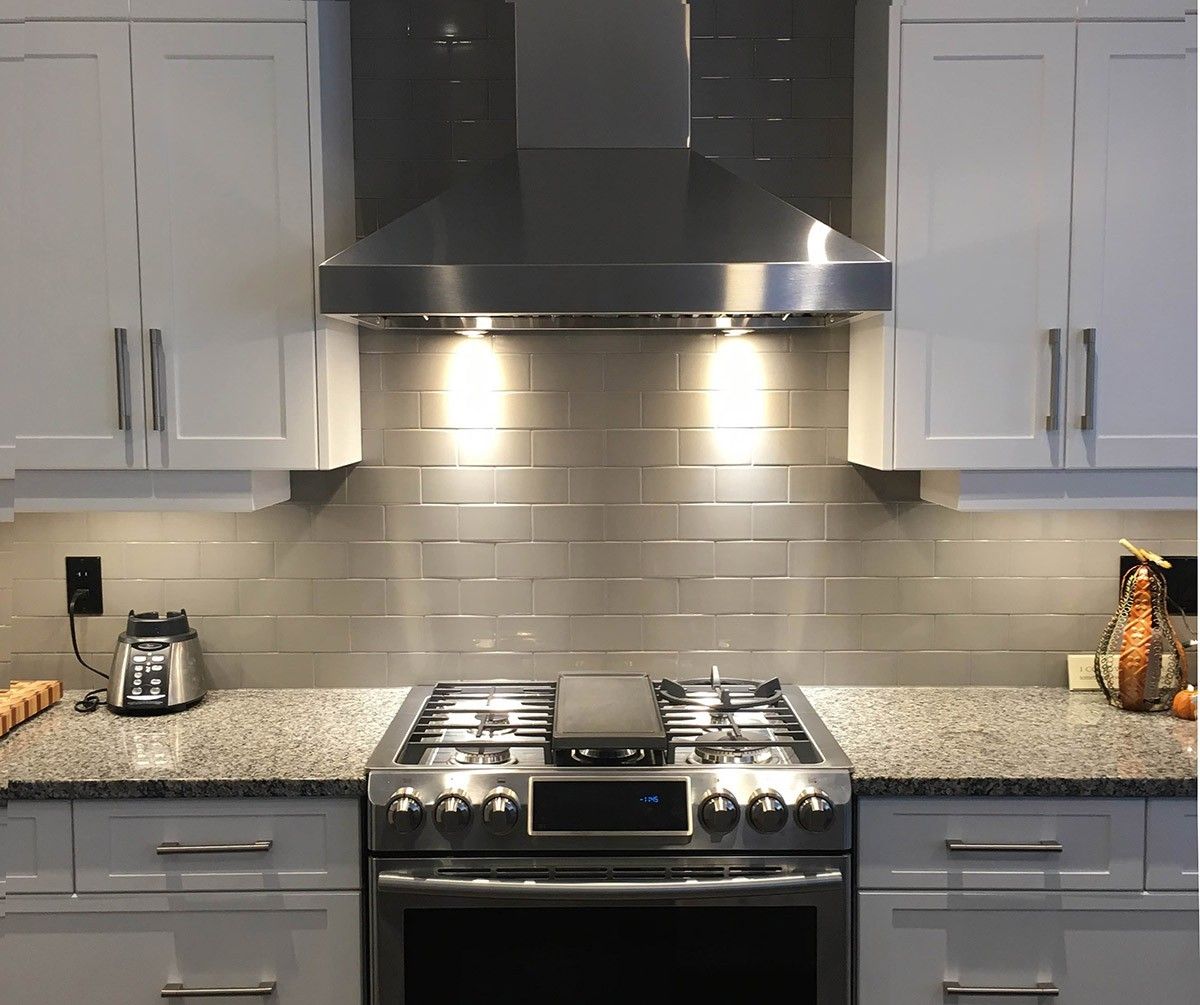
Size and Configuration:
- The size of the range hood should match or exceed the width of your current range. A hood that is too small may not effectively cover the entire cooking area, leading to incomplete ventilation.
- Consider the configuration of your kitchen. If you have a kitchen island, you might need to install the vent through the ceiling and roof.
-
CFM Rating:
- The CFM (Cubic Feet per Minute) rating indicates how much air the fan pulls per minute. Choose a fan with a CFM rating that is double the square footage of your kitchen. For example, if your kitchen is 100 square feet, you should look for a hood with at least 200 CFM.
-
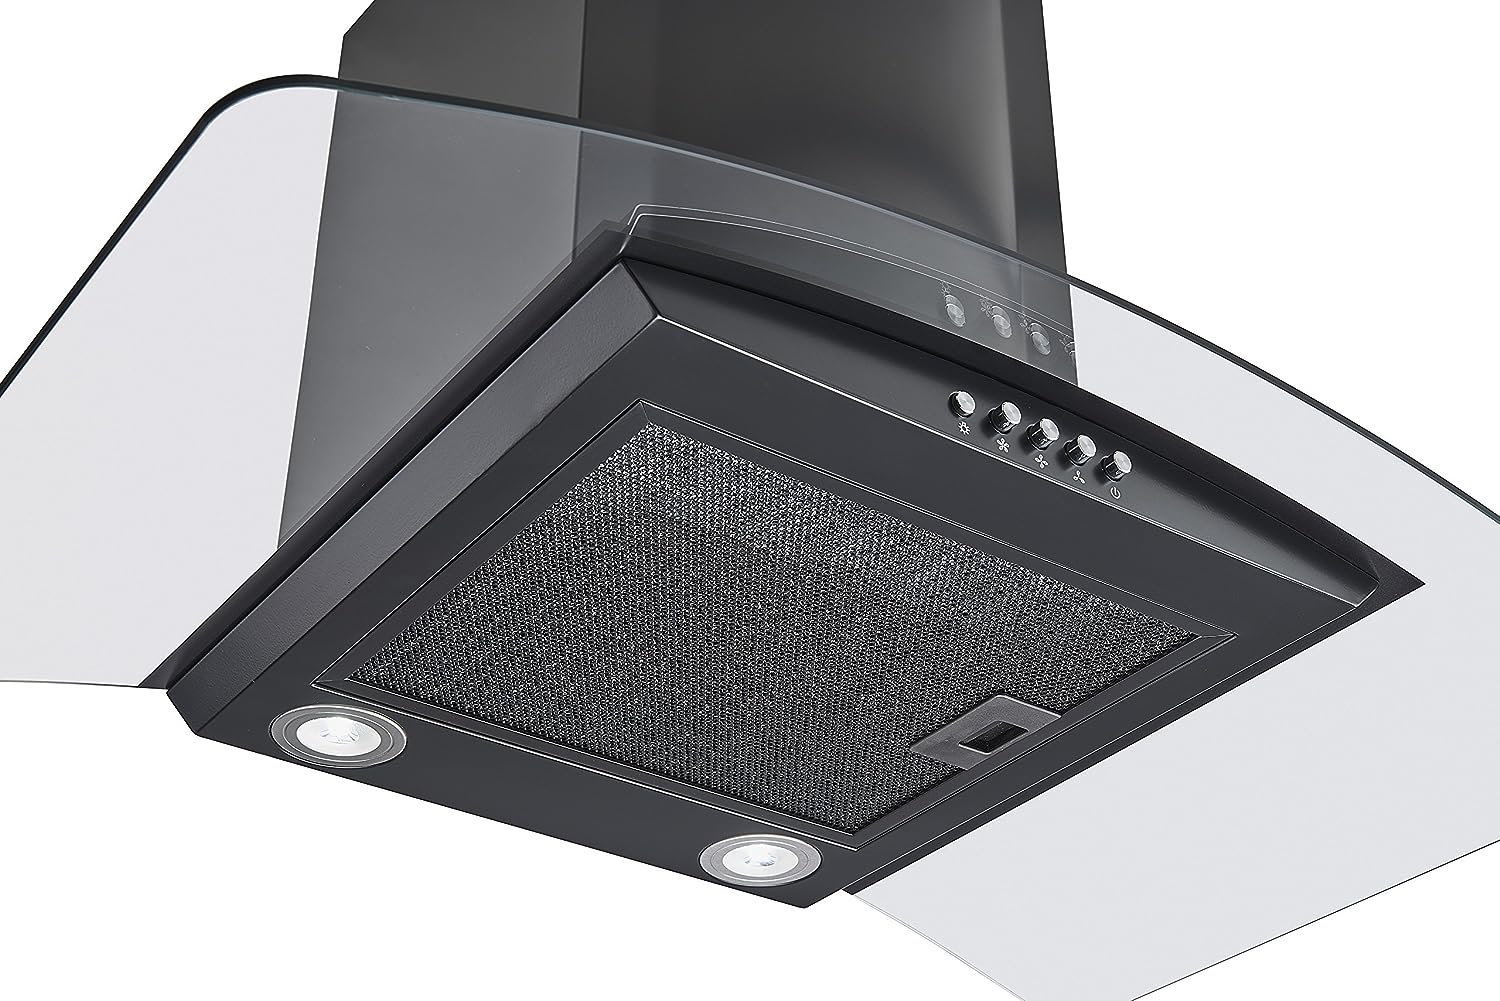
Type of Ventilation:
- Decide whether you prefer a vented or ductless range hood based on your kitchen setup and personal preferences. Vented hoods are more effective at removing odors and smoke but require more extensive installation.
Tools and Materials Needed
Before starting the installation process, make sure you have all the necessary tools and materials:
Tools:
- Drill with various drill bits (1 1/4", 3/8", 5/16")
- Wire stripper or utility knife
- Level
- Pliers
- Caulking gun
- Vent clamps
- Jigsaw or keyhole saw
- Flat-blade screwdriver
- Metal snips
- Phillips screwdriver
- Metric hex key set
Materials:
- Caps
- Wire connectors
- Metal ducts
- Wall mount range
- Building wire
- Weatherproof caulking compound
Read more: How To Tile Around Range Hood
Step-by-Step Installation Guide
Step 1: Shut Off Power and Disconnect Wiring
- Turn Off Power: Switch off the power to the range hood at the breaker box.
- Unplug Hood: Unplug the range hood from its electrical outlet.
- Disconnect Wiring: Disconnect all electrical wiring from the old hood.
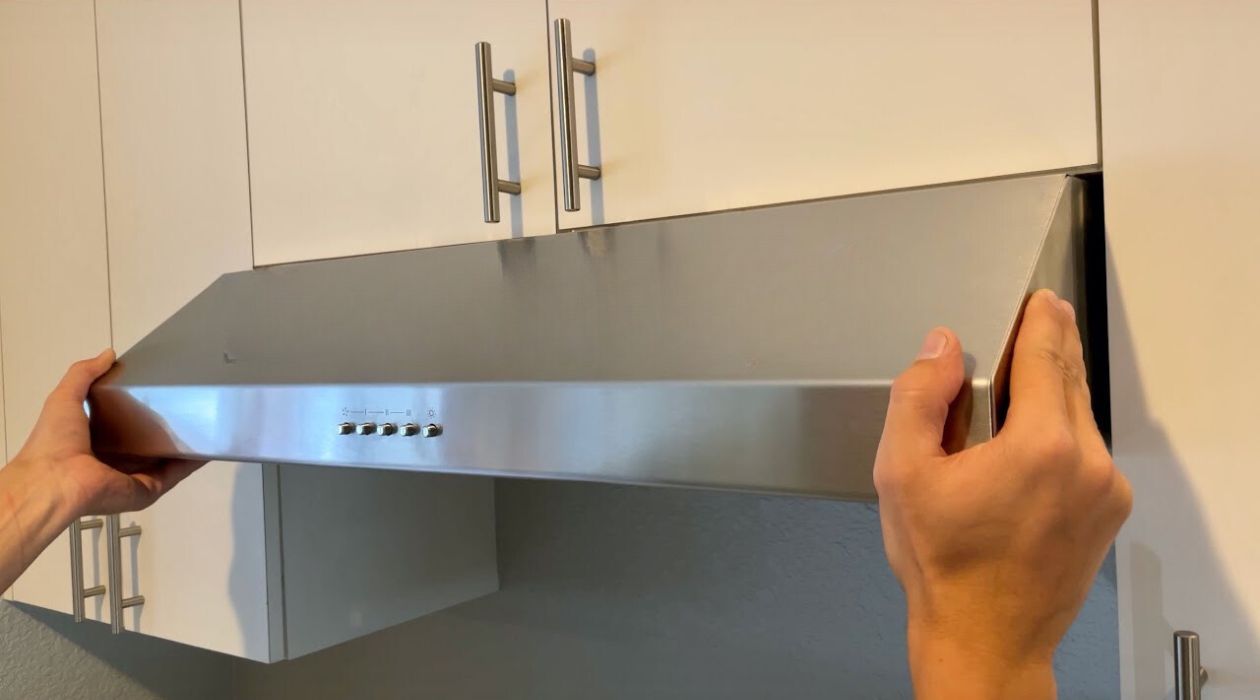
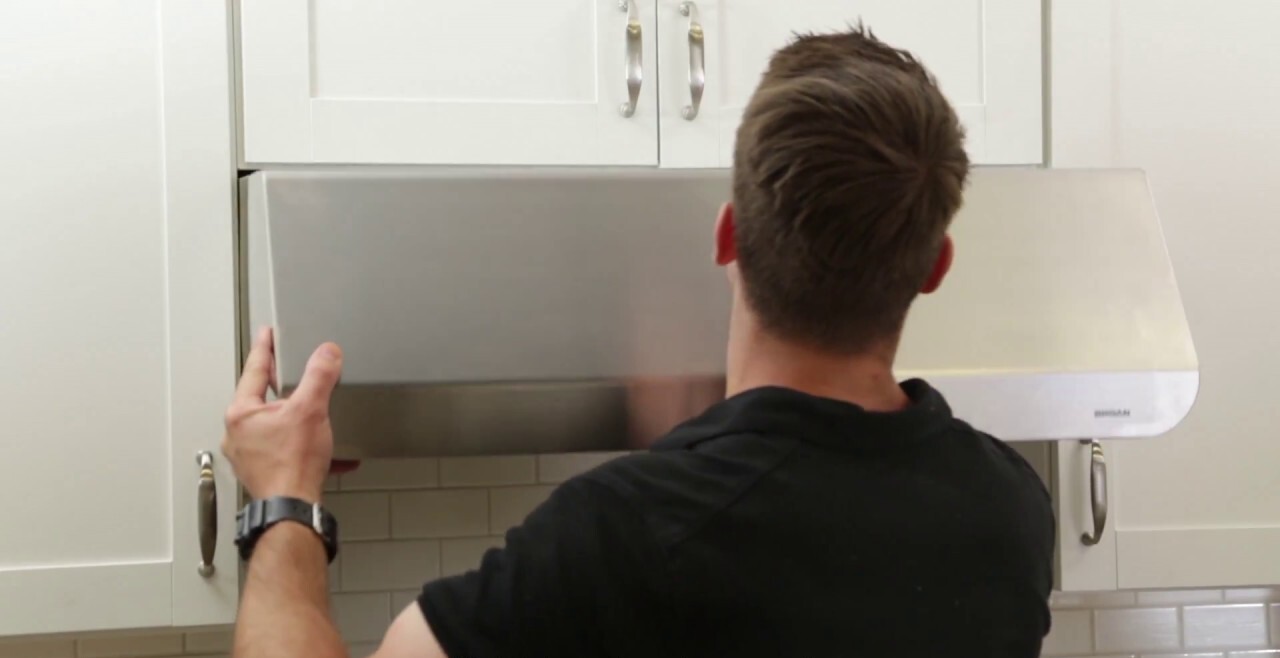
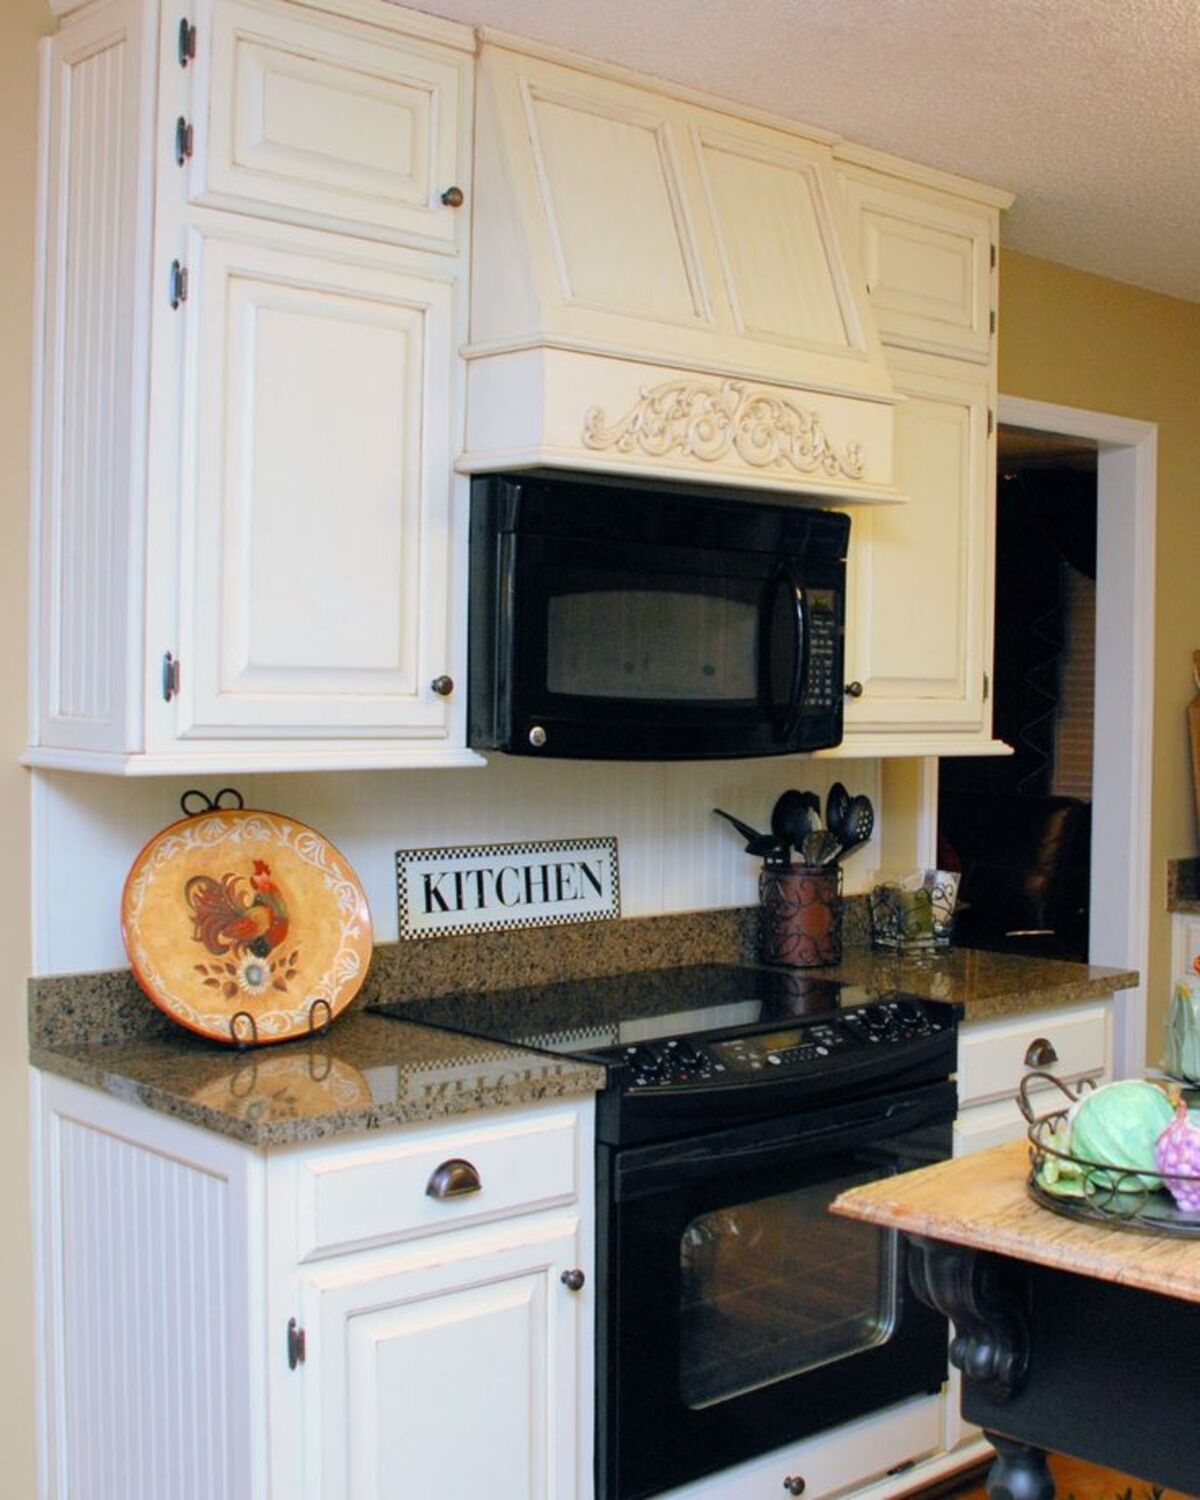
Step 2: Remove Old Range Hood
- Support Weight: Have a second person support the weight of the range hood while you unscrew the support screws.
- Lift Away Hood: Carefully lift away the old range hood and set it aside.
- Dispose Properly: Take the old range hood outside, to a shed, or to the garage so that it’s out of the way while you work.
Step 3: Locate and Mark Vent Location
- Measure Hood: Determine the vent location based on the measurements of your new range hood.
- Use Template: If your hood came with a paper template, tape it to the wall as a reference point to see where the new vent location will be.
- Check Wall: Cut a small hole in the wall to check for any plumbing or electrical wiring behind it. If you find any obstructions, consult with a professional.
Read more: Who Installs A Range Hood
Step 4: Cut Interior Hole and Drill Locator Holes
- Mark Holes: Use a pencil to mark the locations for the holes for the duct and cable.
- Drill Holes: Use a hammer and screwdriver to remove the knockouts for the electrical cable and duct.
- Insert Connectors: Insert a cable connector into the cable knockout.
Step 5: Connect Wires
- Confirm Power Off: Before wiring the range hood, confirm that the power is switched off at the breaker box.
- Splice Wires: Splice the white wire to the white fixture lead, the black wire to the black lead, and the ground wire to the green lead.
- Fold Wires: Fold the wires into place and replace the electrical cover.
- Reattach Fan: Reattach the range hood fan and filter.
- Restore Power: Restore power and test the range vent.
Step 6: Venting Through Masonry Wall
If you need to vent through a masonry wall:
- Use Masonry Bit: Use a long masonry bit to drill locator holes.
- Draw Outline: Draw an outline carefully, double-checking that there is room for the vent.
- Drill Holes: Drill holes about every inch along the outline.
- Chip Between Holes: Use a hammer and cold chisel to chip between holes.
- Attach Duct Cap: Drill holes and drive masonry screws to attach the duct cap.
Step 7: Finish Electrical Connection
- Strip Back Wires: Strip back wires using a wire stripper or utility knife.
- Connect Wires: Match the color of wiring with corresponding color connectors and clip any excess wiring.
- Ground Wire: Connect copper ground wire with grounding wire connector.
Read more: How To Install ZLINE Range Hood
Step 8: Install Vent Covers
- Turn Power On: Turn power back on at the breaker box to test if everything is working properly.
- Install Covers: Install vent covers following your owner’s manual for specific instructions.
Additional Tips
Maintenance
Regular maintenance is crucial for keeping your range hood in good condition:
- Clean Filters: Remove filters regularly and scrub them with hot water and dish soap. Some filters are also dishwasher safe; check your owner’s manual first.
- Wipe Down Hood: Give your range hood a quick wipe every time you clean your kitchen.
Professional Installation
If you’re not comfortable with electrical work or drilling through walls:
- Hire Electrician: Consider hiring an electrician for wiring and ductwork installation.
- Consult Professional: If you encounter any obstructions during installation, consult with a professional.
Read more: How To Install Range Hood Insert
Conclusion
Installing a kitchen range hood is a rewarding DIY project that can significantly improve your kitchen's ventilation and overall cooking experience. By following these steps and considering the right tools and materials, you can successfully install a range hood that meets your needs. Remember to always prioritize safety and seek professional help if you're unsure about any part of the process.
Whether you choose a vented or ductless range hood, selecting the right model based on your kitchen size and ventilation needs is essential for effective odor and smoke removal. With proper installation and regular maintenance, your new range hood will be an invaluable addition to your kitchen, enhancing both functionality and aesthetics.
References:
- Home Depot: How to Install a Range Hood
- Lowe's: How to Install a Vented Range Hood
- The Home Depot with This Old House: How to Install a Range Hood
- KitchenAid: How to Install a Range Hood
- Bob Vila: How to Install a Range Hood
Was this page helpful?
At Storables.com, we guarantee accurate and reliable information. Our content, validated by Expert Board Contributors, is crafted following stringent Editorial Policies. We're committed to providing you with well-researched, expert-backed insights for all your informational needs.


0 thoughts on “DIY Guide To Installing A Kitchen Range Hood”