Articles
How To Install Range Hood On Vaulted Ceiling
Modified: May 6, 2024
Learn how to install a range hood on a vaulted ceiling with our informative articles. Get step-by-step instructions and helpful tips to ensure a successful installation.
(Many of the links in this article redirect to a specific reviewed product. Your purchase of these products through affiliate links helps to generate commission for Storables.com, at no extra cost. Learn more)
Introduction
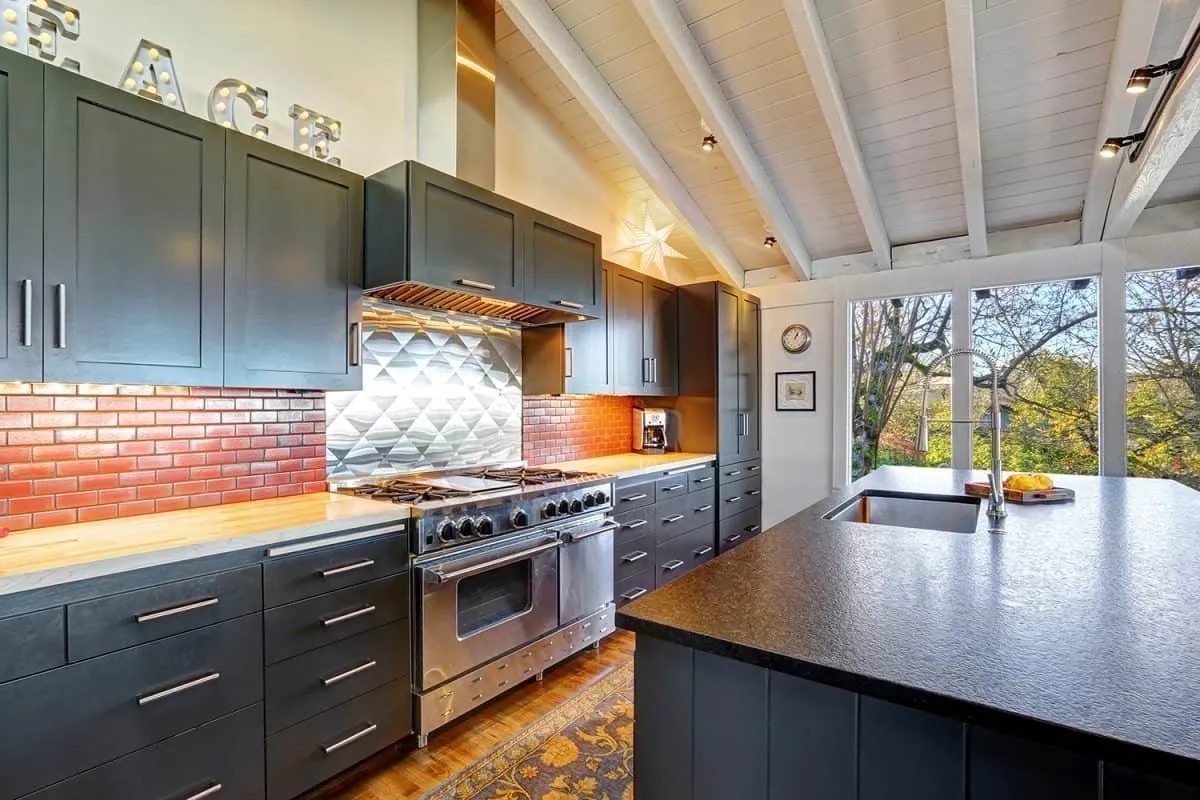
Installing a range hood on a vaulted ceiling can be a daunting task, but with the right tools and a step-by-step approach, it can be a rewarding and achievable project. A range hood is an essential appliance in the kitchen, as it helps remove smoke, odors, grease, and airborne particles produced during cooking. By installing a range hood on a vaulted ceiling, you can effectively vent these pollutants out of your home.
While the installation process may vary depending on the specific range hood model and the design of your vaulted ceiling, this article will provide you with a general guideline to help you get started. It is important to consult the manufacturer’s instructions and follow all safety regulations throughout the installation process.
Before you begin the installation, it is crucial to ensure that you have all the necessary tools and materials. Taking the time to gather everything you need in advance will save you from frustrating delays during the installation.
Now that we have an overview of what we’ll be covering in this article, let’s move on to the first step: gathering the necessary tools and materials.
Key Takeaways:
- Installing a range hood on a vaulted ceiling is achievable with the right tools and step-by-step guidance. Proper ventilation enhances air quality and creates a pleasant cooking experience.
- From measuring and marking the installation location to testing the range hood, each step is crucial for a successful installation. Regular maintenance ensures continued efficiency and longevity.
Step 1: Gather the necessary tools and materials
Before you begin the installation process, it’s essential to gather all the required tools and materials. Having everything ready and easily accessible will make the installation process much smoother. Here’s a list of the tools and materials you’ll need:
- Range hood
- Mounting bracket
- Screws and anchors
- Drill
- Level
- Measuring tape
- Screwdriver
- Ductwork
- Duct clamps
- Flexible duct or rigid duct
- Duct tape or sealant
- Wire nuts
- Electrical wiring
- Wire cutters/strippers
- Stepladder or sturdy platform
- Protective goggles and gloves
Make sure to check the manufacturer’s instructions for any specific tools or materials recommended for your particular range hood model. It’s always best to use the tools and materials specified by the manufacturer to ensure proper installation and safety.
Once you have gathered all the necessary tools and materials, double-check to ensure that nothing is missing or damaged. Having everything ready will save you time and frustration during the installation process.
With all the tools and materials in hand, you’re now ready to move on to the next step: measuring and marking the installation location on the vaulted ceiling.
Step 2: Measure and mark the installation location
Before you can install the range hood on the vaulted ceiling, you need to determine the precise location where it will be mounted. Here’s how to measure and mark the installation location:
- Identify the ideal location: Consider factors such as the cooking area, stove placement, and accessibility when selecting the installation location for the range hood. The hood should be centered and aligned with the cooking surface.
- Measure the distance: Use a measuring tape to determine the distance between the cooking surface and the ceiling. This measurement will help you determine the appropriate height at which the range hood should be mounted.
- Mark the location: With the help of a pencil, mark the exact position on the vaulted ceiling where the range hood will be installed. Use a level to ensure that the markings are straight and accurate.
It’s important to take your time and double-check your measurements before proceeding. This will help ensure that the range hood is correctly positioned and aligned with the cooking surface. Keep in mind any height restrictions specified by the manufacturer or local building codes.
Once you have measured and marked the installation location, you’re ready to move on to the next step: installing the mounting bracket.
Step 3: Install the mounting bracket
Installing the mounting bracket is a crucial step in securely attaching the range hood to the vaulted ceiling. Follow these steps to properly install the mounting bracket:
- Align the bracket: Position the mounting bracket over the marked installation location on the vaulted ceiling. Ensure that it is aligned with the markings and leveled. You may need assistance to hold the bracket in place during this step.
- Mark the screw holes: Once correctly aligned, use a pencil or marker to mark the locations of the screw holes on the ceiling through the bracket’s mounting holes.
- Pre-drill the holes: To make it easier to insert the screws, use a drill with the appropriate sized drill bit to pre-drill holes at the marked locations.
- Attach the mounting bracket: Securely attach the mounting bracket to the vaulted ceiling by driving screws through the holes in the bracket into the pre-drilled holes. Ensure that the bracket is firmly in place and level.
It’s important to follow the manufacturer’s instructions and use the recommended screws and anchors for your specific range hood and ceiling type. If necessary, consult a professional if you’re unsure about the proper installation of the mounting bracket.
Once the mounting bracket is securely installed, you’re ready to move on to the next step: mounting the range hood on the vaulted ceiling.
When installing a range hood on a vaulted ceiling, make sure to use a ceiling support kit to provide additional support and stability. This will help ensure that the range hood is securely installed and functions properly.
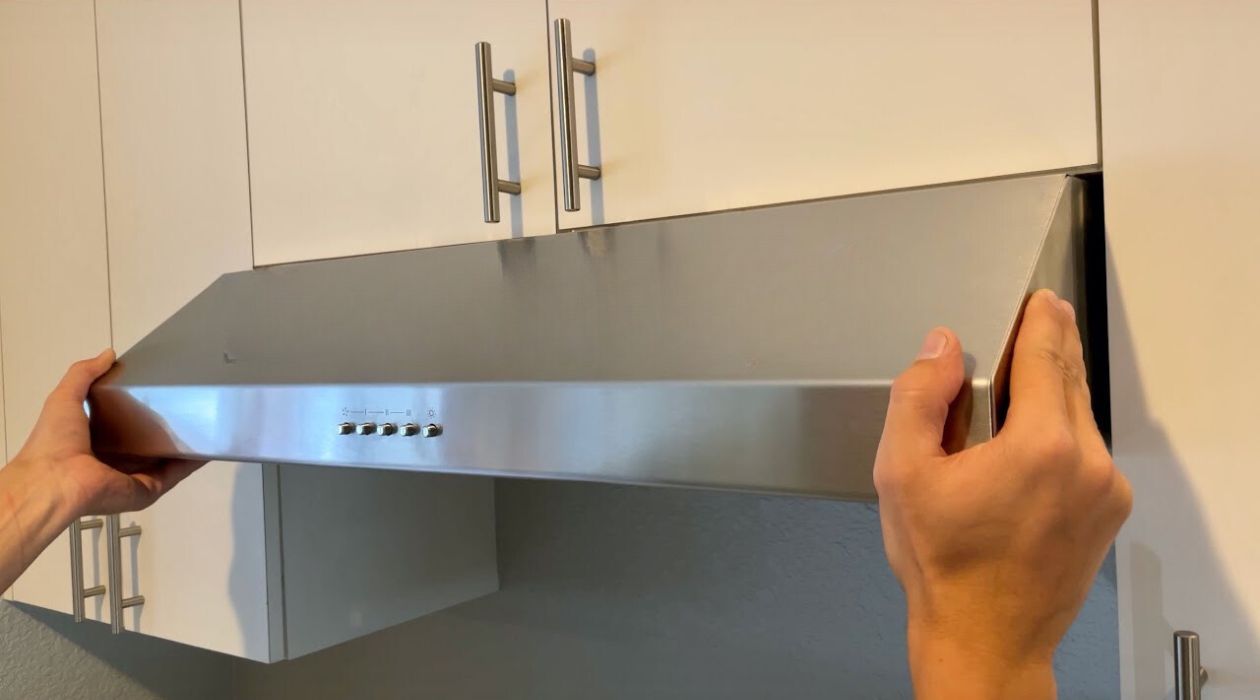
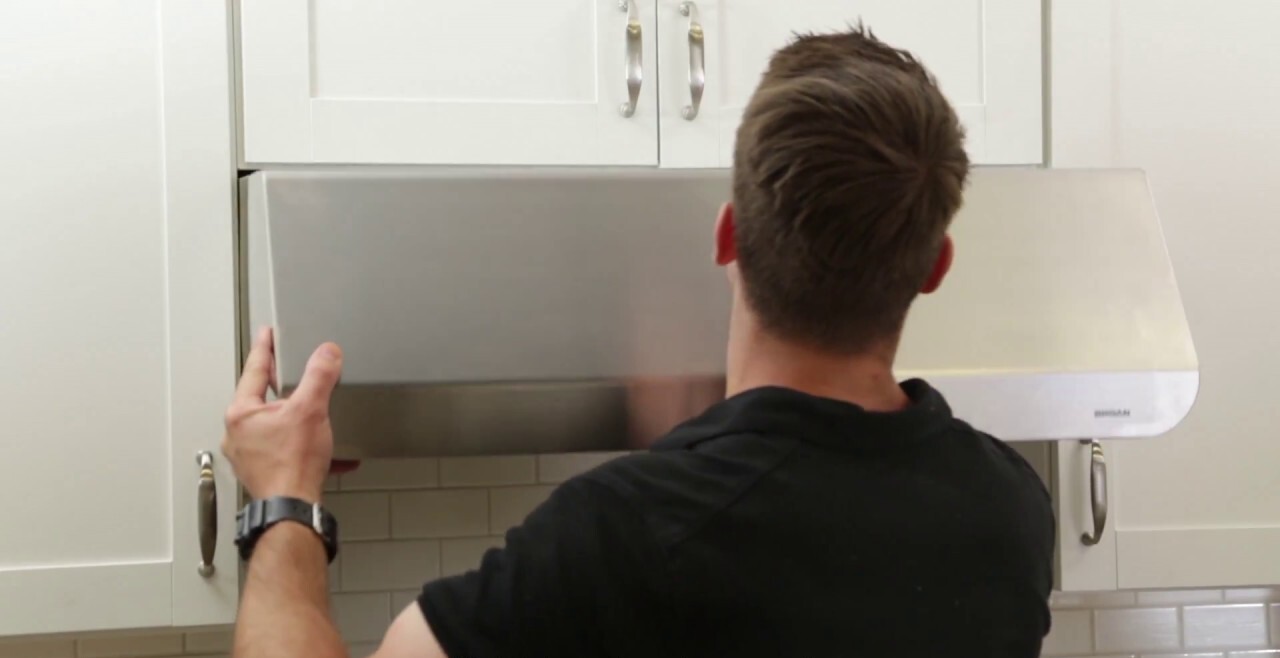
Step 4: Mount the range hood on the vaulted ceiling
Now that the mounting bracket is in place, it’s time to mount the range hood onto the vaulted ceiling. Follow these steps to ensure a successful installation:
- Prepare the range hood: Remove any packaging materials and protective covers from the range hood. Check the manufacturer’s instructions for any specific steps or precautions to take before mounting.
- Lift the range hood: With the help of a friend or family member, carefully lift the range hood and position it over the mounting bracket on the vaulted ceiling. Ensure that it aligns with the mounting holes on the bracket.
- Secure the range hood: Once the range hood is in position, use the screws provided by the manufacturer to attach the hood to the mounting bracket. Insert the screws through the mounting holes on the hood and tighten them securely.
- Check for stability: Ensure that the range hood is securely and stably mounted onto the vaulted ceiling. Give it a gentle shake to confirm that it is firmly in place.
It’s essential to follow the manufacturer’s instructions carefully during this step to ensure proper mounting and stability. If you’re unsure about any aspect of the installation, don’t hesitate to seek professional assistance.
With the range hood successfully mounted on the vaulted ceiling, you’re ready to move on to the next step: connecting the range hood to the ductwork.
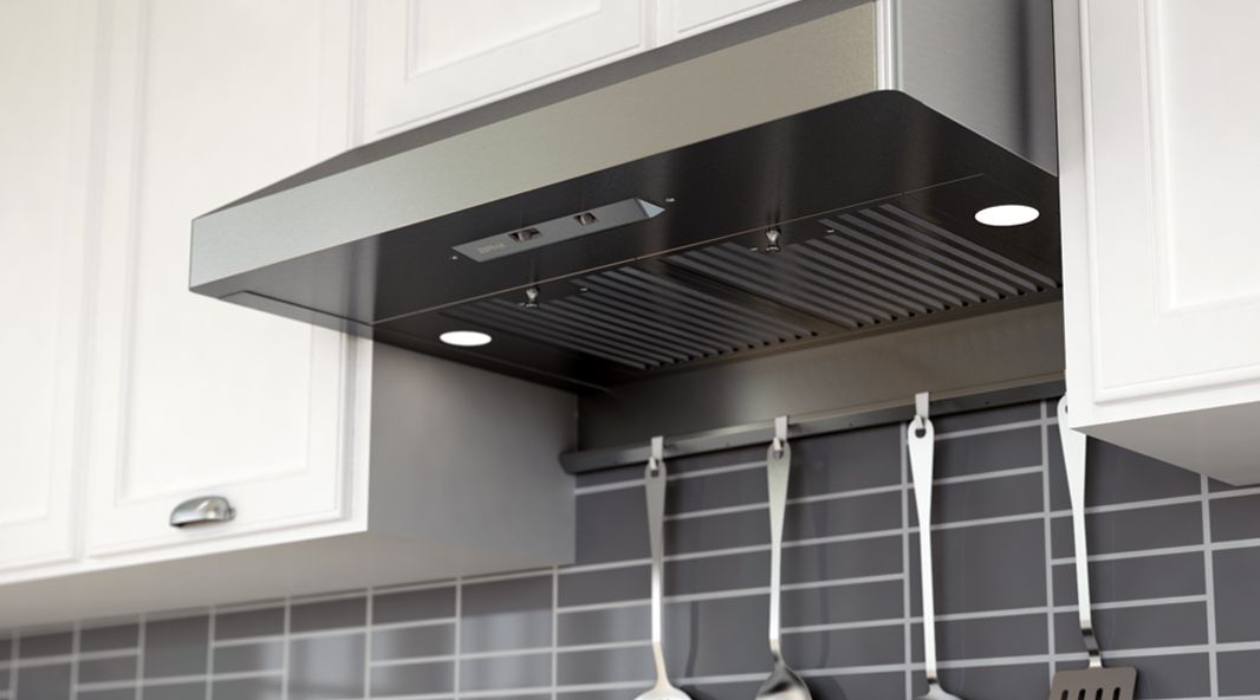
Step 5: Connect the range hood to the ductwork
Connecting the range hood to the ductwork is an important step to ensure proper ventilation of the cooking pollutants. Here’s how to connect the range hood to the ductwork:
- Locate the ductwork: Determine the position of the ductwork either on the wall or in the ceiling. Ensure that the ductwork is accessible and aligned with the range hood’s vent opening.
- Prepare the ductwork: If necessary, trim or adjust the ductwork to fit the range hood’s vent opening. Use a combination of duct clamps, flexible duct, or rigid duct to create a secure connection between the range hood and the ductwork.
- Connect the ductwork: Carefully align the range hood’s vent opening with the ductwork’s opening. Securely connect them using duct clamps to ensure a tight seal. If using flexible duct, use duct tape or sealant to further secure the connection.
- Check for air leaks: Once the ductwork is connected to the range hood, check for any air leaks. Turn on the range hood and feel around the connections and joints for air escaping. Seal any leaks with duct tape or sealant to ensure efficient ventilation.
It’s crucial to consult the manufacturer’s instructions and follow any specific guidelines for connecting the range hood to the ductwork. Additionally, be aware of any local building codes or regulations regarding the use of specific duct materials or the installation of a range hood.
With the range hood successfully connected to the ductwork, you’re almost done. Proceed to the final step to test the range hood and make any necessary adjustments.
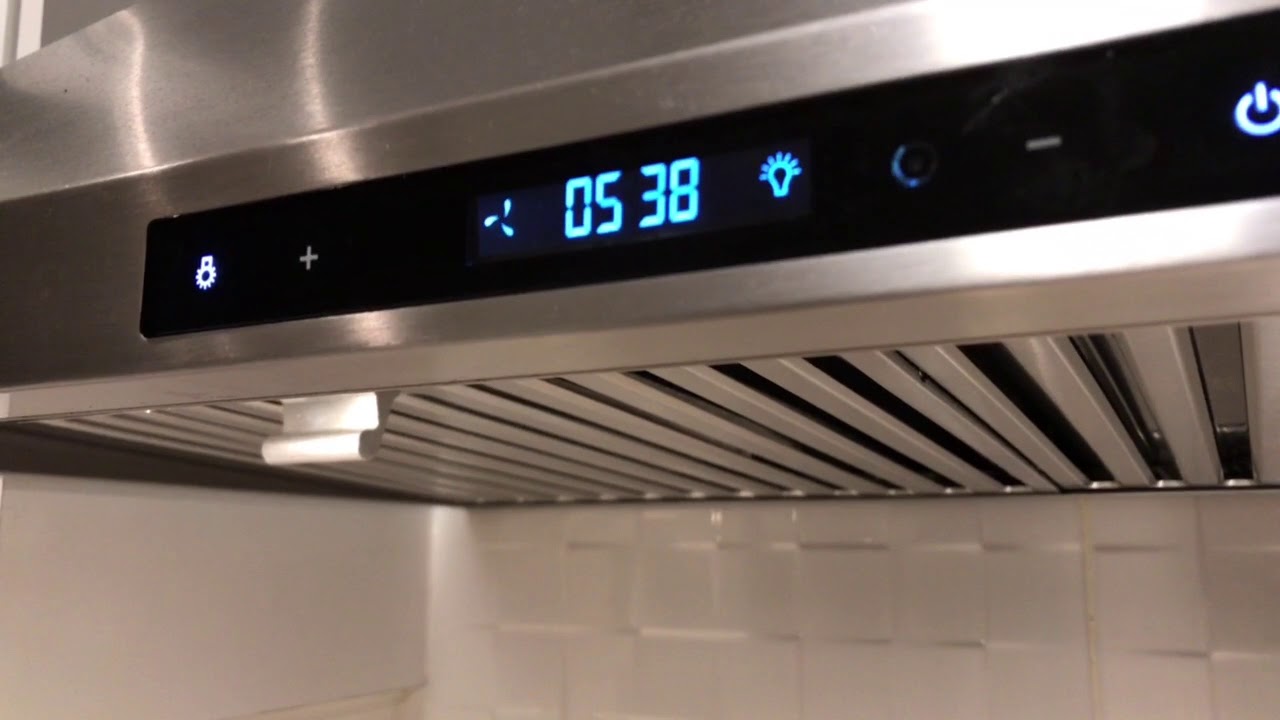
Step 6: Test the range hood and make final adjustments
After completing the installation and connecting the range hood to the ductwork, it’s crucial to test the functionality and make any final adjustments. Follow these steps to ensure the range hood is working properly:
- Turn on the range hood: Switch on the range hood and adjust the fan speed to the desired setting. Listen for any unusual noises or vibrations that may indicate a problem.
- Check the airflow: Hold a piece of tissue or a thin sheet of paper near the range hood’s vent to check if the airflow is strong enough to pull it in. Proper airflow is essential for effective ventilation.
- Inspect for air leaks: Examine the range hood and ductwork connections for any signs of air leaks. Inspect the duct clamps, joints, and seams to ensure a tight seal. Make any necessary adjustments or reseal any leaks with duct tape or sealant.
- Ensure proper ventilation: Verify that the range hood is effectively venting the cooking pollutants outside. Check that the ductwork is clear of any obstructions and that the hood’s exhaust is directed away from your home’s walls or windows.
If you encounter any issues during the testing phase or notice any concerns, refer to the manufacturer’s troubleshooting guide or seek professional assistance. It’s essential to address any problems promptly to ensure the range hood is functioning optimally.
Once you are satisfied with the range hood’s performance and have made any necessary adjustments, your installation is complete!
Congratulations on successfully installing a range hood on your vaulted ceiling. Proper ventilation and removal of cooking pollutants will enhance the air quality in your kitchen and ensure a pleasant cooking experience.
Remember to regularly clean and maintain your range hood to prolong its lifespan and ensure its continued effectiveness.
If you’re unsure about any aspect of the installation process or encounter any difficulties, it’s always a good idea to consult a professional for guidance.
Thank you for using our guide! We hope this article has been helpful in guiding you through the process of installing a range hood on a vaulted ceiling.
Conclusion
Installing a range hood on a vaulted ceiling may seem like a challenging task, but with the right tools, materials, and guidance, it is achievable for any DIY enthusiast. A range hood is an essential appliance in the kitchen, as it helps remove smoke, odors, grease, and airborne particles produced during cooking. Installing a range hood on a vaulted ceiling ensures efficient ventilation and improves the air quality in your home.
In this comprehensive guide, we have provided you with a step-by-step approach to successfully install a range hood on a vaulted ceiling. From gathering the necessary tools and materials to testing the range hood and making final adjustments, each step is crucial in ensuring a proper and functional installation. Remember to always consult the manufacturer’s instructions for your specific range hood model and comply with any local building codes or regulations.
By following the outlined steps and taking your time to measure, mark, install, and connect the range hood properly, you can enjoy the benefits of a well-ventilated and odor-free kitchen. Regular maintenance and cleaning of the range hood will ensure its continued efficiency and longevity.
If you’re unsure about any aspect of the installation process or encounter any difficulties, it’s always a good idea to consult a professional for guidance and assistance. Safety should always be a top priority when working with electrical connections or climbing on ladders.
We hope this guide has been helpful in guiding you through the installation of a range hood on a vaulted ceiling. Enjoy the benefits of a well-ventilated kitchen and happy cooking!
Ready to tackle more home improvement projects? If installing your range hood felt rewarding, you'll definitely want to learn about the nuances of range hood installation in under-cabinet setups. This guide simplifies the process, ensuring smooth sailing. Curious about the architectural style featured in your home? Our detailed article on vaulted ceilings offers fascinating insights into their structure and appeal, enhancing your appreciation and understanding of your living space.
Frequently Asked Questions about How To Install Range Hood On Vaulted Ceiling
Was this page helpful?
At Storables.com, we guarantee accurate and reliable information. Our content, validated by Expert Board Contributors, is crafted following stringent Editorial Policies. We're committed to providing you with well-researched, expert-backed insights for all your informational needs.


0 thoughts on “How To Install Range Hood On Vaulted Ceiling”