Home>Ideas and Tips>How To Build A Raised Garden Bed For Fresh Vegetables

Ideas and Tips
How To Build A Raised Garden Bed For Fresh Vegetables
Published: November 3, 2024
Learn how to build a raised garden bed for fresh vegetables with our step-by-step guide. Improve drainage, soil control, and accessibility in your garden.
(Many of the links in this article redirect to a specific reviewed product. Your purchase of these products through affiliate links helps to generate commission for Storables.com, at no extra cost. Learn more)
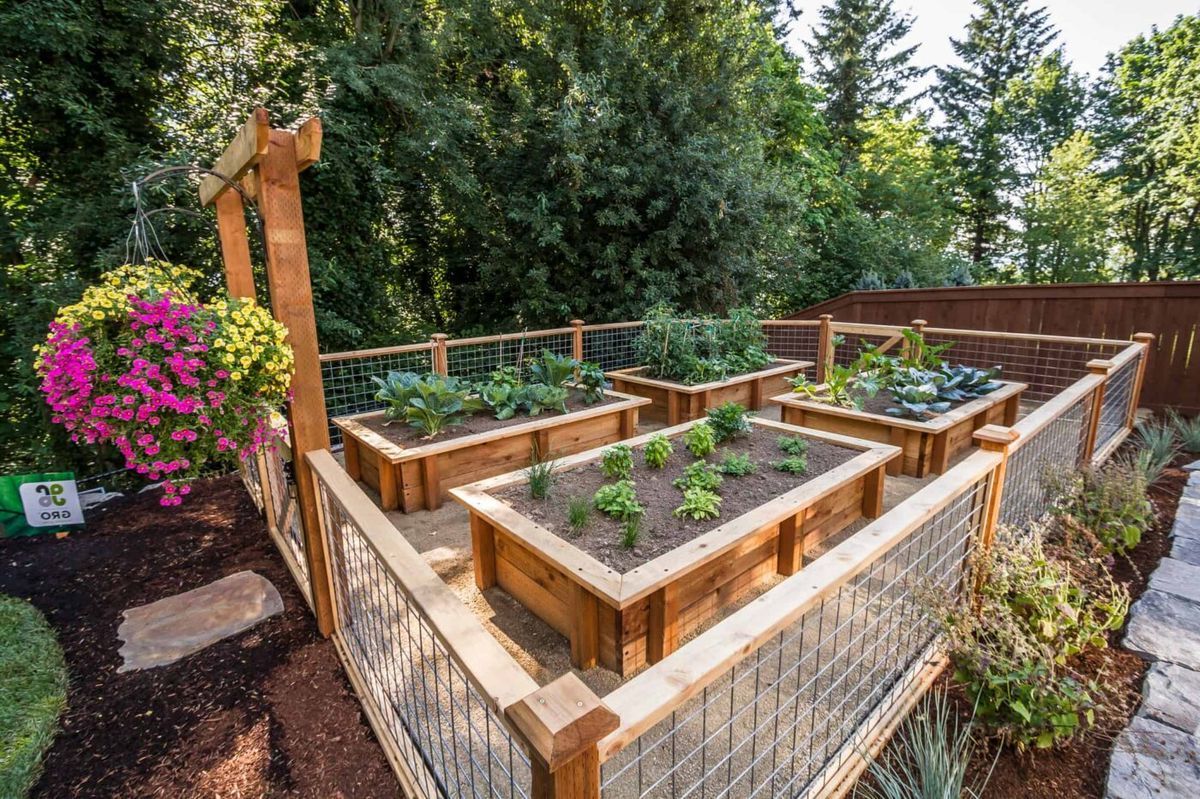
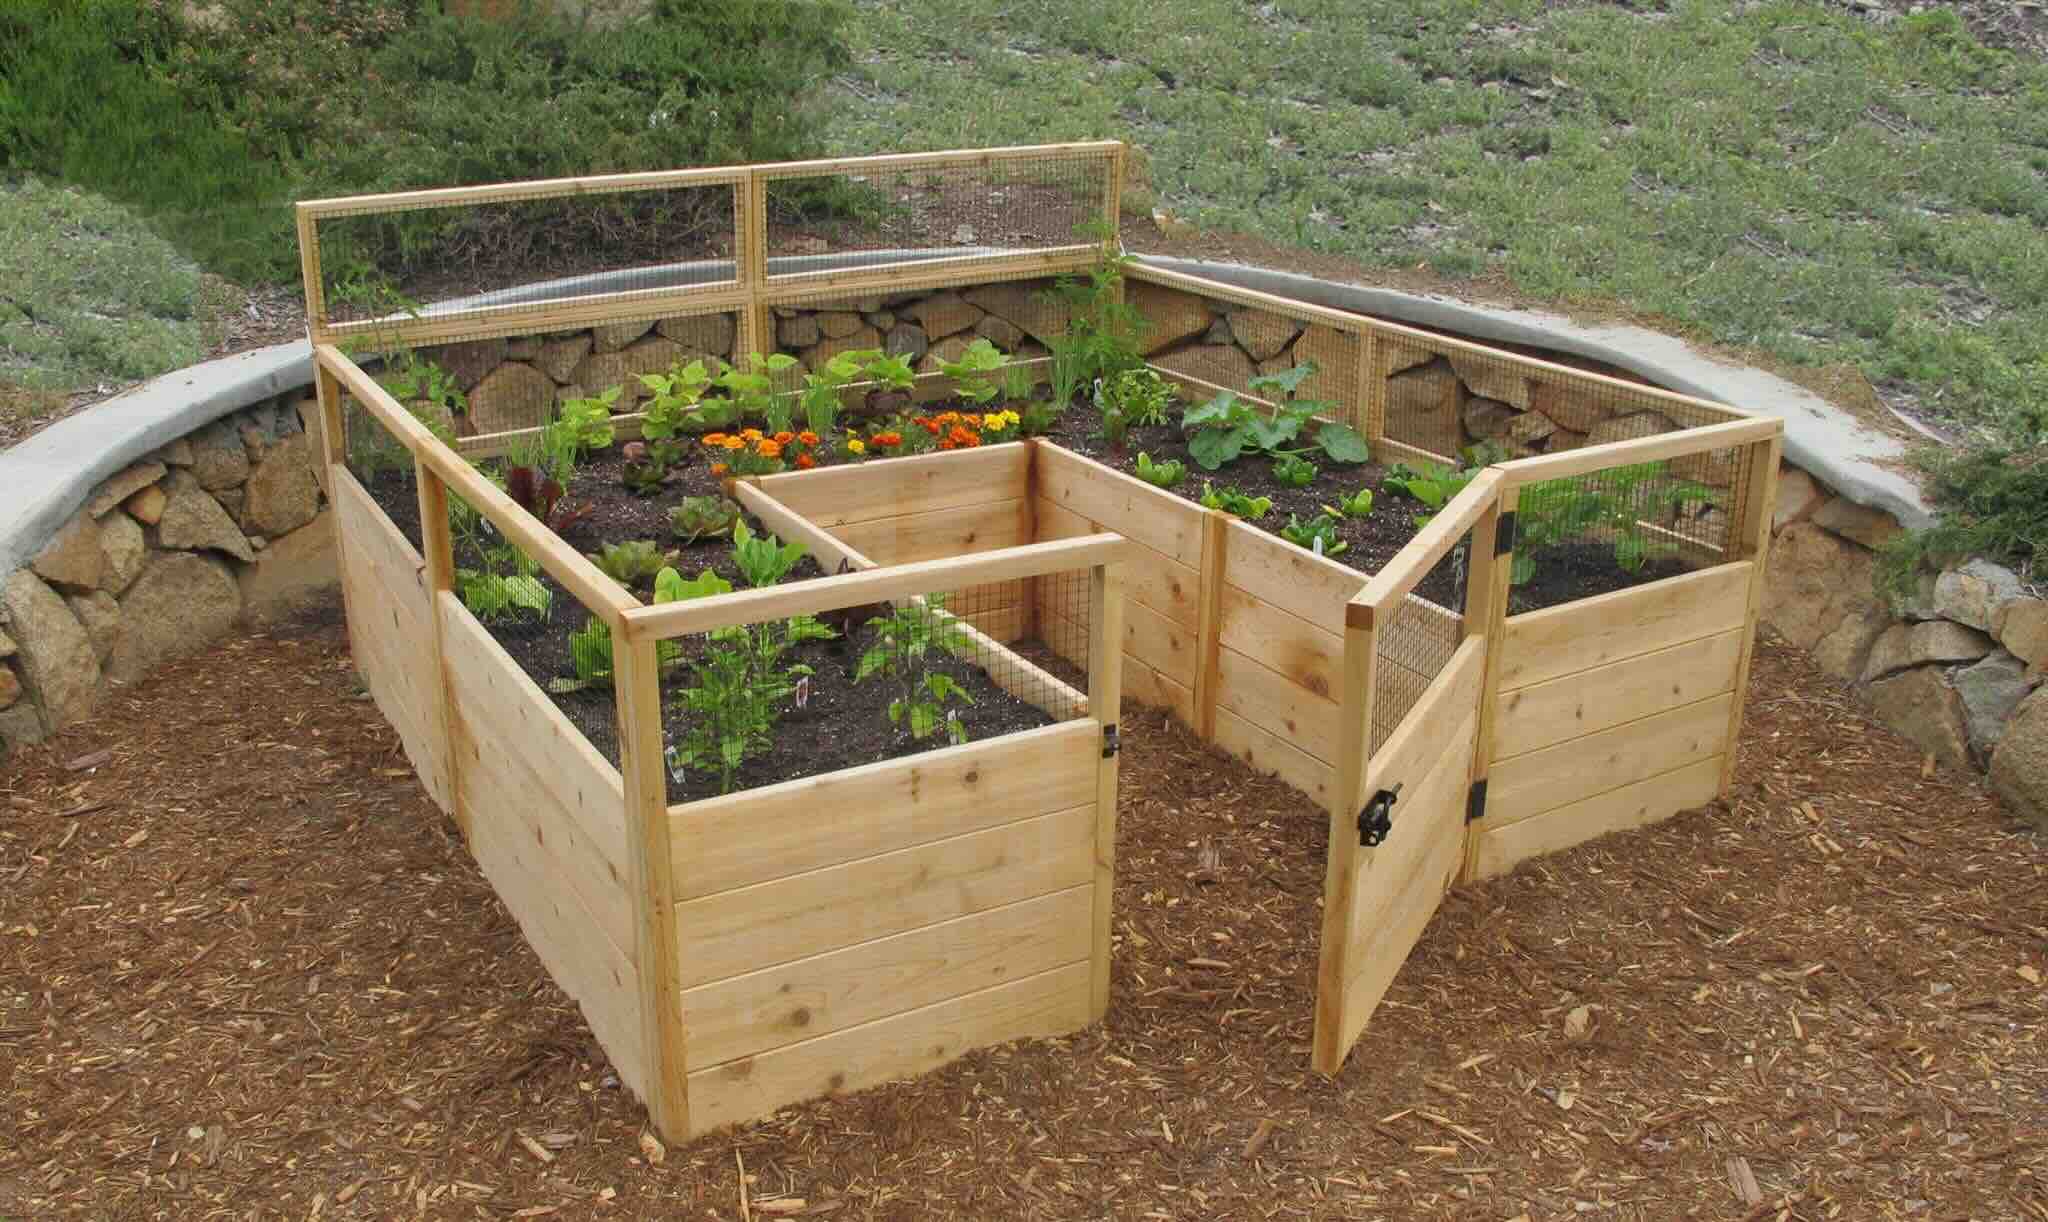
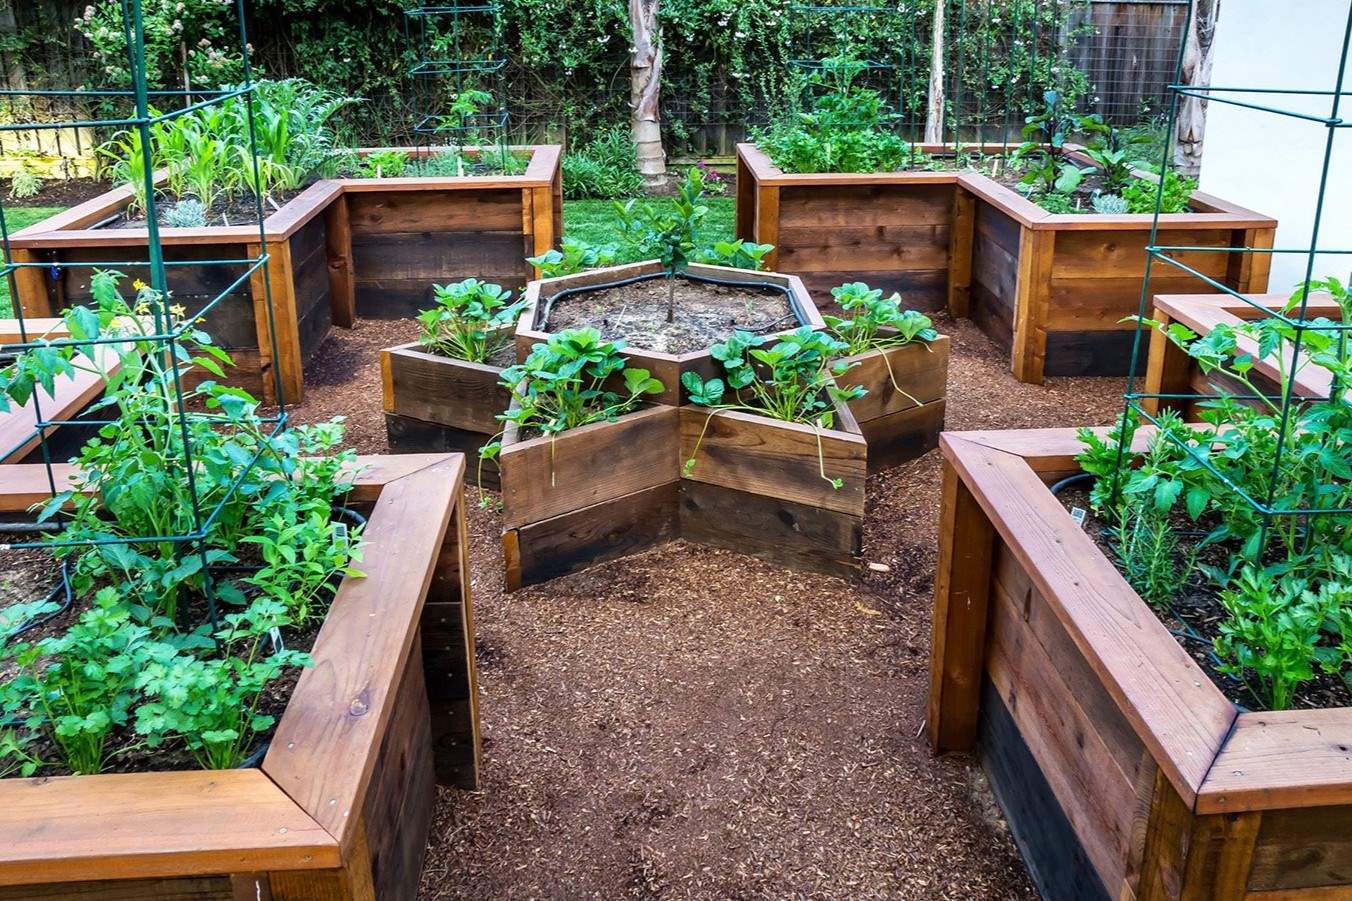
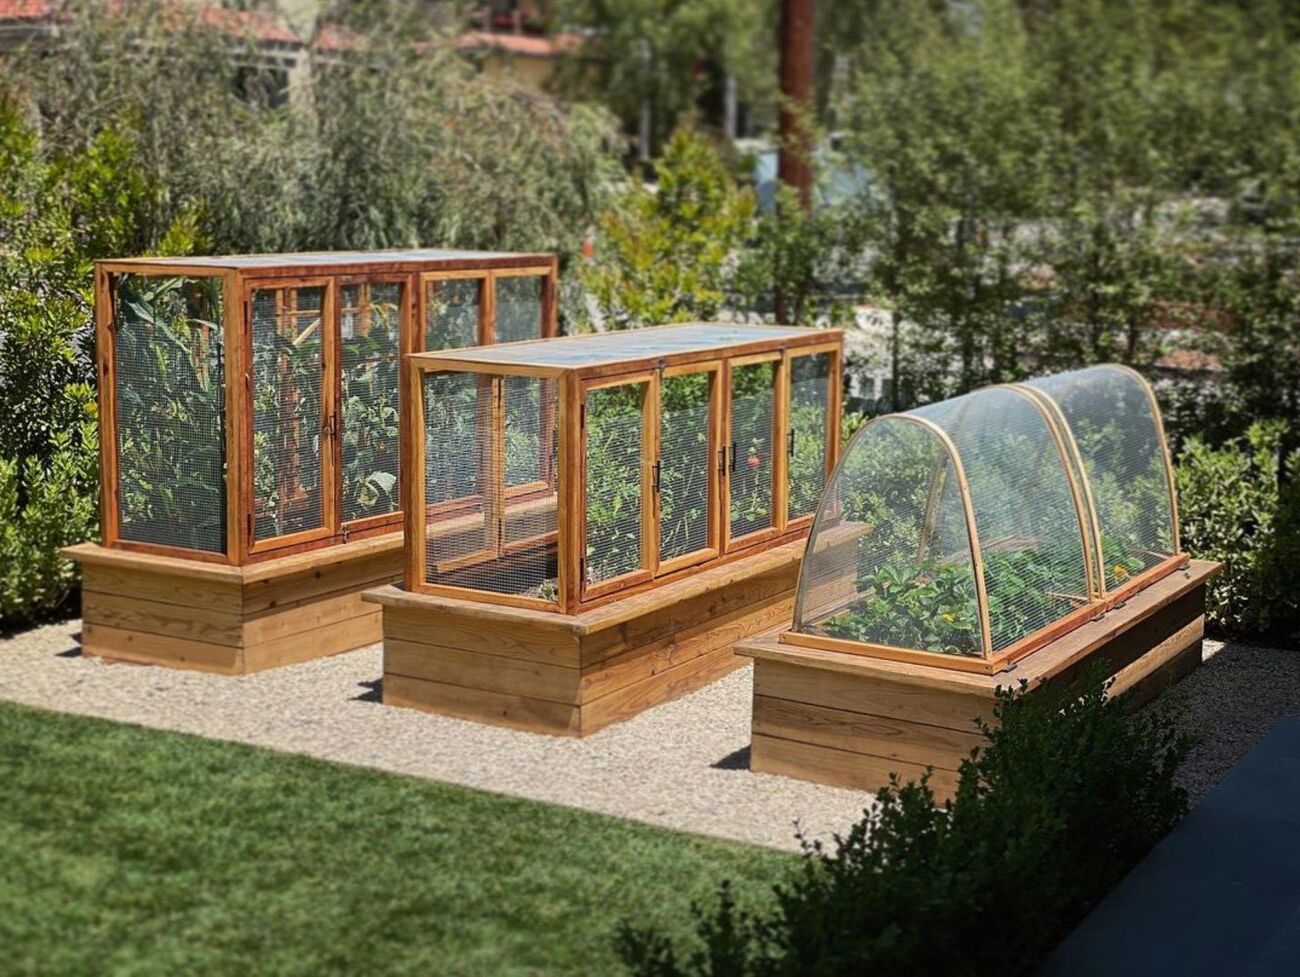
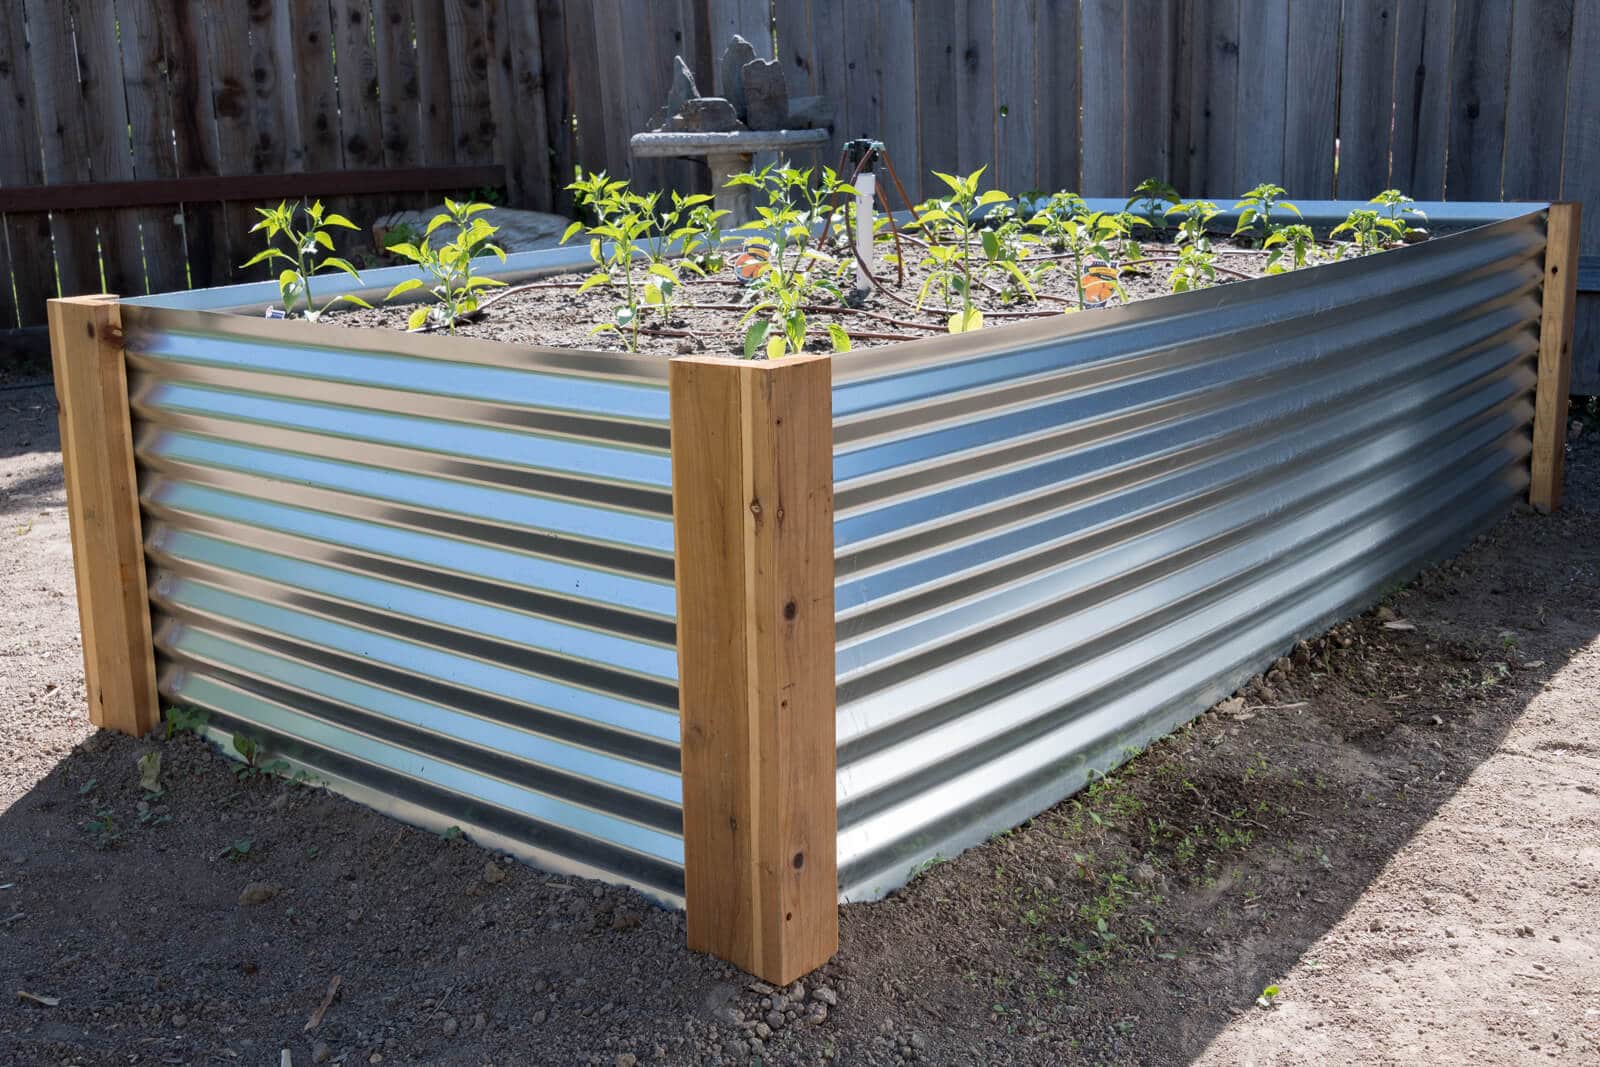
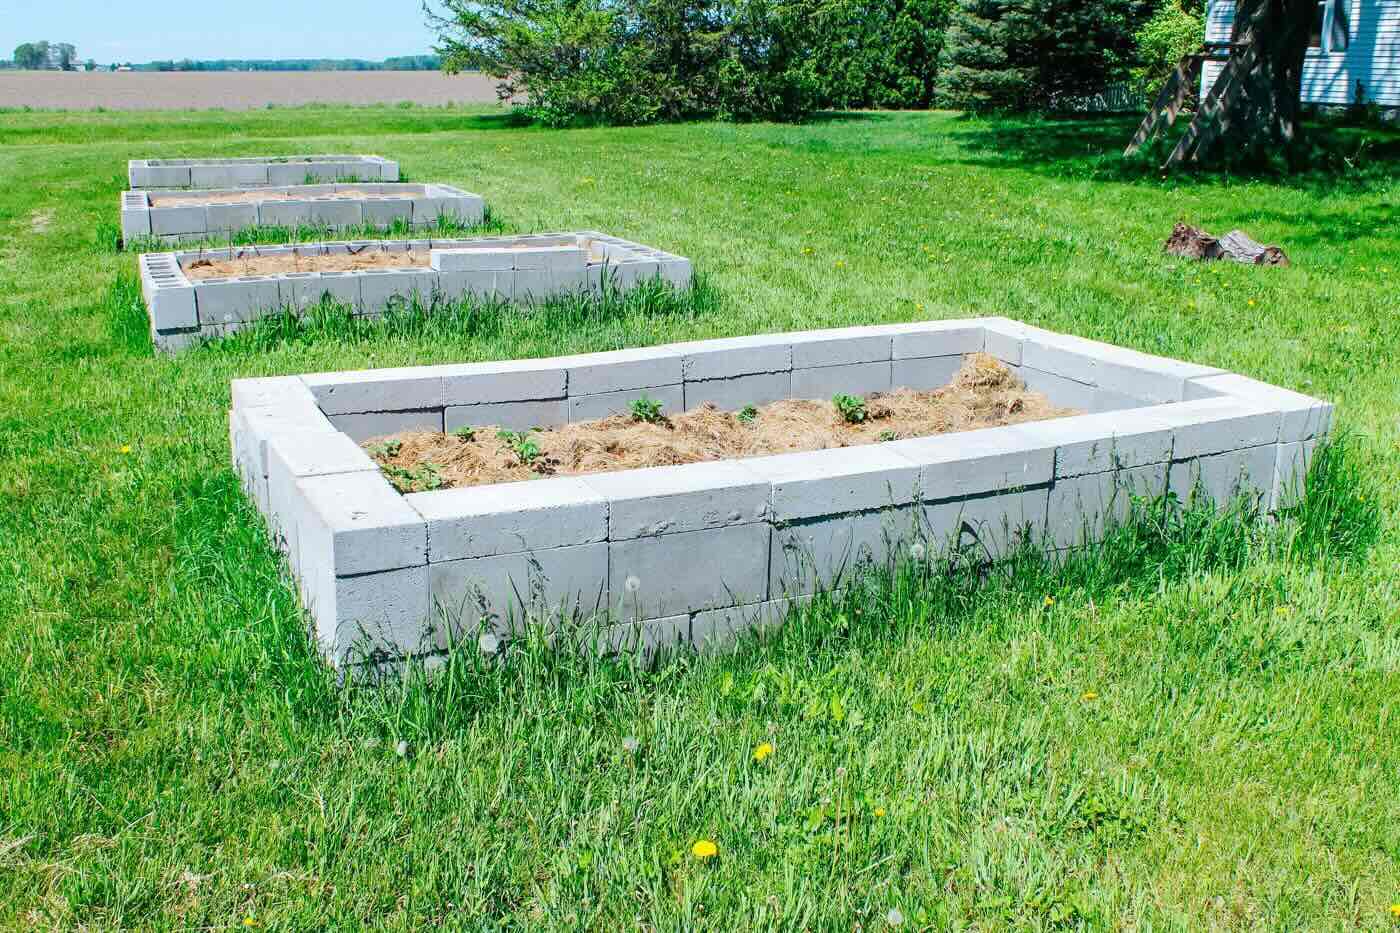
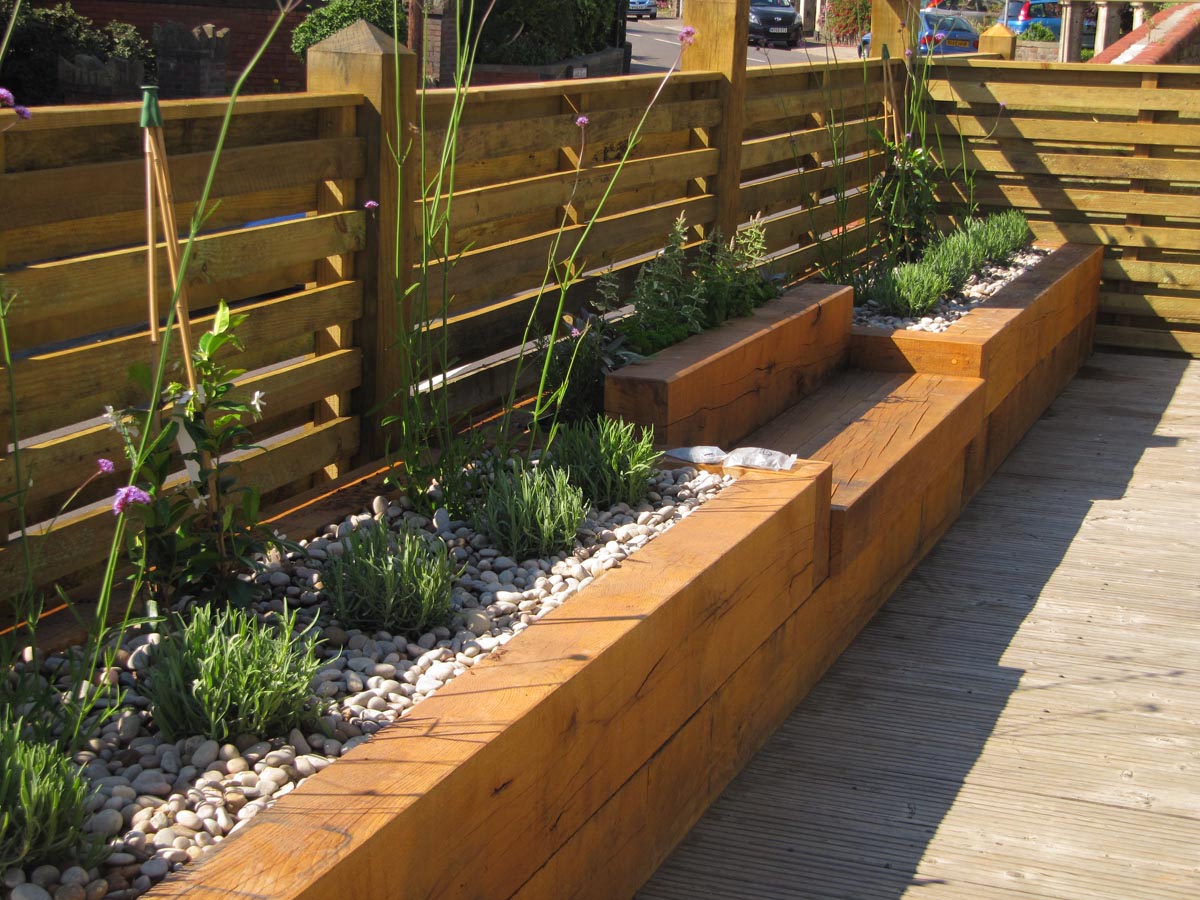
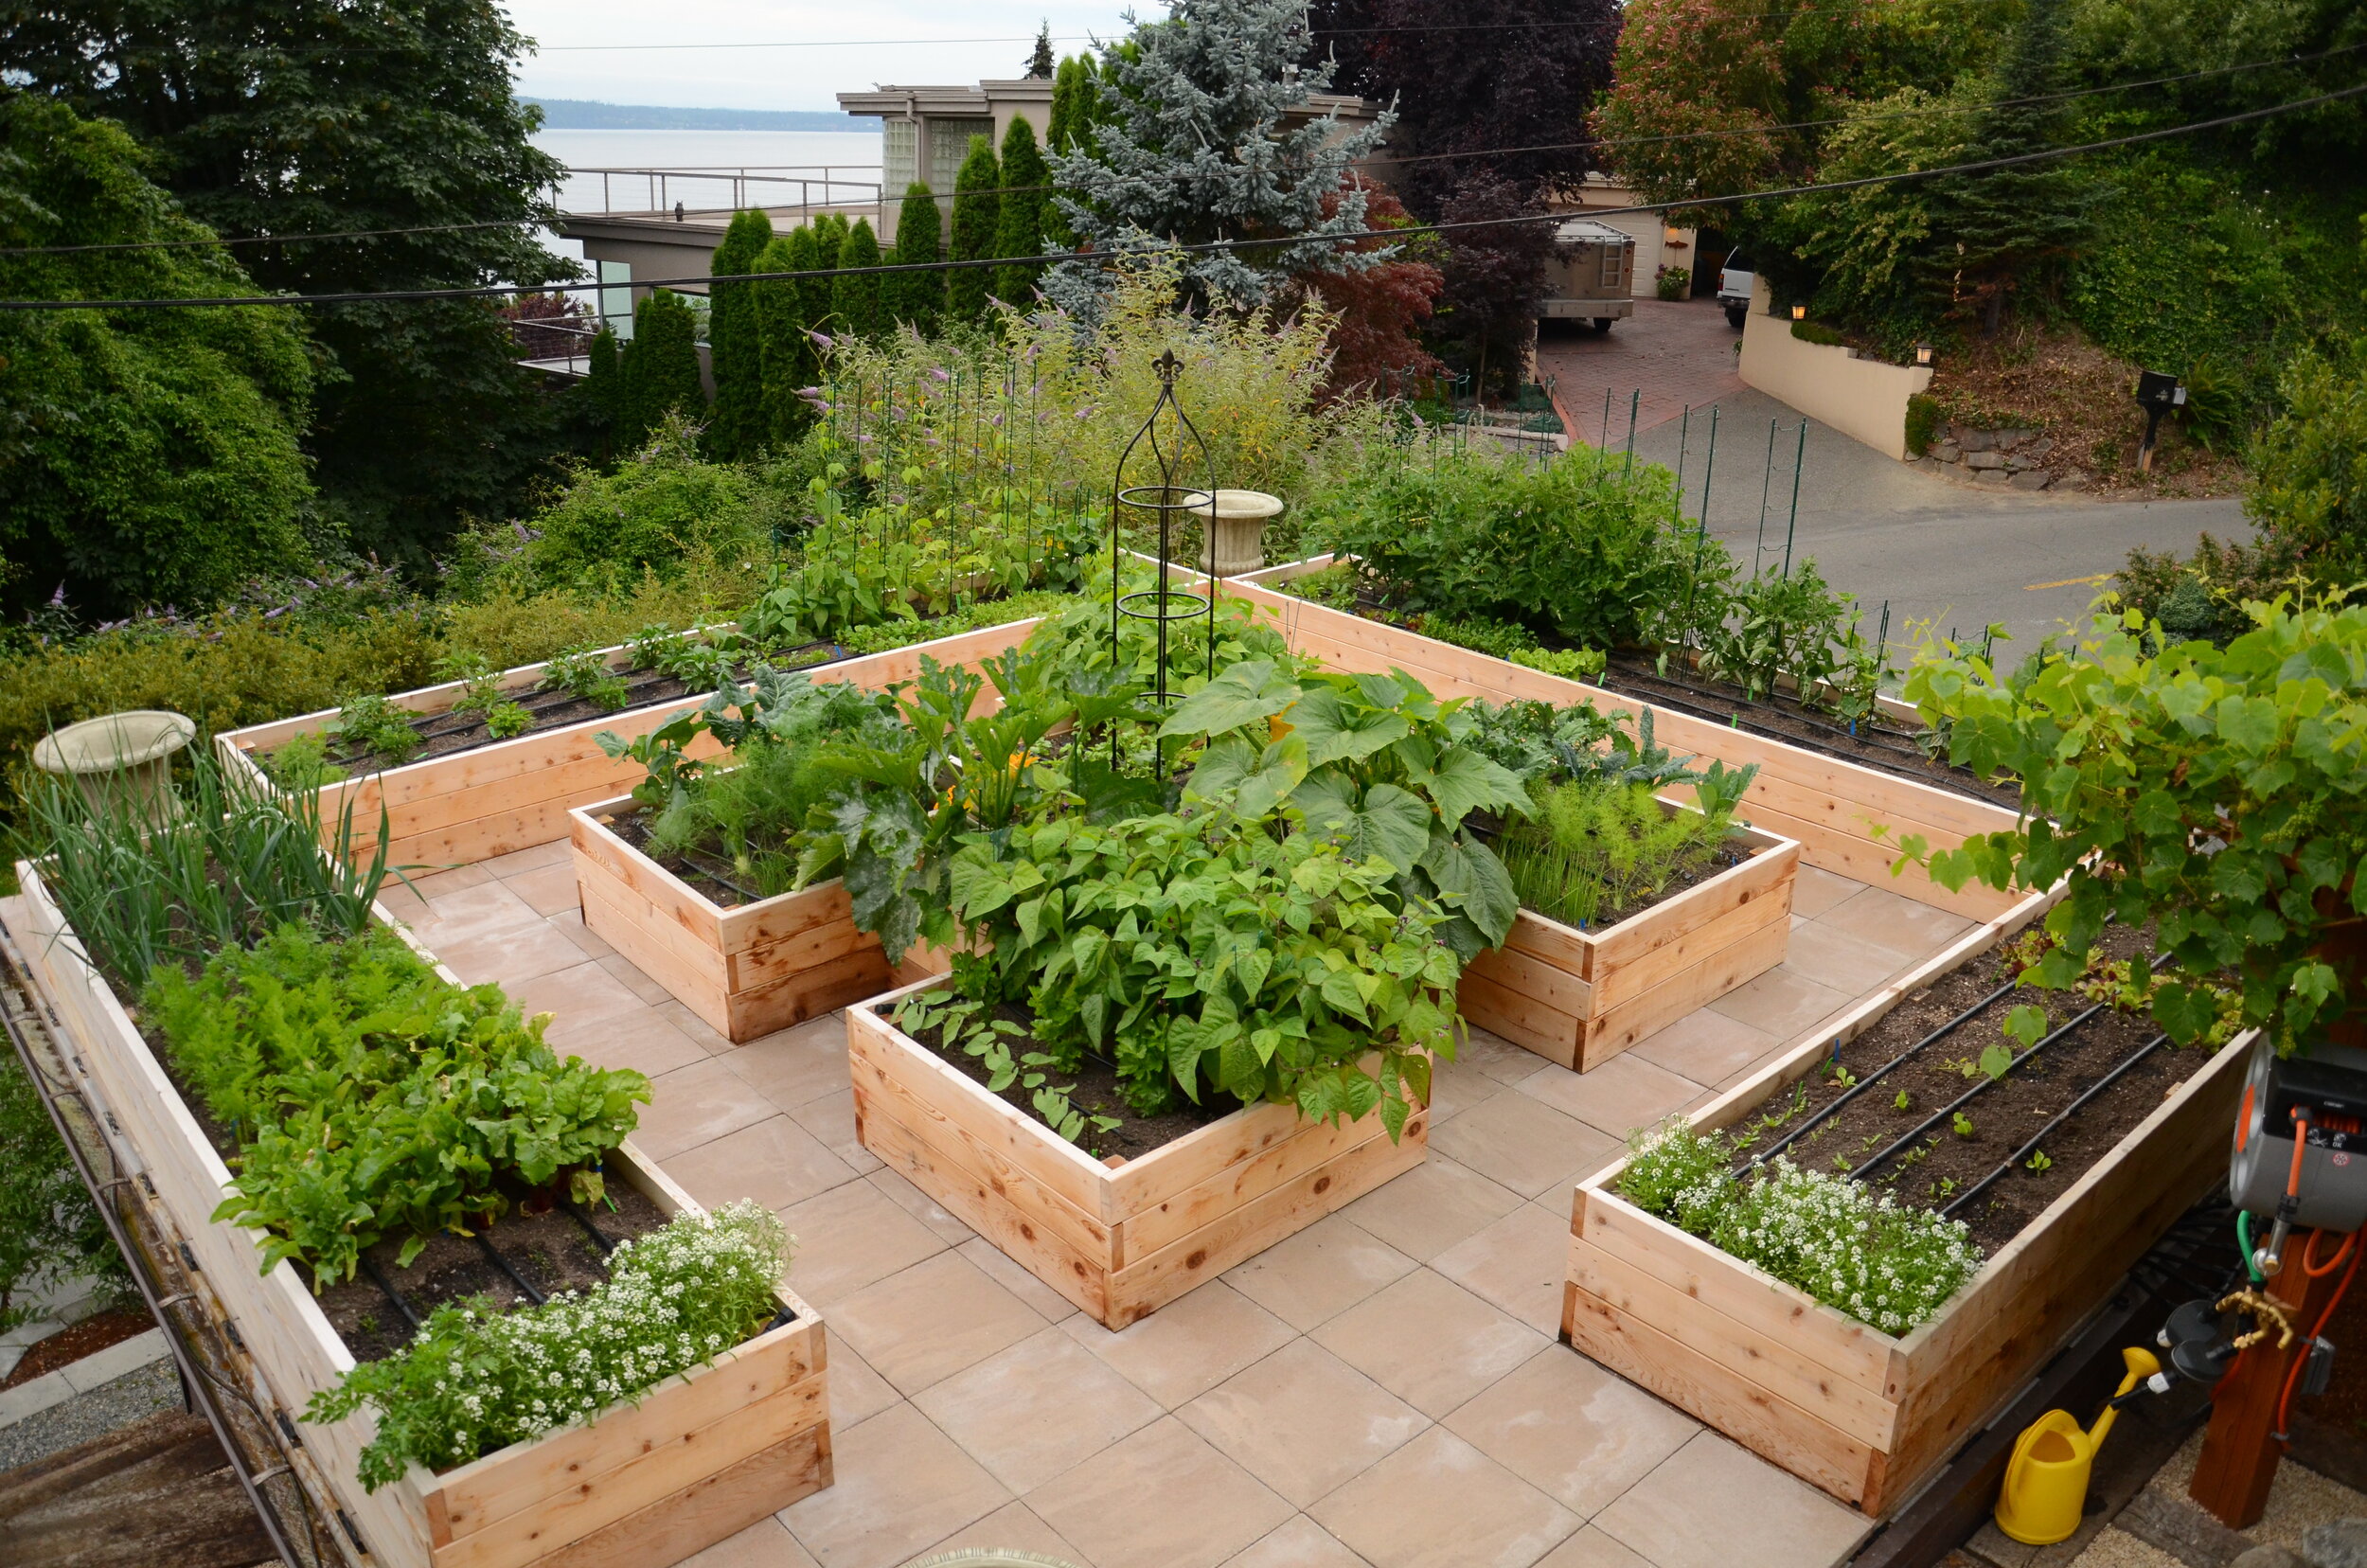
Building a raised garden bed for fresh vegetables is a fantastic idea for several reasons. First off, raised garden beds offer improved drainage, which is crucial for healthy plant growth. Water tends to collect at the bottom of traditional in-ground gardens, leading to root rot and other issues. With raised beds, excess water can easily drain away, keeping your plants happy and healthy. Plus, raised beds warm up faster in the spring than in-ground gardens, meaning you can start planting earlier and enjoy a longer growing season. Another perk is better soil control. By using raised beds, you have complete control over the soil composition. You can choose the best mix of organic matter and nutrients tailored specifically for your plants. Raised beds are also generally lower to the ground than traditional gardens, making them easier to maintain for people with mobility issues or young children. Lastly, raised beds can help reduce pest problems by keeping your plants off the ground where pests like slugs and snails tend to thrive. And let's not forget the aesthetic appeal—raised garden beds can add a beautiful touch to your yard while also providing functional space for gardening.
Why Build a Raised Garden Bed?
Before diving into the steps, let's explore why building a raised garden bed is such a great idea:
- Improved Drainage: Raised beds allow for better drainage, which is essential for healthy plant growth. Water tends to collect at the bottom of traditional in-ground gardens, leading to root rot and other issues. With raised beds, excess water can easily drain away.
- Warmer Soil: Raised beds warm up faster in the spring than in-ground gardens. This means you can start planting earlier and enjoy a longer growing season.
- Better Soil Control: By using raised beds, you have complete control over the soil composition. You can choose the best mix of organic matter and nutrients tailored specifically for your plants.
- Accessibility: Raised beds are generally lower to the ground than traditional gardens, making them easier to maintain for people with mobility issues or young children.
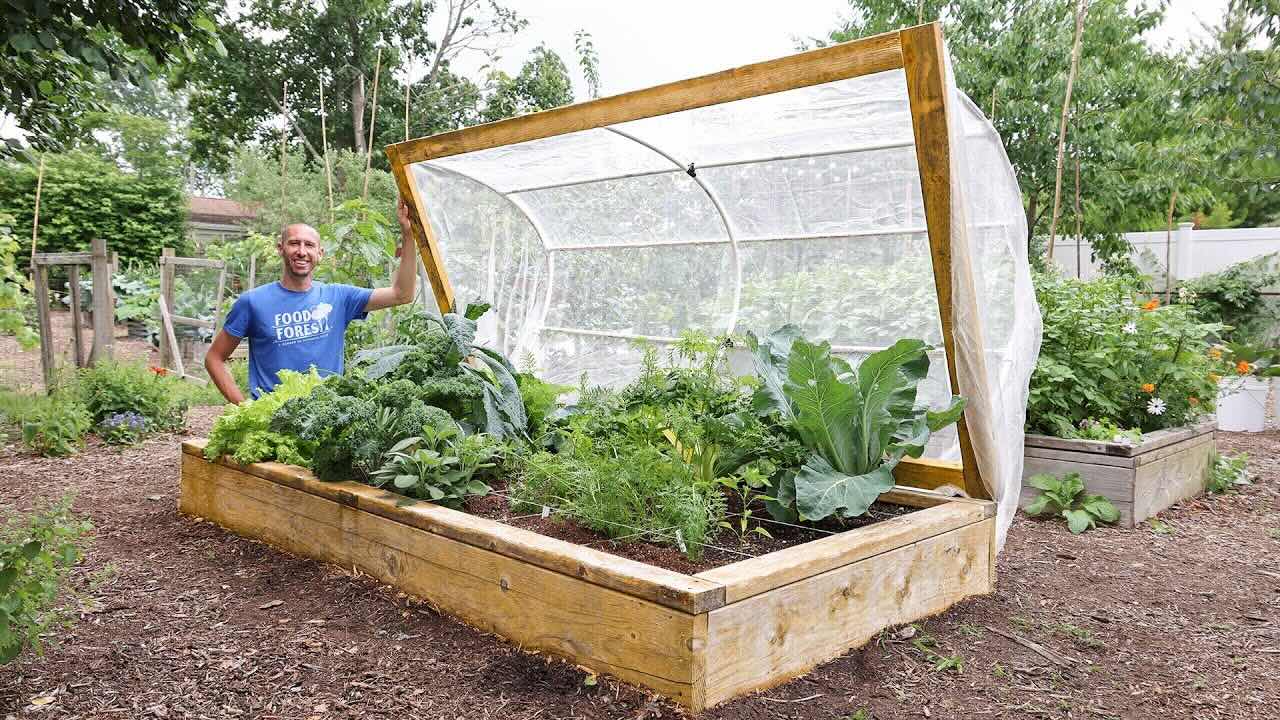
- Pest Control: Raised beds can help reduce pest problems by keeping your plants off the ground where pests like slugs and snails tend to thrive.
- Aesthetic Appeal: Raised garden beds can add a beautiful touch to your yard while also providing functional space for gardening.
Read more: How To Build A Stone Raised Garden Bed
Materials Needed
To build a raised garden bed, you'll need the following materials:
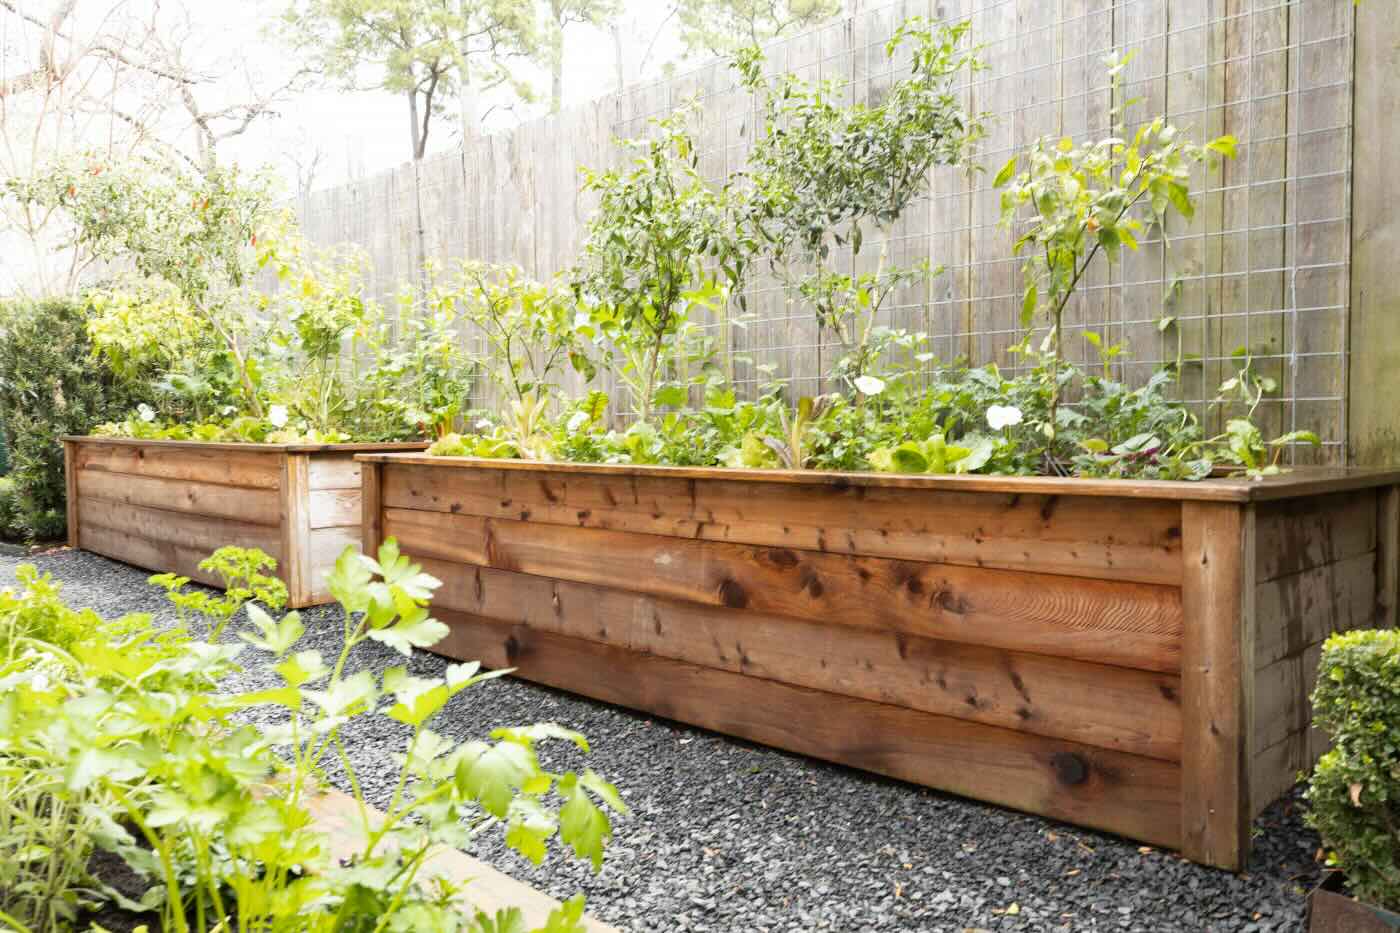
- Wooden Planks or Boards: These will form the frame of your raised bed. You can use untreated wood like cedar, pine, or reclaimed wood for a rustic look.
- Wood Screws or Nails: For assembling the frame.
- Wood Glue: To ensure the frame is sturdy and secure.
- Soil Mix: A blend of compost, topsoil, and perlite or vermiculite for good drainage and aeration.
- Gravel or Sand: For drainage at the bottom of the bed.
- Garden Edging Material (Optional): To keep soil from spilling over and add a decorative touch.
- Measuring Tape
- Square
- Hammer
- Drill
- Level
Step-by-Step Guide
Step 1: Plan Your Garden Bed
Before you start building, take some time to plan out your garden bed:
- Determine Size: Decide on the size of your raised bed based on space availability and how much you want to grow at once.
- Choose Location: Select a spot that gets at least six hours of direct sunlight per day.
- Consider Accessibility: Make sure the location is easily accessible for maintenance and harvesting.
For this example, let's assume we're building a standard 4×8 foot raised bed.
Step 2: Prepare the Site
Clear any debris or existing vegetation from the area where you'll be building your raised bed.
- Mark Out Dimensions: Use stakes and twine to mark out the dimensions of your raised bed on the ground.
- Check Level: Ensure that the area is level using a level tool.
Step 3: Lay Down Gravel or Sand
To improve drainage at the bottom of your raised bed:
- Spread a layer of gravel or sand evenly across the marked area.
- Compact it using a hand tamper or plate compactor if necessary.
Step 4: Assemble Frame
Using wooden planks or boards, assemble the frame of your raised bed:
- Cut four pieces of wood to length using a saw (two longer pieces for sides and two shorter pieces for ends).
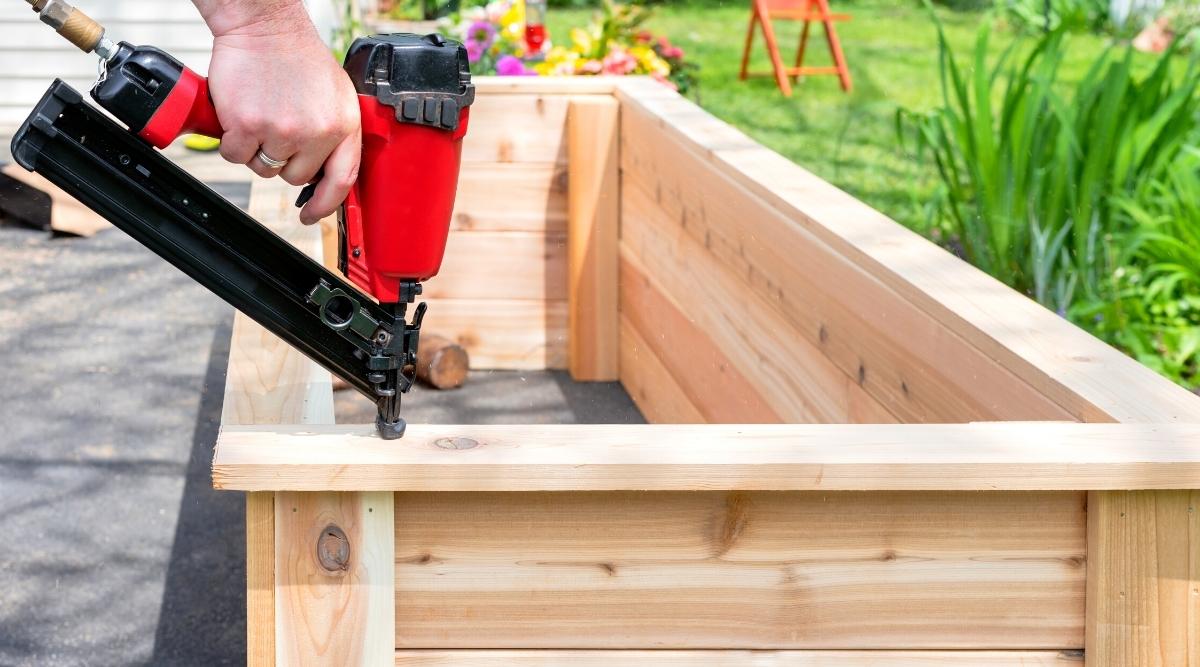
- Assemble sides first by screwing them together at corners using wood screws or nails.
- Attach ends to sides ensuring they are flush and secure with additional screws or nails.
- Use wood glue along joints for added strength and durability.
Step 5: Add Bottom Layer
Place another layer of gravel or sand inside the frame before adding soil mix:
- Fill bottom layer about halfway up with gravel/sand mixture.
- Compact this layer slightly using hand tamper if needed.
Step 6: Add Soil Mix
Fill remaining space inside frame with soil mix:
- Mix together compost, topsoil, perlite/vermiculite according to desired ratio (e.g., 1 part compost : 2 parts topsoil : 1 part perlite).
- Fill soil mix into frame until it reaches desired height (typically around 6-8 inches deep).
Step 7: Add Garden Edging (Optional)
If desired add garden edging material around perimeter:
- Cut edging material according length required around perimeter.
- Place edging material along edges ensuring secure fit using screws/nails if necessary.
Step 8: Final Check & Maintenance Tips
Before planting:
- Check level one last time ensuring no sagging or unevenness.
- Water lightly after filling with soil mix allowing settling process before planting seeds/plants.
For ongoing maintenance:
- Water plants regularly but avoid overwatering which can lead root rot issues mentioned earlier.
- Mulch around plants keeping soil moist while preventing weeds from growing up into beds themselves causing competition among plants themselves thereby reducing overall yield potential significantly over time period involved here too!
Tips & Variations
Here are some additional tips & variations worth considering when building raised garden beds:
-
Use Recycled Materials: Consider using recycled materials such as old pallets or reclaimed wood giving project eco-friendly twist while also saving money spent purchasing new materials altogether!
-
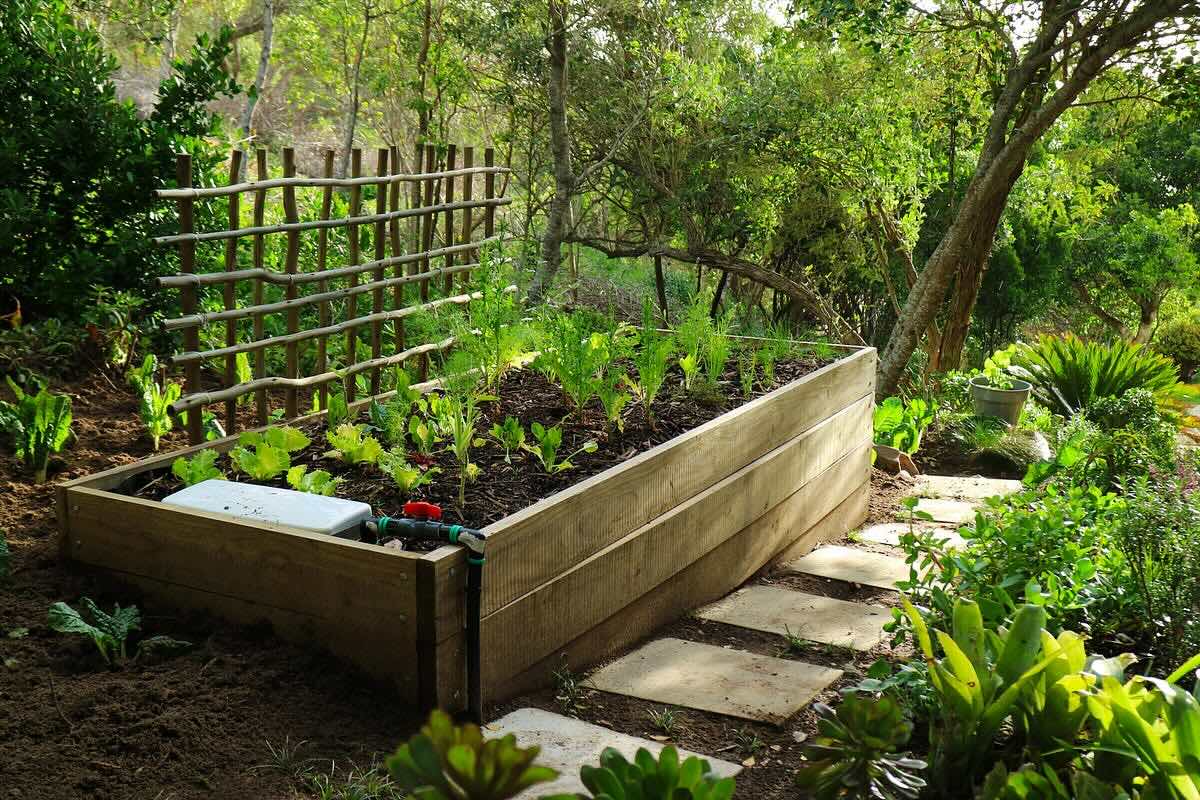
Add Trellis System: Incorporate trellis system within design allowing climbing plants like peas/basil/etc., grow upwards rather than spreading outwards taking up valuable space otherwise wasted otherwise too!
-
Incorporate Irrigation System: Install drip irrigation system ensuring plants receive precise amount water needed without wasting precious resource unnecessarily either way too!
-
Add Compost Bin: Attach small compost bin nearby allowing easy decomposition organic waste generated during gardening process itself helping create nutrient-rich soil mix used throughout entire project duration involved here too!
-
Create Vertical Garden: Build vertical garden using wall-mounted planters maximizing space available within smaller areas such as balconies/patios etc., ideal solution urban dwellers seeking fresh produce despite limited outdoor space constraints faced otherwise too!
Conclusion
Building raised garden bed not only provides aesthetically pleasing addition outdoor space but also functional solution growing fresh vegetables year-round regardless climate conditions faced locally too With proper planning/preparation involved throughout entire process involved here too!, anyone can create beautiful functional space perfect growing own fruits/vegetables right own backyard today itself too Happy gardening everyone out there enjoying fruits labor involved creating such wonderful creations ourselves too!
By following these steps outlined above article today itself too!, you'll be well-equipped creating stunning functional raised garden bed perfect growing fresh vegetables year-round regardless climate conditions faced locally too Remember always keep mind ongoing maintenance tips provided above ensuring optimal performance throughout entire project duration involved here too Happy gardening everyone out there enjoying fruits labor involved creating such wonderful creations ourselves too!
If you have any questions or need further assistance with your home improvement projects, feel free to reach out to us at Storables. We are always here to help you achieve your dream home
Was this page helpful?
At Storables.com, we guarantee accurate and reliable information. Our content, validated by Expert Board Contributors, is crafted following stringent Editorial Policies. We're committed to providing you with well-researched, expert-backed insights for all your informational needs.

0 thoughts on “How To Build A Raised Garden Bed For Fresh Vegetables”