Home>Ideas and Tips>How to Build a Raised Garden Bed: Step-by-Step Instructions
Ideas and Tips
How to Build a Raised Garden Bed: Step-by-Step Instructions
Modified: October 27, 2024
Learn how to build a raised garden bed with our step-by-step guide. Improve soil quality, drainage, and yield with these easy DIY instructions.
(Many of the links in this article redirect to a specific reviewed product. Your purchase of these products through affiliate links helps to generate commission for Storables.com, at no extra cost. Learn more)
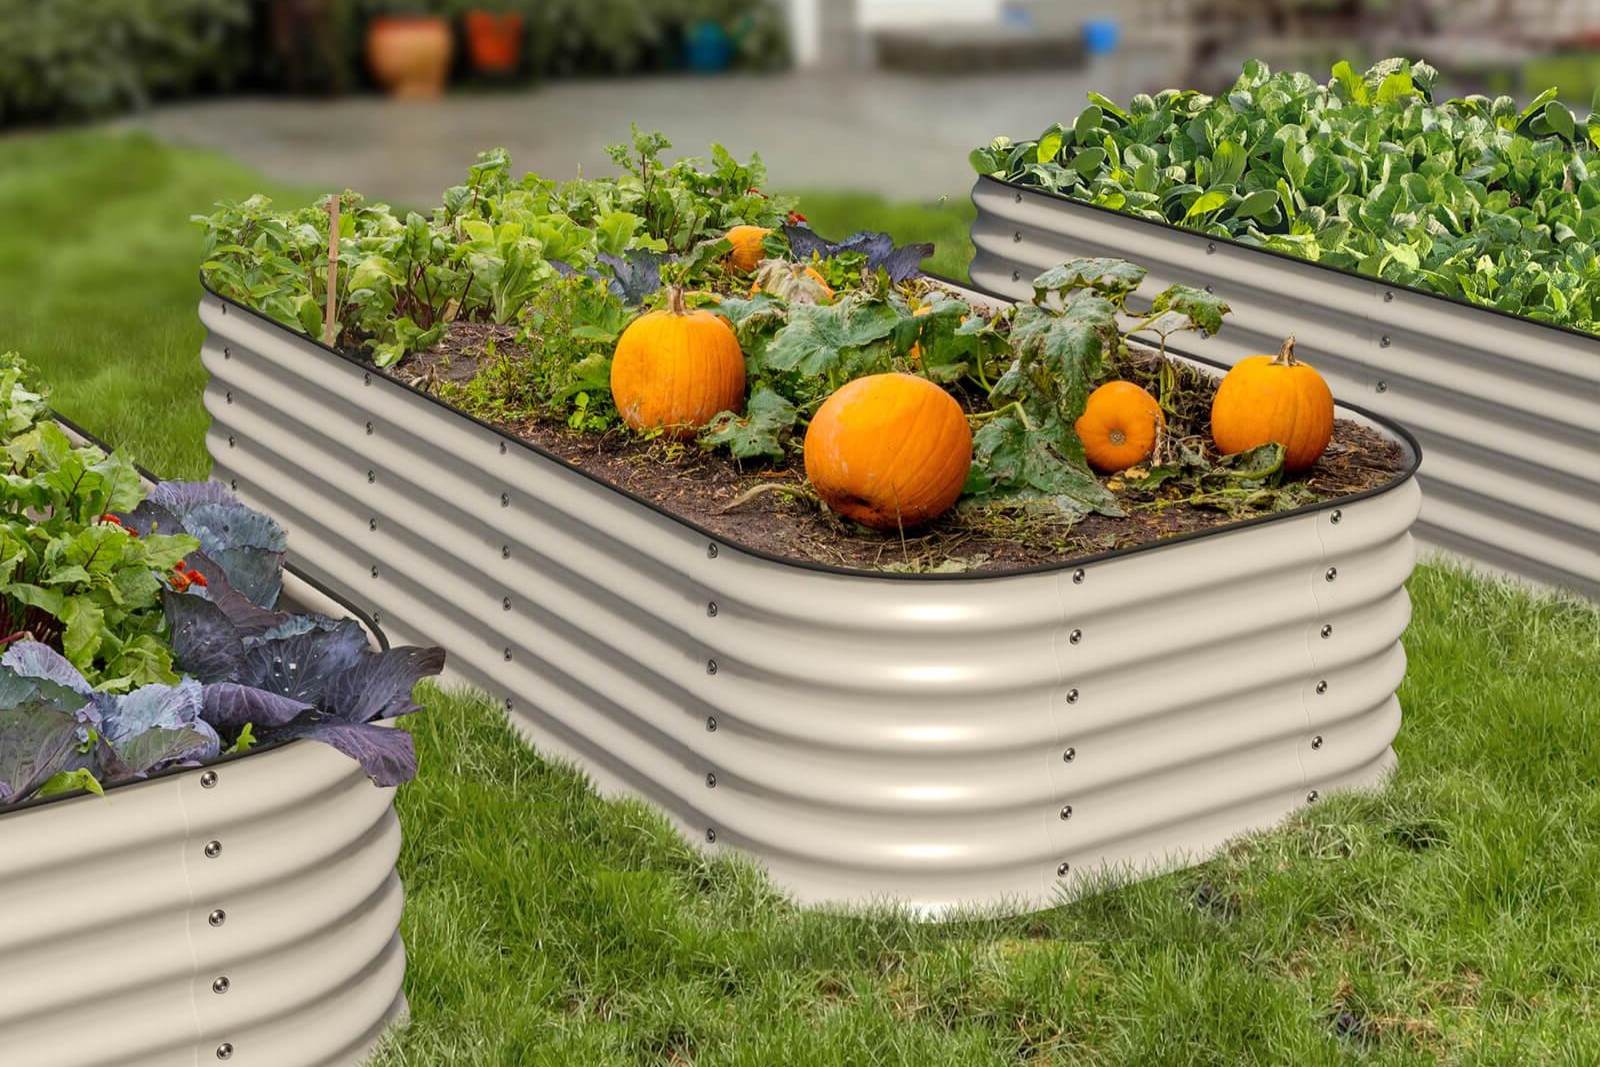
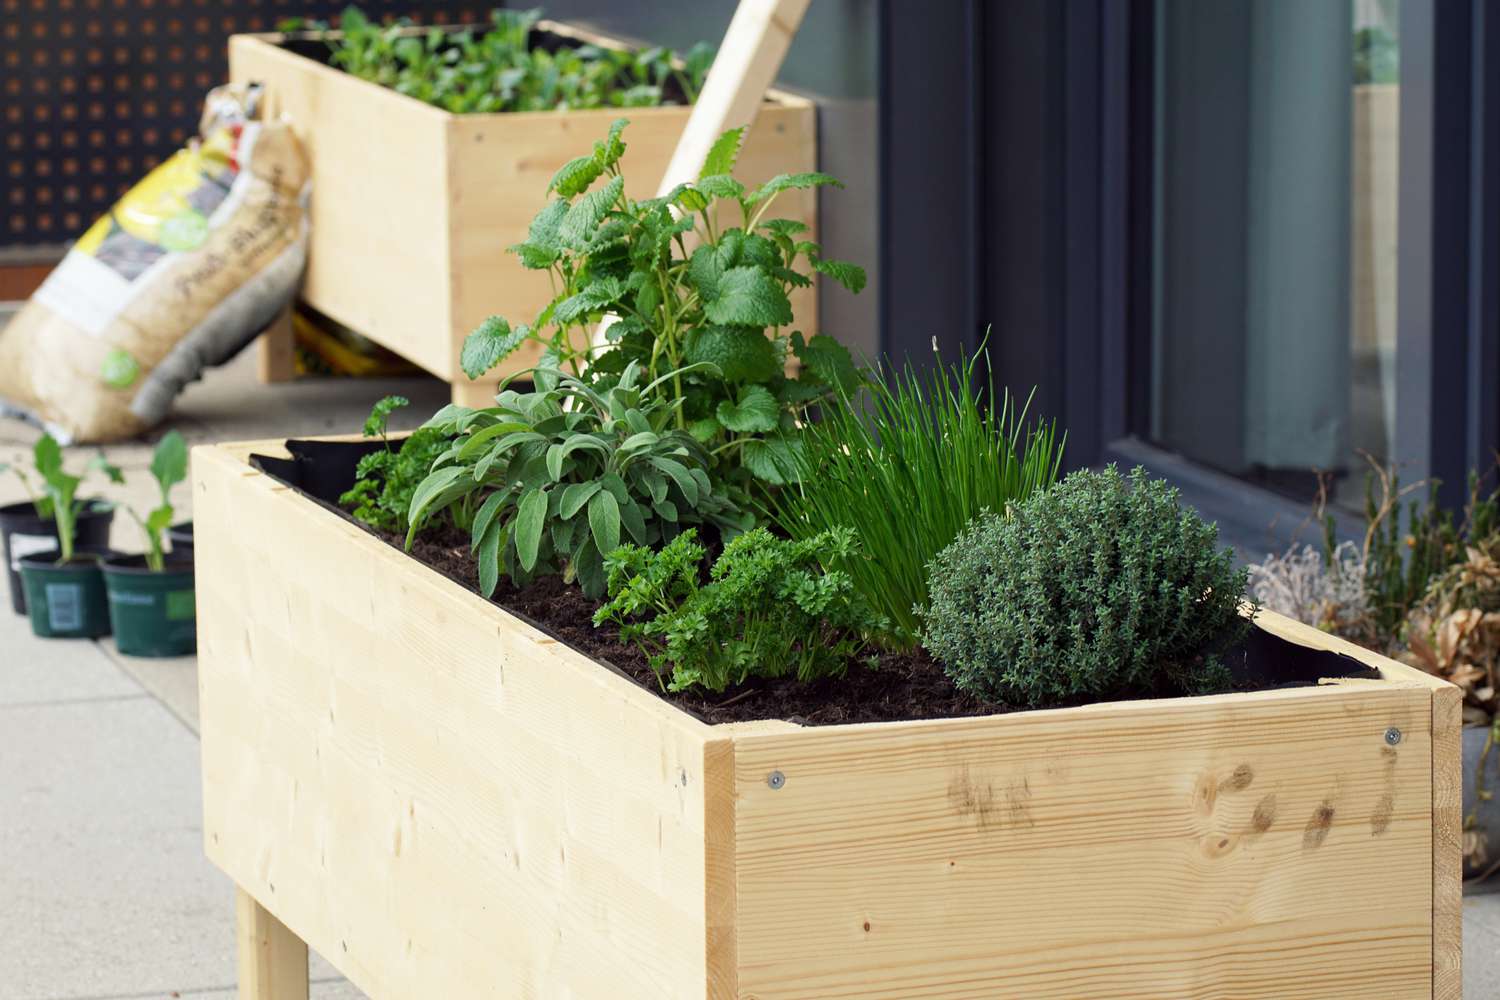
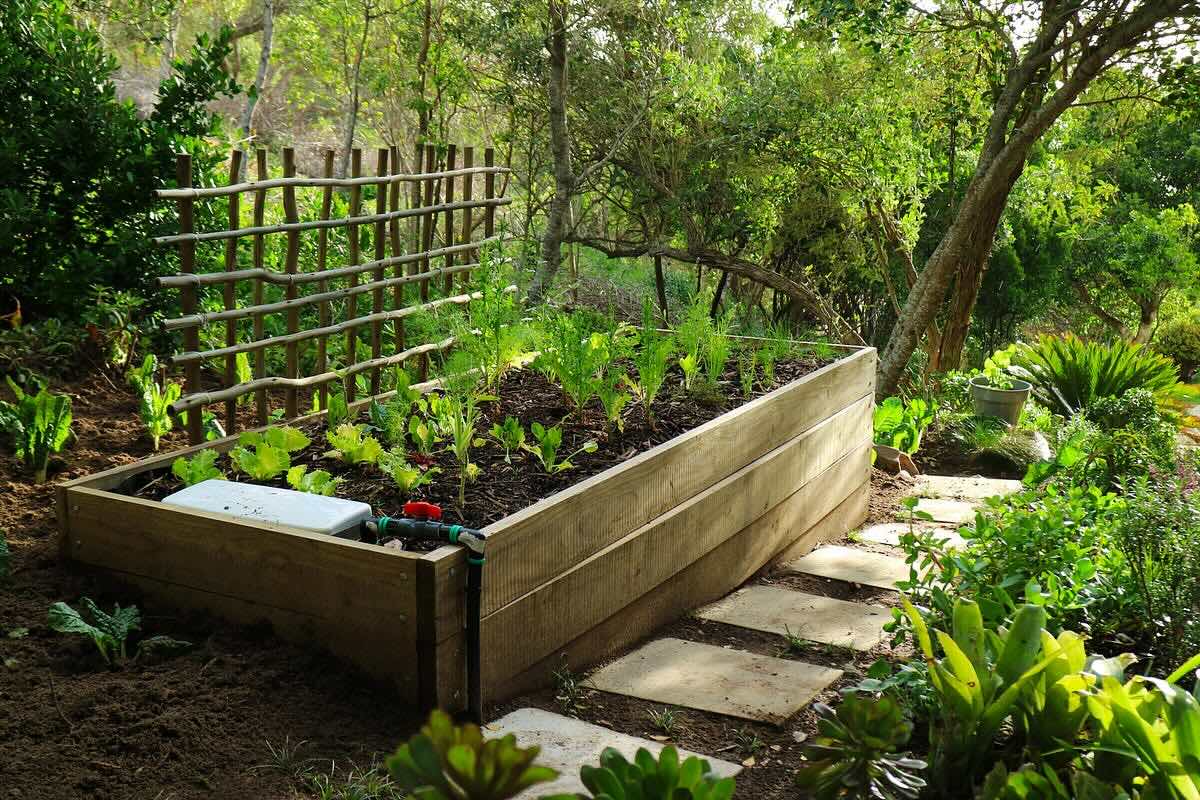
Building a raised garden bed is an excellent way to enhance your gardening experience, especially if you have limited space or poor soil quality. Raised garden beds offer several advantages, including better soil control, improved drainage, and easier access for planting and harvesting. In this article, we will guide you through the process of building a raised garden bed step-by-step, providing detailed instructions and tips to ensure your project is successful.
Why Build a Raised Garden Bed?
Before we dive into the instructions, let's explore why building a raised garden bed is a great idea:
-
Soil Quality: Raised garden beds allow you to create your own mix of quality topsoil and compost, which is crucial for optimal plant growth. This means you can avoid using poor-quality soil that might be present in your yard.
-
Drainage: Raised beds improve drainage significantly, which is essential for preventing waterlogged soil and root rot. This also helps the soil warm up faster in early spring and late fall, extending your growing season.
-
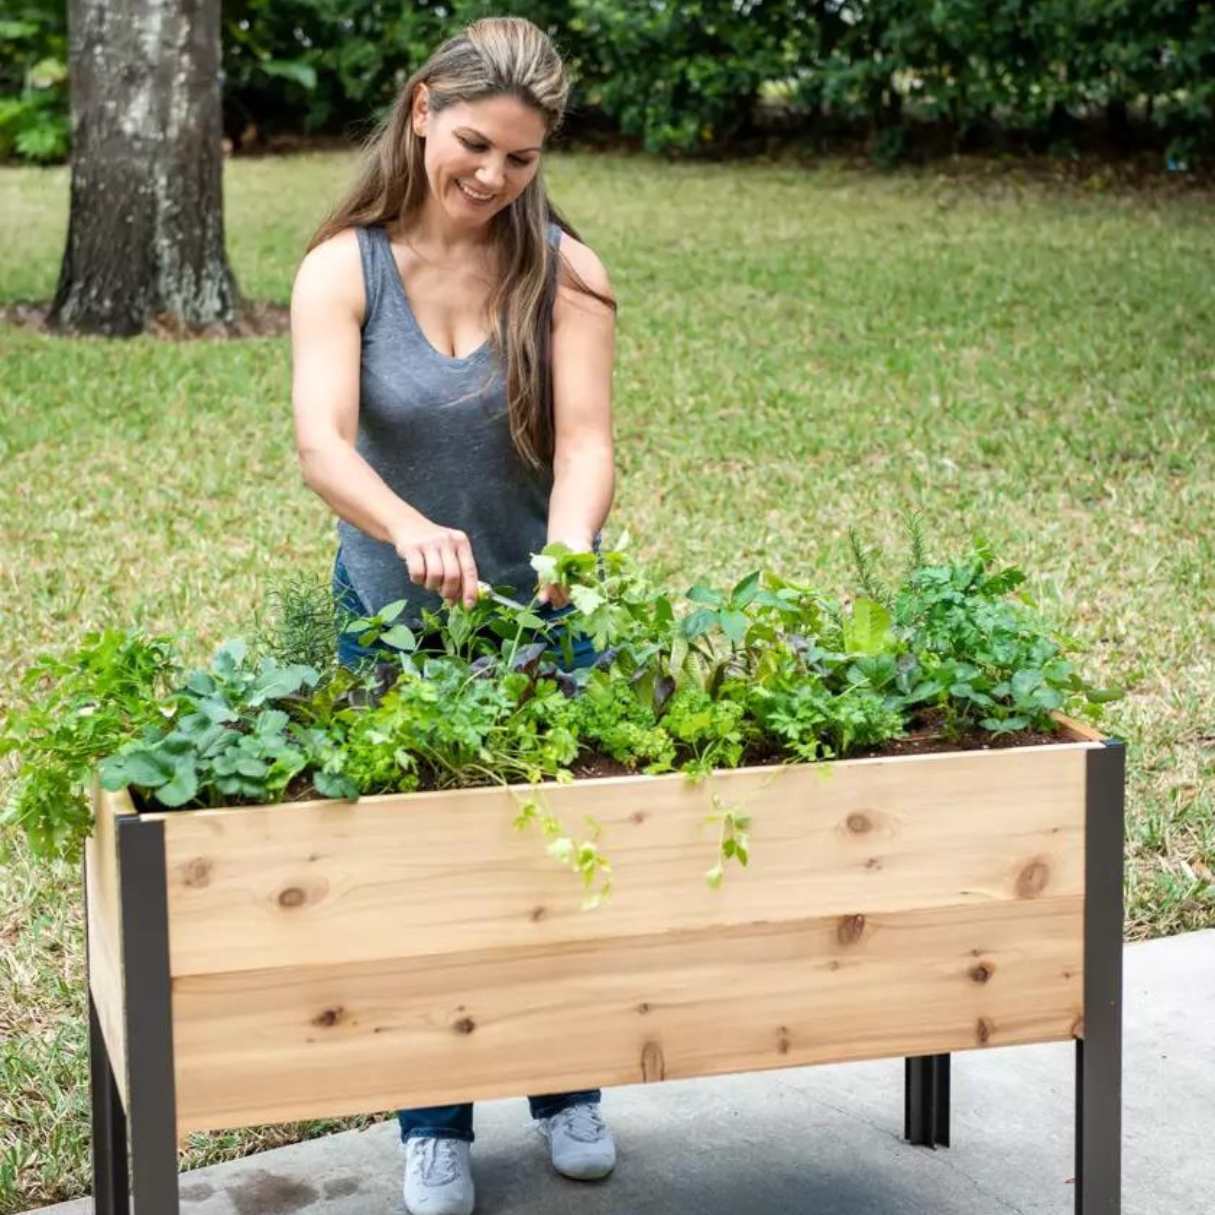
Comfort: Raised beds bring plants up to a couple of feet off the ground, making it easier to weed and harvest without bending. This is particularly beneficial for people with back issues or those who prefer not to stoop.
-
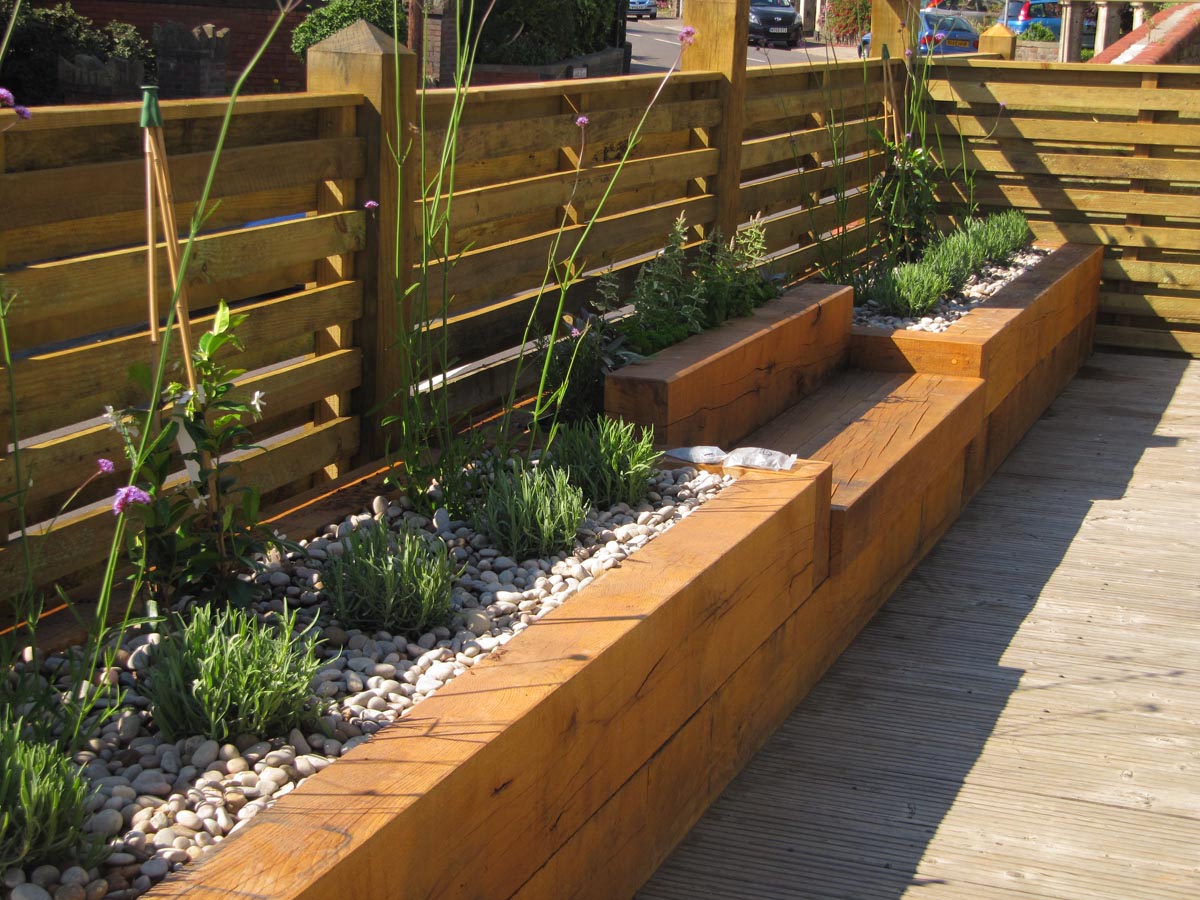
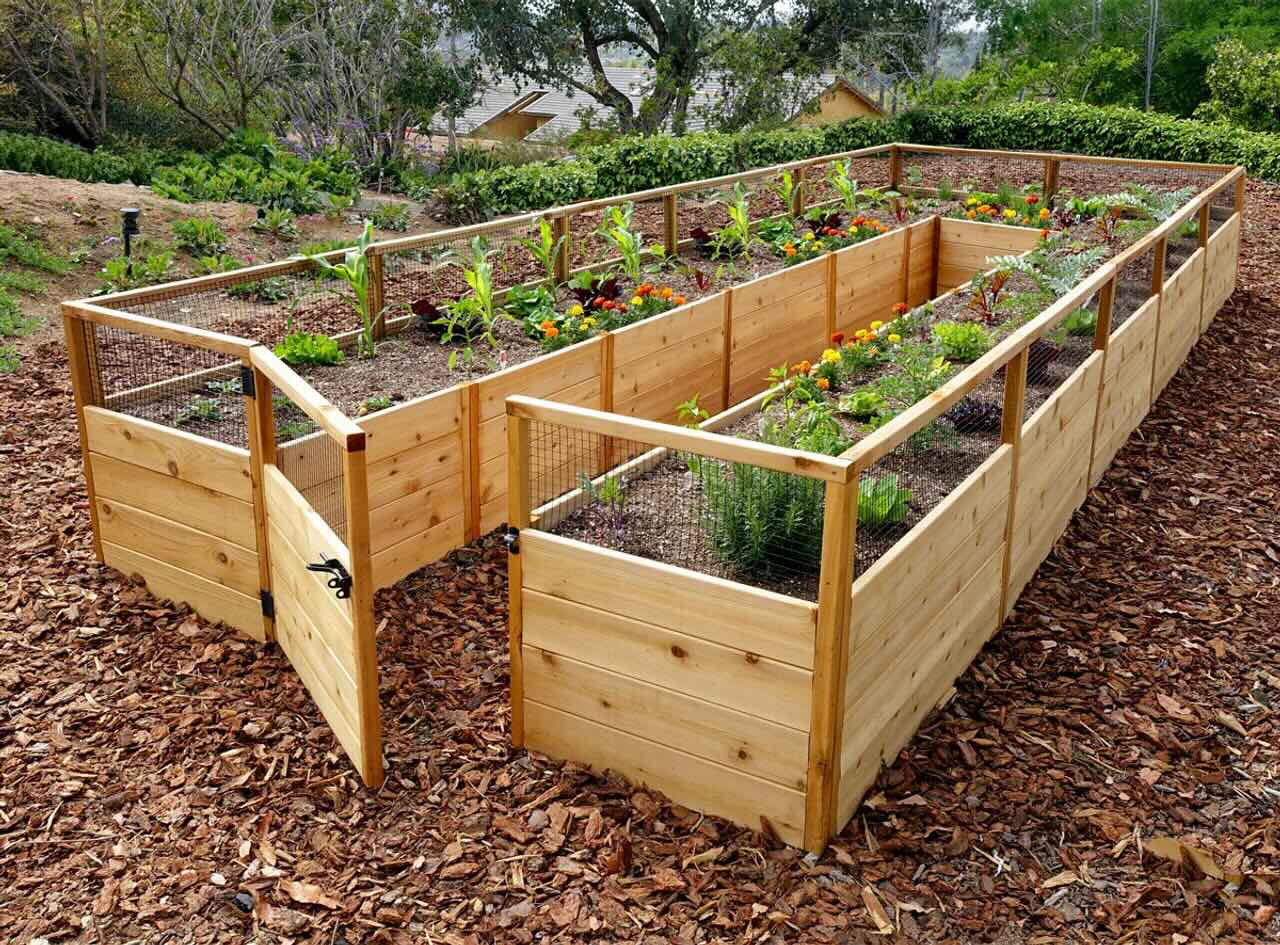
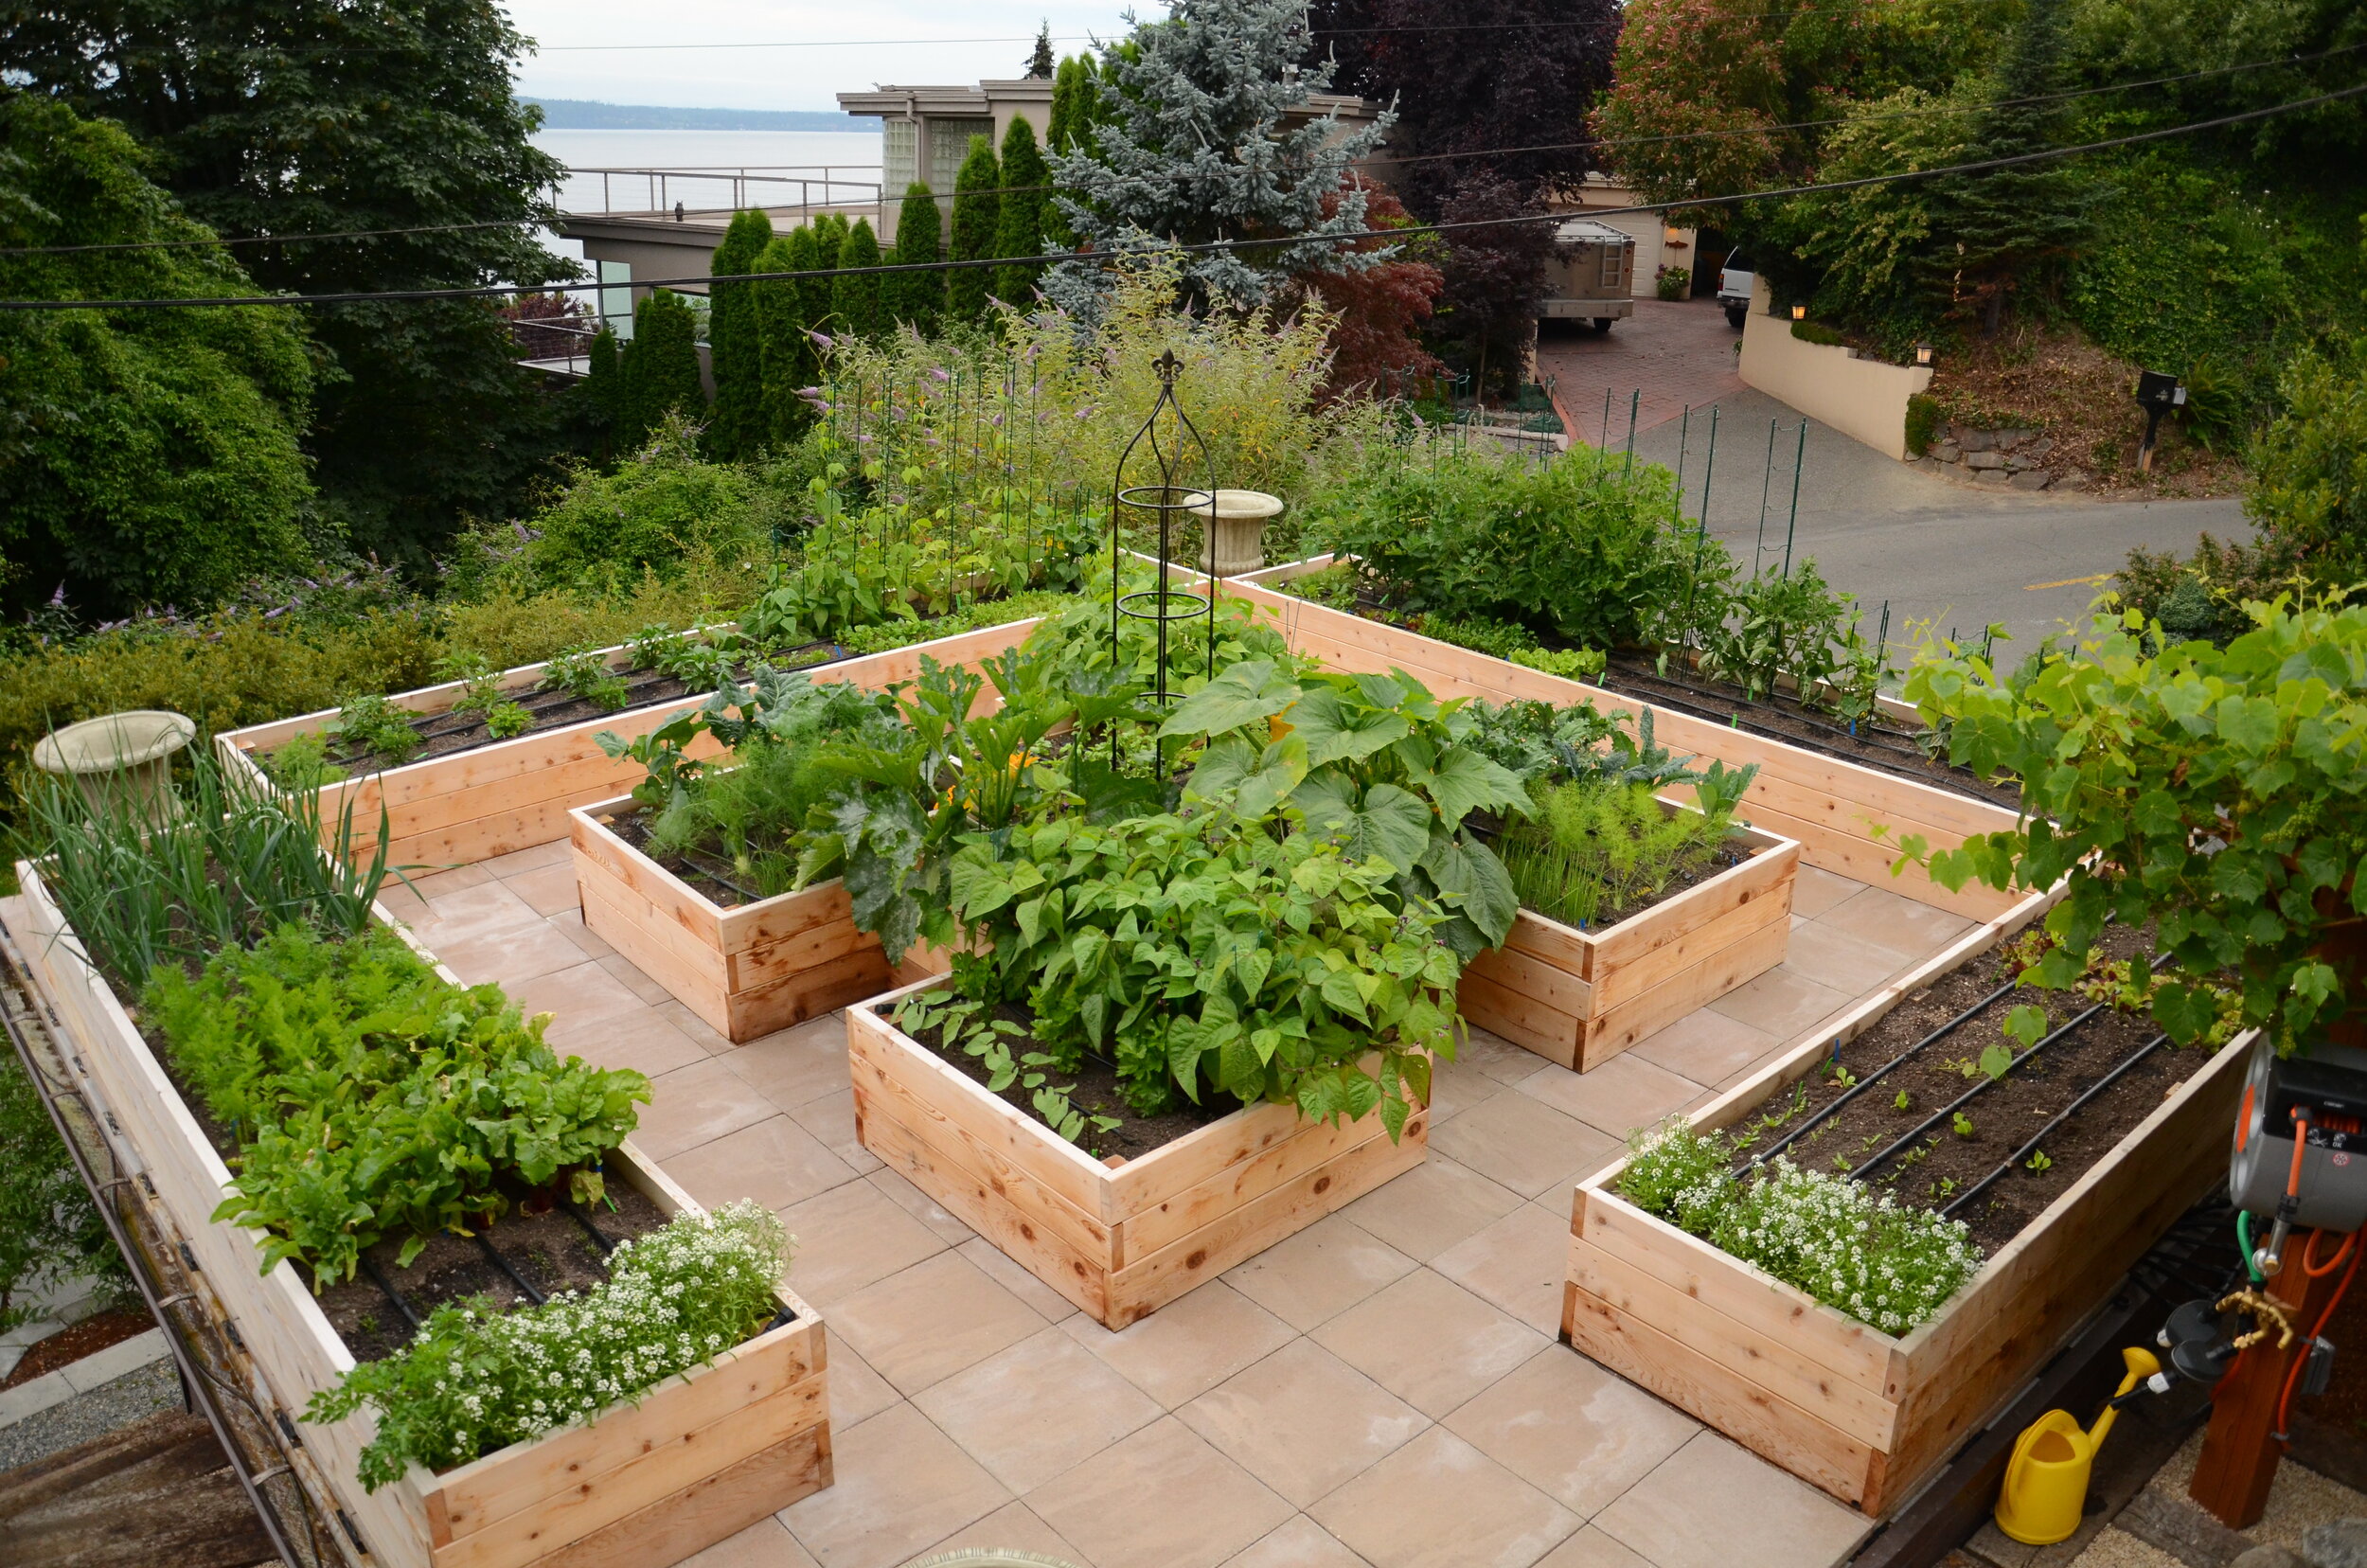
Aesthetics: Raised garden beds can be visually appealing and help create defined spaces in your garden. They also allow for easier pathway creation and weed control.
-
Yield: Raised beds can accommodate more plants and promote deeper root growth, leading to higher yields.
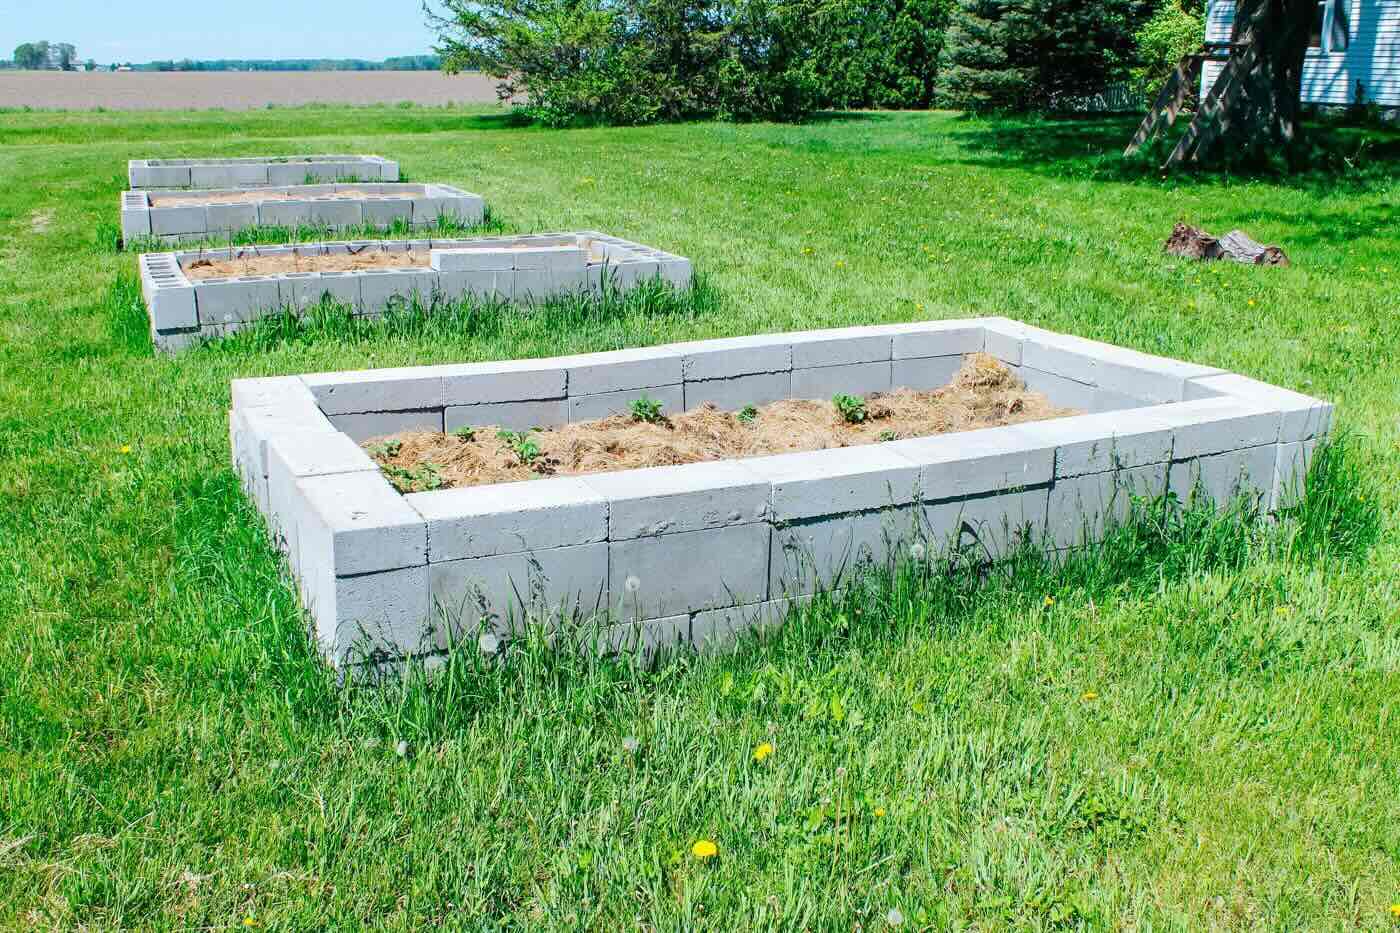
Read more: How To Build A Stone Raised Garden Bed
Planning Your Raised Garden Bed
Before you start building, it's crucial to plan your raised garden bed carefully. Here are some steps to consider:
1. Choose the Right Location
The location of your raised garden bed is critical. Ensure that the area receives full sunlight, as most vegetables and flowers require at least six hours of direct sunlight per day. Take note of any obstructions like trees or power lines that might cast shade on your garden.
2. Measure the Area
Measure the space where you plan to build your raised garden bed. Consider the size of the bed based on what you want to grow. A common size for a raised garden bed is 4 feet wide by 8 feet long, but you can adjust the dimensions according to your needs.
3. Consider Companion Planting
Companion planting is the practice of growing different plants together to improve their growth and health. Grouping plants that complement each other can enhance the overall yield of your garden. For example, planting marigolds with tomatoes can help deter nematodes.
4. Plan for Future Expansion
If you're new to gardening, it's a good idea to start with one bed and plan for future expansion. This will help you visualize how your garden will look and allow you to establish additional space if needed.
Materials Needed
To build a raised garden bed, you'll need the following materials:
-
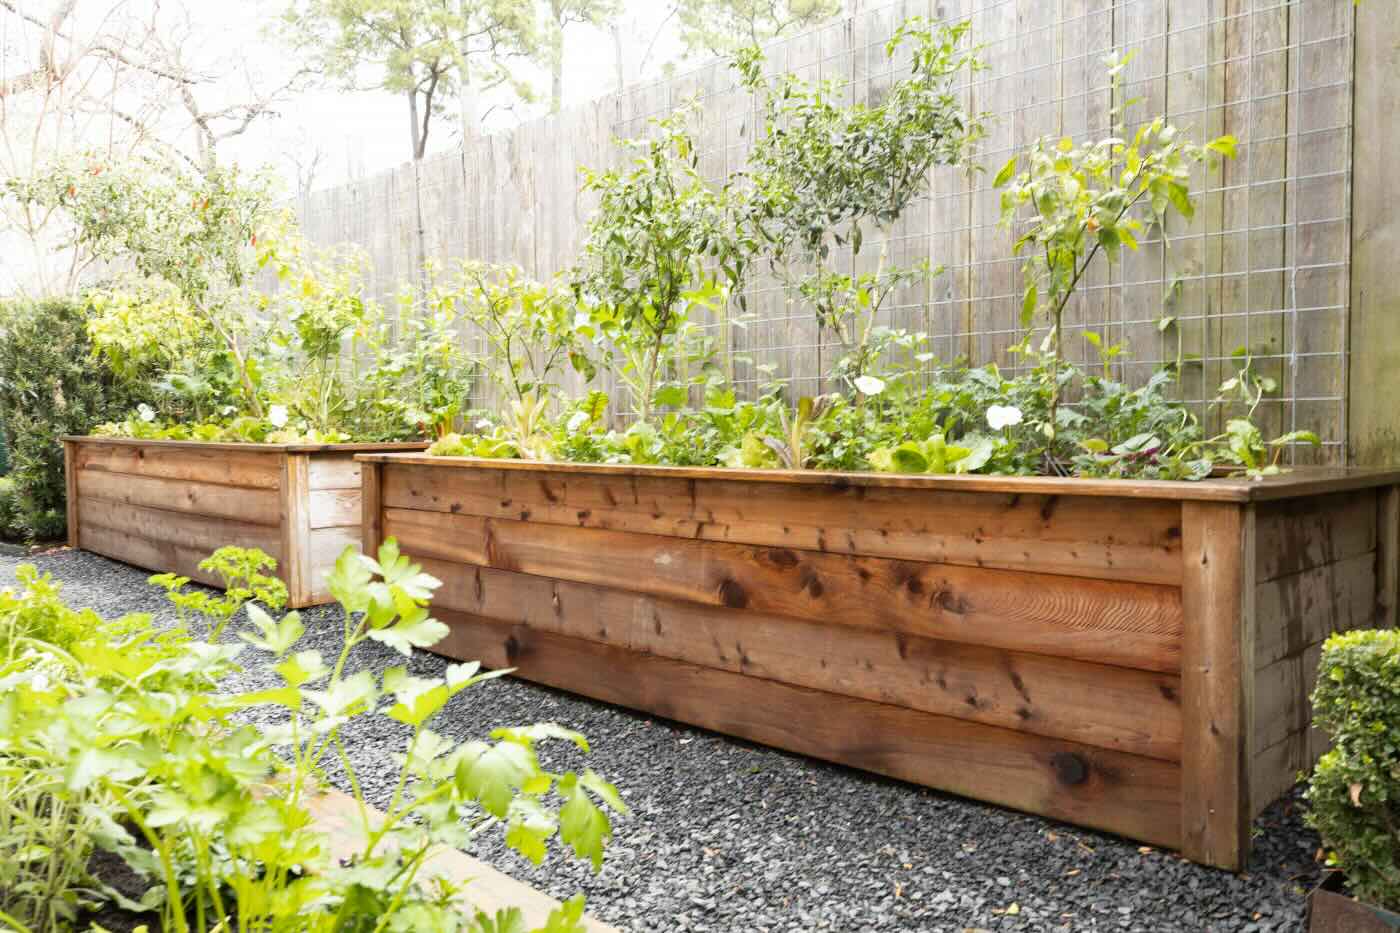
Lumber: Untreated wood is a good option for raised garden beds. Popular choices include pine, douglas fir, and cedar. Cedar is naturally water-resistant but can be expensive.
-
Weed Barrier: A weed barrier like landscape fabric or hardware cloth is essential for preventing weeds and pests from growing in the bed.
-
Soil Mix: A mix of organic soil and compost is ideal for raised garden beds. A common ratio is 60% topsoil, 30% compost, and 10% potting mix.
-
Tools: You'll need basic carpentry tools like a compound miter saw or circular saw, drill/driver, tape measure, rafter/speed square, saw horses, staple gun and staples, tin snips, digging shovel and transfer shovel, spading fork, garden rake, garden trowel, garden hose and nozzle or wand, soaker hose, hose-end irrigation timer, work gloves, safety glasses, hearing protection, and a respirator.
Step-by-Step Instructions
Step 1: Prepare Your Site
-
Mark the Location: Use a rope or string to mark the area where you plan to build your raised garden bed.
-
Remove Grass: Use a digging shovel to remove the grass from the marked area. You can also use a spading fork to loosen the soil.
-
Level Ground: Ensure that the ground is level by using a rake and shovel to remove any uneven areas.
Read more: How To Build A Cedar Raised Garden Bed
Step 2: Cut Lumber to Size
-
Cut Boards: Use a circular saw or compound miter saw to cut the lumber into the required lengths for your raised garden bed frame.
-
Pre-Cut Option: If you prefer not to cut the lumber yourself, you can purchase pre-cut wood from most home improvement stores.
Step 3: Assemble the Frame
-
Lay Out Boards: Place the boards on a flat surface and arrange them according to your design.
-
Attach Supports: Use 2x4s as supports at each end of two boards. Drill three deck screws into each end of these supports to secure them to the larger flat planks.
-
Add Third Board: Line up the third plank across the outer edge of the two other planks and secure it with two deck screws at each corner.
-
Complete Frame: Repeat this process for the fourth plank to complete the square frame of your raised garden bed.
Step 4: Line with Weed Barrier
-
Cut Weed Barrier: Cut a piece of weed barrier slightly larger than your raised garden bed frame.
-
Place Barrier: Lay the weed barrier at the bottom of the bed, ensuring it covers all corners and edges.
-
Secure Barrier: Use landscape fabric pegs or staples to secure the weed barrier in place around the interior edge of the raised garden bed.
Step 5: Add Soil Mix
-
Calculate Soil Needed: Use the formula Length x Width x Depth to determine how much soil mix you'll need. For example, a bed measuring 8 feet by 4 feet by 10 inches will require about 27 cubic feet of soil mix.
-
Fill Bed: Fill the raised garden bed with your prepared soil mix, leaving enough space for settling.
-
Adjust Proportions: Adjust the proportions of your soil mix based on the specific needs of your plants. For instance, tomatoes prefer a richer soil mix.
Step 6: Add Final Touches
-
Water Bed: Water the soil thoroughly after filling it to settle any air pockets.
-
Plant Your Garden: Once the bed is ready, plant your chosen vegetables, herbs, or flowers according to their specific needs.
-
Install Irrigation System: Consider installing a drip irrigation system or soaker hose for efficient watering.
Tips and Considerations
Location Tips
-
Sun Exposure: Ensure that your raised garden bed receives full sunlight for optimal growth.
-
Level Ground: Make sure that the ground is level to prevent water from accumulating in one corner of the bed.
Material Tips
-
Wood Durability: Untreated wood is a good option but may need maintenance or replacement over time due to decay.
-
Weed Barrier: Use hardware cloth or landscape fabric as a weed barrier to prevent pests from growing in the bed from below.
Maintenance Tips
-
Soil Quality: Regularly check and adjust the soil quality by adding more compost or topsoil as needed.
-
Drainage: Ensure proper drainage by adding organic matter like peat moss or perlite to improve soil structure.
Customizing Your Raised Garden Bed
Adding Irrigation System
Installing a drip irrigation system or soaker hose can make watering easier and more efficient. This is especially useful for plants that require consistent moisture levels.
Adding Trellis
Adding a garden trellis next to your raised garden bed can help support vines and tall plants, maximizing space and promoting better growth.
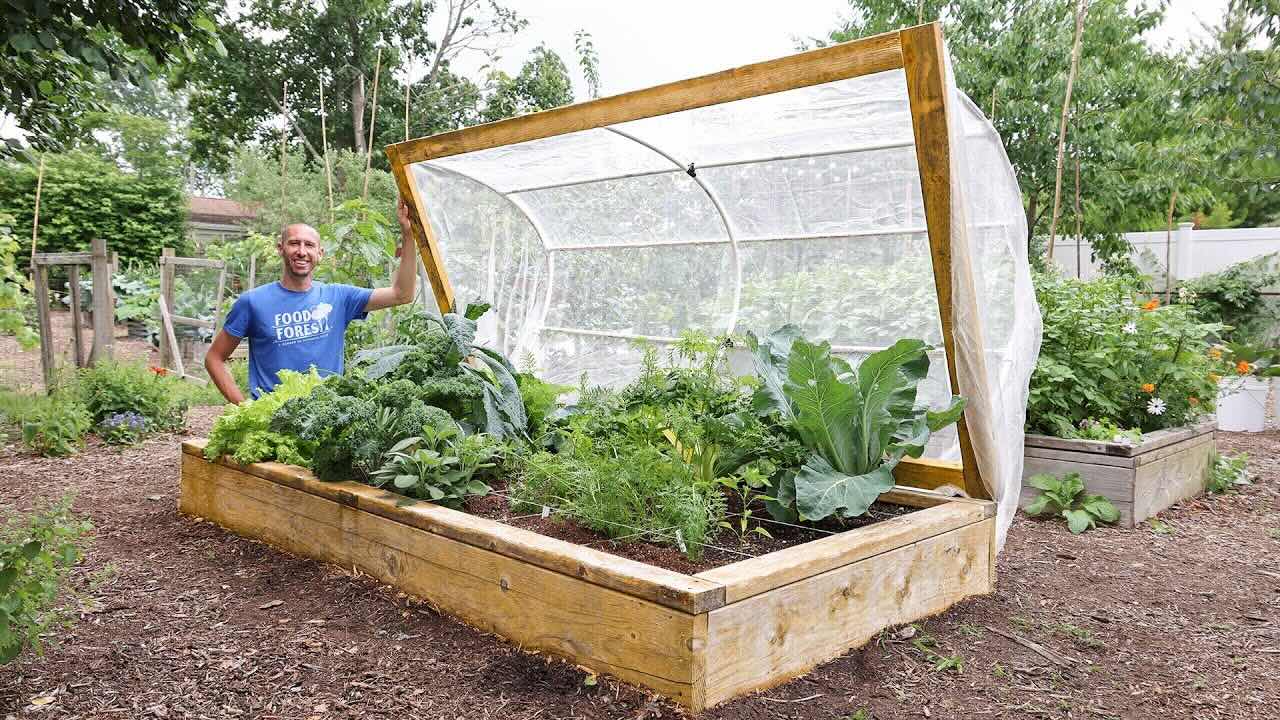
Protecting Plants
Using a mesh cover can protect your plants from birds and rabbits. You can build the frame with wood and PVC pipes, then cover it with plastic to protect plants from cooler temperatures.
Conclusion
Building a raised garden bed is a rewarding DIY project that offers numerous benefits for gardeners. By following these step-by-step instructions and considering the tips and considerations outlined above, you'll be well on your way to creating a thriving and productive garden. Whether you're a beginner or an experienced gardener, raised garden beds provide an excellent way to enhance your gardening experience while enjoying fresh homegrown produce.
Was this page helpful?
At Storables.com, we guarantee accurate and reliable information. Our content, validated by Expert Board Contributors, is crafted following stringent Editorial Policies. We're committed to providing you with well-researched, expert-backed insights for all your informational needs.

0 thoughts on “How to Build a Raised Garden Bed: Step-by-Step Instructions”