Home>Interior Design>How To Remove Peel And Stick Tiles: Easy Steps For A Quick Refresh

Interior Design
How To Remove Peel And Stick Tiles: Easy Steps For A Quick Refresh
Modified: January 5, 2024
Learn how to easily remove peel and stick tiles in just a few simple steps for a quick interior design refresh.
(Many of the links in this article redirect to a specific reviewed product. Your purchase of these products through affiliate links helps to generate commission for Storables.com, at no extra cost. Learn more)
Introduction
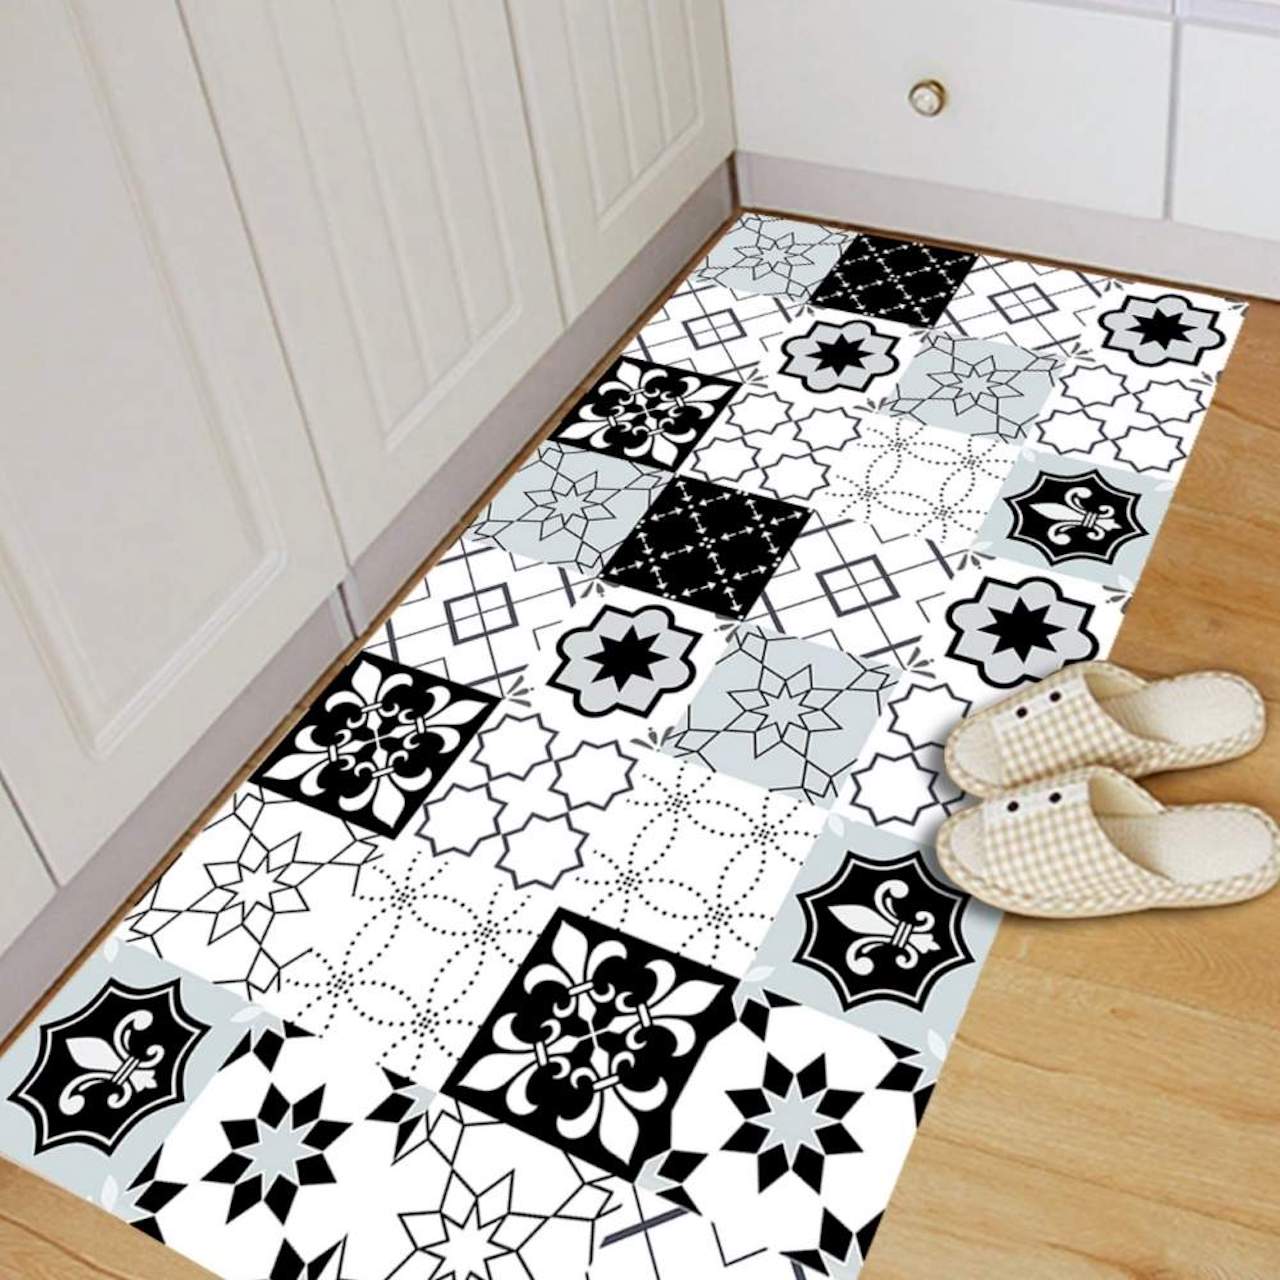
When it comes to interior design, few things can transform a space as easily and cost-effectively as peel and stick tiles. Whether you’re looking to update your kitchen backsplash, revamp your bathroom, or add a touch of style to your living room, peel and stick tiles offer a convenient way to refresh your space without the need for professional installation.
However, there may come a time when you want to remove those peel and stick tiles to make way for a new design or simply restore the original surface. In this article, we will guide you through the easy steps to remove peel and stick tiles, ensuring a seamless process and a refreshed space.
Before we dive into the steps, let’s quickly go over the tools and materials you’ll need:
- Putty knife
- Heat gun or hairdryer
- Adhesive remover
- Plastic sheet or drop cloth
- Bucket or container
- Cleaning solution
- Rags or sponges
With these tools and materials at hand, you’re ready to tackle the task of removing peel and stick tiles. So let’s get started!
Key Takeaways:
- Easily remove peel and stick tiles with basic tools and simple steps, allowing for a seamless and rewarding DIY project to refresh your space.
- Prepare the area, use heat and adhesive remover, and clean the surface to ensure a smooth transition from removing old tiles to applying new ones or refreshing the space in other creative ways.
Step 1: Gather the necessary tools and materials
Before you begin the process of removing peel and stick tiles, it’s important to gather all the necessary tools and materials. Having everything prepared beforehand will ensure a smoother and more efficient process.
Here’s a list of the tools and materials you’ll need:
- Putty knife: This will be your main tool for removing the tiles. Choose a putty knife with a thin and flexible blade to easily slide under the tiles.
- Heat gun or hairdryer: Heat is often used to loosen the adhesive on the tiles, making it easier to remove them. A heat gun or hairdryer can generate the necessary heat.
- Adhesive remover: In some cases, the adhesive from the peel and stick tiles may leave a residue on the surface. An adhesive remover will help dissolve and remove any remaining adhesive.
- Plastic sheet or drop cloth: To protect the surrounding area from debris, it’s a good idea to lay down a plastic sheet or drop cloth.
- Bucket or container: You’ll need a bucket or container to collect the removed tiles and any debris that may accumulate during the process.
- Cleaning solution: Once the tiles are removed, you’ll want to clean the surface thoroughly. Prepare a cleaning solution using mild detergent or vinegar diluted in water.
- Rags or sponges: Use rags or sponges to apply the cleaning solution and wipe away any residue or dirt.
By gathering all these tools and materials beforehand, you’ll be well-prepared and ready to tackle the task of removing the peel and stick tiles.
Step 2: Prepare the area
Before you start removing the peel and stick tiles, it’s crucial to prepare the area to minimize damage and make the process more manageable.
Follow these steps to properly prepare the area:
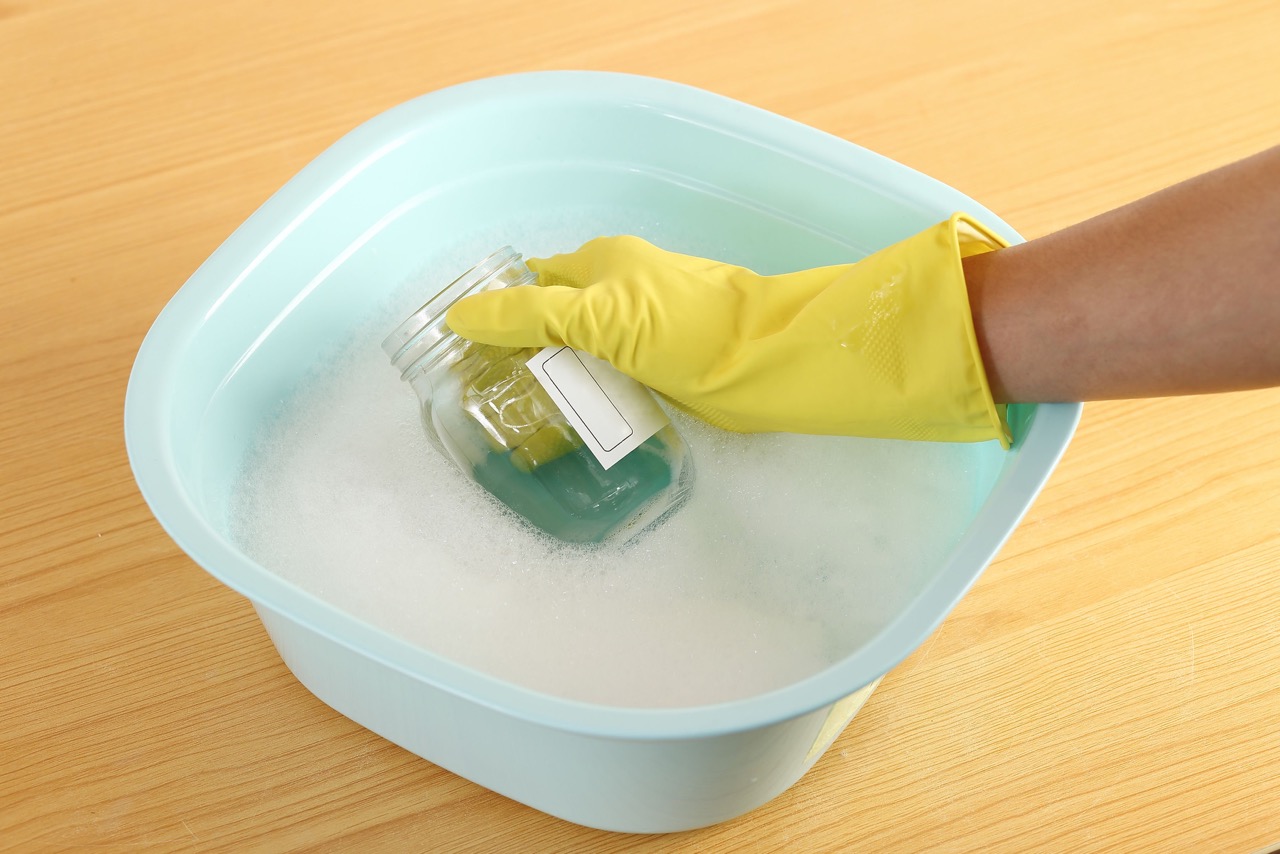
- Clean the surface: Begin by cleaning the surface where the tiles are applied. Use a mild detergent or vinegar diluted in water to remove any dirt, dust, or grime. Ensure that the surface is dry before proceeding.
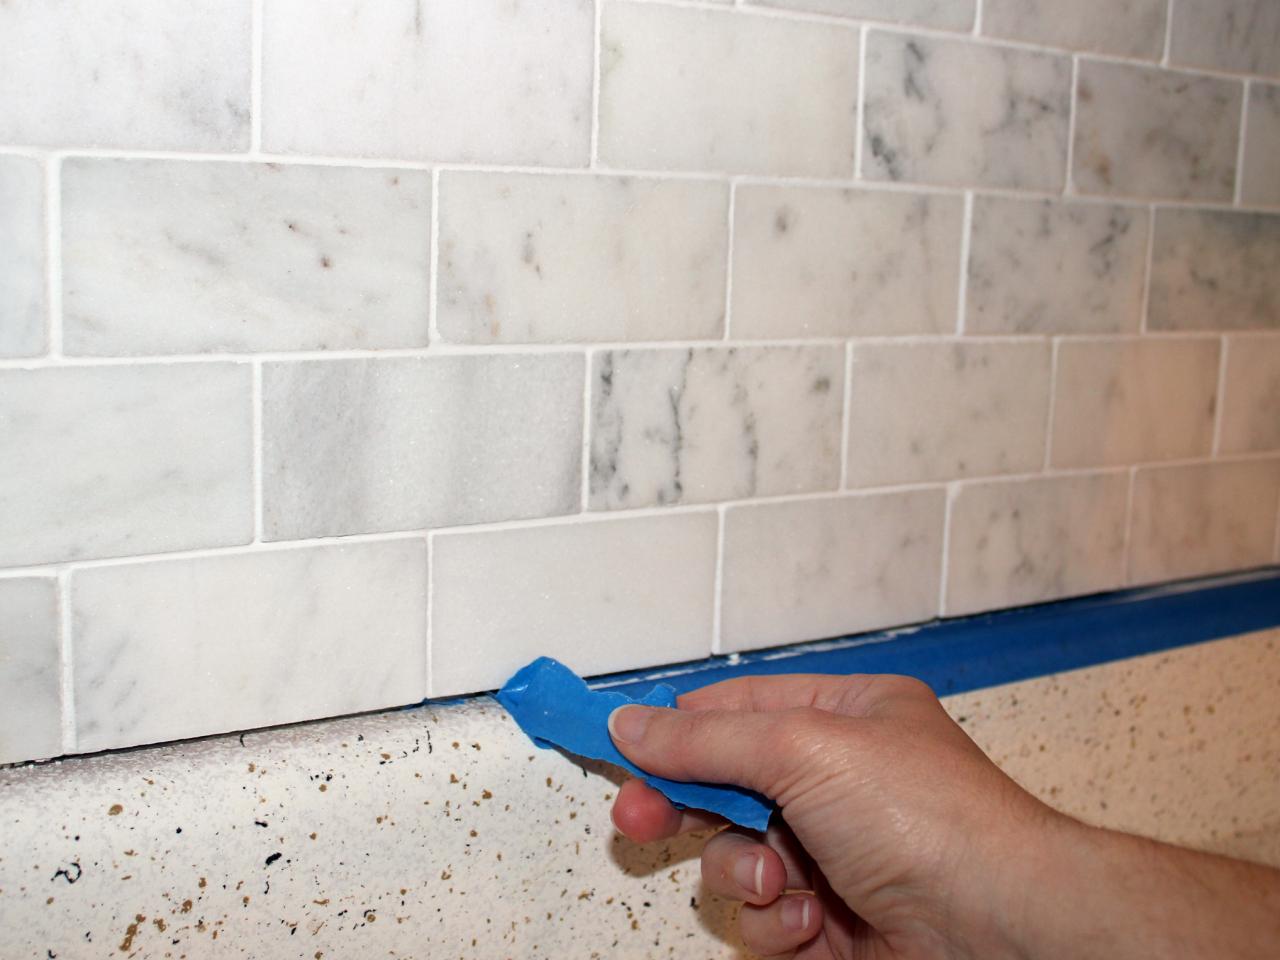
- Protect surrounding surfaces: Use painter’s tape or masking tape to protect any adjacent surfaces or fixtures that you don’t want to damage or accidentally remove.
- Lay down a plastic sheet or drop cloth: Place a plastic sheet or drop cloth on the floor or countertop to catch any debris or adhesive that may fall during the removal process. This will make cleanup easier and prevent damage to the surrounding area.
- Turn off power sources: If you’re working in a kitchen or bathroom, make sure to turn off the power sources to any outlets or switches near the area you’ll be working on. This will reduce the risk of electrical accidents.
By taking the time to prepare the area properly, you’ll prevent unnecessary damage to adjacent surfaces and create a safer and more organized workspace.
Step 3: Start removing the peel and stick tiles
Now that you’ve gathered the necessary tools, materials, and prepared the area, it’s time to start removing the peel and stick tiles. Follow these steps for a smooth and effective removal process:
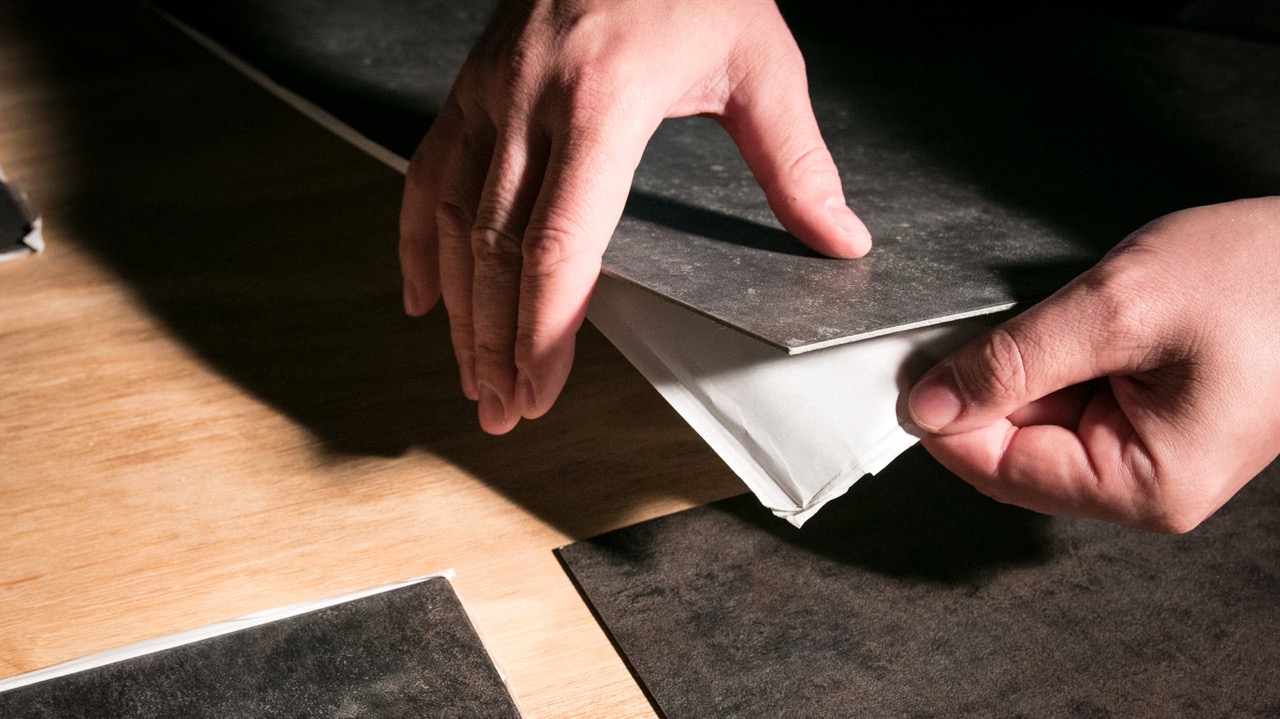
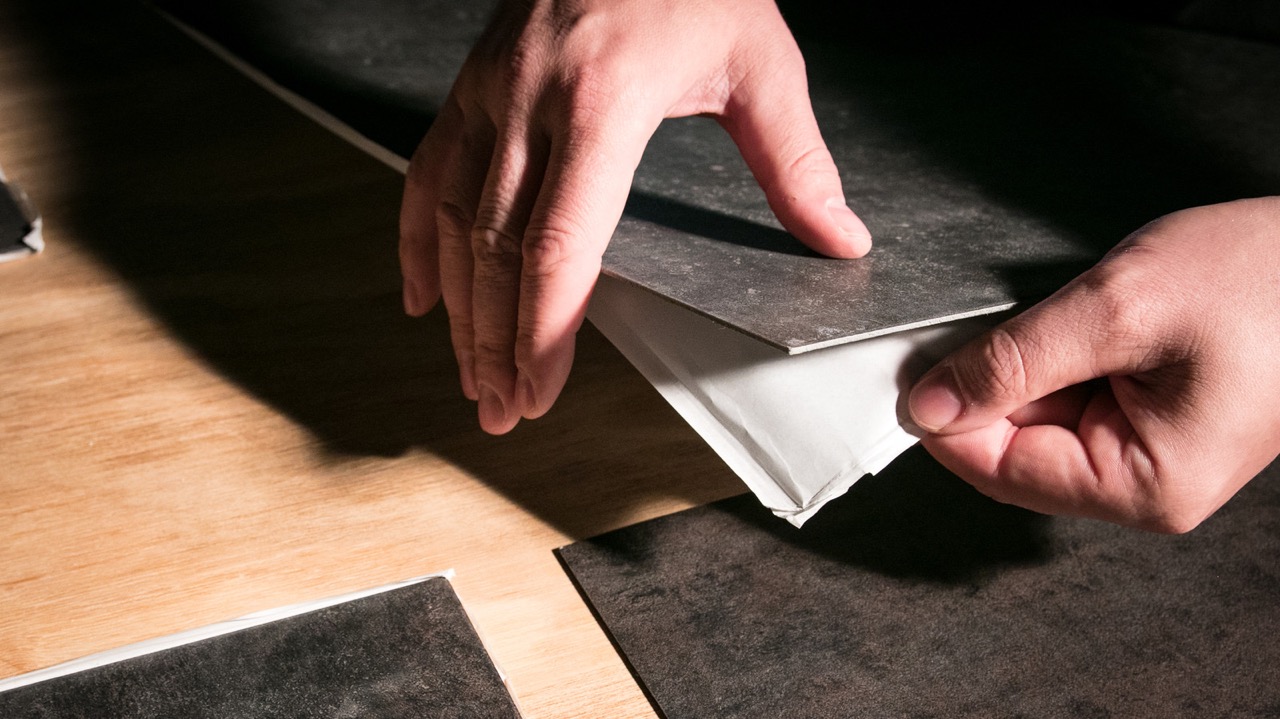
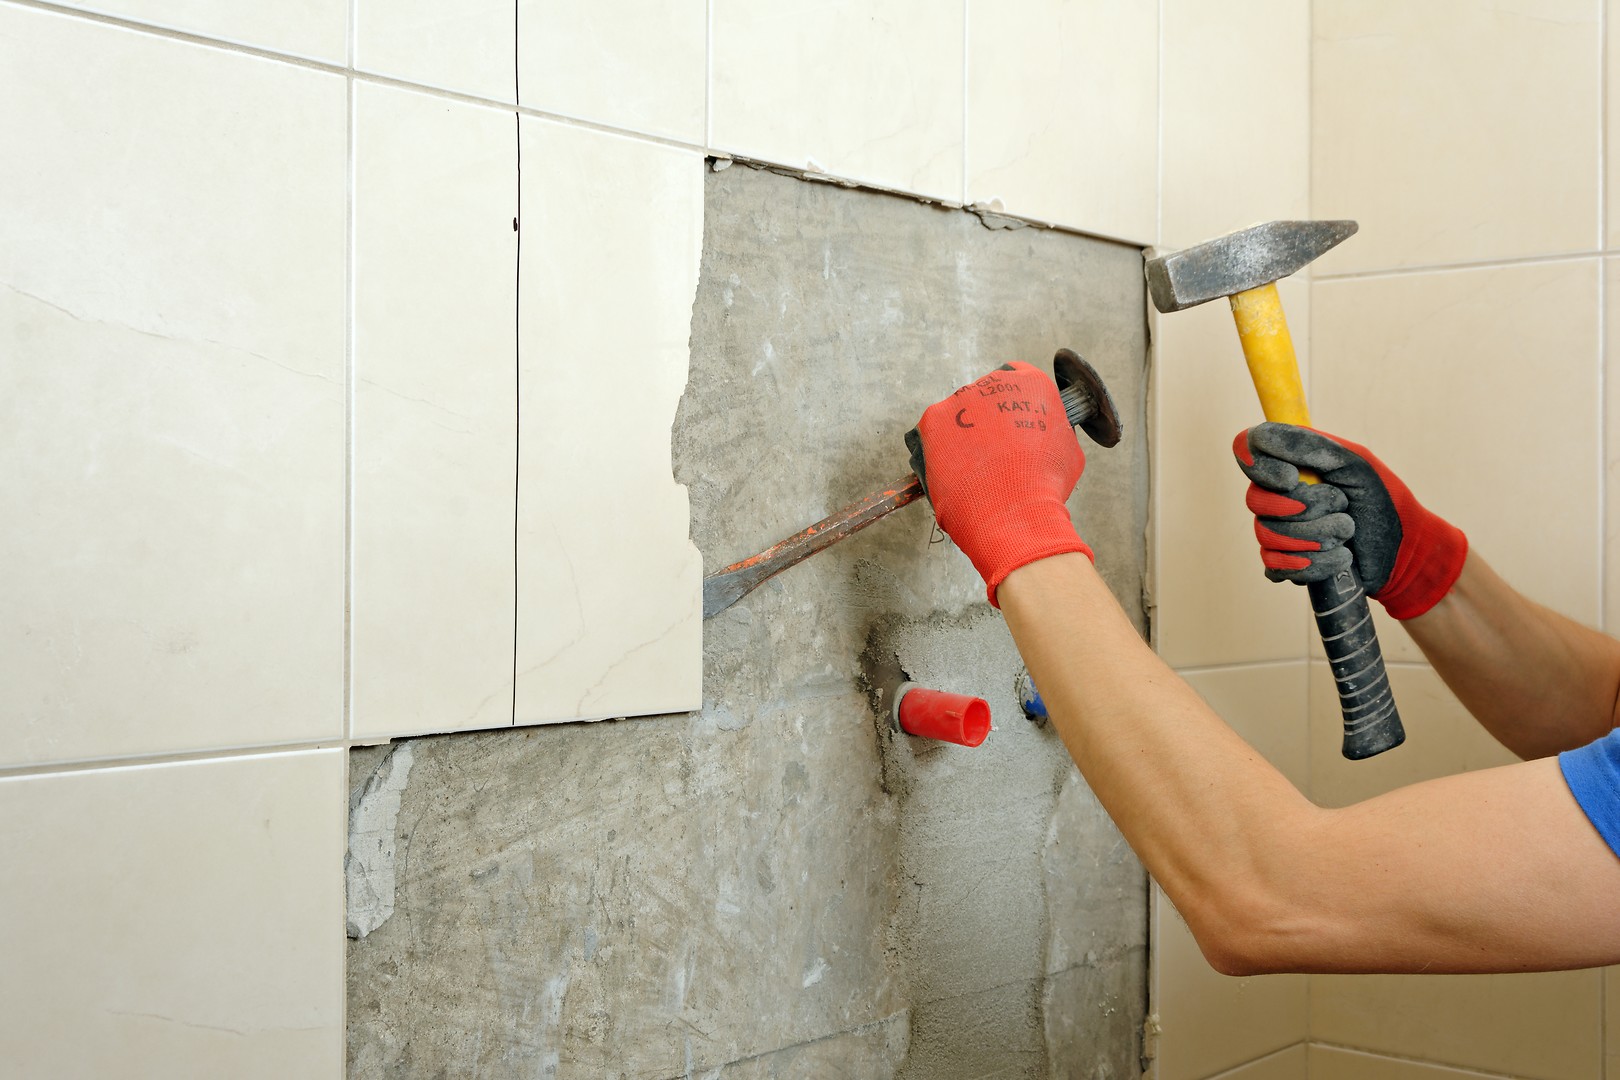
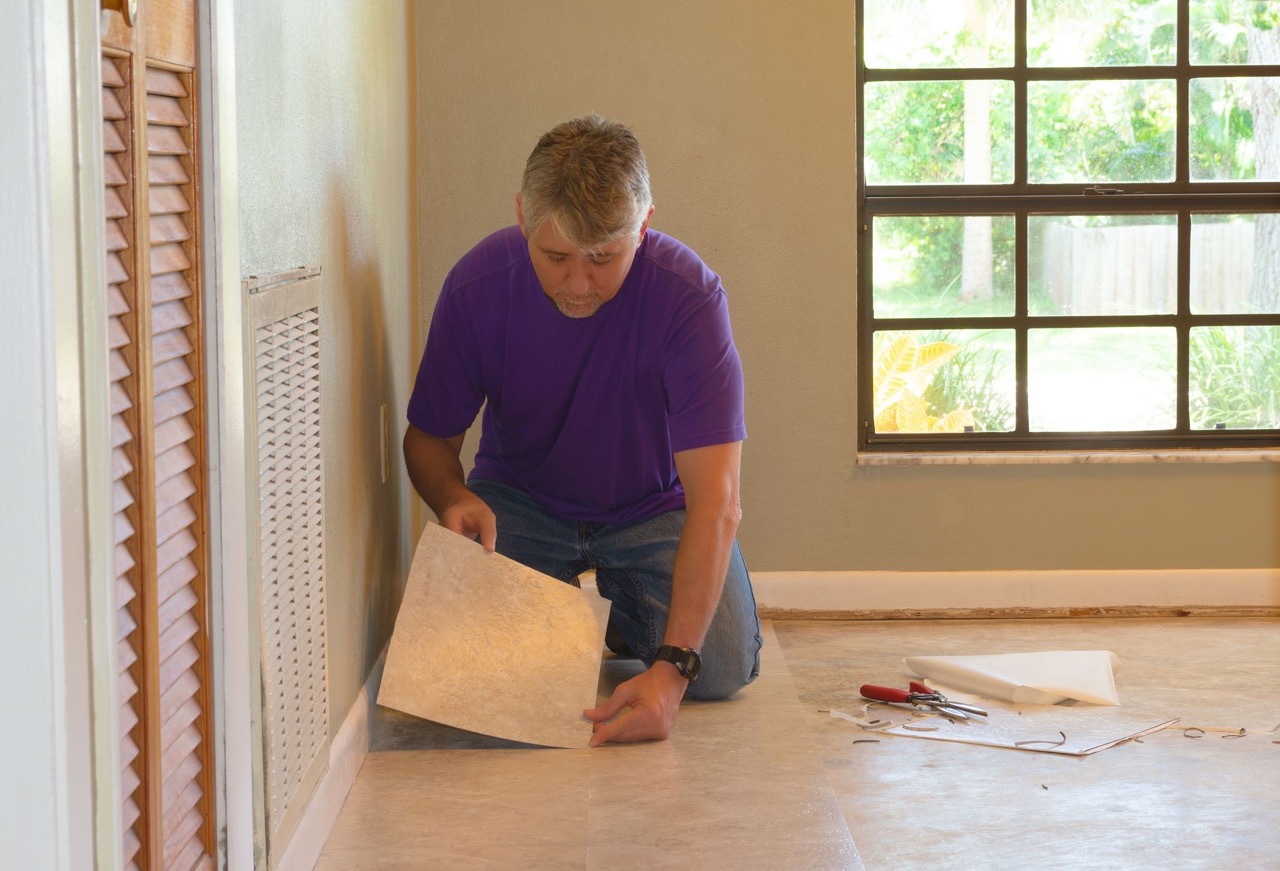
- Start at a corner: Use your putty knife to gently pry up a corner of one of the tiles. Insert the putty knife at a slight angle and apply enough pressure to lift the tile without damaging the surface underneath.
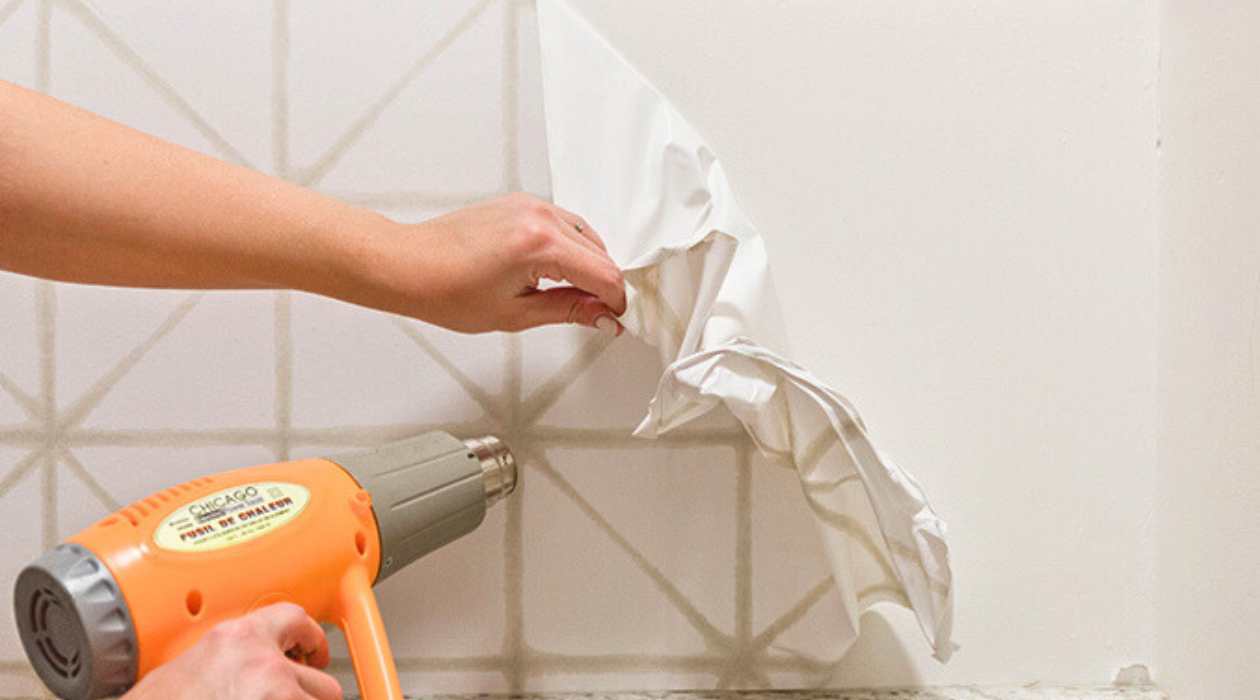
- Apply heat (if necessary): If the tiles are not coming off easily, you can use a heat gun or hairdryer to warm up the adhesive. Hold the heat source a few inches away from the tile and move it in a back-and-forth motion to evenly distribute the heat. Be cautious not to overheat the tile or the surface beneath it.
- Continue removing tiles: Once the tile is lifted, continue to work your putty knife underneath it, gradually prying it up. Gently pull on the tile and apply more heat or use the putty knife to lift any stubborn areas.
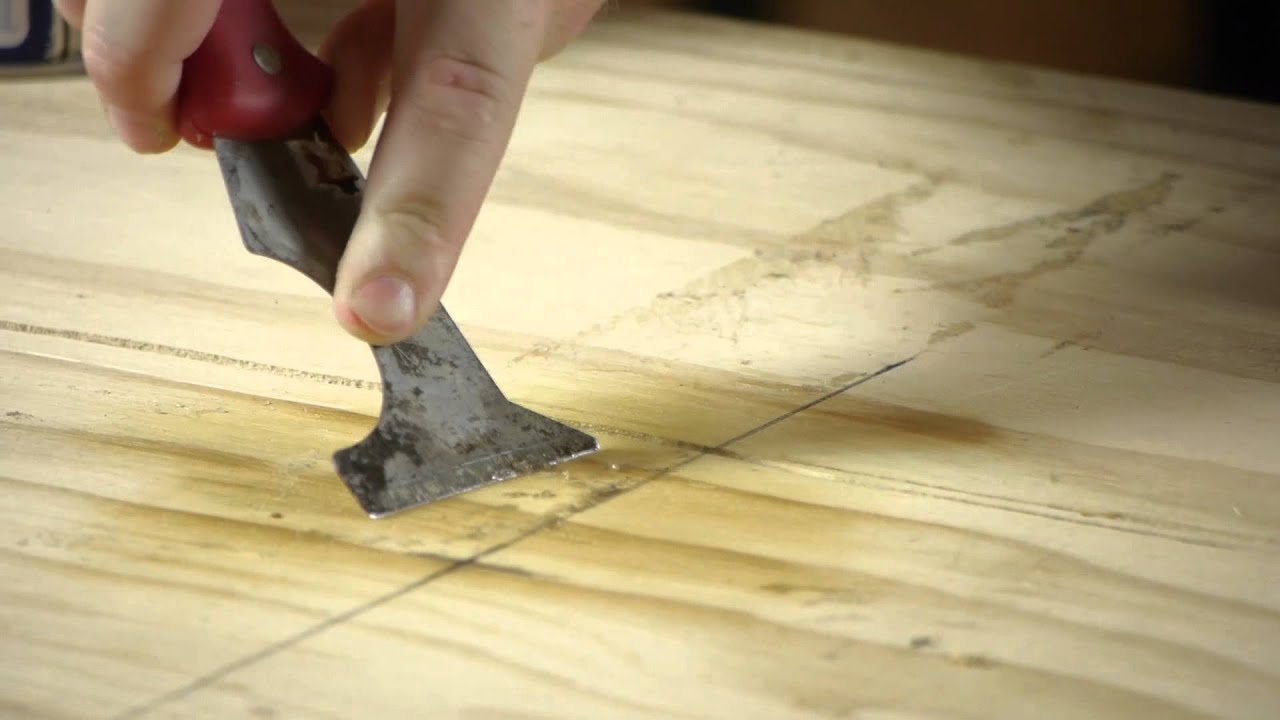
- Remove adhesive residue: After removing the tiles, you may find residue from the adhesive left behind on the surface. Use your putty knife or adhesive remover to carefully scrape off any remaining adhesive. Be cautious not to scratch or damage the surface.
- Dispose of the tiles: Place the removed tiles in a bucket or container for disposal. Depending on the type of tiles, you may be able to recycle them or dispose of them according to your local regulations.
Remember to work slowly and carefully to prevent any damage to the underlying surface. If you encounter tiles that are particularly difficult to remove or have strong adhesive, you may need to spend more time gently prying and using heat to loosen the adhesive.
Once you’ve successfully removed all the peel and stick tiles, it’s time to move on to the next step: removing any remaining adhesive.
When removing peel and stick tiles, use a hairdryer or heat gun to warm the adhesive, making it easier to peel off. Be sure to work slowly and carefully to avoid damaging the surface underneath.
Step 4: Remove any remaining adhesive
After removing the peel and stick tiles, it’s common to find some adhesive residue left on the surface. It’s essential to remove this residue before moving forward with any further renovations or applying new tiles. Follow these steps to effectively remove any remaining adhesive:
- Assess the residue: Take a close look at the surface and identify areas where adhesive residue remains. It may appear as a thin layer or small patches on the surface.
- Apply adhesive remover: Using a clean cloth or sponge, apply a small amount of adhesive remover to the affected areas. Be sure to follow the manufacturer’s instructions for the specific adhesive remover you are using.
- Let it soak: Allow the adhesive remover to sit on the residue for the recommended time specified by the product instructions. This will help dissolve the adhesive and make it easier to remove.
- Scrape or wipe away the residue: Use a putty knife, scraper, or a clean cloth to gently scrape or wipe away the adhesive residue. Work in small sections and be careful not to damage the surface underneath.
- Repeat if necessary: Depending on the amount and stubbornness of the adhesive residue, you may need to repeat the process multiple times until the surface is clean.
It’s important to note that different types of adhesive removers are available on the market. Some may require rinsing with water after application, while others may evaporate without leaving any residue. Be sure to read and follow the instructions provided by the adhesive remover manufacturer.
Once you’ve successfully removed all the adhesive residue, proceed to the next step to clean and prepare the surface for the next phase of your project.
Read more: How To Remove A Peel And Stick Tile
Step 5: Clean and prepare the surface
After removing the adhesive residue, it’s crucial to thoroughly clean and prepare the surface before applying new tiles or proceeding with any other renovations. Follow these steps to ensure a clean and smooth surface:
- Prepare a cleaning solution: Mix a mild detergent or vinegar with water to create a cleaning solution. The ratio should be about 1 tablespoon of detergent or vinegar per gallon of water.
- Apply the cleaning solution: Use a clean cloth or sponge to apply the cleaning solution to the surface. Make sure to cover the entire area and focus on any remaining debris or residue.
- Scrub the surface: Gently scrub the surface with the cloth or sponge, paying attention to any stubborn stains or marks. Be careful not to apply too much pressure or use abrasive materials that may damage the surface.
- Rinse with clean water: After scrubbing, rinse the surface with clean water to remove the cleaning solution and any loosened dirt or debris. This will leave the surface fresh and ready for the next step of your project.
- Dry the surface: Use a dry cloth or allow the surface to air dry completely. This step is crucial before proceeding with any further renovations or tile installation.
By thoroughly cleaning and preparing the surface, you create an optimal environment for the next phase of your project. A clean surface will ensure proper adhesion and longevity for any new tiles or materials you choose to apply.
Once the surface is clean and dry, you’re ready to move on to the final step: applying new tiles or refreshing the area to create a fresh and updated look.
Step 6: Apply new tiles or refresh the area
Now that you have successfully removed the peel and stick tiles, cleaned the surface, and prepared the area, it’s time to decide whether you want to apply new tiles or refresh the space in another way.
If you choose to apply new tiles, here are some steps to guide you through the process:
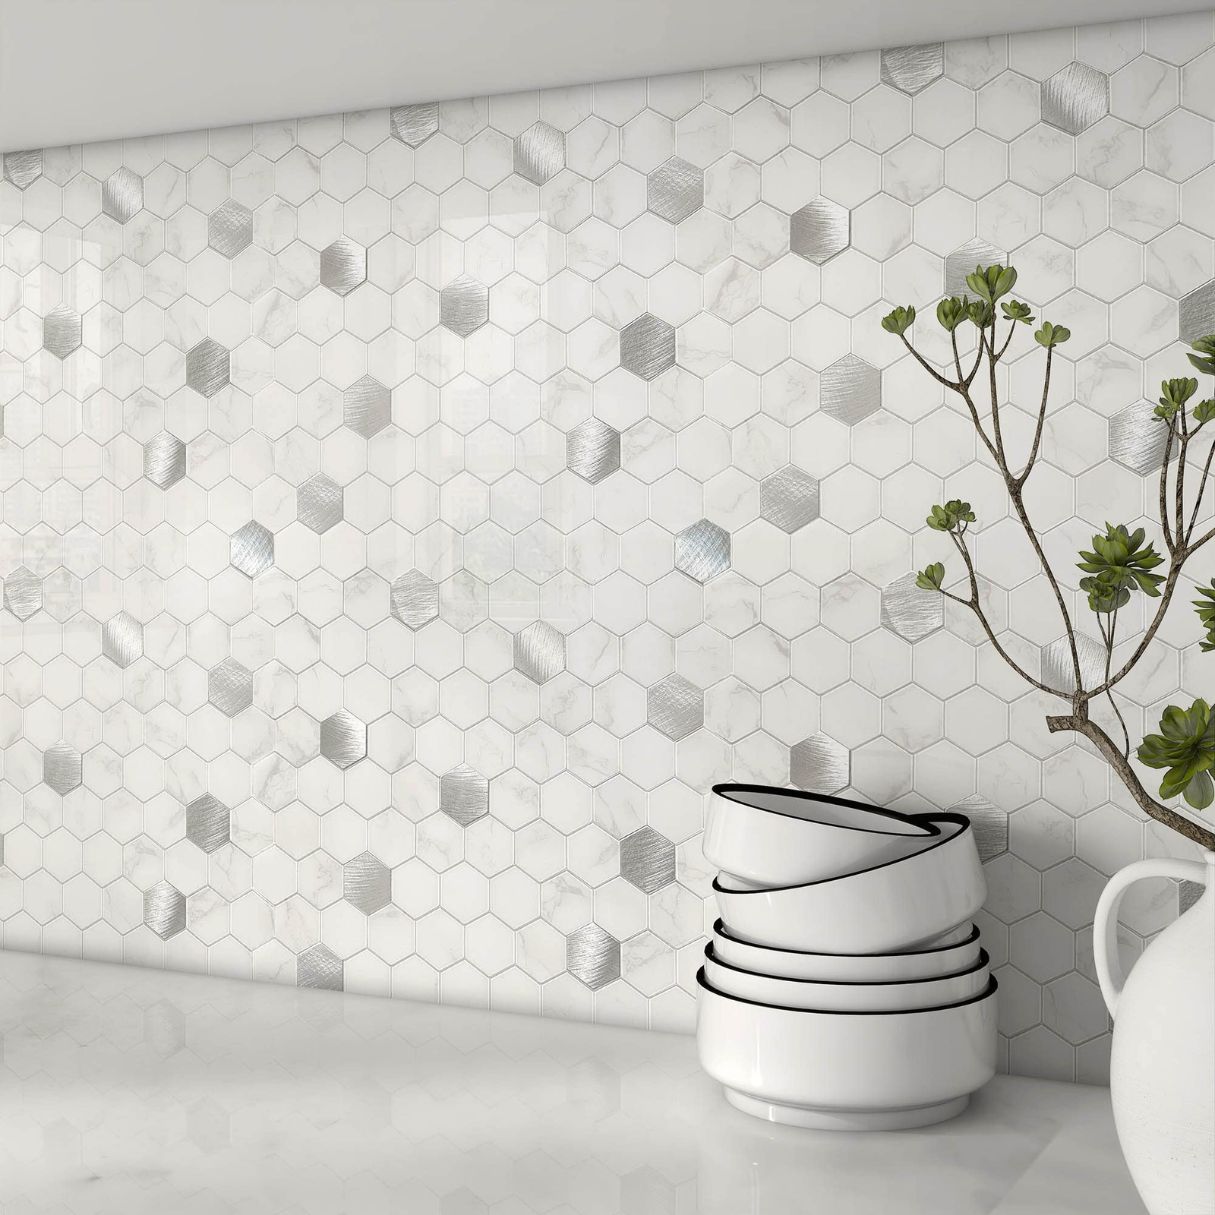
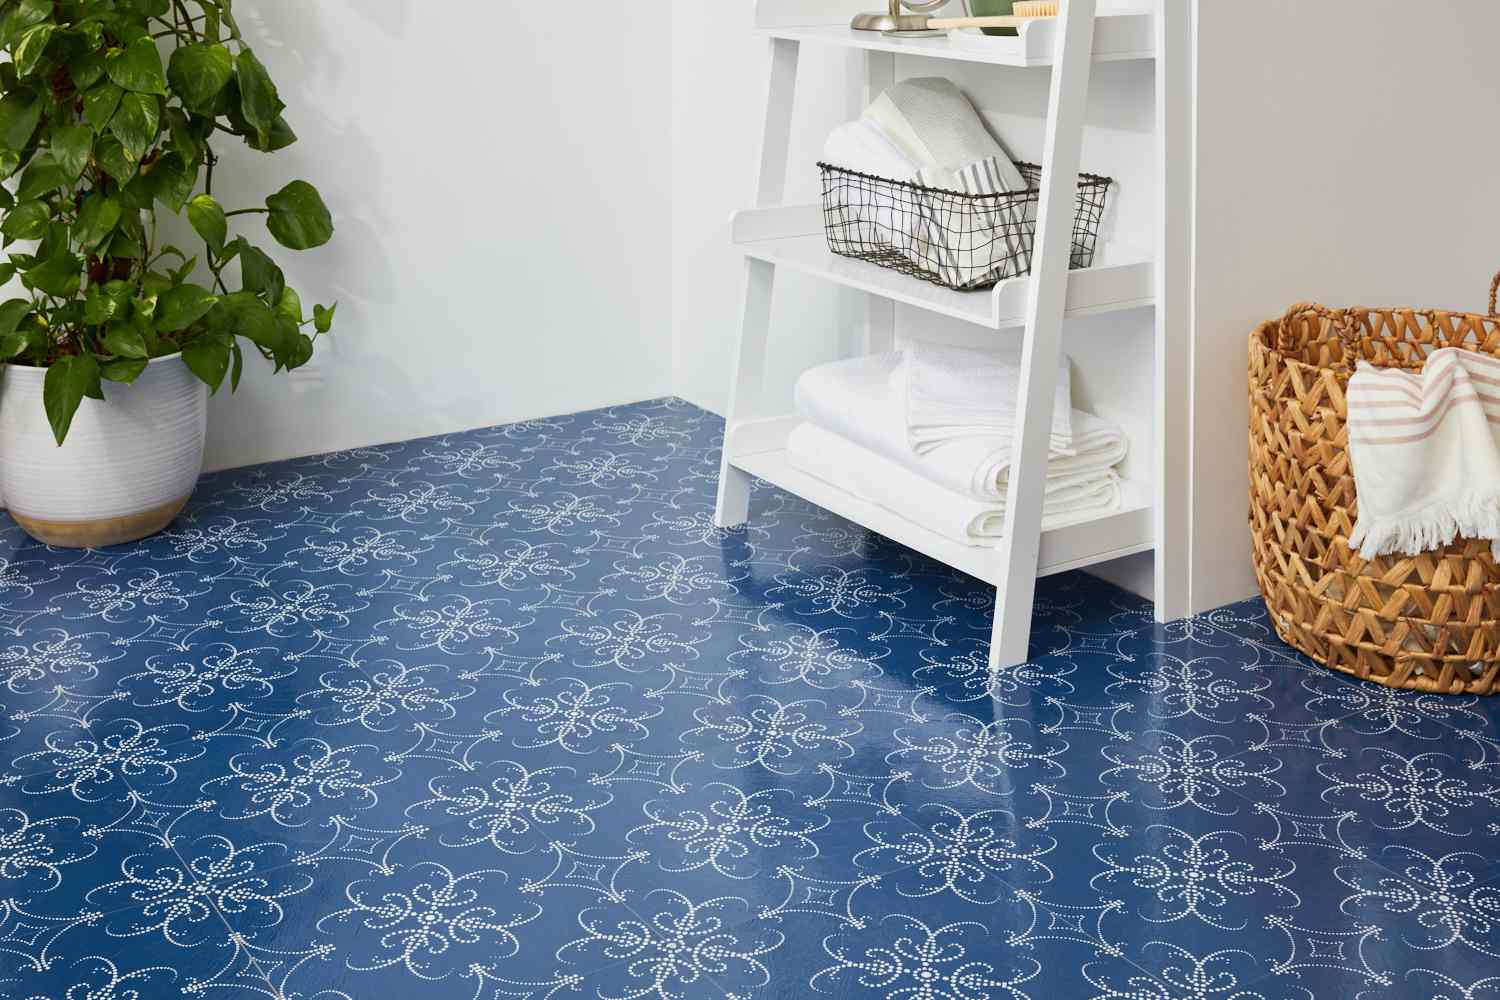
- Select your new tiles: Take some time to explore various tile options that suit your design preferences and the specific area you’re refreshing. Consider factors such as size, color, texture, and material to find the perfect tiles for your project.
- Prepare the new tiles: Follow the manufacturer’s instructions for preparing the new tiles. This may include cutting them to size, applying adhesive or using self-adhesive tiles, or other specific preparations.
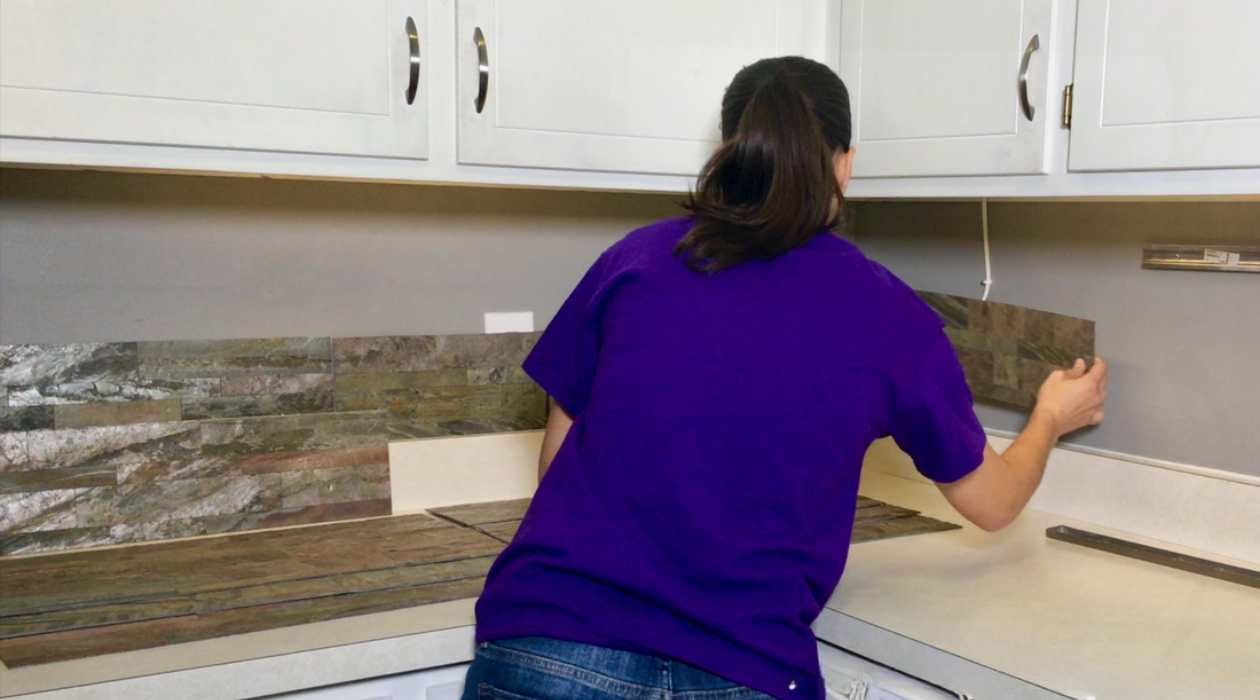
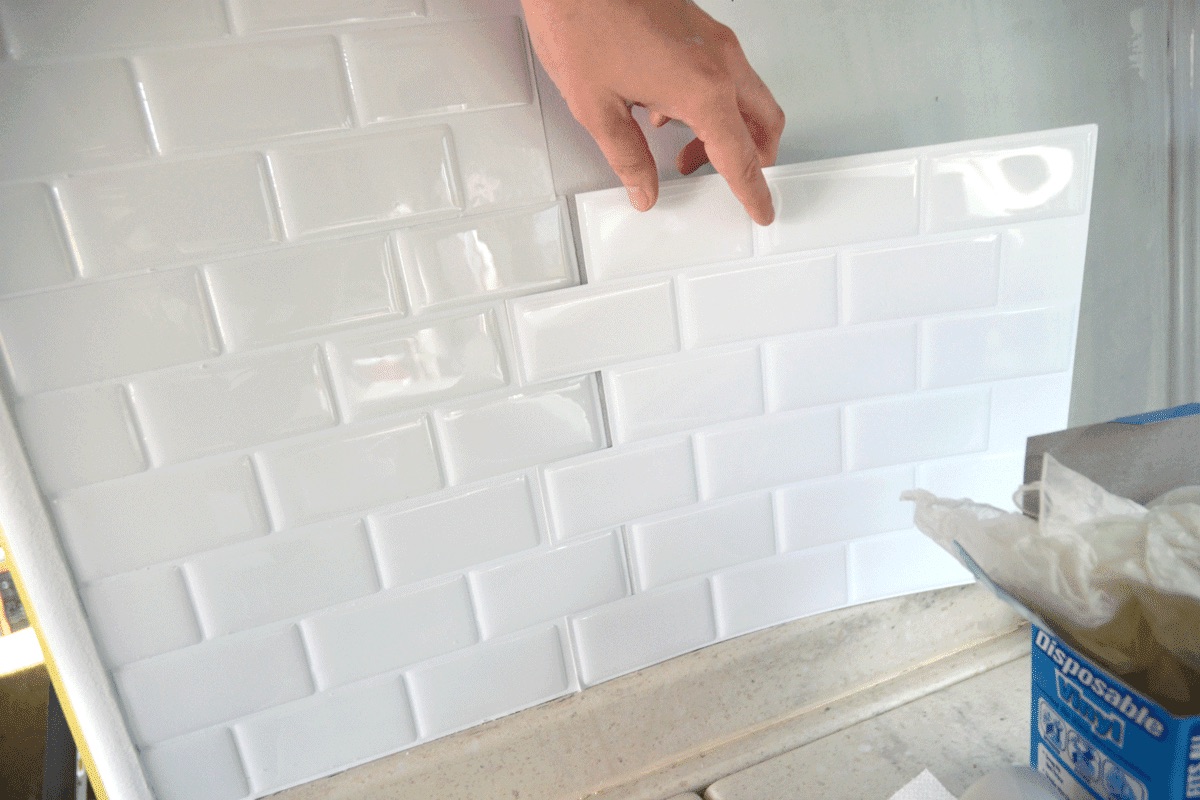
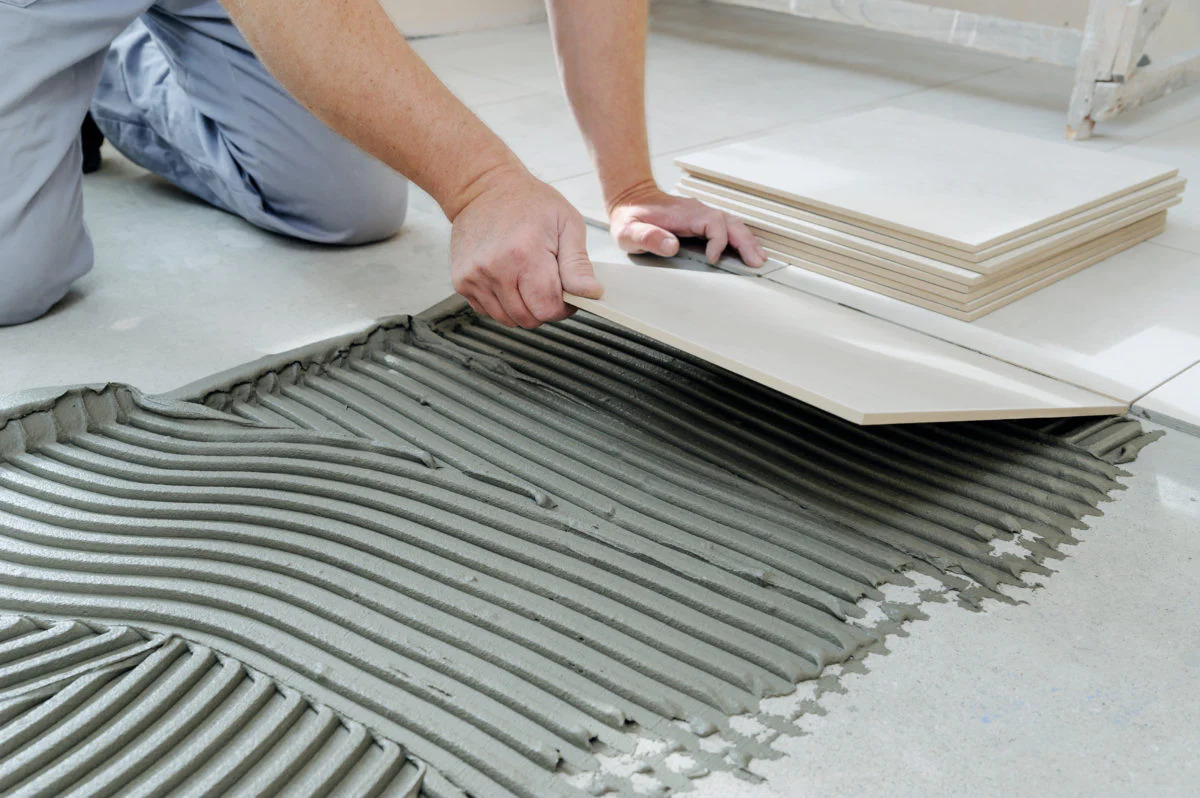
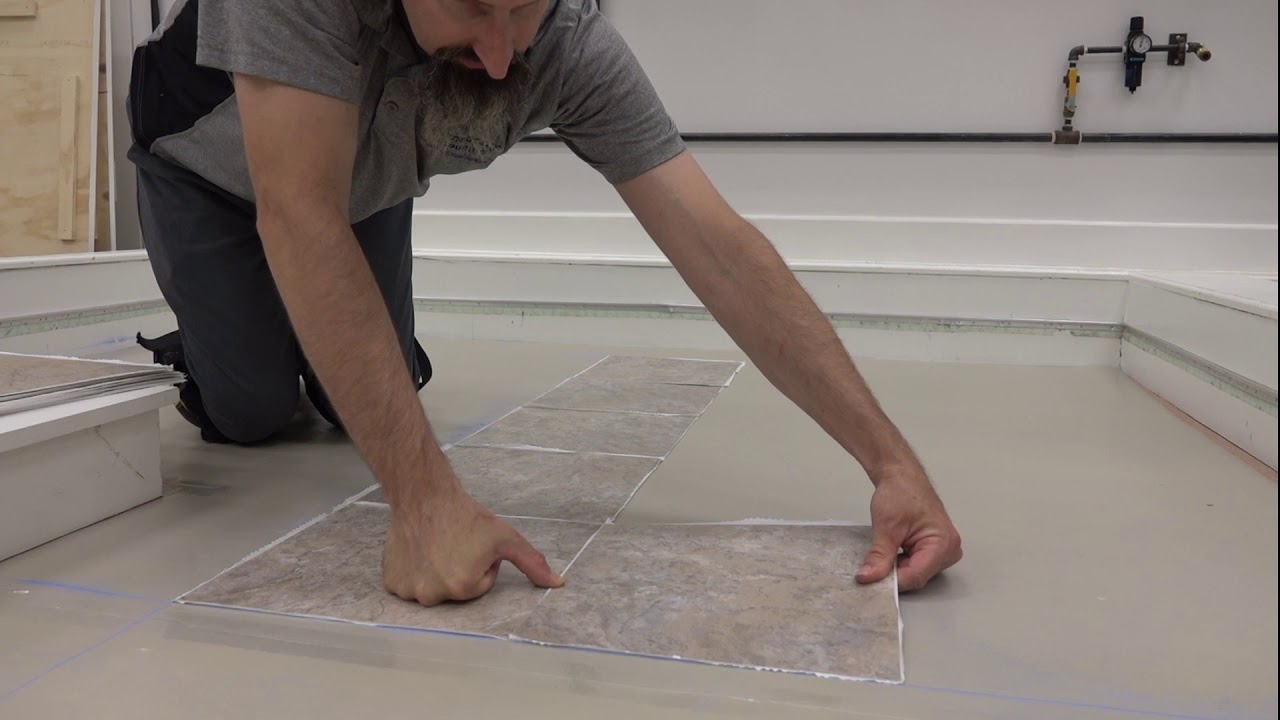
- Start applying the new tiles: Begin at a corner or in the center of the area, depending on the tile pattern you’ve chosen. Use the recommended adhesive or the self-adhesive backing, following the tile manufacturer’s instructions for proper installation.
- Continue tile installation: Work your way across the surface, ensuring each tile is properly aligned and adhered. Use spacers if necessary to maintain even spacing between tiles.
- Allow time for adhesive to set: Depending on the type of adhesive used, you may need to wait for a certain amount of time to allow the tiles to set and the adhesive to fully dry.
If you decide to refresh the area in a different way, here are a few ideas to consider:
- Paint: A fresh coat of paint can completely transform a room. Choose a color that complements your existing decor or opt for a bold new look.
- Wallpaper: Wallpaper is another option to add pattern and texture to your space. There are endless designs and styles to choose from.
- Decorative accents: Consider adding new accessories, such as artwork, mirrors, shelving, or decorative wall panels, to revitalize the look of the space.
- Reorganize and declutter: Sometimes a simple reorganization and decluttering can make a significant impact. Rearrange furniture, eliminate unnecessary items, and create a more functional and visually appealing space.
Remember to carefully follow the instructions and recommendations specific to the method you choose to refresh the area. Take your time, pay attention to detail, and enjoy the process of creating a new and revitalized space.
With the completion of this step, you have successfully removed the peel and stick tiles and achieved a refreshed and updated area. Take a step back and admire your hard work and the beautiful transformation you’ve accomplished.
Conclusion
Removing peel and stick tiles may seem like a daunting task, but with the right tools, preparation, and steps, it can be a manageable and rewarding DIY project. Whether you’re looking to update your kitchen backsplash, revamp your bathroom, or refresh any other area of your home, following the steps outlined in this guide will help you achieve the desired results.
Remember to gather all the necessary tools and materials before you begin. Prepare the area by cleaning the surface, protecting surrounding surfaces, and laying down a plastic sheet or drop cloth. Start removing the peel and stick tiles, applying heat or adhesive remover if needed. Then, remove any remaining adhesive and clean and prepare the surface for the next phase of your project.
Once the surface is clean, you have the option to apply new tiles or refresh the area in another way by painting, using wallpaper, or adding decorative accents. Consider your design preferences and the overall aesthetic of your space to make the best decision for your home.
Throughout the entire process, remember to work carefully and patiently. Take breaks when needed, and don’t rush the removal or installation. The end result will be well worth the effort and time invested.
By following these steps, you’ll be able to remove peel and stick tiles with ease and achieve a refreshed and updated space. Enjoy the process and the satisfaction of transforming your home into a place that reflects your personal style and creativity.
Now, it’s time to roll up your sleeves and bring new life to your space. Happy renovating!
Frequently Asked Questions about How To Remove Peel And Stick Tiles: Easy Steps For A Quick Refresh
Was this page helpful?
At Storables.com, we guarantee accurate and reliable information. Our content, validated by Expert Board Contributors, is crafted following stringent Editorial Policies. We're committed to providing you with well-researched, expert-backed insights for all your informational needs.

0 thoughts on “How To Remove Peel And Stick Tiles: Easy Steps For A Quick Refresh”