Home>Renovation & DIY>Tools & Equipment>How To Calibrate Zircon Stud Finder
Tools & Equipment
How To Calibrate Zircon Stud Finder
Modified: October 20, 2024
Learn how to properly calibrate your Zircon stud finder with our step-by-step guide. Get accurate results every time with this essential tool for all your tools and equipment needs.
(Many of the links in this article redirect to a specific reviewed product. Your purchase of these products through affiliate links helps to generate commission for Storables.com, at no extra cost. Learn more)
Introduction
Welcome to the world of DIY home improvement! Whether you’re a seasoned handyman or a beginner looking to tackle your first home project, having the right tools is essential. Among these tools, a stud finder is a must-have for any aspiring DIYer. And when it comes to stud finders, Zircon is a name that stands out.
Zircon stud finders are renowned for their accuracy and reliability in locating studs behind walls and other surfaces. However, like any other tool, they require regular calibration to ensure optimal performance. In this article, we will guide you through the process of calibrating your Zircon stud finder, so you can confidently undertake your home improvement projects with accurate stud detection.
Before we dive into the calibration process, let’s gain a better understanding of how Zircon stud finders work and why calibration is necessary.
Key Takeaways:
- Calibrating your Zircon stud finder is essential for accurate stud detection. Gather the required materials, prepare the environment, and follow the step-by-step calibration process to ensure optimal performance.
- Testing and troubleshooting your calibrated stud finder is crucial for reliable results. Follow the testing process on a different surface, and use troubleshooting tips to address any issues and achieve precision in your DIY projects.
Read more: How To Use Zircon Stud Finder
Understanding Zircon Stud Finders
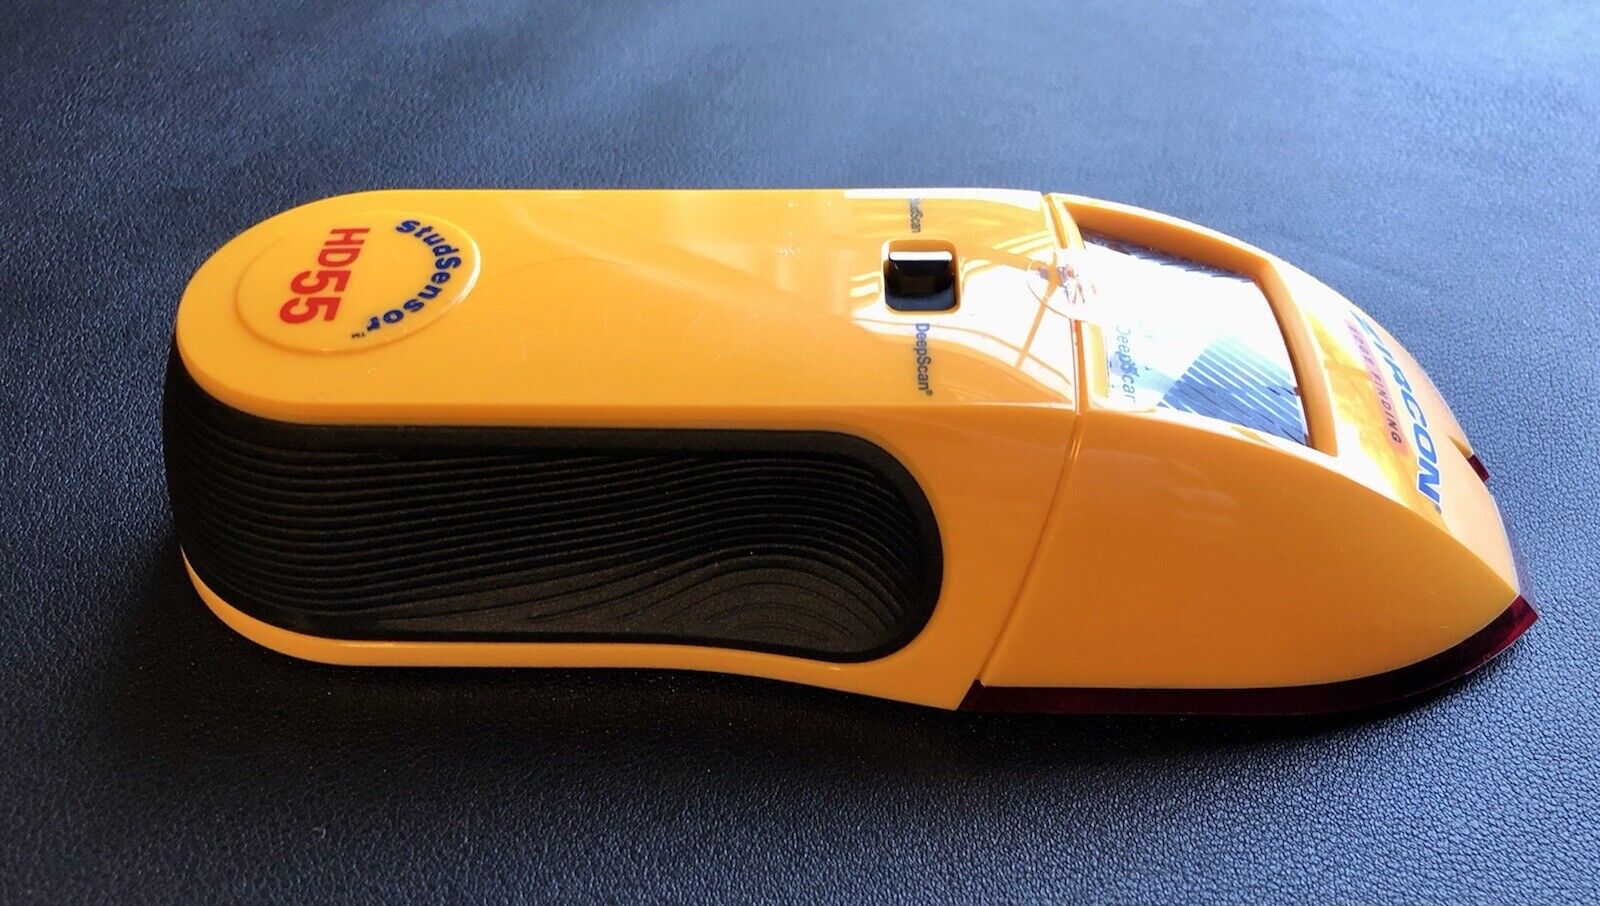
Zircon stud finders are electronic devices designed to help you locate the hidden studs or framing behind walls. Using advanced scanning technology, these tools can detect changes in density behind the wall to pinpoint the location of studs.
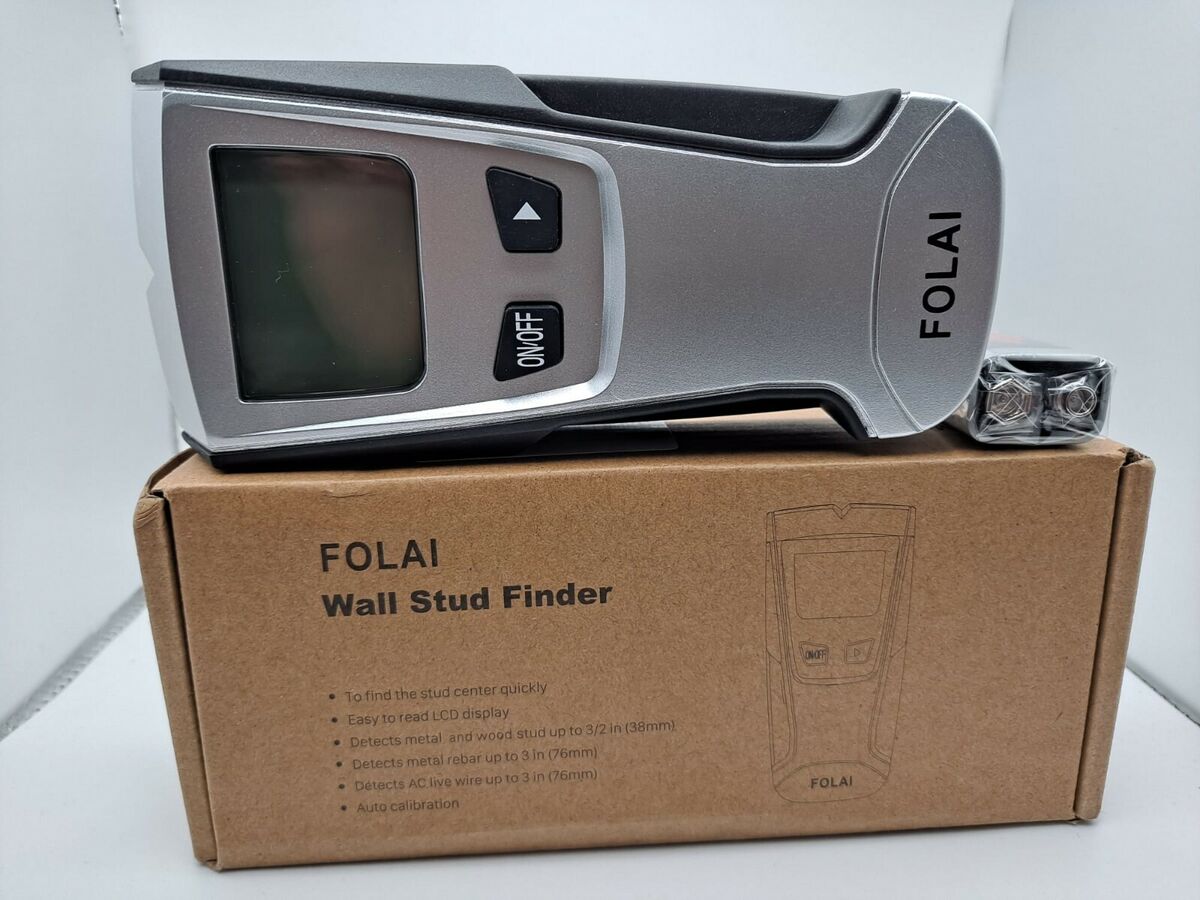
The Zircon stud finder typically consists of a handheld device with a LCD screen, buttons for control, and sensors for detecting studs. There are different models available, ranging from basic stud finders to more advanced ones with additional features like wire detection and deep scanning capabilities.
When using a Zircon stud finder, it’s important to understand that they rely on sensing changes in density. Studs have a higher density than the surrounding wall material, which allows the stud finder to detect them. However, different wall materials and thicknesses can affect the accuracy of the readings. That’s why calibration is crucial to ensure accurate detection of studs.
Calibration is the process of aligning the stud finder’s internal sensors to the specific material and thickness of the wall you’re working on. By calibrating the stud finder, you can eliminate any variations caused by different wall types and ensure accurate results.
Now that we understand the basics of Zircon stud finders and why calibration is important, let’s move on to the next step: gathering the required materials.
Gathering the Required Materials
Before you can begin the calibration process for your Zircon stud finder, it’s important to gather the necessary materials. Fortunately, you won’t need many items, and they are likely already available in your toolbox. Here’s what you’ll need:
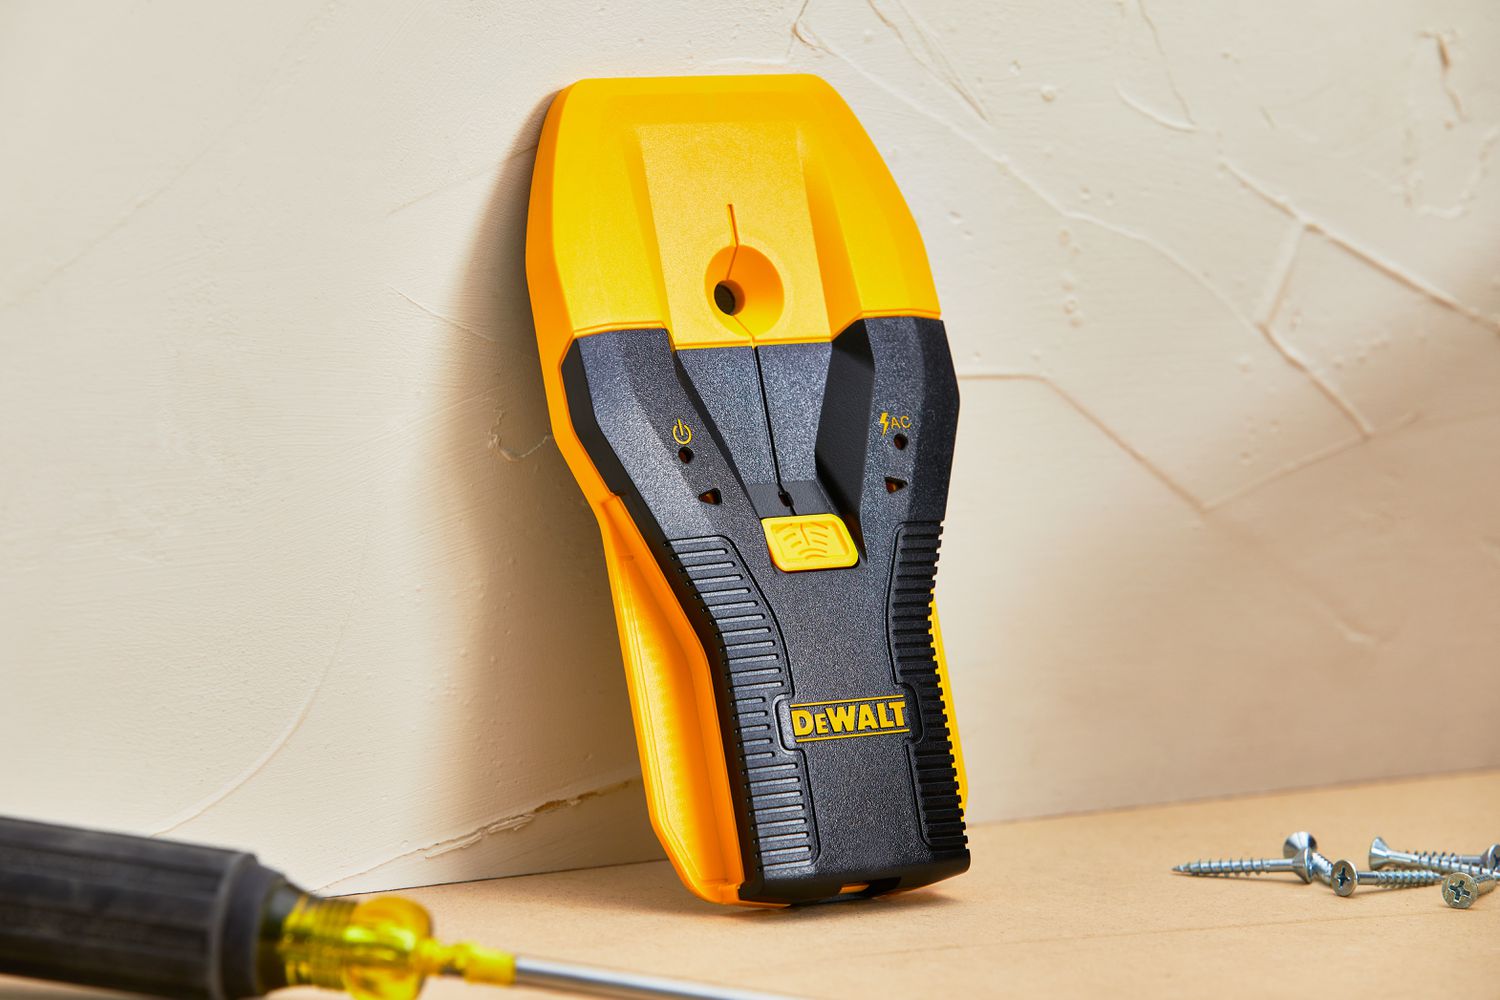
- Zircon stud finder: Obviously, you’ll need your Zircon stud finder for the calibration process. Make sure it’s charged or has fresh batteries to ensure optimal performance.
- Flat surface: Find a flat and sturdy surface, such as a table or countertop, to place your stud finder during the calibration process. This will ensure stability and accuracy.
- Reference material: You will also need a piece of reference material that matches the type of wall you will be working on. This could be a sample of drywall, plywood, or any other common wall material.
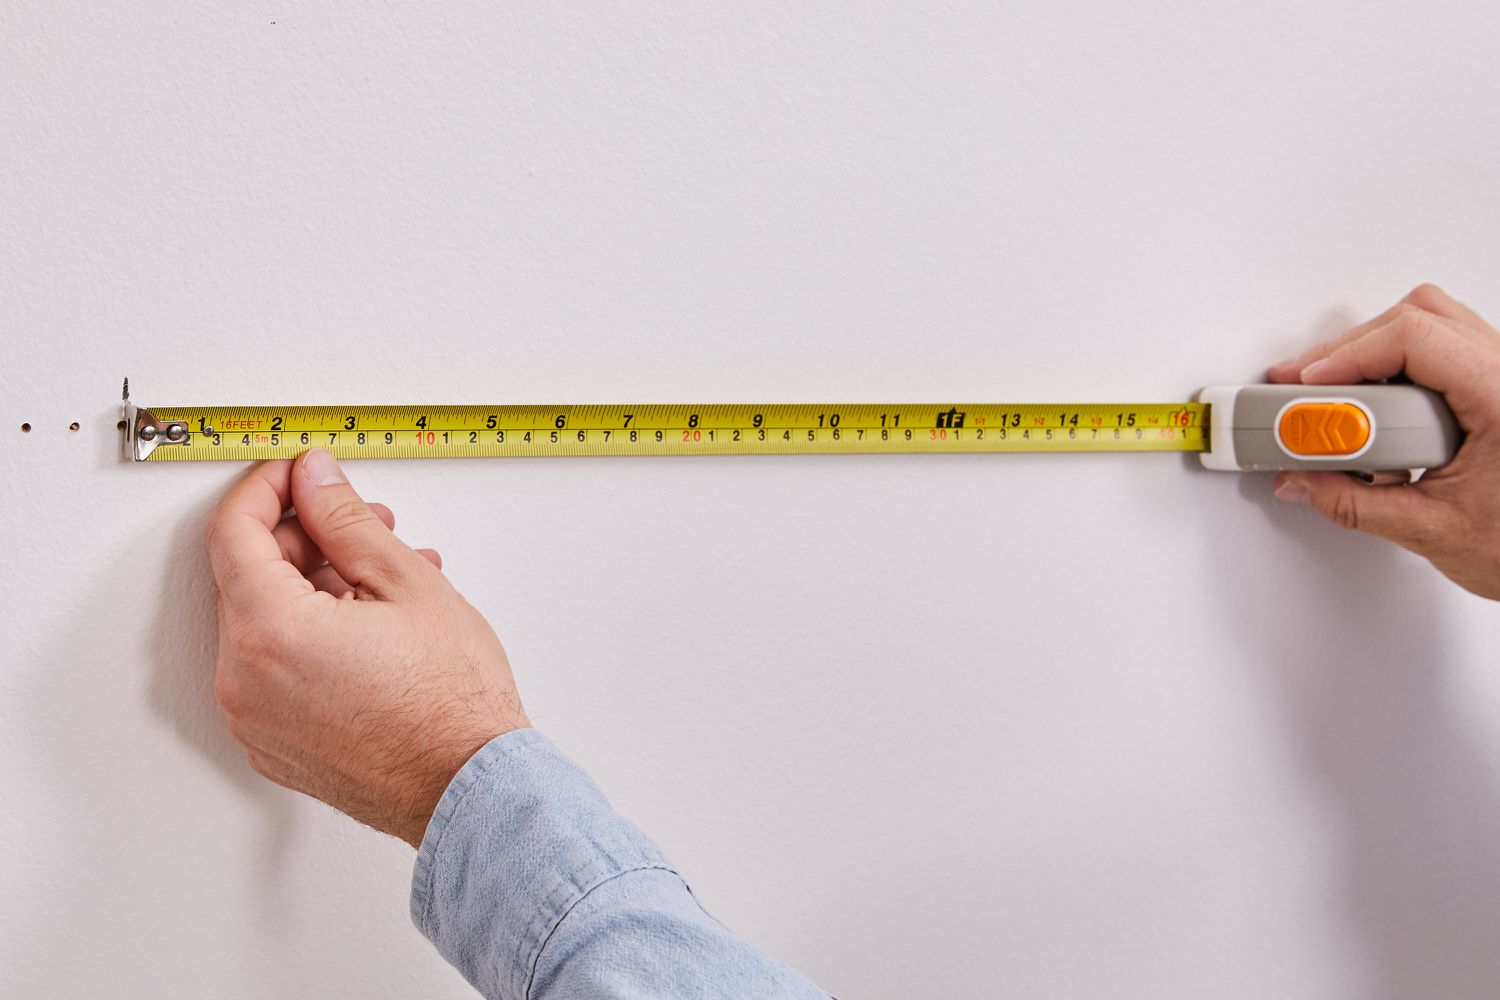
- Measuring tape or ruler: To measure the thickness of the reference material, you will need a measuring tape or ruler. This will be crucial for setting the correct depth during calibration.
Once you have gathered these materials, you’re ready to move on to the next step: preparing to calibrate your Zircon stud finder.
Preparing to Calibrate
Before you start calibrating your Zircon stud finder, it’s important to ensure that you have a suitable environment for the calibration process. Here are a few steps to help you prepare:
- Choose a quiet location: Find a quiet and uninterrupted place where you can focus on the calibration process without any distractions. This will help you concentrate and achieve accurate results.
- Clean the stud finder surface: Wipe the surface of your Zircon stud finder with a clean, dry cloth to remove any dust or debris that may interfere with the calibration process. It’s important to have a clean surface for accurate readings.
- Set the stud finder to the correct mode: Depending on the model of your Zircon stud finder, it may have different modes for different types of materials. Make sure you select the appropriate mode for the wall material you’ll be working with during the calibration process.
- Turn off nearby electronics: Electronic devices such as televisions, radios, and computers can interfere with the calibration process. To minimize any potential interference, turn off nearby electronics or move to a location away from them.
- Ensure proper lighting: Adequate lighting is important for accurate readings. Make sure the area is well-lit so that you can clearly see the display and any markings on the stud finder.
By following these steps and creating the ideal environment for calibration, you’ll be ready to calibrate your Zircon stud finder and achieve precise results. In the next section, we’ll guide you through the step-by-step process of calibrating the stud finder.
When calibrating a Zircon stud finder, always do so on a flat, clear surface to ensure accurate results. Follow the manufacturer’s instructions carefully for the best calibration.
Calibrating the Stud Finder
Calibrating your Zircon stud finder is a straightforward process that ensures accurate detection of studs. Follow these steps to calibrate your stud finder:
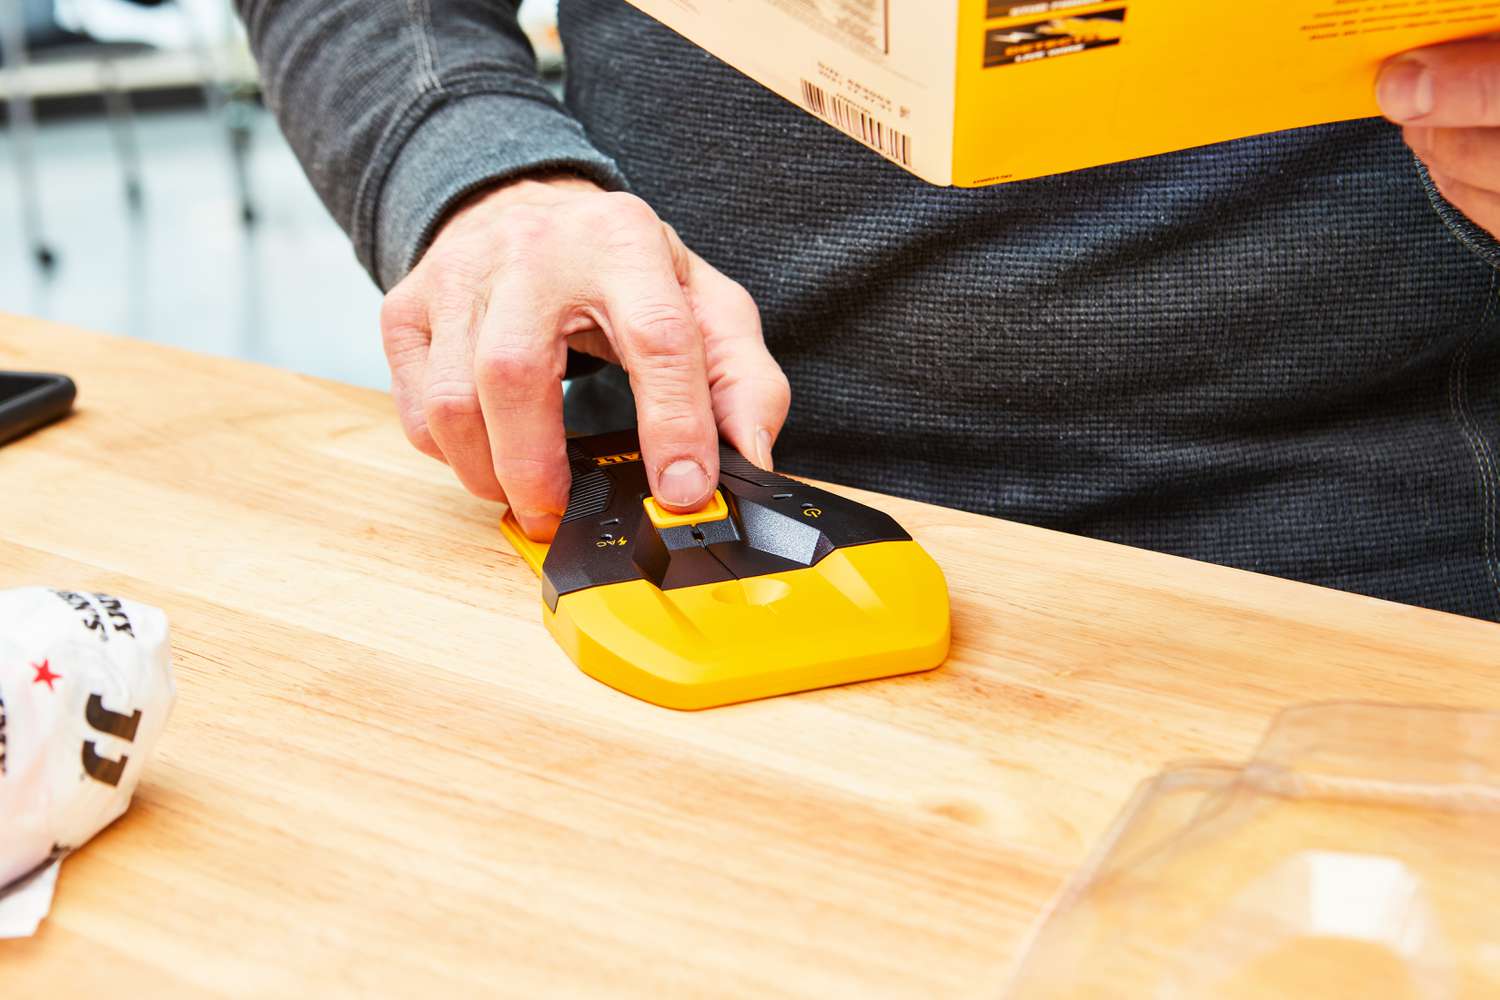
- Place the stud finder on the reference material: Start by placing your Zircon stud finder on the flat surface you prepared earlier. Make sure the sensors are facing down and in direct contact with the reference material. This will serve as a calibration surface.
- Set the depth: Measure the thickness of the reference material using a measuring tape or ruler. Adjust the depth setting on your stud finder to match the thickness of the reference material. This step is essential as it allows the stud finder to account for the wall thickness during the stud detection process.
- Hold the calibration button: Look for the calibration button on your Zircon stud finder. Press and hold the button until the unit enters the calibration mode. You may need to consult your stud finder’s user manual for specific instructions on accessing the calibration mode.
- Wait for calibration to complete: Once in calibration mode, wait for the stud finder to complete the calibration process. This can take a few seconds or longer, depending on the model. The stud finder will emit a signal or provide an on-screen notification when calibration is finished.
- Confirm the calibration: After calibration is complete, lift the stud finder off the reference material. Press the stud finder against the reference material again to see if it detects a stud at the same location. A successful calibration means the stud finder should detect a stud on the reference material.
By following these steps, you can ensure that your Zircon stud finder is calibrated and ready for accurate stud detection. However, it’s always a good idea to test the calibration to ensure reliable results, which we’ll discuss in the next section.
Read more: How To Change Battery On Zircon Stud Finder
Testing the Calibrated Stud Finder
Once you have successfully calibrated your Zircon stud finder, it’s important to test its accuracy to ensure reliable stud detection. Follow these steps to test your calibrated stud finder:
- Choose a test surface: Find a suitable test surface, such as a wall or piece of material similar to what you’ll be working with. This surface should be different from the reference material used during calibration.
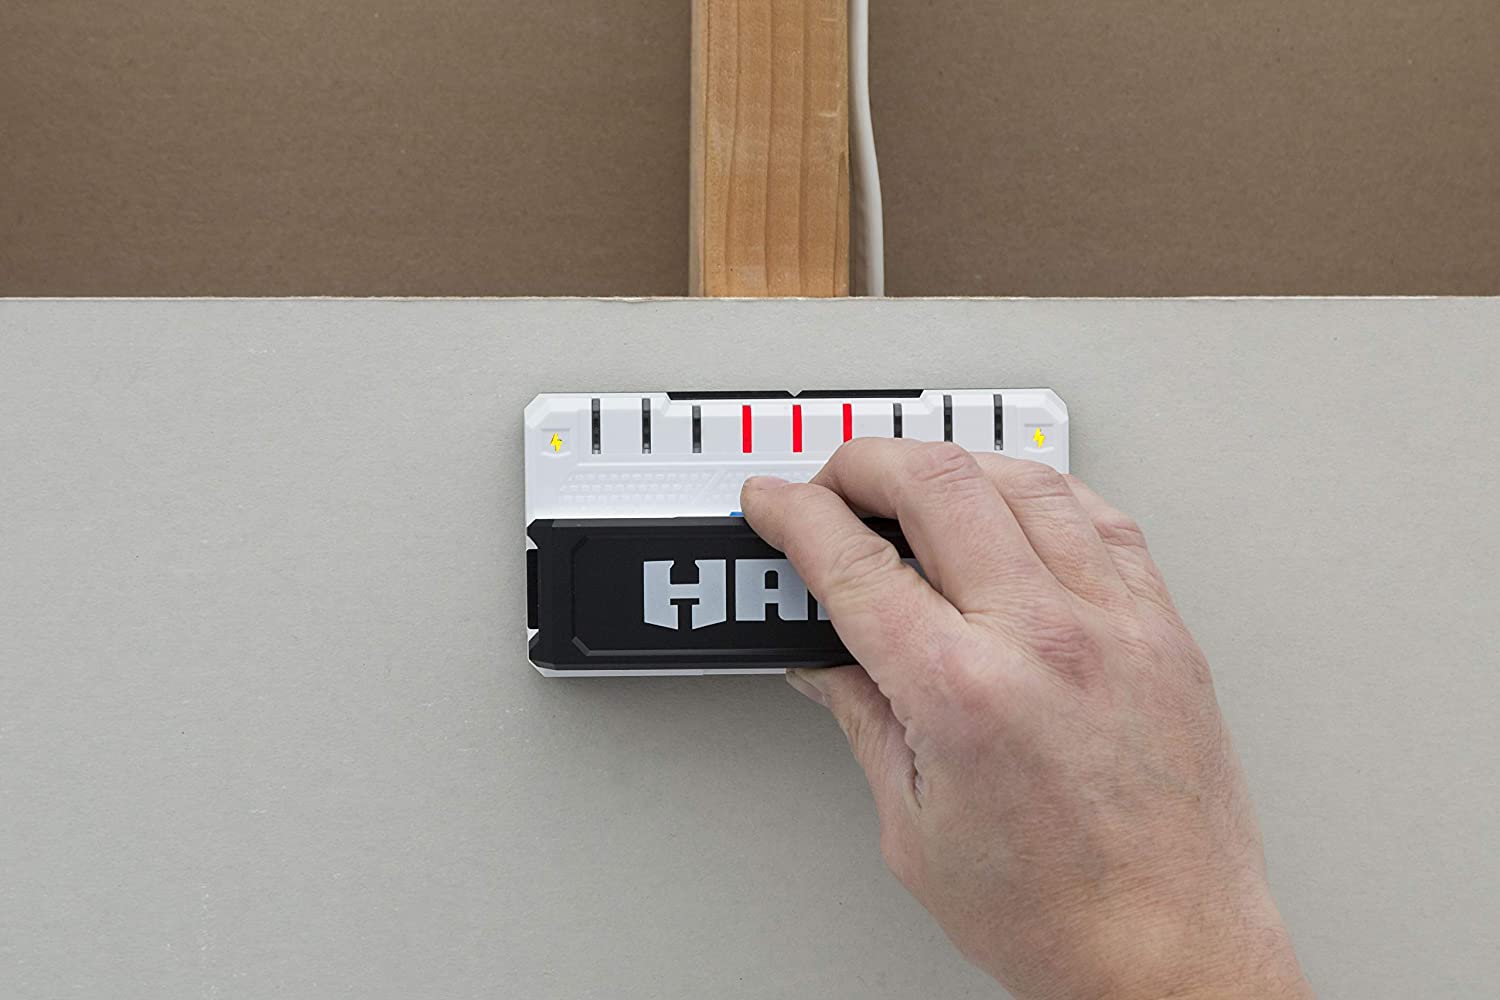
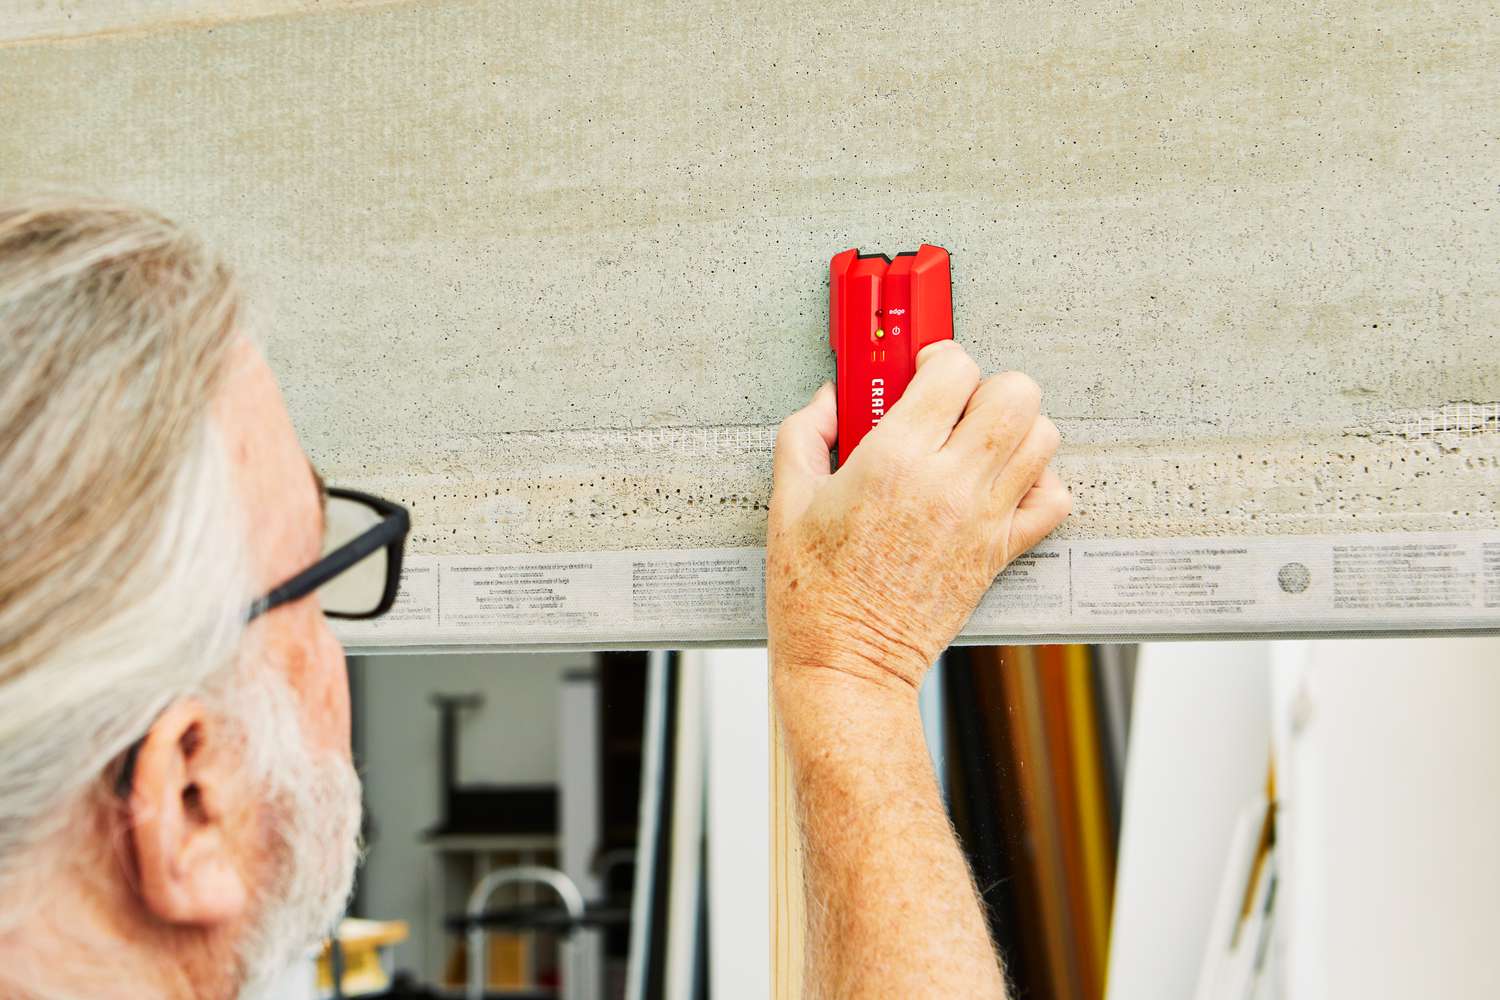
- Hold the stud finder against the test surface: Place your calibrated Zircon stud finder against the test surface, ensuring that the sensors are in contact with the material. Hold the stud finder steady and level.
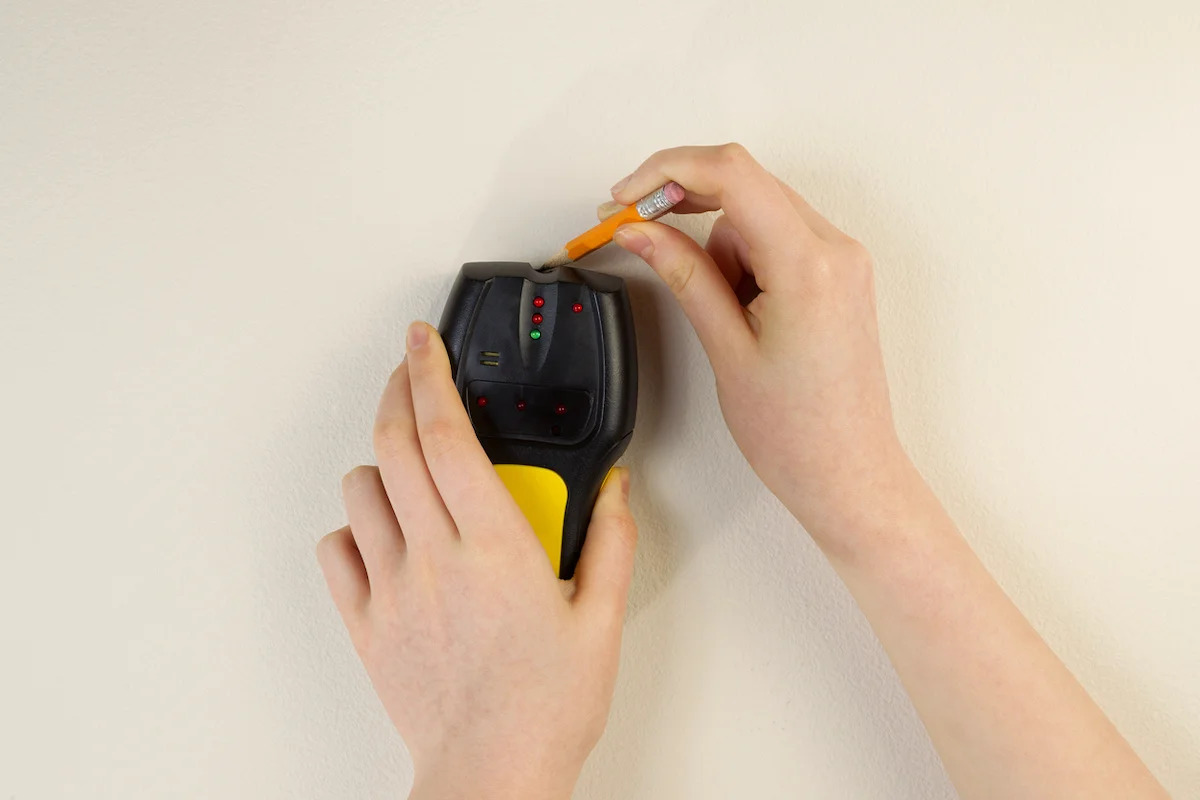
- Scan the surface: Slowly move the stud finder along the test surface in a horizontal or vertical motion. Pay attention to any indicators on the stud finder, such as visual or auditory signals, that signify the presence of a stud.
- Mark the stud location: Once the stud finder detects a stud, mark the location on the test surface. This will help you accurately identify the stud when conducting your actual project.
- Repeat the process: Move the stud finder to different areas of the test surface and repeat the scanning process. Take note of any variations in the stud detection to ensure consistent and reliable results.
If your Zircon stud finder consistently detects the studs on the test surface, you can be confident in its accuracy. However, if you notice any inconsistencies or difficulty in finding studs, you may need to recalibrate or troubleshoot your stud finder, which we’ll address in the next section.
Now that you have tested the accuracy of your calibrated stud finder, let’s explore some troubleshooting tips that can help you address any potential issues.
Troubleshooting Tips
While Zircon stud finders are known for their reliability, there may still be instances where you encounter issues or difficulties during the calibration or stud detection process. Here are some troubleshooting tips to help you overcome common problems:
- Recalibrate the stud finder: If you’re experiencing inconsistent or inaccurate readings, it may be necessary to recalibrate your Zircon stud finder. Repeat the calibration process, ensuring that you have followed each step accurately.
- Adjust the depth setting: If the stud finder consistently fails to detect studs at the expected depth, try adjusting the depth setting. Sometimes, changes in wall thickness or variations in materials may require slight adjustments to the depth setting for optimal detection.
- Ensure proper sensor contact: Make sure that the sensors on your stud finder are in direct contact with the surface being scanned. Inadequate or uneven contact can lead to inaccurate readings.
- Check for interference: Other electronic devices, metal objects, or wiring in the wall can interfere with the stud finder’s readings. Ensure that the area you’re scanning is clear of any potential sources of interference.
- Verify battery level or power source: If your Zircon stud finder runs on batteries, make sure they are fully charged or replace them with fresh batteries. If the stud finder is powered by an AC adapter, ensure a stable power source.
- Consult the user manual or customer support: If all else fails, refer to the user manual for troubleshooting steps specific to your Zircon stud finder model. You can also reach out to Zircon’s customer support for further assistance and guidance.
By following these troubleshooting tips, you can overcome common issues and ensure the optimal performance of your Zircon stud finder. Remember, practice and patience are key to mastering the art of stud detection.
Now that you’re equipped with the knowledge to calibrate and troubleshoot your stud finder, you’re ready to take on your upcoming home improvement projects with confidence.
Conclusion
Congratulations! You have completed the journey of understanding and calibrating your Zircon stud finder. By following the steps outlined in this article, you can ensure accurate stud detection and improve your DIY home improvement projects.
Understanding the basic principles behind Zircon stud finders and the importance of calibration is crucial for achieving reliable results. Remember, the calibration process aligns the stud finder’s sensors with the specific wall material and thickness, enabling it to detect studs accurately.
Gathering the necessary materials and preparing the calibration environment are essential steps before diving into the calibration process itself. Make sure you have a quiet and well-lit space, a clean stud finder surface, and the correct mode and depth settings to achieve optimal results.
Calibrating your stud finder involves placing it on a reference material, setting the correct depth, and following the calibration instructions provided in the user manual. Testing the calibration on a test surface allows you to verify the stud finder’s accuracy and mark stud locations for your future projects.
In the event of any troubleshooting issues, refer to the troubleshooting tips provided in this article. From recalibrating the stud finder to adjusting depth settings, these tips can help you overcome common problems and ensure reliable stud detection.
Always remember to consult the user manual specific to your Zircon stud finder model as it contains detailed instructions tailored to your device. Additionally, reaching out to Zircon’s customer support can provide further assistance in case of any persistent issues.
Now armed with the knowledge and the confidence to calibrate and troubleshoot your Zircon stud finder, you’re ready to embark on your DIY home improvement projects with accuracy and precision. Happy stud detecting and best of luck with your future endeavors!
Frequently Asked Questions about How To Calibrate Zircon Stud Finder
Was this page helpful?
At Storables.com, we guarantee accurate and reliable information. Our content, validated by Expert Board Contributors, is crafted following stringent Editorial Policies. We're committed to providing you with well-researched, expert-backed insights for all your informational needs.


0 thoughts on “How To Calibrate Zircon Stud Finder”