Home>Renovation & DIY>Tools & Equipment>How To Use Folai Stud Finder

Tools & Equipment
How To Use Folai Stud Finder
Modified: January 4, 2024
Learn how to effectively use the Folai Stud Finder to easily locate wall studs and enhance your DIY projects. Get essential tools and equipment guidance!
(Many of the links in this article redirect to a specific reviewed product. Your purchase of these products through affiliate links helps to generate commission for Storables.com, at no extra cost. Learn more)
Introduction
Welcome to the world of DIY home improvement! Whether you are a seasoned DIY enthusiast or a beginner just dipping your toes into the world of DIY projects, one tool that you cannot do without is a stud finder. If you have ever tried hanging a heavy shelf or mounting a TV on the wall, you know how important it is to find a stud to secure your anchor or bracket.
One of the most reliable and trusted stud finders on the market is the Folai Stud Finder. Equipped with advanced technology, the Folai Stud Finder can quickly and accurately locate studs behind walls, helping you avoid costly mistakes and ensure a secure installation.
In this article, we will dive into the intricacies of using the Folai Stud Finder effectively. We will explore its different types, learn how it works, and provide you with a step-by-step guide on how to use it to find studs in your walls. So, let’s get started and unlock the secrets of successful stud finding with the Folai Stud Finder!
Key Takeaways:
- The Folai Stud Finder is a reliable and efficient tool equipped with advanced technology to quickly and accurately locate studs behind walls, ensuring secure installations and preventing costly mistakes.
- Proper preparation, activation, and careful scanning using the Folai Stud Finder, along with marking the studs accurately, are essential for successful DIY projects and effective use of this handy tool.
Read more: How To Use Hart Stud Finder
What is a Stud Finder?
If you have ever wondered how professionals or experienced DIYers effortlessly find studs hidden behind walls, the secret lies in a nifty little tool called a stud finder. A stud finder is a handheld device that is used to detect the presence of wooden studs, metal studs, or other framing elements that are concealed behind walls.
Studs are vertical support beams within the walls of a building. They provide a sturdy framework for hanging heavy items, such as shelves, cabinets, mirrors, or TVs. Without finding a stud, attempting to mount something heavy could result in a disaster, as it could pull away from the wall and damage your belongings or the structure itself.
Stud finders work by utilizing different types of sensors, such as magnetic sensors, electronic sensors, or radar technology, to detect and locate studs. By scanning the wall surface, a stud finder can detect changes in density, electrical conductivity, or other characteristics that indicate the presence of a stud.
In addition to locating studs, modern stud finders may also provide additional features, such as detecting electrical wiring or plumbing pipes within the walls, helping you avoid accidentally damaging them during your project.
Now that we have a basic understanding of what a stud finder is, let’s move on to exploring the different types of stud finders available in the market and their unique features.
Types of Stud Finders
When it comes to selecting a stud finder, you’ll find a variety of options available in the market. Each type of stud finder has its own advantages and is designed to meet different needs. Let’s take a look at some of the common types:
- Magnetic Stud Finders: These are the most basic and affordable type of stud finders. They work by detecting the presence of nails or screws in the wall, which are typically used to secure the studs. When the magnet in the stud finder comes in contact with a metal fastener, it reacts and indicates the presence of a stud. Magnetic stud finders do not require batteries or calibration, making them simple and easy to use.
- Electronic Stud Finders: Electronic stud finders use sensors to detect changes in density within the wall. They can differentiate between the density of a stud and that of the surrounding wall. These types of stud finders often have additional features like depth detection, which can help you determine the thickness of the stud. Electronic stud finders require batteries and typically have an LCD display to indicate the location of the stud.
- Multi-sensor Stud Finders: As the name suggests, multi-sensor stud finders combine different types of sensors to provide more accurate and comprehensive stud detection. They may include magnetic, electronic, and even radar sensors to locate studs as well as detect pipes, wires, or other obstacles within the wall. These types of stud finders are often more expensive but offer advanced features and versatility.
- Smartphone Apps: In recent years, some developers have created stud finder apps that utilize the built-in sensors of smartphones. These apps use the phone’s magnetometer or accelerometer to detect changes in magnetic fields or density, providing a basic stud finding function. While they may not be as accurate or reliable as dedicated stud finders, they can be a convenient option for occasional use.
Now that you have a better understanding of the different types of stud finders available, you can choose the one that best suits your needs and budget. In the next section, we will explore how the Folai Stud Finder works and its unique features.
Understanding How Folai Stud Finder Works
The Folai Stud Finder is a reliable and efficient tool that utilizes electronic sensors to detect studs behind walls. It is designed to make stud finding quick and accurate, allowing you to confidently hang or mount items without the fear of damaging the wall.
The Folai Stud Finder works by emitting electronic signals into the wall and measuring the changes in density. When the sensor detects a change in density, indicating the presence of a stud, it alerts the user through visual indicators, such as LED lights, and audible beeps.
One of the key features of the Folai Stud Finder is its ability to detect stud edges. It can identify both the left and right edges of a stud, enabling you to locate the center and mark it accurately for secure installation. This feature is particularly useful when you need to find multiple studs for larger items, like shelves or TV brackets.
The Folai Stud Finder is also equipped with a deep sensing mode, allowing it to detect studs at a greater depth. This is beneficial when working with thicker walls or when trying to locate deeper-set studs.
In addition to stud detection, the Folai Stud Finder offers the ability to detect live electrical wiring behind walls. This added feature ensures your safety by helping you avoid accidentally drilling into live wires, which can be extremely dangerous.
The Folai Stud Finder is designed for ease of use, with a user-friendly interface that provides clear and intuitive feedback. It is lightweight and portable, making it convenient to carry around and use for various projects.
Now that we have a good understanding of how the Folai Stud Finder works, let’s move on to the step-by-step guide on how to use it effectively to find studs in your walls.
Step-by-Step Guide to Using Folai Stud Finder
Using the Folai Stud Finder is a straightforward process that can be done by anyone, even if you are not an experienced DIYer. Follow these simple steps to effectively use the Folai Stud Finder and locate studs in your walls:
- Prepare the Stud Finder: Before you begin, ensure that the batteries in your Folai Stud Finder are properly installed and fully charged. This will ensure reliable performance throughout your stud finding task.
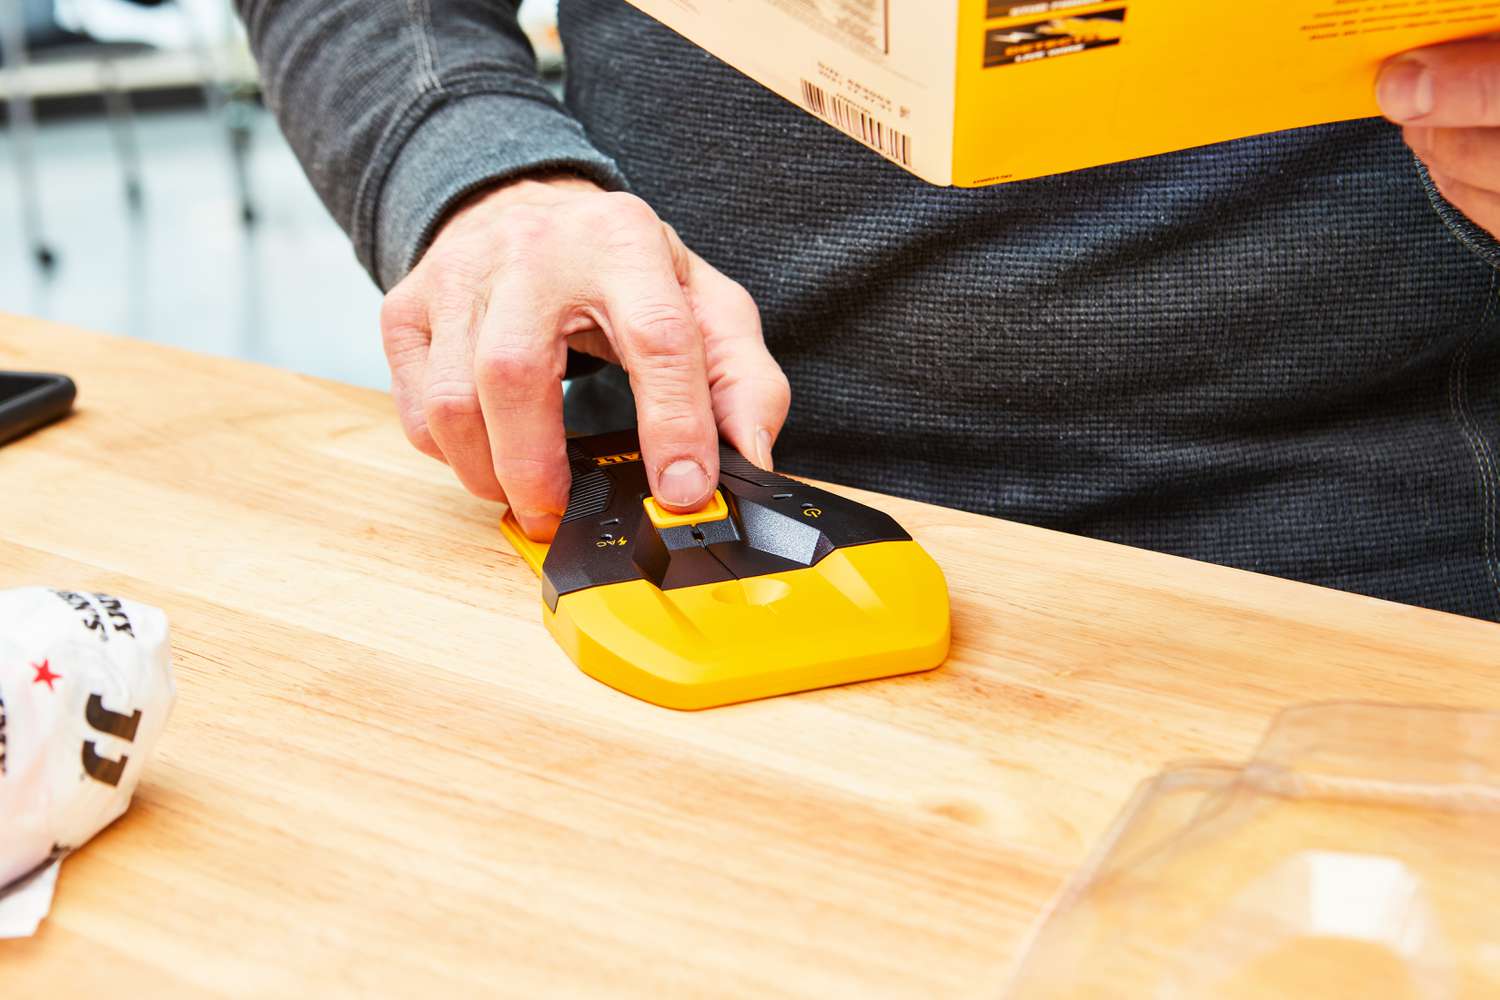
- Activate the Stud Finder: Power on the Folai Stud Finder by pressing and holding the power button. The device will perform a self-calibration process to ensure accurate detection. Wait for the calibration to complete.
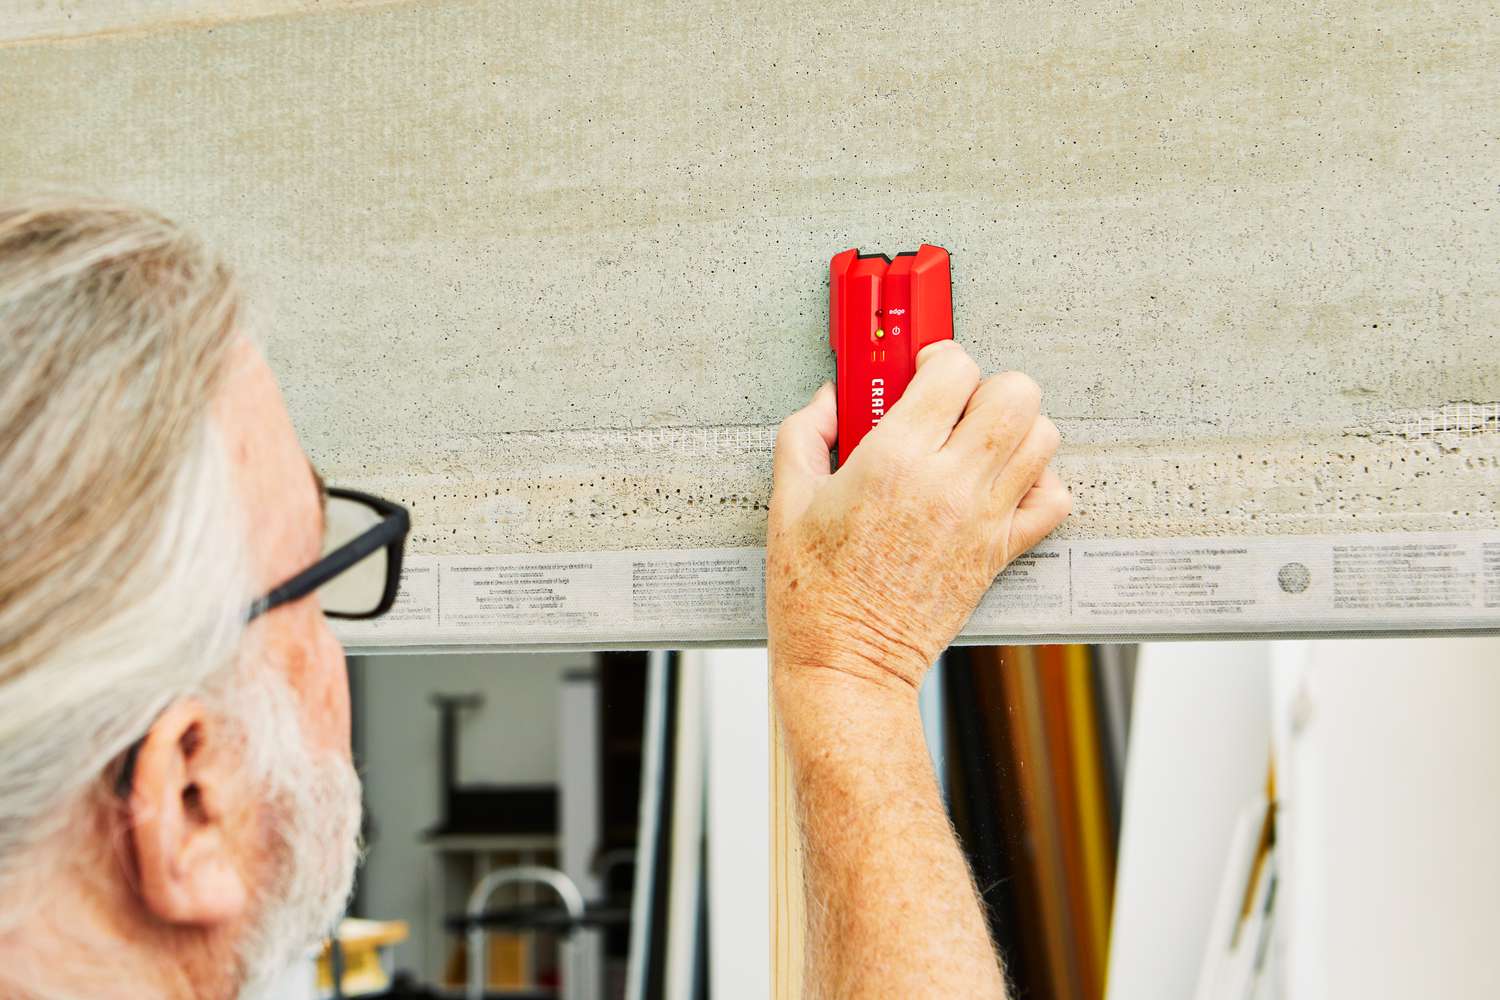
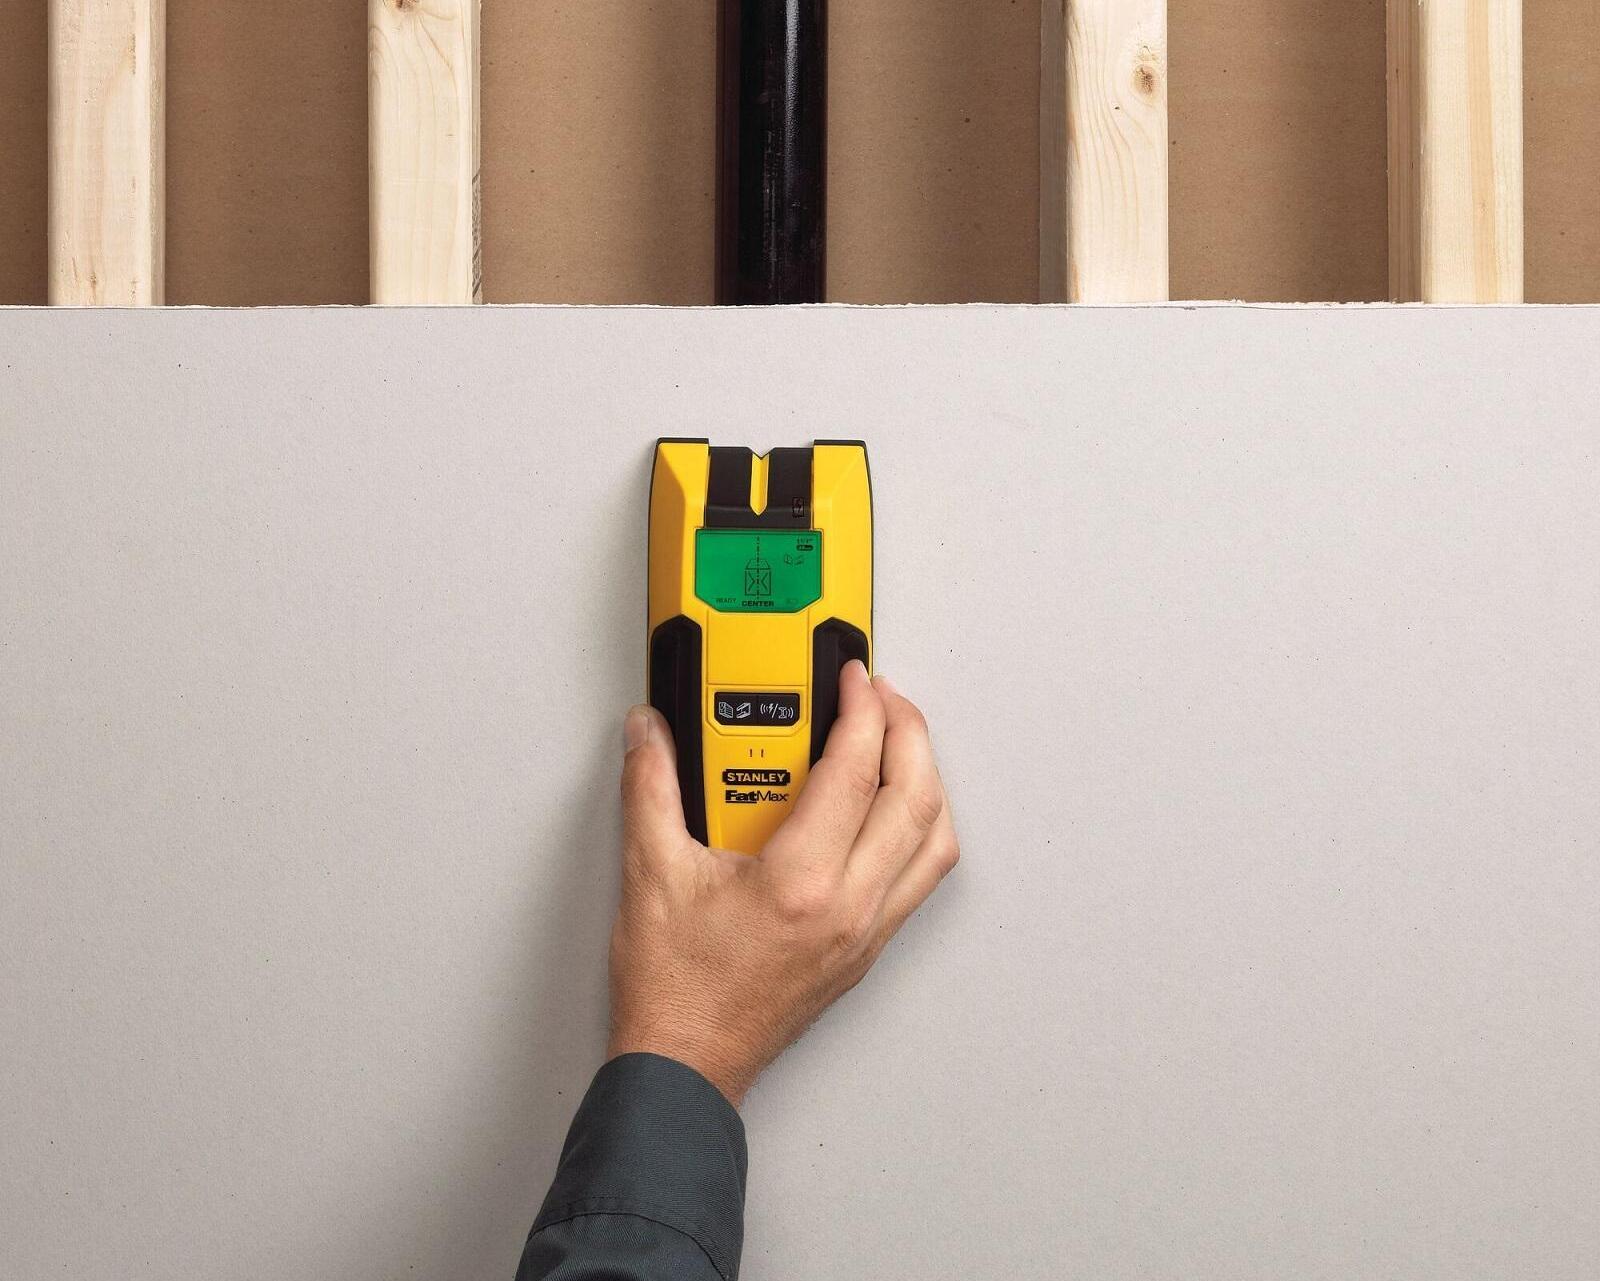
- Locate Studs with the Folai Stud Finder: Place the Folai Stud Finder flat against the wall, making sure it is parallel to the surface. Begin from one side of the wall and slowly move it horizontally across the surface.
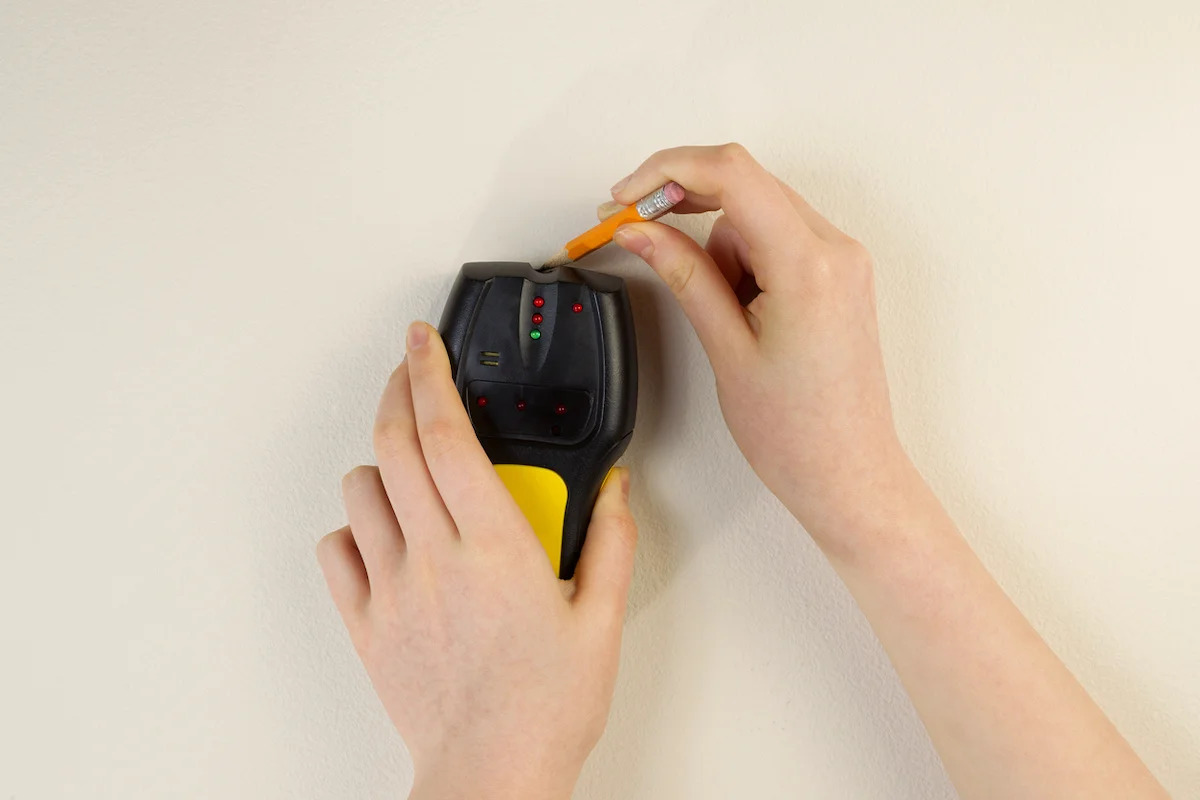
- Interpret the Indicators: As you move the Folai Stud Finder, pay attention to the visual and audible indicators. The device will display LED lights or make beeping sounds to signal the presence of a stud. It may have different indicators for locating stud edges and the center.
- Mark the Studs: Once you have located the edges of the stud, mark the center point with a pencil or a removable adhesive tape. This will serve as a reference point for any installation you plan to do.
- Repeat the Process: Continue scanning the wall, moving the Folai Stud Finder horizontally, until you have located all the studs you need. Remember to reposition the device between scans to ensure accurate results.
Following these steps will help you effectively utilize the Folai Stud Finder to find studs in your walls for various projects. Remember to be patient and take your time to ensure accurate detection.
Now that you know how to use the Folai Stud Finder, let’s explore some tips to get the most out of this handy tool in the next section.
Read more: How To Use Zircon Stud Finder
Preparing the Stud Finder
Before you start using the Folai Stud Finder, it’s important to ensure that it is properly prepared for accurate stud detection. Follow these steps to prepare the stud finder:
- Install Fresh Batteries: The Folai Stud Finder is powered by batteries, so it’s essential to have them installed properly for reliable performance. Open the battery compartment and insert fresh batteries following the polarity markings. Close the compartment securely.
- Calibration: The Folai Stud Finder needs to be calibrated before each use to ensure accurate detection. Start by turning on the stud finder and placing it on a flat surface. Allow it to calibrate for a few seconds until you hear a beep or see the calibration indicator. This step is crucial for optimal performance.
- Clear the Area: Ensure that the wall you are going to scan with the stud finder is clear of any obstructions or objects that might interfere with its readings. Remove any pictures, clocks, or other items hanging on the wall. This will provide a clear surface for the stud finder to work effectively.
- Locate Power Sources: If you suspect that there might be electrical wiring or outlets near the area you’ll be scanning, be mindful of their location. Stud finders can sometimes detect live electrical wires, and it’s important to avoid drilling or nailing into them.
- Choose the Correct Scan Mode: Depending on the thickness of your walls, the Folai Stud Finder may have different scanning modes. Select the appropriate mode for your wall type to ensure accurate results. Refer to the user manual to understand the various scanning modes and their recommended applications.
By properly preparing your Folai Stud Finder, you are setting yourself up for success and ensuring that you get accurate stud detection results. Remember to always read the user manual provided by the manufacturer for specific guidelines and instructions related to your particular model of the Folai Stud Finder.
With the Folai Stud Finder prepared and ready to go, let’s move on to activating the device and getting started with stud detection.
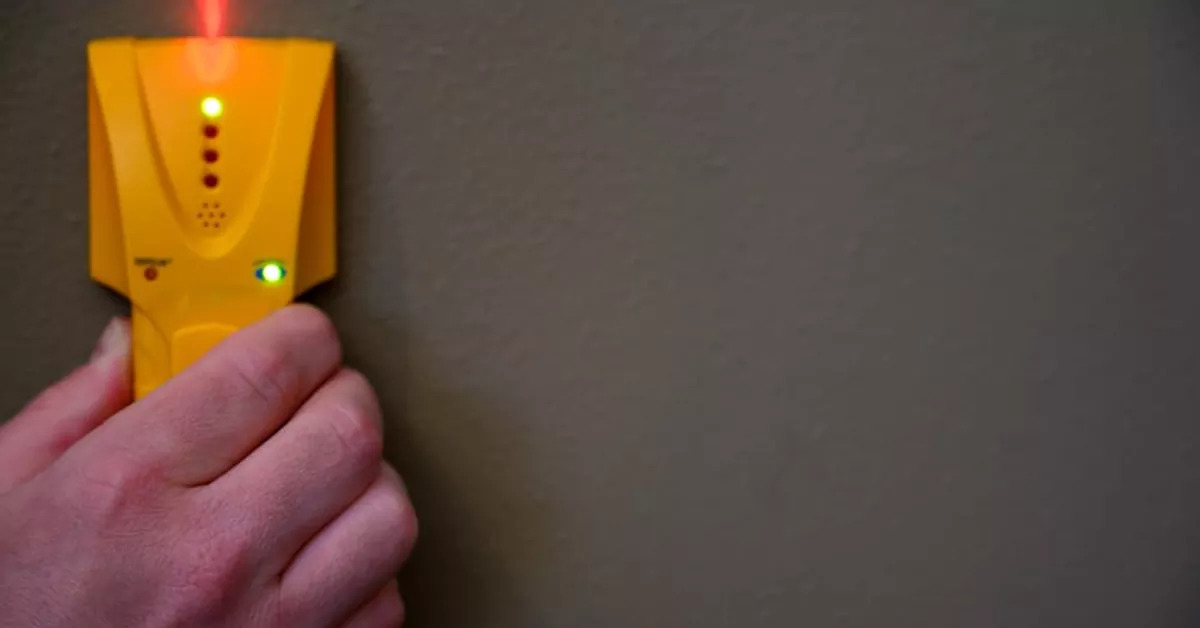
When using the Folai stud finder, make sure to calibrate it on a clear section of wall before scanning for studs. Move the device slowly and steadily to ensure accurate results.
Activating the Stud Finder
Once your Folai Stud Finder is prepared, it’s time to activate the device and get it ready for stud detection. Follow these steps to activate your Folai Stud Finder:
- Power On the Stud Finder: Locate the power button on your Folai Stud Finder. Press and hold the power button to turn on the device. You may see a power indicator light up or hear a beep to confirm that the stud finder is powered on.
- Wait for Calibration: After turning on the stud finder, it will undergo a calibration process. During this time, keep the device steady and wait for the calibration to complete. The calibration ensures that the stud finder is properly set up and ready to detect studs accurately.
- Check Battery Levels: While the stud finder is calibrating, it’s a good opportunity to check the battery levels. Check the battery indicator on the stud finder’s display or refer to the user manual to determine the battery status. If the battery is running low, it’s advisable to replace it with fresh batteries for optimal performance.
- Ensure Proper Contact: As you activate the stud finder, make sure that the scanning surface of the device is firmly in contact with the wall. This ensures that the sensors inside the stud finder are in close proximity to the wall surface, allowing for accurate detection.
- Listen for Activation: While the stud finder is calibrating, listen for any audible cues that indicate it is ready for use. Some stud finders emit a beep or sound to signal that the calibration is complete, while others may have a visual indicator on the display. Be sure to familiarize yourself with the specific cues of your Folai Stud Finder.
By following these steps, you can easily activate your Folai Stud Finder and prepare it for stud detection. Remember to always refer to the user manual provided with the device for specific instructions and guidelines for your particular model.
Now that your Folai Stud Finder is activated and ready, it’s time to start the process of locating studs behind your walls. In the next section, we will explore the step-by-step process of finding studs with your Folai Stud Finder.
Locating Studs with Folai Stud Finder
Now that your Folai Stud Finder is activated, you can begin the process of locating studs behind your walls. Follow these steps to effectively use your Folai Stud Finder for stud detection:
- Hold the Stud Finder: Hold the Folai Stud Finder firmly in your hand, ensuring a comfortable grip. Keep your fingers away from the scanning surface to prevent any interference with the device’s sensors.
- Position the Stud Finder: Place the scanning surface of the Folai Stud Finder flat against the wall. Make sure it is parallel to the surface and avoid any tilting or angling that may affect the accuracy of the readings.
- Start Scanning: Slowly and steadily move the Folai Stud Finder horizontally along the wall, maintaining constant contact between the device and the surface. Begin from one side of the wall and gradually move towards the other side.
- Pay Attention to Indicators: As you scan, pay close attention to the visual and audible indicators on the stud finder. The Folai Stud Finder will have LED lights or beeping sounds to indicate the presence of a stud. Different indicators may denote stud edges or the center of a stud.
- Scan Multiple Times: To ensure accuracy, it’s recommended to scan the same area multiple times, slightly overlapping each scan. This helps to confirm the consistency of the stud detection and reduces the chances of missing a stud.
- Mark the Studs: Once you have located the edges of a stud, mark the center point using a pencil or a removable adhesive tape. This will serve as a reference point for any installation or project you have planned.
- Repeat the Process: Continue scanning the wall, moving the Folai Stud Finder horizontally, until you have located all the studs you need. Remember to reposition the device between scans and maintain steady contact with the wall surface.
By following these steps, you can effectively utilize your Folai Stud Finder to locate studs behind your walls. Taking your time, scanning carefully, and paying attention to the indicators will ensure accurate results.
Now that you have successfully located the studs, it’s important to mark them properly. In the next section, we will provide some tips on marking the studs for secure installation.
Marking the Studs
After successfully locating the studs using your Folai Stud Finder, it’s crucial to mark them accurately. Properly marking the studs will ensure a secure installation and prevent any mistakes during your project. Follow these steps to mark the studs effectively:
- Identify Stud Edges: Use the visual and audible indicators on your Folai Stud Finder to identify the edges of the studs. These indicators will help you determine the width of the stud.
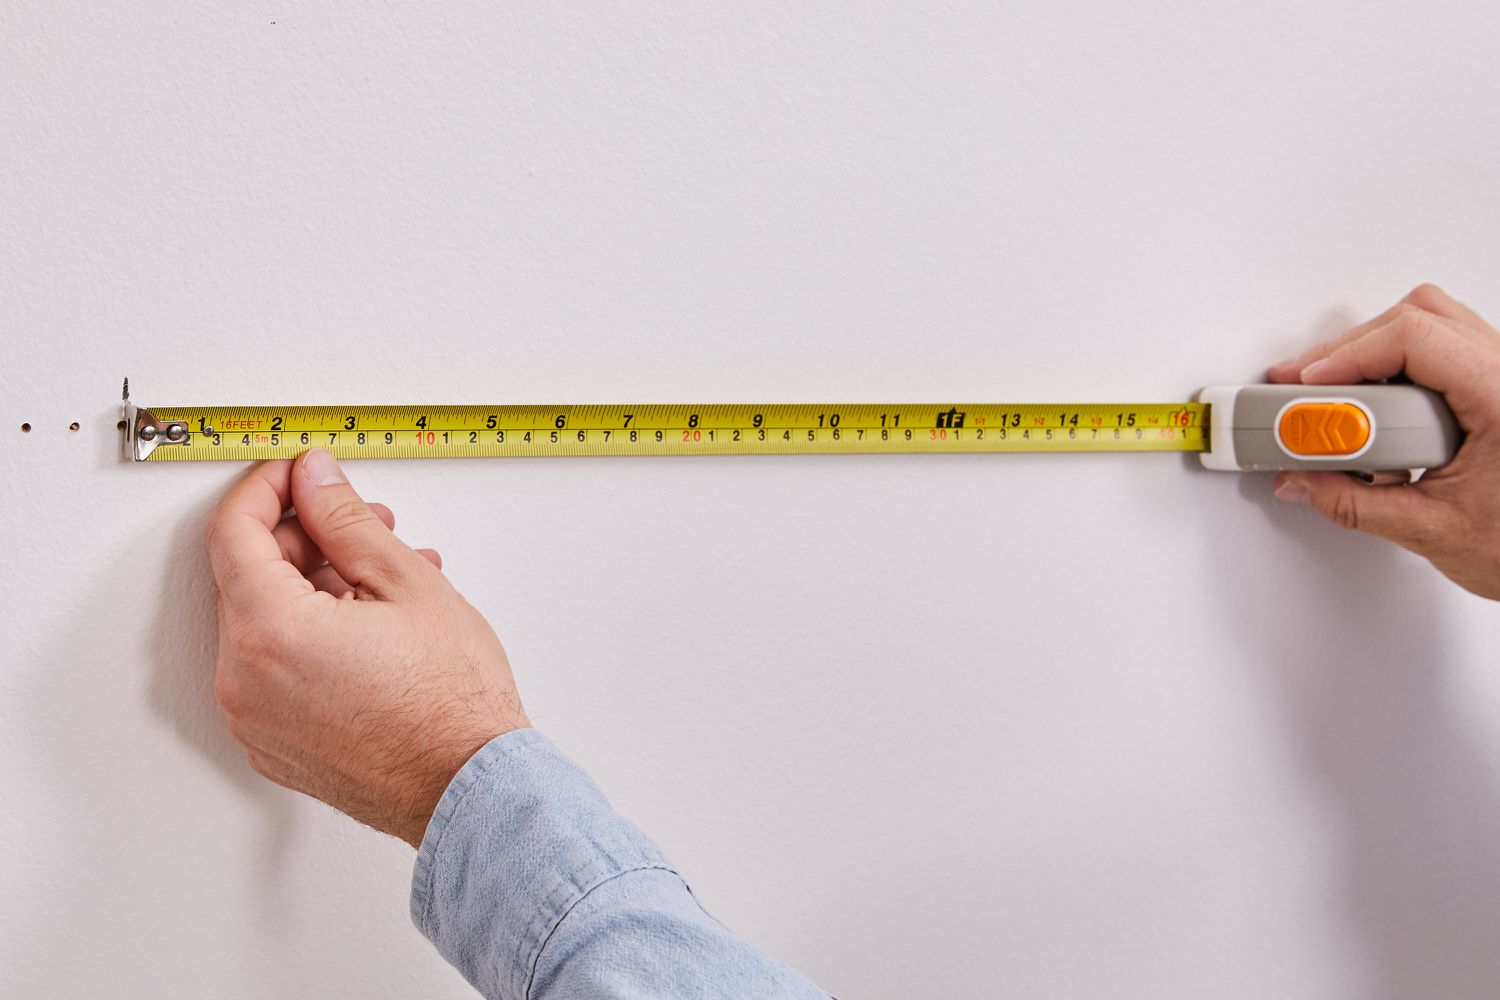
- Measure and Find the Center: Once you have located the edges, measure and mark the center of the stud. This can be done by measuring and dividing the distance between the edges, or by using the center indicator if your stud finder has one.
- Use a Pencil or Removable Tape: Mark the center of each stud using a pencil or a piece of removable adhesive tape. These markings will serve as reference points for your installation, ensuring that you anchor or mount your object securely onto the stud.
- Consider Multiple Marks: For larger objects or heavier loads, it’s advisable to mark multiple spots along the centerline of the stud. This provides you with more options for secure attachment points and distributes the weight evenly.
- Double-Check: Before proceeding with your installation, double-check the accuracy of your markings by scanning the area again with your Folai Stud Finder. This will confirm that you have marked the studs correctly.
Taking the time to mark the studs accurately will save you from potential mishaps, such as drilling or mounting in the wrong locations. It ensures that your installation is secure and sturdy, giving you peace of mind.
Now that you have marked the studs, it’s essential to keep a few tips in mind for effective use of your Folai Stud Finder. Let’s explore these tips in the next section.
Read more: How To Use Stud Finder
Tips for Effective Use of Folai Stud Finder
To make the most out of your Folai Stud Finder and ensure accurate stud detection, consider these helpful tips:
- Read the User Manual: Familiarize yourself with the user manual provided by the manufacturer. It contains specific instructions, tips, and safety guidelines for your particular model of the Folai Stud Finder.
- Practice on Known Studs: If you are new to using a stud finder, practice scanning on walls with known studs, such as a garage or unfinished basement. This will give you a better understanding of how the device works and help you gain confidence in its readings.
- Scan slowly and steadily: Moving the Folai Stud Finder too quickly or haphazardly can lead to inaccurate results. Take your time and maintain a steady pace while scanning the wall to ensure thorough and precise detection.
- Consider Multiple Scans: To improve accuracy, scan the area multiple times, overlapping each scan slightly. This helps to confirm consistent stud detection and reduces the chances of missing a stud.
- Use Additional Tools for Confirmation: While the Folai Stud Finder is a reliable tool, it’s always a good idea to use additional methods, such as tapping the wall lightly, to confirm the presence of a stud in the detected area.
- Stay Mindful of Wall Surface: Keep in mind that certain wall surfaces, such as plaster, may affect the effectiveness of the stud finder’s sensors. Adjust the scanning sensitivity or use alternative scanning modes if necessary.
- Update Batteries Regularly: To maintain optimal performance, replace the batteries in your Folai Stud Finder as needed. Weak batteries can affect the accuracy and reliability of the device.
By following these tips, you will enhance the effectiveness of your Folai Stud Finder and achieve more accurate and reliable stud detection results. Always prioritize safety and refer to the manufacturer’s guidelines for any specific considerations related to your model of the Folai Stud Finder.
After successfully locating and marking the studs, it’s important to avoid some common mistakes that can lead to ineffective use of your Folai Stud Finder. Let’s explore these mistakes in the next section.
Common Mistakes to Avoid
To ensure effective use of your Folai Stud Finder and accurate stud detection, it’s important to be aware of and avoid these common mistakes:
- Not Calibrating Properly: Skipping or rushing through the calibration process can result in inaccurate readings. Take the time to properly calibrate your Folai Stud Finder before each use.
- Improper Contact with the Wall: Maintaining consistent and firm contact between the Folai Stud Finder and the wall surface is crucial. Any gaps or tilting can affect the reliability of the readings.
- Moving the Stud Finder Too Fast: Scanning too quickly across the wall can lead to missed studs or inaccurate results. Move the Folai Stud Finder slowly and steadily to ensure thorough detection.
- Dependence on a Single Scan: Relying solely on one scan may result in missed studs or false positives. It’s important to scan the same area multiple times, slightly overlapping each scan, to confirm consistent results.
- Ignoring Additional Features: Familiarize yourself with the features and scanning modes of your Folai Stud Finder. Ignoring additional options, such as deep scanning or wire detection, can lead to missed information and potential issues during your project.
- Ignoring Visual and Audible Indicators: The Folai Stud Finder provides visual and audible indicators to signal the presence of a stud. Ignoring or misinterpreting these cues can lead to incorrect stud detection and improper installation.
- Not Double-Checking Your Markings: Before drilling or mounting, always double-check the accuracy of your stud markings. Scanning the area again with the Folai Stud Finder ensures that you have marked the studs correctly.
By avoiding these common mistakes, you can maximize the efficiency and accuracy of your Folai Stud Finder and achieve successful stud detection for your home improvement projects.
With proper usage and careful consideration, the Folai Stud Finder becomes an essential tool in your DIY toolkit, providing you with the confidence and accuracy needed for secure installations.
By following the step-by-step guide, utilizing the tips, and avoiding common mistakes, you are well-equipped to use the Folai Stud Finder effectively. Enhance your DIY projects and enjoy the convenience and precision that the Folai Stud Finder brings to your stud-finding needs.
Good luck with your projects!
Conclusion
Using a stud finder is an essential skill for any DIY enthusiast or homeowner looking to safely and securely mount objects on their walls. The Folai Stud Finder is a reliable and efficient tool that can quickly and accurately locate studs behind walls, ensuring successful installations and preventing damage to your walls and belongings.
In this article, we discussed the importance of using a stud finder and explored the different types of stud finders available in the market. We then focused on understanding how the Folai Stud Finder works and provided a step-by-step guide on how to use it effectively to locate studs. We also covered the importance of preparing the stud finder, activating it correctly, and marking the studs accurately.
To get the most out of your Folai Stud Finder, we shared some valuable tips for effective use and highlighted common mistakes to avoid. By following these guidelines, you can ensure accurate stud detection and reliable results for your home improvement projects.
Remember to always consult the user manual provided by the manufacturer for specific instructions and safety guidelines related to your particular model of the Folai Stud Finder.
With the knowledge and skills gained from this article, you are now equipped to confidently use your Folai Stud Finder to find studs behind walls and proceed with your DIY projects more effectively. Enjoy the convenience and accuracy that the Folai Stud Finder brings to your stud-finding endeavors.
Now, go forth and conquer your home improvement projects with the power of the Folai Stud Finder!
Frequently Asked Questions about How To Use Folai Stud Finder
Was this page helpful?
At Storables.com, we guarantee accurate and reliable information. Our content, validated by Expert Board Contributors, is crafted following stringent Editorial Policies. We're committed to providing you with well-researched, expert-backed insights for all your informational needs.


0 thoughts on “How To Use Folai Stud Finder”