Home>Renovation & DIY>Tools & Equipment>How To Use Hart Stud Finder
Tools & Equipment
How To Use Hart Stud Finder
Modified: January 4, 2024
Learn how to properly use a Hart stud finder to easily locate studs and enhance your DIY projects. Find the right tools and equipment for the job.
(Many of the links in this article redirect to a specific reviewed product. Your purchase of these products through affiliate links helps to generate commission for Storables.com, at no extra cost. Learn more)
Introduction
Welcome to the world of DIY home improvement, where the right tools can make all the difference in your projects. If you've ever attempted to hang a heavy picture frame, a shelf, or a TV mount, you know the importance of securely anchoring it to a wall stud. This is where the Hart stud finder becomes your trusted ally, simplifying the task of locating studs behind drywall with precision and ease.
Whether you're a seasoned DIY enthusiast or just starting to explore the world of home improvement, understanding how to use the Hart stud finder effectively can save you time, effort, and frustration. In this comprehensive guide, we'll delve into the ins and outs of this indispensable tool, from understanding its features to mastering its operation.
By the end of this article, you'll be equipped with the knowledge and confidence to tackle your next home improvement project with the assurance that your fixtures and fittings will be securely anchored to sturdy wall studs. So, let's dive into the world of stud finding and discover how the Hart stud finder can elevate your DIY endeavors.
Key Takeaways:
- Master the art of stud finding with the Hart stud finder to confidently anchor heavy objects and mount fixtures securely for resilient home improvements.
- Prepare, calibrate, and use the Hart stud finder with precision to uncover sturdy wall studs, transforming walls into canvases for your vision.
Read more: How To Use Zircon Stud Finder
Understanding the Hart Stud Finder
Before delving into the practical aspects of using the Hart stud finder, it's essential to grasp its fundamental features and functionality. The Hart stud finder is designed to detect the presence of wooden or metal studs behind drywall, enabling you to locate suitable anchoring points for heavy objects or fixtures. This handheld device utilizes advanced sensor technology to identify changes in wall density, thereby pinpointing the position of studs.
One of the key features of the Hart stud finder is its ability to differentiate between the edges and centers of studs, providing you with precise markings for anchor points. Additionally, some models are equipped with built-in levels, allowing for accurate horizontal and vertical positioning of fixtures. Understanding the capabilities of your specific Hart stud finder model is crucial for maximizing its utility in your home improvement projects.
It's worth noting that the Hart stud finder is not limited to stud detection alone. Depending on the model, it may also offer additional scanning modes for identifying live AC wires and other hidden obstacles within the wall. This multifunctionality enhances the versatility of the tool, making it an indispensable asset for various renovation and installation tasks.
By familiarizing yourself with the features and capabilities of the Hart stud finder, you can harness its potential to streamline your DIY endeavors and ensure the secure mounting of objects on interior walls. With this foundational understanding in place, you're ready to proceed to the practical aspects of preparing and using the stud finder effectively.
Preparing the Stud Finder
Before embarking on the process of stud finding, it's essential to ensure that your Hart stud finder is properly prepared for accurate and reliable results. Here are the key steps to prepare your stud finder for operation:
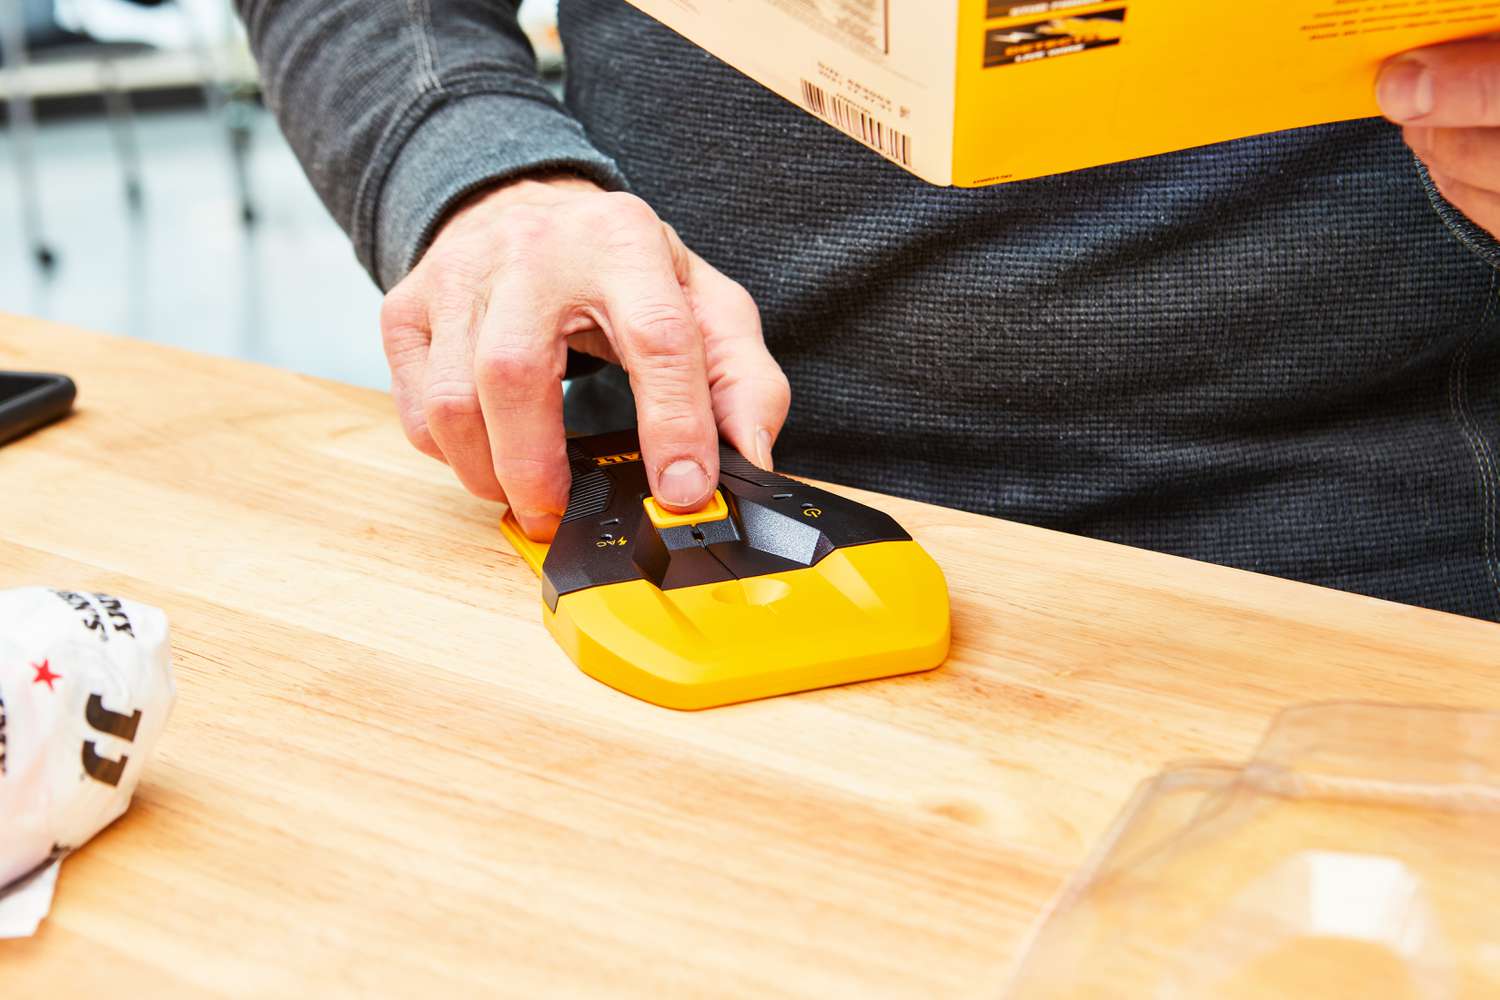
- Inserting Batteries: Most Hart stud finder models are battery-powered, so the first step is to insert fresh batteries to ensure optimal performance. Check the specific battery requirements for your stud finder and follow the manufacturer’s instructions for battery installation.
- Calibration: Some stud finders may require calibration before use. This typically involves holding the device against a wall and initiating the calibration process as per the user manual. Calibration ensures that the stud finder adapts to the specific wall density and conditions of the environment.
- Clean Wall Surface: To enhance the accuracy of stud detection, ensure that the wall surface is free from dust, debris, and excessive texture. Wiping the area with a clean, dry cloth can help remove any obstructions that might interfere with the stud finder’s readings.
- Understanding Indicator Lights: Familiarize yourself with the indicator lights or display on your stud finder. Different models may use visual or audio cues to signal the presence of a stud, and understanding these indicators is crucial for interpreting the device’s feedback accurately.
By diligently preparing your Hart stud finder according to these guidelines, you can set the stage for successful stud detection and ensure that the tool operates at its full potential. With the stud finder primed for action, you’re ready to move on to the practical steps of using it to locate wall studs effectively.
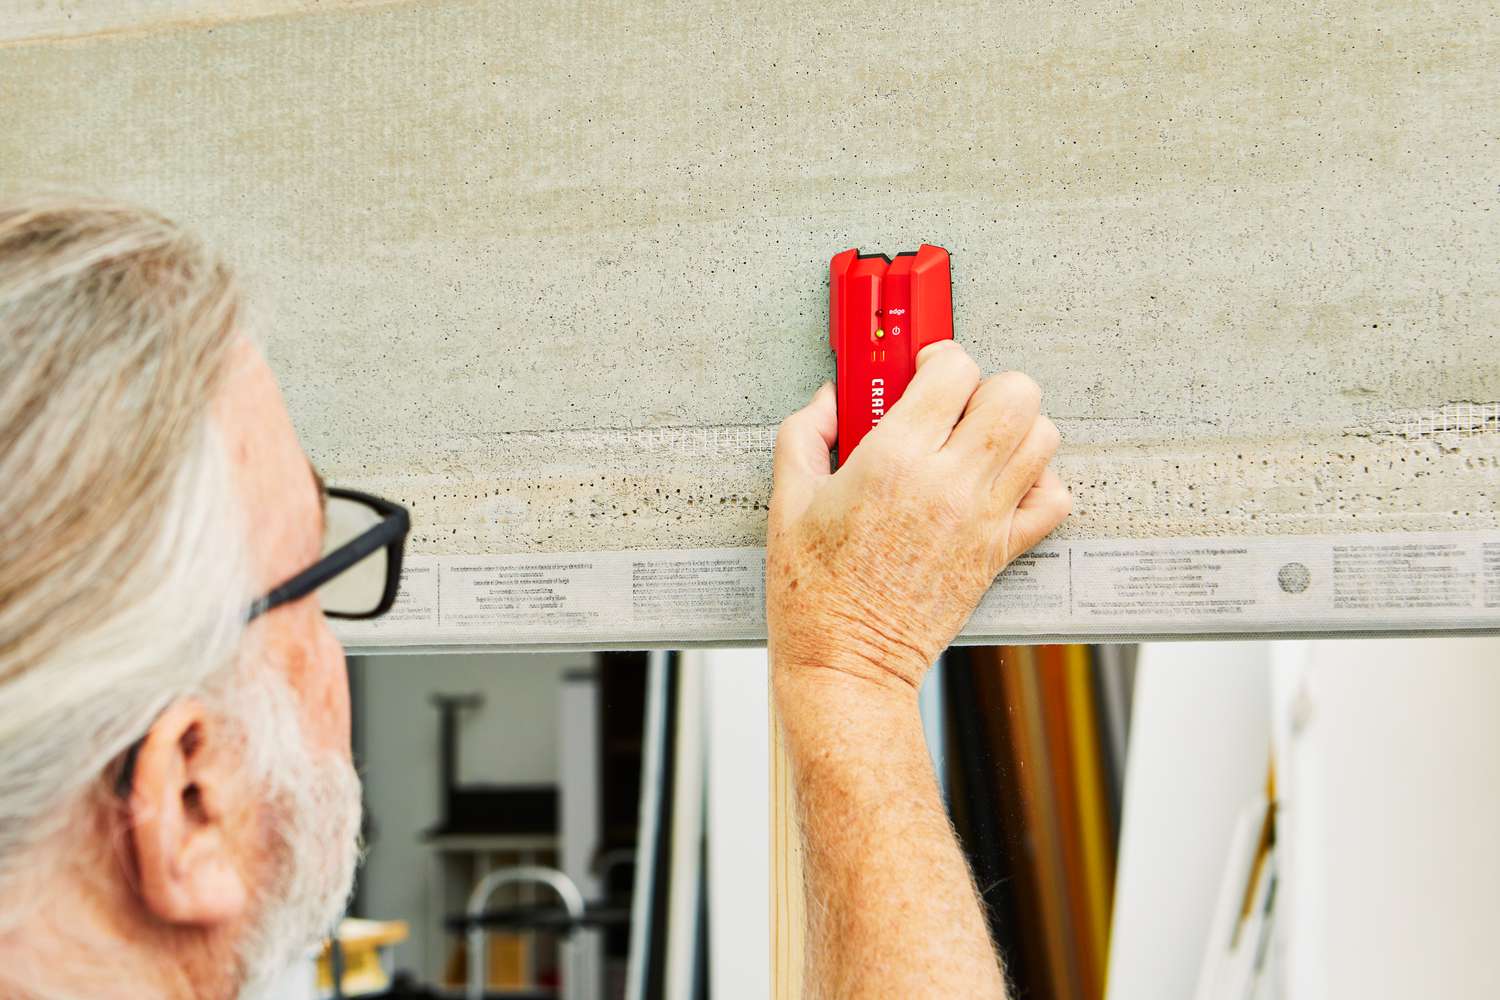
When using a Hart stud finder, make sure to calibrate it on a clear section of wall before scanning for studs. Move the device slowly and steadily to ensure an accurate reading.
Using the Hart Stud Finder
Now that your Hart stud finder is primed and ready, it’s time to put it to use in locating sturdy wall studs for your mounting or renovation projects. Follow these step-by-step guidelines to effectively use the Hart stud finder:
- Select the Scanning Mode: Depending on the features of your Hart stud finder, you may have different scanning modes available, such as stud detection, live AC wire detection, or deep scanning. Choose the appropriate mode for your specific needs and the nature of your wall.
- Position the Stud Finder: Place the stud finder flat against the wall surface, ensuring that it is level and making full contact with the area to be scanned. Hold the device firmly and maintain a steady hand to obtain accurate readings.
- Initiate Scanning: Activate the scanning function as per the instructions provided with your stud finder. This may involve pressing a button or simply moving the device along the wall surface to initiate the scanning process.
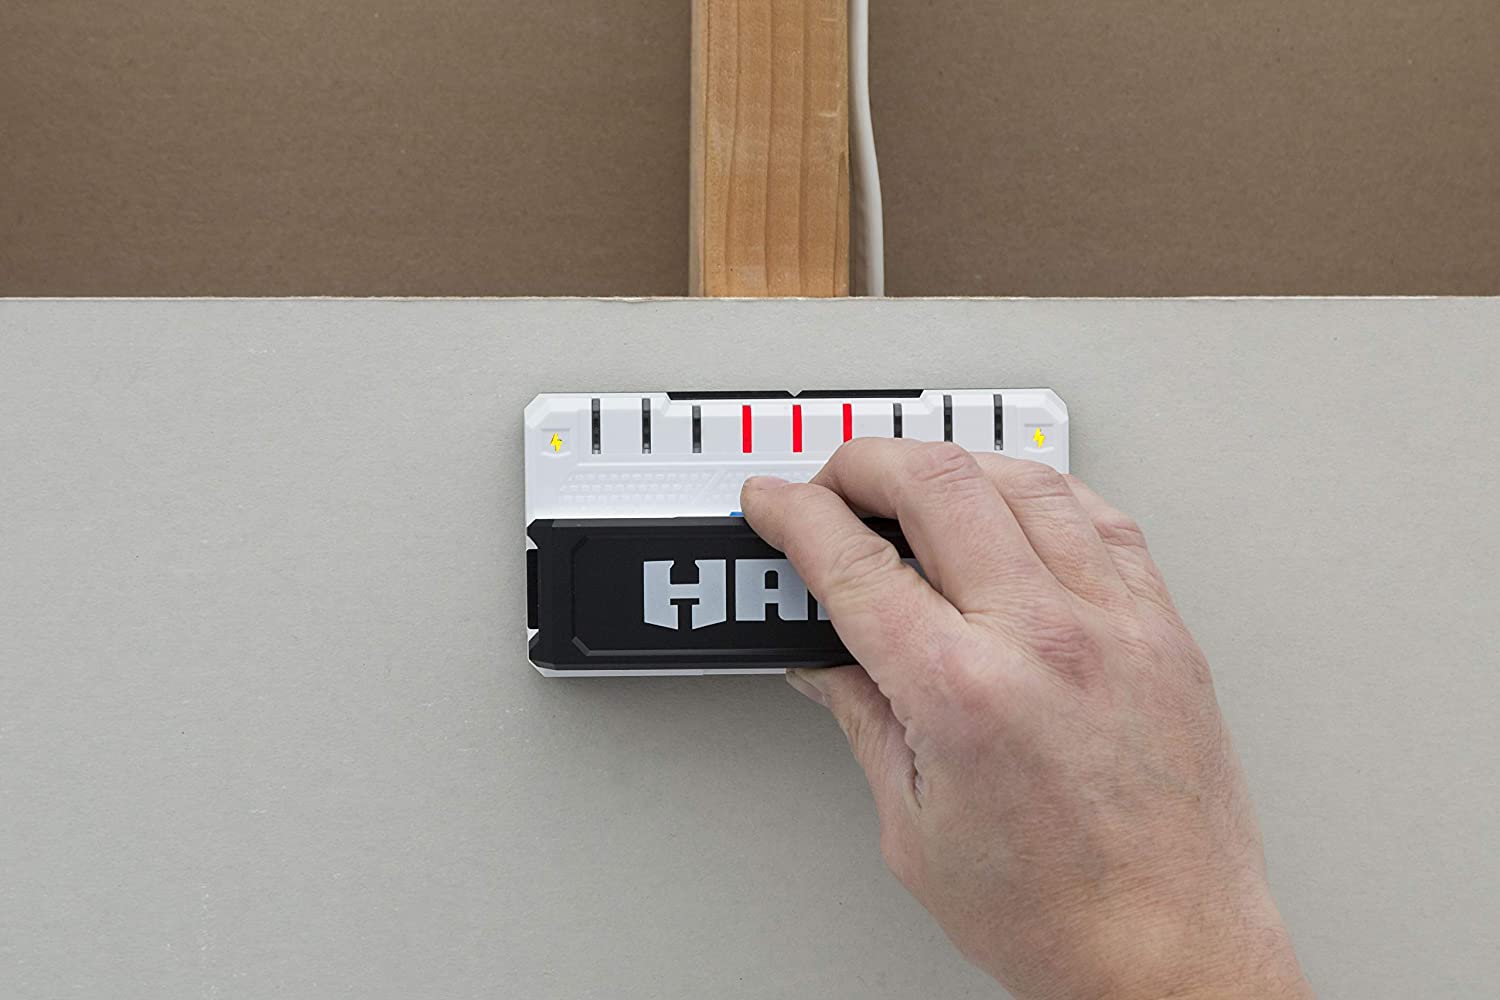
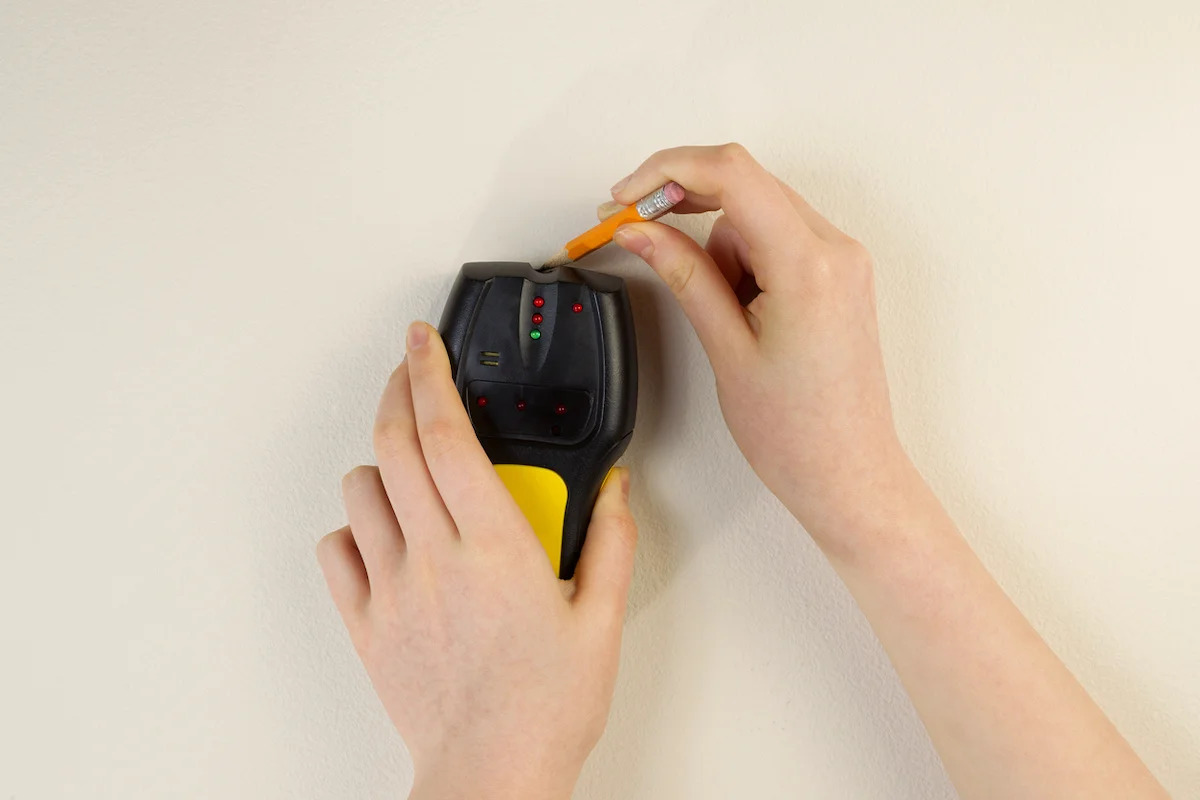
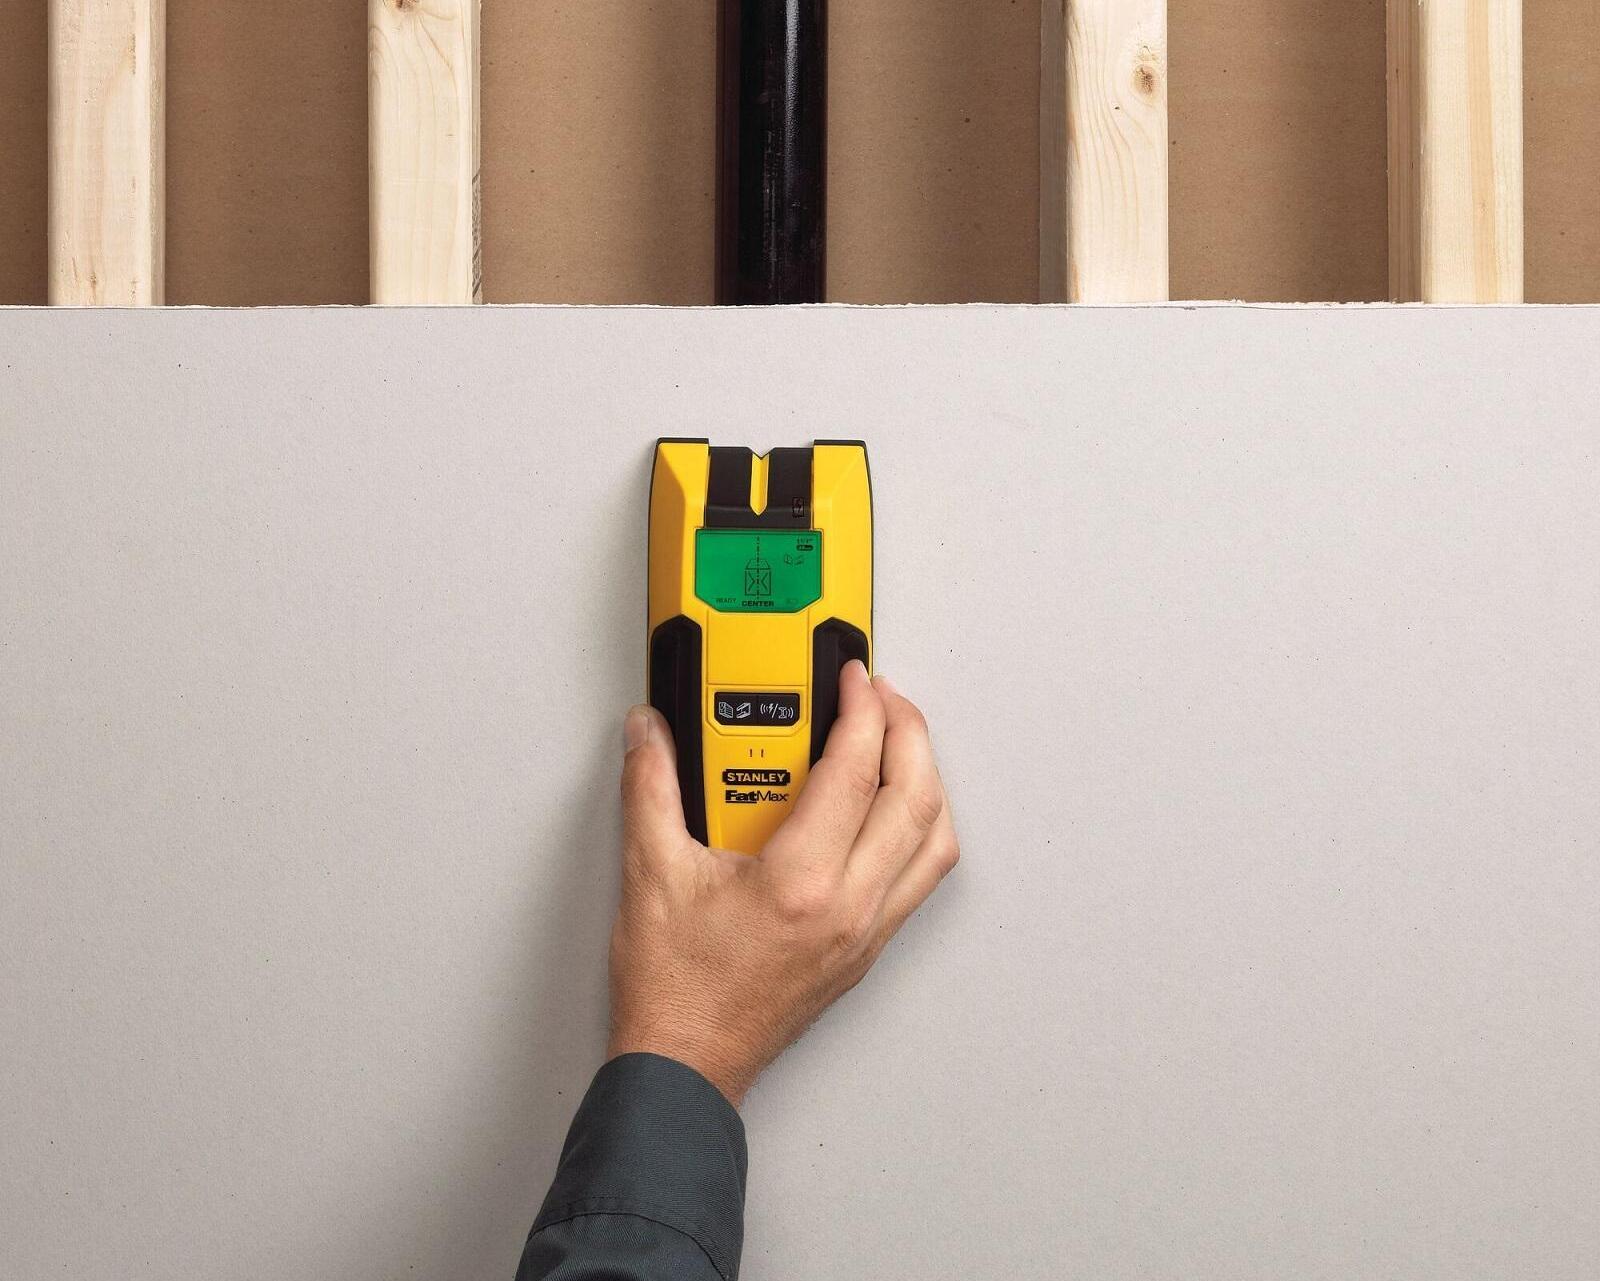
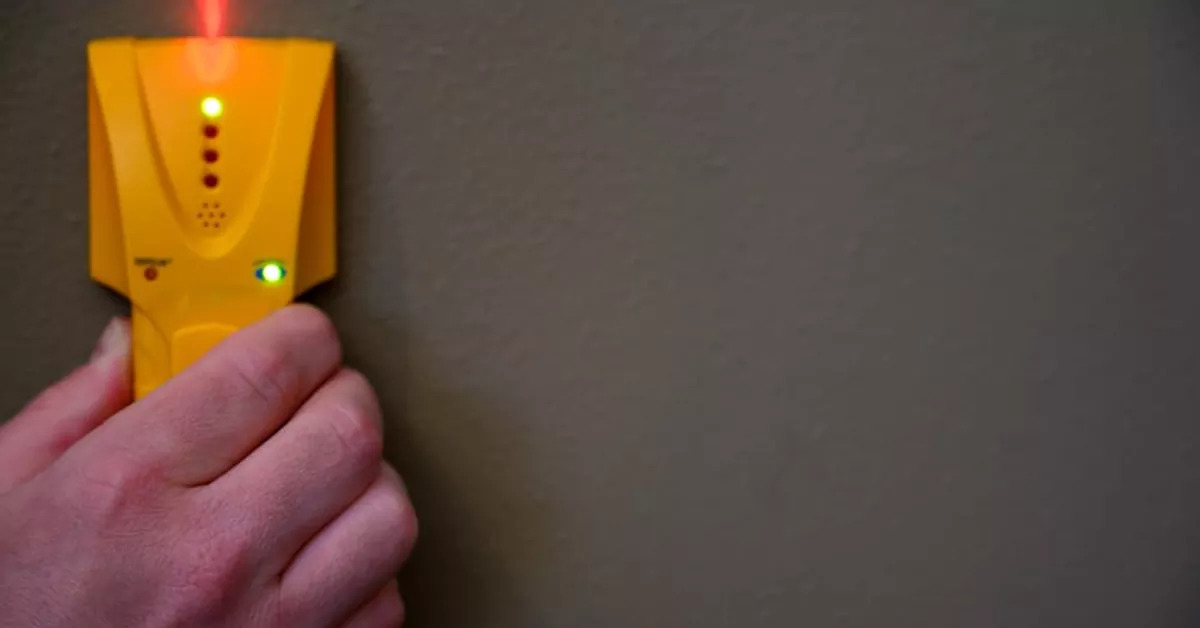
- Interpret the Feedback: Pay close attention to the indicator lights, display, or audio signals from the stud finder. As you move it across the wall, the device will provide feedback when it detects a change in wall density, indicating the presence of a stud. Differentiate between the edge and center markings to accurately identify the stud’s position.
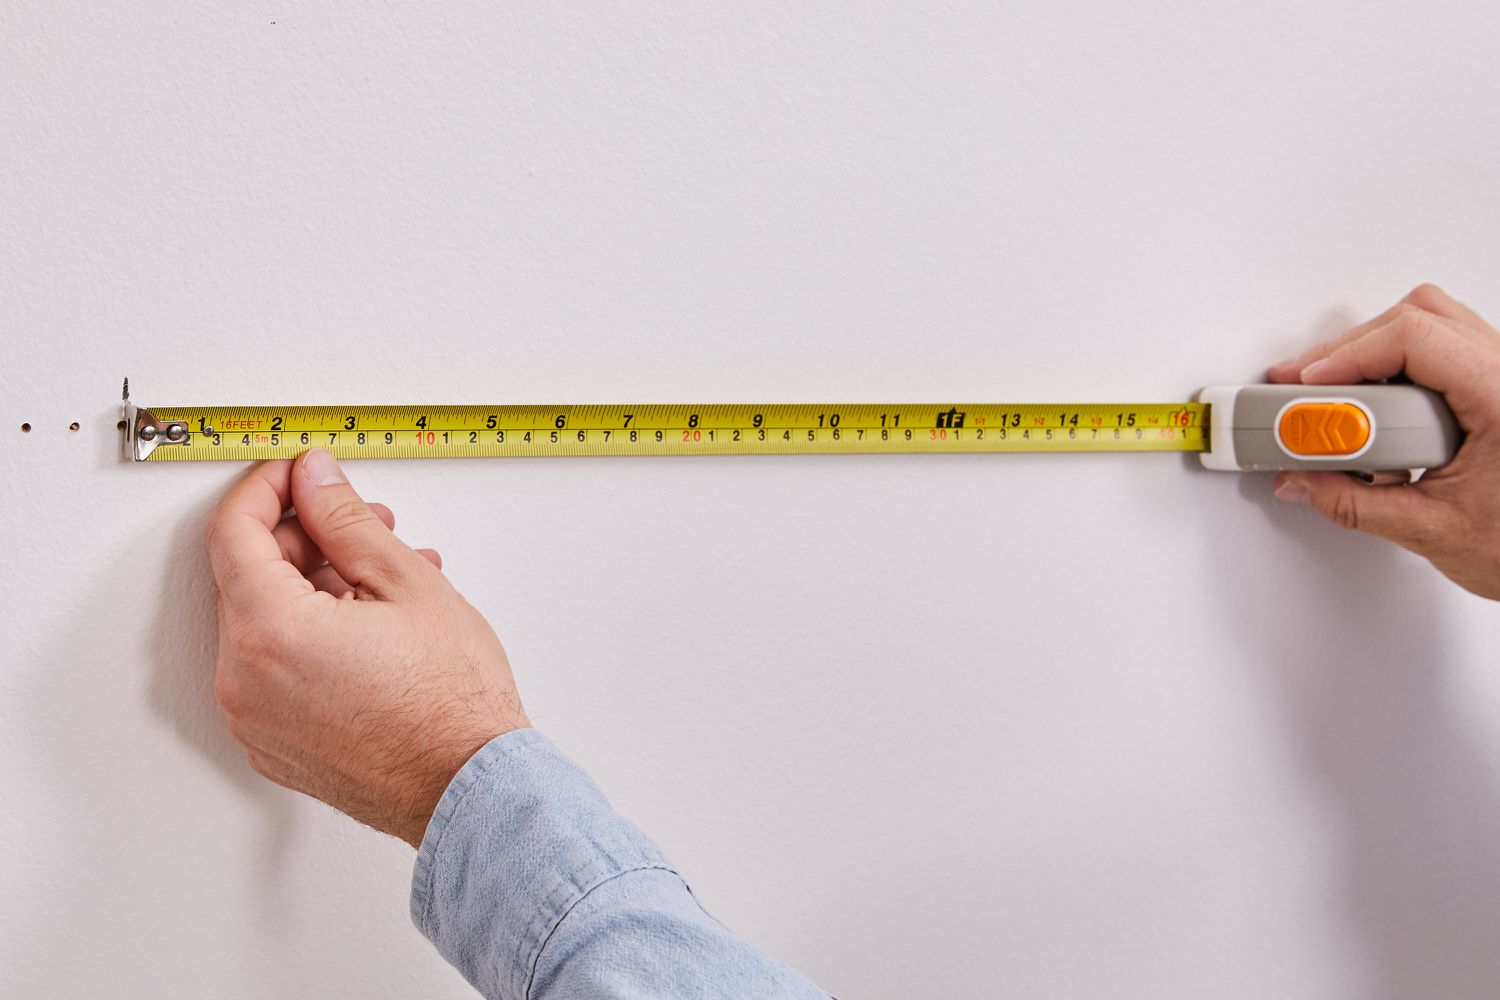
- Mark the Stud Location: Once the stud finder signals the presence of a stud, use a pencil or marker to make a small mark on the wall. If your stud finder offers a built-in level feature, take advantage of it to ensure precise horizontal or vertical alignment for your fixture or mounting bracket.
By following these steps and leveraging the capabilities of your Hart stud finder, you can confidently pinpoint the location of wall studs with accuracy and efficiency. This sets the stage for secure and reliable anchoring of heavy objects, ensuring the stability and longevity of your installations.
Tips for Effective Stud Finding
While the Hart stud finder is a powerful tool for locating wall studs, incorporating the following tips and best practices can further enhance the precision and effectiveness of your stud finding endeavors:
- Slow and Steady Movement: When scanning for studs, move the stud finder slowly and steadily across the wall. Rushing the process can lead to missed stud detections or inaccurate readings.
- Verify Multiple Readings: To ensure the reliability of stud detection, verify the identified stud locations by scanning the same area multiple times. Consistent readings across scans confirm the presence of a stud.
- Edge-to-Edge Scanning: Extend the scanning area beyond the expected width of a stud to detect its edges accurately. This comprehensive approach minimizes the risk of missing the stud’s full width.
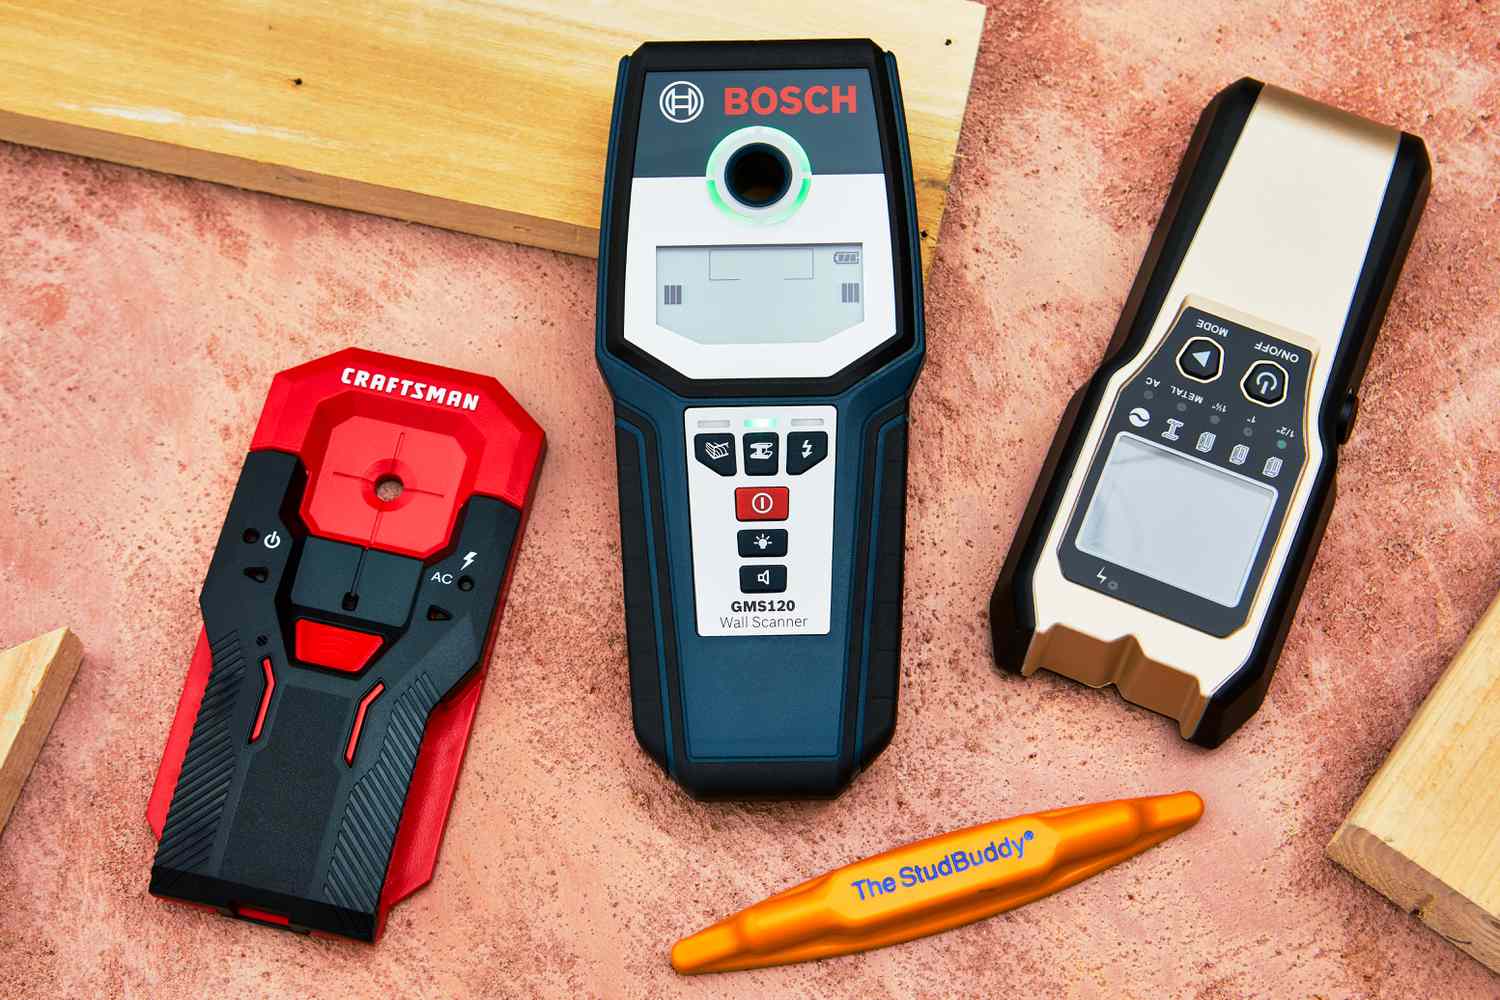
- Utilize Multiple Modes: If your Hart stud finder offers multiple scanning modes, such as deep scanning or live AC wire detection, leverage these features to gain a comprehensive understanding of the wall’s internal structure and potential obstacles.
- Account for Wall Thickness: Adjust the scanning depth or sensitivity of the stud finder to accommodate varying wall thicknesses. This ensures that the device can penetrate thicker walls while maintaining accurate stud detection in standard drywall.
- Practice on Known Studs: Familiarize yourself with the operation of the stud finder by practicing on areas where the location of studs is already known. This hands-on experience can help you understand the device’s feedback and fine-tune your scanning technique.
- Verify with Physical Detection: After using the stud finder to mark potential stud locations, confirm the findings by physically tapping the wall to listen for solid, dense areas indicative of a stud’s presence.
By incorporating these tips into your stud finding process, you can elevate the accuracy and reliability of stud detection, empowering you to approach your home improvement projects with confidence and precision. With practice and attention to detail, the Hart stud finder becomes an invaluable ally in your quest for secure and professional-quality wall installations.
Read more: How To Use Stud Finder
Conclusion
Congratulations! You’ve embarked on a journey of discovery and mastery, delving into the intricacies of the Hart stud finder and its pivotal role in your home improvement endeavors. Armed with a deeper understanding of this indispensable tool, you’re now equipped to navigate the process of stud finding with confidence and precision.
As you venture forth into your DIY projects, remember that the Hart stud finder is not merely a device; it’s a gateway to unlocking the potential of your living spaces. By harnessing its capabilities, you can confidently anchor heavy objects, mount fixtures securely, and embark on renovations with the assurance that your efforts will stand the test of time.
Embrace the art of preparation, ensuring that your stud finder is calibrated, powered, and ready to unveil the hidden framework of your walls. With a steady hand and a keen eye, use the stud finder to uncover the sturdy support that will underpin your home improvements, transforming mere walls into resilient foundations for your creativity.
Remember, proficiency with the Hart stud finder is not merely a technical skill; it’s a gateway to unlocking the potential of your living spaces. By harnessing its capabilities, you can confidently anchor heavy objects, mount fixtures securely, and embark on renovations with the assurance that your efforts will stand the test of time.
As you conclude your journey through the realm of stud finding, carry with you the wisdom of precision, the art of patience, and the joy of transforming walls into canvases for your vision. Let the Hart stud finder be your trusted companion, guiding you toward the sturdy embrace of wall studs and the fulfillment of your home improvement aspirations.
With the knowledge and insights gained from this guide, you’re poised to embark on your next project with newfound confidence and expertise. So, go forth, armed with your Hart stud finder and the spirit of innovation, and let your home improvement endeavors flourish with the strength and stability that only a well-anchored stud can provide.
Frequently Asked Questions about How To Use Hart Stud Finder
Was this page helpful?
At Storables.com, we guarantee accurate and reliable information. Our content, validated by Expert Board Contributors, is crafted following stringent Editorial Policies. We're committed to providing you with well-researched, expert-backed insights for all your informational needs.


0 thoughts on “How To Use Hart Stud Finder”