Home>Renovation & DIY>Tools & Equipment>How To Use Craftsman Stud Finder
Tools & Equipment
How To Use Craftsman Stud Finder
Modified: January 4, 2024
Learn how to effectively use a Craftsman stud finder to locate studs and improve your DIY projects. Get the most out of this essential tool for your home improvement needs. Discover tips and tricks for using tools and equipment.
(Many of the links in this article redirect to a specific reviewed product. Your purchase of these products through affiliate links helps to generate commission for Storables.com, at no extra cost. Learn more)
Introduction
Welcome to the world of DIY home improvement! Whether you’re a seasoned handyman or a novice do-it-yourself enthusiast, having the right tools is crucial for any project. One such tool that can make your life easier is the Craftsman stud finder. If you’ve ever struggled to locate studs behind drywall, you know the frustration of trying to hang a heavy picture or shelf without hitting a stud. The Craftsman stud finder is designed to solve this problem, helping you confidently and accurately find studs for a variety of tasks.
In this guide, we’ll delve into the ins and outs of using the Craftsman stud finder effectively. From understanding its features to mastering the technique of locating studs, you’ll gain valuable insights that will empower you to tackle your next home improvement project with confidence. So, grab your tool belt and let’s explore the world of stud finding with Craftsman!
Key Takeaways:
- Master the Craftsman stud finder to confidently locate wall studs for secure and precise DIY projects. Prepare, scan, and verify with patience and consistency for reliable results.
- Understand the features and tips for effective stud finding with the Craftsman stud finder. Slow, steady movements and multiple verifications ensure accurate wall stud detection.
Read more: How To Use Hart Stud Finder
Understanding the Craftsman Stud Finder
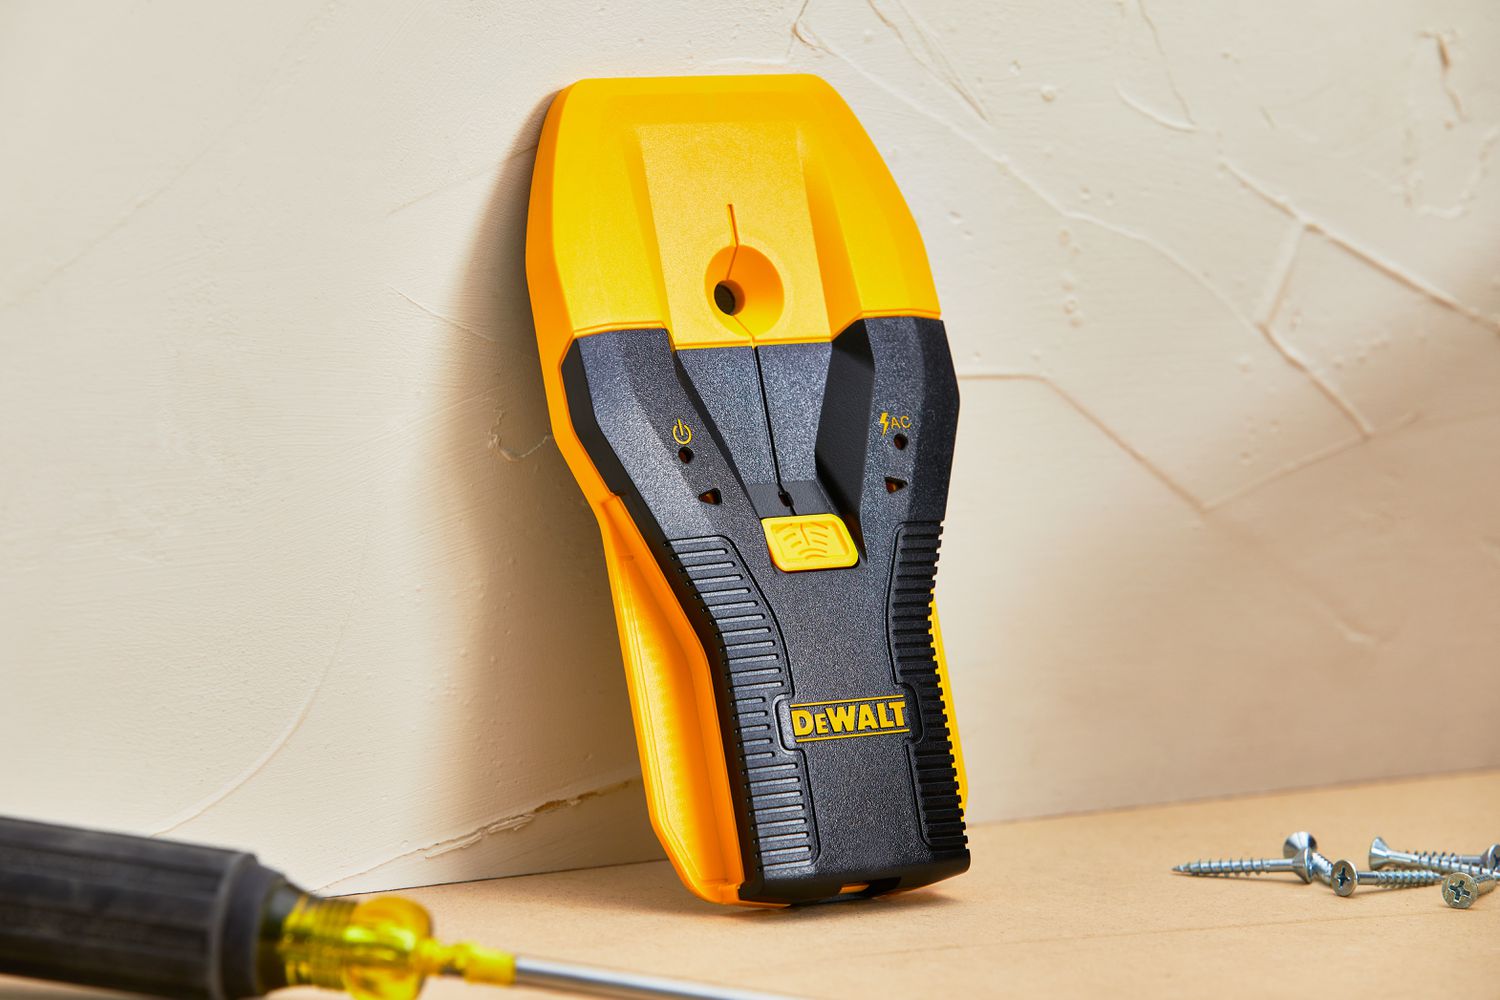
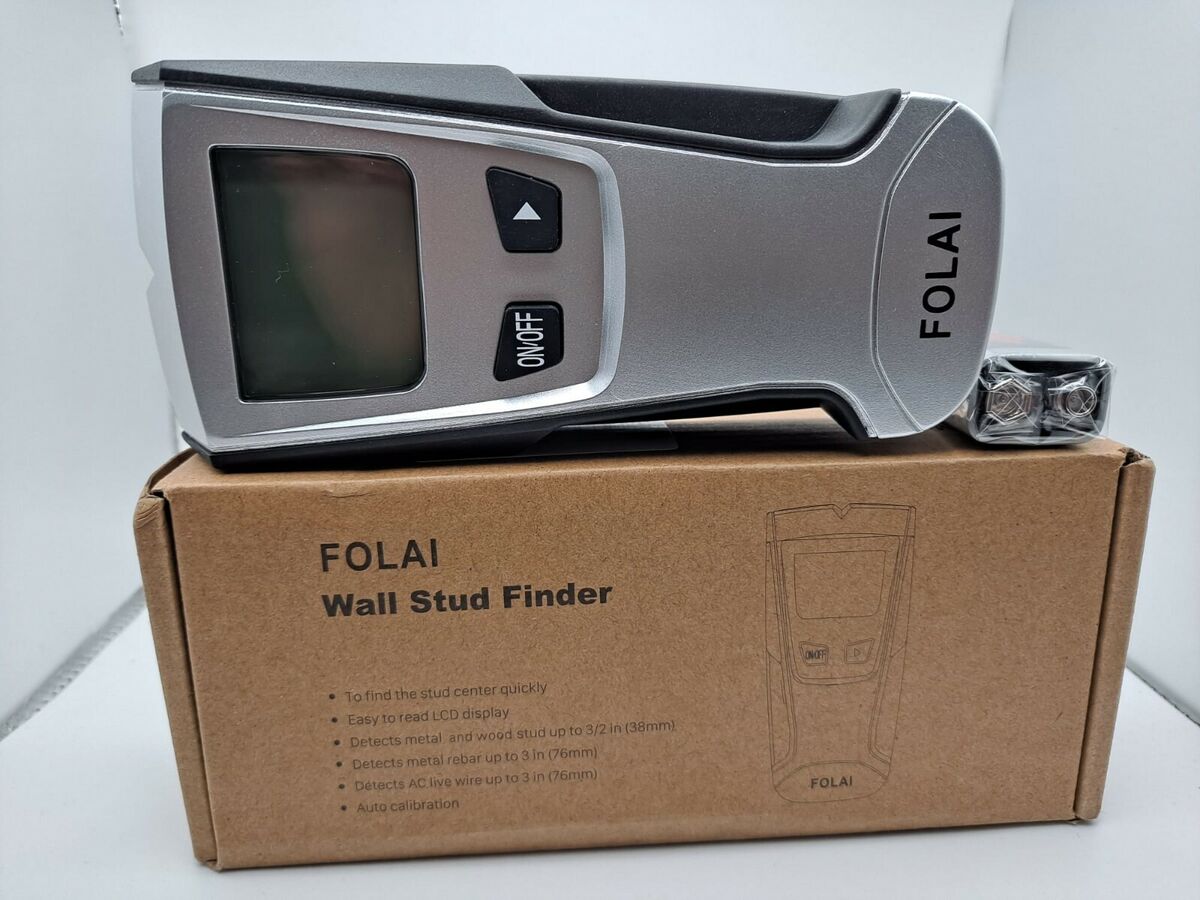
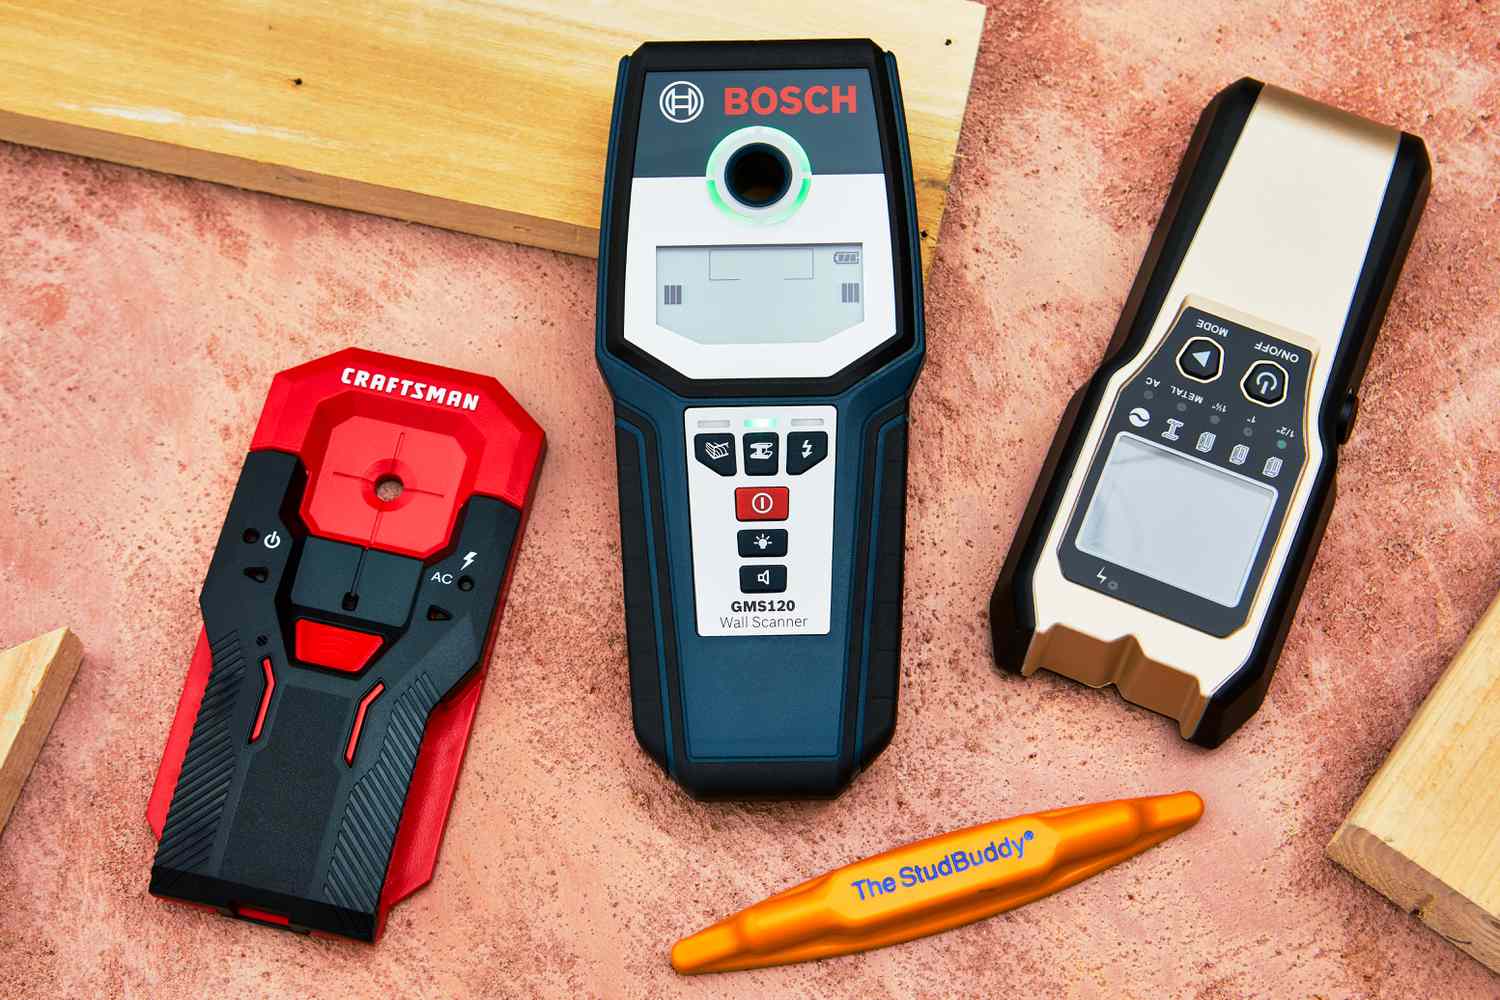
The Craftsman stud finder is a handheld device designed to detect the presence of studs, joists, and live AC wiring behind walls. It utilizes electronic sensors to identify changes in wall density, enabling you to pinpoint the location of structural supports within the wall. Understanding the key components and features of the Craftsman stud finder is essential for harnessing its full potential.
One of the primary features of the Craftsman stud finder is its ability to detect both wood and metal studs, providing versatility for various types of construction. Additionally, many models offer a deep scan mode, allowing you to detect studs located further beneath the wall surface, which can be particularly useful for older homes with thicker walls.
Another important aspect of the Craftsman stud finder is its edge detection capability. This feature helps you identify the edges of the stud, providing a more precise indication of the stud’s location and width. By understanding how to interpret the signals and indicators on the device, you can effectively differentiate between the presence of a stud and other obstructions within the wall.
Furthermore, the Craftsman stud finder may incorporate visual and audible cues to alert you when it has detected a stud. These indicators can vary depending on the model, but they typically provide a user-friendly interface for identifying the stud’s position without the need for complex interpretation.
By familiarizing yourself with the functionality and features of the Craftsman stud finder, you can harness its capabilities to streamline your home improvement projects. In the following sections, we will explore the essential steps for preparing and using the stud finder to achieve accurate and reliable results.
Preparing the Stud Finder
Before embarking on your stud-finding mission, it’s essential to ensure that your Craftsman stud finder is properly prepared for the task at hand. Proper preparation not only enhances the accuracy of the device but also contributes to a smoother and more efficient stud-finding process.
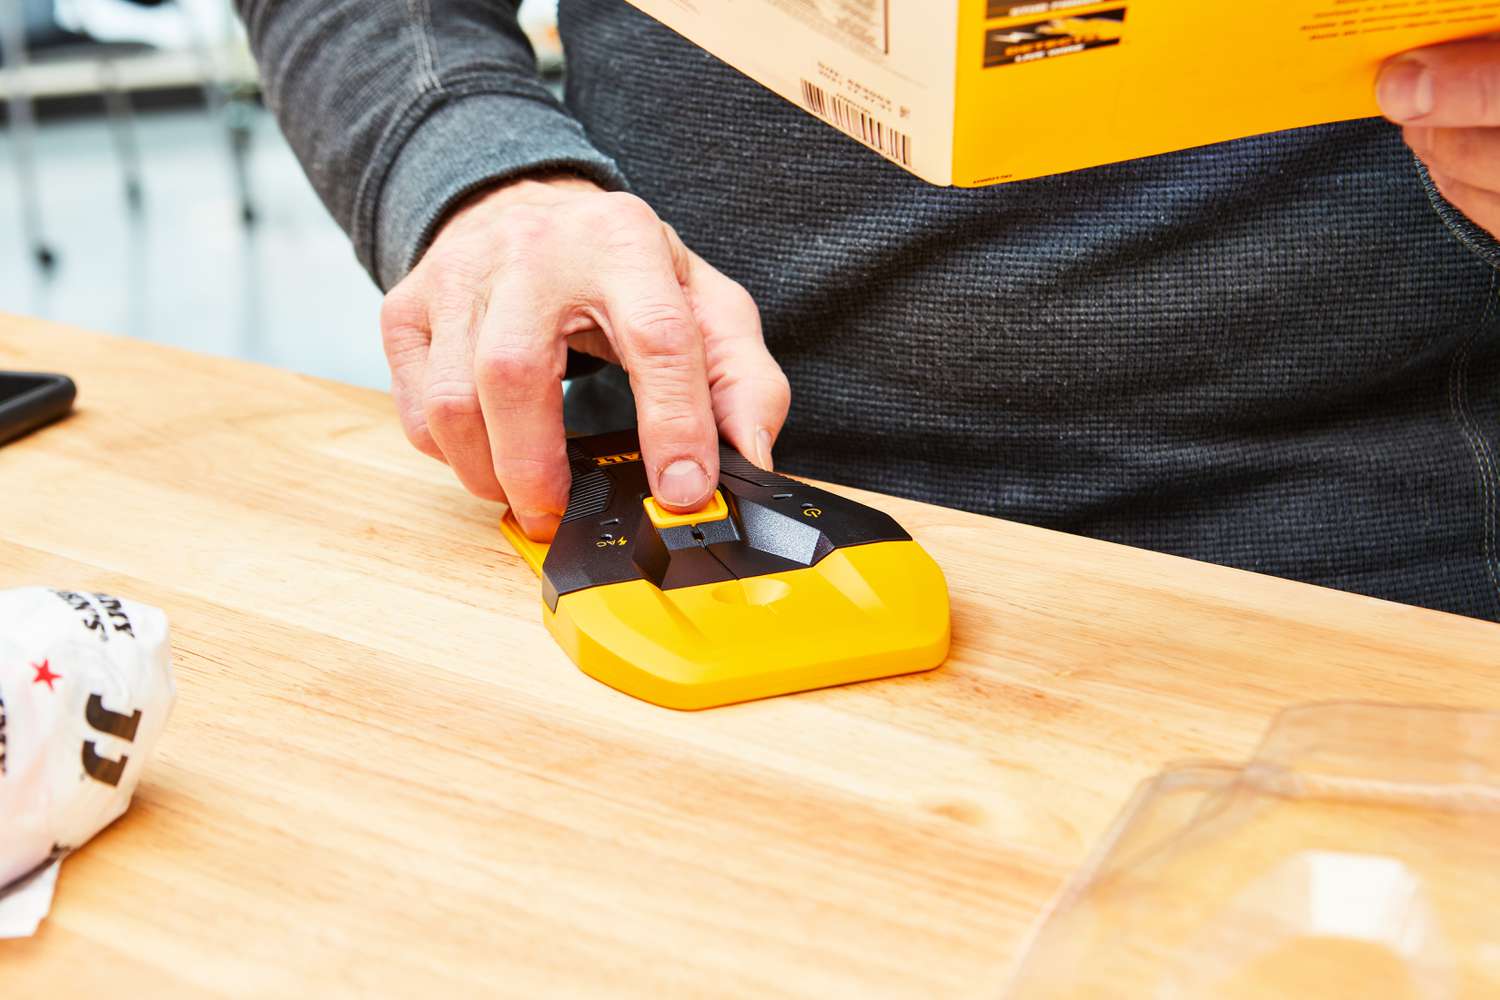
Calibration: Start by calibrating the stud finder according to the manufacturer’s instructions. Calibration is crucial for ensuring that the device accurately interprets the wall density and provides reliable stud detection. Most Craftsman stud finders feature a simple calibration process that involves placing the device on an area of the wall without obstructions and initiating the calibration mode.
Battery Check: Verify that the stud finder has a sufficient battery charge before use. A low battery can compromise the performance of the device and lead to inaccurate readings. If the device operates on replaceable batteries, it’s advisable to have spare batteries on hand to prevent interruptions during your stud-finding endeavors.
Clear the Area: Clear the area where you intend to use the stud finder. Remove any objects or furnishings that may obstruct the device’s movement along the wall. Ensuring unobstructed access to the wall surface allows for seamless navigation and precise stud detection.
Understanding Wall Materials: Familiarize yourself with the type of wall material you will be working with. Different wall materials, such as drywall, plaster, or lath and plaster, may influence the stud finder’s performance. Understanding the composition of the wall enables you to adjust the device’s settings or technique accordingly for optimal results.
By taking the time to prepare your Craftsman stud finder before use, you set the stage for successful stud detection and a more efficient home improvement experience. With the stud finder primed and ready, you’re now equipped to embark on the exciting journey of locating studs with precision and confidence.
When using a Craftsman stud finder, make sure to calibrate it on a known surface before starting. Slowly move it across the wall, and when it beeps or lights up, mark the spot as a stud. Always double check by scanning the same area from multiple directions.
Using the Stud Finder
Now that your Craftsman stud finder is calibrated and prepared, it’s time to put it to work. Mastering the technique of using the stud finder is essential for accurate and reliable stud detection. Whether you’re hanging shelves, mounting a TV, or installing cabinetry, the following steps will guide you through the process of effectively using your stud finder.
Select the Mode: Depending on the model of your Craftsman stud finder, choose the appropriate mode for your wall material and the depth at which you need to detect studs. Many stud finders offer standard and deep scan modes, catering to different wall thicknesses and construction materials.
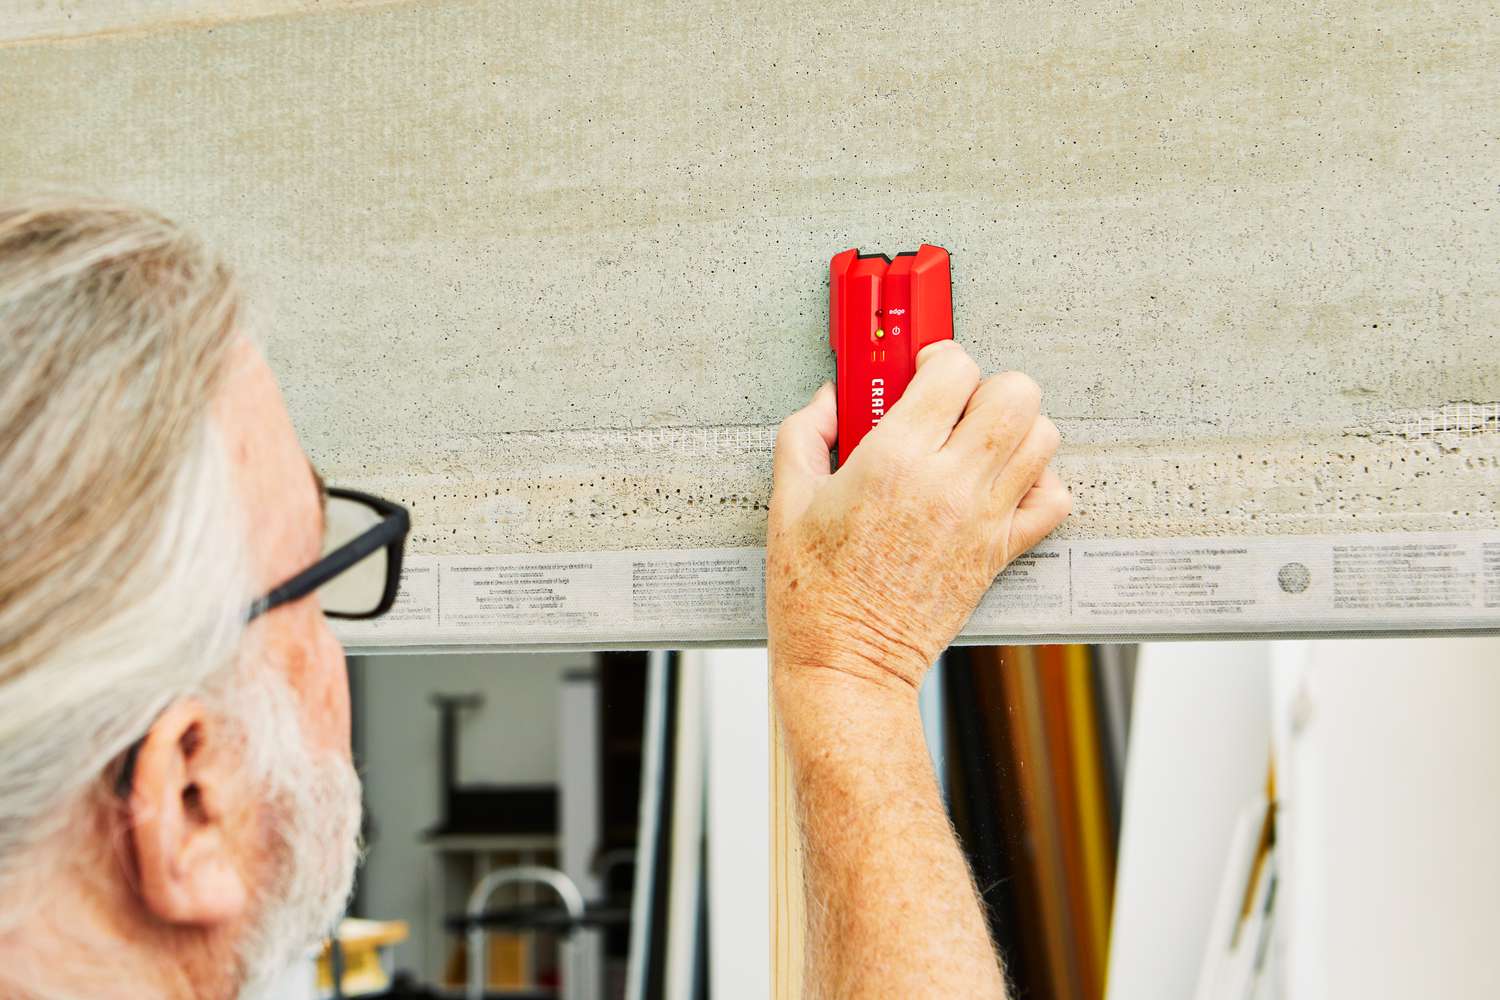
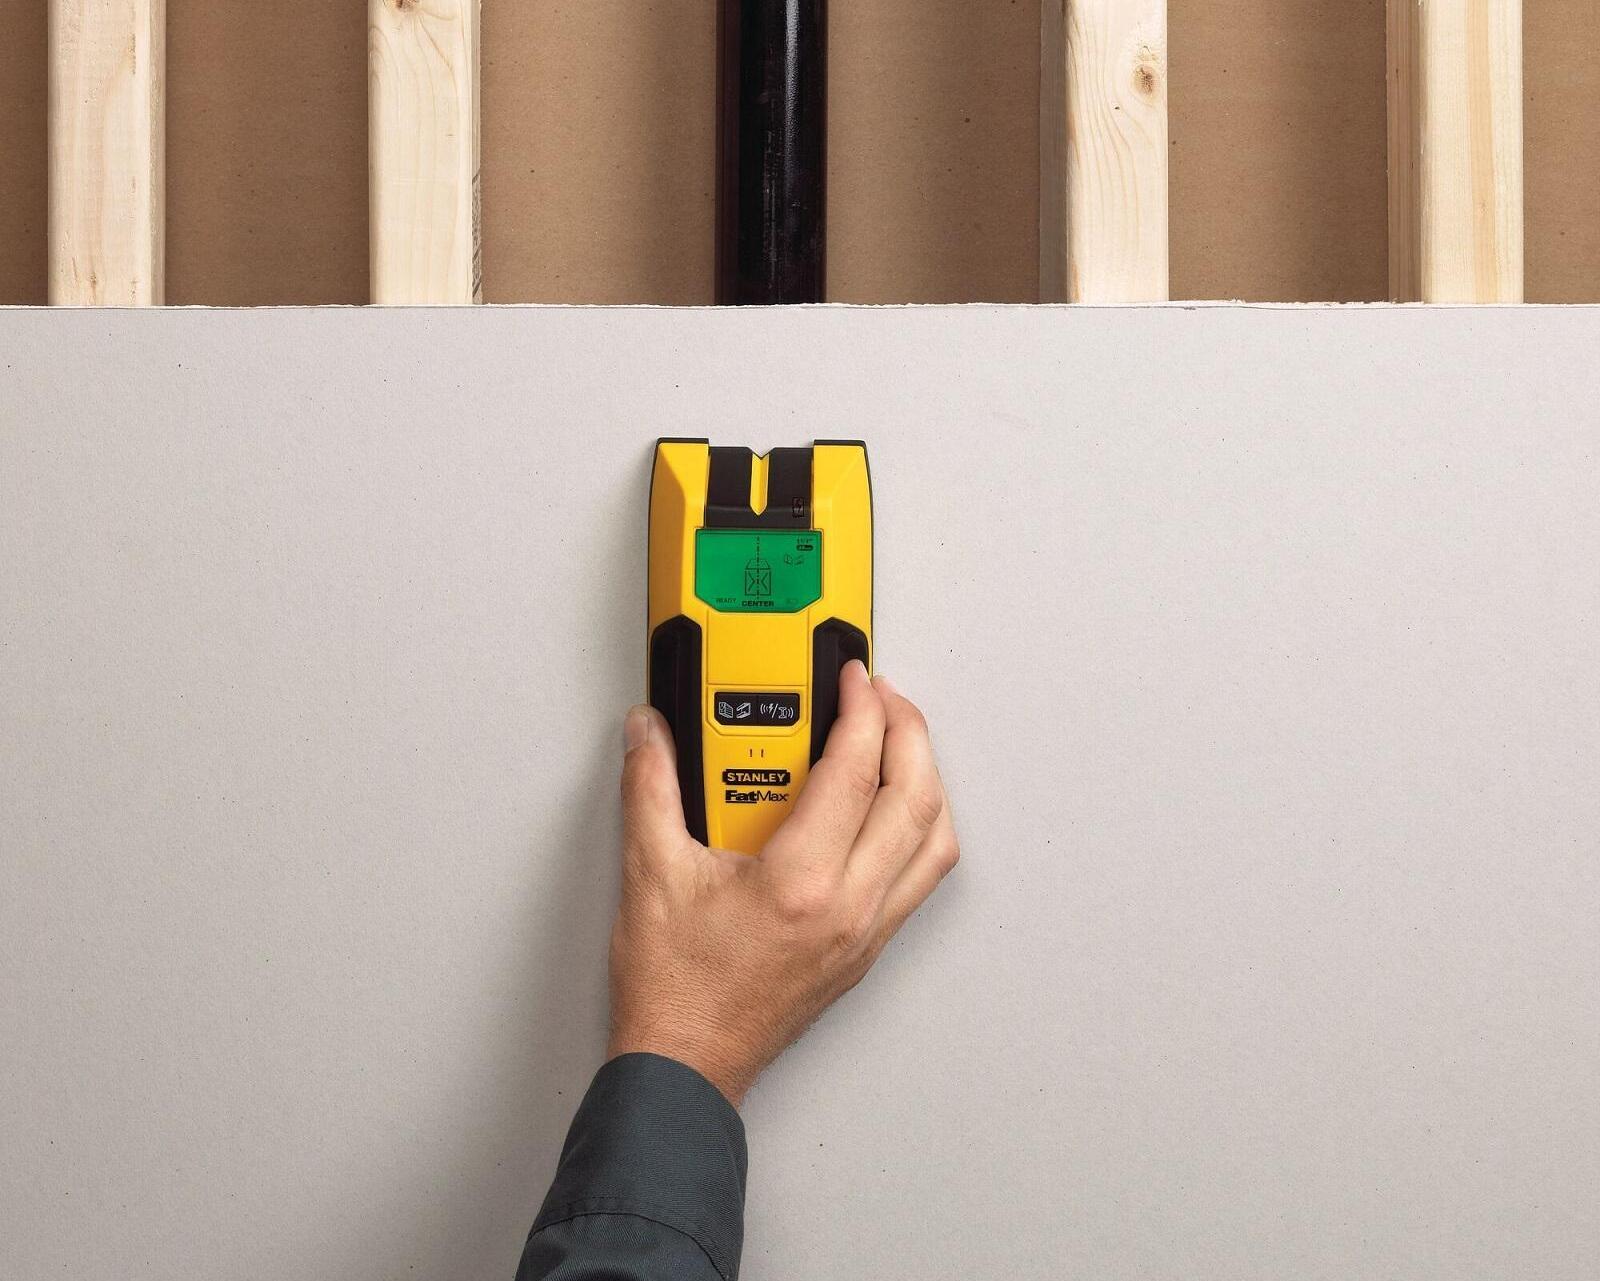
Positioning: Position the stud finder against the wall, ensuring that it is level and making full contact with the surface. Hold the device steady and avoid unnecessary movement during the scanning process to obtain accurate readings.
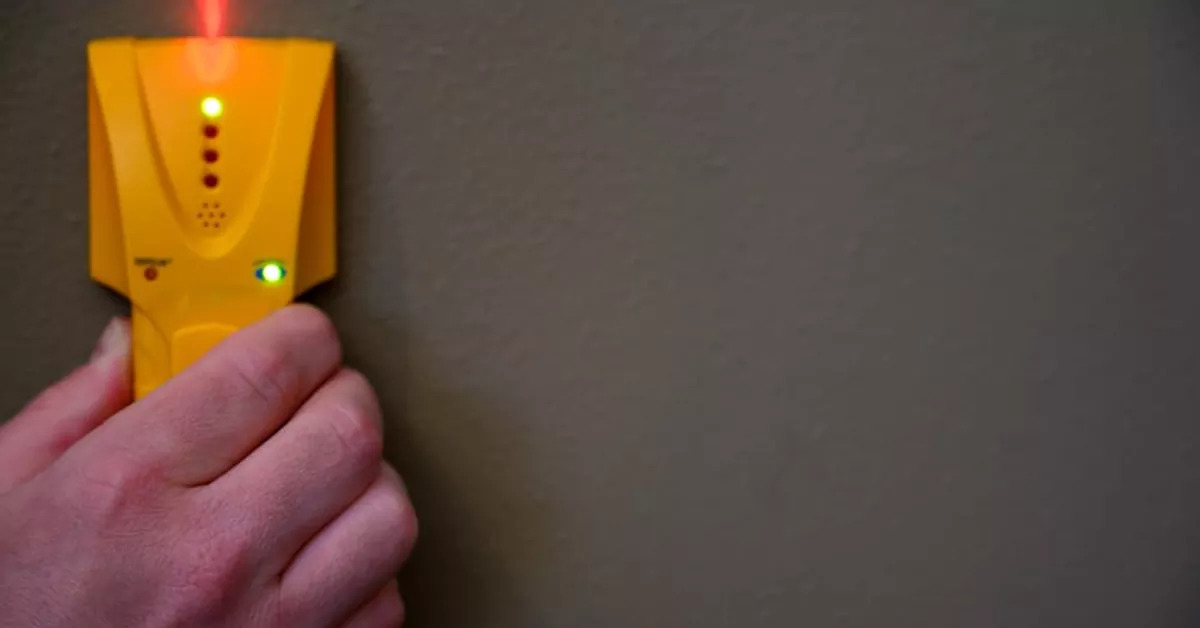
Initiate Scanning: Activate the scanning function of the stud finder according to the manufacturer’s instructions. Slowly move the device horizontally along the wall, allowing it to scan for changes in wall density. Pay attention to any visual or audible indicators that signal the presence of a stud.
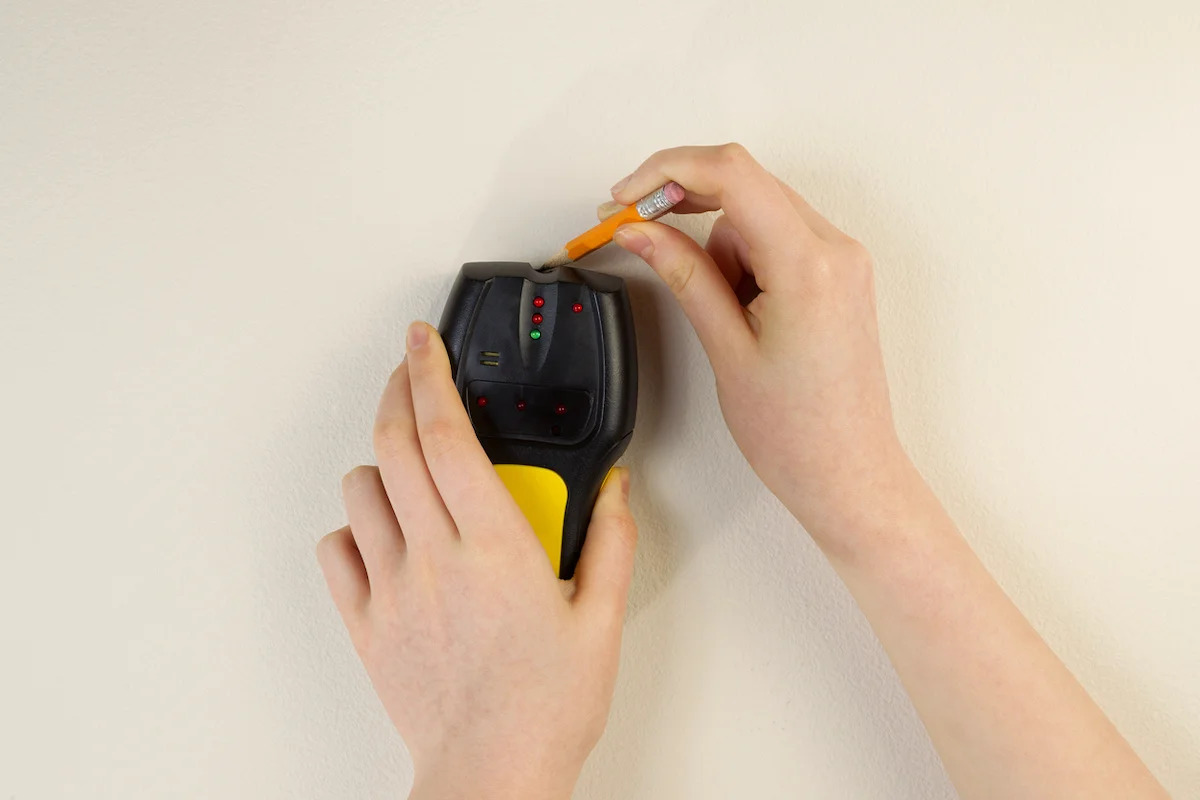
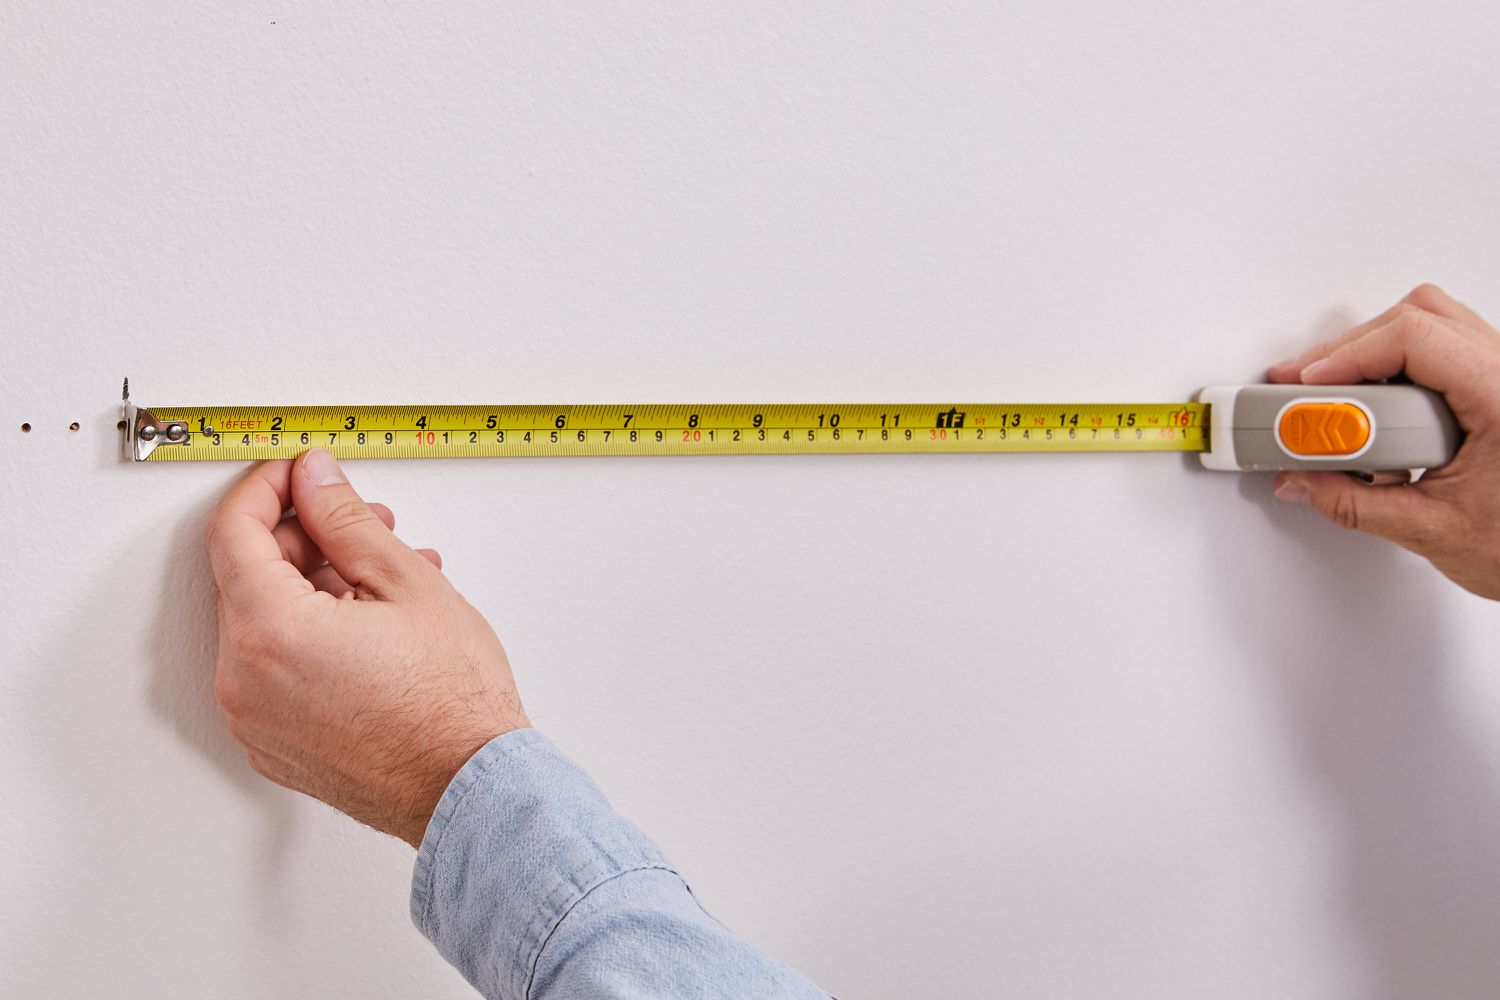
Marking the Stud: When the stud finder detects a stud, mark the edges of the detected area using a pencil or painter’s tape. This step is crucial for visualizing the stud’s location and width, enabling you to plan your installations or mounting with precision.
Verify Stud Location: To ensure accuracy, scan the area around the marked stud multiple times to confirm its position and width. This verification process enhances confidence in the detected stud’s location and minimizes the risk of errors in your project’s execution.
By following these steps and honing your technique, you can harness the full potential of your Craftsman stud finder to confidently and accurately locate studs within your walls. With the stud’s location identified, you’re now ready to proceed with your home improvement tasks, knowing that your installations and fixtures are securely anchored to the structural support provided by the studs.
Tips for Effective Stud Finding
While using a Craftsman stud finder is a straightforward process, incorporating a few tips and best practices can significantly enhance your stud-finding efficiency and accuracy. These valuable insights will empower you to make the most of your stud finder, ensuring that your home improvement projects proceed seamlessly and with precision.
- Consistent Pressure: Maintain a consistent and firm pressure against the wall when scanning with the stud finder. Inconsistent pressure can lead to erratic readings, impacting the accuracy of stud detection.
- Slow and Steady Movement: Move the stud finder slowly and steadily along the wall to allow the device to effectively scan for changes in wall density. Rushing the scanning process can result in missed studs or inaccurate readings.
- Verify Multiple Readings: Verify the detected stud’s location by scanning the same area multiple times. This verification process helps confirm the consistency of the readings and provides a comprehensive understanding of the stud’s position and width.
- Account for Wall Obstructions: Be mindful of potential obstructions behind the wall, such as electrical outlets, switches, or plumbing fixtures, which can impact the stud finder’s readings. Adjust your scanning technique to navigate around these obstacles for precise stud detection.
- Understanding False Positives: Familiarize yourself with the possibility of false positives, where the stud finder may indicate the presence of a stud when none exists. Learning to differentiate between genuine stud detection and false positives enhances the reliability of your stud-finding process.
- Practice on Known Studs: If possible, practice using the stud finder on a section of the wall where you already know the location of studs. This practical exercise allows you to refine your technique and gain confidence in interpreting the device’s signals.
- Explore Additional Features: Familiarize yourself with any additional features or settings offered by your specific model of Craftsman stud finder. Understanding and utilizing these features, such as signal strength indicators or marking capabilities, can further optimize your stud-finding experience.
By integrating these tips into your stud-finding routine, you can elevate your proficiency in using the Craftsman stud finder and achieve precise and reliable stud detection for a wide range of home improvement endeavors. With a combination of technique, patience, and a keen eye for detail, you’ll be well-equipped to tackle stud finding with confidence and efficiency.
Read more: How To Use Zircon Stud Finder
Conclusion
Congratulations! You’ve now gained a comprehensive understanding of the Craftsman stud finder and how to harness its capabilities to locate studs with precision and confidence. As you embark on your home improvement projects, armed with the knowledge and techniques shared in this guide, you’re poised to tackle tasks that require secure and reliable anchoring to wall studs.
By delving into the functionality of the Craftsman stud finder and mastering the preparatory steps, including calibration and battery checks, you’ve laid the groundwork for successful stud detection. Understanding the nuances of using the stud finder, from selecting the appropriate mode to marking and verifying stud locations, empowers you to navigate the process with ease and accuracy.
Moreover, the invaluable tips and best practices provided offer a wealth of insights to optimize your stud-finding endeavors. By incorporating these strategies into your routine, you can elevate your proficiency and ensure consistent and reliable results when using the Craftsman stud finder.
As you venture into the realm of home improvement and embark on projects that demand secure and precise stud detection, the Craftsman stud finder serves as a reliable ally, empowering you to confidently anchor your fixtures, shelves, and decor to the structural support provided by the studs within your walls.
With your newfound expertise in utilizing the Craftsman stud finder, you’re well-equipped to embark on your next DIY adventure with confidence and precision. So, go ahead, hang that artwork, mount those shelves, and tackle your home improvement projects with the assurance that your fixtures are securely anchored to the sturdy framework provided by the carefully located studs.
Happy DIYing!
Frequently Asked Questions about How To Use Craftsman Stud Finder
Was this page helpful?
At Storables.com, we guarantee accurate and reliable information. Our content, validated by Expert Board Contributors, is crafted following stringent Editorial Policies. We're committed to providing you with well-researched, expert-backed insights for all your informational needs.


0 thoughts on “How To Use Craftsman Stud Finder”