Home>Renovation & DIY>Tools & Equipment>How To Use Zircon Stud Finder

Tools & Equipment
How To Use Zircon Stud Finder
Modified: October 20, 2024
Learn how to effectively use a Zircon stud finder to locate studs and other objects behind walls. Get expert tips and tricks for using this essential tool. Ideal for DIY enthusiasts and professionals in the tools and equipment industry.
(Many of the links in this article redirect to a specific reviewed product. Your purchase of these products through affiliate links helps to generate commission for Storables.com, at no extra cost. Learn more)
Introduction
Welcome to the world of DIY home improvement! Whether you’re a seasoned DIY enthusiast or just dipping your toes into the world of home repairs, having the right tools at your disposal can make all the difference. One such essential tool is the Zircon stud finder, a device that simplifies the process of locating studs behind walls, ceilings, and floors.
As any experienced DIYer can attest, finding a stud is crucial for securely hanging heavy objects like shelves, mirrors, or cabinets. Without hitting a stud, your carefully mounted fixtures could come crashing down, potentially causing damage to your walls and belongings. The Zircon stud finder eliminates the guesswork and frustration associated with traditional stud-finding methods, offering a reliable and efficient solution for locating studs with precision.
In this comprehensive guide, we’ll delve into the ins and outs of using a Zircon stud finder, from understanding its functionality to mastering the art of stud detection. By the end of this article, you’ll be equipped with the knowledge and confidence to tackle your next home improvement project with ease, knowing that your fixtures are securely anchored to sturdy studs.
Key Takeaways:
- Master the art of stud detection with the Zircon stud finder, ensuring secure and professional-grade fixture installations for your DIY home improvement projects.
- Elevate your proficiency in stud finding with expert tips, empowering you to achieve precise and consistent results and create a safer and more aesthetically pleasing living environment.
Read more: How To Calibrate Zircon Stud Finder
Understanding Zircon Stud Finder
Before diving into the practical aspects of using a Zircon stud finder, it’s essential to grasp the fundamental principles behind this innovative device. A Zircon stud finder operates based on electronic sensors that detect changes in wall density, thereby identifying the presence of studs, joists, or other structural components hidden beneath the surface.
Most Zircon stud finders utilize both edge and center-finding technologies, allowing users to pinpoint the exact location of studs and the edges of the stud for precise anchoring of fixtures. This dual functionality significantly enhances the accuracy of stud detection, making it a valuable tool for both DIY enthusiasts and professional contractors.
One of the standout features of Zircon stud finders is their ability to detect live electrical wiring behind walls. This crucial safety feature helps users avoid potential hazards when drilling or nailing into walls, ensuring that they can work on their projects with peace of mind.
Furthermore, Zircon stud finders are designed to be user-friendly, with intuitive interfaces and clear visual and audible indicators that guide users to the location of studs. This simplicity makes them accessible to individuals of varying skill levels, empowering everyone to undertake home improvement tasks confidently and efficiently.
By understanding the technology and capabilities of the Zircon stud finder, users can harness its full potential to streamline their projects and achieve professional-quality results. With this knowledge as a foundation, let’s explore the steps involved in preparing and using a Zircon stud finder effectively.
Preparing the Zircon Stud Finder
Before embarking on your stud-finding mission, it’s important to ensure that your Zircon stud finder is primed for optimal performance. Here are the essential steps to prepare the device for accurate and reliable stud detection:
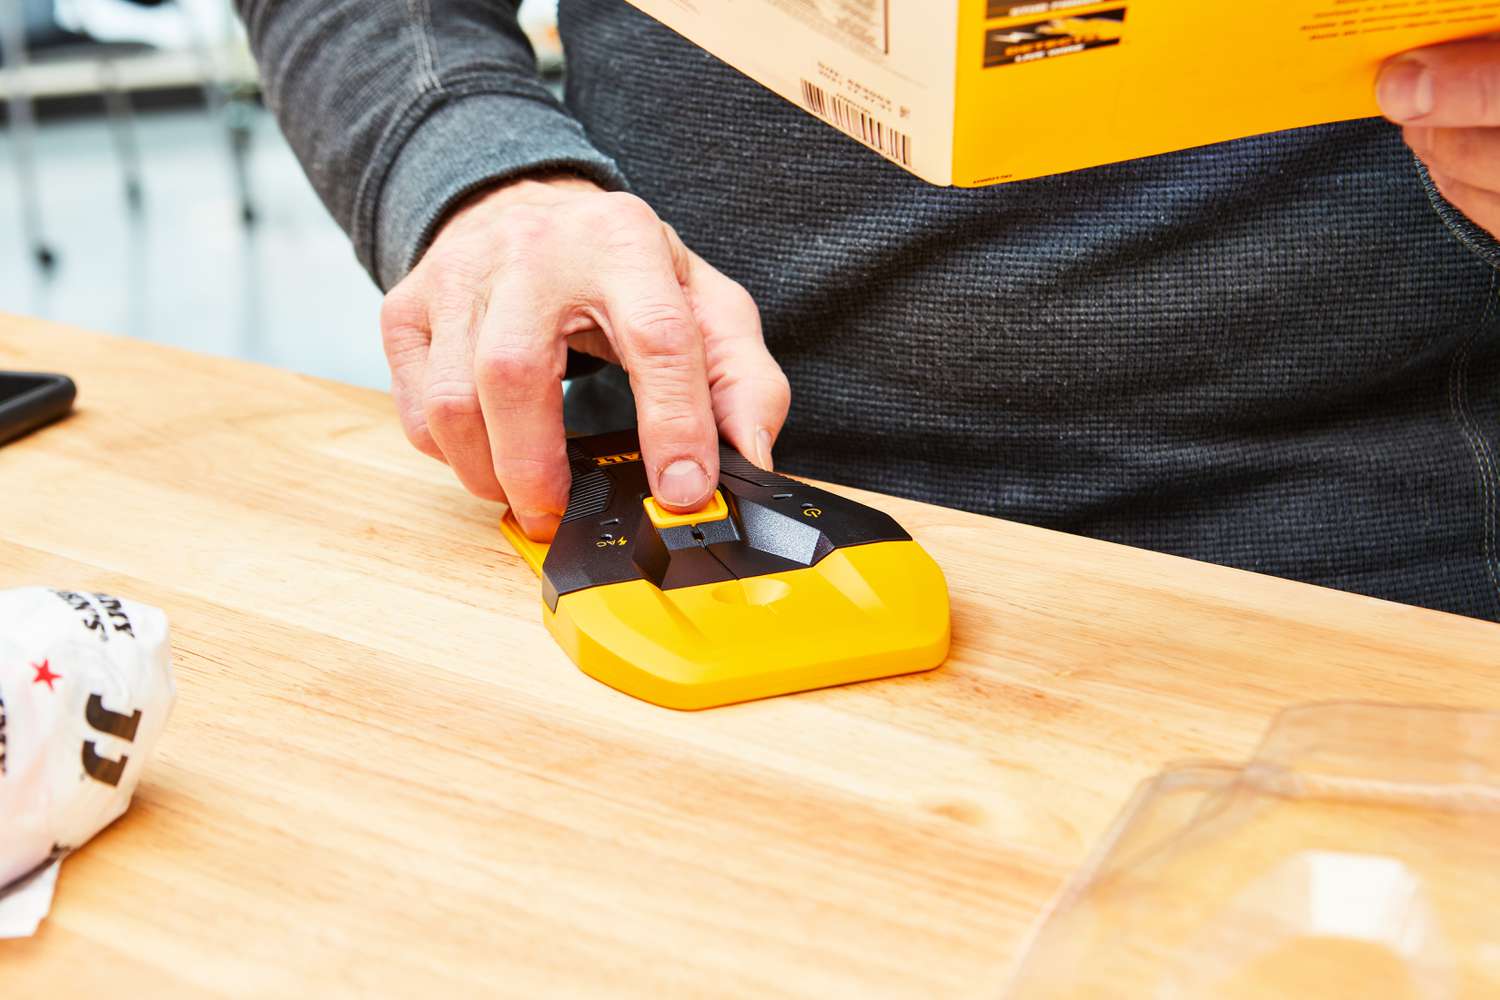
- Power Up: Start by inserting fresh batteries into your Zircon stud finder. Reliable power is crucial for consistent performance, so be sure to use high-quality batteries to maximize the device’s effectiveness.
- Calibration: Many Zircon stud finders require calibration before use. This typically involves holding the device against a bare section of wall and initiating the calibration process as per the manufacturer’s instructions. Calibration ensures that the stud finder adapts to the specific wall composition and provides accurate readings.
- Surface Preparation: Clear the area where you’ll be using the stud finder of any obstructions, such as wall hangings, furniture, or decor. This allows for unobstructed movement and positioning of the stud finder against the wall.
- Understand Indicator Lights: Familiarize yourself with the indicator lights and/or display on your Zircon stud finder. Different models may have varying indicator systems, including LED lights, LCD displays, or audible signals. Understanding these indicators will help you interpret the device’s feedback accurately during stud detection.
By following these preparatory steps, you can ensure that your Zircon stud finder is ready to deliver precise and dependable stud detection results. With the device primed and your workspace prepped, you’re now equipped to move on to the practical application of using the Zircon stud finder.
When using a Zircon stud finder, make sure to calibrate it on a clear section of the wall before scanning for studs. Move the device slowly and steadily to ensure accurate results.
Using the Zircon Stud Finder
Now that your Zircon stud finder is prepared for action, it’s time to put it to use for locating studs within your walls. Follow these step-by-step instructions to effectively utilize your Zircon stud finder:
- Select the Scanning Mode: Depending on the specific model of your Zircon stud finder, choose the appropriate scanning mode for your wall surface. Common options include stud scan, deep scan, and metal scan. Selecting the right mode ensures that the device targets the desired elements within the wall, such as wooden studs or metal components.
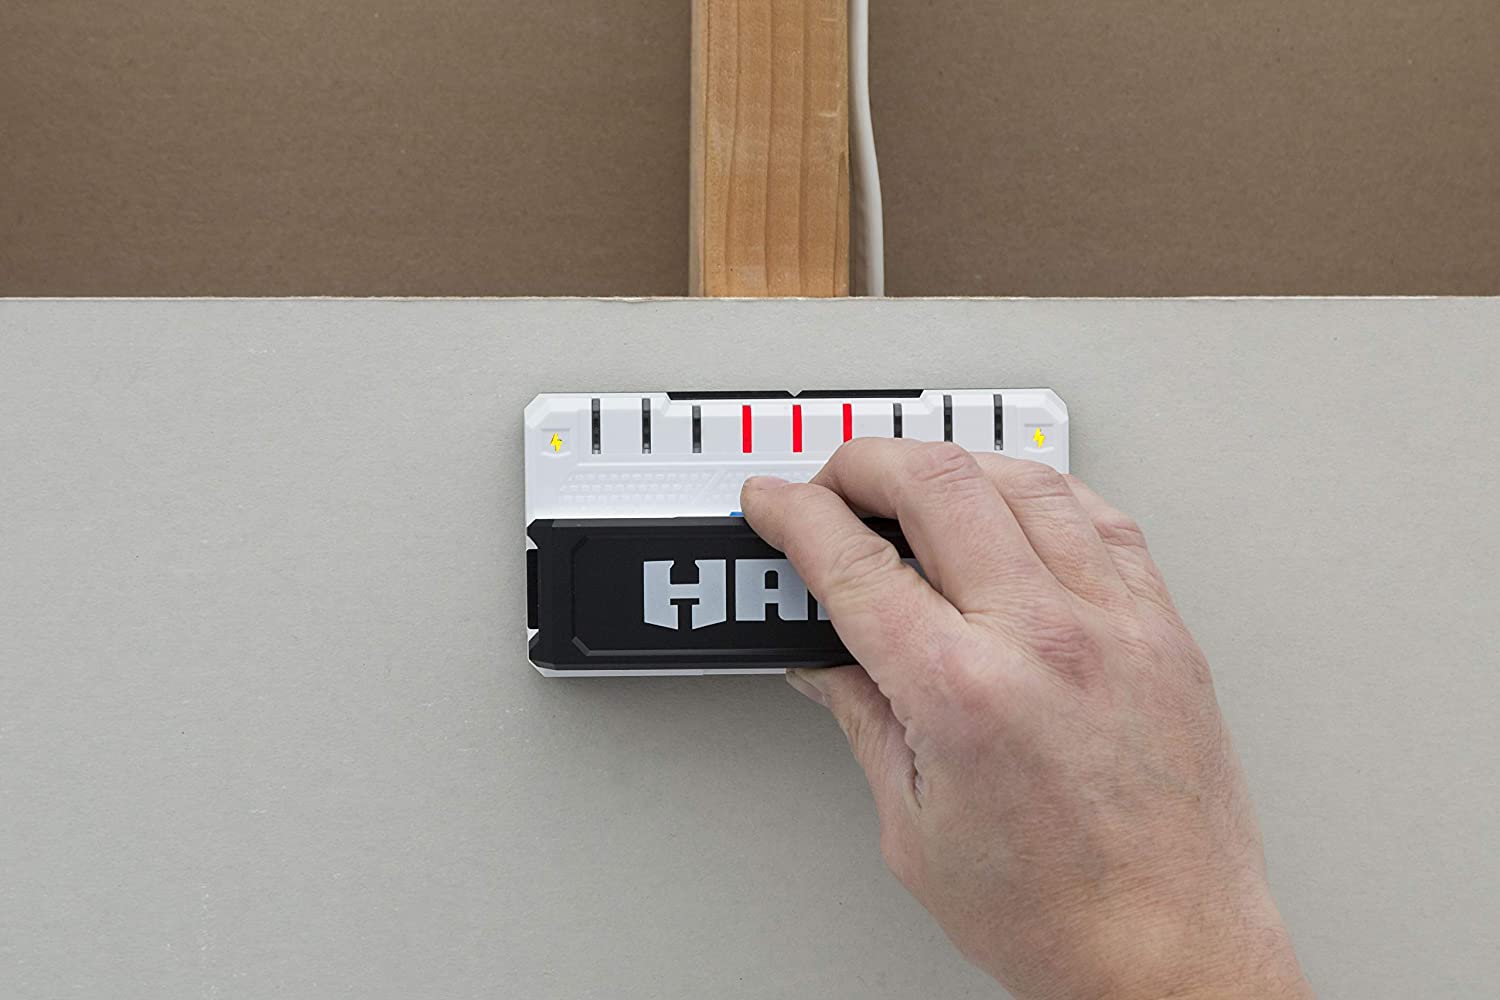
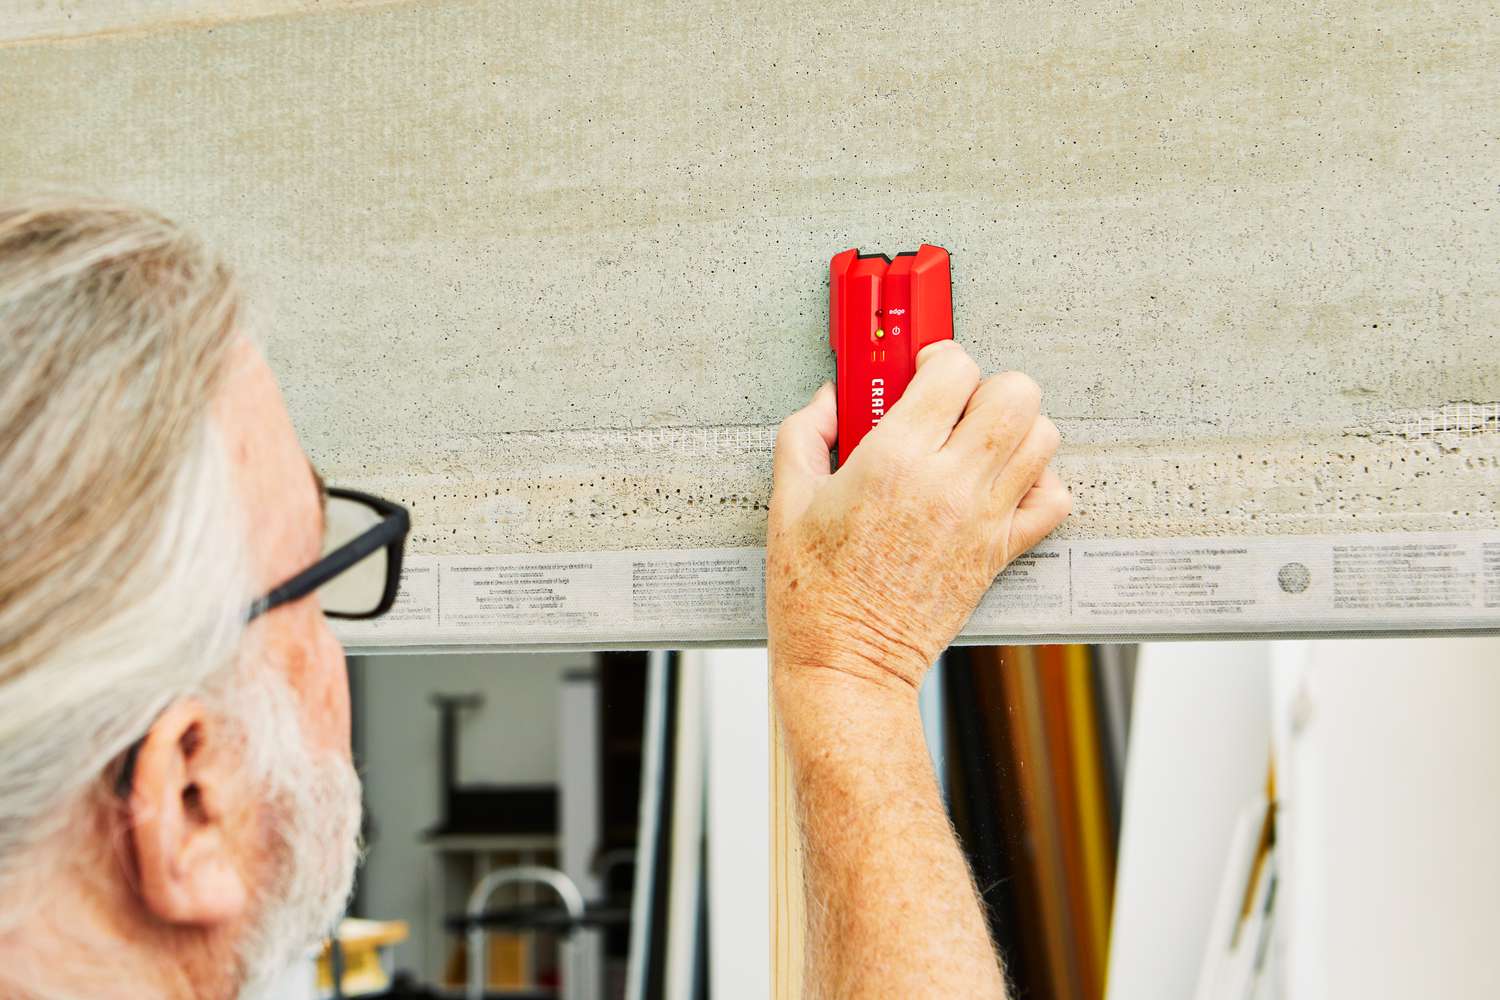
- Position the Stud Finder: Place the stud finder flat against the wall, ensuring that it makes full contact with the surface. Hold the device steady and level, preparing to initiate the scanning process.
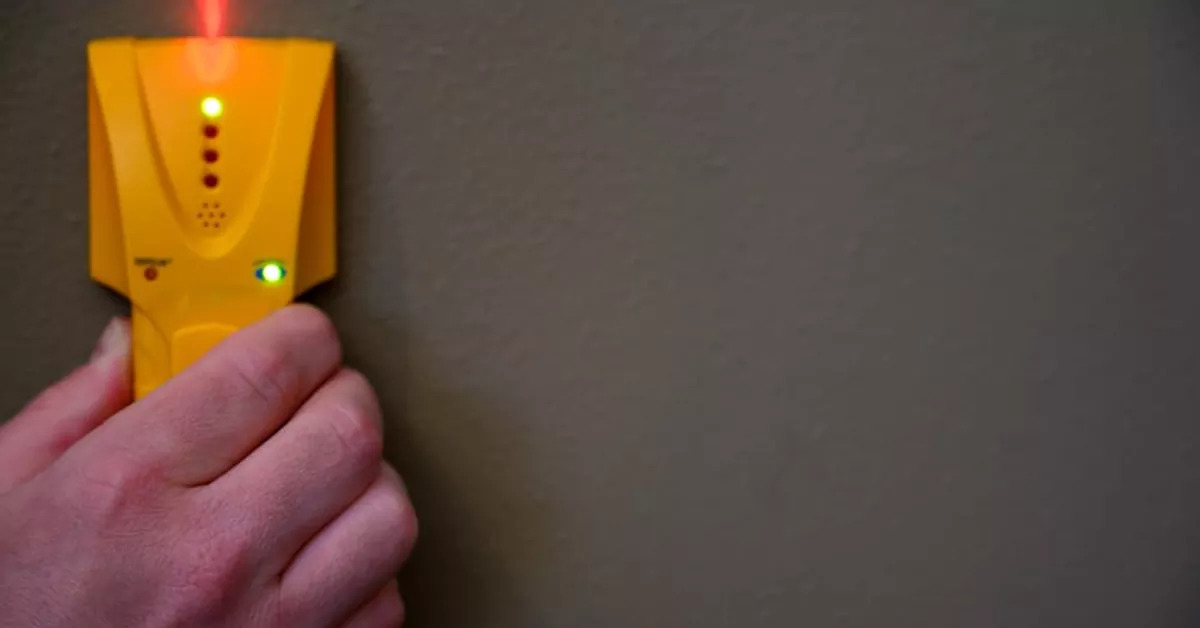
- Initiate Scanning: Activate the scanning function according to the instructions provided with your Zircon stud finder. This typically involves pressing a button or holding down a trigger to start the scanning process. As the device scans the wall, be attentive to any visual or audible feedback it provides.
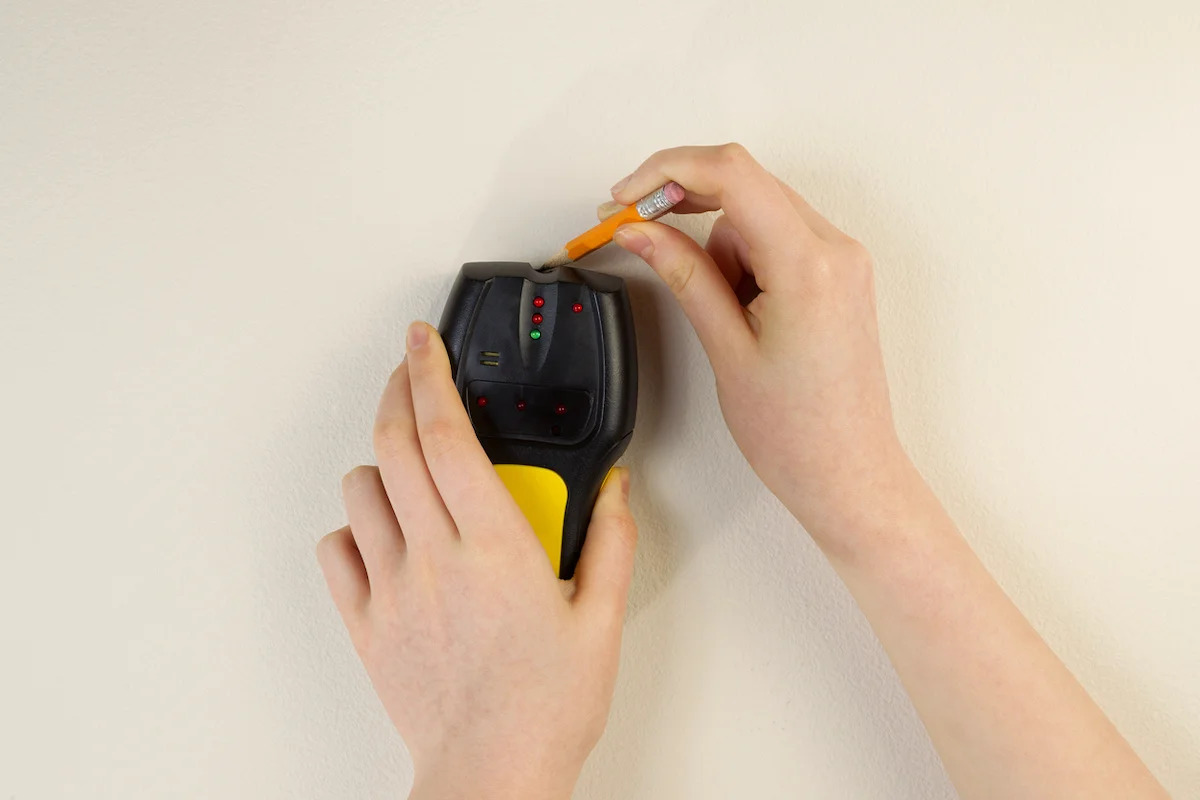
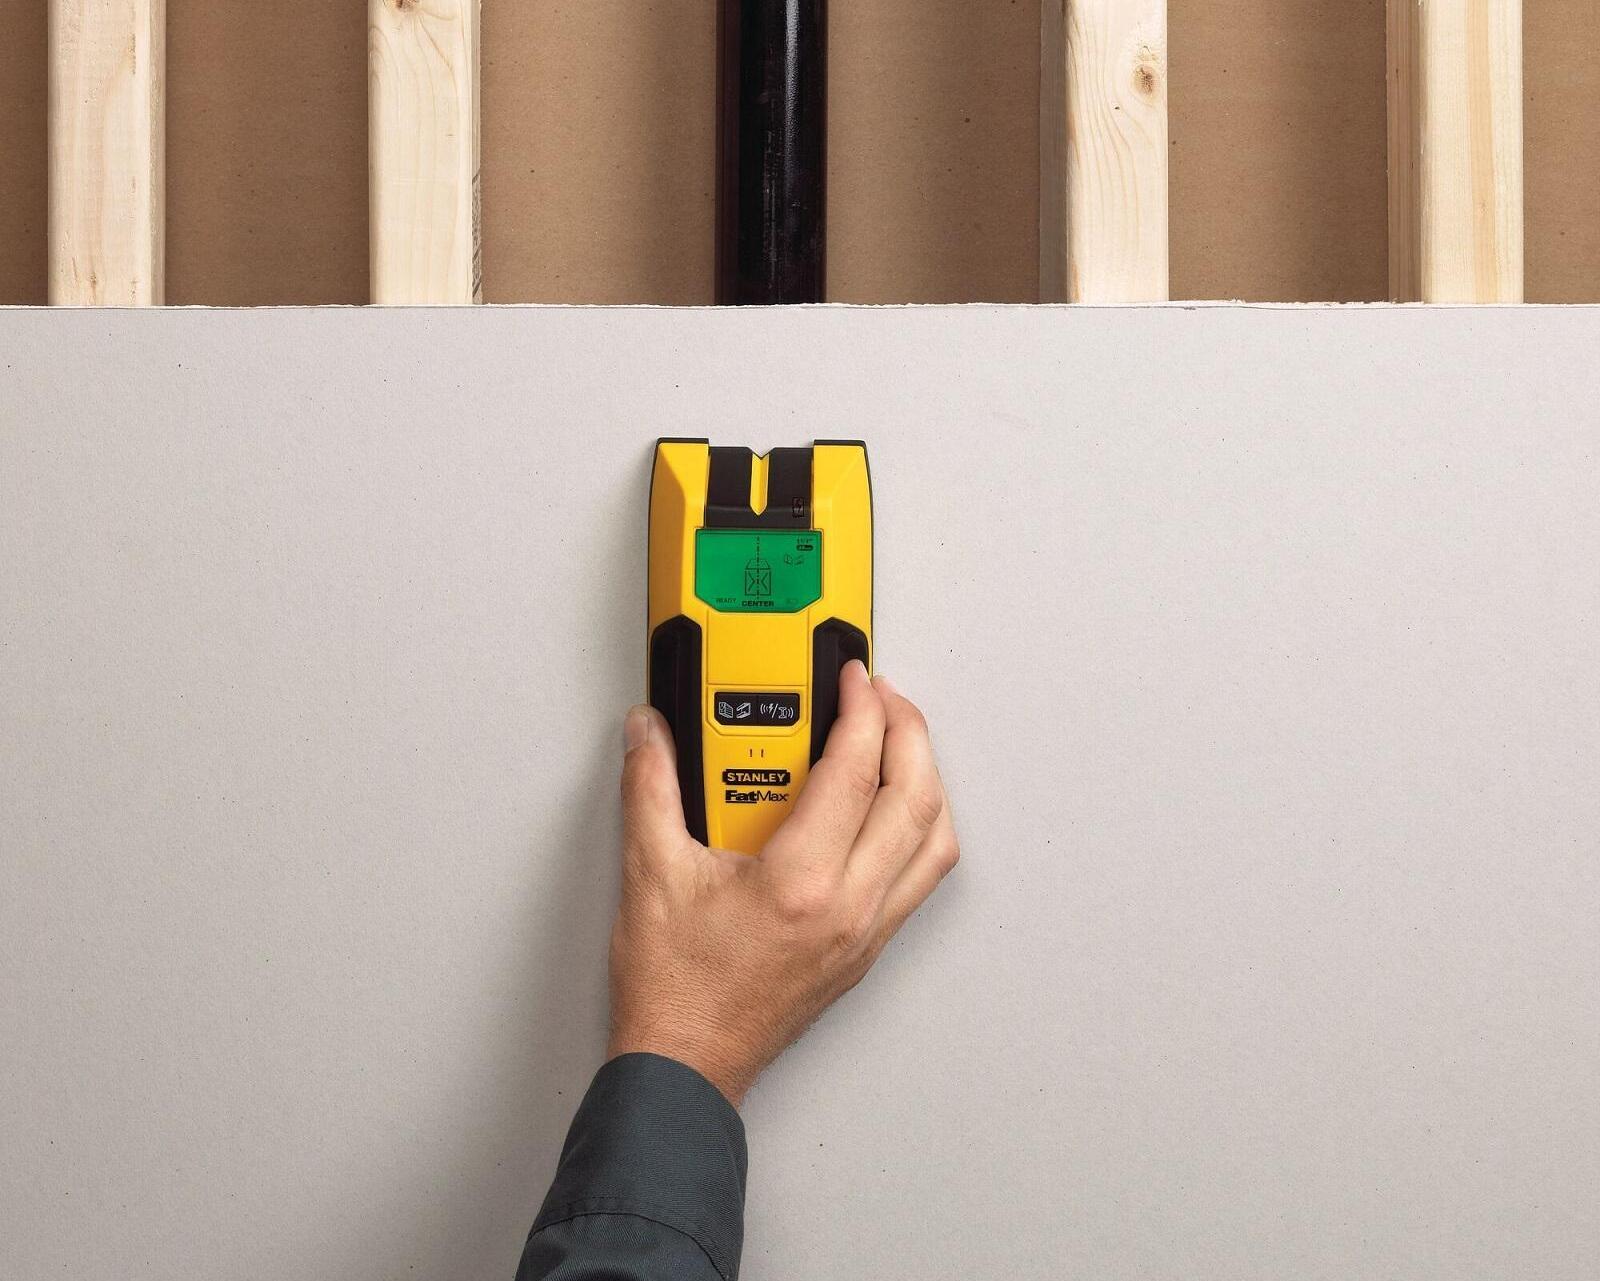
- Interpret the Results: Pay close attention to the indicator lights, display, or audible signals emitted by the stud finder. These cues will alert you to the presence of studs or other structural elements within the wall. Take note of the device’s response to pinpoint the edges and center of the detected studs accurately.
- Mark the Stud Locations: Once the stud finder identifies the location of studs, use a pencil or painter’s tape to mark the edges and center of each stud. This visual guide will aid you in positioning your fixtures securely onto the studs.
By following these steps, you can effectively utilize your Zircon stud finder to identify and mark the precise locations of studs within your walls. With the studs located, you’re now ready to proceed with securely anchoring your fixtures and completing your home improvement projects with confidence.
Tips for Effective Stud Finding
While the Zircon stud finder streamlines the process of locating studs, employing a few expert tips can further enhance the accuracy and efficiency of your stud-finding endeavors. Consider the following tips to elevate your stud-finding proficiency:
- Understanding Wall Composition: Familiarize yourself with the typical construction of walls in your home. This knowledge can help you anticipate the presence of studs at standard intervals and identify potential obstructions, such as electrical boxes or pipes, that may affect stud detection.
- Slow and Steady Movement: When scanning for studs, move the Zircon stud finder methodically across the wall in a slow and steady manner. This deliberate approach allows the device to capture accurate readings and detect the subtle changes in wall density indicative of studs.
- Verify Multiple Readings: After the initial detection of a stud, verify the location by scanning the area multiple times. This cross-verification helps confirm the consistency of the readings and ensures that you accurately pinpoint the edges and center of the stud.
- Assess Wall Thickness: Be mindful of the thickness of your walls, as this can influence the depth setting required for effective stud detection. Adjust the scanning depth on your Zircon stud finder to match the thickness of your walls, optimizing its performance for precise stud identification.
- Utilize Edge Finding Feature: Take advantage of the edge finding capability of your Zircon stud finder to mark the full dimensions of the studs. This feature enables you to establish the complete boundaries of the studs, facilitating secure and accurate fixture installation.
- Practice on Known Studs: If possible, practice using your Zircon stud finder on a section of wall where the location of studs is already known. This hands-on practice can familiarize you with the device’s responses and fine-tune your technique for reliable stud detection.
By incorporating these tips into your stud-finding methodology, you can elevate your proficiency in using a Zircon stud finder and achieve precise and consistent results when locating studs within your home. With practice and attention to detail, you’ll master the art of stud detection, empowering you to tackle a wide range of home improvement projects with confidence and precision.
Read more: How To Change Battery On Zircon Stud Finder
Conclusion
Congratulations! You’ve now unlocked the potential of the Zircon stud finder and gained valuable insights into its functionality and usage. Armed with this knowledge, you’re well-equipped to navigate the world of stud detection with confidence and precision, making your home improvement endeavors more efficient and rewarding.
By understanding the technology behind the Zircon stud finder and mastering the steps involved in its preparation and usage, you’ve taken a significant step towards enhancing the quality and safety of your home improvement projects. The ability to reliably locate studs and avoid potential hazards such as live electrical wiring empowers you to approach your DIY tasks with a heightened sense of assurance and competence.
Furthermore, the expert tips provided for effective stud finding serve as valuable tools in your arsenal, enabling you to refine your stud-detection technique and achieve consistently accurate results. With a deliberate and methodical approach, you can confidently identify and mark the precise locations of studs, laying the foundation for secure and professional-grade fixture installations.
As you embark on your next home improvement venture, whether it involves mounting shelves, hanging artwork, or installing cabinetry, the knowledge and proficiency you’ve gained in using the Zircon stud finder will undoubtedly prove invaluable. With the ability to confidently locate and mark studs, you can elevate the quality and durability of your home fixtures, creating a safer and more aesthetically pleasing living environment for you and your loved ones.
So, go forth with your newfound expertise, armed with your trusty Zircon stud finder, and tackle your home improvement projects with confidence, precision, and a touch of DIY flair. With each successful fixture installation, you’ll witness the tangible impact of your newfound stud-finding prowess, transforming your living spaces into showcases of your DIY prowess and attention to detail.
Frequently Asked Questions about How To Use Zircon Stud Finder
Was this page helpful?
At Storables.com, we guarantee accurate and reliable information. Our content, validated by Expert Board Contributors, is crafted following stringent Editorial Policies. We're committed to providing you with well-researched, expert-backed insights for all your informational needs.


0 thoughts on “How To Use Zircon Stud Finder”