Home>Renovation & DIY>Tools & Equipment>How To Use Dewalt Stud Finder
Tools & Equipment
How To Use Dewalt Stud Finder
Modified: October 19, 2024
Learn how to effectively use the Dewalt stud finder and improve your DIY projects with our comprehensive guide. Get expert tips and tricks for using tools and equipment efficiently.
(Many of the links in this article redirect to a specific reviewed product. Your purchase of these products through affiliate links helps to generate commission for Storables.com, at no extra cost. Learn more)
Introduction
Welcome to the world of DIY home improvement! If you're a homeowner, a hobbyist, or a professional, you know the importance of having the right tools for the job. One such essential tool is the Dewalt stud finder, a reliable and user-friendly device designed to locate studs behind walls accurately. Whether you're hanging a heavy mirror, installing shelves, or mounting a TV, knowing where the studs are is crucial for ensuring a secure and stable attachment.
In this comprehensive guide, we'll delve into the ins and outs of using the Dewalt stud finder effectively. From understanding its features to interpreting the results, you'll gain valuable insights on maximizing the potential of this indispensable tool. So, grab your Dewalt stud finder, and let's embark on a journey to master the art of wall scanning and mounting with confidence and precision.
Key Takeaways:
- Master the art of using the Dewalt stud finder to locate studs, joists, and live AC wiring behind walls for secure and stable mounting of fixtures and fittings.
- Elevate your proficiency in using the Dewalt stud finder with expert tips and tricks, ensuring precise and reliable detection of structural elements for home improvement projects.
Read more: How To Use Hart Stud Finder
Understanding the Dewalt Stud Finder
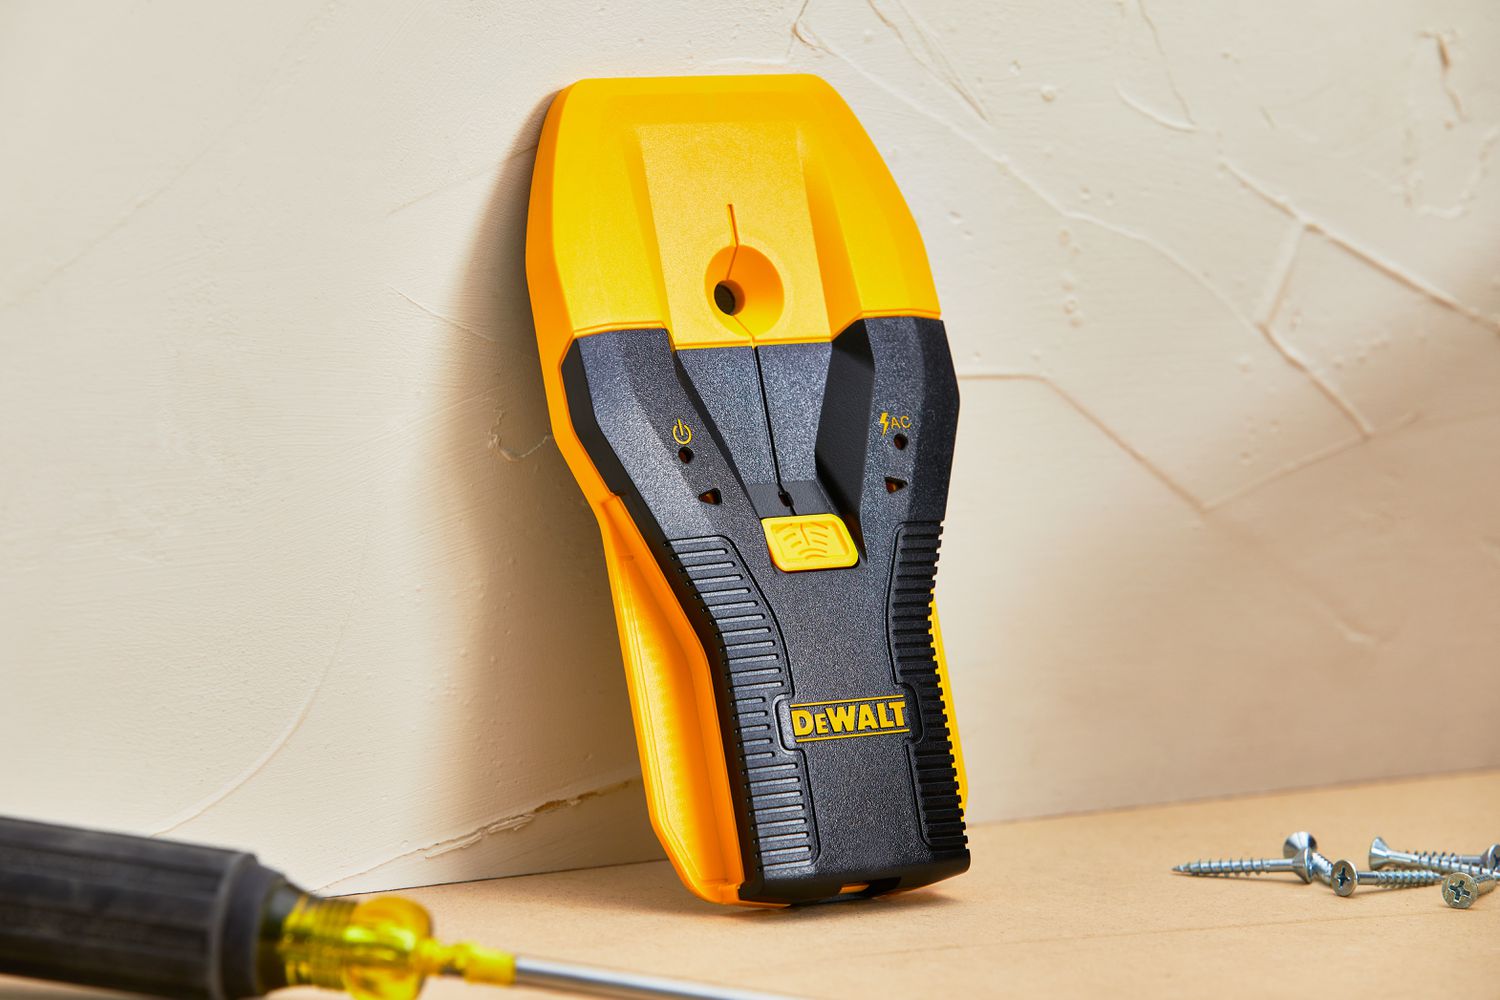
Before diving into the practical aspects of using the Dewalt stud finder, it’s essential to familiarize yourself with its features and functionalities. The Dewalt stud finder is a handheld device equipped with advanced sensor technology that detects the presence of studs, joists, or live AC wiring behind walls. Its ergonomic design and intuitive interface make it user-friendly for both beginners and experienced craftsmen.
The Dewalt stud finder employs a combination of scanning modes, typically including stud scan mode, deep scan mode, and AC scan mode. The stud scan mode is ideal for locating the edges and center of wood or metal studs up to 3/4 inches deep, providing precise markings for accurate drilling or nailing. On the other hand, the deep scan mode extends the detection depth to 1-1/2 inches, enabling the identification of deeper-embedded objects such as joists or beams.
Moreover, the AC scan mode enhances safety by detecting live electrical wiring behind walls, alerting users to potential hazards before commencing any drilling or mounting activities. The Dewalt stud finder’s LCD display and audible alerts further facilitate the scanning process, ensuring that users can easily interpret the detected signals.
With its robust build quality and reliable performance, the Dewalt stud finder is a valuable asset for a wide range of applications, including carpentry, electrical work, and general home improvement projects. Its precision and accuracy empower users to work with confidence, knowing that they can locate structural elements and avoid potential hazards within walls.
Now that we’ve gained a deeper understanding of the Dewalt stud finder’s capabilities, let’s move on to the essential steps for preparing the stud finder before use.
Preparing the Stud Finder
Before embarking on your wall-scanning journey with the Dewalt stud finder, it’s crucial to ensure that the device is properly prepared for accurate and reliable operation. Here are the essential steps for preparing the stud finder:
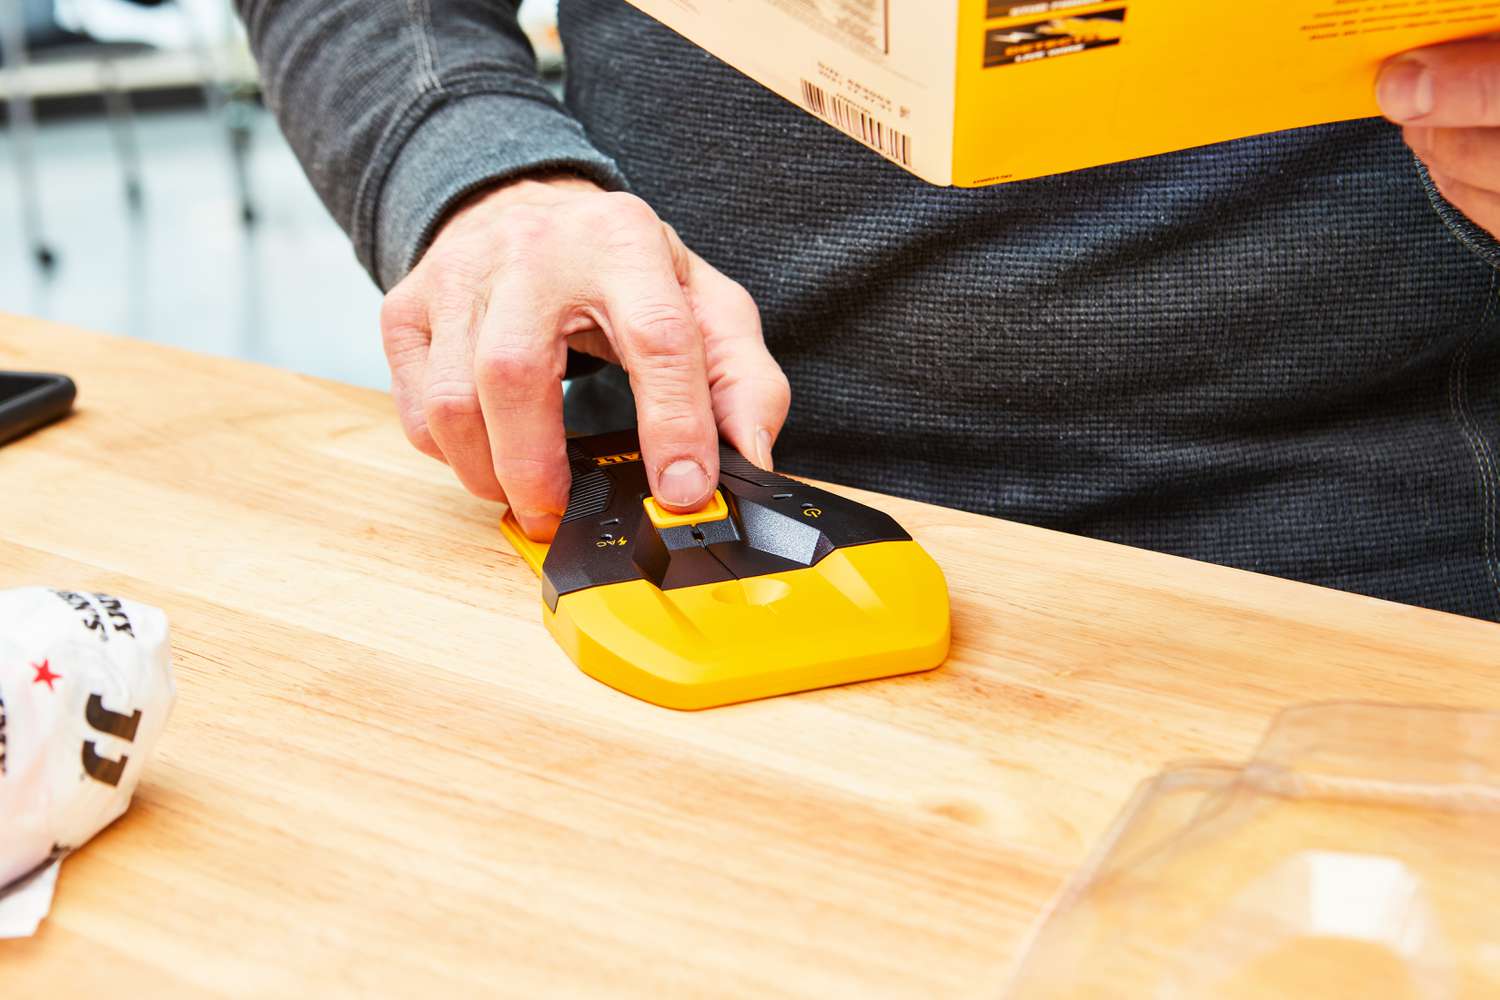
- Power On the Device: Begin by powering on the Dewalt stud finder using the designated button or switch. Once activated, the device will undergo a brief initialization process, after which it will be ready for use.
- Calibration: To optimize the accuracy of the stud finder, it’s recommended to perform a calibration process before each scanning session. This typically involves holding the device against a known, stud-free section of the wall and initiating the calibration sequence. By doing so, the stud finder can adapt to the specific wall surface and minimize false readings.
- Select the Scanning Mode: Depending on the nature of your project and the wall composition, choose the appropriate scanning mode on the Dewalt stud finder. Whether you’re detecting studs, joists, or live AC wiring, selecting the right mode is essential for precise and targeted scanning.
- Clear the Area: Ensure that the immediate vicinity of the scanning area is free from obstructions, such as wall hangings, furniture, or electronic devices that may interfere with the stud finder’s operation. A clear and unobstructed wall surface facilitates unhindered scanning and accurate detection of underlying structures.
- Hold the Device Firmly: When using the stud finder, maintain a steady grip and apply gentle pressure against the wall surface to allow the sensors to make optimal contact. Avoid excessive force, as it may impede the device’s ability to detect studs effectively.
By following these preparatory steps, you can ensure that the Dewalt stud finder is primed for successful wall scanning, enabling you to proceed with confidence and precision. With the device ready for action, let’s explore the practical steps for using the stud finder to locate studs and other structural elements behind walls.
Using the Stud Finder
Now that the Dewalt stud finder is properly prepared, it’s time to put it to work and uncover the hidden structures behind your walls. Follow these step-by-step instructions to use the stud finder effectively:
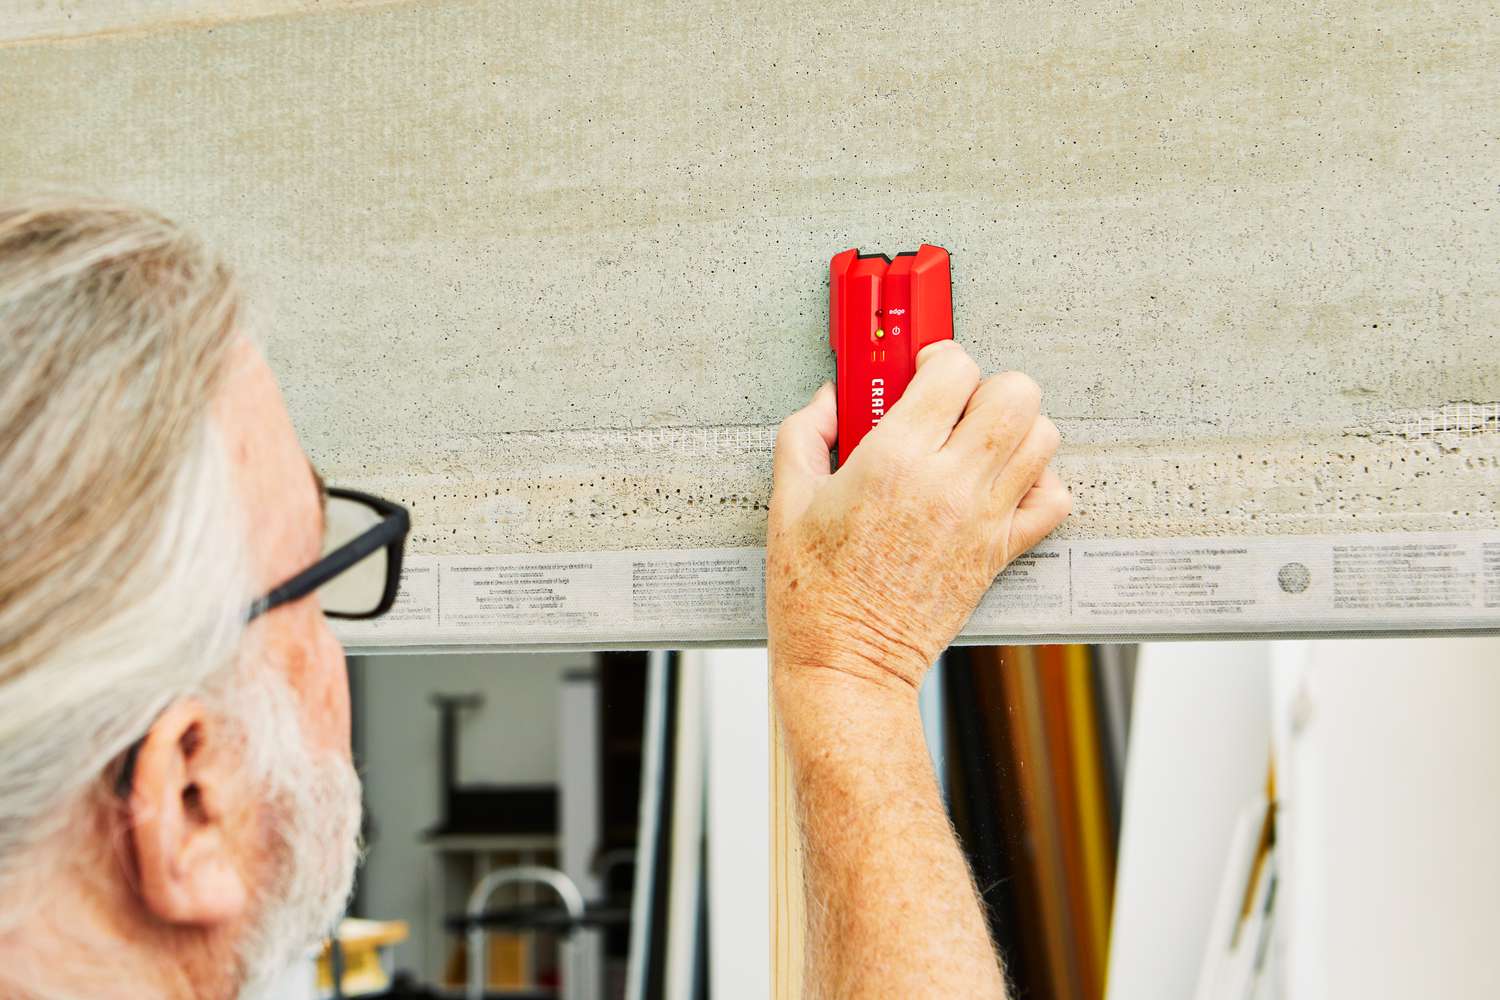
- Positioning the Stud Finder: Place the stud finder flat against the wall surface, ensuring that it is perpendicular to the floor or ceiling. Hold the device steady and maintain even pressure to facilitate accurate scanning.
- Initiate the Scanning Process: Activate the scanning mode on the stud finder, whether it’s the standard stud scan mode for locating wood or metal studs, the deep scan mode for identifying deeper structures, or the AC scan mode for detecting live electrical wiring.
- Slow and Steady Movement: With the scanning mode engaged, move the stud finder horizontally across the wall at a moderate pace. Keep the device in continuous contact with the wall surface to ensure thorough coverage of the area of interest.
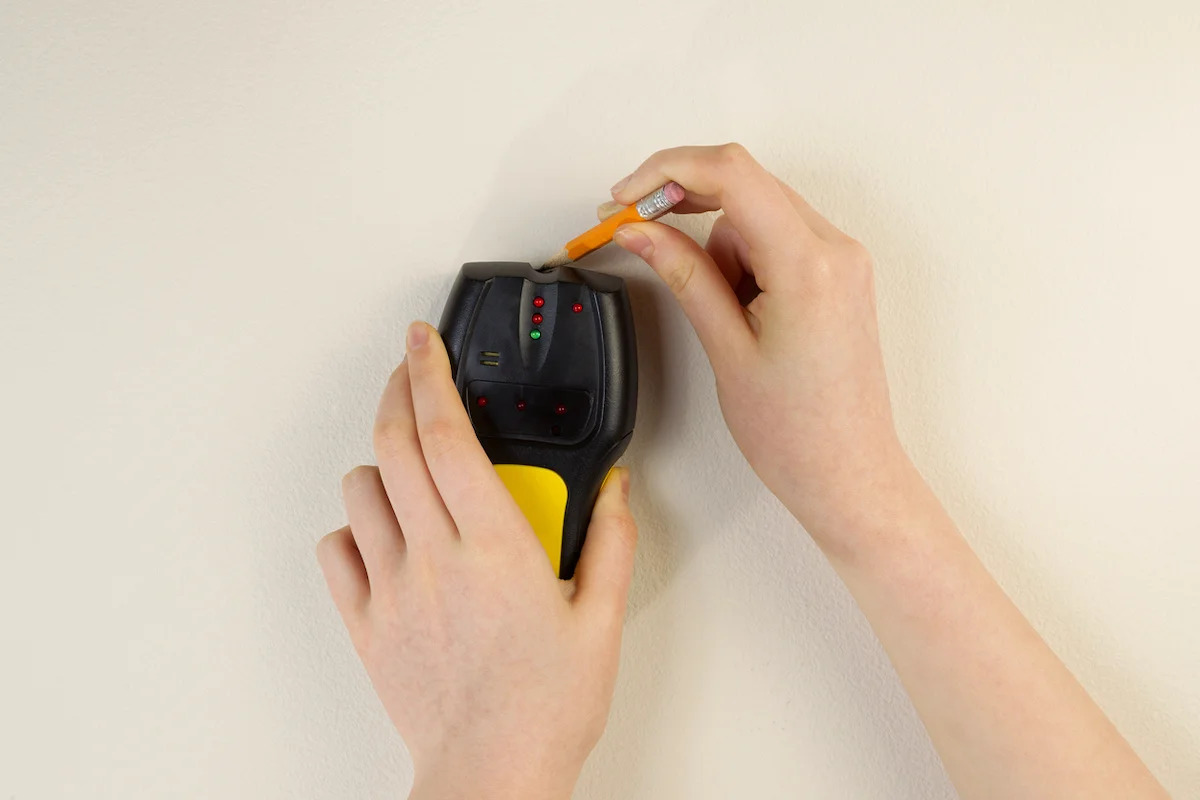
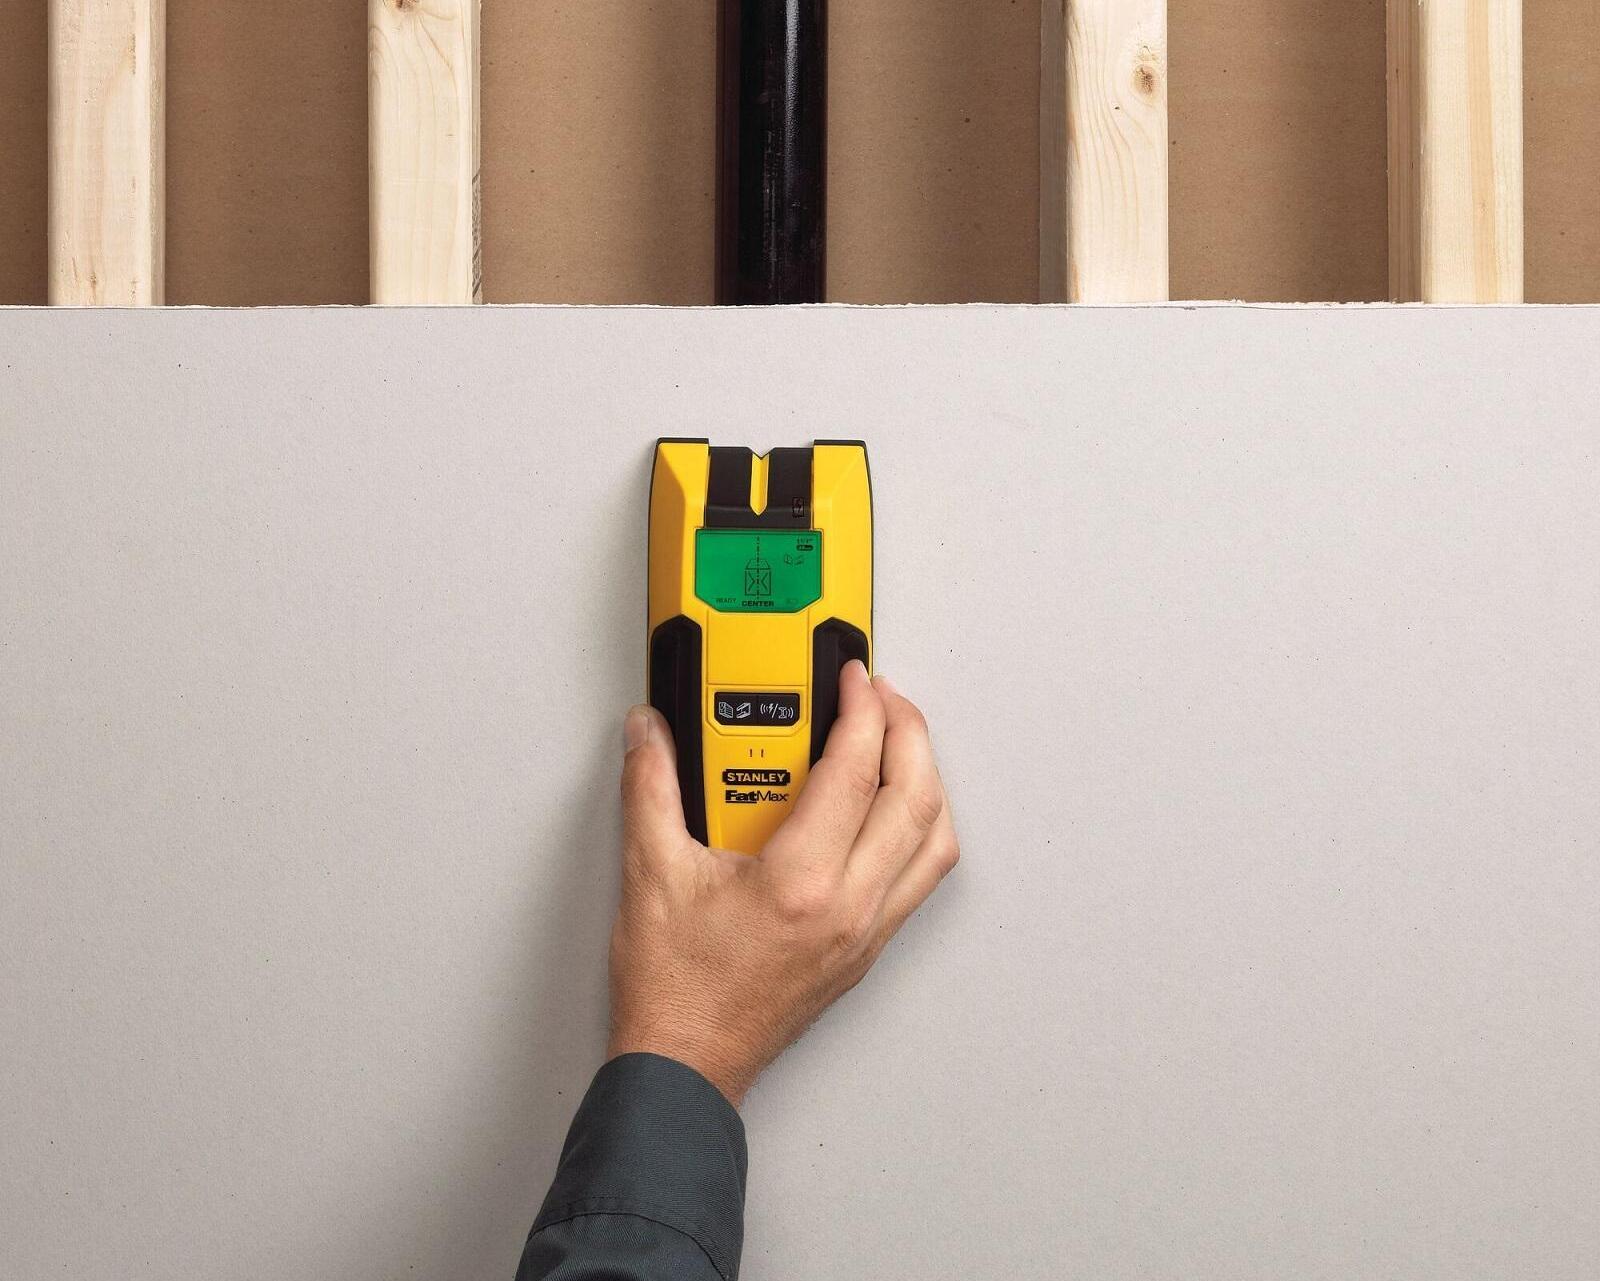
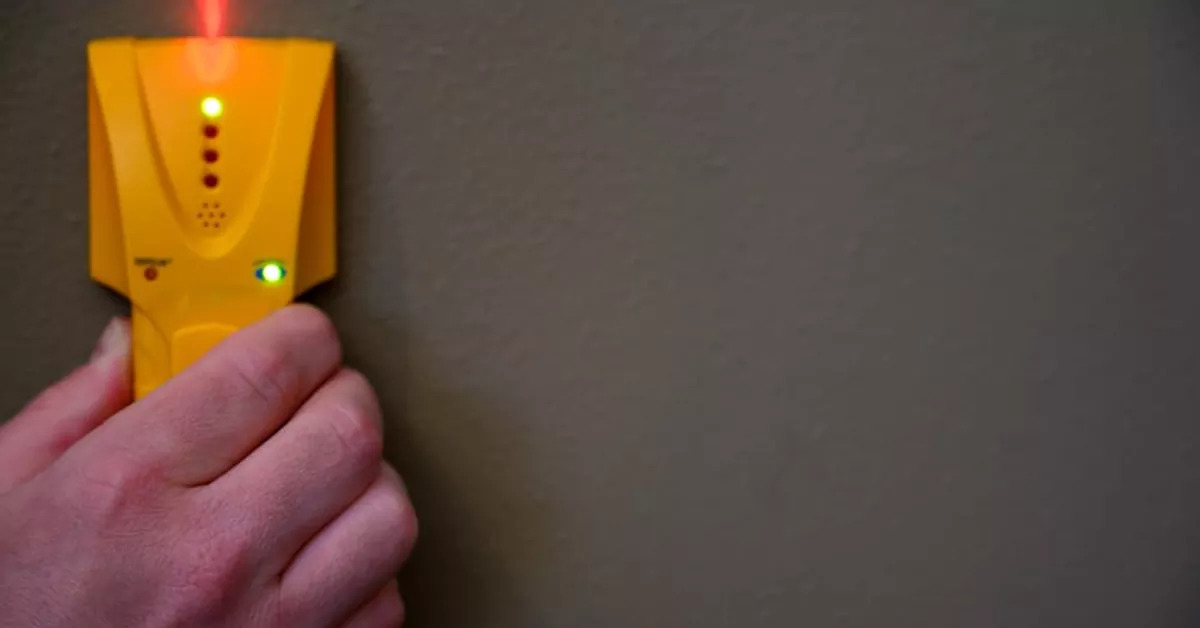
- Interpreting the Signals: As the stud finder detects underlying structures, it will emit visual and/or audible signals to alert you to their presence. Pay close attention to the display indicators and listen for the audible cues, which will help you pinpoint the edges and center of the detected studs or other objects.
- Marking the Stud Locations: Once the stud finder identifies the edges and center of a stud, use a pencil or removable marker to make clear markings on the wall surface. These markings will serve as precise reference points for your mounting or installation tasks.
By following these steps, you can harness the full potential of the Dewalt stud finder to accurately locate studs, joists, or live AC wiring behind walls. The device’s intuitive operation and reliable detection capabilities empower you to work with confidence, whether you’re hanging shelves, installing fixtures, or undertaking other wall-mounted projects.
Now that you’ve mastered the art of using the stud finder, let’s delve into the crucial process of interpreting the results and making informed decisions based on the detected signals.
When using a Dewalt stud finder, make sure to calibrate it on a clear section of wall before scanning for studs. Move the device slowly and steadily to ensure accurate results.
Interpreting the Results
After using the Dewalt stud finder to scan the wall, it’s essential to interpret the detected signals accurately to make informed decisions for your project. Here’s a guide to help you understand and interpret the results obtained from the stud finder:
- Edge and Center Detection: When the stud finder locates a stud, it will typically indicate the edges and center of the detected structure. The visual display and audible alerts will guide you in marking these points accurately on the wall surface.
- Consistency of Signals: Pay attention to the consistency of the signals emitted by the stud finder. A consistent signal across the scanning area indicates the presence of a continuous structure, such as a stud or joist, while intermittent signals may suggest the presence of obstructions or changes in wall composition.
- Depth of Detection: If using the deep scan mode, the stud finder may provide an indication of the depth at which the detected structure is located. This information is valuable for understanding the wall’s composition and planning the depth of fasteners or anchors for your mounting tasks.
- Avoiding Live AC Wiring: In the event of detecting live electrical wiring behind the wall, the stud finder will alert you to this potential hazard. Exercise caution and avoid drilling or nailing in proximity to the detected wiring to prevent electrical hazards.
- Verification with Manual Methods: While the stud finder provides reliable detection, it’s advisable to verify the stud locations using manual methods, such as tapping the wall to listen for solid areas or using a small nail to confirm the presence of a stud.
By carefully interpreting the results obtained from the Dewalt stud finder, you can make informed decisions when planning your mounting, installation, or renovation tasks. The device’s ability to provide accurate and reliable detection of underlying structures empowers you to work with confidence and precision, ensuring the stability and integrity of your wall-mounted fixtures and fittings.
Now that you’re equipped with the knowledge to interpret the results, let’s explore some valuable tips and tricks for using the Dewalt stud finder effectively in various home improvement projects.
Read more: How To Use Zircon Stud Finder
Tips and Tricks for Using the Dewalt Stud Finder
Mastering the art of using the Dewalt stud finder involves not only understanding its features and operation but also leveraging valuable tips and tricks to enhance your wall-scanning experience. Here are some expert insights to help you make the most of this indispensable tool:
- Practice on Different Wall Types: Familiarize yourself with the stud finder by practicing on various wall surfaces, including drywall, plaster, and paneling. This hands-on experience will enhance your proficiency in using the device across different wall compositions.
- Utilize Multiple Scanning Directions: When scanning for studs, perform horizontal and vertical passes with the stud finder to ensure comprehensive coverage of the wall. This approach can reveal any variations in stud placement and help you identify the most suitable mounting locations.
- Mark Stud Locations Clearly: After detecting studs, use a contrasting color or removable markers to clearly mark the identified locations on the wall. This will facilitate easy reference during your mounting or installation tasks, preventing any confusion or misinterpretation of the detected signals.
- Combine Manual and Electronic Methods: While the stud finder offers reliable detection, supplementing its findings with manual methods, such as tapping the wall or using a small nail to probe for studs, can provide additional confirmation and enhance your confidence in the detected locations.
- Calibrate Regularly: Prior to each scanning session, ensure that the stud finder is calibrated according to the manufacturer’s recommendations. Regular calibration optimizes the device’s accuracy and minimizes the risk of false readings during wall scanning.
- Exercise Caution near Electrical Outlets: When using the stud finder near electrical outlets, switches, or fixtures, be mindful of potential wiring behind the wall. Activate the AC scan mode to detect live electrical wiring and take necessary precautions to avoid drilling or nailing in proximity to these areas.
By incorporating these tips and tricks into your approach, you can elevate your proficiency in using the Dewalt stud finder, ensuring precise and reliable detection of studs, joists, and live AC wiring behind walls. These insights will empower you to tackle a diverse range of mounting and installation projects with confidence and efficiency.
With these expert strategies at your disposal, you’re well-equipped to harness the full potential of the Dewalt stud finder in your home improvement endeavors. As we conclude our exploration of using this invaluable tool, let’s reflect on the key takeaways and the significance of mastering the art of wall scanning.
Conclusion
Congratulations on mastering the art of using the Dewalt stud finder to locate studs, joists, and live AC wiring behind walls. By delving into the features, preparation, operation, and interpretation of results, you’ve gained valuable insights into harnessing the full potential of this indispensable tool for your home improvement projects.
As you embark on your DIY endeavors, remember that the Dewalt stud finder is not just a device; it’s your reliable companion for ensuring the stability, safety, and precision of your wall-mounted fixtures and fittings. Whether you’re hanging shelves, mounting artwork, or undertaking renovations, the stud finder empowers you to work with confidence and accuracy, knowing that you can identify structural elements and avoid potential hazards within walls.
From preparing the device for scanning to interpreting the signals it detects, you’ve acquired the knowledge and expertise to navigate the intricacies of wall scanning with finesse. By incorporating expert tips and tricks into your approach, you can elevate your proficiency and ensure that your mounting and installation tasks are executed with precision and efficiency.
Remember, the Dewalt stud finder is more than just a tool; it’s your gateway to unlocking the hidden potential within your walls, enabling you to transform spaces with confidence and creativity. Embrace the art of wall scanning as a journey of discovery, where each detected stud or joist becomes a cornerstone for your vision of a beautifully adorned and structurally sound living environment.
As you continue to hone your skills and expand your repertoire of home improvement projects, let the Dewalt stud finder be your trusted ally, guiding you through the intricacies of wall scanning with unwavering precision and reliability.
So, with your newfound expertise and the Dewalt stud finder in hand, venture forth and embark on a journey of creativity, craftsmanship, and transformation, knowing that you have the knowledge and tools to bring your vision to life.
Frequently Asked Questions about How To Use Dewalt Stud Finder
Was this page helpful?
At Storables.com, we guarantee accurate and reliable information. Our content, validated by Expert Board Contributors, is crafted following stringent Editorial Policies. We're committed to providing you with well-researched, expert-backed insights for all your informational needs.


0 thoughts on “How To Use Dewalt Stud Finder”