Home>Renovation & DIY>Tools & Equipment>How To Use Tavool Stud Finder
Tools & Equipment
How To Use Tavool Stud Finder
Modified: January 4, 2024
Learn how to effectively use the Tavool Stud Finder to locate studs and improve your DIY projects. Get professional tips and tricks for using this essential tool. Ideal for tools and equipment enthusiasts.
(Many of the links in this article redirect to a specific reviewed product. Your purchase of these products through affiliate links helps to generate commission for Storables.com, at no extra cost. Learn more)
**
Introduction
**
Welcome to the world of DIY home improvement! Whether you're a seasoned DIY enthusiast or a newbie looking to spruce up your living space, having the right tools at your disposal can make all the difference. When it comes to hanging shelves, mounting TVs, or installing cabinets, finding a stud in the wall is crucial for ensuring that your fixtures are securely anchored. This is where the Tavool Stud Finder comes into play.
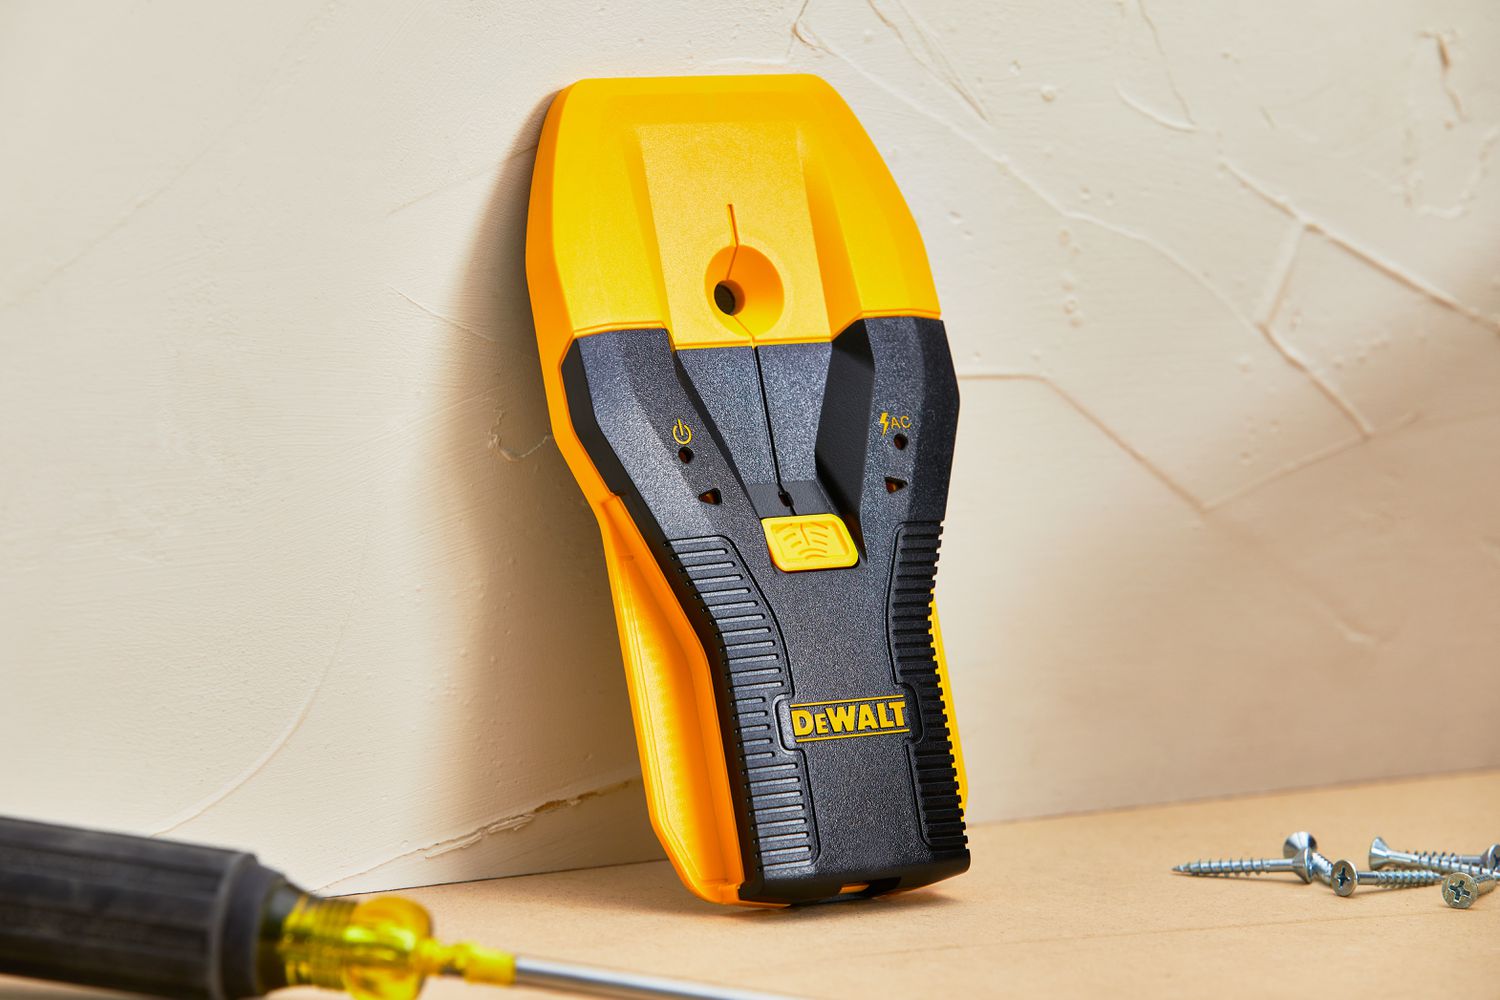
The Tavool Stud Finder is a handy device designed to locate studs, joists, and live AC wires behind walls, ceilings, and floors. Its advanced sensor technology and user-friendly interface make it an essential tool for any home improvement project. In this comprehensive guide, we'll delve into the intricacies of the Tavool Stud Finder, from understanding its features to mastering its usage. By the end of this article, you'll be equipped with the knowledge and confidence to wield this powerful tool effectively, empowering you to tackle your home improvement endeavors with ease.
So, grab your tool belt and let's embark on a journey to unravel the secrets of the Tavool Stud Finder. Whether you're a DIY pro or a novice with a knack for fixing things, this guide is your key to unlocking the full potential of this indispensable device. Let's dive in and discover how the Tavool Stud Finder can revolutionize the way you approach home improvement projects.
**
Key Takeaways:
- The Tavool Stud Finder is a high-tech tool that helps you find studs, joists, and live AC wires in walls. It’s easy to use and keeps you safe while working on home improvement projects.
- Before using the Tavool Stud Finder, make sure to read the manual, calibrate the device, clear the work area, check the battery, and select the right scanning mode. This will ensure accurate results and a smooth experience.
Read more: How To Use Hart Stud Finder
Understanding Tavool Stud Finder
**
Before delving into the operational aspects of the Tavool Stud Finder, it’s essential to grasp the fundamental principles that underpin its functionality. At its core, the Tavool Stud Finder is engineered to detect the presence of studs, joists, and live AC wires concealed within walls, ceilings, and floors. This is achieved through the utilization of advanced sensor technology, which enables the device to identify variations in wall density and the presence of electrical currents.
The Tavool Stud Finder employs precision sensors that can penetrate wall surfaces, providing real-time feedback to the user. By analyzing the density of the material behind the wall, the device can pinpoint the location of studs and joists with remarkable accuracy. Furthermore, its ability to detect live AC wires serves as a crucial safety feature, alerting users to potential electrical hazards before commencing any drilling or nailing activities.
One of the key advantages of the Tavool Stud Finder is its user-friendly interface, which allows both DIY enthusiasts and professionals to operate the device with ease. The intuitive display provides clear indications of stud locations and live AC wires, eliminating guesswork and streamlining the process of wall fixture installation. Additionally, the ergonomic design of the Tavool Stud Finder ensures comfortable handling, making it suitable for extended use without causing hand fatigue.
By understanding the underlying technology and design of the Tavool Stud Finder, users can gain a deeper appreciation for its capabilities and make informed decisions when incorporating it into their home improvement projects. With this knowledge as a foundation, let’s proceed to the next step: preparing to use the Tavool Stud Finder effectively.
**
Preparing to Use Tavool Stud Finder
**
Before embarking on any home improvement task that requires the use of the Tavool Stud Finder, it’s essential to prepare both the device and the work area to ensure optimal performance and accuracy. Here are the key steps to take when preparing to use the Tavool Stud Finder:
Familiarize Yourself with the Device:
Begin by acquainting yourself with the Tavool Stud Finder’s features and functionality. Take the time to read the user manual thoroughly, paying close attention to operational instructions, safety guidelines, and maintenance recommendations. Understanding the intricacies of the device will empower you to utilize it effectively and safely.
Ensure Proper Calibration:
Prior to each use, it’s important to calibrate the Tavool Stud Finder according to the manufacturer’s guidelines. Calibration ensures that the device is primed to deliver accurate results by accounting for environmental factors and variations in wall materials. By following the calibration procedures outlined in the user manual, you can optimize the performance of the Tavool Stud Finder.
Clear the Work Area:
Clear the area where you intend to use the Tavool Stud Finder. Remove any obstructions, such as furniture, wall hangings, or decor, that could impede the device’s ability to scan the wall surface effectively. Creating a clutter-free environment will facilitate seamless operation and enhance the accuracy of stud detection.
Check Battery Life:
Ensure that the Tavool Stud Finder is powered by a fully charged or new battery. Adequate battery power is essential for reliable operation and precise stud detection. By verifying the battery status before commencing your project, you can avoid interruptions and achieve consistent performance throughout the task.
Select the Appropriate Scanning Mode:
The Tavool Stud Finder may offer different scanning modes, such as stud scan, deep scan, and AC wire detection. Depending on the nature of your project, select the appropriate scanning mode to suit the wall material and the specific elements you intend to detect. This proactive approach will streamline the scanning process and yield accurate results.
By adhering to these preparatory measures, you can set the stage for a successful and efficient experience with the Tavool Stud Finder. With the device primed and the work area optimized, you’re ready to embark on the next phase: using the Tavool Stud Finder to pinpoint studs, joists, and live AC wires with precision.
**
When using the Tavool stud finder, make sure to calibrate it on a clear, flat surface before starting. This will ensure accurate results when locating studs in your walls.
Using Tavool Stud Finder
**
With the Tavool Stud Finder prepared for operation and the work area conducive to accurate scanning, it’s time to put the device to use. Whether you’re hanging a heavy mirror, installing a new shelf, or mounting a TV, the Tavool Stud Finder is your reliable ally in locating studs and other vital elements within the wall. Here’s a step-by-step guide on how to use the Tavool Stud Finder effectively:
Positioning the Device:
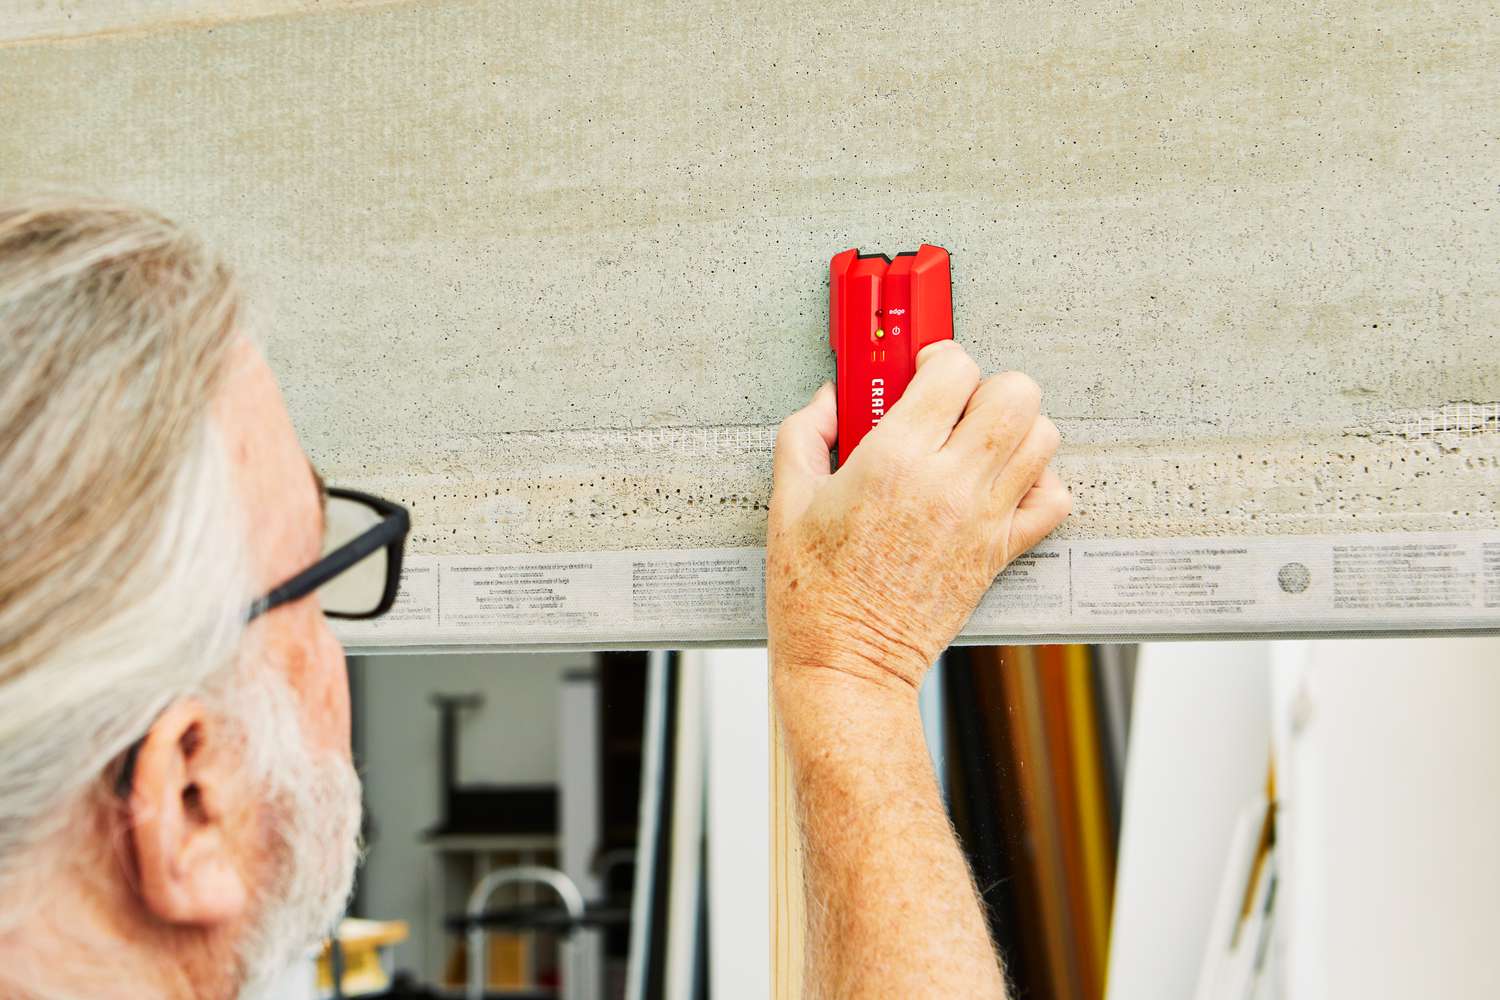
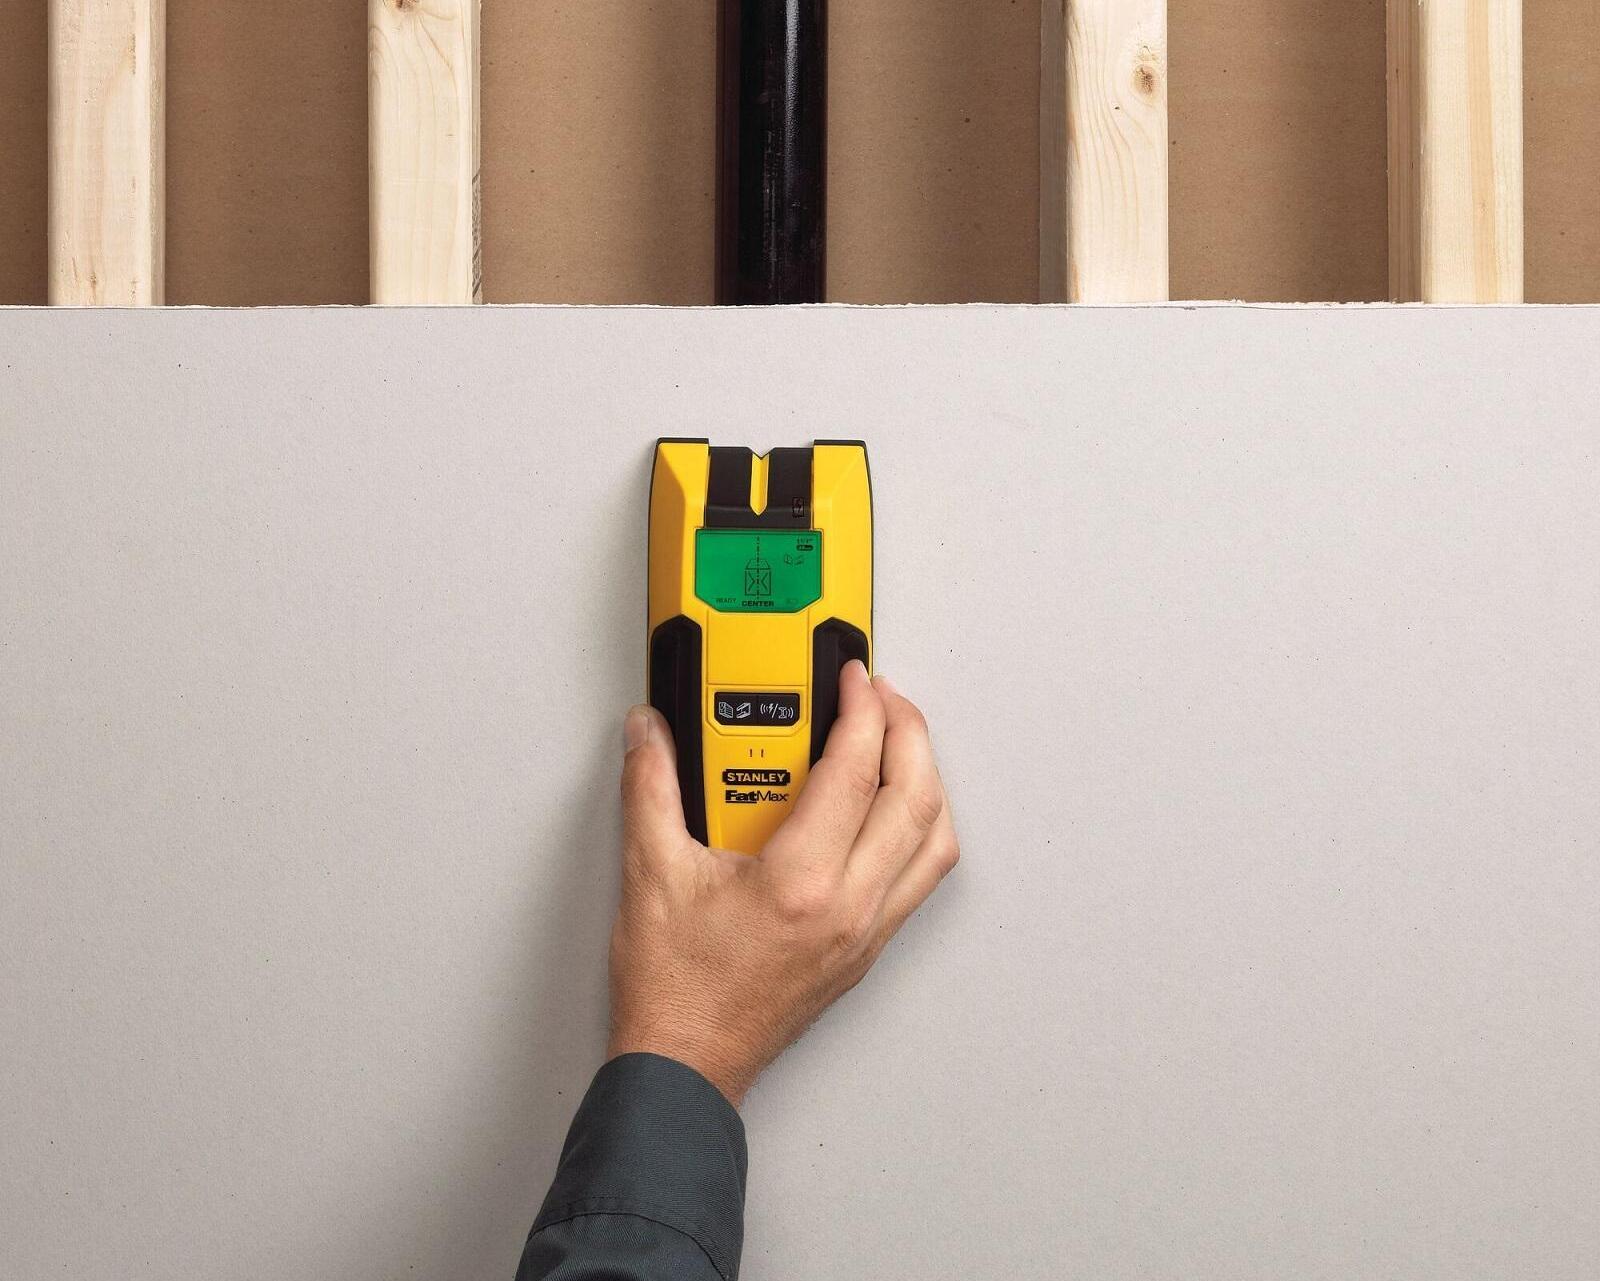
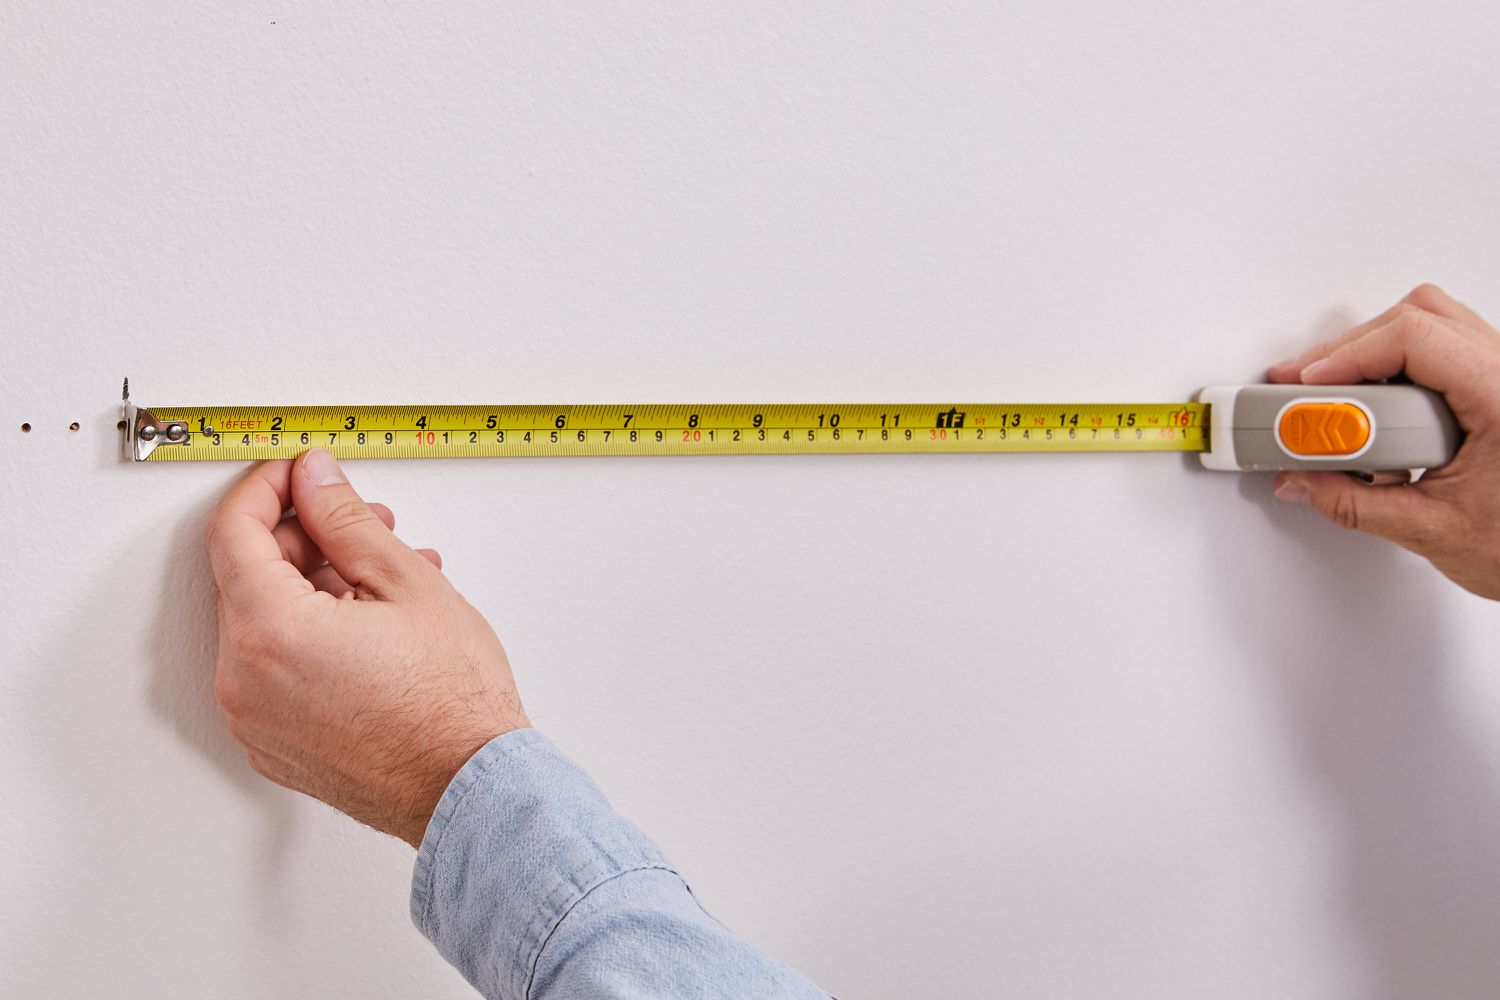
Hold the Tavool Stud Finder firmly in your hand, ensuring a comfortable grip. Place the device against the wall surface at a slight angle, with the scanning surface making direct contact with the wall. Maintain a steady hand to facilitate smooth scanning and accurate detection of studs and joists.
Initiating the Scan:
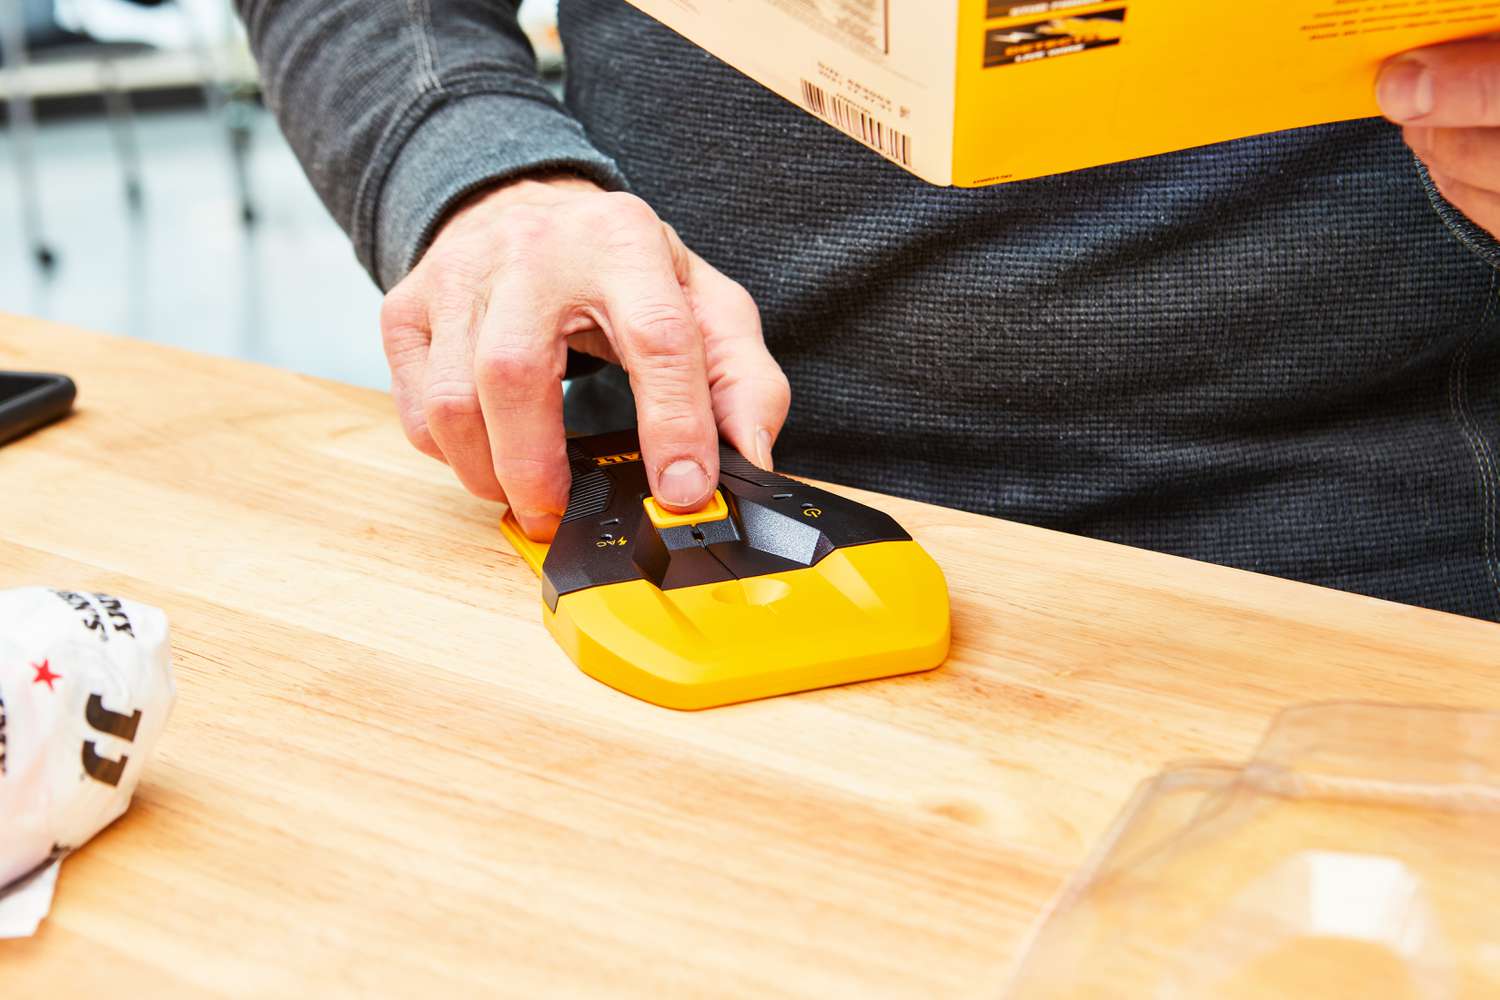
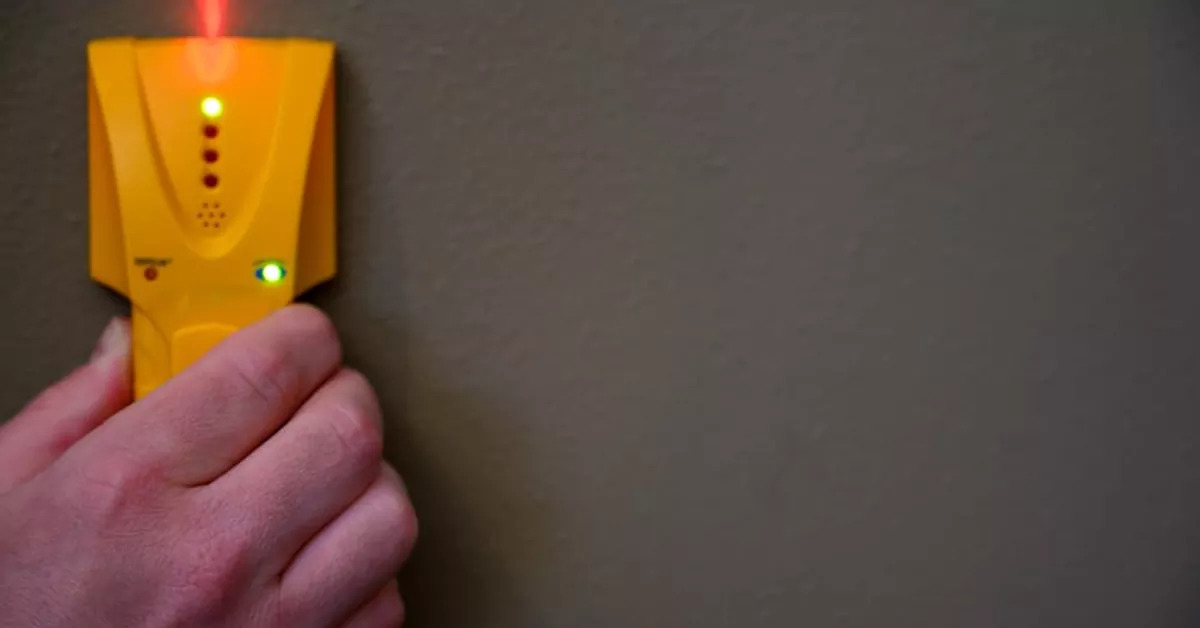
Activate the Tavool Stud Finder according to the manufacturer’s instructions. Depending on the model, this may involve pressing a power button or initiating a specific scanning mode. Once the device is powered on, it will begin analyzing the wall surface to identify studs, joists, and live AC wires concealed within.
Interpreting the Feedback:
As the Tavool Stud Finder scans the wall, pay close attention to the visual and auditory feedback provided by the device. Many models feature LED indicators, audible alerts, or digital displays that convey information about stud locations and the presence of live AC wires. Familiarize yourself with the specific feedback mechanisms of your Tavool Stud Finder to interpret the results accurately.
Moving Methodically:
While scanning the wall, move the Tavool Stud Finder methodically across the surface, covering the entire area where you intend to install fixtures or make penetrations. By conducting a comprehensive scan, you can ensure that no studs or joists are overlooked, and you can identify the most suitable locations for mounting hardware.
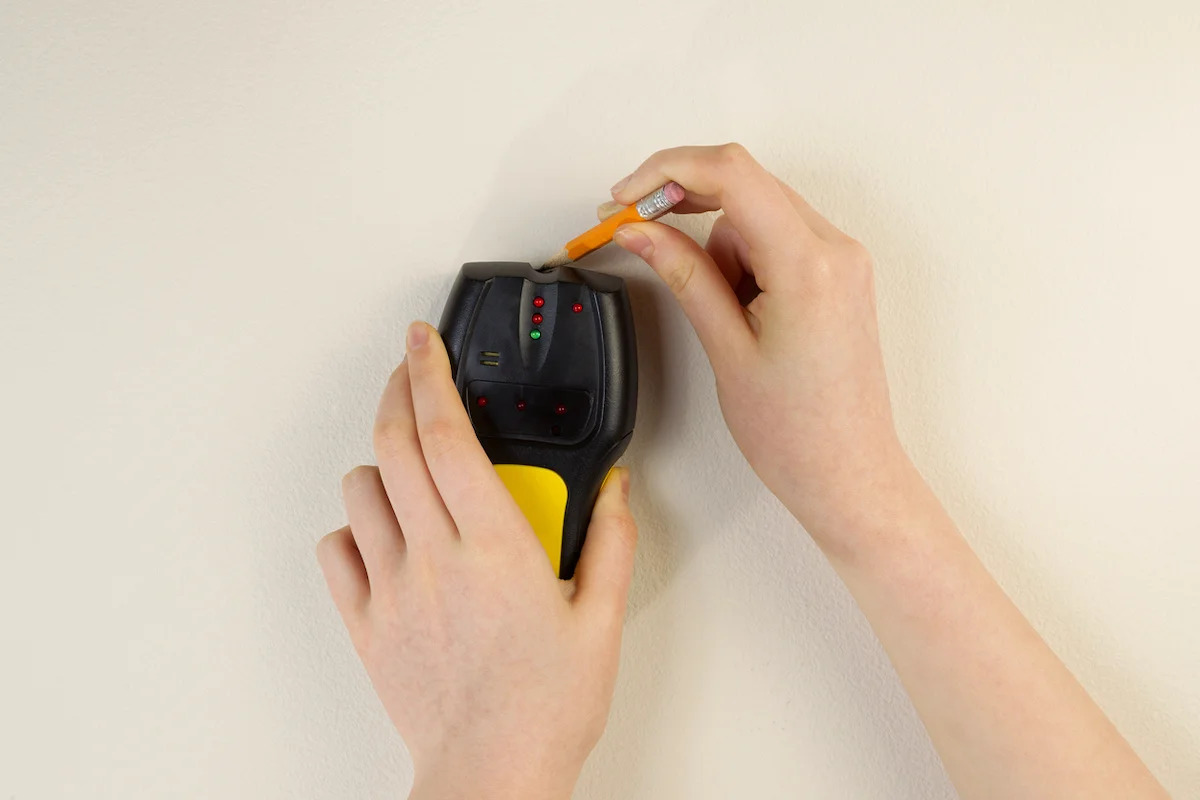
Marking the Studs:
Upon detecting a stud or joist, use a pencil or masking tape to mark its location on the wall. By clearly demarcating the positions of the structural elements, you can visualize the layout and plan your installation with precision. This step is crucial for avoiding errors and ensuring that your fixtures are securely anchored.
By following these steps, you can harness the full potential of the Tavool Stud Finder and leverage its capabilities to streamline your home improvement projects. With studs and joists accurately pinpointed, you’re now equipped to proceed with confidence, knowing that your fixtures will be securely anchored to the wall.
**
Tips for Using Tavool Stud Finder
**
While the Tavool Stud Finder is designed to simplify the process of locating studs and joists, incorporating the following tips into your workflow can enhance your overall experience and maximize the accuracy of stud detection:
Practice Consistency:
When scanning the wall with the Tavool Stud Finder, maintain a consistent scanning speed and pressure to ensure uniform coverage. Avoid erratic movements or excessive pressure, as these factors can affect the device’s ability to detect studs accurately. By practicing a steady and consistent scanning technique, you can achieve reliable results.
Verify Multiple Readings:
After initially detecting a stud or joist, verify the reading by conducting multiple scans in the same area. This redundancy helps confirm the presence and precise location of the structural element, reducing the likelihood of errors. By cross-referencing multiple readings, you can gain confidence in the accuracy of the Tavool Stud Finder’s detections.
Utilize Edge Detection:
When scanning for studs, pay attention to the edges of the detected area. Stud finders like the Tavool model often indicate the edges of a stud to provide a clear delineation of its width. By leveraging this feature, you can ascertain the full extent of the stud and make informed decisions regarding the placement of fixtures.
Account for Wall Material:
Be mindful of the type of wall material you are scanning, as different materials may influence the scanning process. For instance, drywall, plaster, and wood may require slight adjustments in scanning technique to optimize stud detection. Familiarize yourself with the Tavool Stud Finder’s performance on various wall materials to adapt your approach accordingly.
Confirm AC Wire Detection:
When using the Tavool Stud Finder, always verify the detection of live AC wires before proceeding with any drilling or nailing activities. The device’s ability to identify electrical currents within the wall is a crucial safety feature, and confirming the absence of live wires in the vicinity of your intended work area is paramount to preventing electrical hazards.
Regular Maintenance:
Periodically inspect and clean the scanning surface of the Tavool Stud Finder to ensure optimal performance. Dust, debris, or residue from previous projects can impede the device’s scanning capabilities. By maintaining a clean scanning surface, you can uphold the accuracy and reliability of the Tavool Stud Finder over time.
By integrating these tips into your utilization of the Tavool Stud Finder, you can elevate your proficiency in locating studs, joists, and live AC wires, ultimately enhancing the outcome of your home improvement endeavors. With a keen focus on technique, verification, and safety, you can harness the full potential of this indispensable tool.
**
Read more: How To Use Zircon Stud Finder
Conclusion
**
Congratulations! You’ve embarked on a journey to unravel the capabilities of the Tavool Stud Finder, gaining valuable insights into its functionality, preparation, operation, and optimization. Armed with this knowledge, you’re poised to tackle home improvement projects with newfound confidence and precision, knowing that the Tavool Stud Finder is your trusted ally in locating studs, joists, and live AC wires behind walls, ceilings, and floors.
The Tavool Stud Finder represents more than just a tool; it embodies the fusion of advanced sensor technology with user-friendly design, empowering DIY enthusiasts and professionals alike to navigate the intricacies of wall fixtures and installations with ease. By understanding the nuances of the device and implementing best practices for its utilization, you’ve unlocked a realm of possibilities for enhancing the structural integrity and aesthetic appeal of your living space.
As you venture forth into your next home improvement endeavor, remember the foundational principles outlined in this guide: preparation is key, consistency breeds accuracy, and safety is non-negotiable. Whether you’re mounting a large piece of artwork, securing a bookshelf, or embarking on a full-scale renovation, the Tavool Stud Finder stands ready to streamline your workflow and fortify your fixtures.
So, the next time you pick up your Tavool Stud Finder, envision it as more than just a device; it’s a conduit for turning your home improvement visions into tangible, steadfast realities. With each stud located, each joist pinpointed, and each live wire identified, you’re shaping your living space with precision and purpose.
As you bid farewell to this guide, carry forth the knowledge you’ve acquired and let it infuse your future projects with newfound expertise. The Tavool Stud Finder is your steadfast companion in the realm of home improvement, and with it in hand, you’re equipped to embark on a journey of transformation, one stud at a time.
Frequently Asked Questions about How To Use Tavool Stud Finder
Was this page helpful?
At Storables.com, we guarantee accurate and reliable information. Our content, validated by Expert Board Contributors, is crafted following stringent Editorial Policies. We're committed to providing you with well-researched, expert-backed insights for all your informational needs.


0 thoughts on “How To Use Tavool Stud Finder”