Home>Renovation & DIY>Tools & Equipment>How To Clean Clogged Sandpaper
Tools & Equipment
How To Clean Clogged Sandpaper
Published: December 20, 2023
Learn how to effectively clean clogged sandpaper using simple tools and equipment. Keep your sandpaper in top condition for optimal performance. Ideal for woodworking and DIY projects.
(Many of the links in this article redirect to a specific reviewed product. Your purchase of these products through affiliate links helps to generate commission for Storables.com, at no extra cost. Learn more)
**
Introduction
**
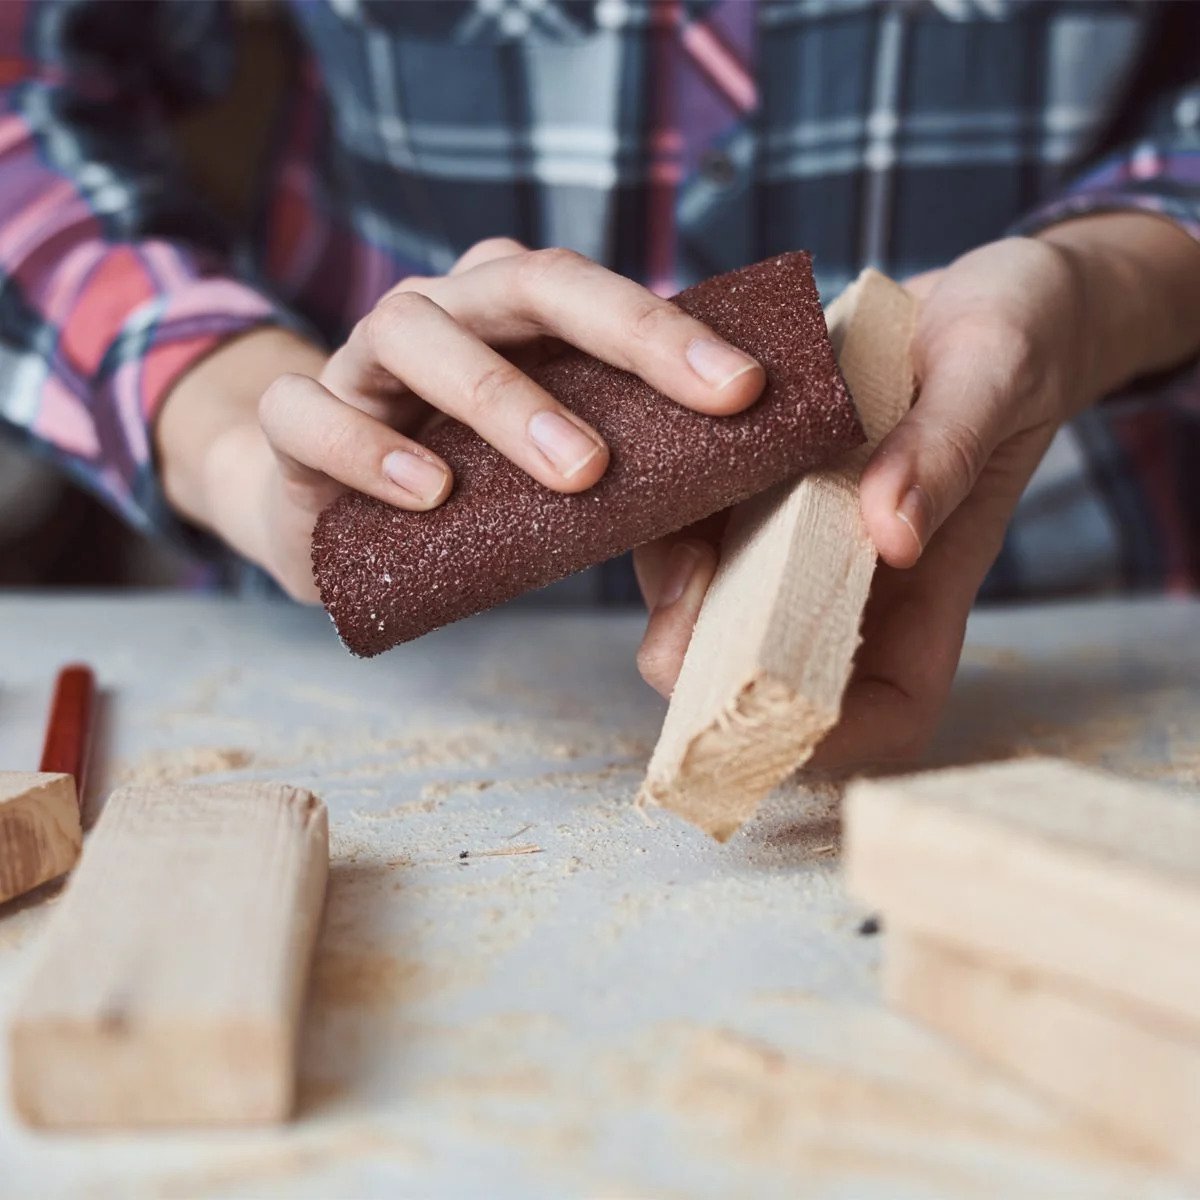
Sandpaper is an indispensable tool for woodworking, metalworking, and various do-it-yourself projects. Over time, sandpaper can become clogged with wood dust, metal shavings, or other debris, reducing its effectiveness and lifespan. However, with the right techniques and materials, it's possible to clean clogged sandpaper and restore its cutting power.
In this comprehensive guide, we'll explore the step-by-step process of cleaning clogged sandpaper, ensuring that you can maintain the quality and efficiency of your sanding tools. By following these methods, you can extend the lifespan of your sandpaper, save money on replacements, and achieve smoother, more refined finishes on your projects. Let's dive into the materials and steps needed to effectively clean clogged sandpaper.
**
Key Takeaways:
- Keep your sandpaper clean for smoother finishes and longer lifespan. Use compressed air, cleaning sticks, water, and a rubber eraser to remove debris and store properly for future use.
- Regular maintenance of sandpaper saves money on replacements and ensures optimal performance for woodworking and metalworking projects. Gather the right materials and follow the step-by-step cleaning process for best results.
Read more: How To Clean Clogged Dryer Vent
Materials Needed
**
Before embarking on the journey of cleaning clogged sandpaper, it’s essential to gather the necessary materials to ensure a successful and efficient process. Here are the materials you’ll need:
- Clogged Sandpaper: The sandpaper that needs cleaning.
- Compressed Air: A can of compressed air to blow out debris from the sandpaper’s surface.
- Sandpaper Cleaning Stick: A specialized tool designed to remove debris from sandpaper.
- Water and Brush: A container of water and a brush for soaking and cleaning the sandpaper.
- Rubber Eraser: A standard rubber eraser to eliminate stubborn particles from the sandpaper.
- Clean Cloth: A soft, clean cloth for drying the sandpaper.
- Proper Storage: A storage solution to keep the sandpaper clean and free from debris when not in use.
By having these materials readily available, you’ll be well-equipped to tackle the task of cleaning clogged sandpaper effectively. With the right tools at your disposal, you can ensure that your sandpaper remains in optimal condition, ready to deliver exceptional results for your projects.
**
Step 1: Remove Debris
**
The first step in cleaning clogged sandpaper is to remove the accumulated debris that hinders its performance. Here’s how to do it:
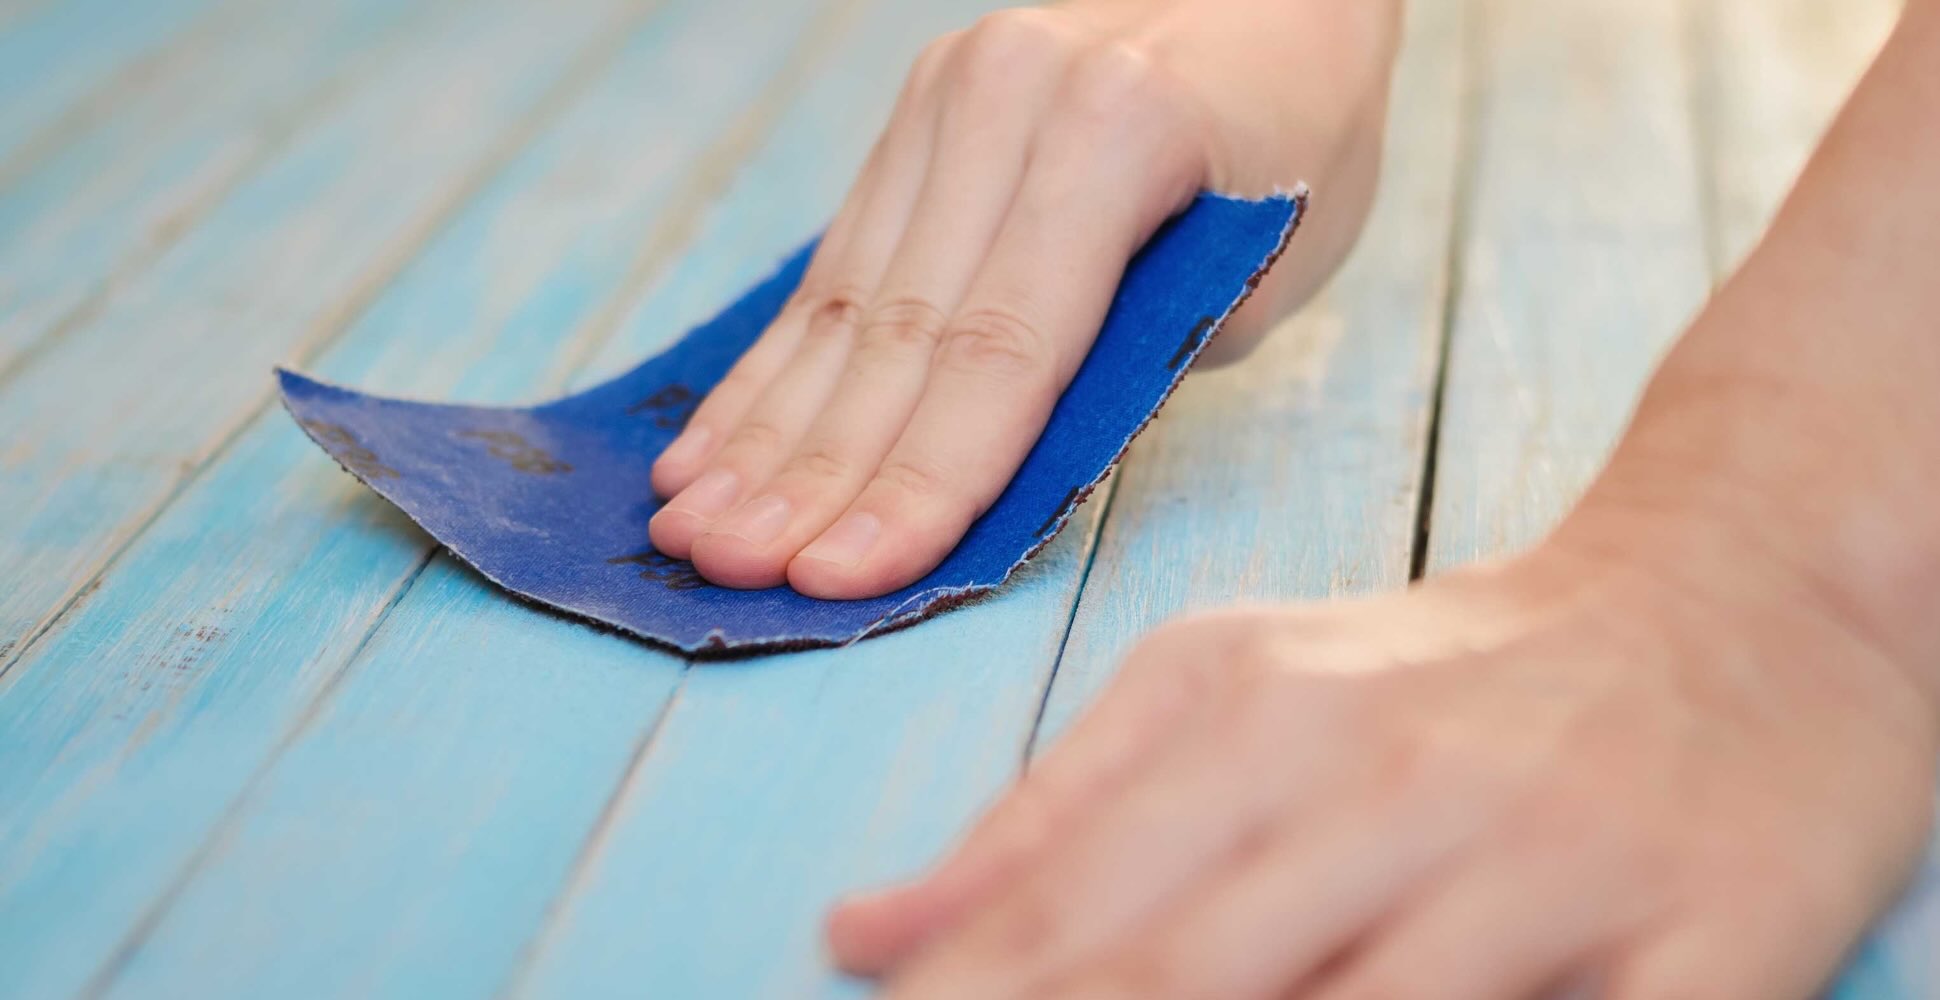
Begin by gently tapping the clogged sandpaper to dislodge loose particles and dust. You can do this by lightly tapping the sandpaper against a solid surface, such as a workbench or table. This action helps loosen the surface debris, making it easier to remove.
Next, use a can of compressed air to blow out the loosened debris from the sandpaper’s surface. Hold the sandpaper at a slight angle and use the compressed air to blow across the surface, directing the debris away from the work area. This process helps dislodge finer particles that may be embedded in the sandpaper’s grit, restoring its cutting ability.
By effectively removing the surface debris and embedded particles, you can revitalize the sandpaper and prepare it for the subsequent cleaning steps. This initial debris removal sets the stage for a more thorough cleaning process, ensuring that your sandpaper regains its cutting power and longevity.
**
Step 2: Clean with Compressed Air
**
After removing the initial debris from the clogged sandpaper, the next step involves using compressed air to further clean its surface and restore its effectiveness. Here’s how to proceed:
Hold the sandpaper at a slight angle and use the can of compressed air to blow across the surface, directing the airflow along the length of the sandpaper. The force of the compressed air helps dislodge stubborn particles and fine dust that may be embedded in the grit, effectively clearing the abrasive surface.
Continue blowing compressed air across the entire surface of the sandpaper, paying attention to any areas where debris may be particularly dense. By systematically directing the airflow, you can ensure that the sandpaper’s grit is thoroughly cleared of any remaining particles, allowing it to function optimally once again.
By utilizing compressed air to clean the clogged sandpaper, you can rejuvenate its cutting power and extend its lifespan. This method effectively removes embedded debris and fine dust, preparing the sandpaper for the subsequent cleaning techniques. With the surface cleared, the sandpaper is ready for further revitalization, ensuring that it delivers exceptional results for your sanding tasks.
**
Step 3: Use a Sandpaper Cleaning Stick
**
When dealing with stubborn debris and residue on clogged sandpaper, a sandpaper cleaning stick can be an invaluable tool for restoring its cutting efficiency. Here’s how to effectively utilize this specialized tool:
Hold the clogged sandpaper securely and run the cleaning stick across its surface in a back-and-forth motion. The abrasive surface of the cleaning stick dislodges embedded particles and residue from the sandpaper’s grit, effectively restoring its cutting ability.
Continue using the cleaning stick methodically across the entire surface of the sandpaper, paying attention to any areas where debris may be particularly stubborn. The repeated motion helps lift and remove embedded particles, ensuring that the sandpaper’s abrasive surface is thoroughly cleaned and revitalized.
By employing a sandpaper cleaning stick, you can effectively remove stubborn debris and residue, rejuvenating the sandpaper and extending its usefulness. This method provides a targeted approach to clearing the grit, ensuring that the sandpaper is ready to deliver smooth, refined finishes for your woodworking and metalworking projects.
**
To clean clogged sandpaper, use a wire brush or a rubber sanding belt cleaner to remove the buildup of sawdust and debris. Gently brush the surface to restore the sandpaper’s effectiveness.
Read more: How To Clean Clogged Gas Stove Burners
Step 4: Soak in Water and Brush
**
Soaking clogged sandpaper in water and using a brush can be an effective method for dislodging embedded debris and reviving its abrasive surface. Here’s how to proceed with this revitalizing technique:
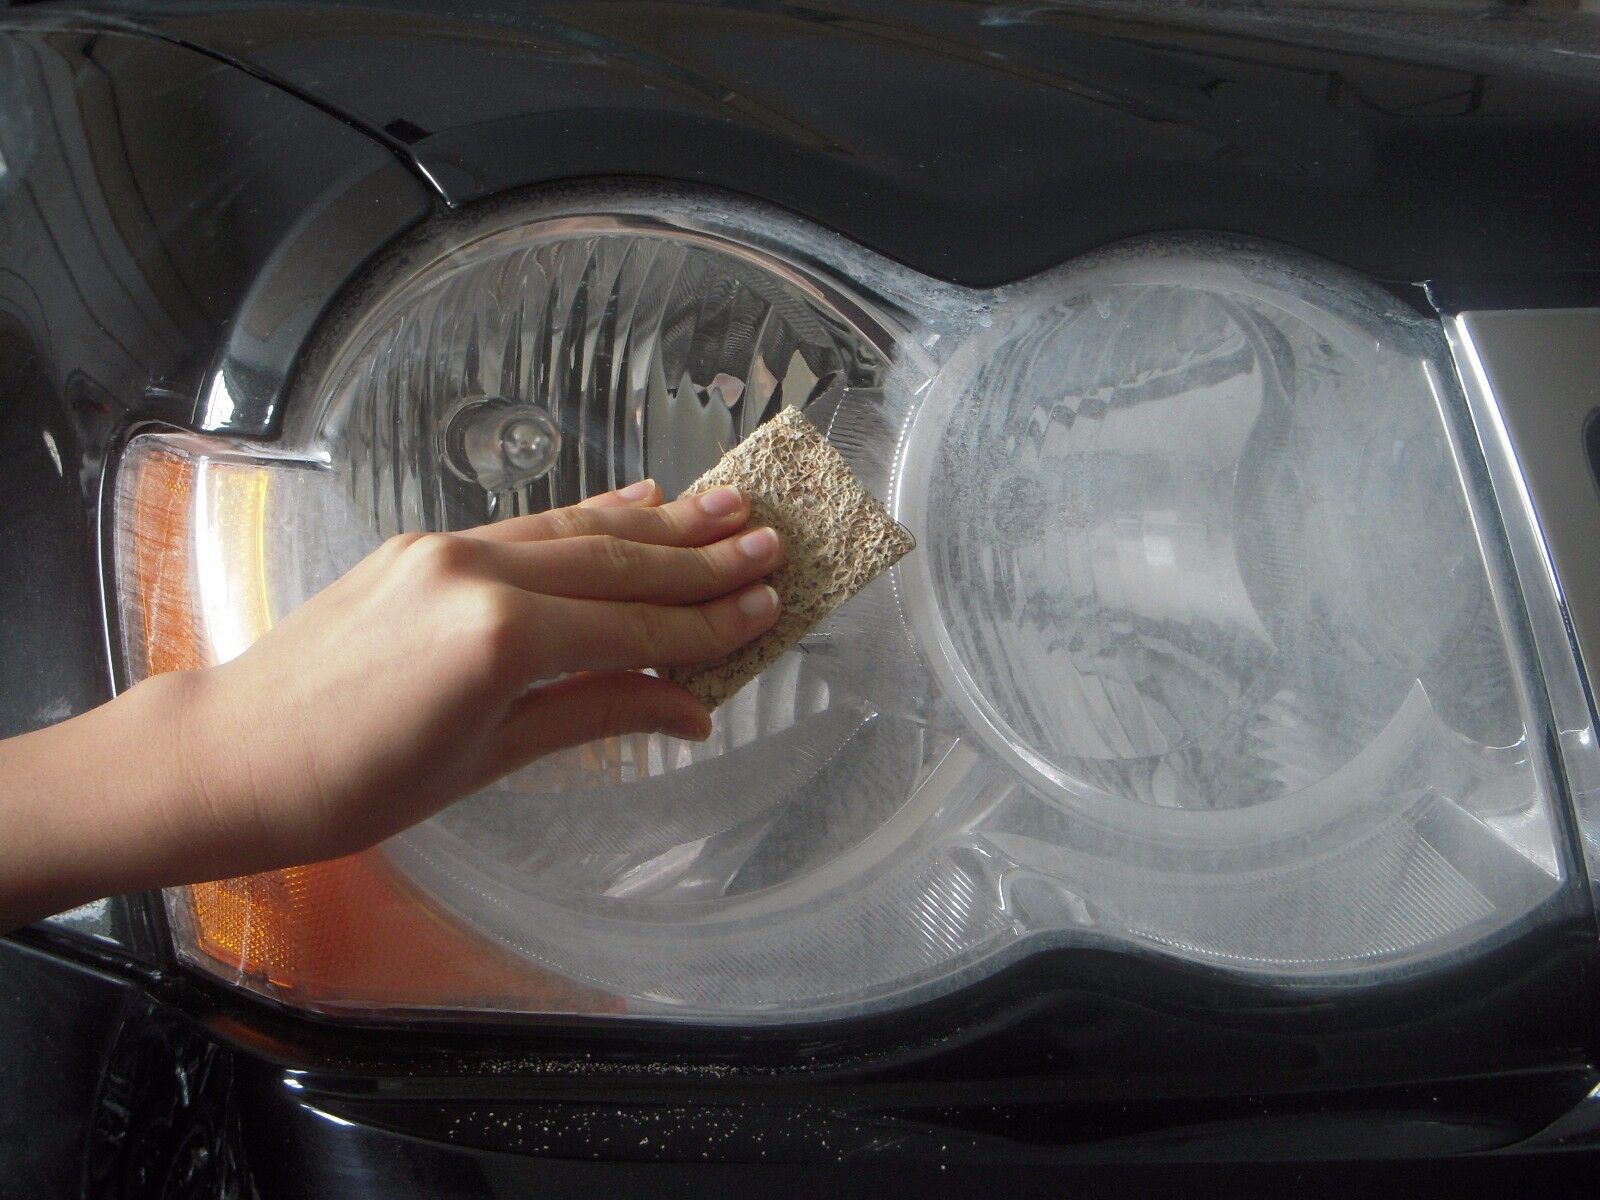
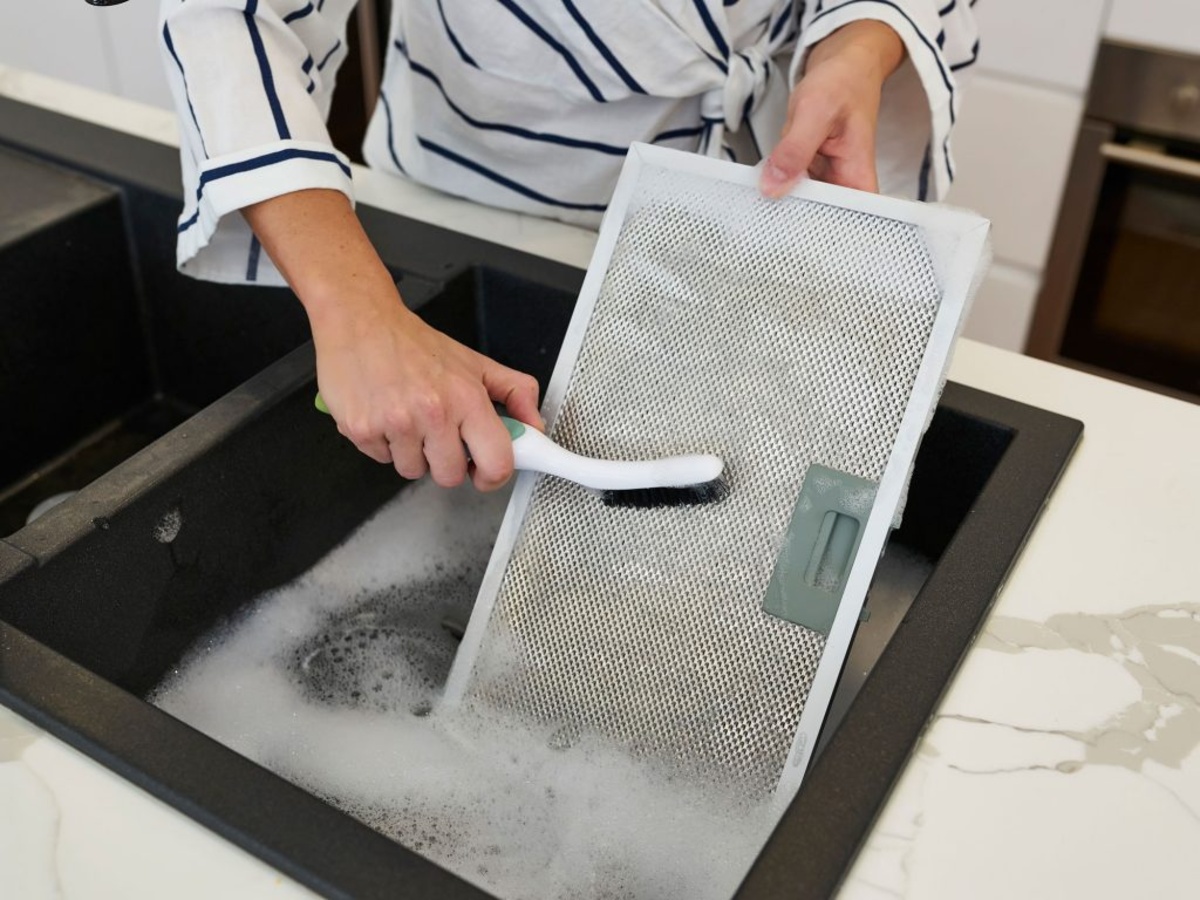
Fill a container with water deep enough to fully submerge the clogged sandpaper. Immerse the sandpaper in the water and allow it to soak for several minutes, allowing the water to penetrate the grit and loosen embedded particles.
After soaking, use a brush with medium to stiff bristles to gently scrub the surface of the sandpaper. The brushing action helps dislodge the softened debris, clearing the abrasive surface and restoring its cutting effectiveness.
Rinse the sandpaper thoroughly under running water to remove any loosened debris and residue. Once rinsed, gently pat the sandpaper with a clean cloth to remove excess water, ensuring that it is damp but not soaked.
By employing the water soaking and brushing method, you can effectively dislodge embedded debris and rejuvenate the sandpaper’s abrasive surface. This technique provides a thorough cleaning, ensuring that the sandpaper is ready to deliver optimal results for your sanding tasks.
**
Step 5: Use a Rubber Eraser
**
When dealing with stubborn residue and particles on clogged sandpaper, a rubber eraser can be a surprisingly effective tool for revitalizing its abrasive surface. Here’s how to effectively utilize this common household item:
Hold the clogged sandpaper securely and use a standard rubber eraser to rub across its surface in a back-and-forth motion. The eraser’s abrasiveness helps lift and remove embedded particles and residue from the sandpaper’s grit, effectively restoring its cutting ability.
Continue using the eraser methodically across the entire surface of the sandpaper, paying attention to any areas where debris may be particularly stubborn. The repeated motion helps dislodge embedded particles, ensuring that the sandpaper’s abrasive surface is thoroughly cleaned and revitalized.
After using the eraser, gently tap the sandpaper to remove any loosened debris, and then use a can of compressed air to blow away any remaining particles. This ensures that the sandpaper’s grit is clear and ready for use.
By employing a rubber eraser, you can effectively remove stubborn residue and particles, rejuvenating the sandpaper and extending its usefulness. This method provides a simple yet efficient approach to clearing the grit, ensuring that the sandpaper is ready to deliver exceptional results for your woodworking and metalworking projects.
**
Step 6: Dry and Store Properly
**
After effectively cleaning clogged sandpaper, it’s crucial to ensure that it is dried and stored properly to maintain its quality and longevity. Follow these steps to complete the cleaning process:
After cleaning the sandpaper using the chosen method, gently pat it with a clean, dry cloth to remove excess moisture. Ensure that the sandpaper is thoroughly dried before storing to prevent the formation of mold or mildew.
Once dry, store the sandpaper in a clean and dry environment, away from excessive moisture and direct sunlight. Consider using a dedicated storage solution, such as a sandpaper organizer or airtight container, to protect the cleaned sandpaper from dust and debris when not in use.
By properly drying and storing the cleaned sandpaper, you can ensure that it remains in optimal condition, ready for future use. This final step in the cleaning process safeguards the revitalized sandpaper, allowing it to deliver consistent and reliable results for your woodworking, metalworking, and do-it-yourself projects.
**
Conclusion
**
Effective cleaning of clogged sandpaper is essential for maintaining its cutting power and prolonging its lifespan. By following the step-by-step methods outlined in this guide, you can ensure that your sandpaper remains in optimal condition, ready to deliver exceptional results for your woodworking, metalworking, and do-it-yourself projects.
From removing surface debris to utilizing specialized tools and techniques, each step in the cleaning process plays a crucial role in revitalizing clogged sandpaper. By incorporating these methods into your regular maintenance routine, you can extend the usefulness of your sandpaper, saving money on replacements and achieving smoother, more refined finishes on your projects.
Remember to gather the necessary materials, including compressed air, a sandpaper cleaning stick, water, a brush, a rubber eraser, and proper storage solutions, to ensure that you are well-equipped for the cleaning process. By investing time and effort in cleaning your clogged sandpaper, you can optimize its performance and ultimately enhance the quality of your woodworking and metalworking endeavors.
By completing the cleaning process with thorough drying and proper storage, you can safeguard the revitalized sandpaper, ensuring that it remains free from debris and ready for future use. With these practices in place, you can maintain a collection of clean, efficient sandpaper, poised to tackle a wide range of projects with precision and finesse.
Incorporating these cleaning methods into your routine maintenance not only preserves the quality of your sandpaper but also contributes to the overall success and satisfaction of your crafting and construction endeavors. By taking the time to care for your sandpaper, you can elevate the caliber of your finished products and enjoy a more seamless and productive workflow.
Frequently Asked Questions about How To Clean Clogged Sandpaper
Was this page helpful?
At Storables.com, we guarantee accurate and reliable information. Our content, validated by Expert Board Contributors, is crafted following stringent Editorial Policies. We're committed to providing you with well-researched, expert-backed insights for all your informational needs.


0 thoughts on “How To Clean Clogged Sandpaper”