Home>Renovation & DIY>Tools & Equipment>How To Use Hook And Loop Sandpaper
Tools & Equipment
How To Use Hook And Loop Sandpaper
Published: December 20, 2023
Learn how to effectively use hook and loop sandpaper with our comprehensive guide. Discover the best tools and equipment for achieving smooth and professional results.
(Many of the links in this article redirect to a specific reviewed product. Your purchase of these products through affiliate links helps to generate commission for Storables.com, at no extra cost. Learn more)
Introduction
Welcome to the world of sanding, where the right tools make all the difference. If you’ve ever taken on a woodworking or DIY project, you know that achieving a smooth and polished finish is essential. That’s where hook and loop sandpaper comes in. This innovative sandpaper system has revolutionized the sanding process, making it faster, easier, and more efficient.
In this guide, we’ll explore the world of hook and loop sandpaper, discuss its advantages, and provide you with tips and techniques to help you achieve professional-level results. Whether you’re a woodworking enthusiast or a seasoned professional, this article will equip you with the knowledge and techniques needed to make the most of your hook and loop sandpaper.
But first, let’s start with the basics:
Key Takeaways:
- Hook and loop sandpaper offers easy attachment, time-saving benefits, durability, and versatility, making it a game-changer for achieving smooth and professional finishes in woodworking and DIY projects.
- Proper sanding techniques, choosing the right grit, and maintaining/cleaning hook and loop sandpaper are essential for achieving optimal results and maximizing the lifespan of the sandpaper.
Read more: How To Use Ladder Hooks
What is Hook and Loop Sandpaper?
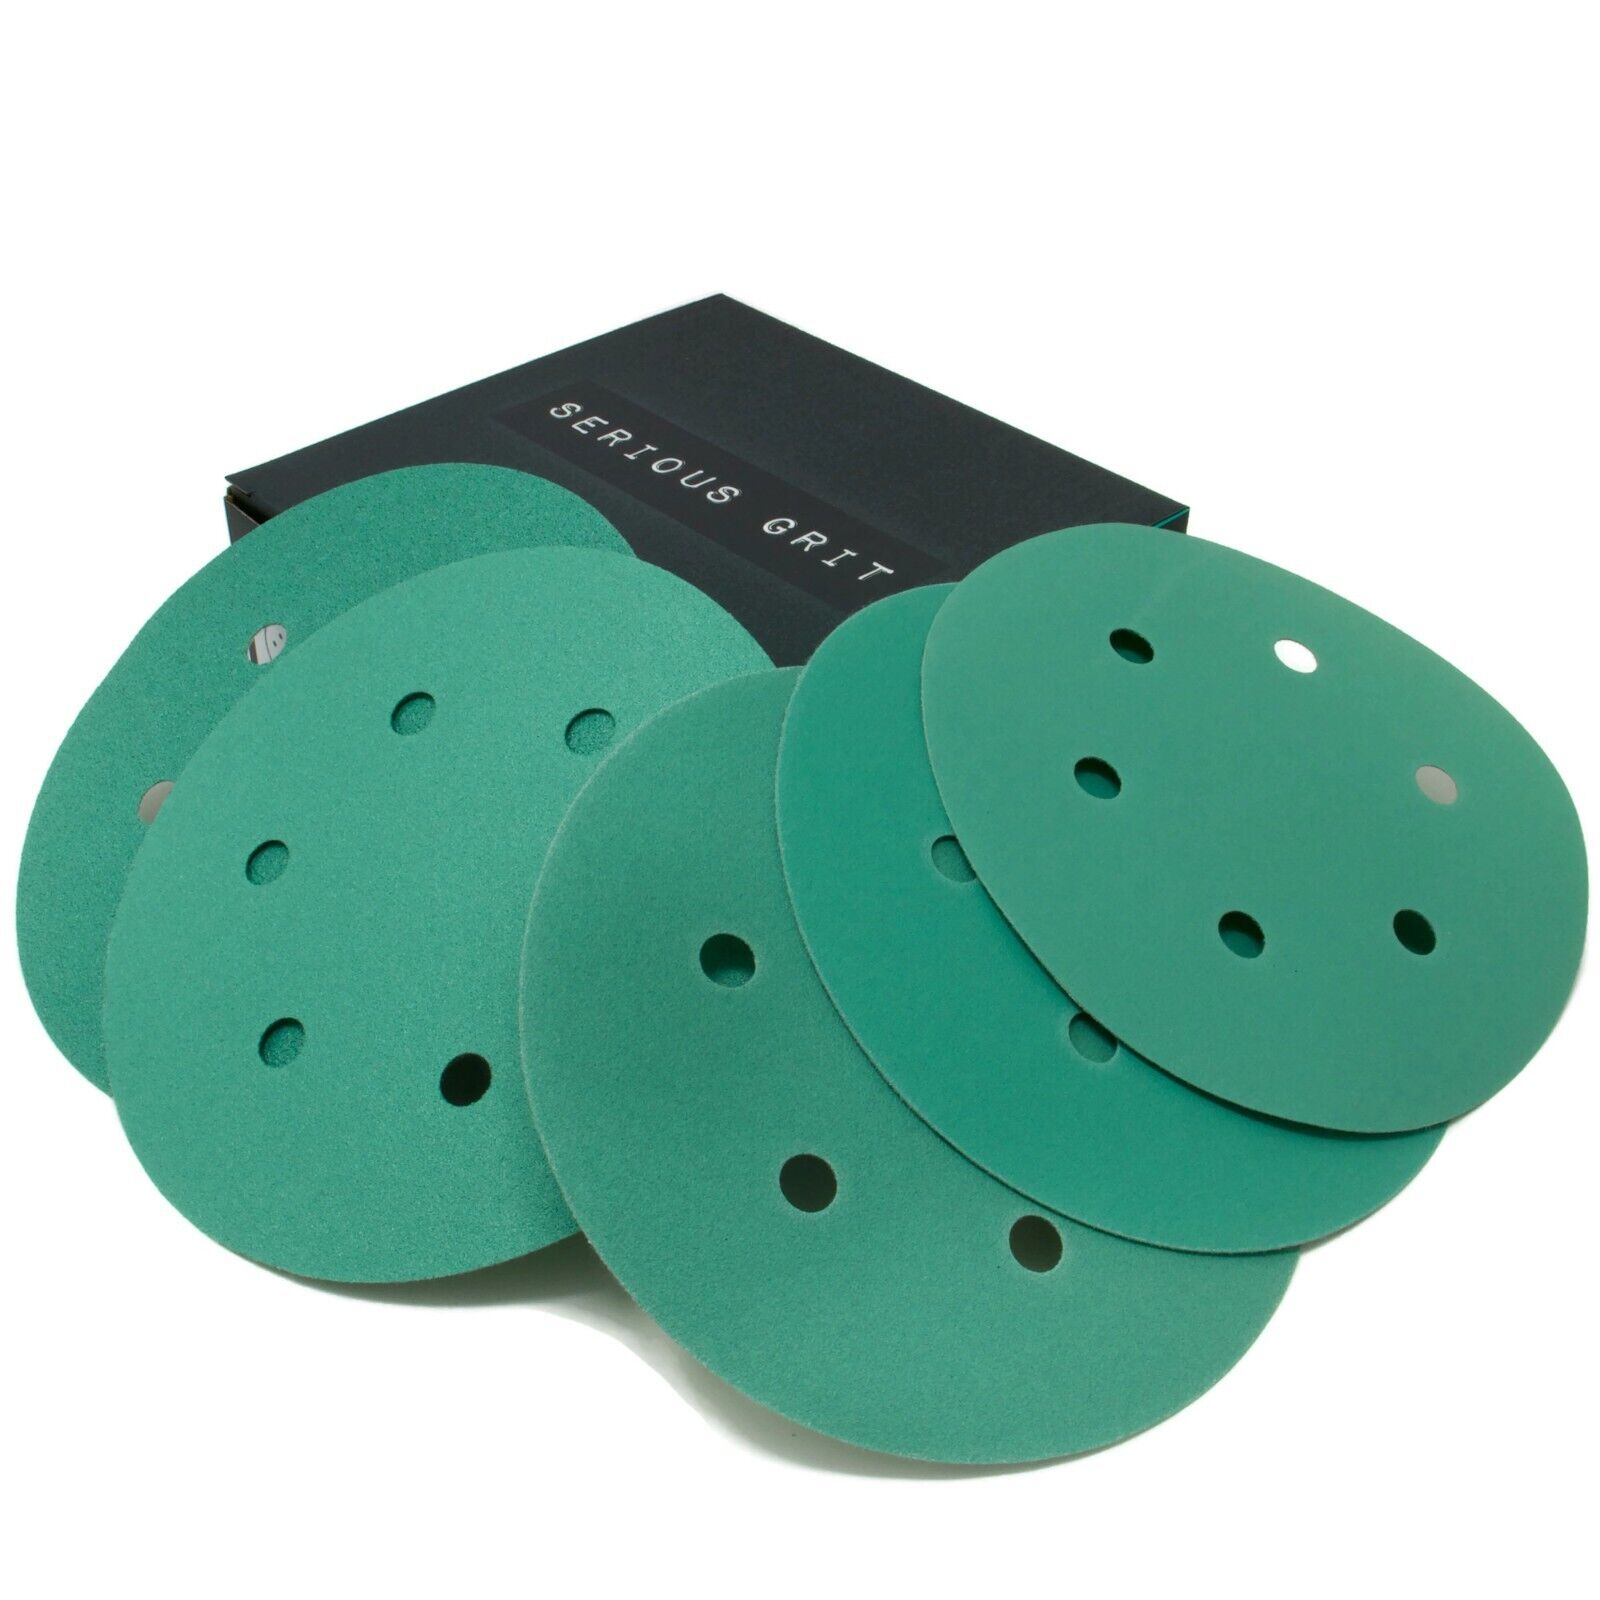
Hook and loop sandpaper, also known as Velcro sandpaper, is a type of abrasive material that utilizes a hook and loop fastening system. This unique system allows for quick and easy attachment and removal of the sandpaper from sanding tools, such as orbital sanders or sanding blocks.
The hook and loop sandpaper system is made up of two components:
- Hook: The rough side of the fastening system, consisting of tiny hooks that interlock with the loops on the sanding tool.
- Loop: The soft side of the fastening system, covered with small loops that securely hold the hook side of the sandpaper.
When the hook and loop sides are pressed together, they create a strong and secure bond, ensuring that the sandpaper stays in place during sanding.
Hook and loop sandpaper is available in various sizes, formats, and grits. Grit refers to the coarseness or fineness of the sandpaper, with lower grit numbers indicating a rougher surface and higher numbers indicating a smoother surface. This range of options makes hook and loop sandpaper versatile and suitable for a wide range of sanding tasks, including wood, metal, plastic, and more.
Now that you have a better understanding of hook and loop sandpaper, let’s explore its advantages over traditional sandpaper.
Advantages of Hook and Loop Sandpaper
Hook and loop sandpaper offers several advantages that make it a popular choice among DIY enthusiasts and professionals alike. Here are some of the key benefits:
- Easy and Quick Attachment: The hook and loop system allows for effortless attachment and removal of the sandpaper from sanding tools. No need for adhesives or clamps, simply press the sandpaper onto the tool, and it securely attaches.
- Time-Saving: With hook and loop sandpaper, changing sandpaper grits or replacing worn-out sheets is a breeze. It saves you time by eliminating the need to constantly adjust and readjust the sandpaper during a project. Simply peel off the old sandpaper and attach a new one.
- Durability: Hook and loop sandpaper is designed to be durable and long-lasting. The hook and loop fastening system is robust and stands up to the rigors of sanding, ensuring that the sandpaper stays firmly in place without tearing or shifting.
- Versatility: Hook and loop sandpaper is available in a wide range of grits, allowing you to tackle various sanding tasks. From removing rough surfaces to achieving a smooth finish, there’s a suitable grit available for every project.
- Efficient Dust Extraction: Many hook and loop sandpapers are designed with built-in dust collection holes. These holes help improve dust extraction, keeping your work area cleaner and reducing clogging of the sandpaper. This results in more efficient sanding and prolongs the life of the sandpaper.
- Reuseability: Since hook and loop sandpaper is easily removable, you can reuse sheets multiple times. This not only saves you money in the long run but also reduces waste.
Overall, the advantages of hook and loop sandpaper make it an indispensable tool for anyone involved in sanding tasks. Its convenience, durability, and versatility set it apart from traditional sandpaper options.
Now that you know the benefits of using hook and loop sandpaper, let’s move on to choosing the right grit for your specific project.
Choosing the Right Grit for Your Project
Choosing the correct grit of hook and loop sandpaper is crucial to achieving the desired results for your project. The grit determines how coarse or fine the sandpaper is, which directly affects the level of material removal and the quality of the finish. Here are some guidelines to help you choose the right grit:
- Coarse Grit (40-60): Coarse grit sandpaper is ideal for heavy material removal, such as removing paint, varnish, or rough surfaces. It is also suitable for shaping and smoothing rough wood surfaces. Start with a coarse grit if you have a lot of material to remove, then progress to finer grits for a smooth finish.
- Medium Grit (80-120): Medium grit sandpaper is suitable for general sanding tasks. It is effective in removing minor imperfections, smoothing out scratches, and preparing surfaces for painting or staining.
- Fine Grit (150-220): Fine grit sandpaper is used for final sanding and achieving a smooth surface. It is commonly employed for finishing tasks, such as sanding between coats of paint, varnish, or lacquer. Fine grit sandpaper is also suitable for sanding delicate materials and achieving a polished finish.
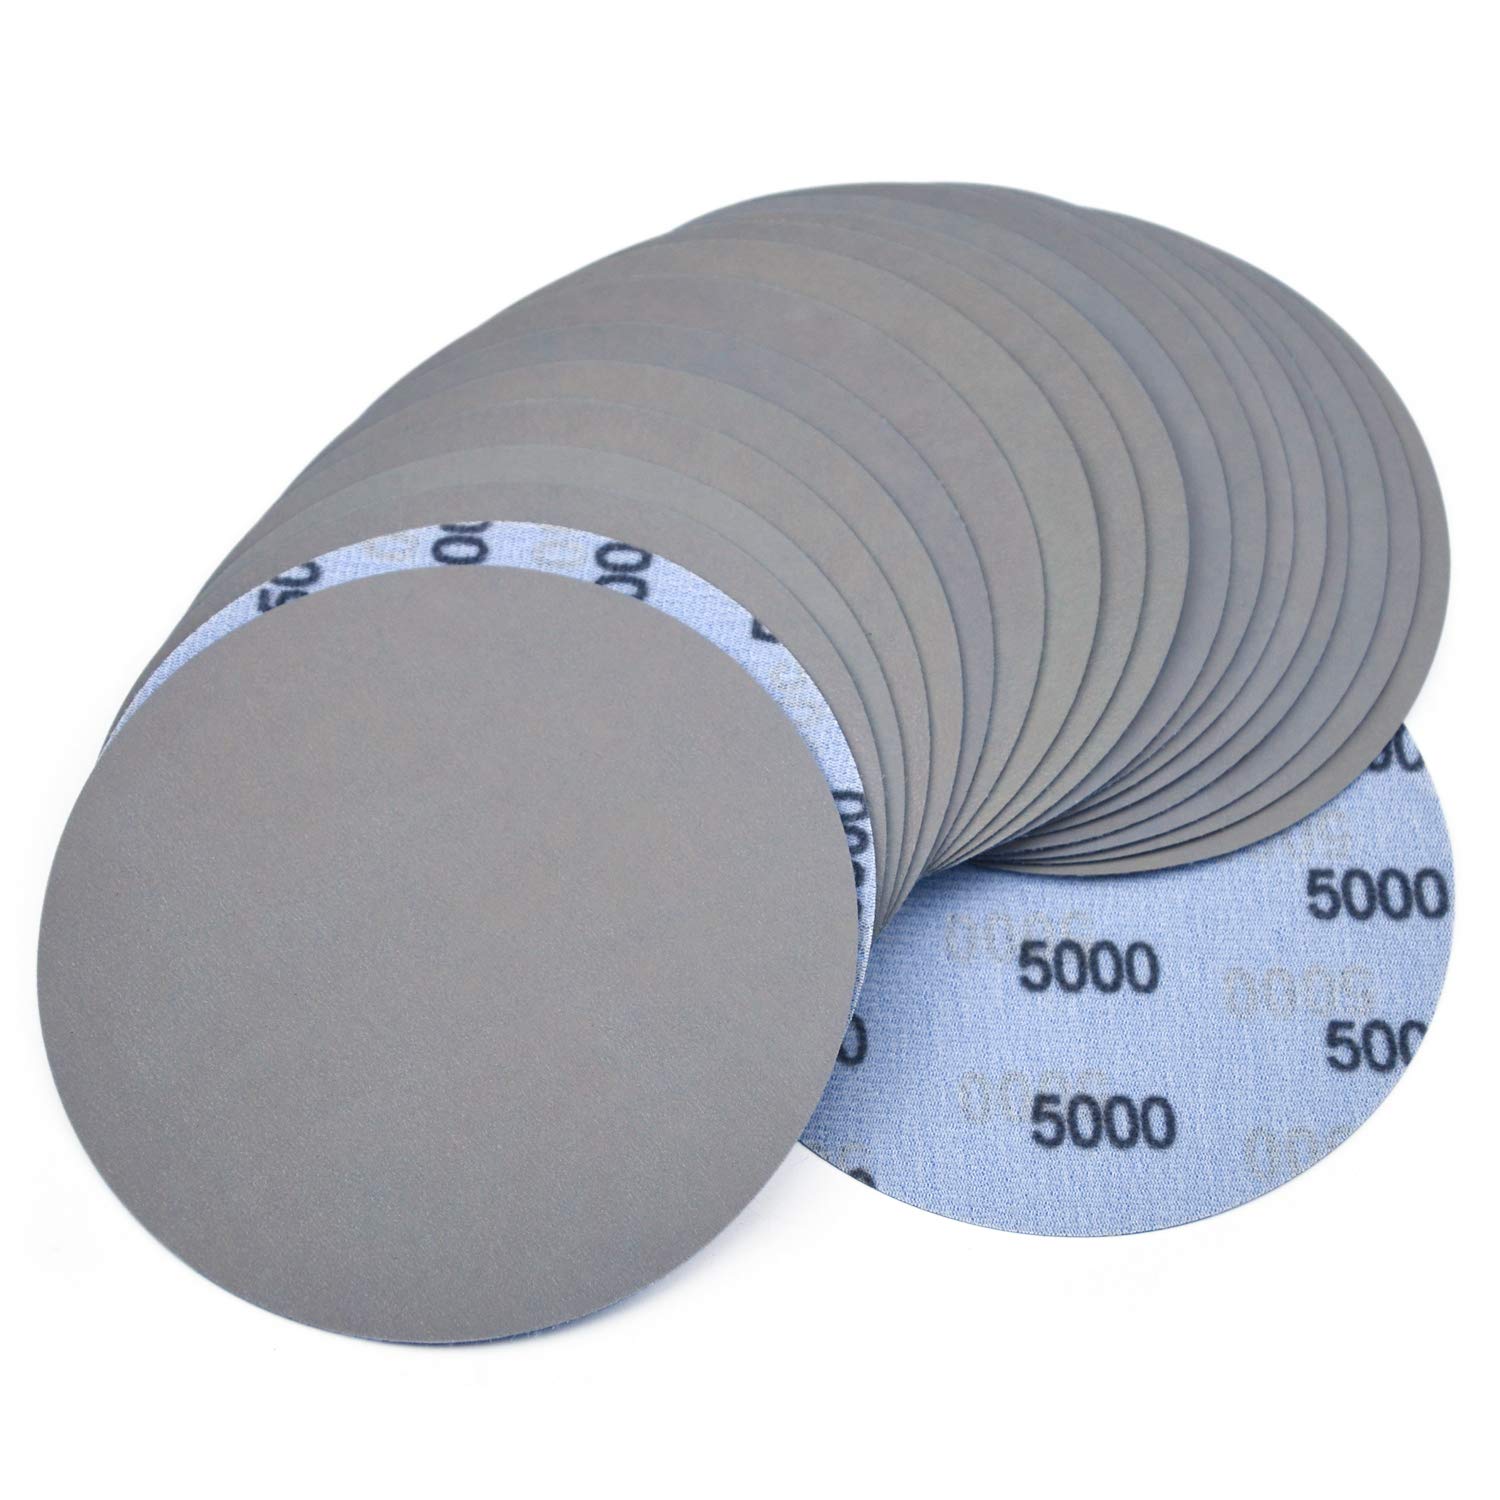
- Extra Fine Grit (240+): Extra fine grit sandpaper is used for ultra-smooth finishes and polishing. It is commonly used in fine woodworking or when working with sensitive materials that require minimal material removal.
It’s important to note that the proper grit sequence may involve starting with a coarse grit and gradually progressing to finer grits to achieve the desired smoothness. This helps to remove any visible scratches left by the previous grit and ensures a smooth transition between sanding stages.
When choosing the right grit for your project, consider the material you’re working on, the level of material removal required, and the desired finish. If you’re unsure, it’s always a good idea to test the sandpaper on a small, inconspicuous area before proceeding with the entire surface.
Now that you’re equipped with the knowledge of choosing the right grit, let’s move on to learn how to attach hook and loop sandpaper to an orbital sander for efficient sanding.
How to Attach Hook and Loop Sandpaper to an Orbital Sander
Attaching hook and loop sandpaper to an orbital sander is a simple and straightforward process. Follow these steps to ensure a secure and effective attachment:
- Step 1: Power Off the Sander: Before attaching or removing sandpaper, always ensure that the orbital sander is switched off and unplugged from the power source for safety.
- Step 2: Check the Sandpaper Size: Ensure that the hook and loop sandpaper you have is compatible with the orbital sander. Most orbital sanders are designed to accommodate specific sandpaper sizes. Select the appropriate size that fits your sander’s pad.
- Step 3: Align the Sandpaper: Place the hook side of the sandpaper over the pad of the orbital sander. Ensure that the sandpaper is centered and aligned with the shape of the pad.
- Step 4: Press Firmly: Press the sandpaper firmly onto the pad. The hook and loop fastening system will secure the sandpaper in place. Check that the edges of the sandpaper are properly adhered to the pad.
- Step 5: Power On and Test: Once the sandpaper is securely attached, you can power on the orbital sander. Test the sandpaper’s adhesion by running the sander for a short period of time to ensure that it stays in place during use.
- Step 6: Make Adjustments, if Necessary: If the sandpaper begins to peel or shift during use, power off the sander, readjust the sandpaper, and press it firmly back onto the pad. It’s important to ensure that the sandpaper remains secure while sanding.
Remember, proper attachment of hook and loop sandpaper to the orbital sander is crucial for efficient sanding. A secure attachment ensures that the sandpaper stays in place, preventing unnecessary movements or defects on the surface being sanded.
Now that you know how to attach hook and loop sandpaper to an orbital sander, let’s move on to the proper techniques for sanding with hook and loop sandpaper.
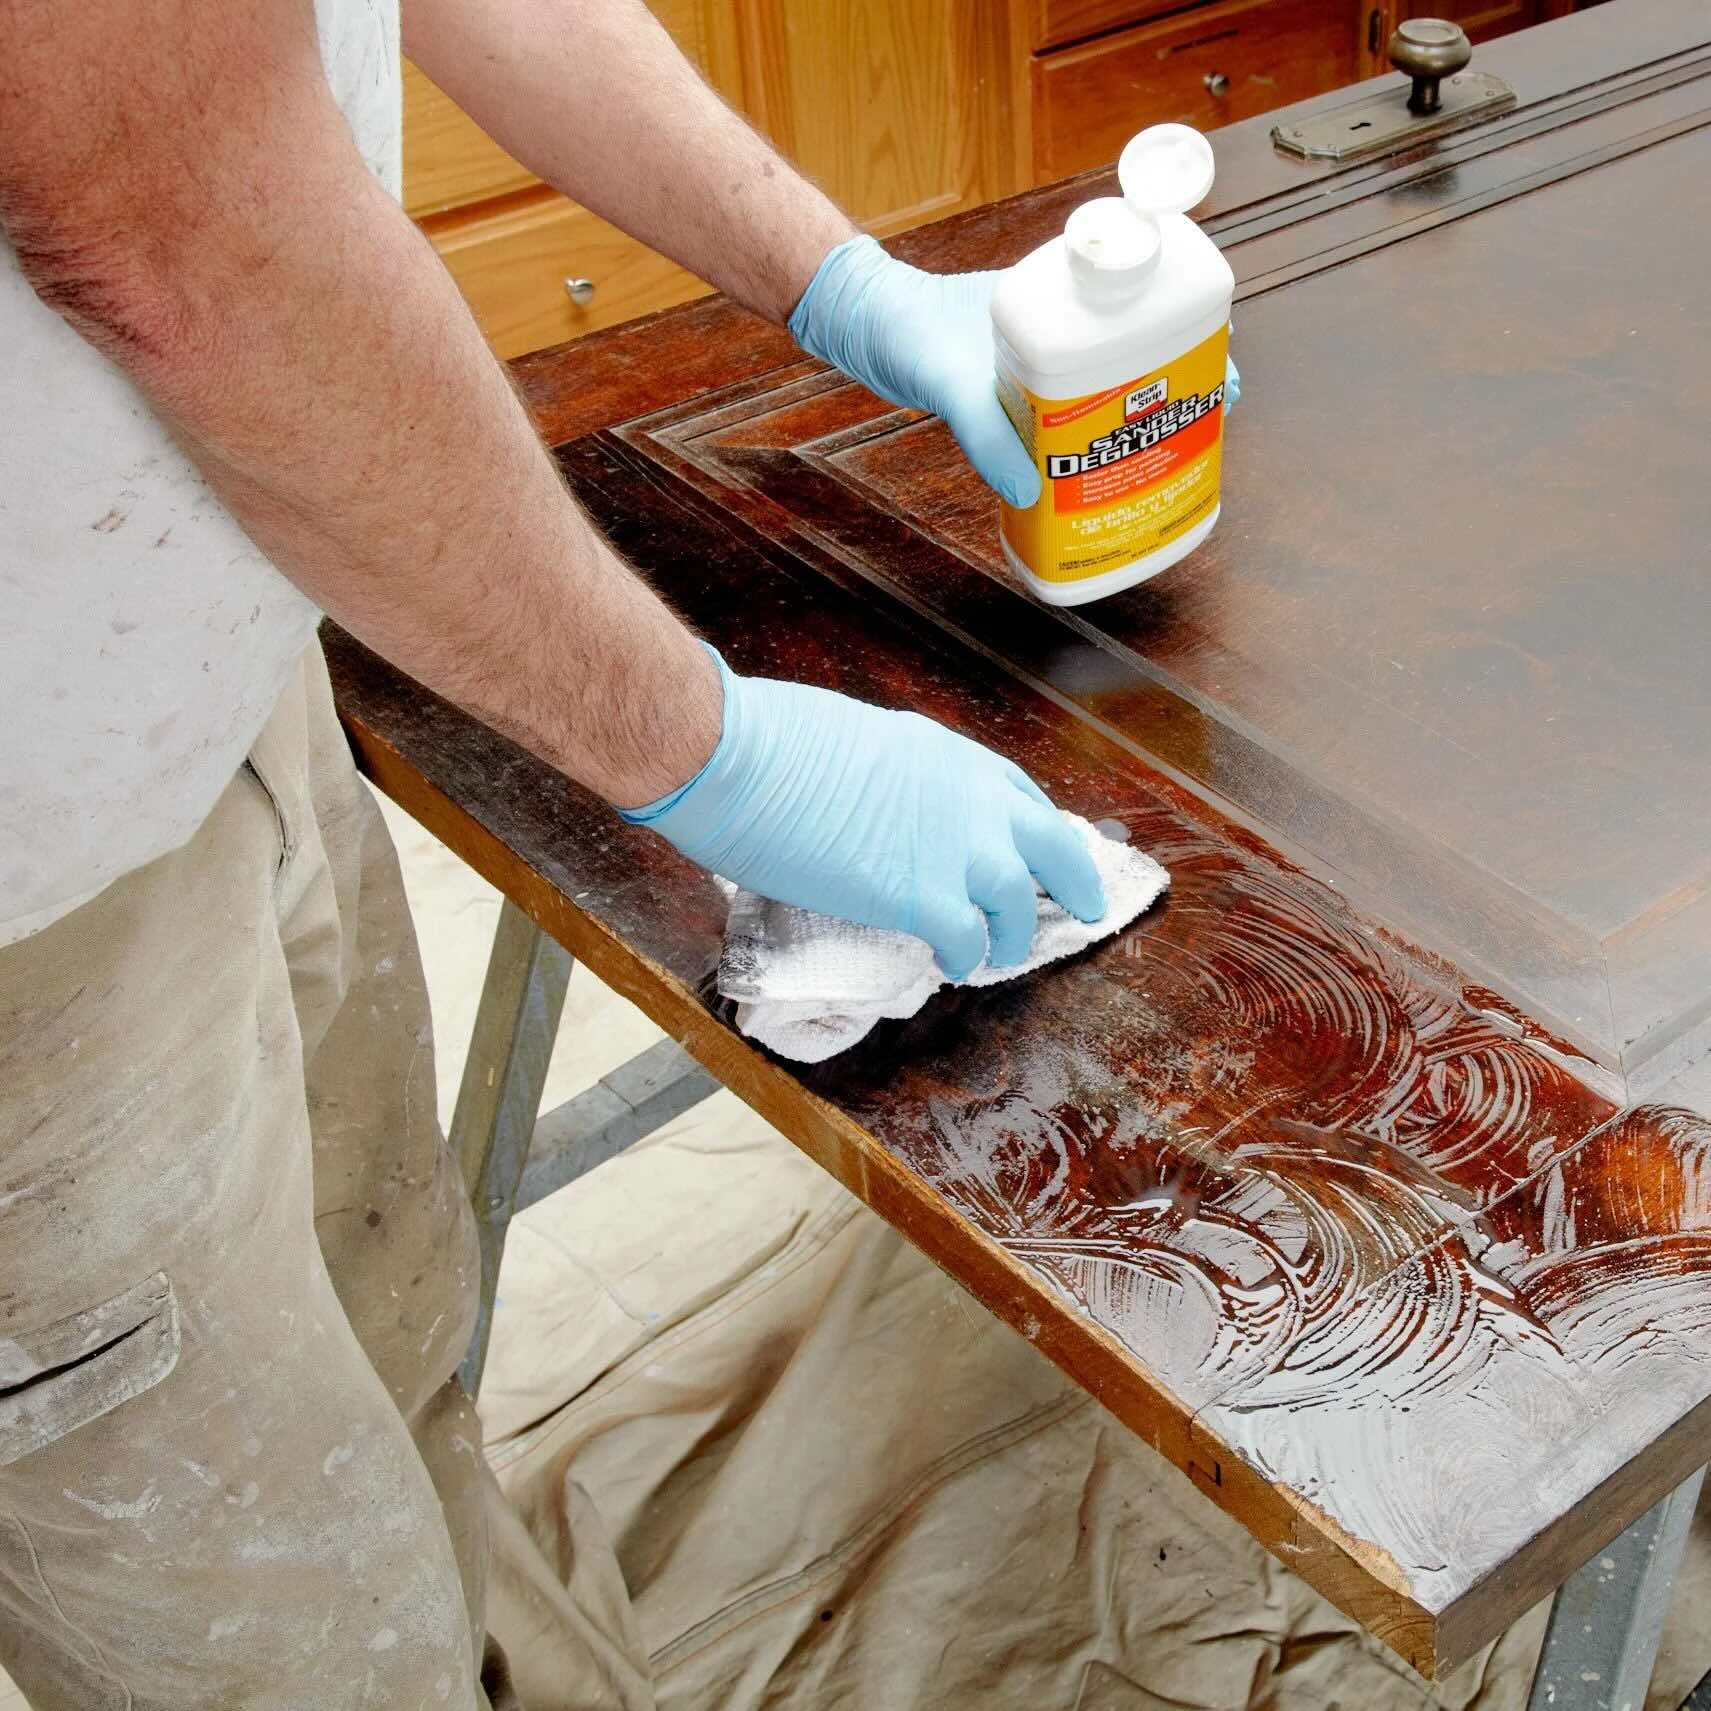
When using hook and loop sandpaper, make sure to clean the surface before attaching the sandpaper to ensure a strong and secure grip. This will help prevent the sandpaper from slipping during use, resulting in a more effective and efficient sanding process.
Read more: What Is Sandpaper Used For
Proper Techniques for Sanding with Hook and Loop Sandpaper
To achieve optimal results when sanding with hook and loop sandpaper, it’s important to employ proper techniques. Here are some guidelines to follow:
- Start with the Right Grit: Begin with a coarser grit to remove any imperfections or rough surfaces. Progress to finer grits as you work towards a smoother finish.
- Apply Even Pressure: Apply consistent and even pressure to the surface being sanded. Avoid pressing too hard, as it may result in uneven sanding or damage to the material.
- Keep the Sander Moving: Move the sander in a back-and-forth or circular motion to ensure even sanding. Avoid keeping the sander stationary in one area, as it may cause over-sanding or leave visible marks.
- Change Sandpaper Regularly: As the sandpaper wears down or becomes clogged with dust and debris, replace it with a fresh sheet. This ensures optimal sanding performance and a smooth finish.
- Work in Progressively Finer Grits: As you progress through the sanding stages, use finer grits to eliminate the scratches left by the previous grit. This helps achieve a smoother and more refined finish.
- Take Breaks and Inspect: Pause occasionally to inspect the sanded surface. This allows you to identify any missed spots or imperfections that may require further sanding. It’s also important to take breaks to rest your hand and prevent fatigue.
- Maintain a Clean Work Area: Clear away dust and debris regularly to ensure consistent sanding and prevent contaminants from scratching the surface. You can use a vacuum or a clean cloth to keep the work area clean.
- Follow Safety Precautions: Wear appropriate safety equipment, such as safety goggles and a dust mask, to protect yourself from flying debris and respiratory irritation. Additionally, ensure proper ventilation in your workspace.
Following these proper sanding techniques will help you achieve a smooth and professional finish with hook and loop sandpaper. Always be patient and take your time to ensure consistent and effective sanding.
Now that you’re familiar with the proper sanding techniques, let’s explore some tips for achieving an even smoother finish.
Tips for Achieving a Smooth Finish
When using hook and loop sandpaper, there are several tips and tricks you can utilize to achieve an even smoother finish on your projects. Follow these tips to take your sanding results to the next level:
- Sand with the Grain: Whenever possible, sand in the direction of the wood grain. This helps to prevent cross-grain scratches and ensures a cleaner and smoother finish.
- Use Light Pressure at the End: When nearing the desired smoothness, use lighter pressure while sanding. This will help avoid over-sanding and maintain the integrity of the material.
- Inspect and Touch-Up: After completing a sanding stage, carefully inspect the surface to identify any remaining imperfections. Spot-sand those areas using the appropriate grit until the entire surface is smooth and uniform.
- Sand in Various Directions: To ensure an even and consistent finish, sand in different directions with each new sanding stage. This helps to eliminate any deep scratches or uneven areas left by previous sanding.
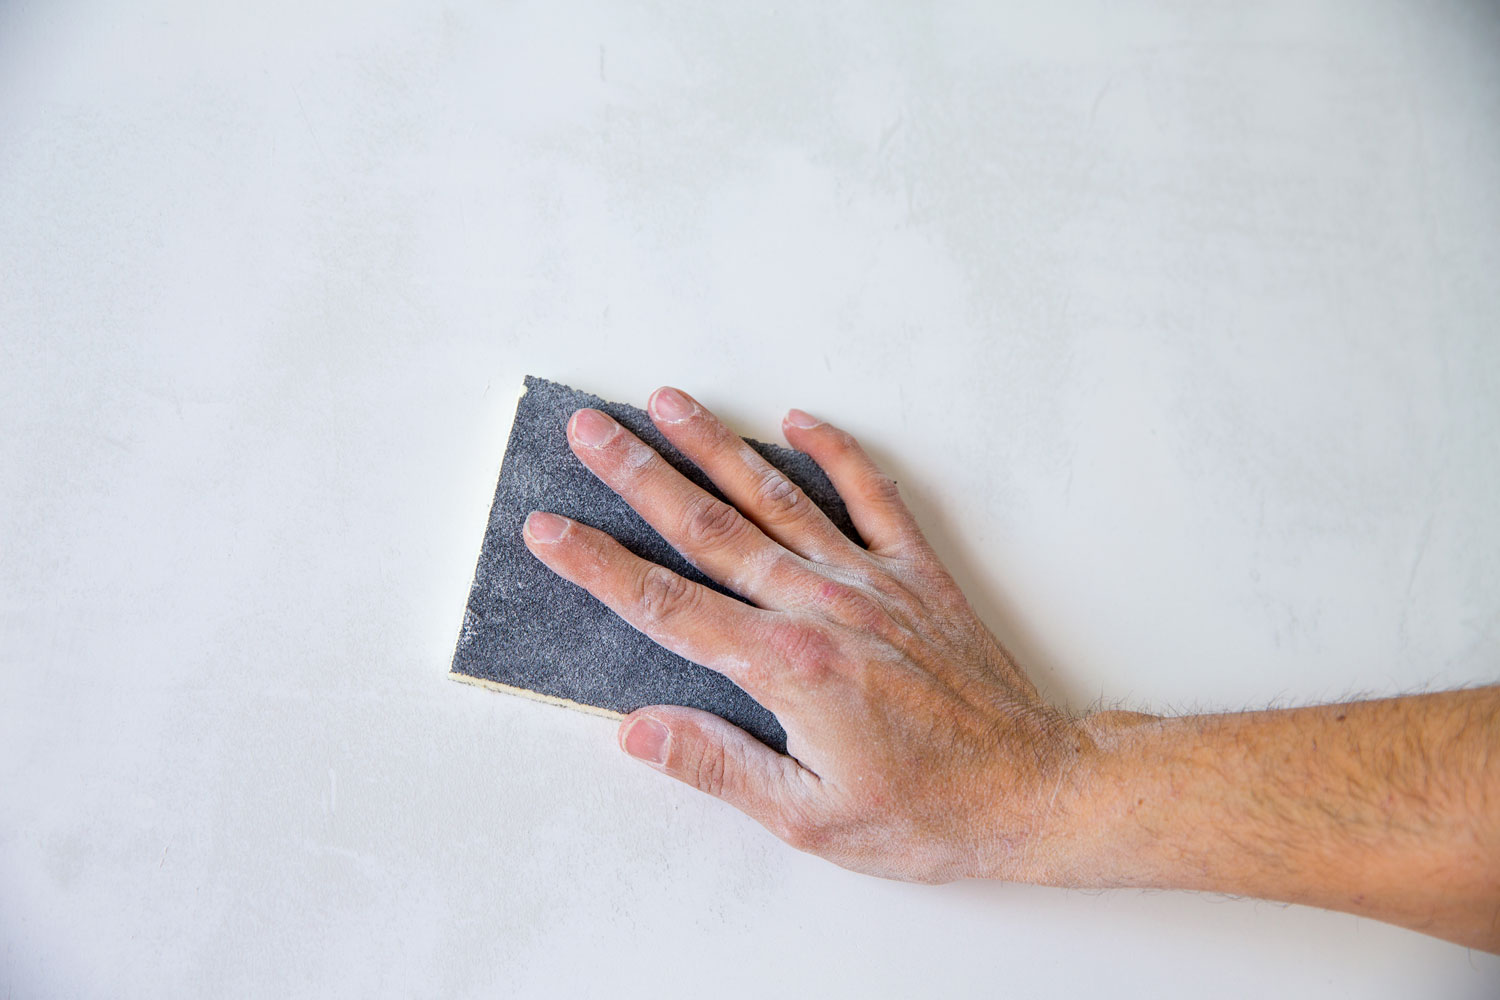
- Finish with Hand Sanding: For a truly smooth finish, consider using fine grit sandpaper by hand after machine sanding. Hand sanding allows for final touch-ups and ensures an extra level of smoothness.
- Use a Sanding Block: When sanding flat surfaces, use a sanding block in conjunction with your hook and loop sandpaper. This provides a firm and even sanding surface, resulting in more uniform results.
- Work in a Well-Lit Area: Proper lighting is essential for identifying imperfections and ensuring even sanding. Choose a well-lit workspace or use additional lighting to enhance visibility.
- Take Breaks and Check Your Progress: Sanding can be a repetitive task, so remember to take breaks to rest your hand and evaluate your progress. Stepping back periodically allows you to assess the smoothness and make adjustments if needed.
- Finish with Finer Grits: For an exceptionally smooth finish, progress to ultra-fine grits and perform a final light sanding. This step helps to remove any remaining sanding marks and leaves a silky-smooth surface.
By following these tips, you’ll be able to achieve a professional-level smooth finish with hook and loop sandpaper. Remember to have patience, work systematically, and pay attention to detail throughout the entire sanding process.
Now that you’re equipped with the tips for achieving a smooth finish, let’s move on to learn about maintaining and cleaning hook and loop sandpaper.
Maintaining and Cleaning Hook and Loop Sandpaper
Maintaining and cleaning your hook and loop sandpaper is essential to prolong its lifespan and ensure optimal sanding performance. Here are some tips for keeping your sandpaper in good condition:
- Frequently Inspect the Sandpaper: Regularly check the condition of your hook and loop sandpaper. Look for signs of wear, tear, or clogging. If the sandpaper is worn out or no longer providing effective sanding, it’s time to replace it.
- Remove Dust and Debris: After each sanding session, remove accumulated dust and debris from the sandpaper. You can use a brush, compressed air, or tap the sandpaper against a hard surface to dislodge the particles. This helps to prevent clogging and maintain sanding efficiency.
- Clean Clogged Sandpaper: If the sandpaper becomes severely clogged, you can clean it by gently scrubbing it with a wire brush or a toothbrush. This removes the embedded particles and restores the sandpaper’s effectiveness. Be sure to clean the sandpaper when it is not attached to the sanding tool to prevent any accidental damage.
- Use a Sandpaper Cleaning Solution: For more stubborn clogs, you can use a sandpaper cleaning solution. These solutions are designed to dissolve adhesives, resin, and other residues that may build up on the sandpaper surface. Follow the manufacturer’s instructions and use the solution sparingly to avoid damaging the sandpaper.
- Store Properly: When not in use, store your hook and loop sandpaper in a clean and dry place. It’s best to keep them in a dust-free container or a designated sandpaper organizer. This helps to prevent dust and debris from accumulating and ensures that the sandpaper remains in good condition for future use.
- Avoid Excessive Heat and Moisture: Keep your sandpaper away from extreme heat and moisture, as these conditions can deteriorate the adhesive backing and affect the sandpaper’s performance. Store them in a cool, dry location to maintain their integrity.
- Replace Worn-out Sandpaper: Over time, even with proper maintenance, hook and loop sandpaper will eventually wear out. Pay attention to signs of wear, such as decreased effectiveness or visible damage, and replace the sandpaper when necessary to ensure optimal sanding results.
By following these maintenance tips, you’ll be able to prolong the lifespan of your hook and loop sandpaper and ensure consistent sanding performance. Taking care of your sandpaper is just as important as using it correctly.
Now that you’ve learned the tips for maintaining and cleaning hook and loop sandpaper, let’s wrap up this guide.
Conclusion
Hook and loop sandpaper is a game-changer when it comes to achieving smooth and professional finishes in your woodworking or DIY projects. Its easy attachment, time-saving properties, durability, and versatility have made it a popular choice among both beginners and experienced craftsmen.
In this guide, we covered the basics of hook and loop sandpaper, including how it works and its advantages over traditional sandpaper. We also discussed the importance of choosing the right grit for your project and provided tips for attaching the sandpaper to an orbital sander.
Proper sanding techniques, such as applying even pressure, keeping the sander moving, and progressively using finer grits, were outlined to help you achieve optimal results. We also provided tips for achieving a smooth finish, including sanding with the grain, using light pressure, and inspecting your work.
Additionally, we highlighted the importance of maintaining and cleaning your hook and loop sandpaper. By regularly inspecting, removing dust and debris, and properly storing your sandpaper, you can maximize its lifespan and maintain its sanding efficiency.
Remember, achieving a smooth and professional finish requires not only using the right tools but also employing proper techniques and taking the time to care for your sandpaper. With the knowledge and tips provided in this guide, you’re well-equipped to tackle your sanding projects with confidence.
So, grab your hook and loop sandpaper, choose the right grit, attach it to your orbital sander, and start sanding your way to beautifully finished projects!
Frequently Asked Questions about How To Use Hook And Loop Sandpaper
Was this page helpful?
At Storables.com, we guarantee accurate and reliable information. Our content, validated by Expert Board Contributors, is crafted following stringent Editorial Policies. We're committed to providing you with well-researched, expert-backed insights for all your informational needs.


0 thoughts on “How To Use Hook And Loop Sandpaper”